Home>Construction & Tools>Building Materials>How To Plaster Over Brick Fireplace
Building Materials
How To Plaster Over Brick Fireplace
Modified: August 20, 2024
Learn how to plaster over a brick fireplace using high-quality building materials. Transform your fireplace with our step-by-step guide.
(Many of the links in this article redirect to a specific reviewed product. Your purchase of these products through affiliate links helps to generate commission for Storables.com, at no extra cost. Learn more)
Introduction
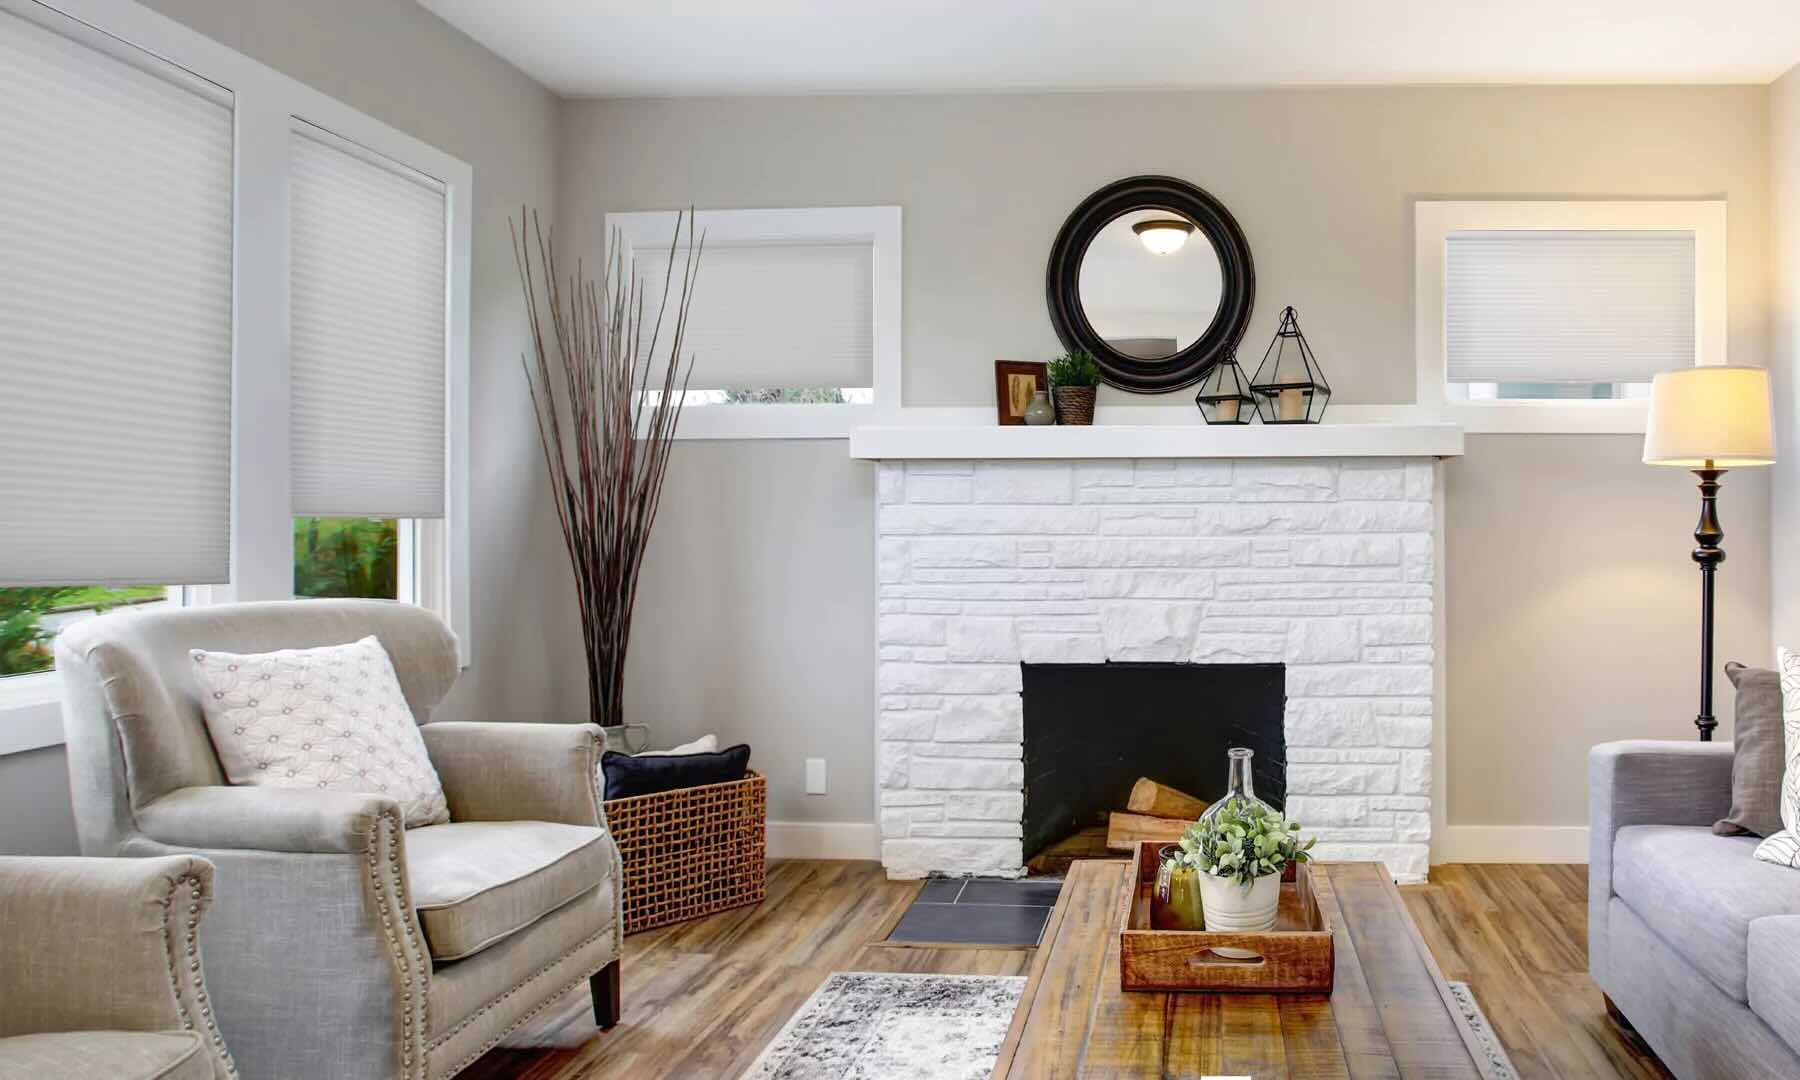
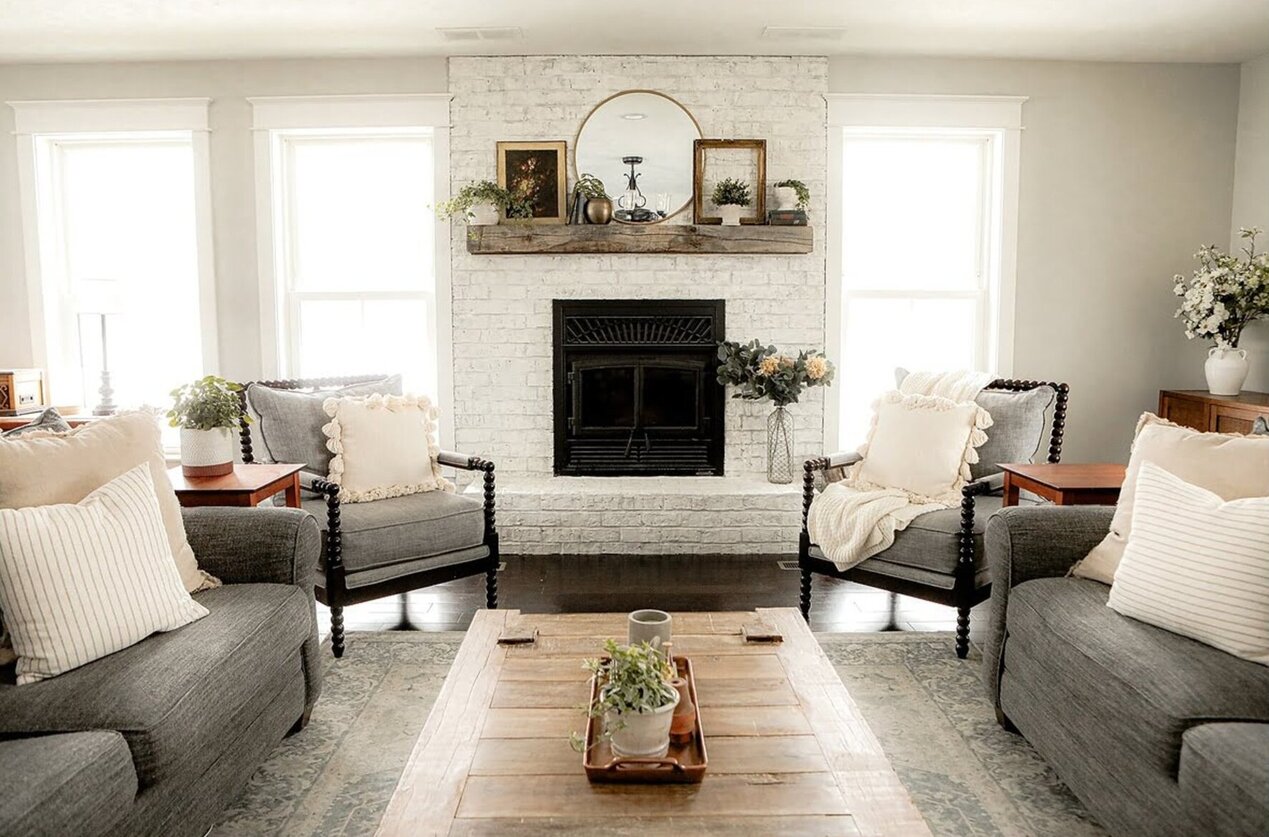
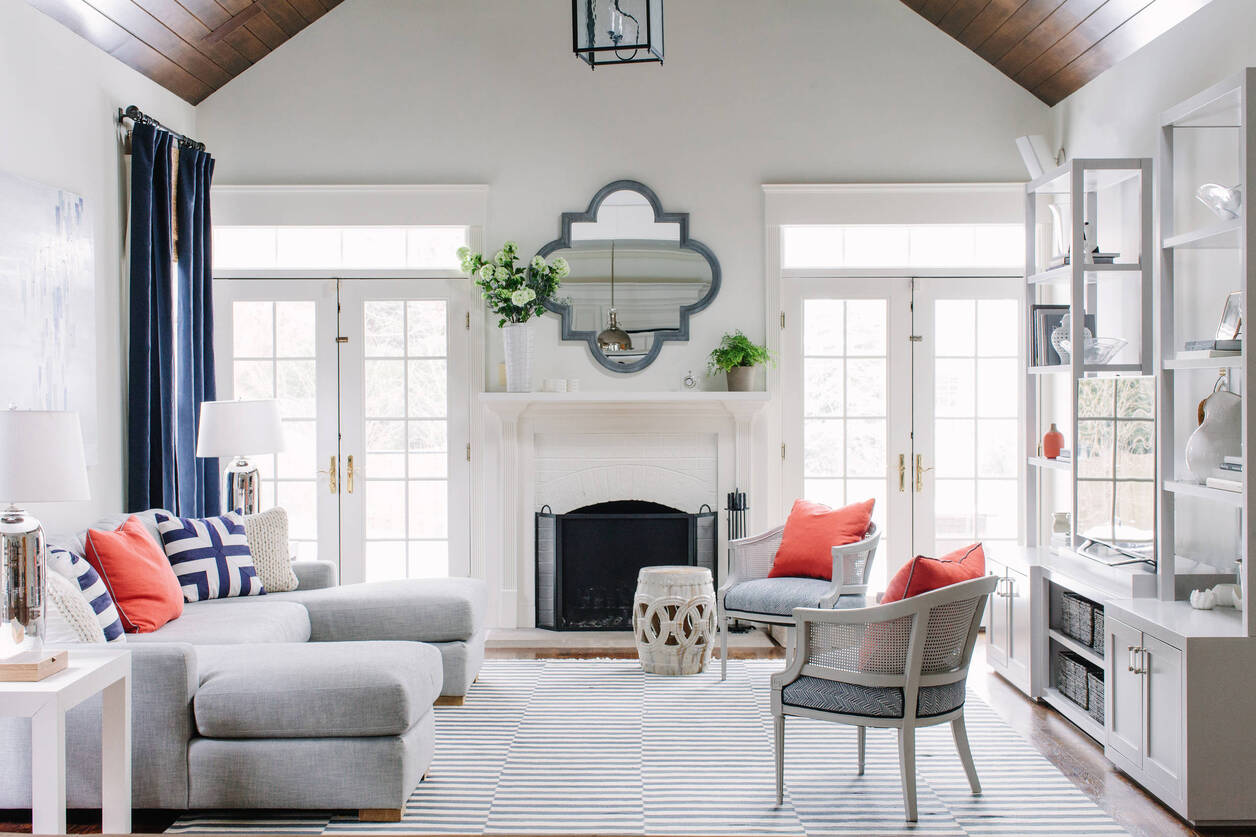
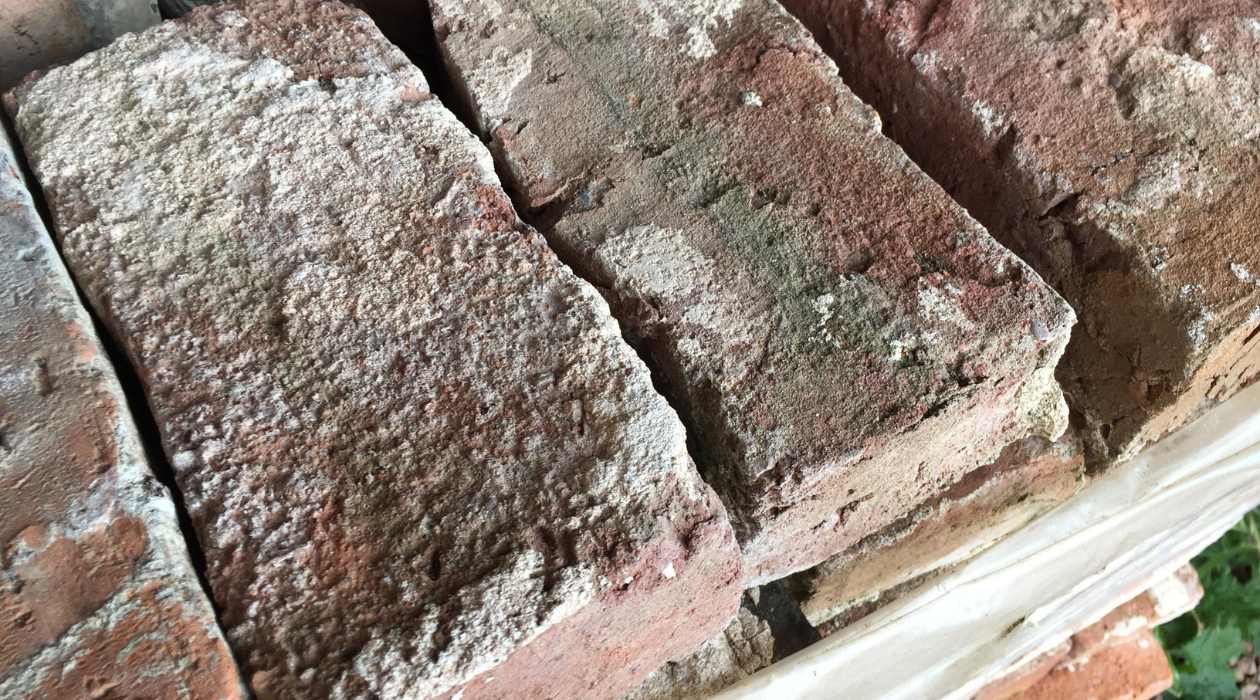
So, you have a brick fireplace that doesn't quite fit with your modern or updated home decor. Don't worry; you don't have to live with it or spend a fortune on a complete overhaul. With the right tools, materials, and a little bit of elbow grease, you can transform that outdated brick fireplace into a sleek, contemporary focal point. The key to this transformation lies in the art of plastering.
Plastering over a brick fireplace is a fantastic way to give it a fresh, new look without the need for extensive demolition or reconstruction. Whether you're aiming for a smooth, polished finish or a textured, rustic look, plastering allows for a wide range of design possibilities. Not only does it provide a clean canvas for your desired aesthetic, but it also adds an extra layer of insulation and fire resistance to your fireplace.
In this comprehensive guide, we'll walk you through the step-by-step process of plastering over a brick fireplace, from preparing the surface to applying the finishing touches. With a little patience and attention to detail, you'll be amazed at the stunning transformation you can achieve. So, roll up your sleeves, gather your supplies, and let's dive into the rewarding world of fireplace plastering.
Key Takeaways:
- Transform your outdated brick fireplace into a modern focal point by plastering over it. Follow the step-by-step process to achieve a sleek, contemporary finish or a textured, rustic charm.
- Elevate your newly plastered fireplace with finishing touches like polishing, texture enhancement, sealing, and strategic lighting. Complement it with stylish accessories for a captivating centerpiece in your home.
Read more: How To Plaster Fireplace
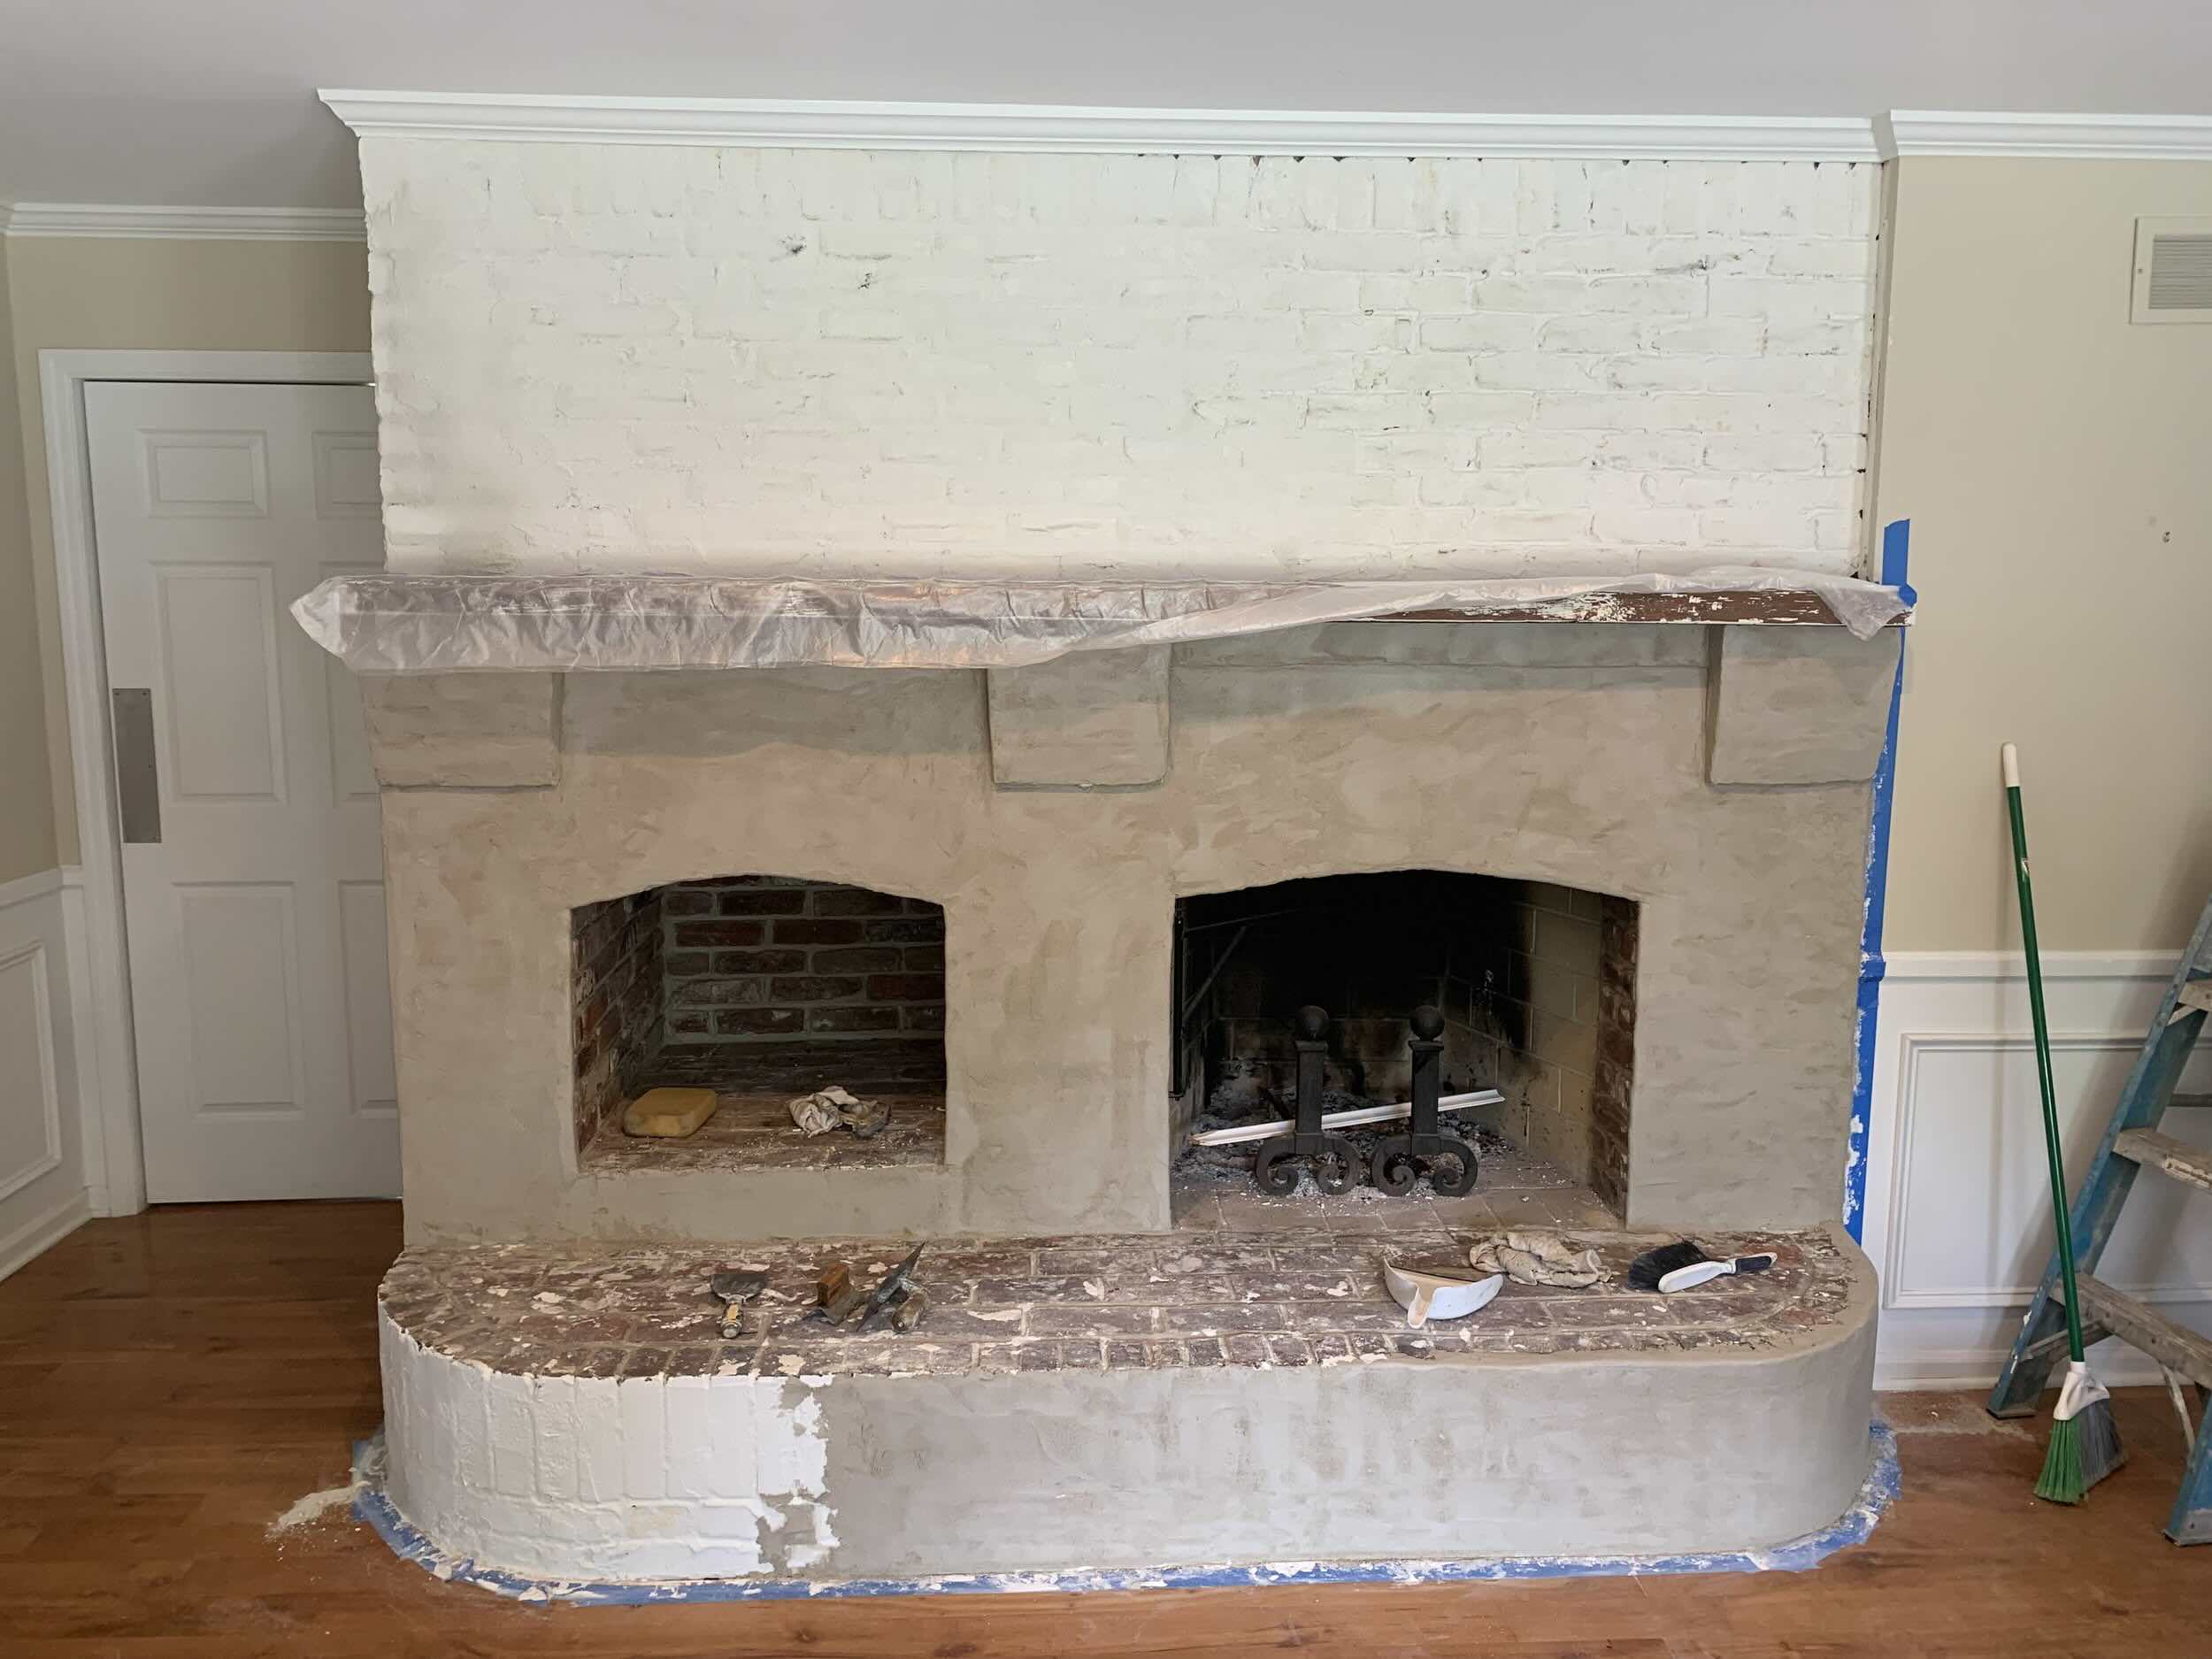
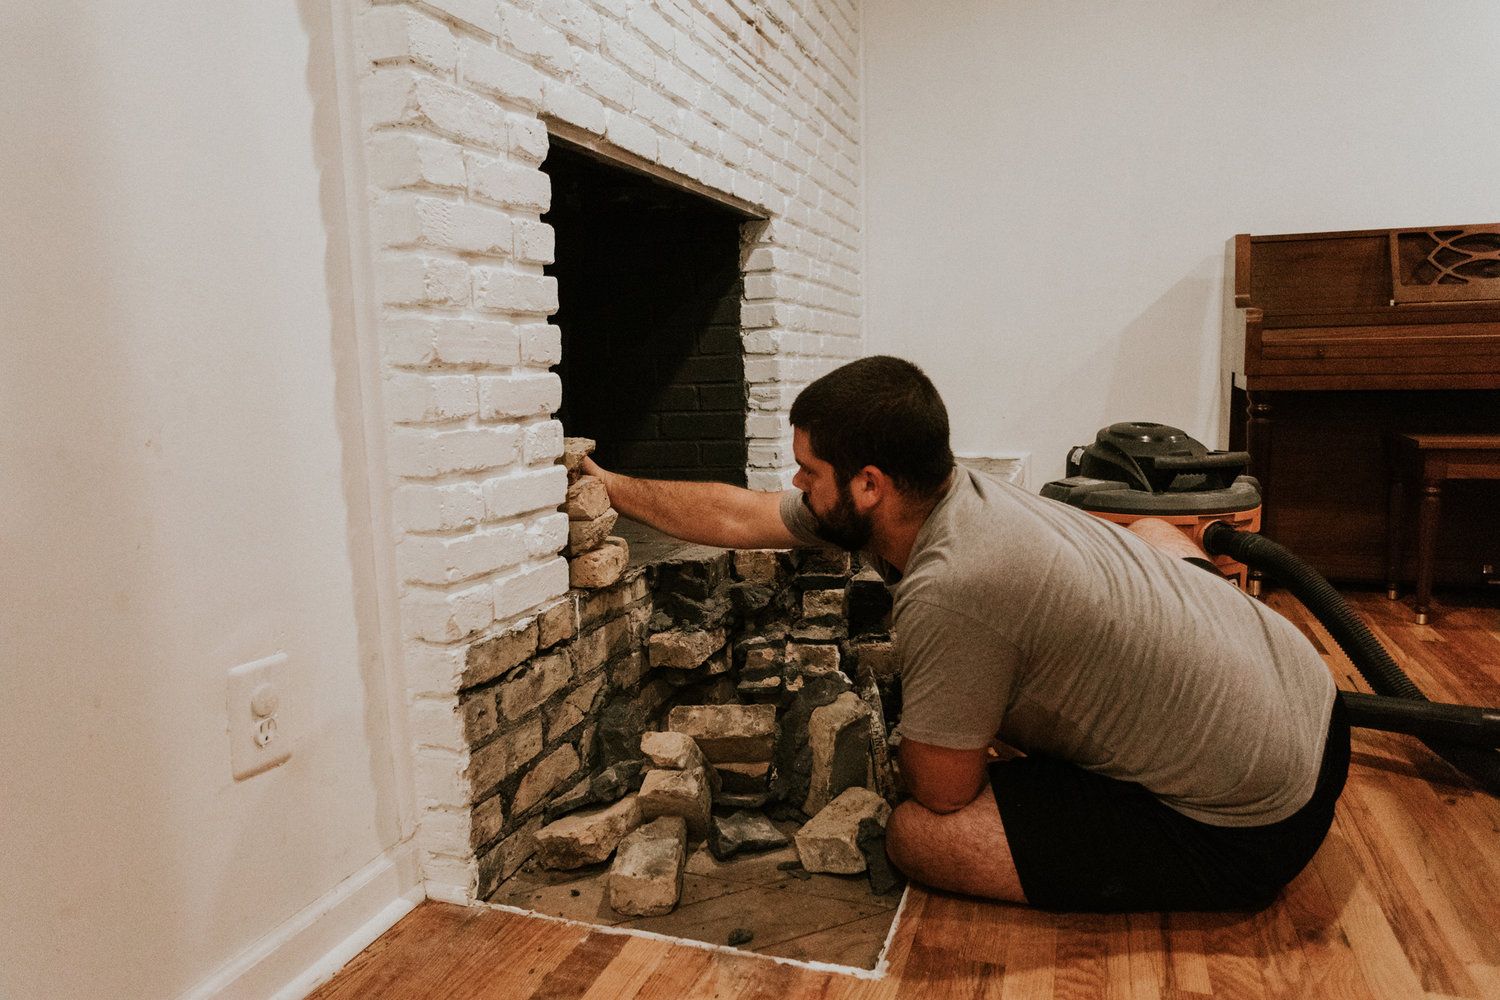
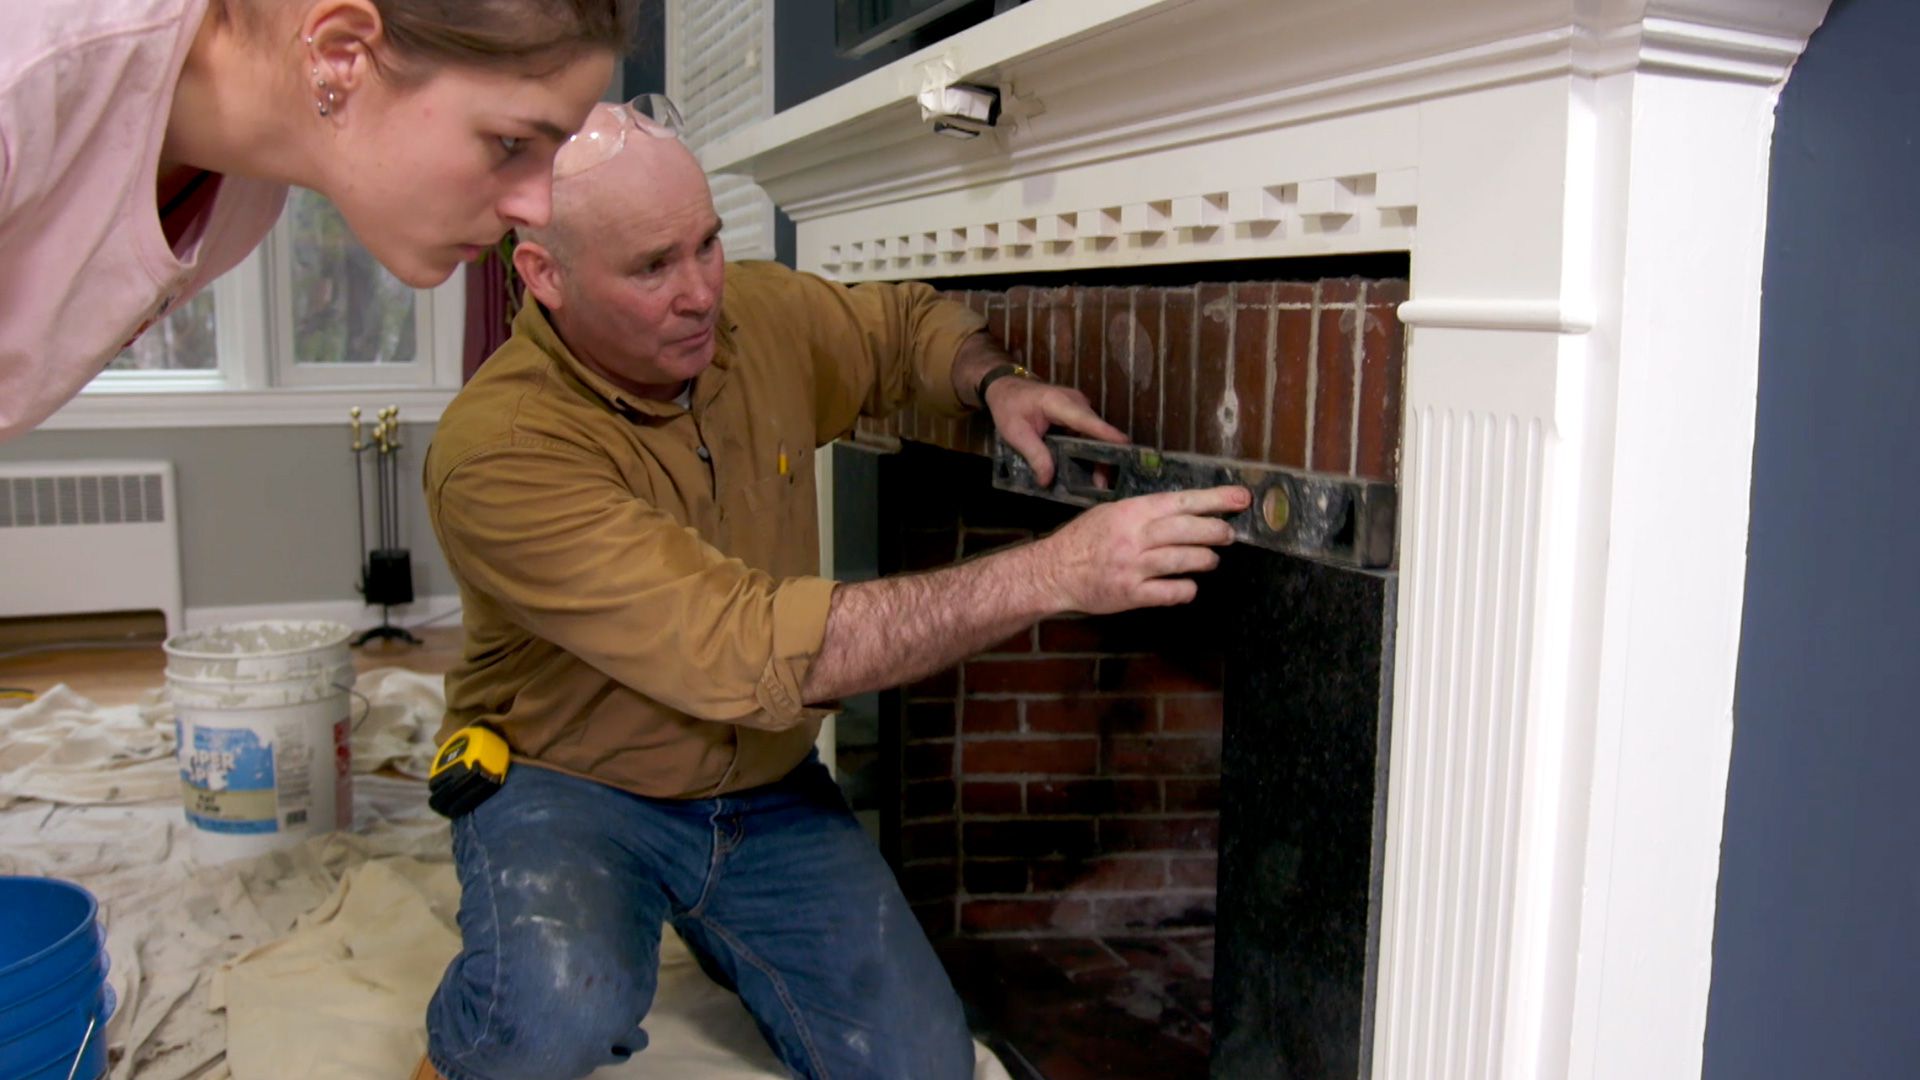
Step 1: Prepare the Fireplace
Before you can start plastering, it’s crucial to prepare the brick surface to ensure optimal adhesion and a smooth, long-lasting finish. Here’s how to get the fireplace ready for its stunning makeover:
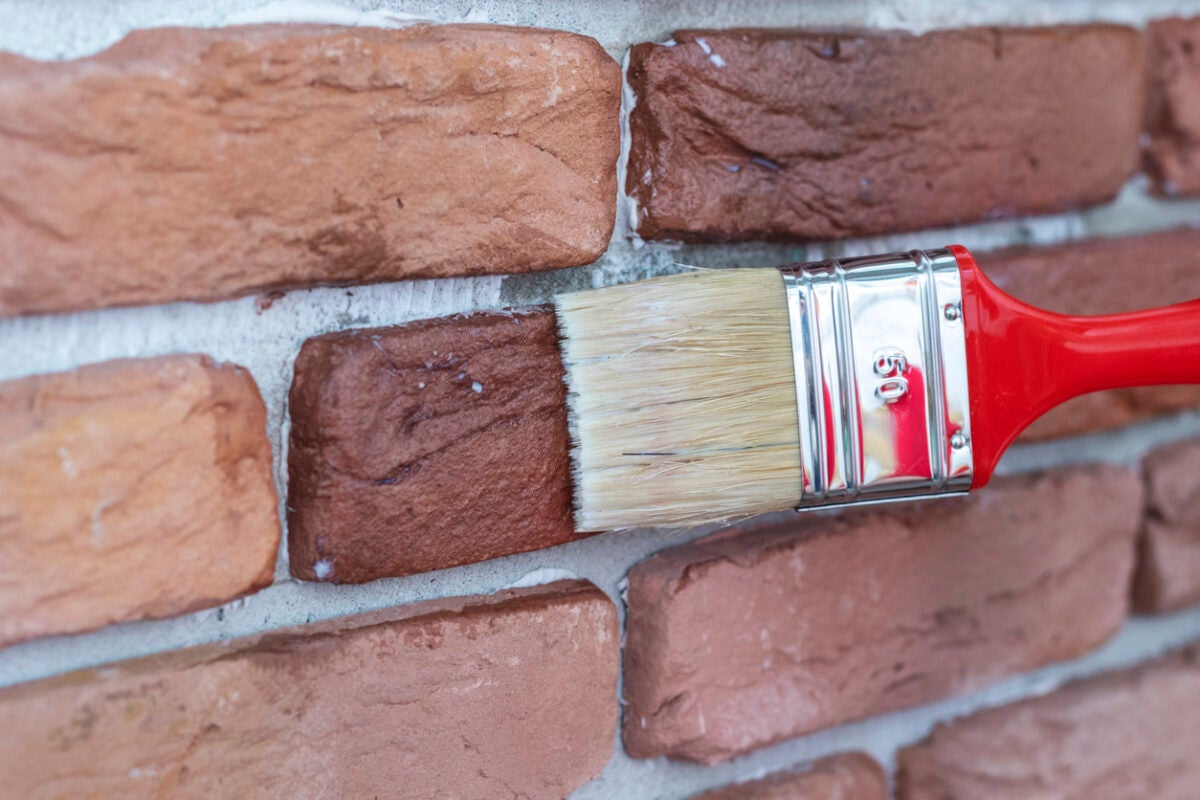
- Clean the Surface: Begin by thoroughly cleaning the brick surface to remove any dirt, soot, or debris. A mixture of warm water and mild detergent, along with a stiff-bristled brush, can effectively remove built-up grime. Rinse the surface with clean water and allow it to dry completely.
- Repair Any Damage: Inspect the brick for cracks, gaps, or loose mortar. Use a suitable masonry repair compound to fill in any imperfections and ensure that the surface is even and structurally sound.
- Apply a Bonding Agent: To promote strong adhesion between the brick and the plaster, apply a bonding agent or a primer specifically designed for masonry surfaces. This step is crucial for ensuring that the plaster adheres securely to the brick, preventing future cracks or detachment.
- Protect Surrounding Areas: Cover the surrounding floor and any adjacent surfaces with drop cloths or plastic sheeting to protect them from potential splatters or spills during the plastering process.
Properly preparing the fireplace sets the stage for a successful plaster application, ensuring that the new finish adheres firmly and maintains its integrity over time.
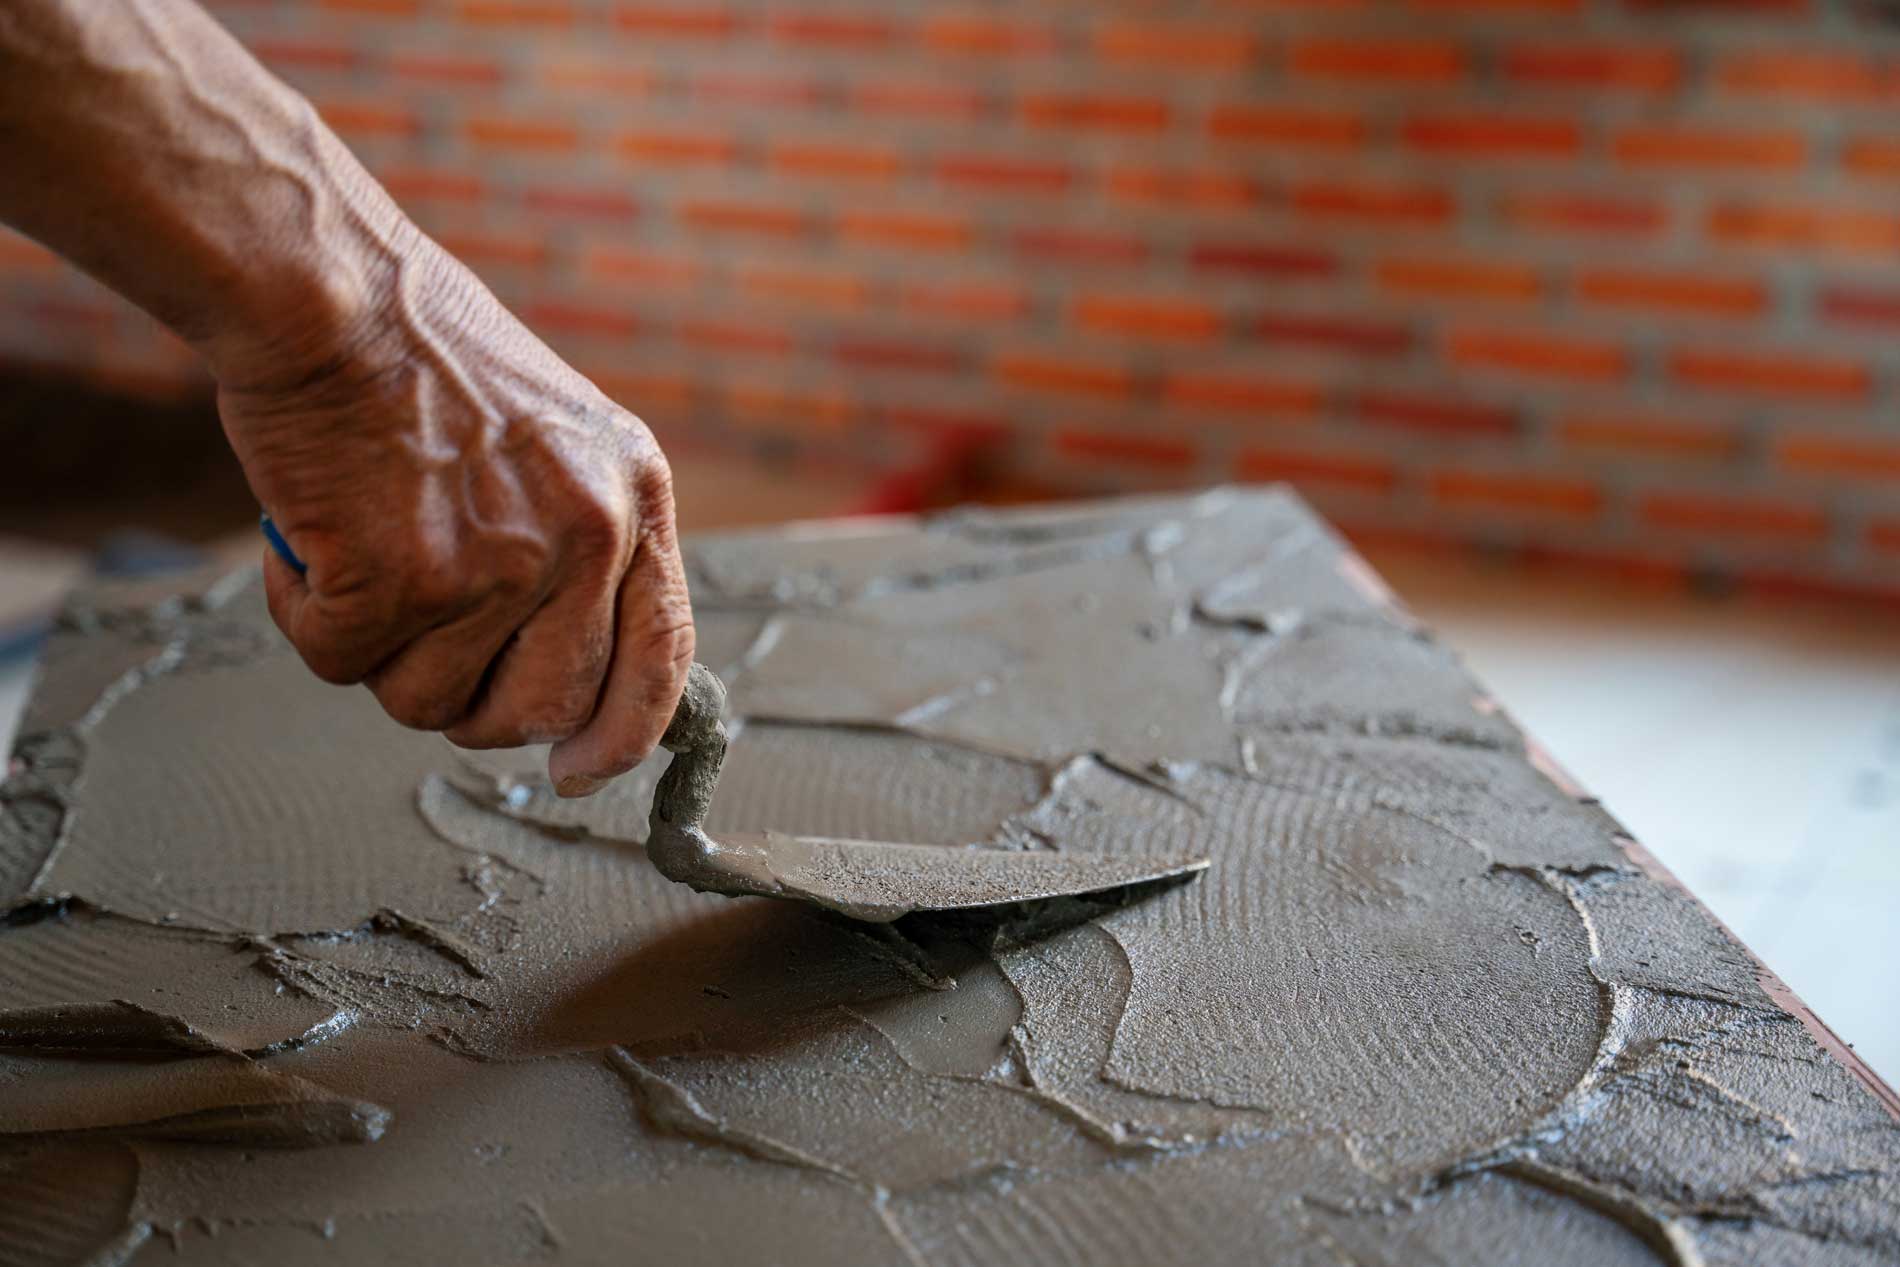
Step 2: Apply the Scratch Coat
With the fireplace surface meticulously prepared, it’s time to lay the foundation for the plaster finish by applying the scratch coat. This initial layer creates a rough surface for the subsequent coats to adhere to. Here’s how to execute this crucial step:
- Mix the Base Coat: Start by preparing the scratch coat mixture. Combine masonry cement, sand, and water in the appropriate ratios to achieve a workable consistency. Follow the manufacturer’s guidelines for the recommended proportions.
- Moisten the Surface: Lightly dampen the prepared brick surface with water before applying the scratch coat. This helps prevent the bricks from absorbing moisture from the fresh plaster, which can compromise its strength and adhesion.
- Apply the Scratch Coat: Using a steel trowel, spread the scratch coat evenly over the fireplace surface, ensuring a consistent thickness of around 3/8 to 1/2 inch. Use a scratcher to create horizontal grooves or “scratches” in the wet plaster, providing a textured surface for the subsequent coats to grip onto.
- Cure the Scratch Coat: Allow the scratch coat to cure for the recommended time as per the product instructions. This typically involves keeping the surface damp and protected from rapid drying to facilitate proper curing and adhesion.
The scratch coat serves as the foundation for the subsequent layers, providing a strong and roughened surface for the additional coats to bond with. This critical step sets the stage for the transformation of your fireplace’s appearance.
Step 3: Apply the Brown Coat
After the scratch coat has adequately cured, it’s time to progress to the next phase of the plastering process by applying the brown coat. This layer serves as an intermediary between the scratch coat and the final finish, adding depth and resilience to the fireplace surface. Here’s how to expertly execute this step:
- Prepare the Brown Coat Mixture: Mix the brown coat plaster by combining masonry cement, sand, and water to achieve the desired workability and consistency. Follow the manufacturer’s specifications for the appropriate proportions and mixing instructions.
- Moisten the Scratch Coat: Lightly dampen the cured scratch coat with water before applying the brown coat. This helps create a strong bond between the layers and prevents premature drying of the fresh plaster.
- Apply the Brown Coat: Using a steel trowel, spread the brown coat evenly over the scratch coat, ensuring a uniform thickness of around 3/8 inch. Work methodically to achieve a smooth and level surface, taking care to eliminate any air pockets or irregularities in the plaster.
- Texture the Surface: While the brown coat is still workable, you can create texture or patterns using a variety of tools, such as a float or a texture comb, to achieve the desired aesthetic effect. This step adds visual interest and character to the fireplace surface.
- Cure the Brown Coat: Allow the brown coat to cure thoroughly, following the manufacturer’s recommendations for curing time and moisture management. Proper curing is essential for the brown coat to attain its strength and durability.
The brown coat not only enhances the structural integrity of the plaster system but also provides a resilient base for the final finishing layer. This phase brings your fireplace one step closer to its stunning transformation.
Before plastering over a brick fireplace, make sure to clean the bricks thoroughly and apply a bonding agent. Use a scratch coat of plaster to create a rough surface for the top coat to adhere to. Sand the surface smooth before applying the final coat of plaster.
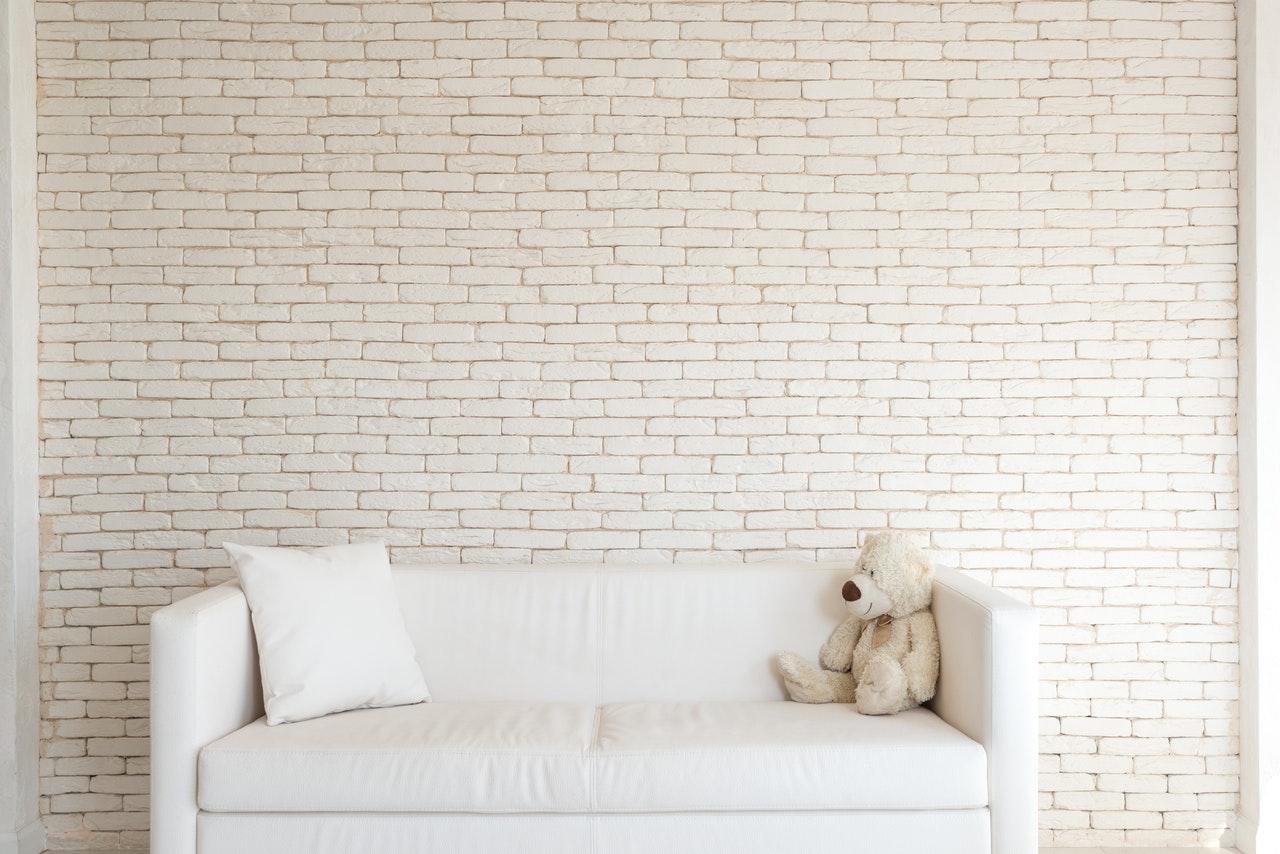
Step 4: Apply the Finish Coat
As your fireplace nears the final stages of its transformation, it’s time to apply the finish coat, bringing your vision to life with a smooth, textured, or decorative surface. This layer adds the defining aesthetic touch to your plastered fireplace. Here’s how to achieve a flawless finish:
- Prepare the Finish Coat: Mix the finish coat plaster, ensuring the correct ratio of masonry cement, sand, and water to achieve the desired texture and workability. Follow the manufacturer’s guidelines for the appropriate mixing process and proportions.
- Moisten the Brown Coat: Lightly dampen the cured brown coat with water to enhance the bond with the finish coat and prevent premature drying of the plaster.
- Apply the Finish Coat: Using a steel trowel, expertly apply the finish coat to the fireplace surface, working methodically to achieve the desired thickness and texture. Whether you opt for a smooth, polished finish or a textured, artisanal look, ensure that the application is even and free of imperfections.
- Refine the Texture: If you desire a textured finish, you can use various tools and techniques to create patterns or designs in the wet plaster, adding depth and visual appeal to the fireplace surface.
- Care for the Finish Coat: Allow the finish coat to cure thoroughly, safeguarding it from rapid drying and ensuring that it attains its full strength and durability. Follow the manufacturer’s recommendations for curing time and moisture management.
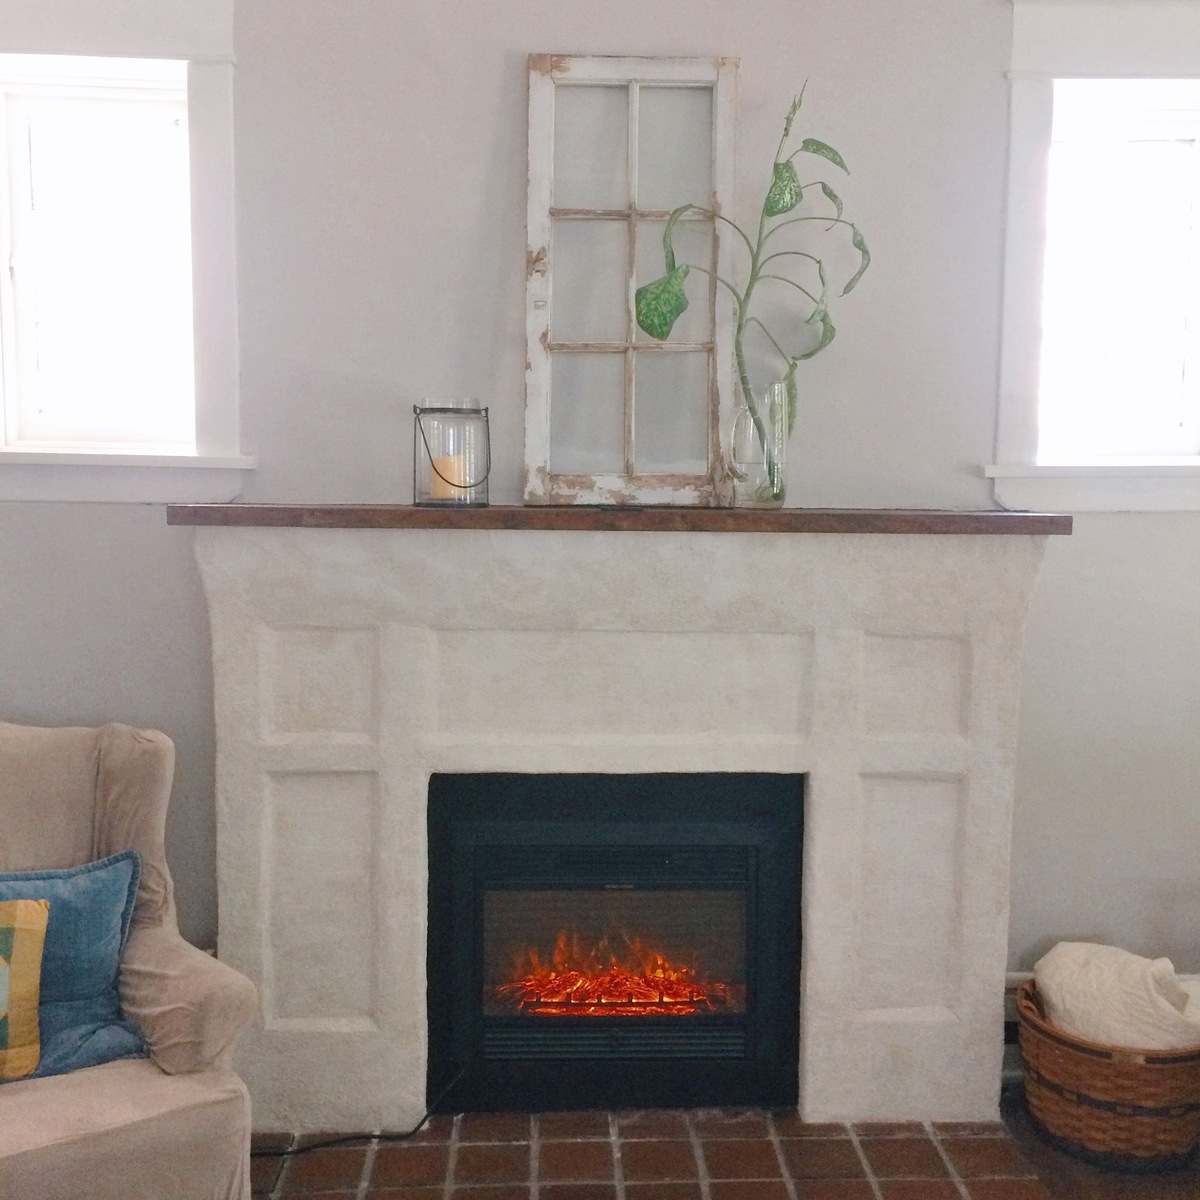
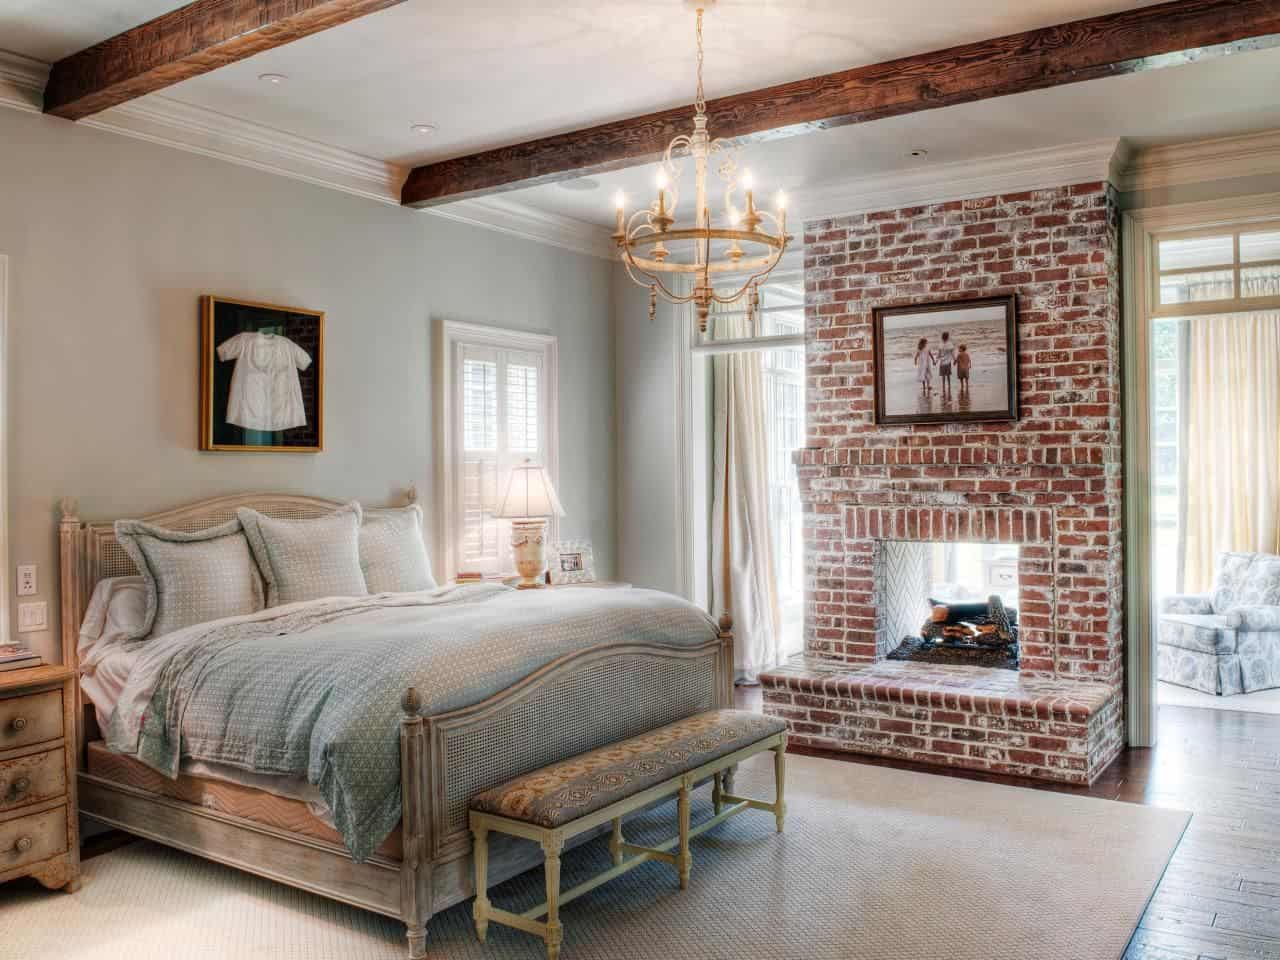
The finish coat represents the culmination of your efforts, transforming the fireplace into a stunning focal point that seamlessly integrates with your interior design. With this final layer, your plastered fireplace is ready to captivate and impress.
Read more: How To Remove Plaster From A Brick Wall
Step 5: Finishing Touches
With the plastering process complete, it’s time to add the finishing touches that will elevate the visual impact of your fireplace transformation. These final steps will enhance the overall aesthetic and ensure that your newly plastered fireplace becomes a standout feature in your living space. Here’s how to add those essential final flourishes:
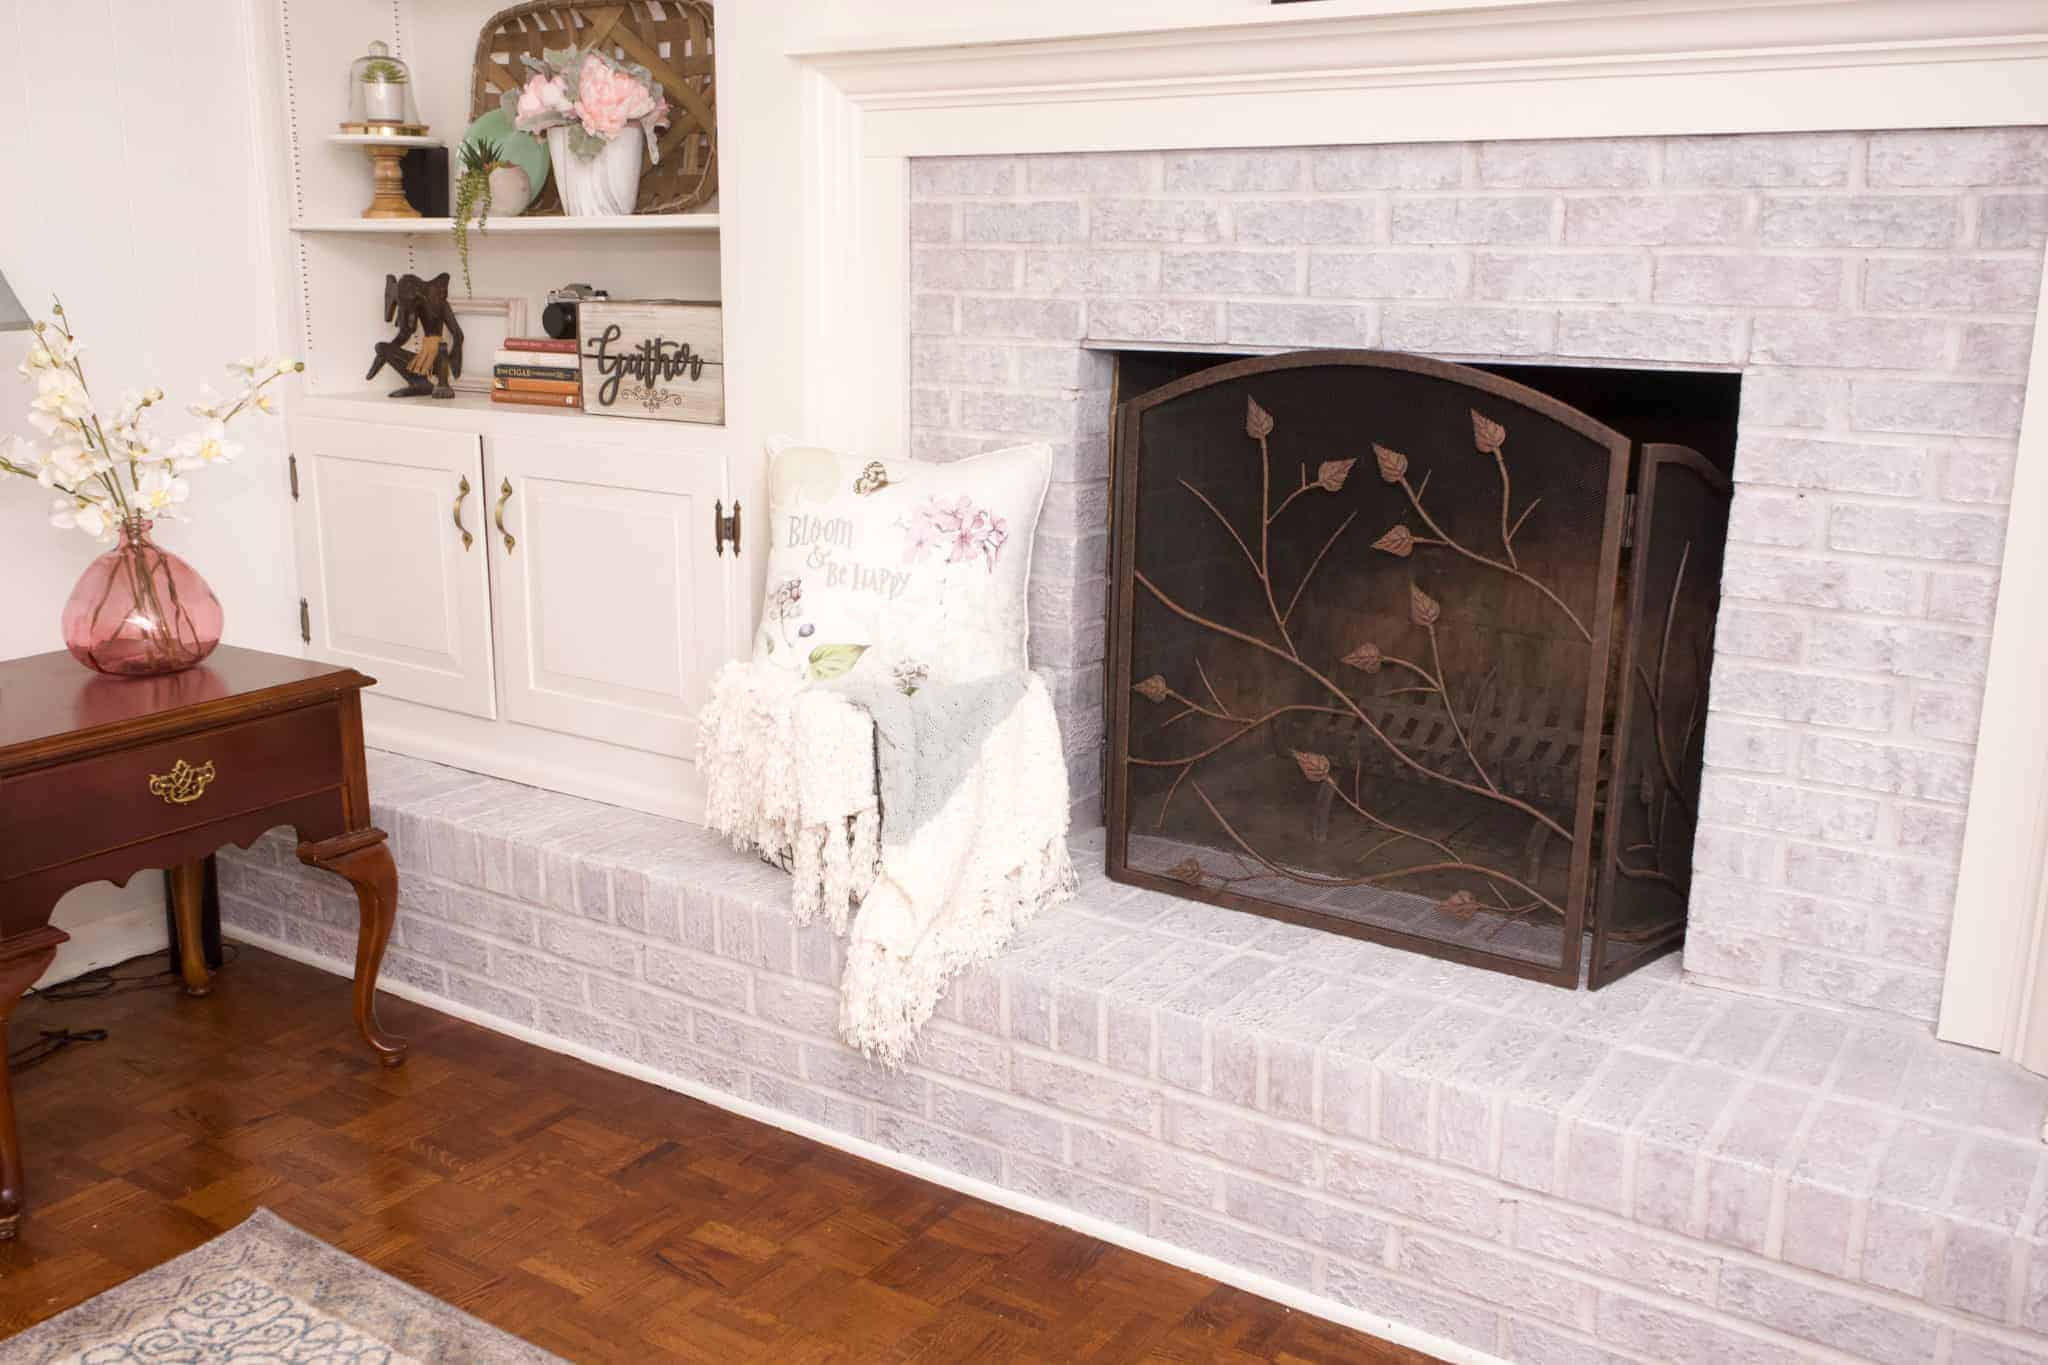
- Smooth and Polish: If you’ve opted for a smooth finish, use a fine-grit sandpaper or a polishing tool to refine the surface, ensuring a sleek and flawless appearance. This step adds a professional touch to the plastered surface, creating a refined and elegant look.
- Enhance Texture (Optional): For textured finishes, consider enhancing the visual and tactile appeal by selectively highlighting certain areas with subtle glazing or accent colors. This can add depth and dimension to the texture, creating a visually captivating effect.
- Seal and Protect: Apply a high-quality sealant or fireplace-grade clear coat to protect the plastered surface from soot, dirt, and moisture. This protective layer preserves the integrity of the finish and simplifies future maintenance.
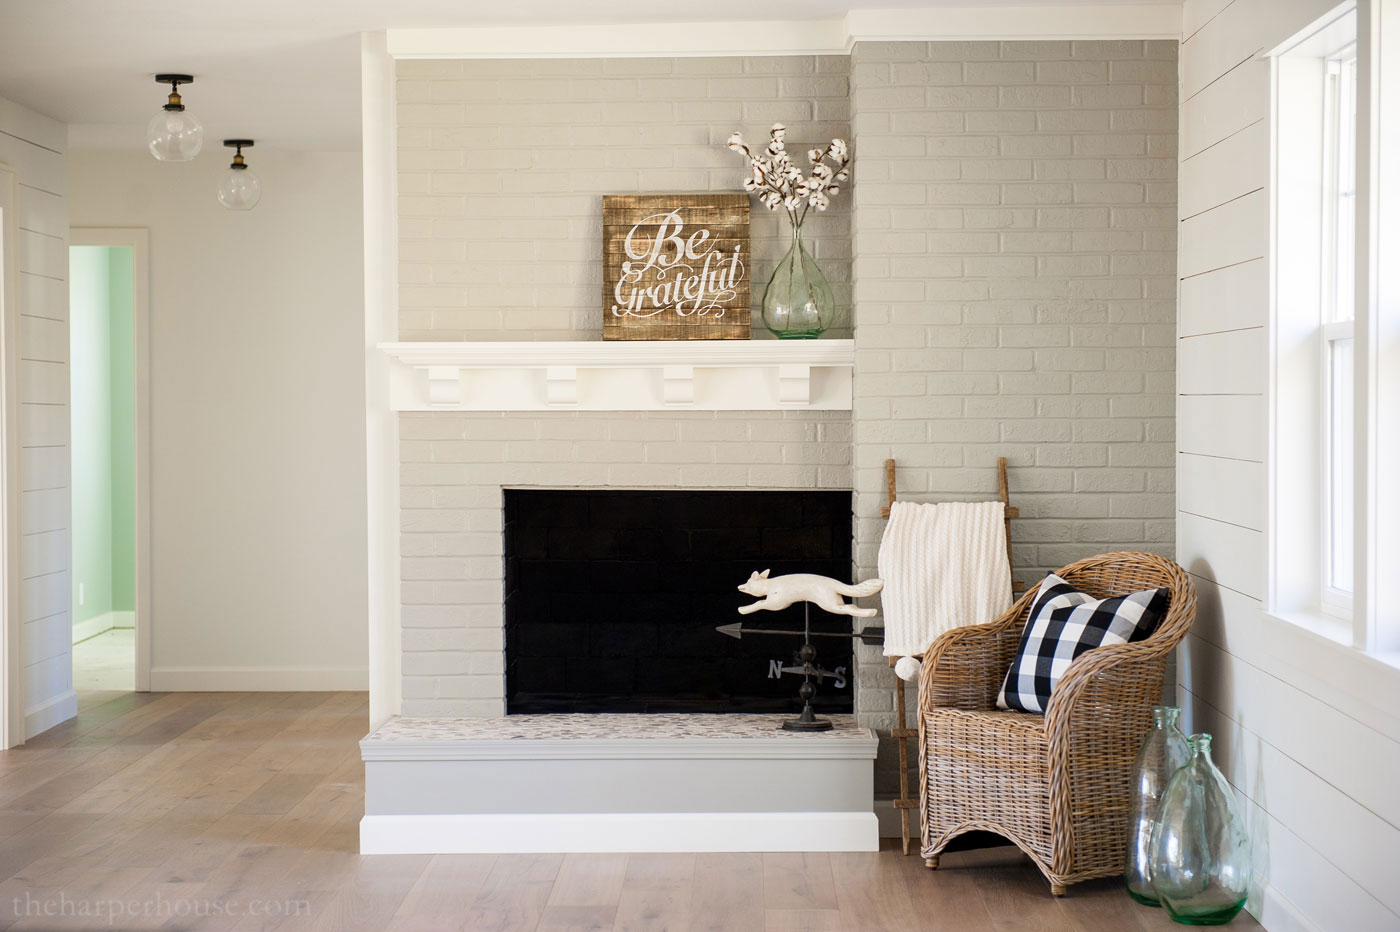
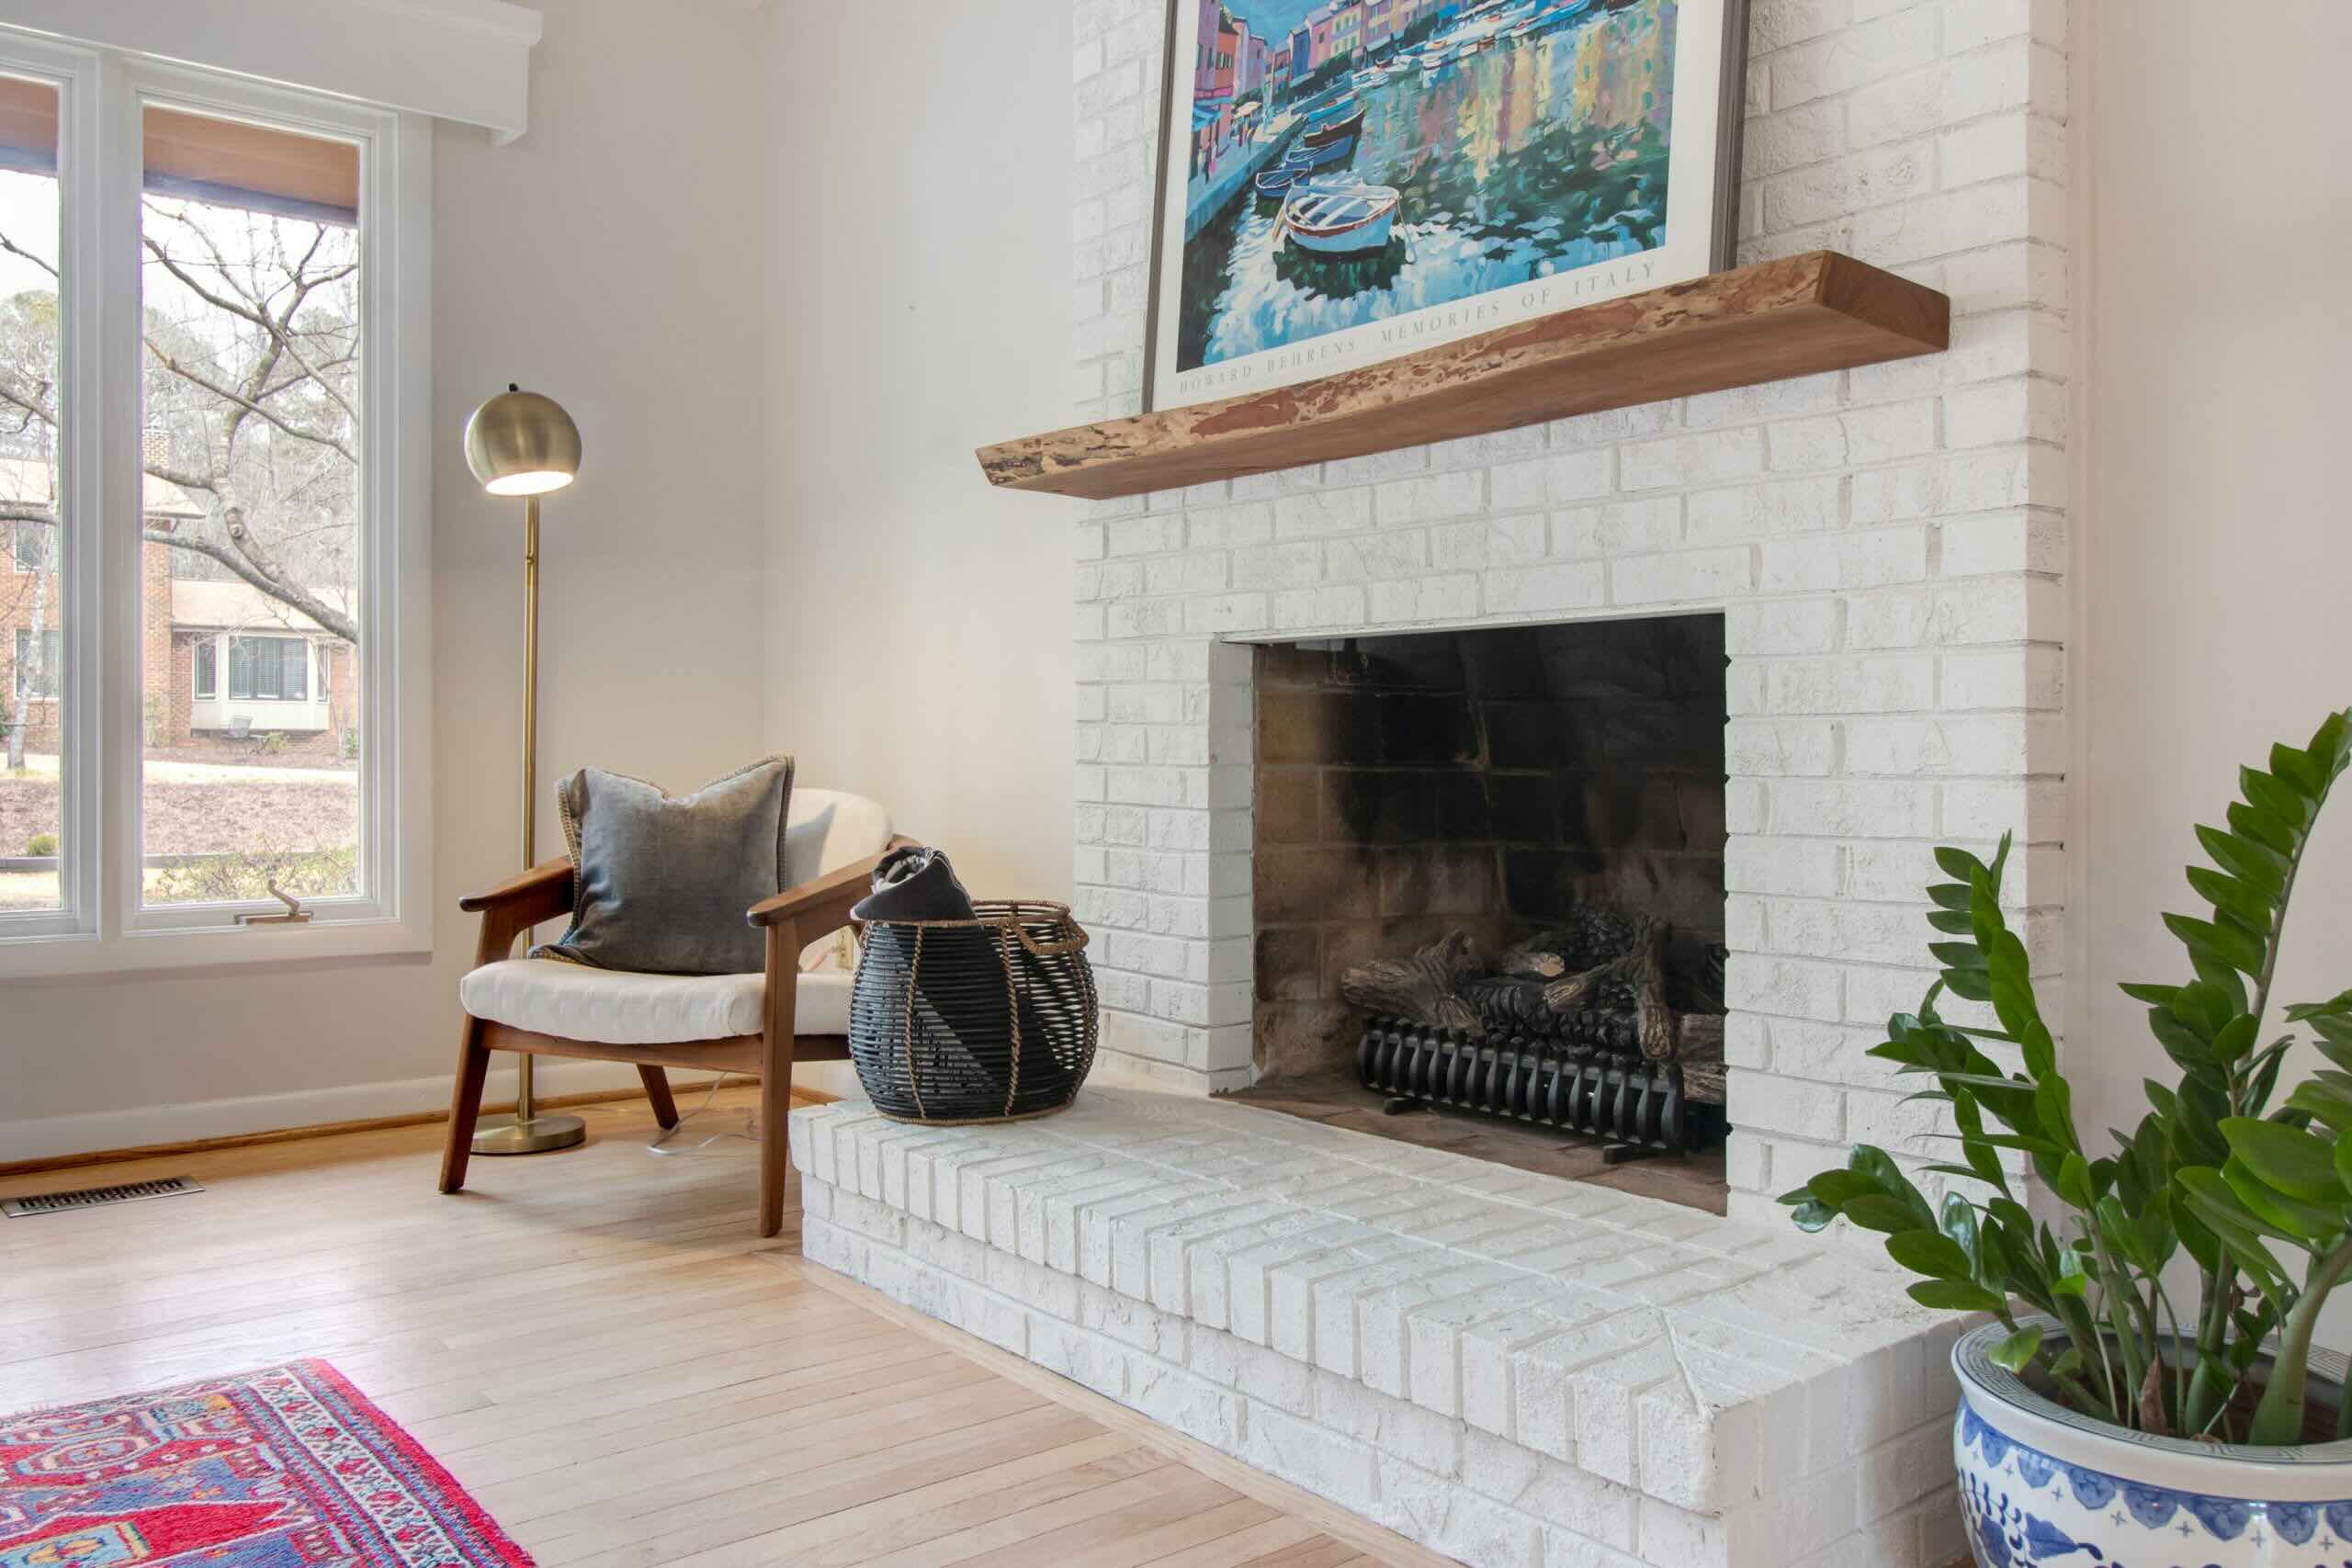
- Accessorize: Complement your newly plastered fireplace with carefully chosen accessories, such as a stylish mantel, decorative accents, or complementary furnishings. These additions can enhance the overall ambiance and create a cohesive design statement.
- Illumination: Consider incorporating strategic lighting to accentuate the beauty of your fireplace, whether through recessed lighting, wall sconces, or carefully positioned lamps. Thoughtfully placed illumination can accentuate the texture and create a warm, inviting atmosphere.
By tending to these finishing touches, you can elevate your plastered fireplace from a mere architectural feature to a stunning focal point that harmonizes with your interior design and captivates the attention of all who enter your living space.
Conclusion
Congratulations! You’ve successfully navigated the transformative journey of plastering over a brick fireplace, unlocking its potential to become a captivating centerpiece in your home. By following the step-by-step process outlined in this guide, you’ve not only revitalized the aesthetic appeal of your fireplace but also added a touch of personal style and sophistication to your living space.
Plastering over a brick fireplace is a testament to the artistry and versatility of this time-honored building material. The seamless integration of plaster not only enhances the visual allure of the fireplace but also bestows added durability and insulation, making it a practical and stylish choice for homeowners seeking to modernize their interiors.
As you admire the stunning results of your efforts, take pride in knowing that you’ve mastered a craft that seamlessly combines creativity and practicality. Your newly plastered fireplace stands as a testament to your dedication and attention to detail, enriching the ambiance of your home and setting the stage for countless moments of warmth and conviviality.
So, whether you’ve opted for a sleek, contemporary finish or a textured, rustic charm, your plastered fireplace now embodies your unique vision and style. Embrace the warmth of the hearth and the beauty of your handiwork, knowing that you’ve transformed a humble brick fireplace into a captivating focal point that reflects your personal taste and elevates the allure of your living space.
As you bask in the ambiance of your newly transformed fireplace, take a moment to appreciate the timeless allure of plaster and the endless possibilities it offers for enhancing the architectural features of your home. With your newfound expertise in fireplace plastering, you’ve unlocked a world of creative potential and set the stage for further transformative endeavors within your living space.
Now, gather around the flickering flames, savor the cozy atmosphere, and revel in the beauty of your newly plastered fireplace—a testament to the seamless fusion of tradition and modernity, craftsmanship and creativity.
Frequently Asked Questions about How To Plaster Over Brick Fireplace
Was this page helpful?
At Storables.com, we guarantee accurate and reliable information. Our content, validated by Expert Board Contributors, is crafted following stringent Editorial Policies. We're committed to providing you with well-researched, expert-backed insights for all your informational needs.
0 thoughts on “How To Plaster Over Brick Fireplace”