Home>Storage Ideas>Living Room Storage>Follow Our Apartment Cleaning Checklist To Simplify Move-Out Day
Living Room Storage
Follow Our Apartment Cleaning Checklist To Simplify Move-Out Day
Modified: October 21, 2024
Simplify move-out day with our apartment cleaning checklist. Follow our tips for efficient cleaning, including living room storage solutions.
(Many of the links in this article redirect to a specific reviewed product. Your purchase of these products through affiliate links helps to generate commission for Storables.com, at no extra cost. Learn more)
Introduction
Moving out of an apartment can be both exciting and overwhelming. As you start packing up your belongings, it’s important to remember that leaving behind a clean and tidy living space is not only a courteous gesture but also essential for securing your security deposit. A thorough apartment cleaning will not only impress your landlord, but it will also help you start fresh in your new home.
To make the task less daunting, we have prepared a comprehensive move-out cleaning checklist that will guide you through each step of the process. By following these steps, you can ensure that every nook and cranny is spotless, leaving your apartment in pristine condition.
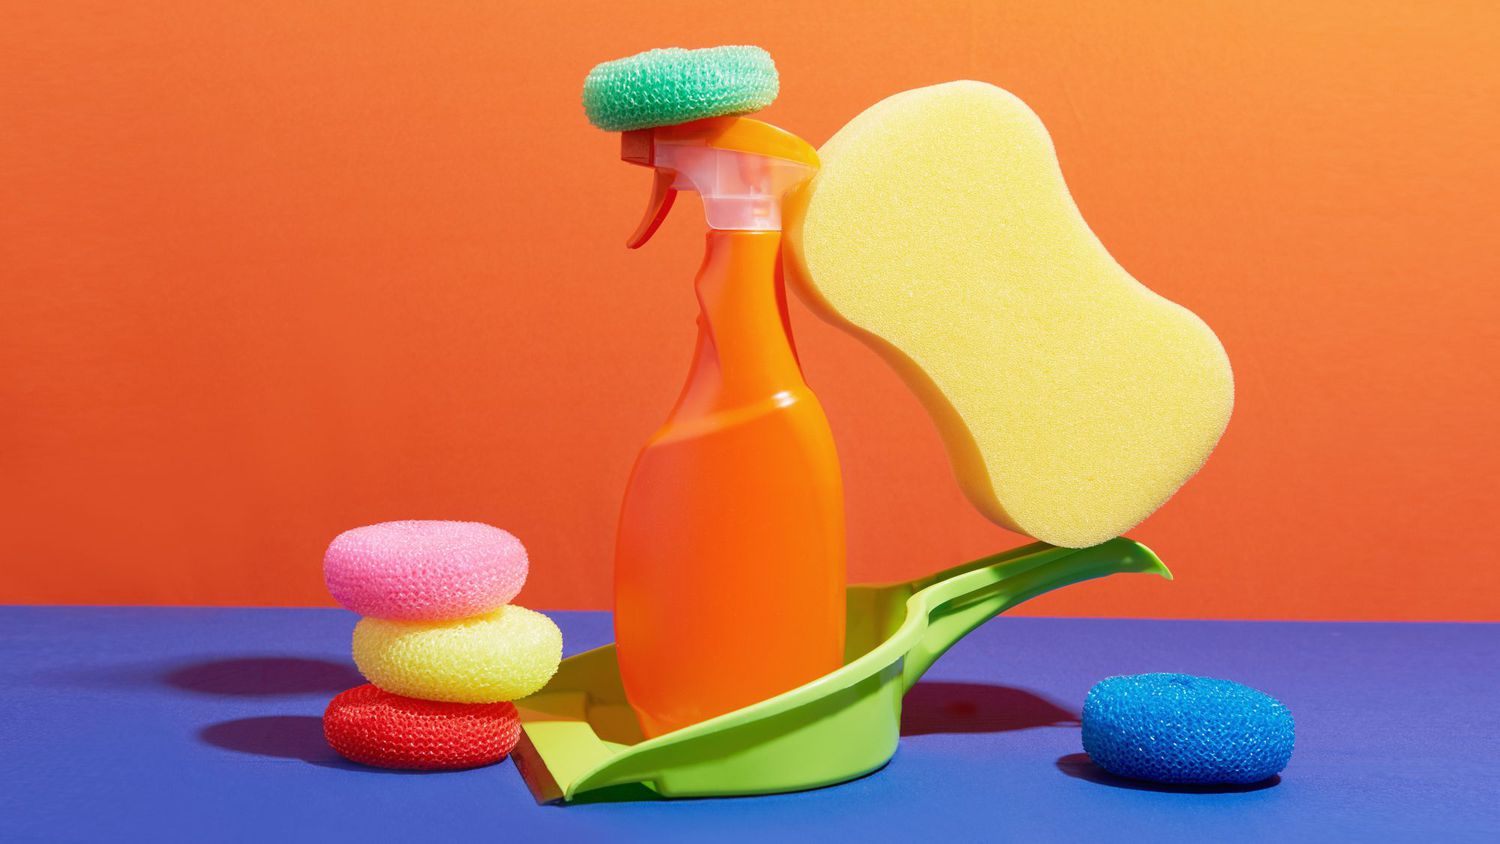
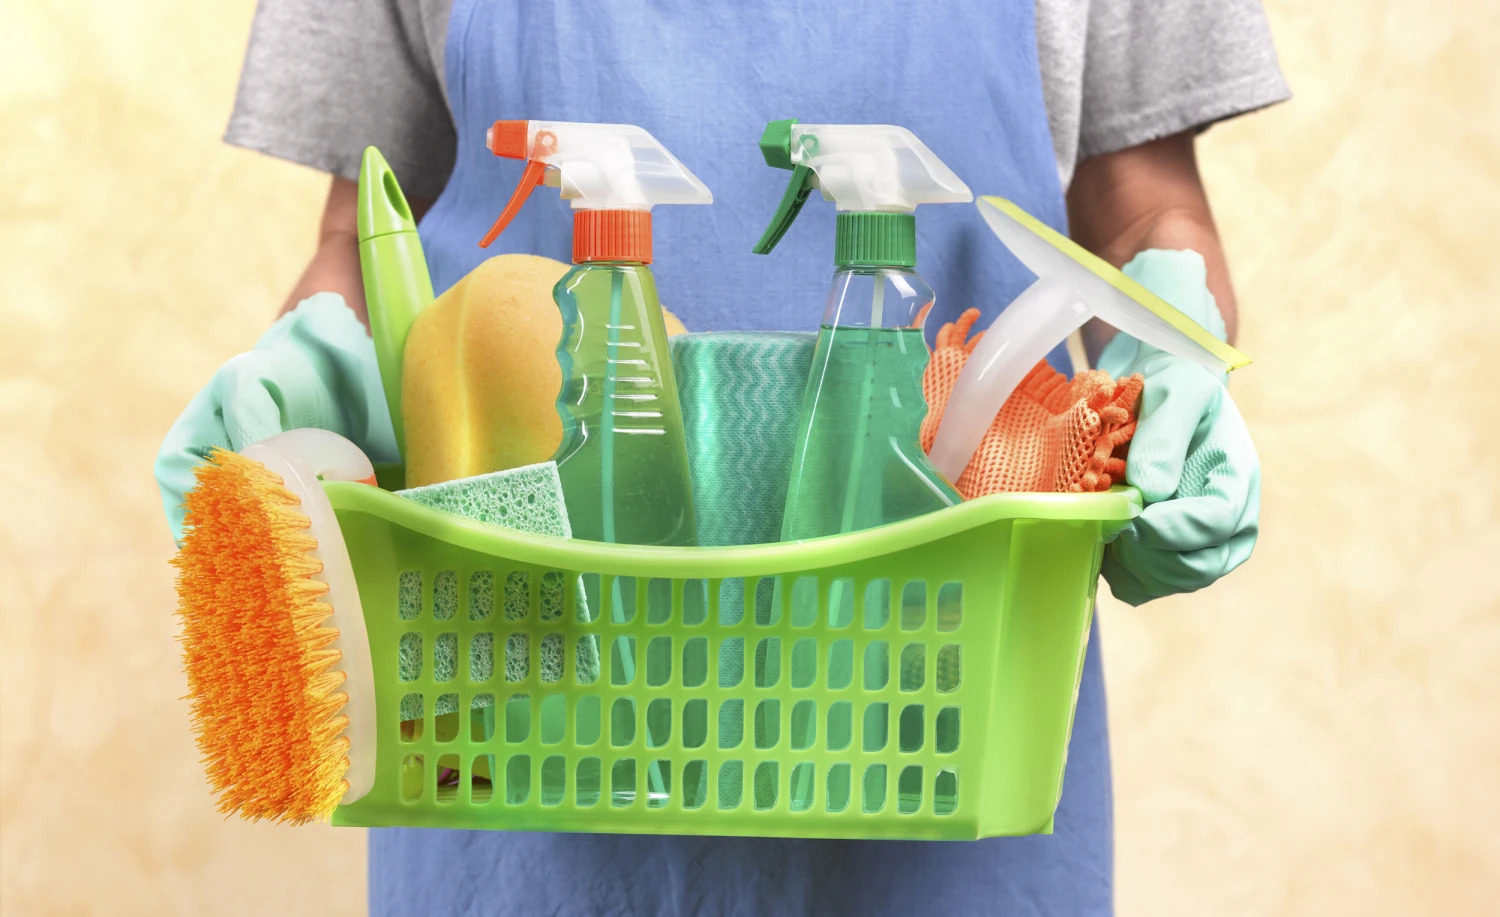
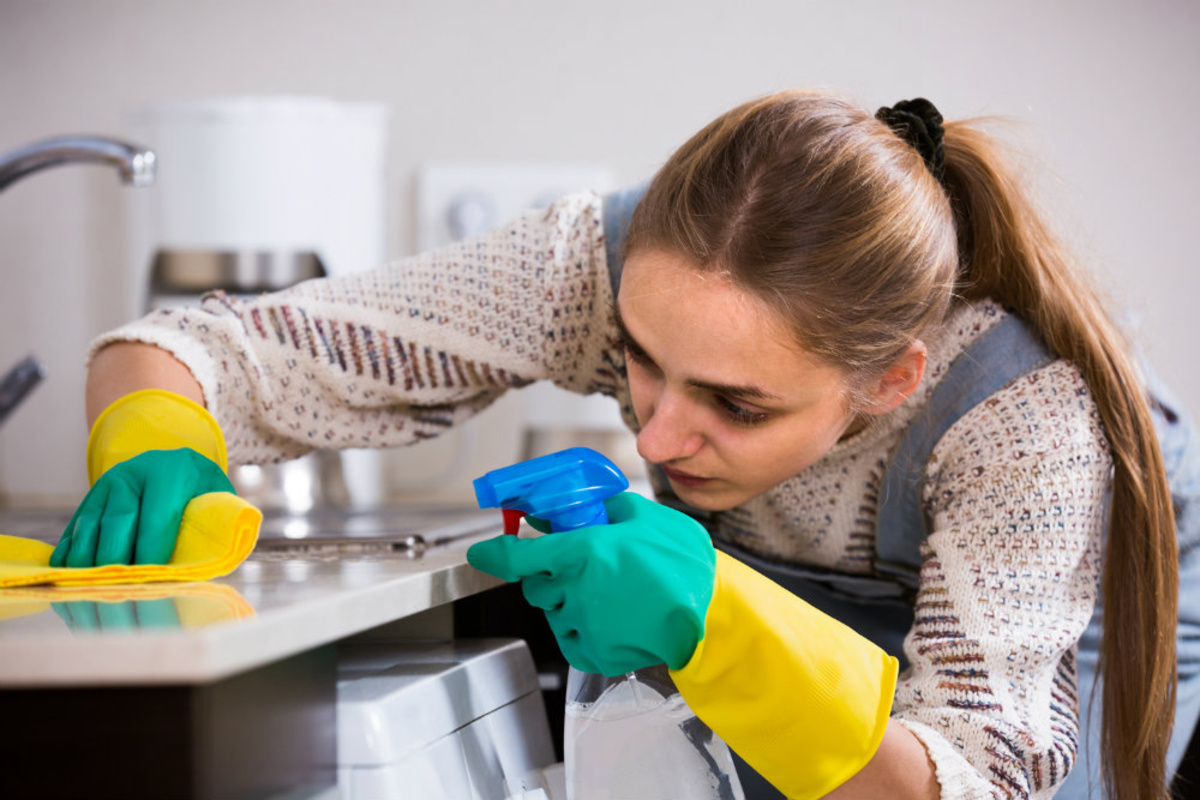
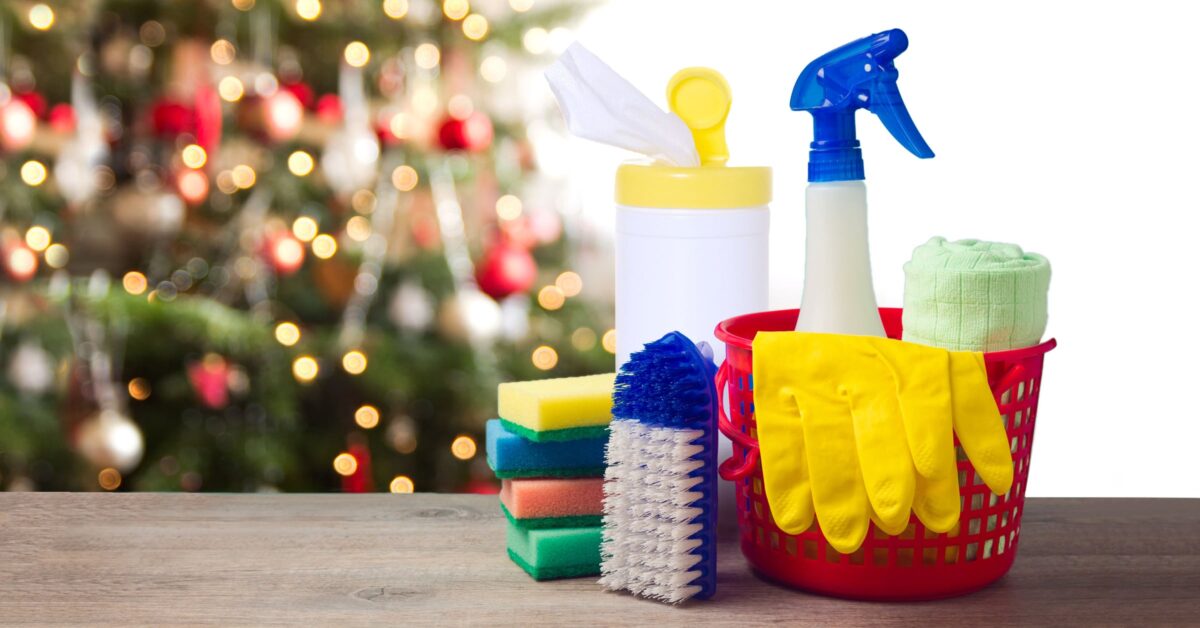
Before we dive into the specific cleaning tasks, it’s important to gather all the necessary cleaning supplies. This will save you time and hassle by having everything you need at your fingertips. Make sure to have cleaning solutions, microfiber cloths, scrub brushes, a vacuum cleaner, mop, broom, and garbage bags readily available.
Now, let’s get started!
Key Takeaways:
- Ensure a smooth move-out day by following our comprehensive checklist, from gathering cleaning supplies to decluttering and tackling every cleaning task with dedication.
- Leave behind a clean and fresh living space by meticulously cleaning walls, windows, kitchen appliances, bathroom fixtures, carpets, and furniture. Your effort will be greatly appreciated by your landlord and the next resident.
Step 1: Gather Cleaning Supplies
Before you begin your move-out cleaning journey, it’s important to make sure you have all the necessary cleaning supplies. Having these essentials on hand will save you time and enable you to tackle each task efficiently. Here’s a list of items you’ll need:
- Cleaning Solutions: Stock up on all-purpose cleaners, glass cleaners, bathroom cleaners, kitchen cleaners, and any specific cleaners needed for special surfaces such as stainless steel or wood.
- Microfiber Cloths: These soft, lint-free cloths are perfect for wiping down surfaces and absorbing dirt and grime without leaving streaks behind.
- Scrub Brushes: Have a variety of scrub brushes in different sizes and shapes to handle different surfaces, such as tile grout, bathroom fixtures, and kitchen countertops.
- Vacuum Cleaner: Ensure your vacuum cleaner is in good working condition and has attachments for reaching tight spaces and cleaning upholstery.
- Mop and Broom: For hard floors, you’ll need a mop and a broom to sweep away debris before mopping.
- Gloves: Protect your hands with rubber gloves while handling cleaning chemicals or when cleaning dirty surfaces.
- Garbage Bags: Have plenty of sturdy garbage bags on hand for collecting trash and disposing of unwanted items.
Once you have gathered all the necessary cleaning supplies, you’re ready to move on to the next step: decluttering your space.
Step 2: Start with a Decluttering Session
Before jumping into the actual cleaning process, it’s essential to declutter your apartment. This step will not only make cleaning easier but also allow you to evaluate and organize your belongings before you move out.
Follow these tips for an effective decluttering session:
- Take it room by room: Begin with one area and focus solely on that space. This will prevent you from feeling overwhelmed and help you stay organized.
- Sort items into categories: Create piles for items that you want to keep, donate, sell, or throw away. Be honest with yourself and let go of things you no longer use or need.
- Be mindful of sentimental items: If you come across sentimental items that you are having difficulty parting with, consider taking photos of them before letting them go. This will allow you to keep the memories without cluttering your space.
- Dispose of unwanted items responsibly: Donate items that are still in good condition to local charities or thrift stores. Sell valuable items through online platforms or organize a yard sale. And for items that are no longer usable, dispose of them properly according to your community’s guidelines.
Decluttering not only creates a more organized living space but also makes cleaning easier by removing unnecessary obstacles. Once you have decluttered each room, you can move on to the next step: cleaning walls, ceilings, and baseboards.
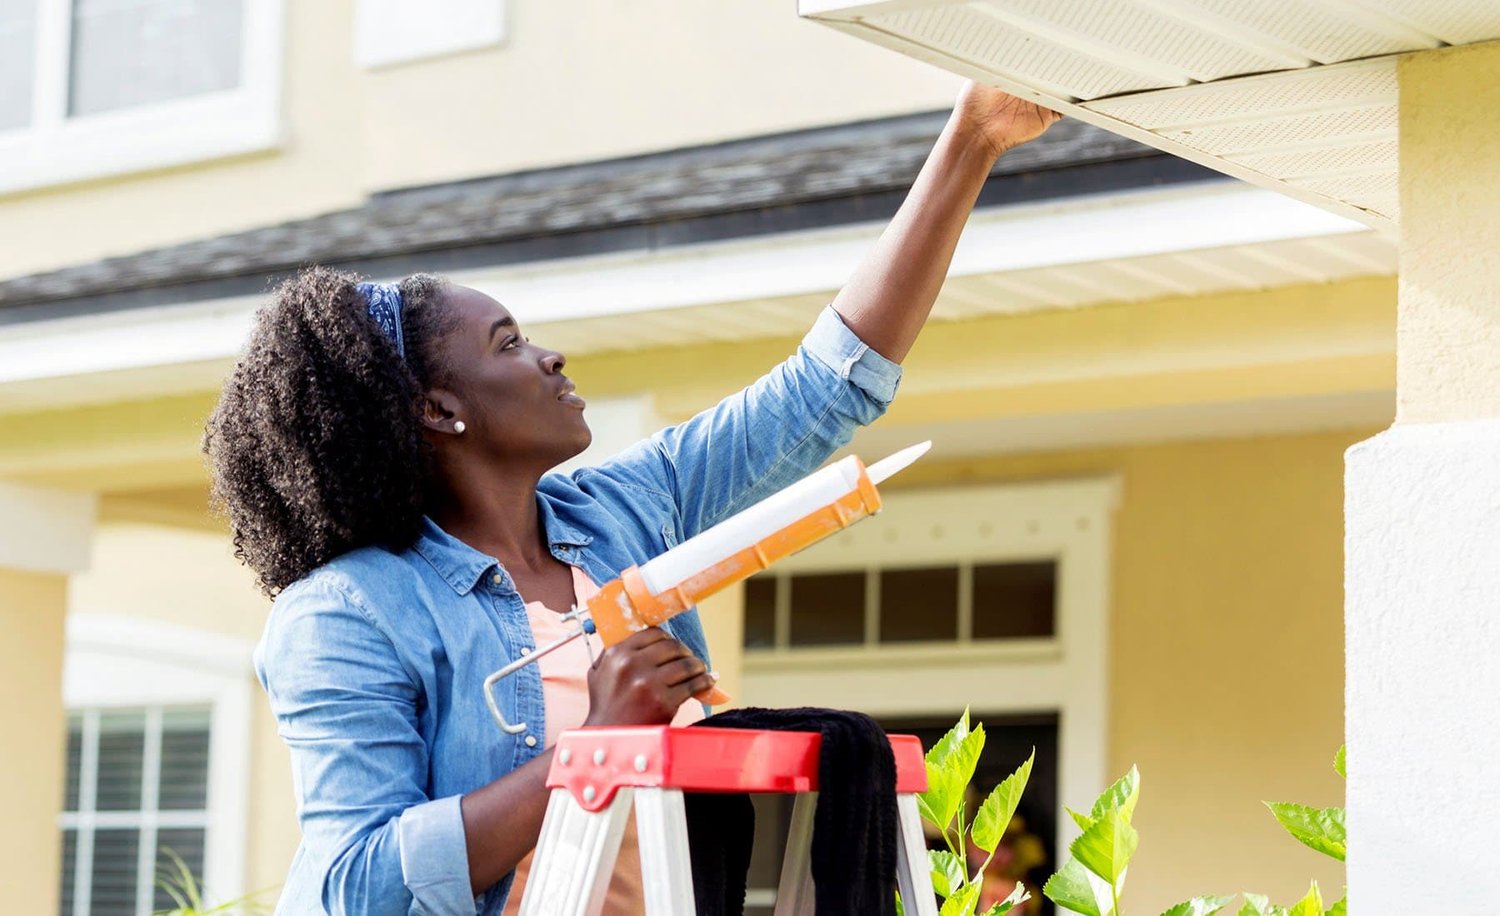
Step 3: Clean Walls, Ceilings, and Baseboards
Now that you’ve decluttered your apartment, it’s time to start cleaning the surfaces. Walls, ceilings, and baseboards are often overlooked but can accumulate dust, dirt, and grime over time. Follow these steps to ensure they are spotless:
- Remove dust and cobwebs: Start by dusting the walls, ceilings, and corners with a microfiber cloth or a soft-bristled brush. Pay attention to areas near light fixtures, as they tend to collect more dust.
- Clean stains and marks: If you notice any stains or scuffs on the walls, use a mild cleaning solution and a soft cloth to gently scrub them away. Be cautious with painted walls to avoid damaging the paint. For stubborn stains, consult a professional for appropriate cleaning techniques.
- Wipe down baseboards: Use a damp cloth or a gentle cleaning solution to wipe down baseboards. Pay special attention to the corners and edges where dirt tends to accumulate.
- Clean ceilings: If your ceilings have visible dirt or stains, use a mixture of warm water and mild detergent to gently clean them. Be careful not to saturate the ceiling, as excess moisture can cause damage.
Cleaning walls, ceilings, and baseboards can be a bit time-consuming, but it will give your apartment a fresh and clean look. Once you’ve completed this step, it’s time to move on to the next: wiping down windows and mirrors.
Step 4: Wipe Down Windows and Mirrors
Clean windows and mirrors can make a big difference in the overall appearance of your apartment. Follow these steps to ensure they sparkle:
- Gather your cleaning supplies: Grab a glass cleaner, microfiber cloth, and a squeegee if available.
- Remove dirt and dust: Start by using a dry cloth or duster to remove any loose dirt or dust from the windows and mirrors.
- Apply glass cleaner: Spray the glass cleaner directly onto the surface or onto the cloth if preferred. Avoid over-spraying as it can lead to streaks.
- Wipe in a circular motion: Use the microfiber cloth to wipe the windows and mirrors in a circular motion. This helps to remove any smudges or fingerprints.
- Use a squeegee: If you have a squeegee, you can use it to help remove excess cleaner and ensure a streak-free finish. Start at the top of the window or mirror and pull the squeegee downwards in a straight line.
- Dry with a clean cloth: After cleaning, use a dry, lint-free cloth to wipe away any remaining moisture and give the windows and mirrors a final shine.
Make sure to pay attention to detail and clean both sides of the windows, including the frames and window sills. Don’t forget to clean any mirrors in your apartment as well. With clean and streak-free windows and mirrors, you’ll bring more light into your living space and make it feel more inviting.
Now that your windows and mirrors are clean, it’s time to move on to step 5: cleaning kitchen appliances and surfaces.
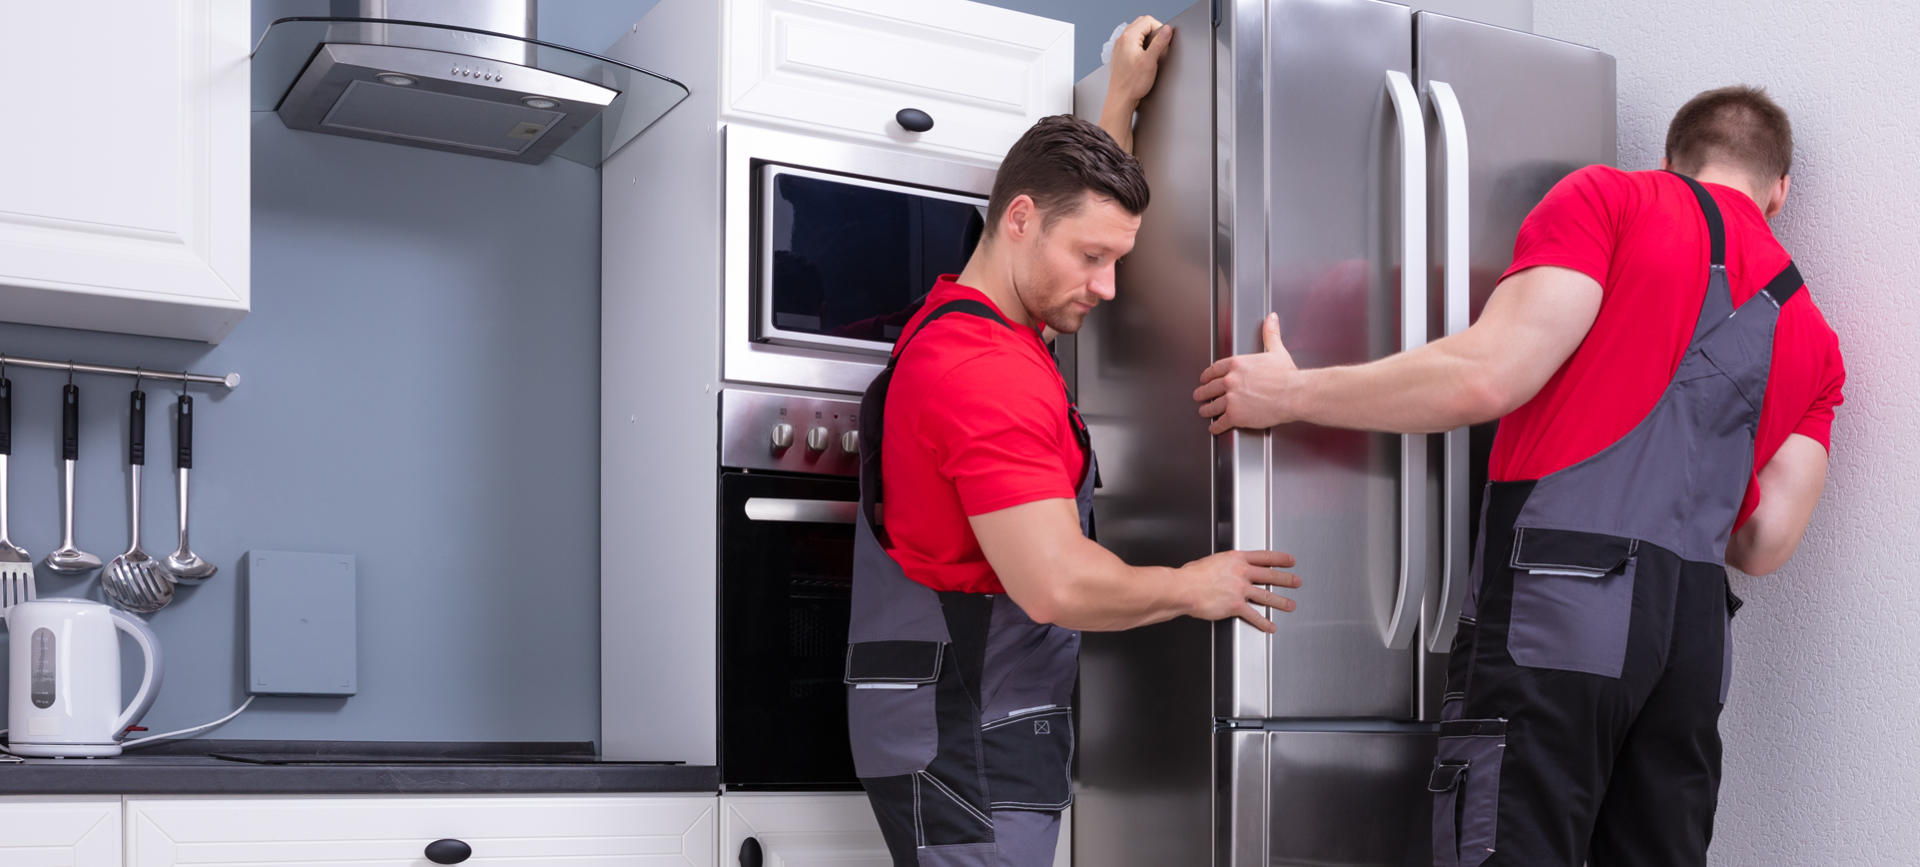
Step 5: Clean Kitchen Appliances and Surfaces
The kitchen is often a busy and heavily used area, so it’s important to give it some extra attention during your move-out cleaning. Follow these steps to ensure your kitchen appliances and surfaces are clean:
- Clear out the refrigerator and freezer: Start by removing all the items from the refrigerator and freezer. Discard any expired or unwanted food items and place the rest in a cooler to keep them fresh while you clean.
- Remove shelves and drawers: Take out the shelves and drawers from the refrigerator and wash them with warm, soapy water. Wipe down the interior with a sponge or cloth dipped in a mixture of water and mild detergent.
- Clean the stovetop: Remove any grates or burner covers, and scrub them with warm, soapy water. Use a degreaser or a mixture of baking soda and water to clean the stovetop surface, removing any stuck-on grime.
- Wipe down kitchen surfaces: Clean countertops, cabinets, and other surfaces using an appropriate cleaner for each material. Use a mild detergent or a mixture of water and vinegar for most surfaces, and follow manufacturer instructions for any specialty materials.
- Clean the sink: Scrub the sink with a non-abrasive cleaner and a sponge or cloth. Pay attention to the faucet, handles, and drain area to remove any buildup or stains.
- Don’t forget the microwave and oven: Clean the microwave by heating a bowl of water and vinegar for a few minutes, then wiping down the interior with a cloth. For the oven, follow the manufacturer’s instructions to properly clean it, considering whether it is self-cleaning or requires manual cleaning.
By thoroughly cleaning your kitchen appliances and surfaces, you’ll leave behind a clean and inviting space. Now that the kitchen is sparkling clean, it’s time to move on to step 6: scrubbing bathroom fixtures and tiles.
When cleaning your apartment for move-out, start with the most difficult tasks first, such as cleaning the oven and refrigerator, to ensure you have enough time to complete everything.
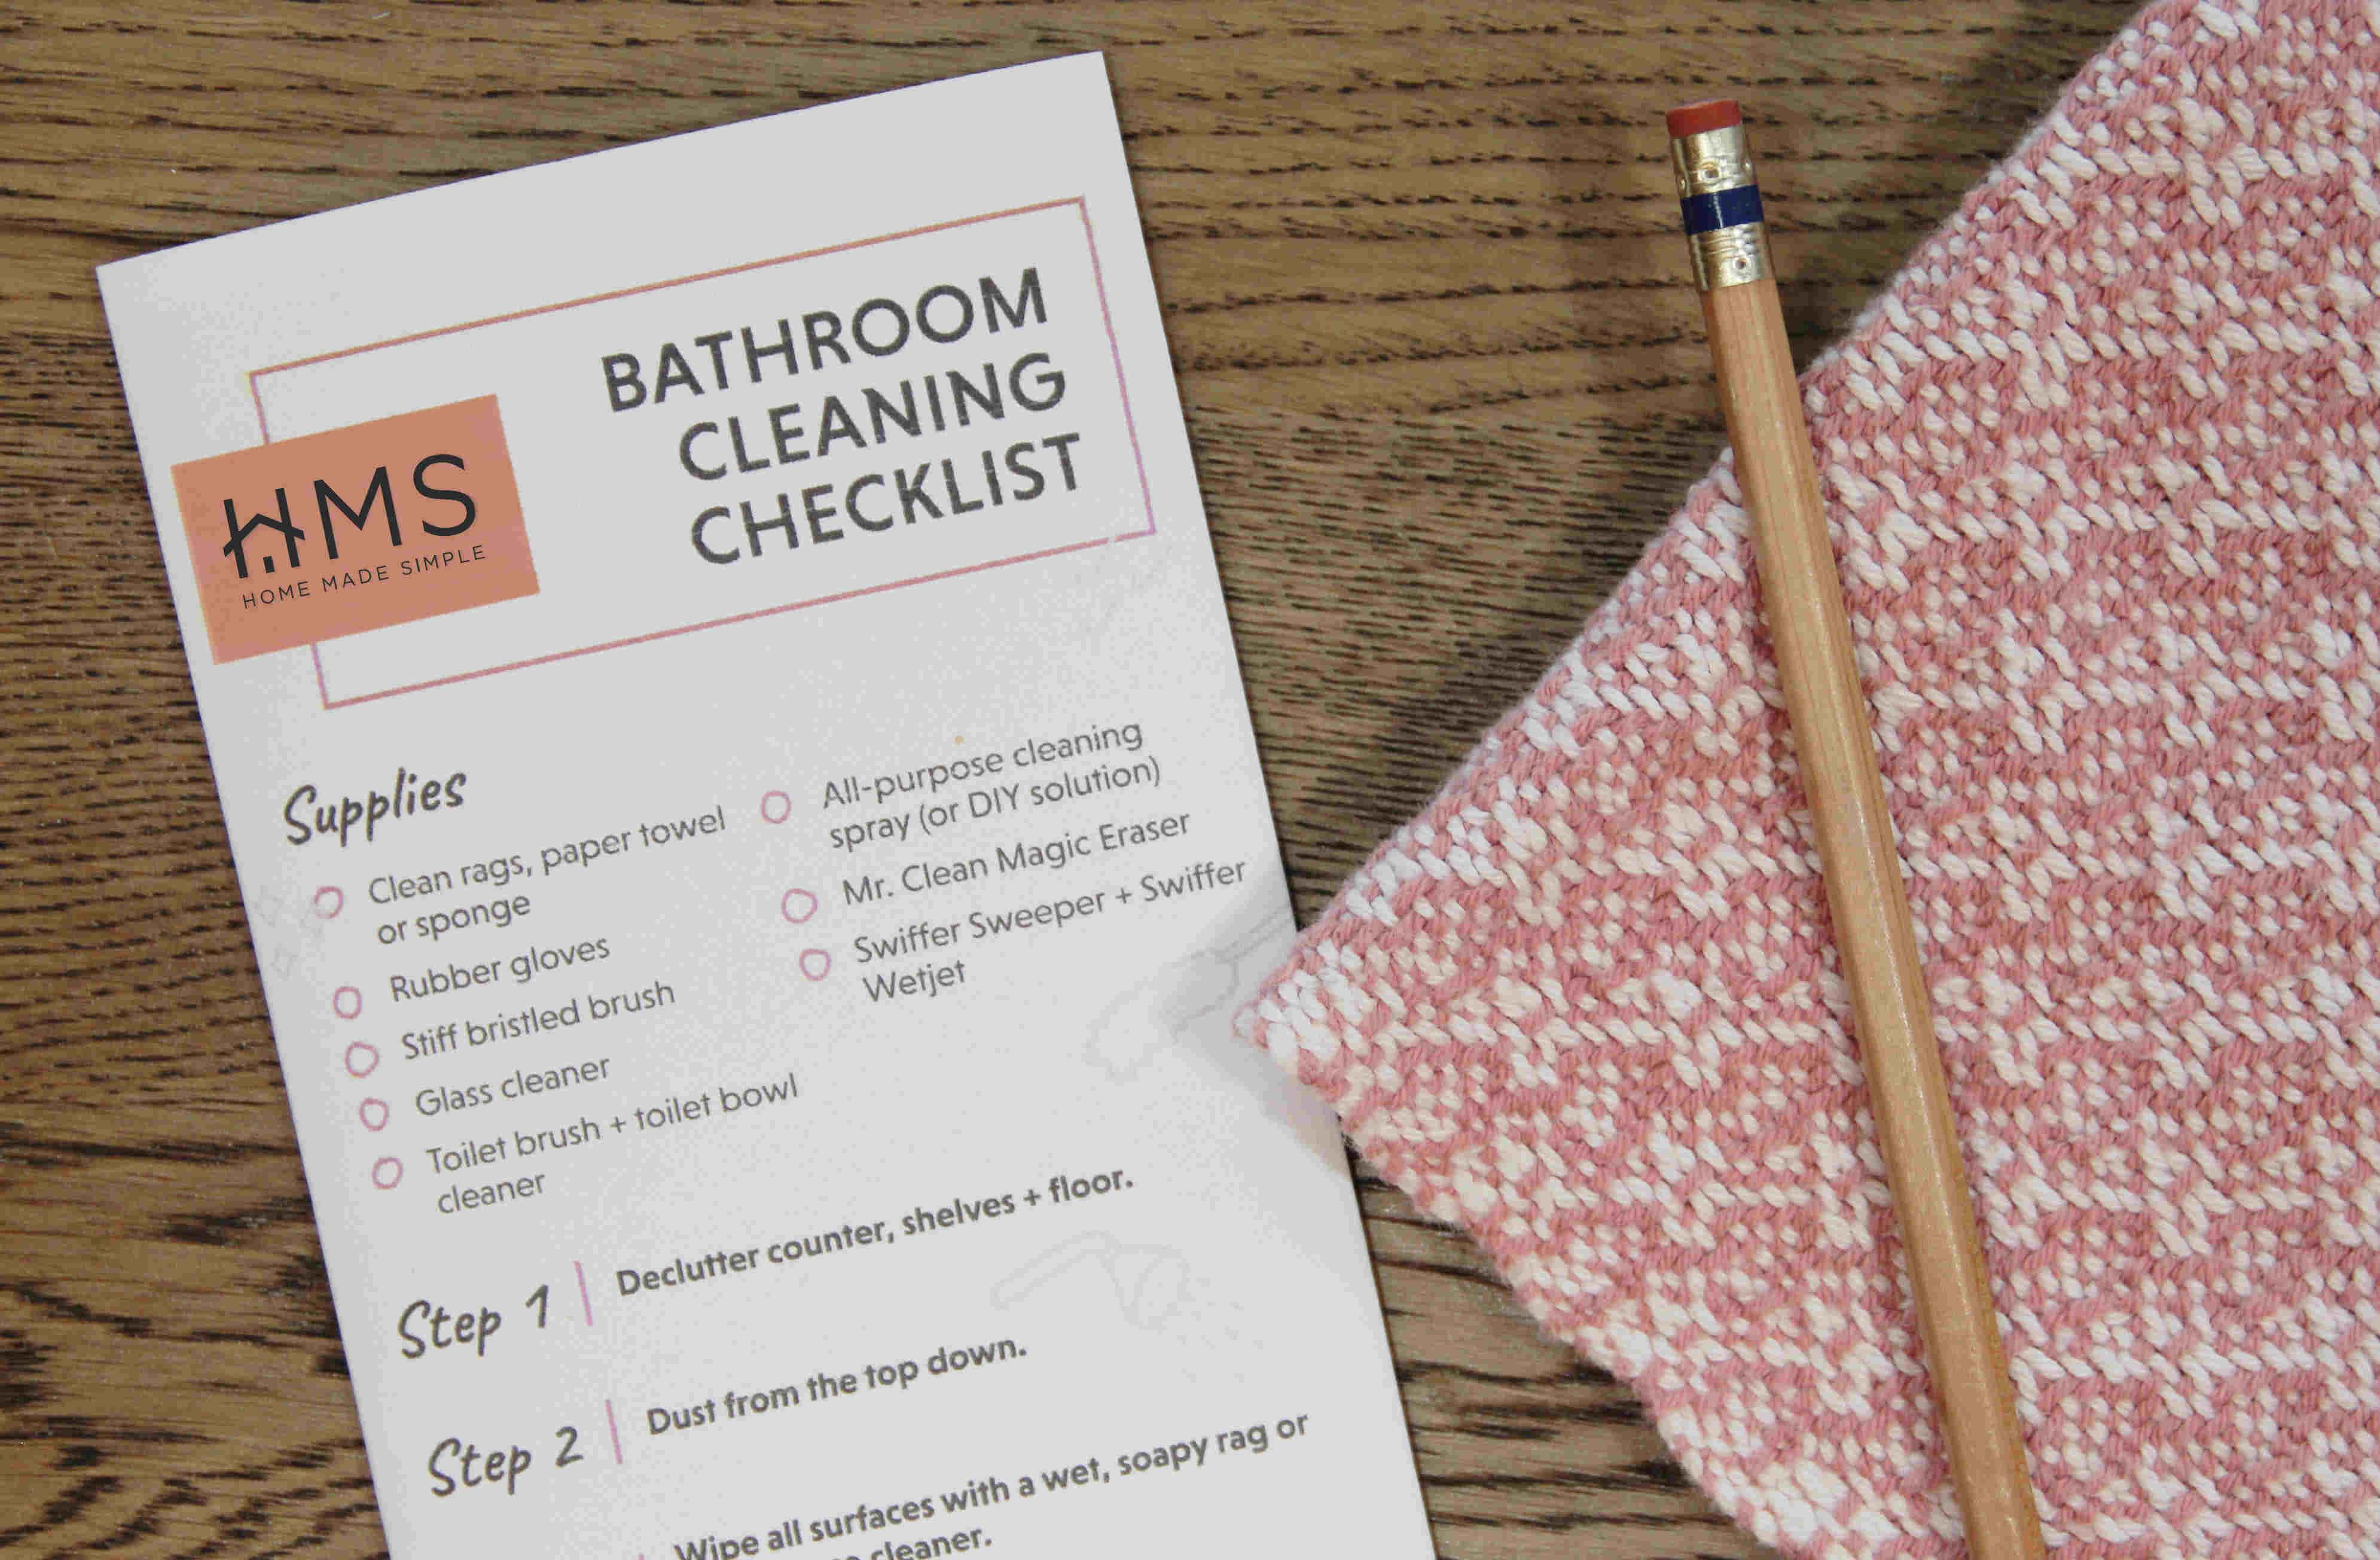
Step 6: Scrub Bathroom Fixtures and Tiles
When it comes to move-out cleaning, it’s important not to overlook the bathroom. Follow these steps to ensure the fixtures and tiles in your bathroom are sparkling clean:
- Clean the toilet: Start by applying a toilet bowl cleaner to the inside of the toilet bowl and let it sit for a few minutes. Use a toilet brush to scrub the bowl, paying attention to the under-rim area and the sides. Don’t forget to clean the seat and the exterior of the toilet as well.
- Scrub the shower and bathtub: Use a bathroom cleaner or a mixture of baking soda and water to scrub the walls, floors, and fixtures of your shower and bathtub. Pay special attention to any soap scum or grime that has built up.
- Clean the sink and vanity: Wipe down the sink, countertop, and any vanity surfaces using a mild cleaner or a mixture of water and vinegar. Pay attention to any stains or mineral deposits on the faucet and handles.
- Remove grime from tiles and grout: Use a tile cleaner or a mixture of baking soda and water to scrub the tiles and grout. Use a scrub brush or an old toothbrush to get into the crevices and remove any stubborn dirt or mildew.
- Don’t forget the mirror: Clean the bathroom mirror using a glass cleaner and a lint-free cloth. Wipe away any streaks or smudges to ensure a crystal-clear reflection.
By thoroughly cleaning your bathroom fixtures and tiles, you’ll leave behind a fresh and hygienic space for the next resident. Now that the bathroom is sparkling clean, it’s time to move on to step 7: vacuuming and shampooing carpets and rugs.
Step 7: Vacuum and Shampoo Carpets and Rugs
As you near the end of your move-out cleaning checklist, it’s important to pay attention to your carpets and rugs. Over time, they can accumulate dirt, dust, and stains. Follow these steps to ensure they are thoroughly cleaned:
- Vacuum the carpets: Start by thoroughly vacuuming the carpets and rugs to remove any loose dirt and debris. Use a vacuum cleaner with a brush attachment to effectively lift and remove dust from the fibers.
- Treat stains: If you notice any stains or spills on the carpets or rugs, treat them promptly. Use a carpet stain remover and follow the manufacturer’s instructions for best results. Gently blot the stain with a clean cloth or sponge to lift the stain without spreading it further.
- Shampoo the carpets: For a deeper clean, consider shampooing the carpets and rugs. Renting or hiring a professional carpet cleaner can help you achieve a thorough and effective clean. Follow the instructions provided with the carpet cleaner and ensure proper ventilation while using the machine.
- Dry the carpets: Allow the carpets and rugs to dry completely before moving any furniture back into place or walking on them. Use fans or open windows to facilitate the drying process, if needed.
A clean and fresh carpet can make a significant difference in the overall appearance of your apartment. By following these steps, you’ll leave behind clean and well-maintained carpets and rugs.
Now that you’ve tackled the carpets, move on to step 8: sweeping and mopping hardwood or tile floors to complete the cleaning process.
Step 8: Sweep and Mop Hardwood or Tile Floors
As you approach the final stages of your move-out cleaning, it’s time to focus on the hardwood or tile floors in your apartment. Follow these steps to ensure they are thoroughly cleaned:
- Sweep or vacuum: Start by sweeping or vacuuming the floors to remove any loose dirt, dust, or debris. Pay attention to corners, edges, and hard-to-reach areas.
- Mop the floors: Fill a bucket with warm water and a suitable floor cleaner. Dip a mop into the bucket and wring out excess moisture. Mop the floors, working in small sections and making sure to reach all areas.
- Focus on stubborn stains: If you come across any stubborn stains or spills on the floors, use a suitable cleaner or spot treatment to remove them. Follow the instructions provided and scrub gently if necessary.
- Dry the floors: Once you have finished mopping, allow the floors to air dry or use a clean, dry mop or cloth to remove any moisture. Ensure the floors are completely dry before walking on them or placing furniture back in the room.
By sweeping and mopping your hardwood or tile floors, you’ll leave behind a clean and polished look. Remember to follow any specific care instructions for your floors to avoid causing damage.
Now that your floors are sparkling clean, it’s time to move on to step 9: emptying and cleaning cabinets and drawers.
Read more: The Ultimate Bathroom Cleaning Checklist
Step 9: Empty and Clean Cabinets and Drawers
When it comes to move-out cleaning, don’t forget to pay attention to the cabinets and drawers in your apartment. Follow these steps to ensure they are empty and thoroughly cleaned:
- Empty the cabinets and drawers: Start by removing all items from the cabinets and drawers. Sort through the contents and decide what to keep, donate, or discard.
- Wipe down the interior: Use a damp cloth or a mild cleaning solution to wipe down the interior of the cabinets and drawers. Pay attention to any spills, stains, or built-up residue.
- Clean the shelves and drawers: If the cabinets and drawers have removable shelves or inserts, take them out and wash them with warm, soapy water. Scrub away any debris or sticky residue.
- Don’t forget the handles and knobs: Clean the handles and knobs of the cabinets and drawers using a suitable cleaner or a mixture of water and vinegar. Pay attention to any smudges or fingerprints.
- Allow them to dry: After cleaning, make sure the cabinets and drawers are completely dry before placing the items back inside. This will prevent any musty odors or damage to the contents.
By emptying and cleaning your cabinets and drawers, you’ll leave behind a clean and organized space for the next occupant. Now that this step is complete, move on to step 10: dusting and polishing furniture and decor.
Step 10: Dust and Polish Furniture and Decor
The final step in your move-out cleaning checklist is to ensure that all furniture and decor in your apartment are dusted and polished. Follow these steps to give them a clean and refreshed look:
- Dust surfaces: Use a microfiber cloth or a duster to remove dust from all furniture surfaces, including tables, shelves, and chairs. Be thorough and pay attention to any intricate details.
- Polish wood surfaces: For wooden furniture, use a suitable wood polish to restore its shine and protect the surfaces. Follow the instructions on the polish and apply it evenly using a soft cloth.
- Clean glass and mirrors: Use a glass cleaner and a lint-free cloth to clean any glass surfaces, such as tabletops, mirrors, or glass shelving. Wipe them down until they are streak-free and crystal clear.
- Remove smudges and fingerprints: Pay attention to areas that are prone to smudges and fingerprints, such as door handles, light switches, and picture frames. Use a cloth dampened with a mild cleaner to gently remove any marks.
- Arrange decor: Once everything is cleaned and polished, carefully arrange any decor items back into their designated places. Take a moment to ensure that everything looks neat and organized.
By dusting and polishing your furniture and decor, you’ll leave behind a clean and inviting living space. Take some time to admire your work and double-check that everything is in its proper place.
With step 10 complete, you have successfully completed your move-out cleaning checklist. By following these steps, you have ensured that your apartment is clean, fresh, and ready for the next resident to move in.
Remember to take a final walkthrough to make sure you haven’t missed any areas and take care of any last-minute tidying up. Now, it’s time to enjoy your new chapter and your clean and tidy living space.
Conclusion
Congratulations! You have reached the end of your move-out cleaning journey. By following our comprehensive checklist, you have successfully cleaned and prepared your apartment for the next resident. Your hard work and attention to detail will not go unnoticed, and you can leave with the satisfaction of knowing you’ve left behind a clean and fresh living space.
Remember, move-out cleaning is not only a gesture of courtesy but also essential for ensuring the return of your security deposit. By following the steps outlined in this checklist, you have taken the necessary measures to leave your apartment in pristine condition.
From gathering cleaning supplies to decluttering, cleaning walls, windows, kitchen appliances, bathroom fixtures, carpets, and furniture, you have tackled each task with dedication and commitment. Your effort in ensuring that every nook and cranny is spotless will be greatly appreciated by your landlord and the next resident.
As you move forward to your new home, taking with you the memories and experiences from your current apartment, we hope that this move-out cleaning checklist has made your transition a little easier. Remember to take time to celebrate your accomplishment and to enjoy your fresh start.
Thank you for your hard work, and we wish you all the best in your new chapter!
Frequently Asked Questions about Follow Our Apartment Cleaning Checklist To Simplify Move-Out Day
Was this page helpful?
At Storables.com, we guarantee accurate and reliable information. Our content, validated by Expert Board Contributors, is crafted following stringent Editorial Policies. We're committed to providing you with well-researched, expert-backed insights for all your informational needs.


0 thoughts on “Follow Our Apartment Cleaning Checklist To Simplify Move-Out Day”