Home>Storage Ideas>Bathroom Storage>The Ultimate Bathroom Cleaning Checklist
Bathroom Storage
The Ultimate Bathroom Cleaning Checklist
Modified: October 20, 2024
Keep your bathroom tidy and organized with our comprehensive bathroom cleaning checklist. Learn the best strategies for bathroom storage to maximize space and create a relaxing atmosphere. Get started today!
(Many of the links in this article redirect to a specific reviewed product. Your purchase of these products through affiliate links helps to generate commission for Storables.com, at no extra cost. Learn more)
Introduction
Keeping your bathroom clean and organized is essential for a relaxing and functional space. One area that often gets overlooked in bathroom maintenance is storage. Having an efficient and well-organized bathroom storage system not only keeps your bathroom clutter-free, but it also makes it easier to find and access your toiletries and other essentials.
In this article, we will explore various bathroom storage solutions and provide tips on how to optimize your bathroom storage space. Whether you have a small bathroom with limited storage or a spacious bathroom with ample storage options, these tips and ideas will help you make the most of your space.
Before we dive into the nitty-gritty of bathroom storage, it’s important to note that the key to successful storage is a combination of functionality and aesthetics. Your storage solutions should not only be practical and efficient but also enhance the overall look and feel of your bathroom. So, let’s explore the essential bathroom storage supplies you’ll need to get started.
Key Takeaways:
- Keep your bathroom clean and organized by incorporating a daily cleaning routine that includes wiping down surfaces, squeegeeing the shower, and addressing specific areas like the sink, toilet, and floor.
- Maximize your bathroom storage space by decluttering, utilizing storage containers and dividers, and incorporating vertical and wall storage solutions. Regular deep cleaning and maintenance tasks will ensure a fresh and well-maintained bathroom environment.
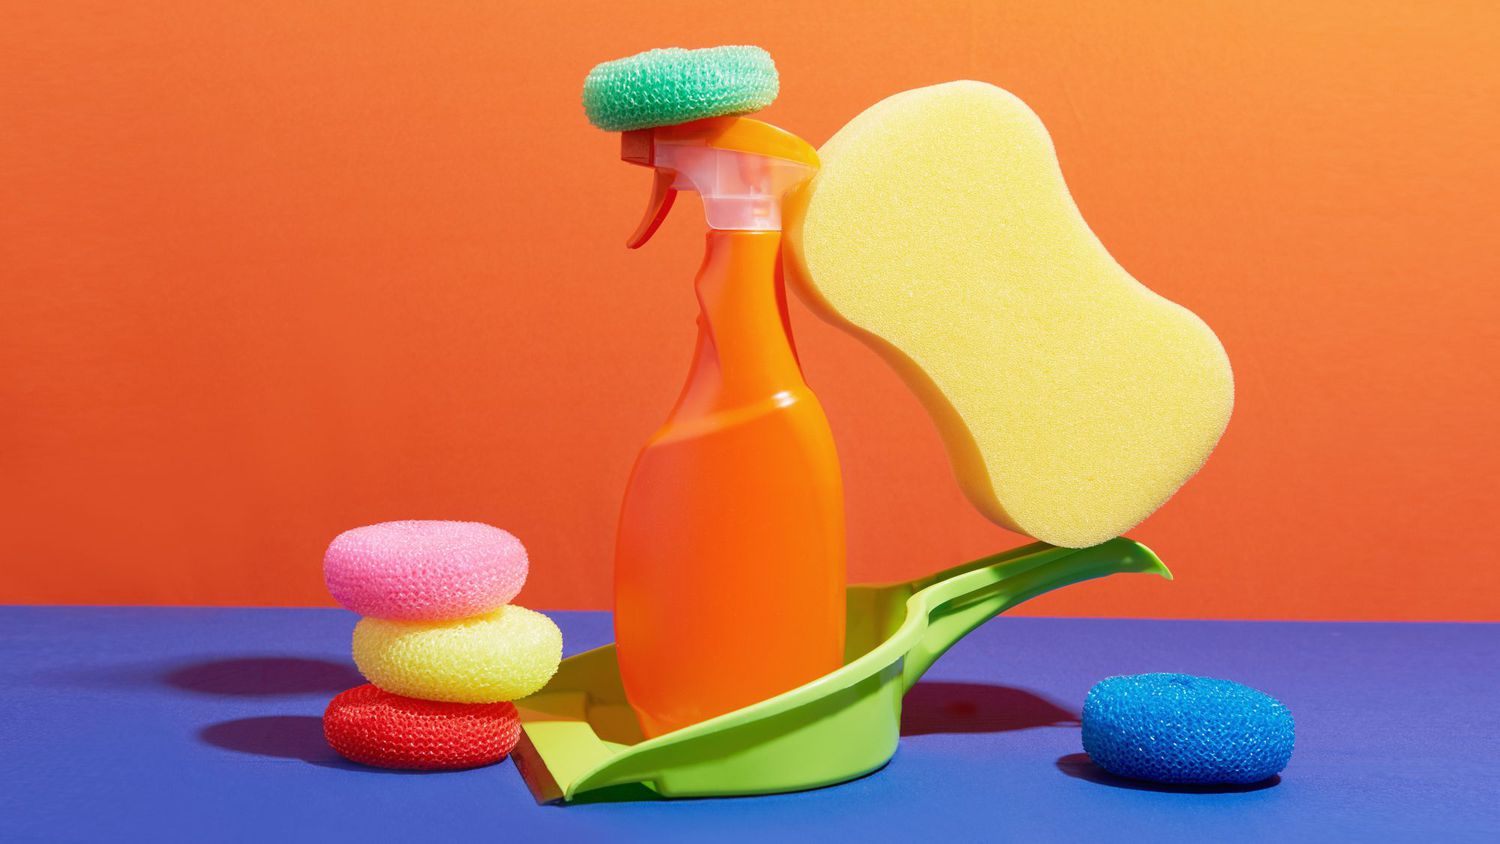
Essential Cleaning Supplies
Before you embark on your bathroom cleaning and storage journey, it’s important to have the right tools and supplies at your disposal. Here are some essential cleaning supplies you’ll need:
- All-purpose cleaner: Choose a multi-surface cleaner that is safe to use on various bathroom surfaces.
- Glass cleaner: Opt for a streak-free glass cleaner to keep your mirrors and glass surfaces gleaming.
- Toilet cleaner: Look for a toilet cleaner that effectively removes stains and kills bacteria.
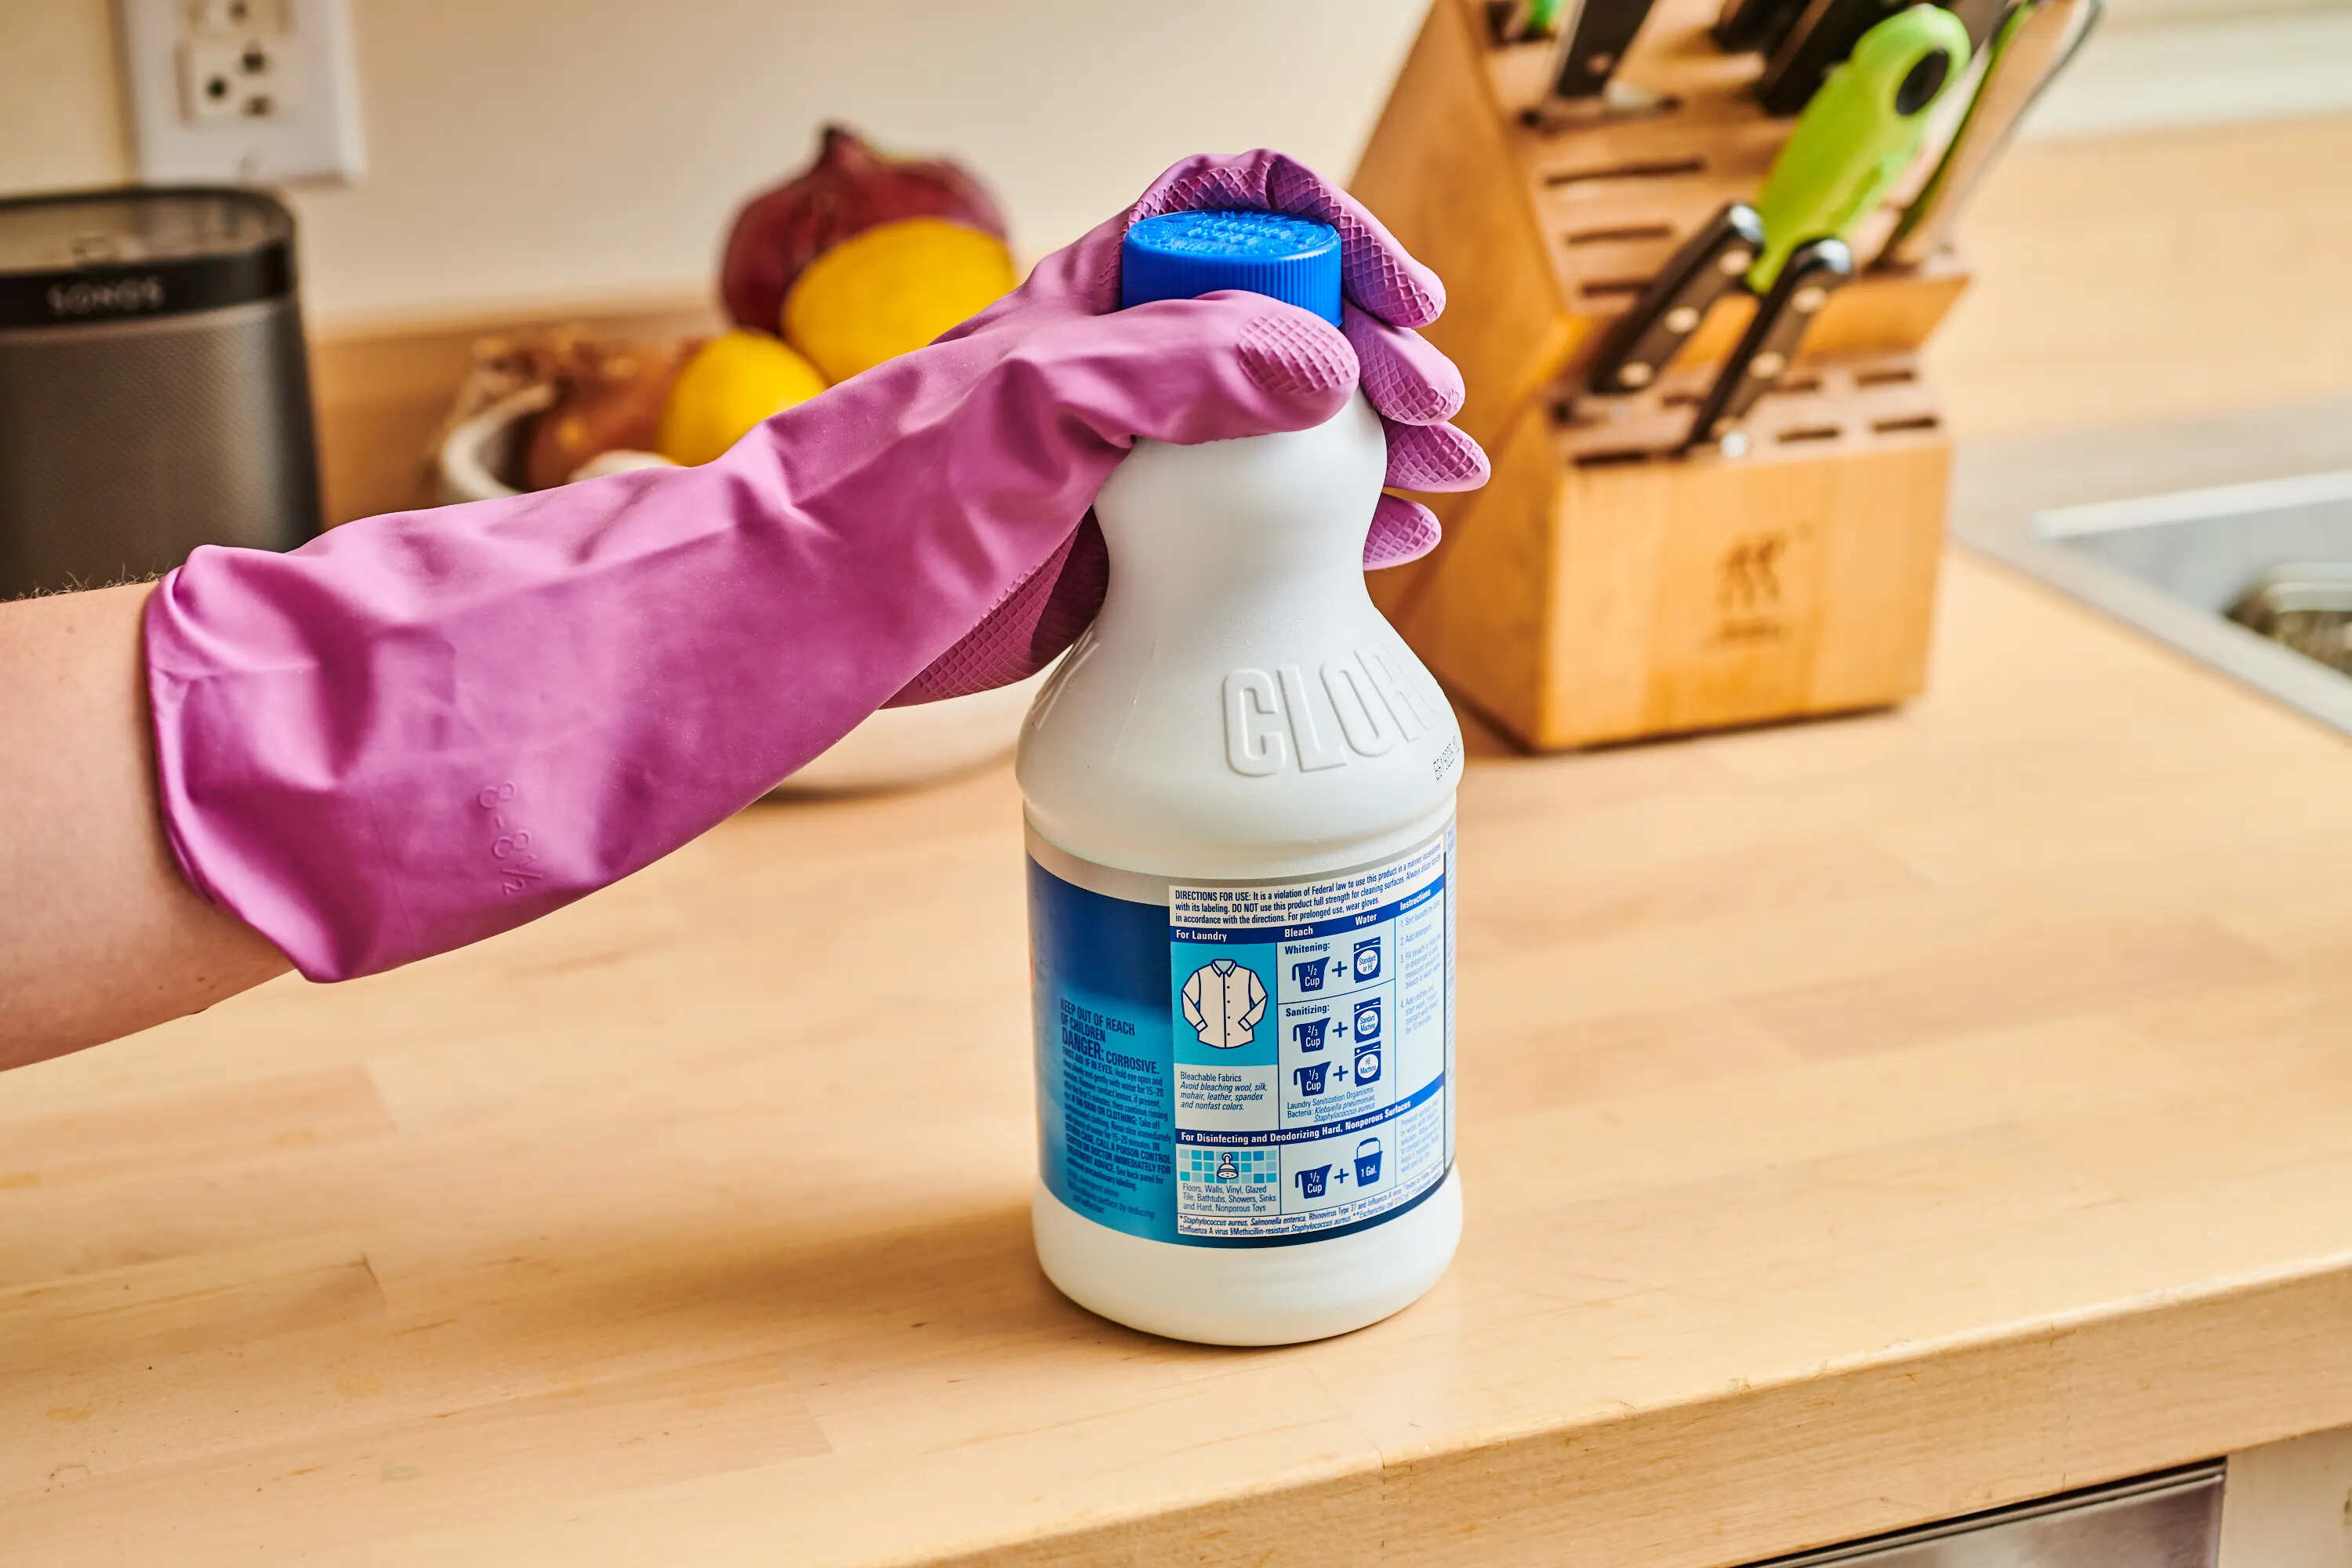
- Bleach or disinfectant: These products are crucial for disinfecting and sanitizing your bathroom.
- Microfiber cloths: Use these soft and absorbent cloths for the majority of your cleaning tasks to avoid scratching surfaces.
- Sponge or scrub brush: These are handy for tackling tough stains and getting into crevices.
- Broom and/or vacuum cleaner: Keep your bathroom floor clean with a broom or use a vacuum cleaner if you have one designed for hard floors.
- Mop: Choose a mop suitable for your flooring type to efficiently clean your bathroom floor.
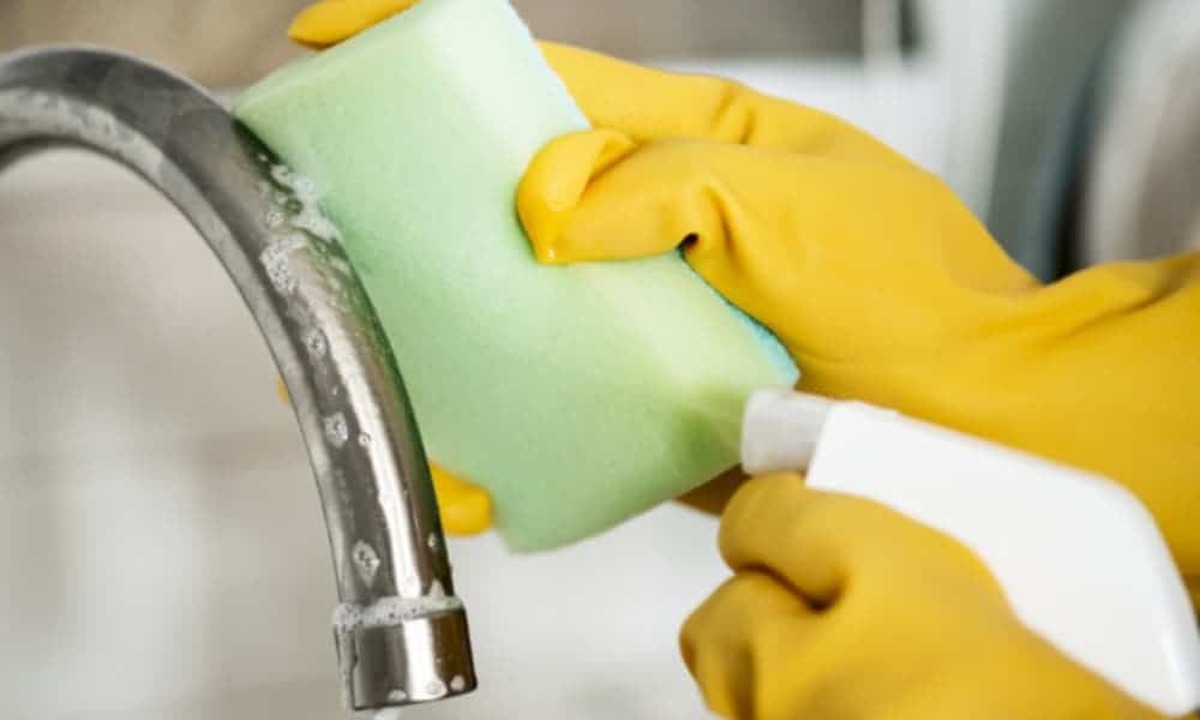
- Rubber gloves: Protect your hands from harsh chemicals and bacteria with a pair of rubber gloves.
These are just some of the essential cleaning supplies you should have on hand. Feel free to adapt the list based on your specific needs and preferences. Now that you’re equipped with the necessary supplies, let’s dive into your daily bathroom cleaning routine to maintain a clean and organized space.
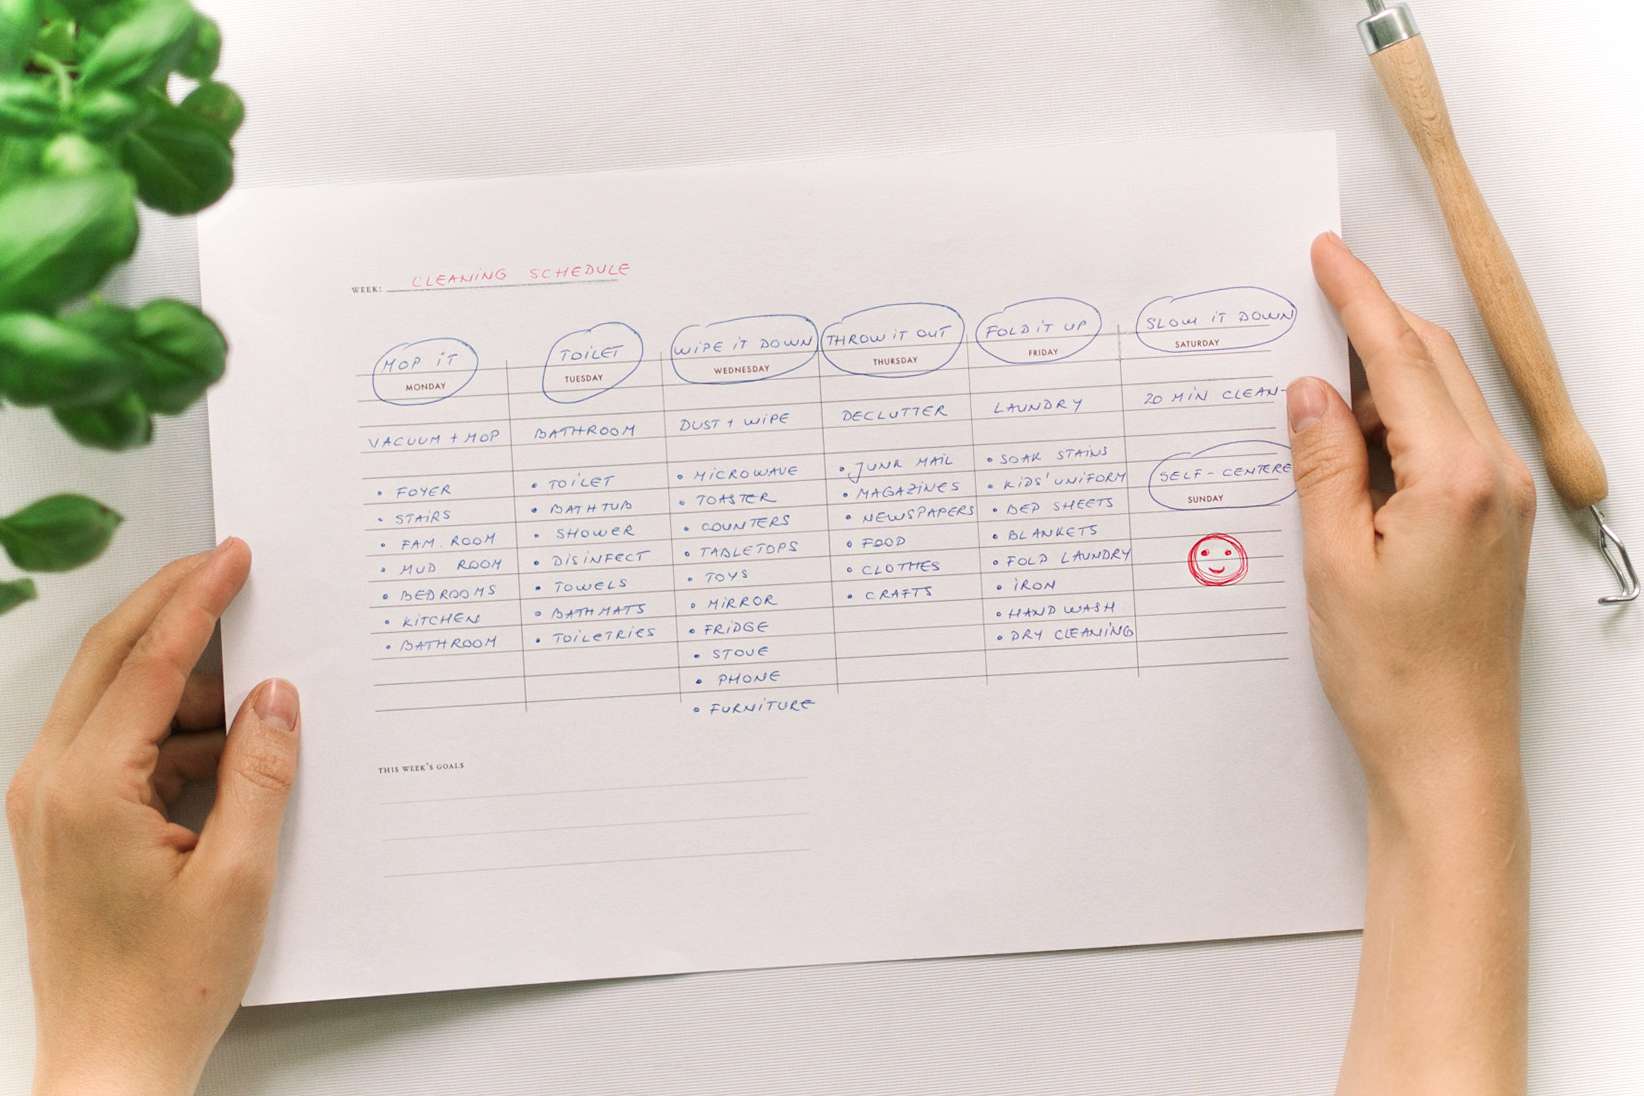
Daily Bathroom Cleaning Routine
Maintaining a clean and hygienic bathroom starts with establishing a daily cleaning routine. By setting aside a few minutes each day to tackle small cleaning tasks, you can prevent dirt and grime from building up and ensure a fresh and inviting bathroom environment. Here’s a suggested daily bathroom cleaning routine:
- Wipe down surfaces: Start by using a microfiber cloth and all-purpose cleaner to wipe down the sink, countertop, and any other surfaces in your bathroom. This will remove any toothpaste stains, water spots, or other daily grime.
- Squeegee the shower: After each shower, use a squeegee to remove excess water from the shower walls and glass doors. This will help prevent soap scum and water stains from forming.
- Quick clean of the toilet: Give your toilet a quick cleaning using a toilet brush and cleaner. Focus on the inside of the bowl and under the rim.
- Empty the trash: Take out the trash regularly to avoid unpleasant odors and overflowing bins.
- Wipe bathroom fixtures: Use a damp cloth to wipe down faucets, handles, and other bathroom fixtures to keep them clean and shiny.
- Replace towels and refill supplies: Swap out used towels for fresh ones and replenish bathroom supplies like toilet paper, soap, and hand towels.
- Keep the floor clean: Lastly, sweep or vacuum the bathroom floor to remove any dirt or hair. If needed, mop the floor to ensure it remains clean and free from germs.
By incorporating these quick and simple cleaning tasks into your daily routine, you’ll enjoy a consistently clean and well-maintained bathroom. It’s important to note that this routine serves as a maintenance measure and may not cover deep cleaning tasks. For a more thorough cleaning, you can incorporate the steps we’ll discuss in the following sections. Let’s now move on to cleaning specific areas of your bathroom, starting with the sink and countertop.
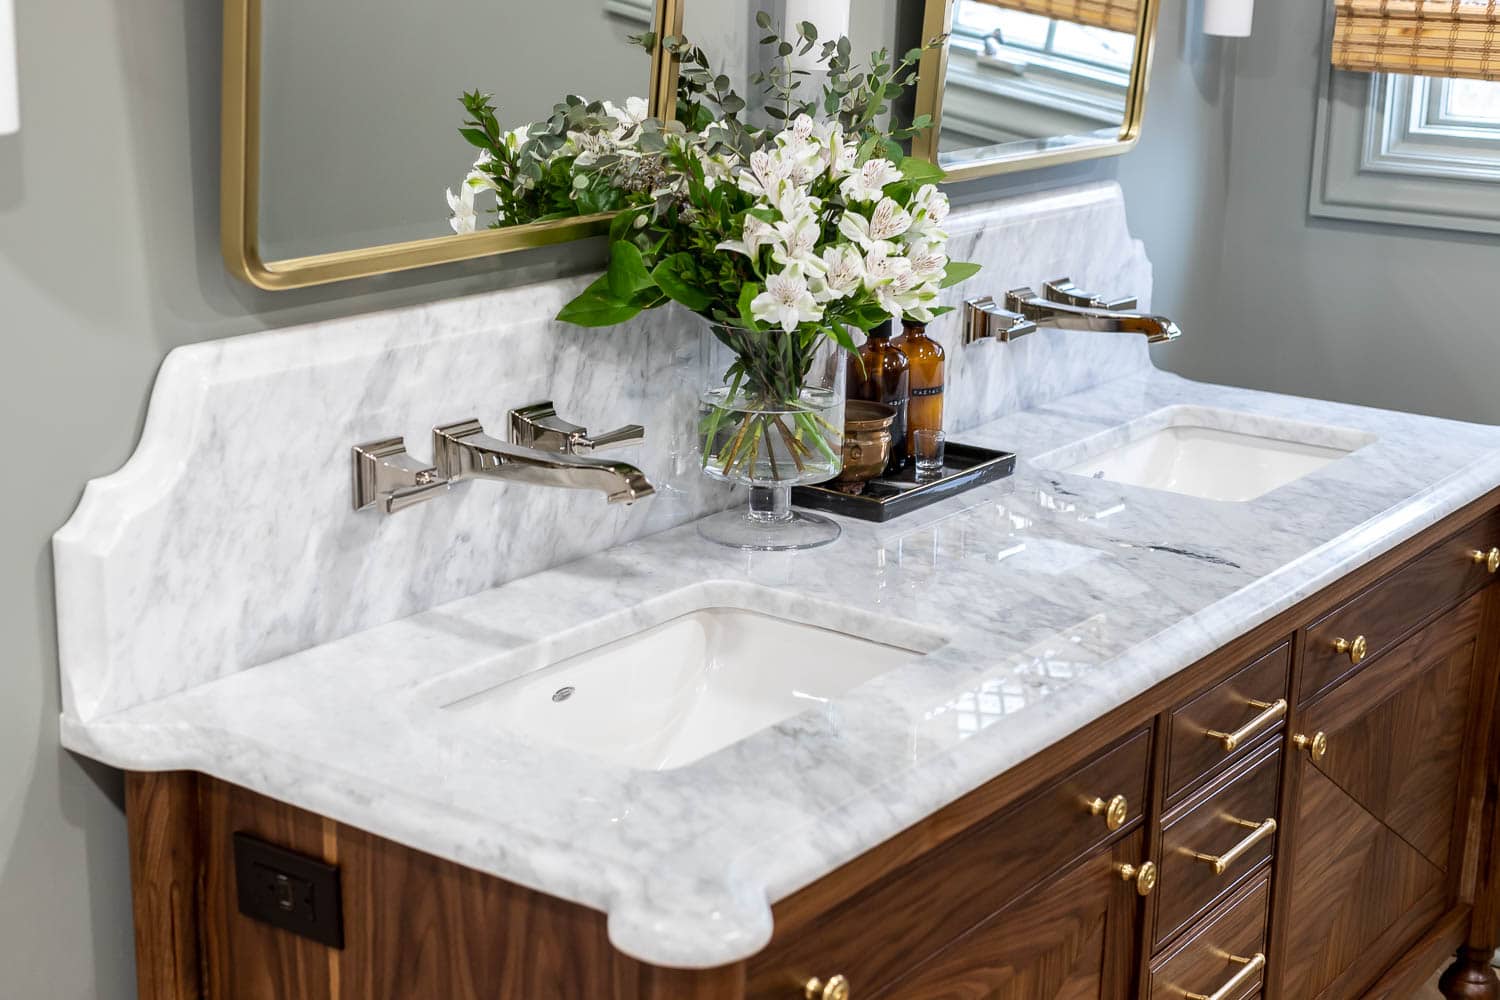
Sink and Countertop Cleaning
The sink and countertop are often the focal points of a bathroom and can easily accumulate dirt, toothpaste stains, and water spots. Keeping these areas clean and sanitized is essential for maintaining a hygienic and aesthetically pleasing bathroom. Here’s how you can effectively clean your sink and countertop:
- Clear the clutter: Start by removing any items from the countertop, such as toothbrushes, soap dispensers, or makeup. This will give you clear access to clean the surface.
- Wipe down the countertop: Use an all-purpose cleaner and a microfiber cloth to wipe down the entire countertop surface. Pay special attention to any spills, stains, or sticky spots.
- Clean the sink basin: If your sink has a removable stopper or drain cover, remove it and clean it separately. Then, use the all-purpose cleaner and cloth to scrub the sink basin, including the edges and faucet handles.
- Tackle stubborn stains: For tough stains or mineral deposits, you can use a mixture of equal parts white vinegar and water. Apply the solution to the stained area and let it sit for a few minutes before scrubbing gently with a toothbrush or sponge.
- Rinse and dry: After cleaning, rinse the sink and countertop thoroughly with water to remove any cleaner residue. Dry the surfaces with a clean towel or cloth to prevent water spots.
- Organize and return items: Once the sink and countertop are dry, organize and return the items you removed earlier. Consider using small storage containers or trays to keep things neat and organized.
Regularly cleaning your sink and countertop will help to prevent the buildup of grime and keep your bathroom looking fresh and inviting. Next, let’s move on to cleaning one of the most essential fixtures in any bathroom – the toilet.
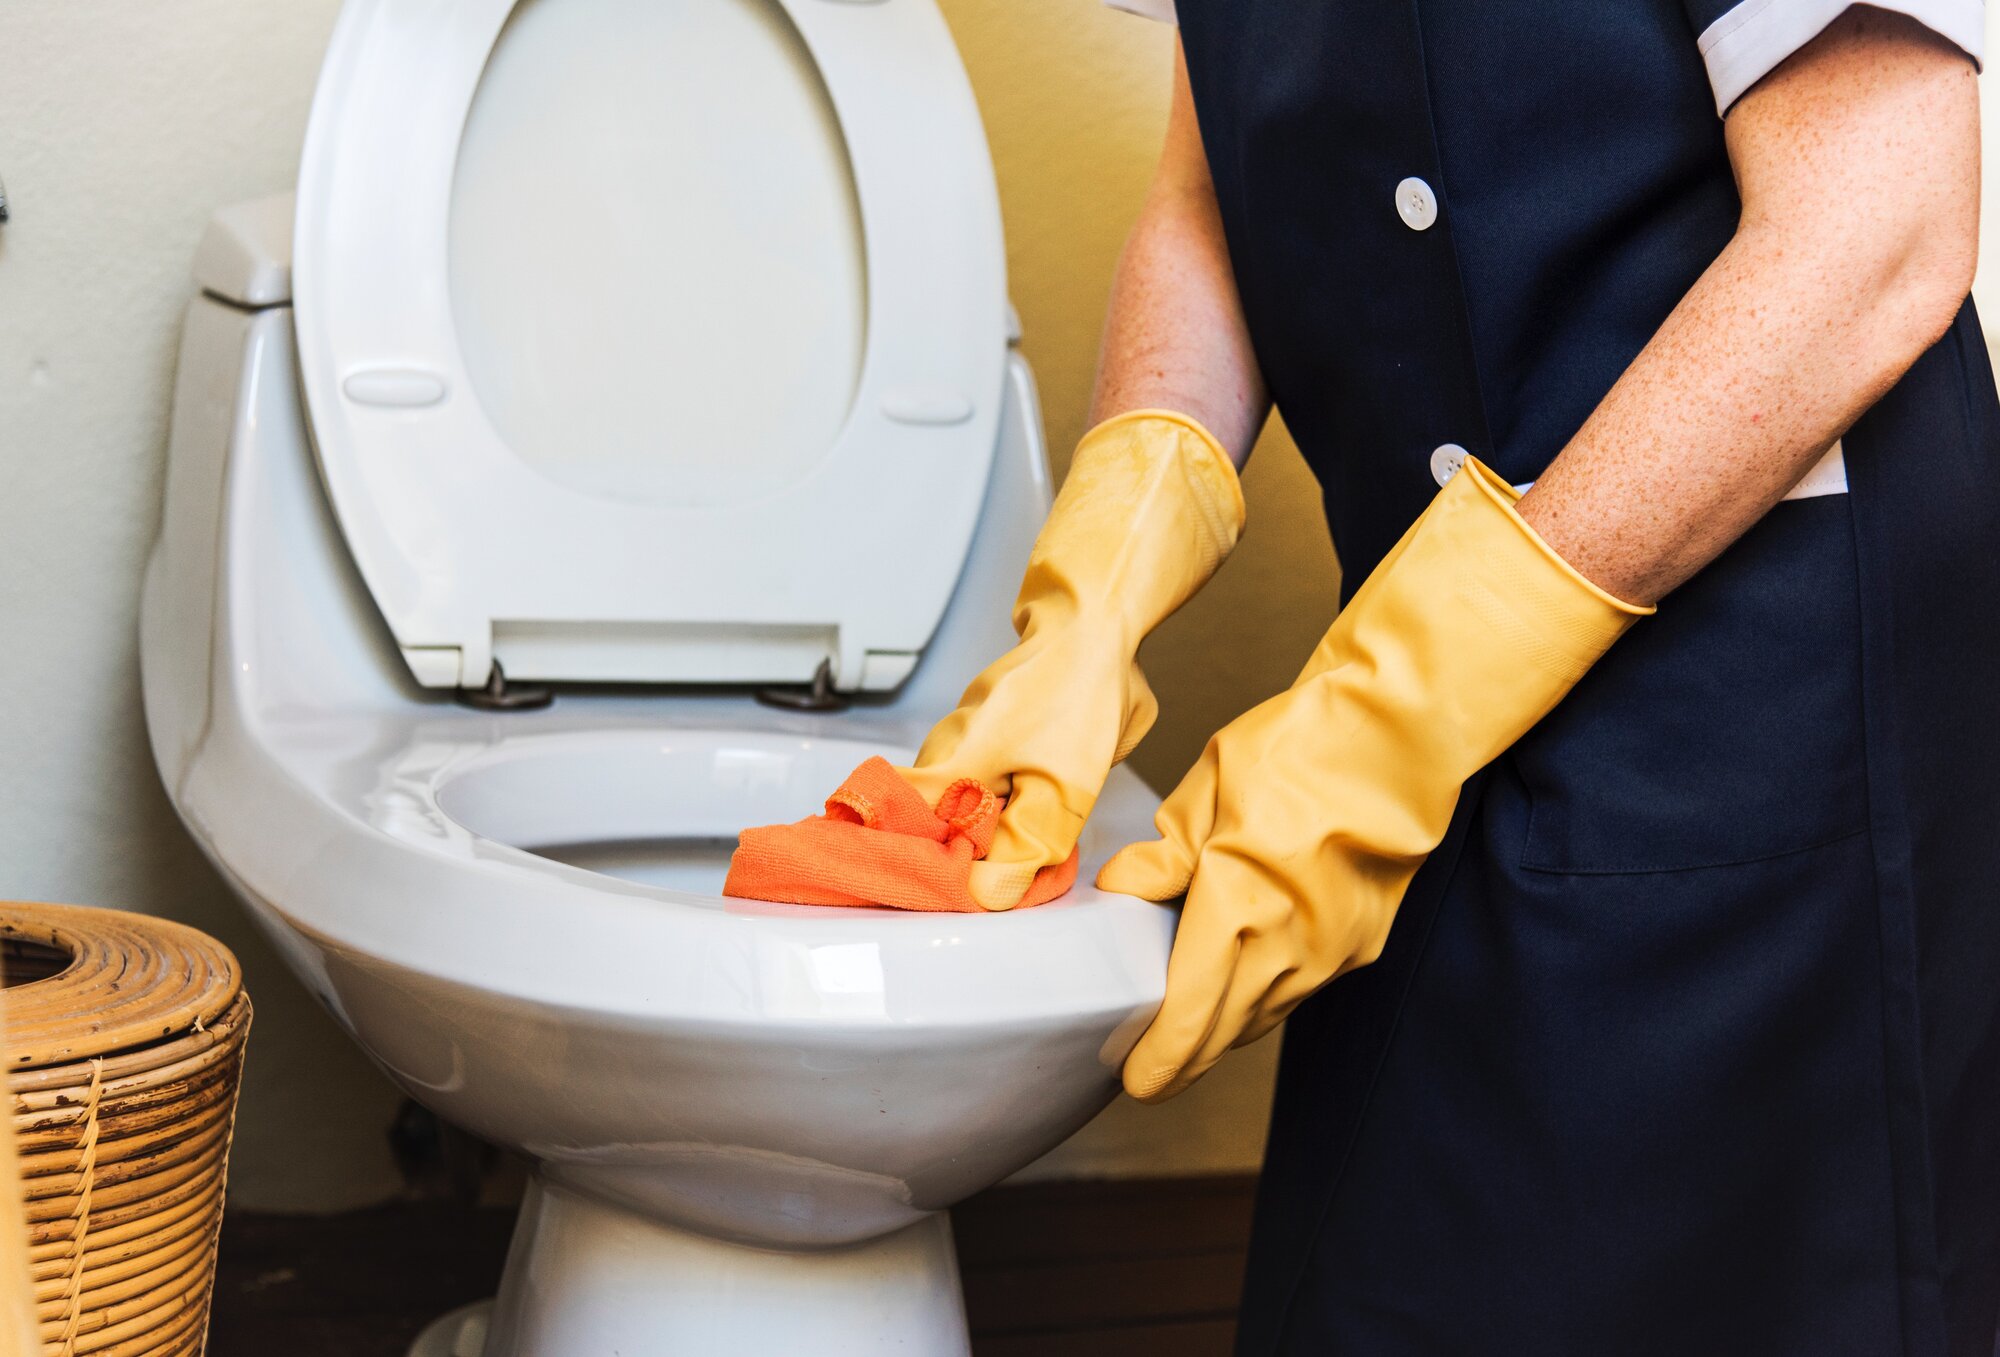
Toilet Cleaning
The toilet is an important fixture in the bathroom that requires regular cleaning to maintain cleanliness and hygiene. A clean and fresh toilet not only improves the overall appearance of the bathroom but also helps prevent the spread of germs. Here’s how you can effectively clean your toilet:
- Gather your supplies: Before you begin, gather the necessary cleaning supplies, including a toilet brush, toilet cleaner, and rubber gloves.
- Apply the toilet cleaner: Squeeze the toilet cleaner around the inside of the bowl, making sure to coat the entire surface. Allow the cleaner to sit for a few minutes to effectively kill germs and break down stains.
- Scrub the bowl: Put on your rubber gloves and use a toilet brush to scrub the inside of the bowl, paying attention to any stained or soiled areas. Make sure to clean under the rim and around the waterline as well.
- Clean the exterior: Wipe down the exterior of the toilet, including the tank, seat, and base, using a cloth or sponge dampened with an all-purpose cleaner. Don’t forget to clean the flush handle and any other visible areas.
- Disinfect and sanitize: To thoroughly disinfect your toilet, use a disinfectant spray or wipes on the entire surface of the toilet, including the seat, lid, and handle. Follow the instructions on the product for the recommended contact time.
- Flush and rinse: After completing the cleaning process, flush the toilet to rinse away any remaining cleaner or disinfectant. Make sure to hold the handle down until the bowl is fully flushed.
- Final touches: Once the toilet is clean and flushed, wipe down the exterior surfaces one more time with a clean cloth or paper towel for a polished finish.
It’s recommended to clean your toilet at least once a week to maintain a clean and sanitary bathroom. Incorporating this task into your regular cleaning routine will help keep your toilet fresh and free from stains and odors. Now that we’ve covered toilet cleaning, let’s move on to cleaning another essential bathroom element – the shower and bathtub.
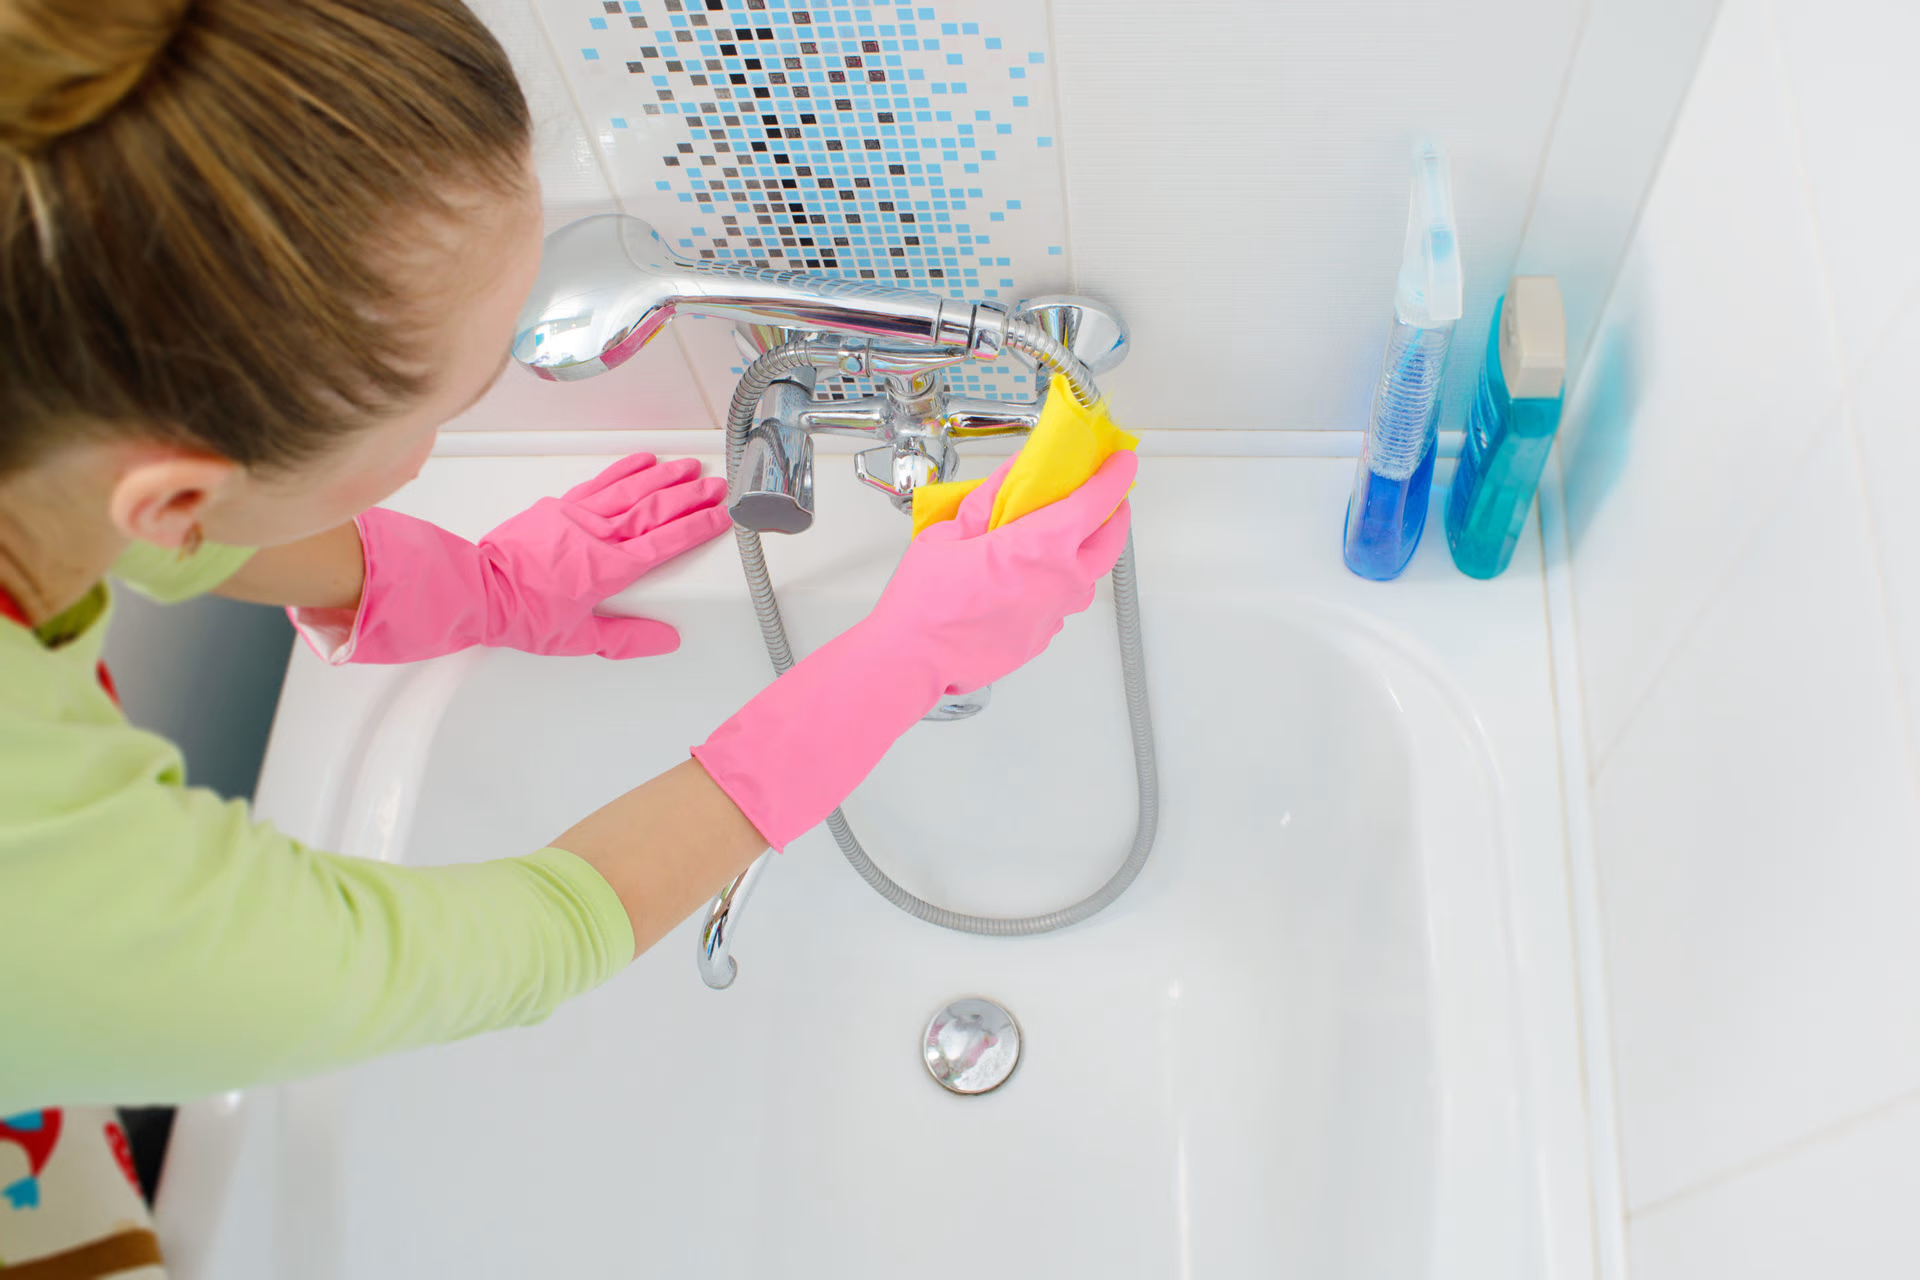
Shower and Bathtub Cleaning
The shower and bathtub are areas prone to soap scum, mineral deposits, and mold or mildew growth. Regular cleaning of these surfaces is necessary to keep them looking clean, prevent stains, and maintain a hygienic bathing environment. Here’s how you can effectively clean your shower and bathtub:
- Remove items: Start by removing any bottles, loofahs, or other items from the shower or bathtub area, including shower curtains or liners if applicable.
- Pre-treat stains: If you notice any stubborn stains or soap scum buildup, pre-treat them with a suitable cleaner. You can use a commercial bathroom cleaner or make a natural cleaner by mixing equal parts vinegar and water.
- Scrub the surfaces: Using a non-abrasive scrub brush or sponge, scrub the walls, floor, and any other surfaces of the shower or bathtub. Pay extra attention to areas with visible stains or grime. If you have tile and grout, make sure to scrub the grout lines as well.
- Remove soap scum: For soap scum removal, you can use a mixture of baking soda and water. Apply the paste to the affected areas and scrub gently with a cloth or sponge. Rinse thoroughly when finished.
- Address mold and mildew: If you notice any mold or mildew, it’s important to use a suitable cleaner or bleach to effectively kill and remove it. Follow the instructions on the product and use proper ventilation while working with these substances.
- Clean fixtures: Use a cloth or sponge and an appropriate cleaner to clean the showerhead, faucets, and any other fixtures within the shower or bathtub area. Pay attention to any hard water stains or build-up.
- Rinse and dry: Thoroughly rinse all surfaces with warm water to remove any cleaner residue or residual grime. Dry the surfaces with a towel or microfiber cloth to prevent water spots.
- Replace items: Once the shower and bathtub are clean and dry, replace any items that were removed earlier, such as shower curtains or liners, bottles, and other shower accessories.
Regular cleaning of your shower and bathtub will help prevent the buildup of grime, stains, and mold or mildew. Incorporate these cleaning steps into your routine to ensure a clean and refreshing bathing experience. Now, let’s move on to another important aspect of bathroom cleanliness – tile and grout cleaning.
To remove soap scum from your shower doors, mix equal parts of white vinegar and dish soap, apply the solution, let it sit for 10 minutes, then scrub and rinse.
Tile and Grout Cleaning
Tile and grout are common in bathrooms and can accumulate dirt, grime, and stains over time. Proper cleaning and maintenance of these surfaces will not only enhance the overall appearance of your bathroom but also prolong the life of your tiles. Here’s how you can effectively clean your tile and grout:
- Gather your supplies: Before you begin, gather the necessary cleaning supplies, including a soft-bristle brush, a grout brush, a mild detergent or tile cleaner, vinegar, baking soda, and warm water.
- Sweep or vacuum: Start by removing loose dirt and debris from the tile and grout lines. Use a broom or a vacuum cleaner with a soft brush attachment to gently clean the surface.
- Mix a cleaning solution: For regular maintenance, you can create a simple cleaning solution by mixing equal parts warm water and a mild detergent. For tougher stains or grout lines, you can make a paste using baking soda and water, or use a commercially available tile and grout cleaner.
- Apply the cleaning solution: Use a sponge or a soft cloth to apply the cleaning solution to the tile surfaces. Wet the grout lines with the solution as well.
- Scrub the surfaces: Using a soft-bristle brush or a grout brush, scrub the tile and grout lines gently. Focus on any stained or discolored areas, applying more pressure if needed. Be careful not to scrub too hard on delicate tiles.
- Tackle stubborn stains: For tough stains or stubborn dirt, you can use a mixture of vinegar and water. Apply the vinegar solution to the affected areas, let it sit for a few minutes, and then scrub with the brush.
- Rinse thoroughly: Once you’ve scrubbed the tile and grout, rinse the surfaces thoroughly with clean water. Use a damp sponge or cloth to remove any remaining cleaning residue.
- Dry the surfaces: Finally, use a dry towel or microfiber cloth to dry the tile and grout. Properly drying the surfaces will help prevent water spots and keep them looking clean.
Regular cleaning and maintenance of your tile and grout will prevent the buildup of dirt and stains, keeping your bathroom looking fresh and well-maintained. Now that we’ve covered tile and grout cleaning, let’s move on to another important aspect of bathroom cleanliness – mirror and glass cleaning.
Mirror and Glass Cleaning
Mirrors and glass surfaces in your bathroom play a significant role in the overall aesthetics of the space. Regularly cleaning and maintaining these surfaces not only keeps them sparkling clean but also enhances the brightness and visual appeal of your bathroom. Follow these steps to effectively clean your mirrors and glass:
- Gather your supplies: Before you begin, gather the necessary cleaning supplies, including a glass cleaner, vinegar, water, a microfiber cloth, and/or a lint-free cloth.
- Dust off the surface: Start by gently dusting the mirror and glass surfaces using a soft cloth or a feather duster. This will remove any loose particles or debris.
- Prepare a cleaning solution: Mix equal parts water and vinegar in a spray bottle or use a commercial glass cleaner according to the manufacturer’s instructions. Shake the solution well to ensure it is thoroughly mixed.
- Spray and wipe: Spray the cleaning solution onto the mirror and glass surfaces. Using a microfiber cloth or lint-free cloth, wipe the surfaces in a circular motion or from top to bottom to remove any dirt or smudges. Avoid using abrasive materials that can scratch the glass.
- Focus on stubborn stains or streaks: If you encounter stubborn stains or streaks, apply a little more cleaning solution to the affected area and gently scrub with a soft cloth or sponge. For tougher stains, you can also use a mixture of baking soda and water.
- Dry and polish: Once you have thoroughly cleaned the mirrors and glass surfaces, use a dry microfiber cloth or lint-free cloth to dry and polish them. This will help prevent streaks and water spots, leaving the surfaces crystal clear.
- Pay attention to frames and edges: Don’t forget to clean and wipe the frames and edges around the mirrors and glass surfaces. Dust or grime buildup in these areas can detract from the overall cleanliness of your bathroom.
Regularly cleaning your mirrors and glass surfaces will ensure a bright and reflective bathroom space. Incorporate this step into your cleaning routine to maintain the cleanliness and visual appeal of your bathroom. Now that we’ve covered mirror and glass cleaning, let’s move on to another essential aspect of bathroom cleaning – floor cleaning.
Floor Cleaning
The bathroom floor is subjected to constant traffic, moisture, and potential spills, making it important to regularly clean and maintain its cleanliness. Regular floor cleaning not only prevents the buildup of dirt and grime but also ensures a hygienic and appealing bathroom environment. Here’s how to effectively clean your bathroom floor:
- Clear the area: Start by removing any mats, rugs, or items on the bathroom floor. This will give you easier access to clean the entire surface.
- Dry sweep or vacuum: Begin by dry sweeping or using a vacuum cleaner with a hard floor attachment to remove loose debris, dust, and hair from the floor. This step prevents scratching or spreading dirt while cleaning.
- Mix a cleaning solution: Prepare a cleaning solution by diluting a mild floor cleaner or a mixture of warm water and vinegar. Follow the manufacturer’s instructions for the recommended dilution ratio if using a commercial cleaner.
- Mop the floor: Dip a mop into the cleaning solution, wring out any excess moisture, and gently mop the entire bathroom floor. Focus on any stained or soiled areas, working your way from one end to the other. Be sure to reach corners and edges for a thorough clean.
- Address stubborn stains: For stubborn stains or grime, use a soft brush or sponge to gently scrub the affected area. A mixture of baking soda and water can be effective in removing tough stains. Rinse the area well after scrubbing.
- Rinse the floor: Once you’ve finished mopping and scrubbing, rinse the mop thoroughly to remove any residual cleaning solution. Then, go over the floor once more with clean water to remove any remaining cleaner or residue.
- Dry the floor: Use a dry, clean towel or a microfiber cloth to dry the bathroom floor. This step helps prevent slipping and water marks, leaving a clean and polished surface.
- Replace mats and rugs: Once the floor is dry, put back any mats or rugs that were removed earlier. This adds a finishing touch to your clean bathroom floor while providing an extra layer of comfort and safety.
Regular floor cleaning will preserve the cleanliness and appearance of your bathroom, as well as minimize the spread of germs and bacteria. Incorporate this step into your cleaning routine to maintain a fresh and inviting bathroom space. Now that we’ve covered floor cleaning, let’s move on to another crucial aspect of bathroom organization – cabinet and storage organization.
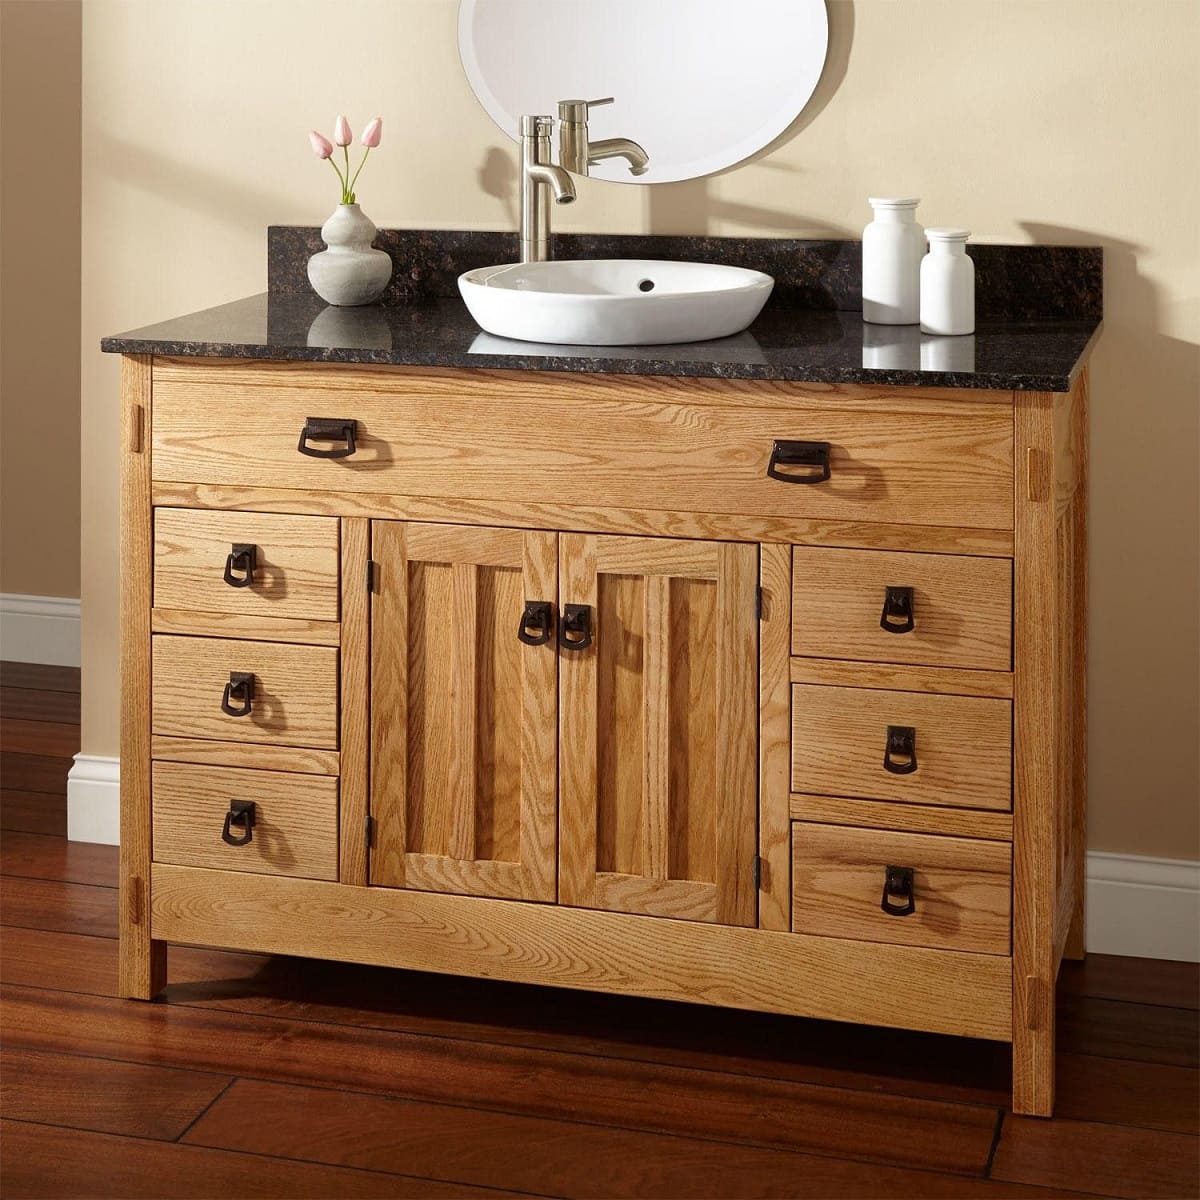
Cabinet and Storage Organization
A well-organized bathroom cabinet and storage system can make a significant difference in keeping your bathroom clutter-free and efficient. It not only allows for easy access to toiletries and supplies but also maximizes the use of available space. Follow these tips to effectively organize your bathroom cabinets and storage:
- Declutter and purge: Start by decluttering your bathroom cabinets and storage areas. Remove any expired products, duplicate items, or things you no longer use. This step will create more space and make it easier to organize.
- Group similar items: Categorize your bathroom essentials into groups such as hair care, skincare, oral care, etc. This will help you visualize the items you have and make it easier to find them when needed.
- Utilize storage containers and dividers: Opt for storage containers, bins, or dividers to keep like items together and create designated spaces for each category. This will prevent items from getting mixed up and help maintain an organized system.
- Maximize vertical space: Make use of the vertical space in your cabinets and storage areas by installing additional shelves or using stackable storage solutions. This allows you to utilize the full height of the cabinet and create more storage space.
- Arrange items strategically: Place frequently used items within easy reach, keeping them towards the front of the cabinet or in a designated spot. Less frequently used items can be stored towards the back or on higher shelves.
- Label containers: Labeling storage containers and bins can be a helpful way to quickly identify the contents of each container. This makes finding specific items easier and encourages a consistent system of organization.
- Consider drawer dividers: If you have drawers in your bathroom, invest in drawer dividers to keep smaller items like makeup, grooming tools, or jewelry organized and easily accessible.
- Utilize wall space: Take advantage of wall space by installing hooks, shelves, or magnetic strips to hang towels, store hair tools, or keep frequently used items within reach.
- Maintain regularly: Once you have organized your bathroom cabinets and storage, make it a habit to regularly declutter and reorganize. This will prevent items from accumulating and help you maintain a well-organized space.
By implementing these organization strategies, you can create a streamlined and functional bathroom storage system. An organized bathroom not only makes your daily routine more convenient but also enhances the overall visual appeal of your space. Finally, let’s move on to deep cleaning and maintenance tasks that should be performed periodically.
Deep Cleaning and Maintenance Tasks
In addition to your regular cleaning routine, it’s important to dedicate some time to deep cleaning and maintenance tasks in your bathroom. These tasks ensure that hidden dirt, grime, and potential issues are addressed, keeping your bathroom in top condition. Here are some deep cleaning and maintenance tasks you should consider:
- Grout and tile cleaning: Over time, grout can become discolored and tile surfaces may accumulate dirt and grime. Periodically deep clean grout lines using a grout cleaner and scrub brush, and give tile surfaces a thorough scrub to remove any buildup.
- Deep clean the toilet: While regular cleaning keeps your toilet sanitary, deep cleaning is necessary to remove accumulated stains and bacteria. Use a toilet brush and cleaner to thoroughly scrub the bowl, under the rim, and tank fittings.
- Descale faucets and showerheads: Mineral deposits from hard water can cause faucets and showerheads to become clogged or lose their water pressure. Soak them in a solution of vinegar and water overnight to dissolve the mineral buildup and restore proper functionality.
- Clean and maintain ventilation: Proper ventilation in the bathroom is important to prevent mold, mildew, and excess moisture. Clean or replace ventilation fans regularly to ensure optimal performance.
- Inspect and seal grout: Check the condition of the grout in your bathroom. If it is cracked or deteriorating, repair and seal it to prevent water damage and maintain its appearance.
- Check for water leaks: Periodically inspect your bathroom for any signs of water leaks from faucets, pipes, or toilets. Addressing leaks promptly can prevent water damage and potential mold growth.
- Deep clean shower curtains and liners: Remove shower curtains and liners, if applicable, and wash them according to the care instructions. This removes soap scum and mildew, keeping them fresh and clean.
- Clean and organize cabinets: Take the opportunity to deep clean and reorganize your bathroom cabinets and storage areas. Wipe down shelves, reorganize items, and discard any expired products.
- Refresh grout and caulk lines: Over time, grout and caulk lines can become discolored or cracked. Refresh them by applying new grout or caulk to keep your bathroom looking clean and well-maintained.
- Inspect and clean drains: Remove any hair or debris from bathtub and sink drains using a drain snake or brush. This helps maintain proper drainage and prevents clogs.
Performing these deep cleaning and maintenance tasks periodically will keep your bathroom in optimal condition and prevent potential issues and costly repairs. Incorporating these tasks into your cleaning schedule ensures that your bathroom remains fresh, clean, and well-maintained for years to come.
Conclusion
Maintaining a clean and well-organized bathroom is essential for creating a relaxing and functional space. By following the tips and techniques outlined in this article, you can optimize your bathroom storage and keep it clutter-free. From daily cleaning routines to deep cleaning and maintenance tasks, each step plays a crucial role in ensuring a clean and hygienic bathroom environment.
Start by gathering the essential cleaning supplies, including all-purpose cleaner, glass cleaner, toilet cleaner, and microfiber cloths. Incorporate a daily cleaning routine that includes wiping down surfaces, squeegeeing the shower, and keeping the toilet clean. Take the time to address specific areas like the sink and countertop, shower and bathtub, tile and grout, mirrors and glass, and the bathroom floor. Each area requires specific cleaning approaches to ensure a thorough and effective clean.
Alongside regular cleaning, organizing your bathroom storage is equally important. Declutter your cabinets, utilize storage containers and dividers, and maximize vertical and wall spaces. This will help you create an efficient storage system that minimizes clutter and maximizes accessibility to your toiletries and supplies.
Lastly, don’t forget about deep cleaning and maintenance tasks. Routinely deep clean your grout and tiles, ensure faucets and showerheads are descaled, inspect for leaks, and maintain proper ventilation. By incorporating these tasks into your overall bathroom cleaning routine, you can address hidden dirt, prevent potential issues, and prolong the lifespan of your bathroom fixtures and surfaces.
In conclusion, a clean and well-organized bathroom not only enhances the functionality of the space but also creates a pleasant environment for your daily routine. With a combination of regular cleaning, organization, and deep cleaning maintenance, you can enjoy a fresh and inviting bathroom that is both visually appealing and hygienic.
Frequently Asked Questions about The Ultimate Bathroom Cleaning Checklist
Was this page helpful?
At Storables.com, we guarantee accurate and reliable information. Our content, validated by Expert Board Contributors, is crafted following stringent Editorial Policies. We're committed to providing you with well-researched, expert-backed insights for all your informational needs.


0 thoughts on “The Ultimate Bathroom Cleaning Checklist”