Articles
How To Cut Ceiling Molding
Modified: February 22, 2024
Learn the step-by-step process of cutting ceiling molding with our informative articles. Enhance your DIY skills and transform your home's interior effortlessly.
(Many of the links in this article redirect to a specific reviewed product. Your purchase of these products through affiliate links helps to generate commission for Storables.com, at no extra cost. Learn more)
Introduction
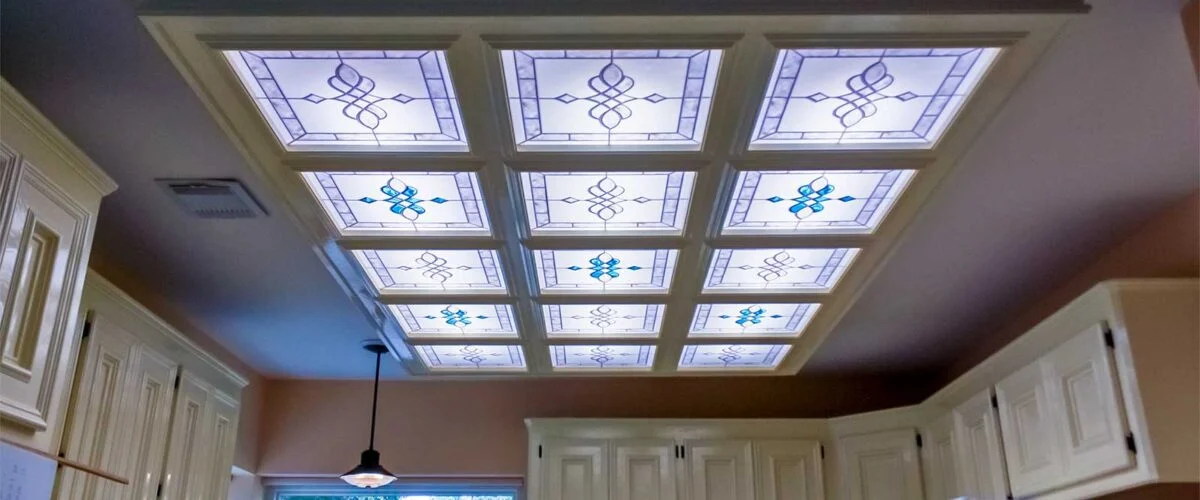
Installing ceiling molding is a great way to add a touch of elegance and style to any room. It can transform a plain and boring ceiling into a focal point that enhances the overall aesthetic appeal of your space. However, cutting ceiling molding can seem like a daunting task for many DIY enthusiasts. With the right tools, materials, and techniques, you can easily achieve clean and precise cuts to ensure a professional-looking finish.
In this article, we will guide you through the step-by-step process of cutting ceiling molding. Whether you’re a seasoned woodworker or a beginner tackling your first home improvement project, this guide will provide you with the knowledge and confidence you need to successfully cut ceiling molding with ease.
Before we dive into the details, it’s important to note that safety should always be a top priority when working with tools and machinery. Make sure to wear appropriate protective gear, such as safety glasses and gloves, and work in a well-ventilated area. Additionally, if you are unfamiliar with using power tools, it may be beneficial to seek assistance from a professional or experienced individual.
Now that we have covered the essentials, let’s move on to the tools and materials you will need for this project.
Key Takeaways:
- Transform a plain ceiling into an elegant focal point by cutting and installing ceiling molding with precision and care. Prioritize safety, measure accurately, and add finishing touches for a professional result.
- With the right tools and techniques, cutting ceiling molding can be a rewarding DIY project. Take your time, prioritize safety, and enjoy the process of enhancing your space with elegant molding.
Read more: How To Install Ceiling Molding
Tools and Materials Needed
Before you begin cutting ceiling molding, gather the necessary tools and materials to ensure a smooth and efficient process. Here’s a list of what you’ll need:
- Miter Saw: A miter saw is an essential tool for cutting precise angles in molding. It allows you to make accurate cuts at various angles, making it ideal for both straight cuts and corner cuts.
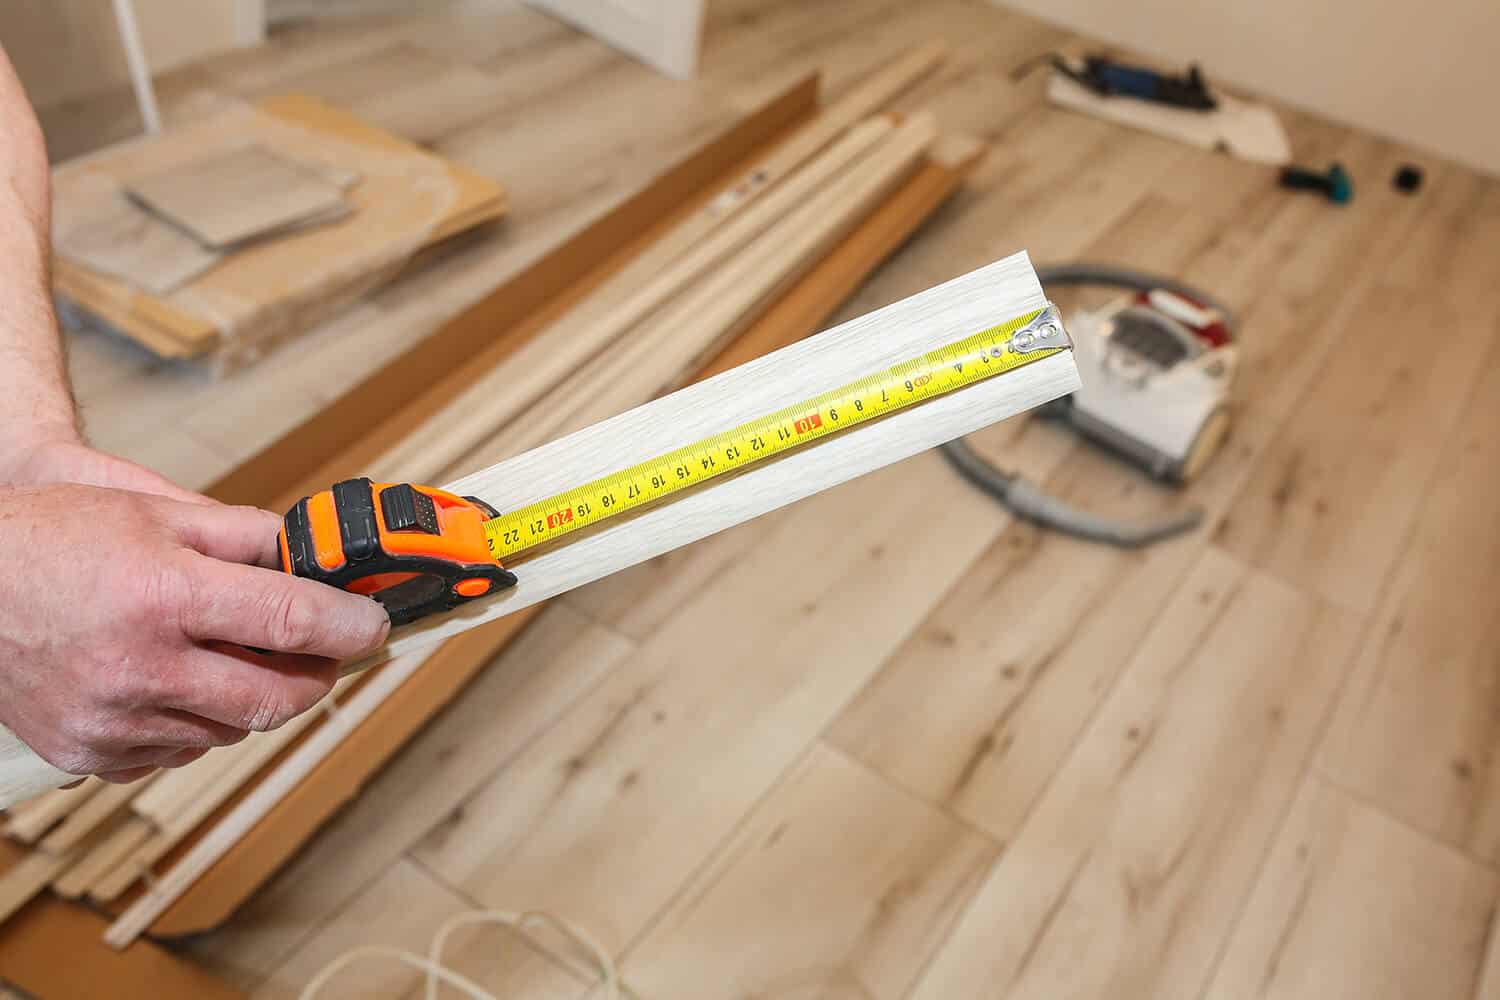
- Measuring Tape: A measuring tape is essential for accurately measuring the length and width of the molding pieces you need to cut.
- Pencil: A pencil will be used to mark the measurements on the molding.
- Miter Box: If you don’t have access to a miter saw, a miter box can be used to guide your hand saw when making angled cuts.
- Safety Glasses: Protect your eyes from any debris or wood particles while cutting the molding.
- Gloves: To protect your hands while handling the molding and any sharp tools.
- Sandpaper or Sanding Block: Use sandpaper or a sanding block to smooth any rough edges or imperfections on the cut molding.
- Wood Glue: Wood glue is used to secure the molding joints and ensure they stay in place.
- Finishing Nails: Finishing nails are used to further secure the molding to the ceiling or walls.
- Paint or Stain: Depending on your preference, you may need paint or stain to finish the molding and blend it in with the rest of the room.
Make sure you have all of these tools and materials readily available before you start cutting the ceiling molding. Having everything prepared will save you time and make the process much smoother.
Now that you have everything you need, let’s move on to the step-by-step process of cutting ceiling molding.
Step 1: Measure and Mark
Before cutting the ceiling molding, it is crucial to accurately measure and mark the desired lengths and angles for each piece. Here’s how to do it:
- Start by measuring the length of the wall or ceiling where the molding will be installed. Use a measuring tape and write down the measurements for reference.
- Next, determine the angle at which the molding should be cut. Most common angles for ceiling molding are 45 degrees for outside corners and 90 degrees for inside corners. Measure and mark the angles accordingly.
- Using a pencil, make small marks on the molding to indicate where the cuts will be made. Double-check the measurements and angles before proceeding.
- For straight cuts, mark the length of the molding based on the measurements taken earlier. Use a straight edge or a level to ensure a straight line.
- If you are cutting multiple pieces of molding for the same length, mark them all at once to ensure consistency.
- For angled cuts, use a protractor or an angle finder to accurately measure the required angle for each piece. Mark the angles on the molding using a pencil.
Remember to take your time with the measuring and marking process to ensure precise cuts. Accuracy at this stage will save you time and effort later on when cutting the molding.
Once you have measured and marked all the necessary lengths and angles on the molding, proceed to the next step to prepare the saw.
Step 2: Prepare the Saw
Before you start cutting the ceiling molding, it is essential to prepare your saw for the task at hand. Here’s how to properly set up your saw:
- Ensure that your miter saw is securely positioned on a stable surface. If you are using a miter box, make sure it is firmly clamped to a workbench or table.
- Check that the blade on your miter saw is sharp and in good condition. If necessary, replace the blade with a new one to ensure clean and precise cuts.
- Adjust the miter saw or miter box to the desired angle for your cuts. If you are cutting at a 45-degree angle for outside corners, set the saw or box accordingly. For inside corners at a 90-degree angle, adjust the saw or box accordingly as well.
- Refer to the user manual or manufacturer’s instructions for your specific saw to ensure proper adjustments and settings.
- Make sure the blade guard on your miter saw is functioning correctly and in place. This guard helps protect your hands and fingers during the cutting process.
- If you are using a miter box, position the molding securely inside the box and use clamps to hold it in place.
- Double-check that all safety features on your saw are working correctly, including the dust collection system if applicable.
Once you have ensured that your saw is properly set up and safety measures are in place, you can move on to the next step of making straight cuts in the ceiling molding.
Step 3: Make Straight Cuts
With your saw properly prepared, it’s time to start cutting the ceiling molding. Follow these steps for making straight cuts:
- Position the marked molding piece on the saw’s base or in the miter box, aligning the pencil mark with the appropriate cutting guide.
- Hold the molding firmly in place, ensuring that your hands are clear of the saw blade and any moving parts.
- Activate the saw and slowly lower the blade onto the molding, following the marked pencil line. Maintain a steady and controlled pace.
- Complete the cut by moving the blade in a smooth and fluid motion through the molding.
- Once the cut is complete, release the saw’s trigger and allow the blade to come to a complete stop before removing the cut piece of molding.
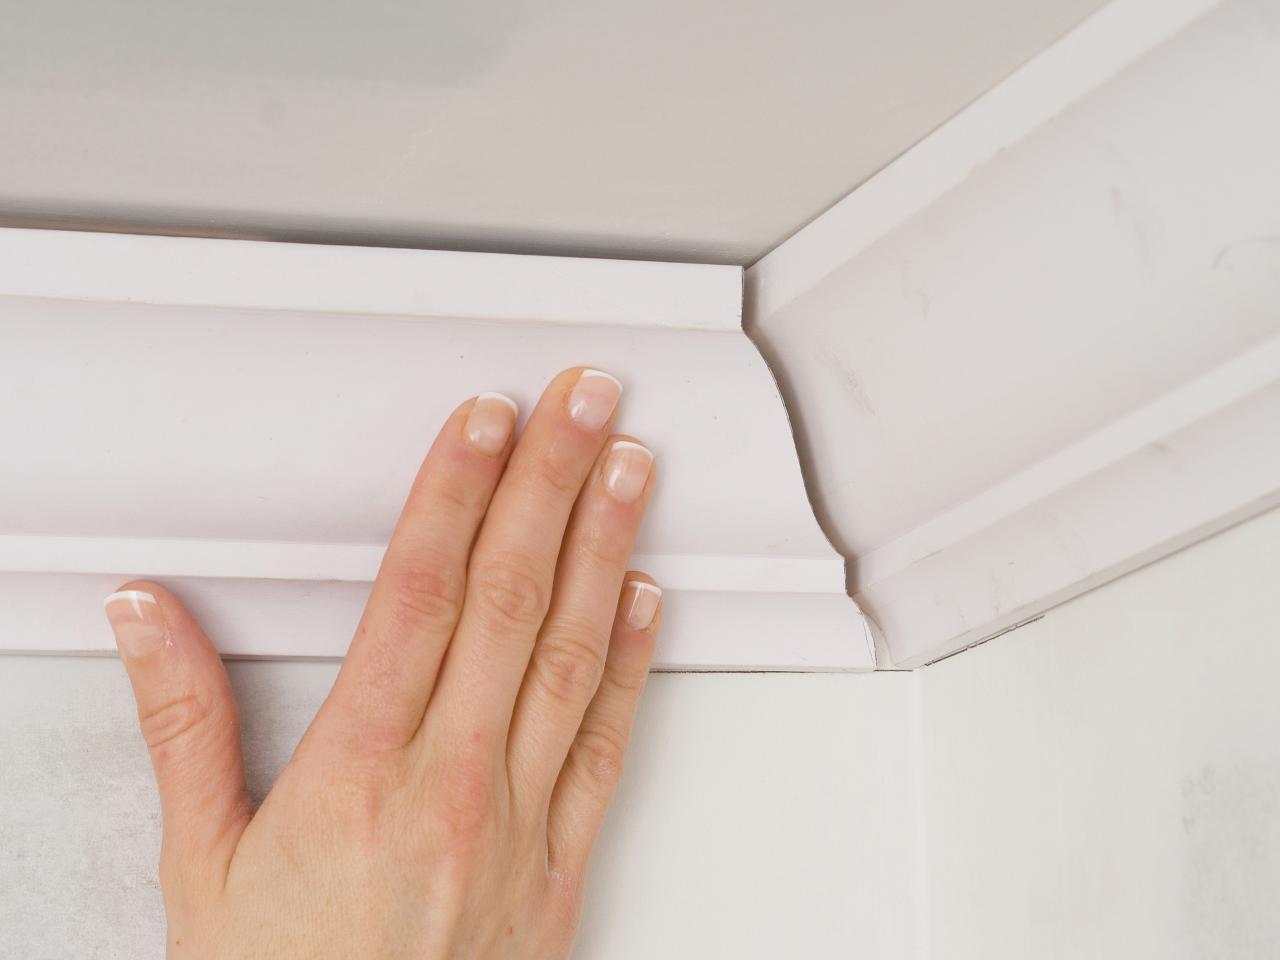
After making each straight cut, ensure that the resulting piece fits perfectly in its intended location. If necessary, use sandpaper or a sanding block to smooth any rough edges or imperfections on the cut molding.
Continue repeating these steps for each straight cut required for your ceiling molding installation. Ensure accuracy and take your time to achieve clean and precise cuts.
Now that you have mastered the art of making straight cuts, it’s time to move on to cutting the outside corners of the molding.
When cutting ceiling molding, always measure twice and cut once to ensure accuracy. Use a miter saw for angled cuts and a coping saw for inside corners. Sand any rough edges for a seamless finish.
Read more: How To Clean Ceilings And Moldings
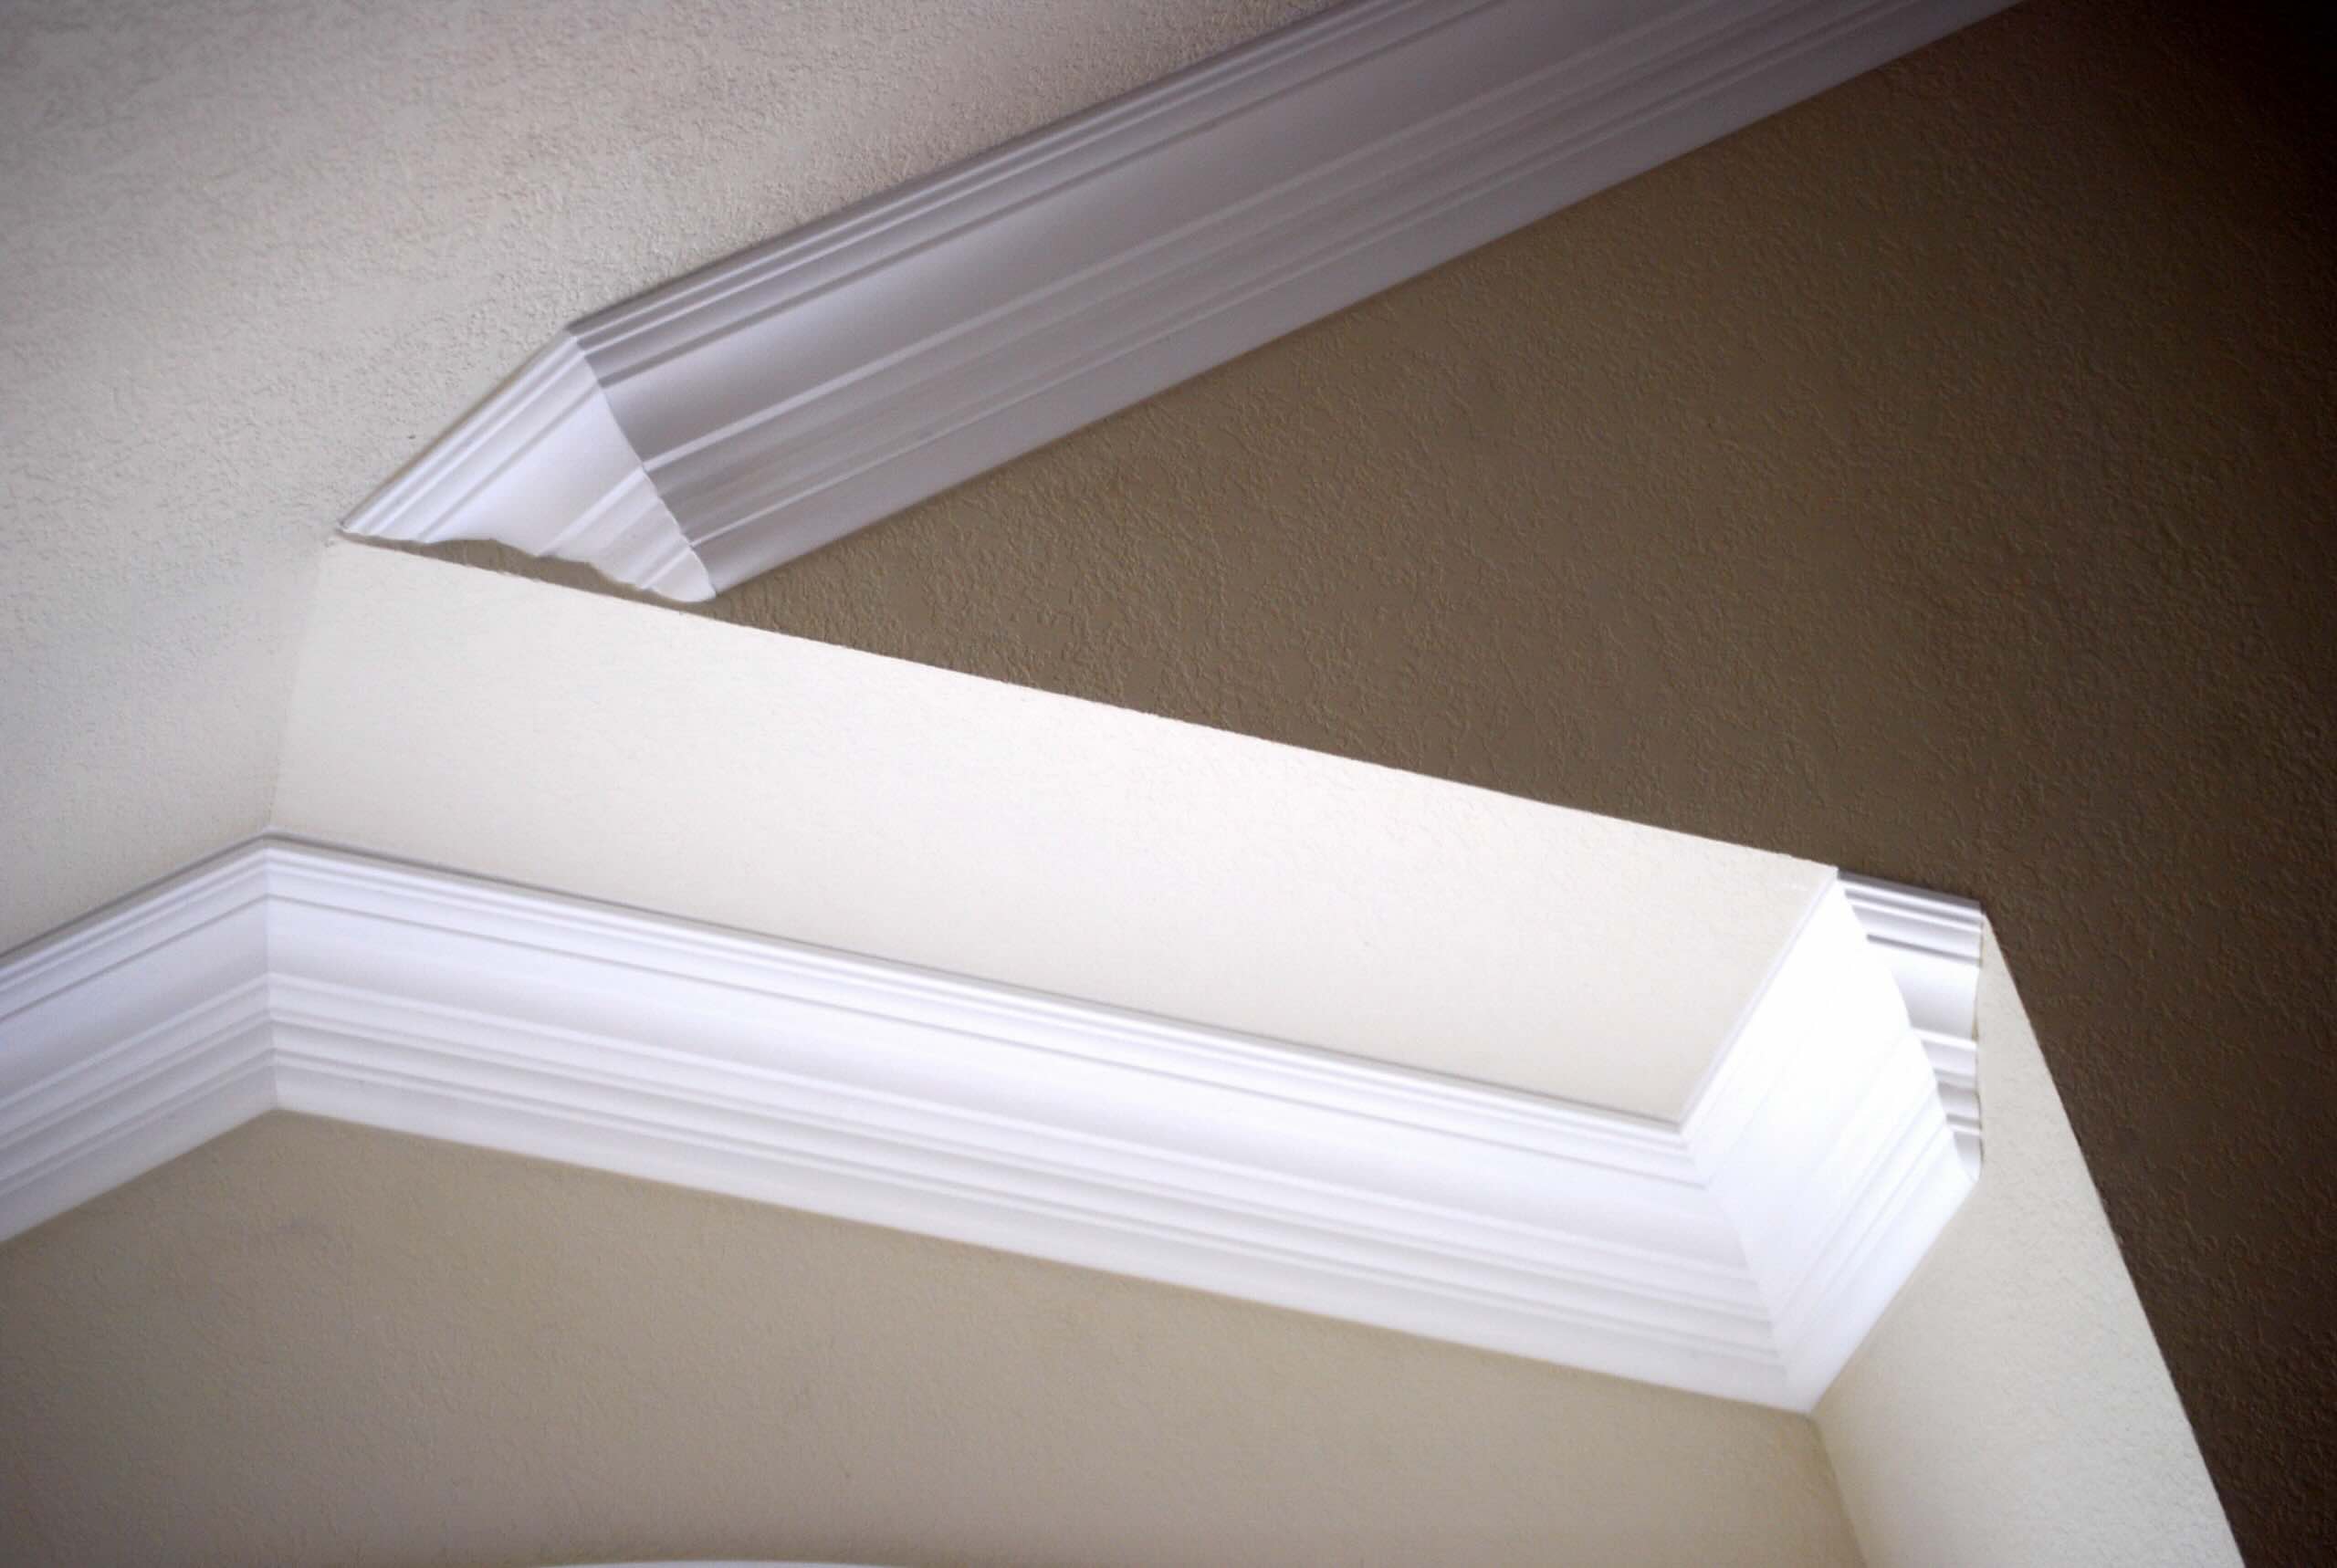
Step 4: Cutting Outside Corners
When it comes to ceiling molding, outside corners require special attention to ensure a seamless and professional-looking installation. Follow these steps to cut outside corners:
- Identify the angle at which the two pieces of molding will meet. Most outside corners are cut at a 45-degree angle.
- Measure and mark the angle on the first piece of molding using a protractor or an angle finder.
- Position the first piece of molding securely in the miter saw or miter box, ensuring the marked angle aligns with the appropriate cutting guide.
- Hold the molding firmly in place, keeping your hands away from the saw blade and any moving parts.
- Activate the saw and slowly lower the blade onto the molding, following the marked angle. Make the cut in a smooth and controlled manner.
- Repeat the process for the second piece of molding, ensuring the opposite 45-degree angle is properly marked and cut.
- Test the fit of the two cut pieces together at the outside corner. Make any necessary adjustments by trimming small amounts until the pieces fit snugly together.
Remember to double-check the angle measurements and take your time to ensure accurate cuts. Outside corners can be challenging, but with patience and precision, you can achieve a professional-looking result.
Once you have successfully cut the outside corners of your ceiling molding, it’s time to tackle the inside corners in the next step.
Step 5: Cutting Inside Corners
Inside corners of ceiling molding can be a bit trickier to cut than outside corners, but with the right approach, you can achieve a seamless fit. Follow these steps to cut inside corners:
- Measure and mark the angle of the inside corner on the first piece of molding. Inside corners are typically cut at a 90-degree angle.
- Position the first piece of molding securely in the miter saw or miter box, aligning the marked angle with the appropriate cutting guide.
- Hold the molding firmly in place, ensuring your hands are clear of the saw blade and any moving parts.
- Activate the saw and slowly lower the blade onto the molding, following the marked angle. Make the cut in a smooth and controlled manner.
- Repeat the process for the second piece of molding, carefully marking and cutting the opposite 90-degree angle.
- Test the fit of the two cut pieces together at the inside corner. Make any necessary adjustments by trimming small amounts until the pieces fit tightly together with a seamless joint.
Take your time and exercise caution while cutting inside corners. The precision and accuracy of your cuts will ensure a professional and visually appealing result.
We are almost done! In the next step, we will cover the finishing touches to complete the installation of your ceiling molding.
Step 6: Finishing Touches
Congratulations! You have successfully cut and installed your ceiling molding. Now it’s time to add the finishing touches to ensure a polished and professional look. Follow these steps:
- Apply wood glue to the joints where the molding pieces meet. This will help secure the pieces together and create a seamless appearance.
- Use finishing nails to further secure the molding to the ceiling or wall. Place the nails into the molding at a slight angle to prevent them from splitting the wood.
- Countersink the nails by using a nail punch or a similar tool. This will allow you to fill the holes with wood filler for a smooth and even finish.
- If desired, use wood filler to fill any gaps or holes in the molding joints or nail holes. Smooth the wood filler with a putty knife and allow it to dry completely.
- Once the wood filler is dry, sand the filled areas using fine-grit sandpaper or a sanding block to create a seamless surface.
- Clean up any dust or debris created during the cutting and installation process using a damp cloth or vacuum cleaner.
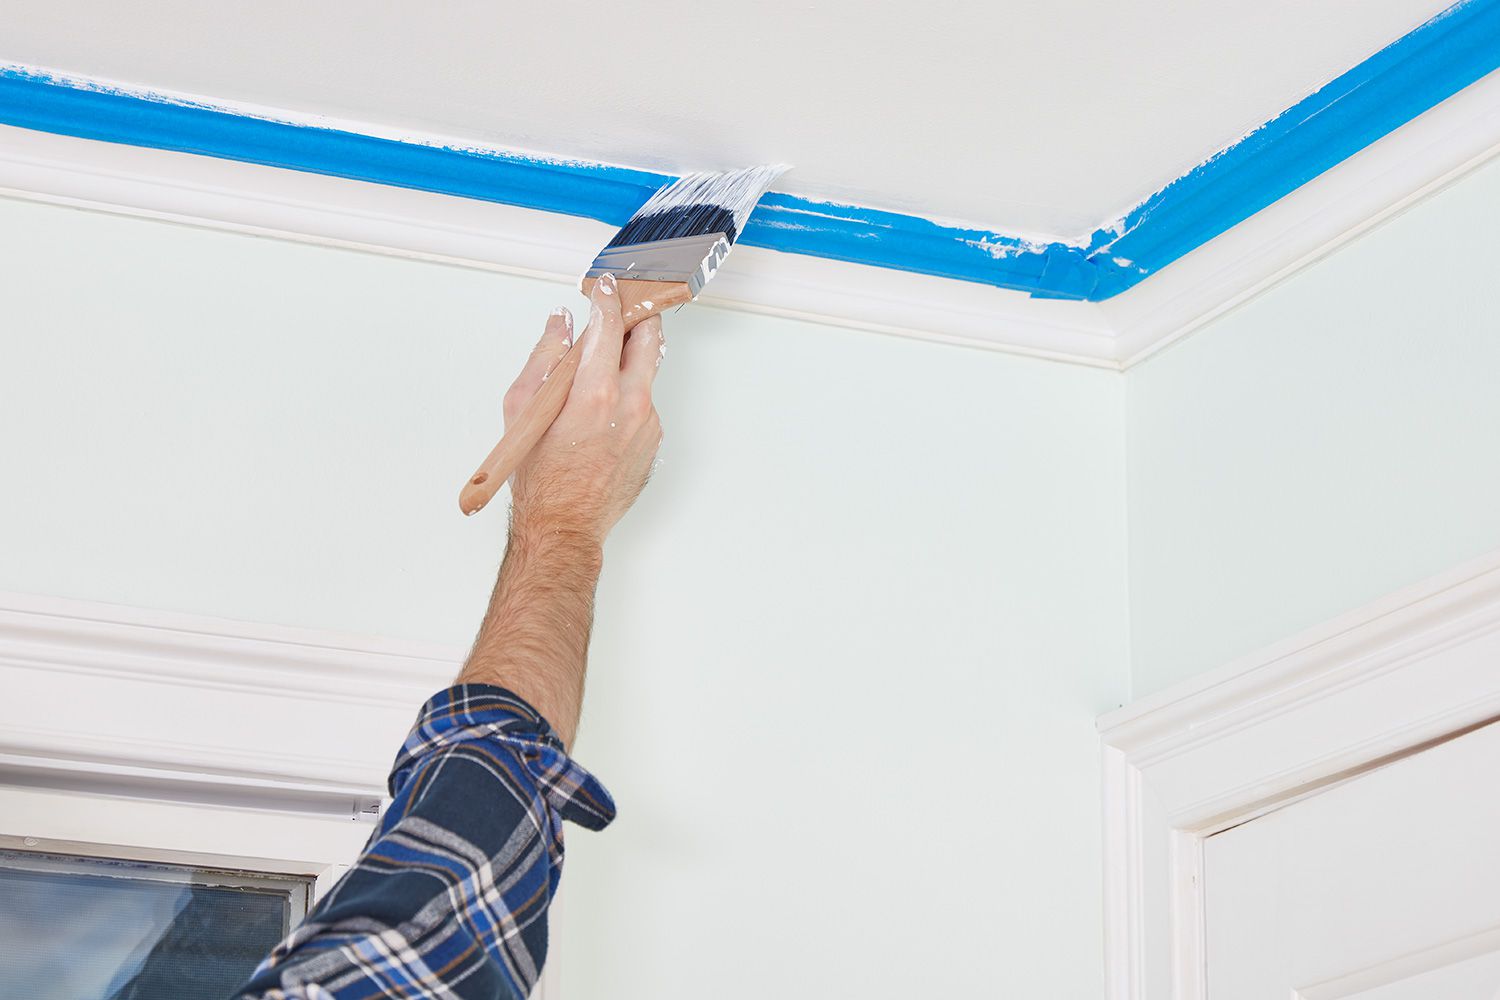
- Finally, apply paint or stain to the molding to match the rest of the room’s decor. Allow the paint or stain to dry completely before enjoying the finished look.
By following these finishing touches, you will create a professional-looking result that adds a touch of elegance and sophistication to your space.
Congratulations on completing all the steps in cutting ceiling molding! Step back and admire your work – you’ve successfully transformed your ceiling into a stunning focal point that enhances the overall aesthetic of the room.
As a final note, remember to always prioritize safety when working with tools and machinery. Clean up your workspace and store your tools properly for future use.
Enjoy your newly installed ceiling molding and bask in the satisfaction of a job well done!
If you have any further questions or need additional assistance, don’t hesitate to reach out. Happy decorating!
Conclusion
Cutting ceiling molding may seem like a daunting task, but with the right tools, materials, and techniques, it can be a rewarding DIY project. By following the step-by-step process outlined in this article, you can achieve clean and precise cuts that result in a professional-looking finish.
Remember to prioritize safety throughout the process by wearing appropriate protective gear and working in a well-ventilated area. If you are unfamiliar with using power tools, seek guidance from a professional or experienced individual.
The key to successful ceiling molding installation is accurate measurement, proper marking, and careful cutting. Take your time during each step to ensure precise angles and lengths. Sanding any rough edges and securing the molding with wood glue and finishing nails will provide a seamless and secure fit.
Don’t forget the finishing touches! Using wood filler, sanding, and applying paint or stain are crucial final steps that will enhance the overall appearance of your ceiling molding and blend it seamlessly with the rest of the room’s decor.
With the right techniques and attention to detail, you can transform a plain ceiling into an elegant and stylish feature that adds character and charm to your space.
We hope this guide has provided you with the knowledge and confidence to cut and install ceiling molding effectively. Remember, practice makes perfect, so don’t be discouraged if you encounter challenges along the way. With each project, you will gain more experience and improve your skills.
Now, it’s time to roll up your sleeves, gather your tools, and embark on this exciting home improvement journey. Enjoy the process and the satisfaction of seeing your vision come to life!
Frequently Asked Questions about How To Cut Ceiling Molding
Was this page helpful?
At Storables.com, we guarantee accurate and reliable information. Our content, validated by Expert Board Contributors, is crafted following stringent Editorial Policies. We're committed to providing you with well-researched, expert-backed insights for all your informational needs.


0 thoughts on “How To Cut Ceiling Molding”