Home>Technology>Home Entertainment Systems>How To Connect Apple TV To A Projector
Home Entertainment Systems
How To Connect Apple TV To A Projector
Modified: August 31, 2024
Learn how to enhance your home entertainment system by connecting your Apple TV to a projector for an immersive viewing experience. Discover step-by-step instructions and tips. Elevate your entertainment setup today!
(Many of the links in this article redirect to a specific reviewed product. Your purchase of these products through affiliate links helps to generate commission for Storables.com, at no extra cost. Learn more)
Introduction
Welcome to the world of home entertainment, where technology seamlessly integrates with our desire for immersive viewing experiences. If you're the proud owner of an Apple TV and a projector, you're on the brink of unlocking a whole new level of entertainment. Connecting your Apple TV to a projector opens up a world of possibilities, allowing you to enjoy your favorite movies, TV shows, and even gaming on a much larger screen.
In this comprehensive guide, we will walk you through the steps to seamlessly connect your Apple TV to a projector. Whether you're a tech enthusiast looking to enhance your home theater setup or a casual user eager to explore new possibilities, this guide is designed to help you make the most of your devices.
By the end of this tutorial, you'll have a clear understanding of how to set up your Apple TV with a projector, ensuring that you can start enjoying your favorite content on the big screen in no time. So, let's dive in and explore the exciting world of Apple TV and projectors!
Key Takeaways:
- Transform your home entertainment experience by seamlessly connecting your Apple TV to a projector, unlocking a world of immersive movies, TV shows, and gaming on a larger-than-life screen.
- With the right equipment and settings, you can create a captivating home theater environment, immersing yourself in the seamless integration of your Apple TV and projector for unforgettable entertainment experiences.
Read more: How To Connect TV To A Projector
Step 1: Gather the Necessary Equipment
Before embarking on the journey of connecting your Apple TV to a projector, it's essential to gather the required equipment. Ensuring that you have the right tools at your disposal will streamline the setup process and minimize any potential hiccups along the way.
Here's what you'll need:
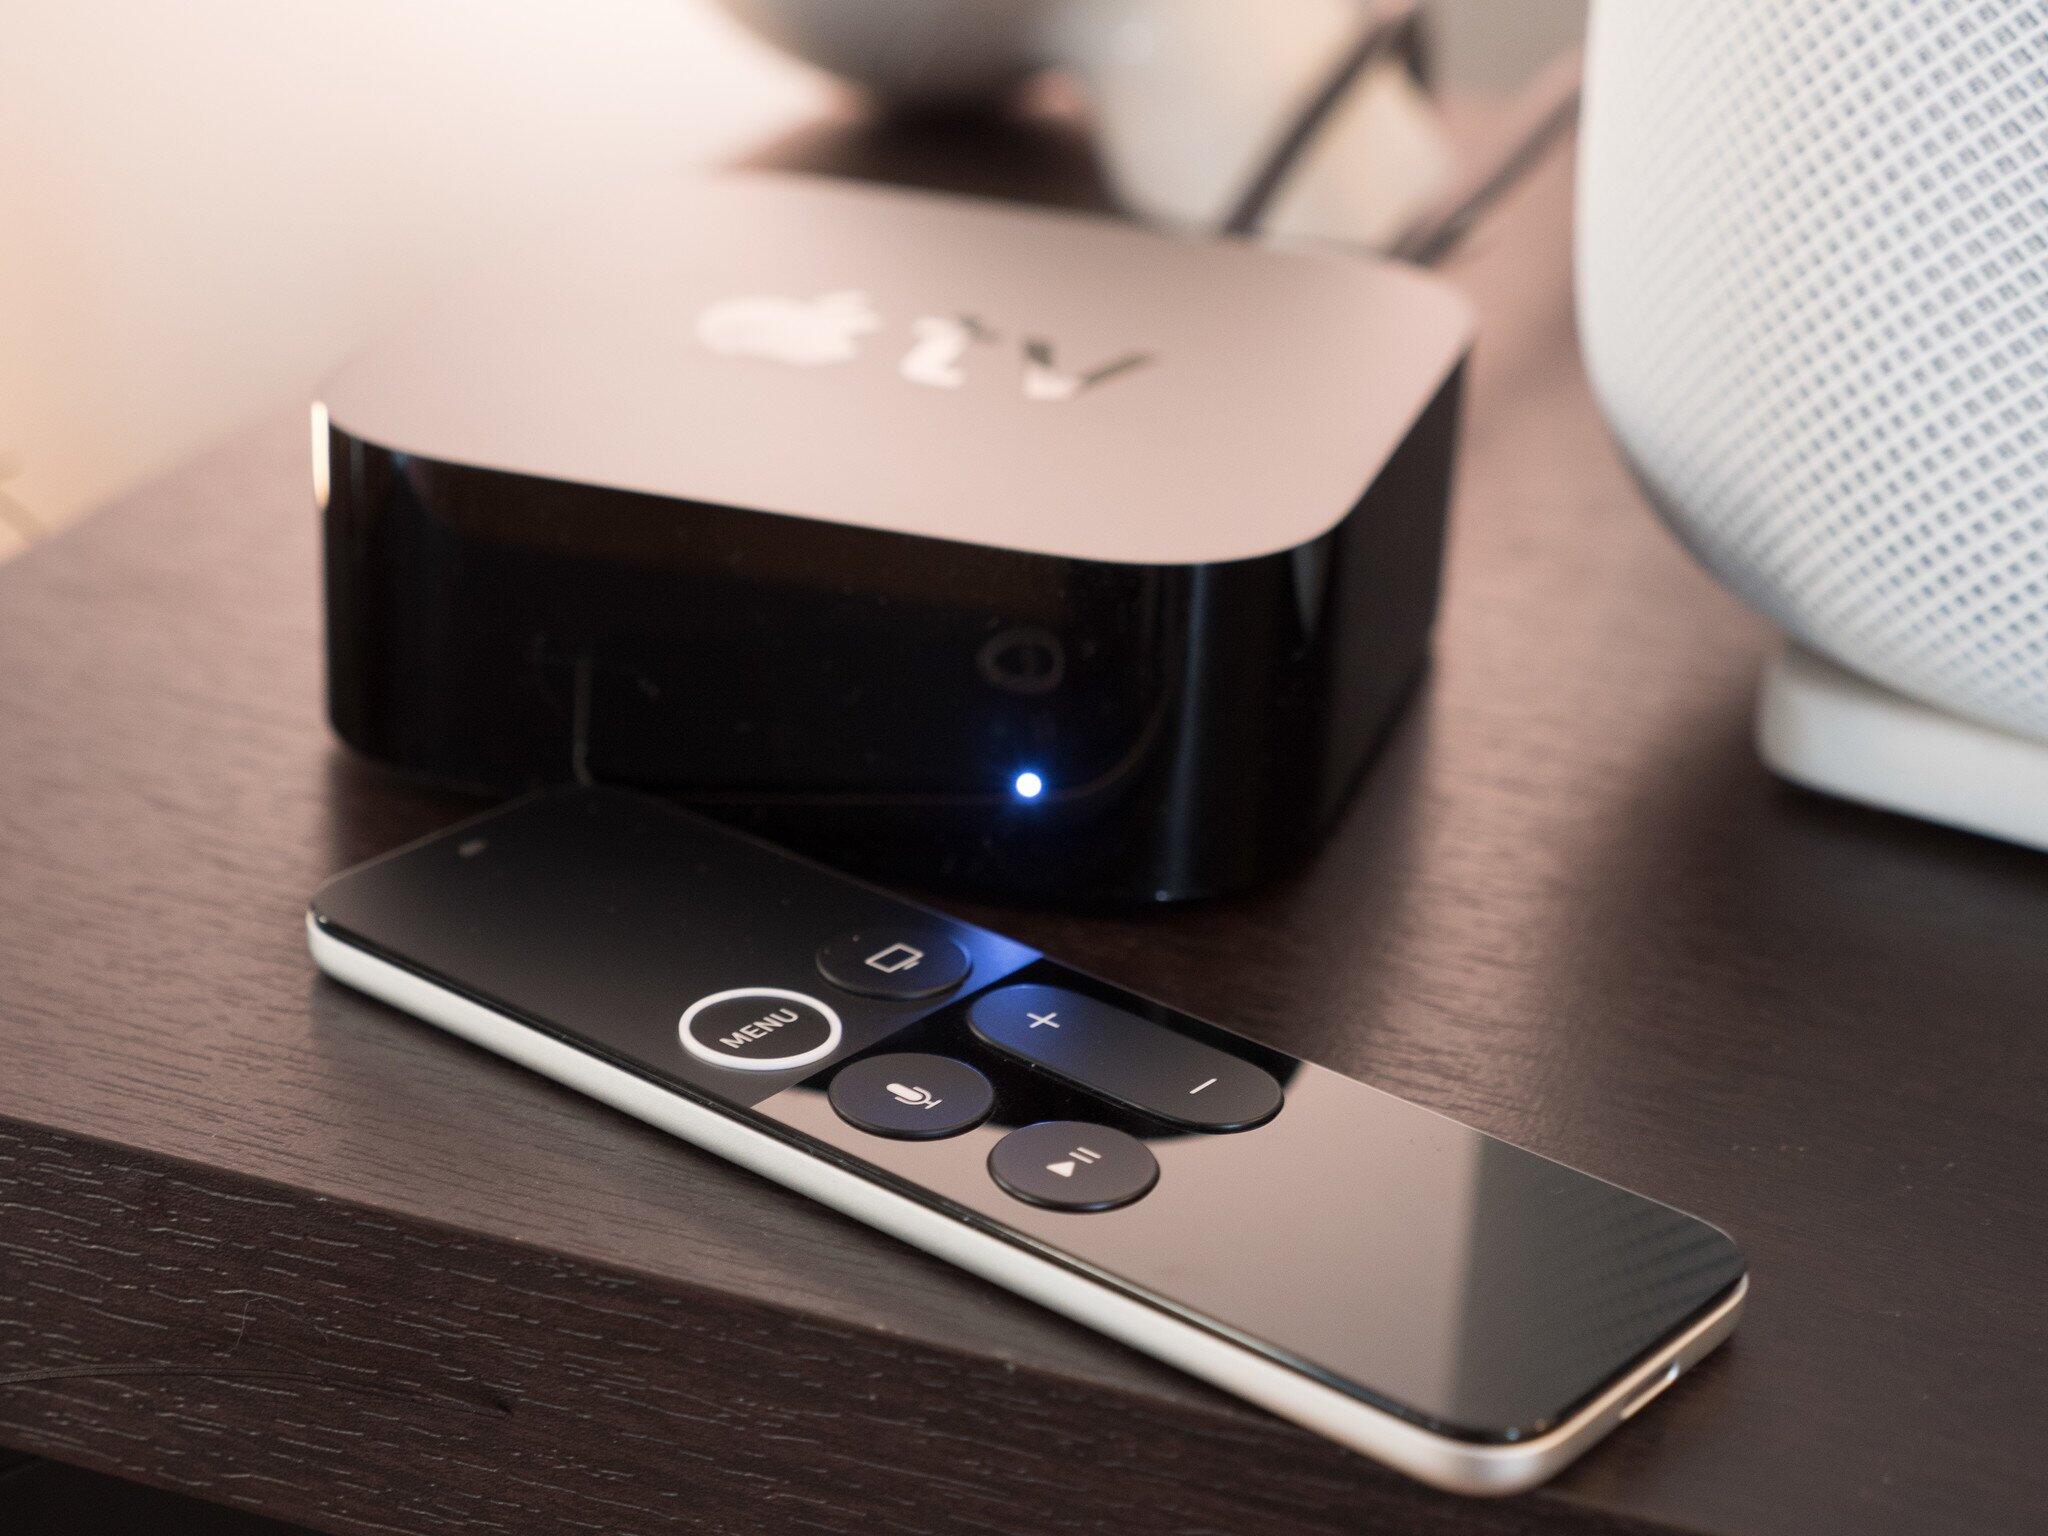
- Apple TV: The central piece of your home entertainment puzzle, the Apple TV brings a wealth of content and streaming capabilities to your fingertips. Ensure that your Apple TV is in working condition and that you have the necessary cables and remote control.
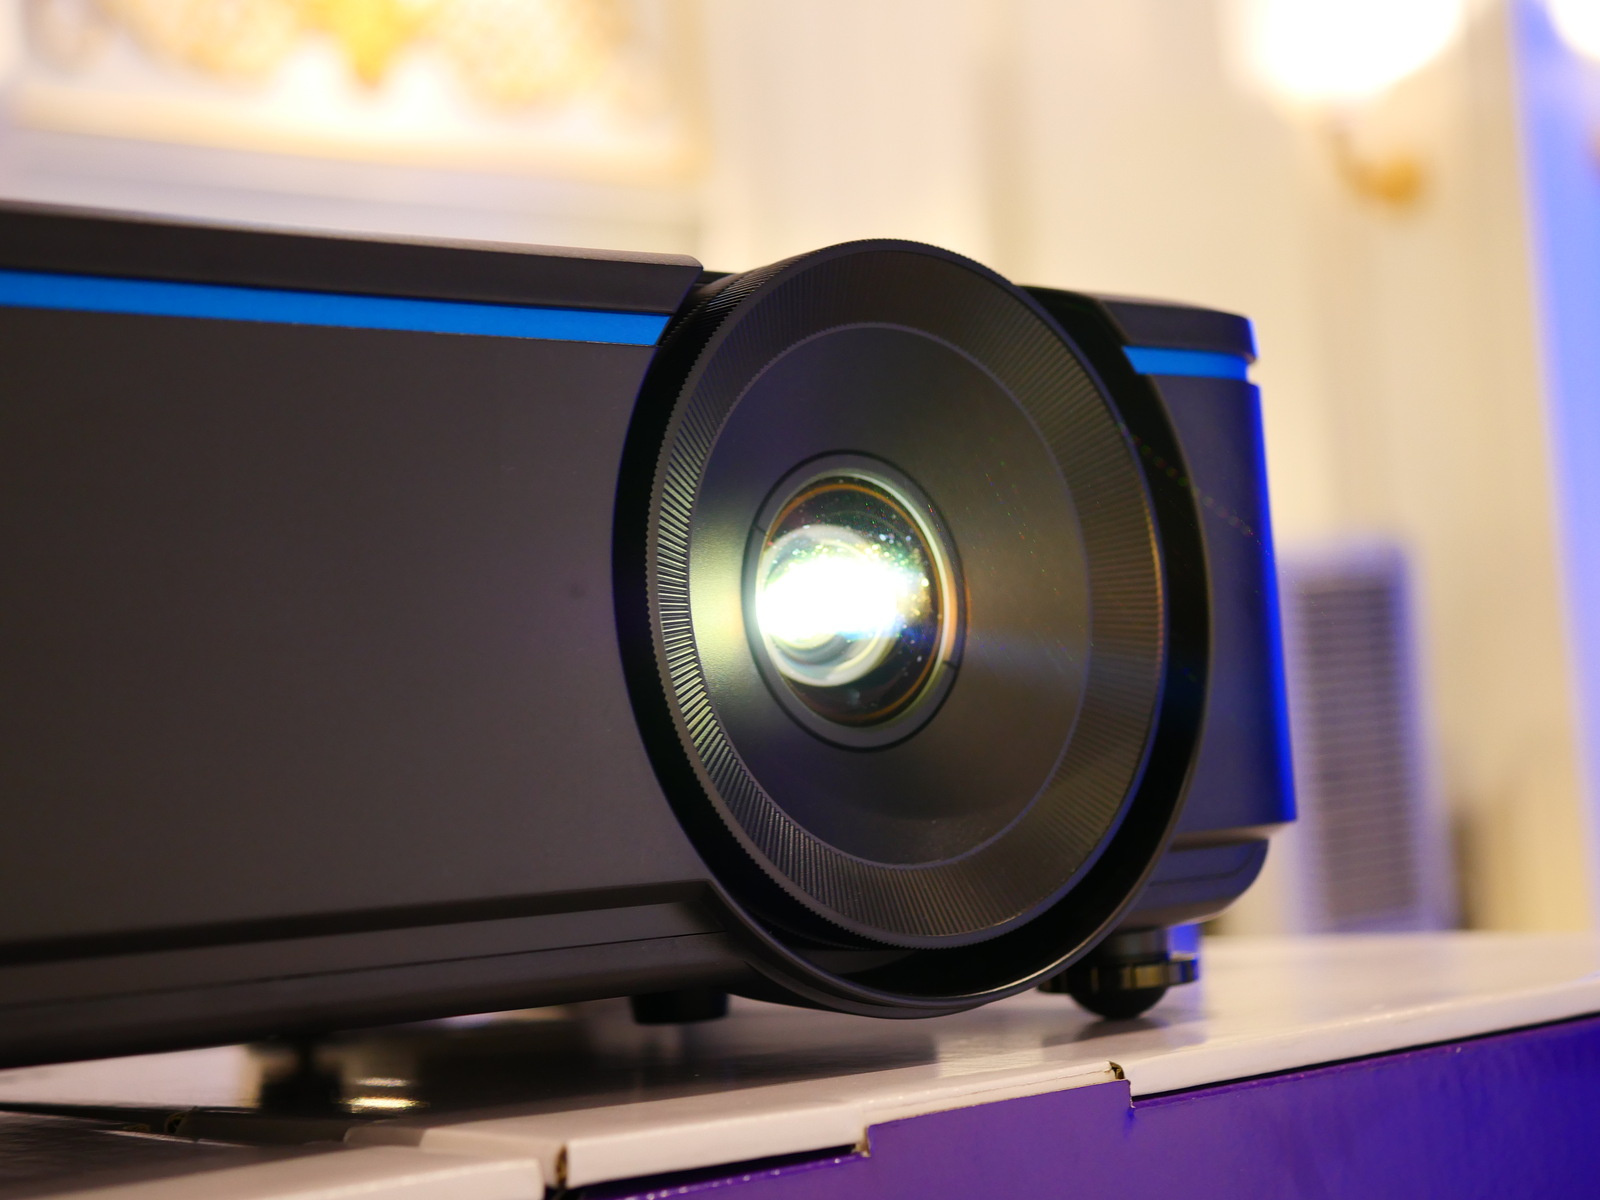
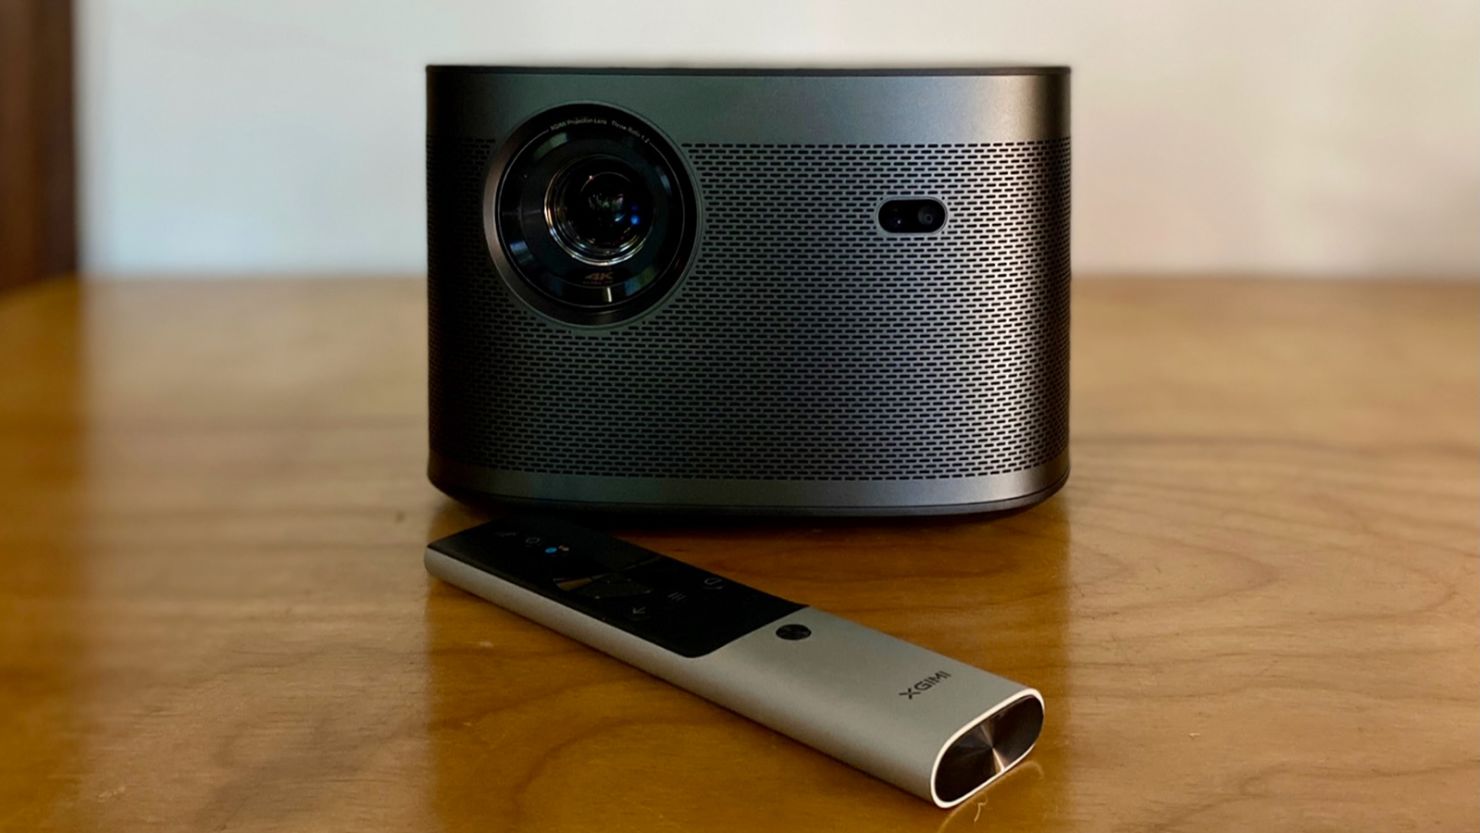
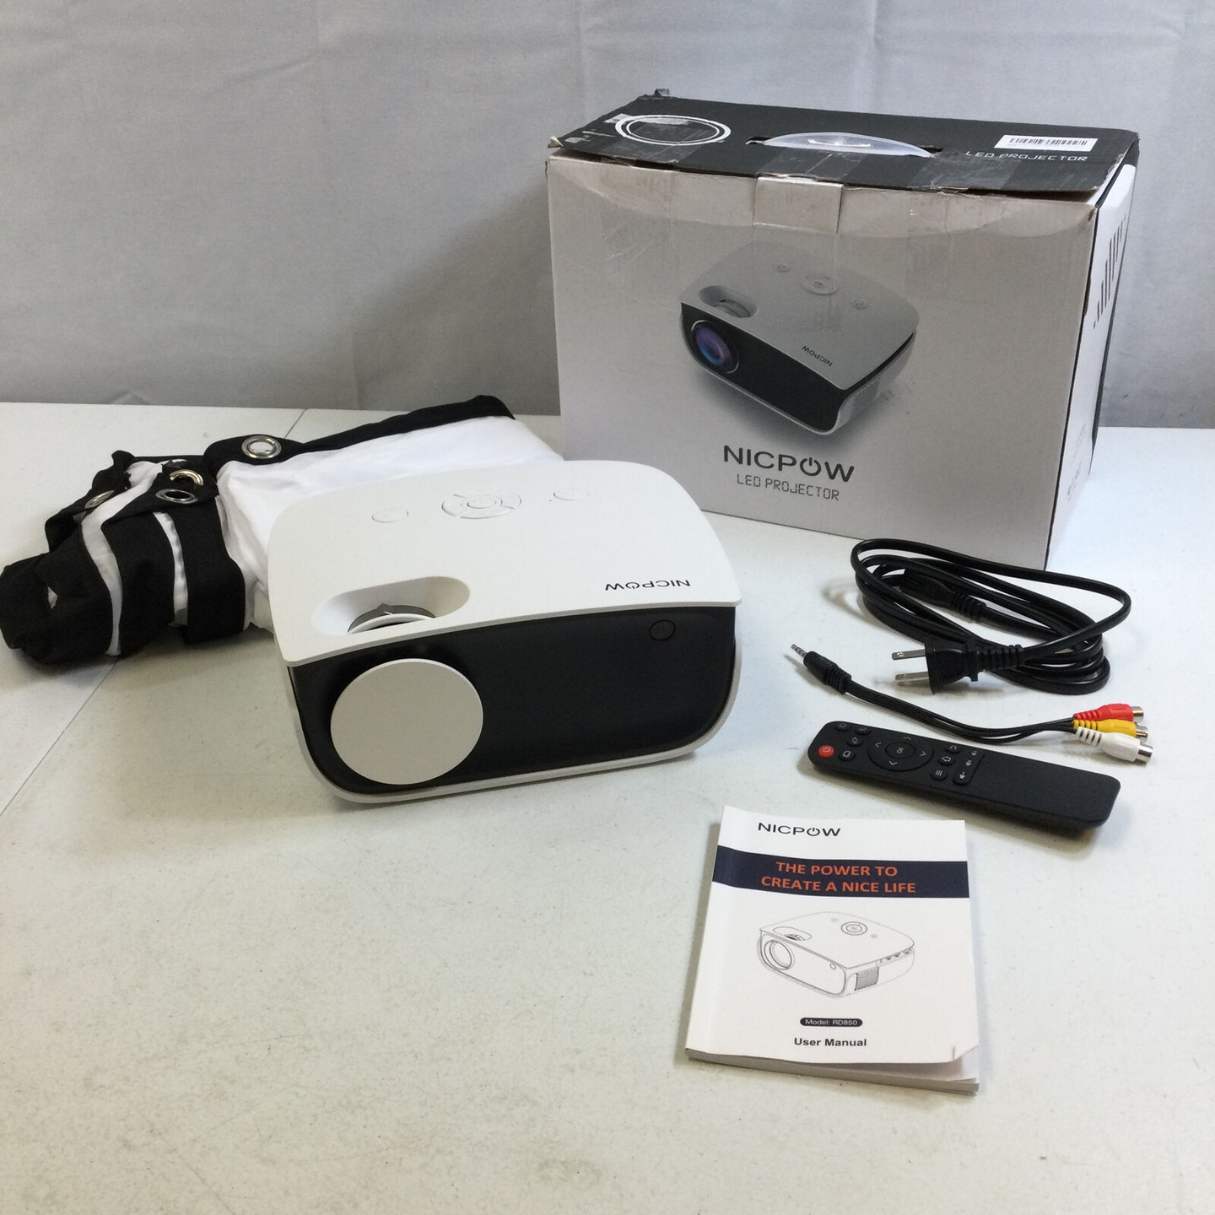
- Projector: Whether it's a compact portable projector or a full-fledged home theater unit, having a projector with the appropriate input ports is crucial. Check that the projector is functioning properly and that you have access to its remote or control panel.
- HDMI Cable: A high-quality HDMI cable is the bridge that connects your Apple TV to the projector. Make sure you have a reliable HDMI cable that is long enough to reach from the Apple TV to the projector with some slack for flexibility.
- Power Cords: Ensure that both the Apple TV and the projector have access to power outlets. Check the condition of the power cords and confirm that they are compatible with the respective devices.
- Network Connection: While not mandatory for the initial setup, having a stable Wi-Fi or Ethernet connection for your Apple TV can enhance your streaming experience and enable access to a wider range of content.
By assembling these essential components, you'll be well-prepared to proceed with the seamless connection of your Apple TV to the projector. With the equipment in place, you're one step closer to transforming your living space into a captivating home theater environment.
Step 2: Connect the Apple TV to the Projector
With the necessary equipment at your disposal, it’s time to embark on the exciting process of connecting your Apple TV to the projector. This step is crucial in establishing the visual link between your streaming device and the projection system, setting the stage for an immersive viewing experience.
Follow these steps to seamlessly connect the Apple TV to the projector:
- Locate the HDMI Ports: Identify the HDMI port on your Apple TV and the corresponding HDMI input on the projector. These ports are typically labeled for easy identification. If your projector has multiple HDMI inputs, take note of the specific port you’ll be using.
- Connect the HDMI Cable: Take the HDMI cable and plug one end into the HDMI port on the Apple TV. Ensure a secure connection to prevent any signal loss during operation. Then, connect the other end of the HDMI cable to the HDMI input on the projector, securing it in place for a stable connection.
- Power On the Devices: Power on the Apple TV and the projector. Allow both devices to complete their startup processes, ensuring that they are fully operational before proceeding to the next step.
- Select the Input Source: Using the projector’s remote control or control panel, navigate to the input source settings. Select the HDMI input to which the Apple TV is connected. This action ensures that the projector recognizes the signal from the Apple TV and prepares to display its output.
- Configure Display Settings (if necessary): Depending on the projector model, you may need to adjust the display settings to optimize the output from the Apple TV. This can include aspects such as resolution, aspect ratio, and display mode. Refer to the projector’s user manual for specific guidance on adjusting display settings.
By following these steps, you’ll establish a seamless physical connection between your Apple TV and the projector, paving the way for an immersive viewing experience. With the devices linked, you’re ready to delve into the next phase of the setup process, ensuring that the visual output meets your expectations and delivers an exceptional home entertainment experience.
Make sure your projector has an HDMI input. Connect your Apple TV to the projector using an HDMI cable. Select the HDMI input on the projector and you’re all set to enjoy your favorite content on the big screen!
Step 3: Adjust Settings on the Apple TV
With the physical connection between your Apple TV and the projector established, it’s time to ensure that the settings on the Apple TV are optimized for the best possible viewing experience. Fine-tuning the settings will allow you to tailor the output to suit your preferences and maximize the potential of your home entertainment setup.
Here’s how to adjust the settings on your Apple TV for optimal performance:
- Navigate to the Settings Menu: Using the Apple TV remote, navigate to the Settings menu on the home screen. This is where you’ll find a range of options to customize the Apple TV’s behavior and output settings.
- Display & Sound Settings: Within the Settings menu, locate the Display & Sound section. Here, you can adjust settings such as resolution, screen calibration, sound output, and other visual and audio preferences. Select the appropriate options based on your projector’s capabilities and your viewing environment.
- Video Output Configuration: Access the Video and Audio section within the Settings menu to configure video output settings. Depending on your projector’s specifications, you may need to adjust the video output resolution and other display-related parameters to ensure compatibility and optimal visual performance.
- Audio Output Configuration: If your projector features built-in speakers or audio output capabilities, ensure that the audio output settings on the Apple TV are aligned with the projector’s audio input. This ensures that the audio and video components are synchronized for a cohesive viewing experience.
- Network and Streaming Settings: If you plan to stream content from online services or your local network, verify that the network and streaming settings on the Apple TV are configured appropriately. This includes connecting to your Wi-Fi network, signing in to streaming accounts, and adjusting streaming quality settings if needed.
By carefully adjusting the settings on your Apple TV, you can tailor the viewing experience to meet your specific preferences and ensure seamless compatibility with the projector. These adjustments pave the way for a captivating home theater experience, allowing you to immerse yourself in your favorite content with unparalleled visual and audio quality.
Step 4: Test the Connection
After completing the physical connection and adjusting the settings, it’s essential to test the connection between your Apple TV and the projector to ensure that everything is functioning as intended. This step allows you to verify the seamless integration of the devices and address any potential issues before settling in for an immersive viewing experience.
Here’s how to test the connection between your Apple TV and the projector:
- Power On the Devices: Ensure that both the Apple TV and the projector are powered on and in operational mode. Allow them to complete their startup processes before proceeding with the testing.
- Verify the Projection: Look for the visual output from the Apple TV on the projection surface. If the connection is successful, you should see the Apple TV’s interface displayed on the projector screen. Take note of the visual quality, ensuring that the projected image is clear, vibrant, and properly aligned.
- Test Audio Output: If your projector features built-in speakers or audio output capabilities, play a sample of audio content from the Apple TV to verify that the audio output is synchronized with the visual display. Adjust the volume and audio settings as needed to achieve the desired sound quality.
- Navigate the Apple TV Interface: Using the Apple TV remote, navigate through the device’s interface and test various features such as streaming apps, video playback, and menu navigation. This allows you to confirm that the projector accurately displays the content and that the interaction with the Apple TV is seamless.
- Check for Signal Stability: Observe the projected image for any signs of signal instability, such as flickering, screen artifacts, or intermittent loss of signal. If you encounter any issues, double-check the physical connections and settings to troubleshoot and resolve the underlying cause.
By thoroughly testing the connection between your Apple TV and the projector, you can identify and address any potential issues, ensuring a smooth and uninterrupted viewing experience. This step serves as the final checkpoint before immersing yourself in the captivating world of home entertainment, confident in the seamless integration of your Apple TV and projector.
Read more: How To Connect Apple TV To Alexa
Conclusion
Congratulations! You’ve successfully navigated the process of connecting your Apple TV to a projector, unlocking a world of immersive entertainment possibilities within your home. By following the steps outlined in this guide, you’ve established a seamless link between your Apple TV and the projector, setting the stage for captivating viewing experiences and memorable entertainment sessions.
As you bask in the glow of your projector’s display, you can now enjoy a wide range of content, from blockbuster movies to engaging TV shows and interactive gaming experiences, all on a larger-than-life canvas. The fusion of Apple TV’s streaming capabilities with the expansive visual canvas offered by the projector creates an unparalleled home theater environment, redefining the way you engage with your favorite media.
With the physical connection secured, settings optimized, and the connection thoroughly tested, you can now revel in the seamless integration of your Apple TV and projector. Whether you’re hosting movie nights, indulging in gaming marathons, or simply unwinding with your preferred streaming content, the combined prowess of the Apple TV and projector elevates your home entertainment to new heights.
As technology continues to evolve, the possibilities for enhancing your home entertainment setup are virtually limitless. By staying informed about the latest advancements and leveraging the capabilities of your devices, you can continue to refine and expand your home theater experience, creating moments of joy and shared entertainment with family and friends.
So, dim the lights, settle into your favorite spot, and let the magic of your Apple TV and projector transport you to a realm of captivating visuals and immersive audio. Your journey into the world of home entertainment has just begun, and the possibilities are as vast as the cinematic landscapes that unfold before you.
Embrace the power of technology, the allure of storytelling, and the joy of shared experiences as you embark on this enchanting adventure with your Apple TV and projector. The stage is set, the connection is established, and the world of boundless entertainment awaits your exploration.
Frequently Asked Questions about How To Connect Apple TV To A Projector
Was this page helpful?
At Storables.com, we guarantee accurate and reliable information. Our content, validated by Expert Board Contributors, is crafted following stringent Editorial Policies. We're committed to providing you with well-researched, expert-backed insights for all your informational needs.


0 thoughts on “How To Connect Apple TV To A Projector”