Home>Technology>Home Entertainment Systems>How To Connect TV Cable To A Projector
Home Entertainment Systems
How To Connect TV Cable To A Projector
Modified: February 26, 2024
Learn how to connect your TV cable to a projector for a seamless home entertainment system setup. Discover the best tips and tricks for an immersive viewing experience.
(Many of the links in this article redirect to a specific reviewed product. Your purchase of these products through affiliate links helps to generate commission for Storables.com, at no extra cost. Learn more)
Introduction
Welcome to the world of home entertainment systems, where the possibilities for creating an immersive viewing experience are virtually endless. One popular setup involves connecting a TV cable to a projector, allowing you to enjoy your favorite shows and movies on a larger screen with enhanced visual impact. Whether you’re a seasoned home theater enthusiast or a newcomer to the realm of audiovisual technology, learning how to connect a TV cable to a projector can open up a whole new world of entertainment possibilities within the comfort of your own home.
In this guide, we’ll walk you through the process of seamlessly integrating your TV cable with a projector, enabling you to enjoy the best of both worlds: the convenience of cable television and the cinematic experience of a projector. By following our step-by-step instructions and tips, you’ll be well on your way to creating a personalized home entertainment setup that delivers stunning visuals and immersive audio, perfect for movie nights, sports events, and beyond.
So, let’s dive in and explore how to bring your TV cable and projector together for an unparalleled home viewing experience.
Key Takeaways:
- Transform your home entertainment experience by connecting your TV cable to a projector for larger-than-life visuals and immersive audio, perfect for movie nights and sports events.
- Elevate your viewing experience by adjusting projector settings and considering additional tips, such as optimizing lighting conditions and audio configuration, to create a personalized and captivating home theater setup.
Read more: How To Connect TV To A Projector
Step 1: Gather the Necessary Equipment
Before embarking on the process of connecting your TV cable to a projector, it’s essential to ensure that you have all the necessary equipment at your disposal. By gathering the right tools and accessories, you can streamline the setup process and minimize any potential hiccups along the way.
Here’s a comprehensive list of the equipment you’ll need:
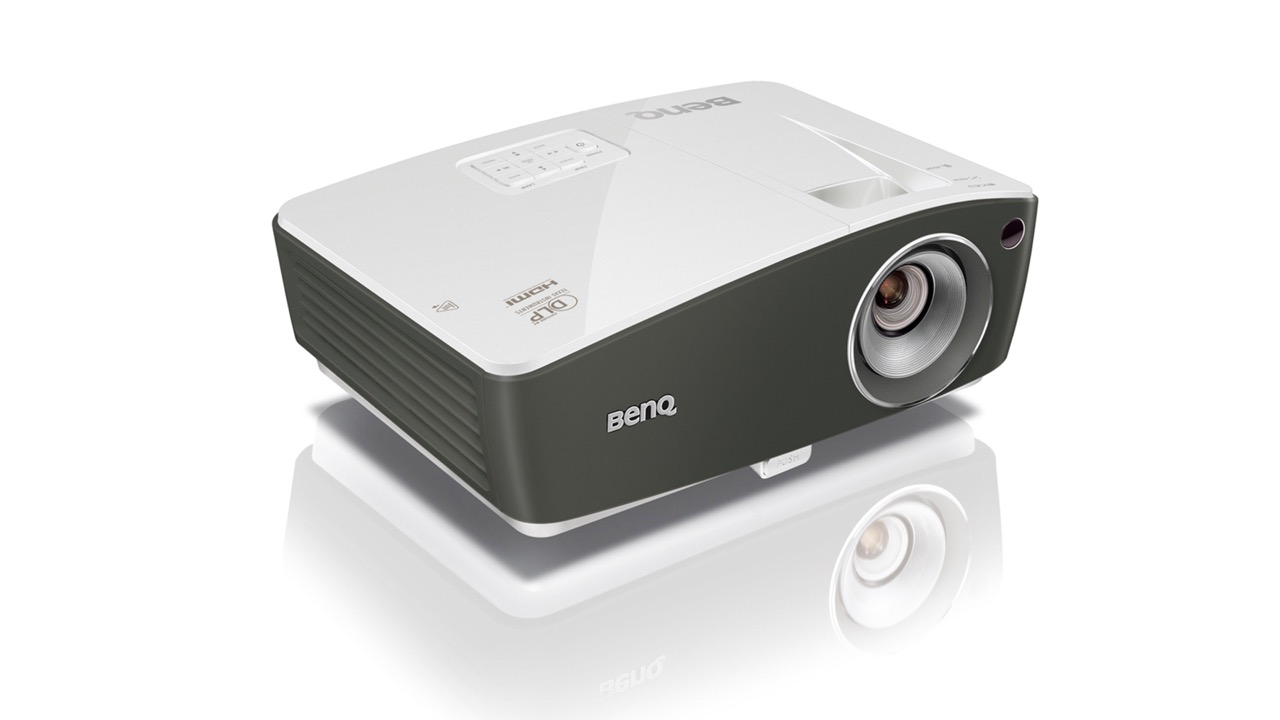
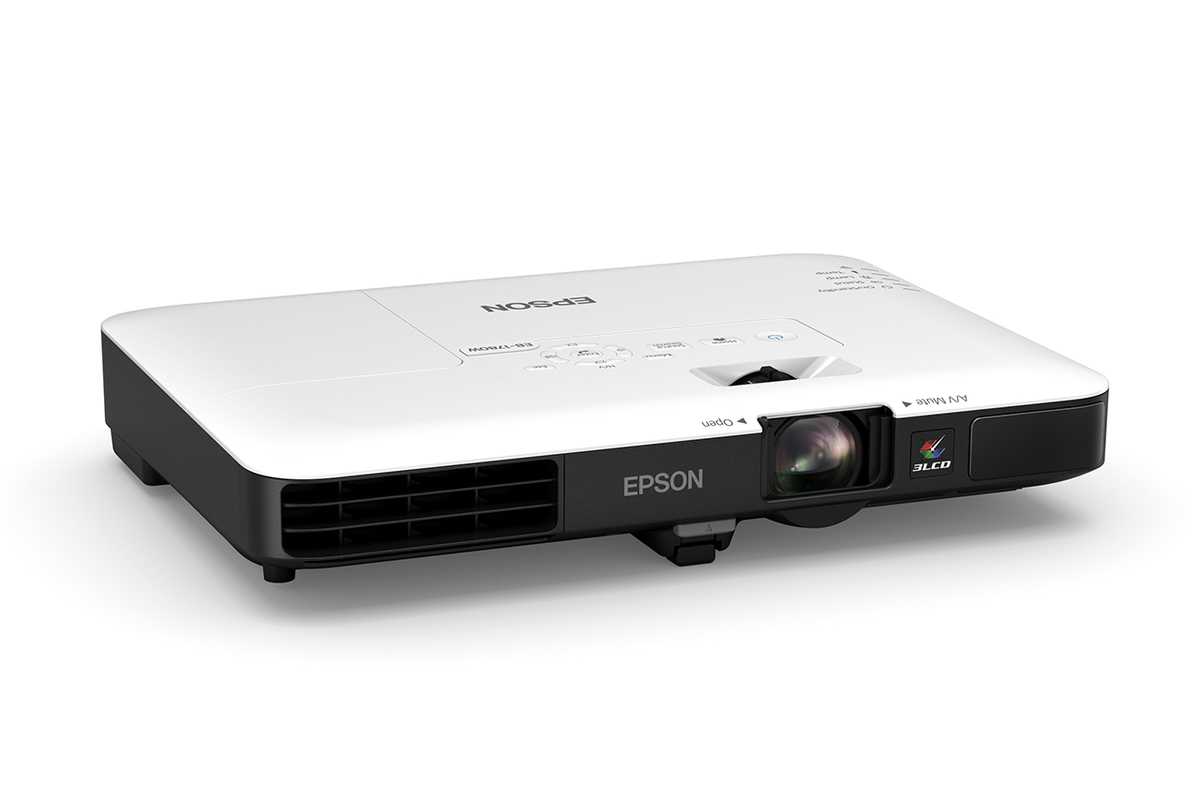
- Projector: The centerpiece of your home theater setup, the projector will serve as the display for your cable television content. Ensure that your projector is in good working condition and has the necessary input ports to connect to your TV cable.
- Television Cable: This is the cable that carries the television signal from your cable service provider to your television set. It’s crucial to have a functioning TV cable that is compatible with your projector’s input options.
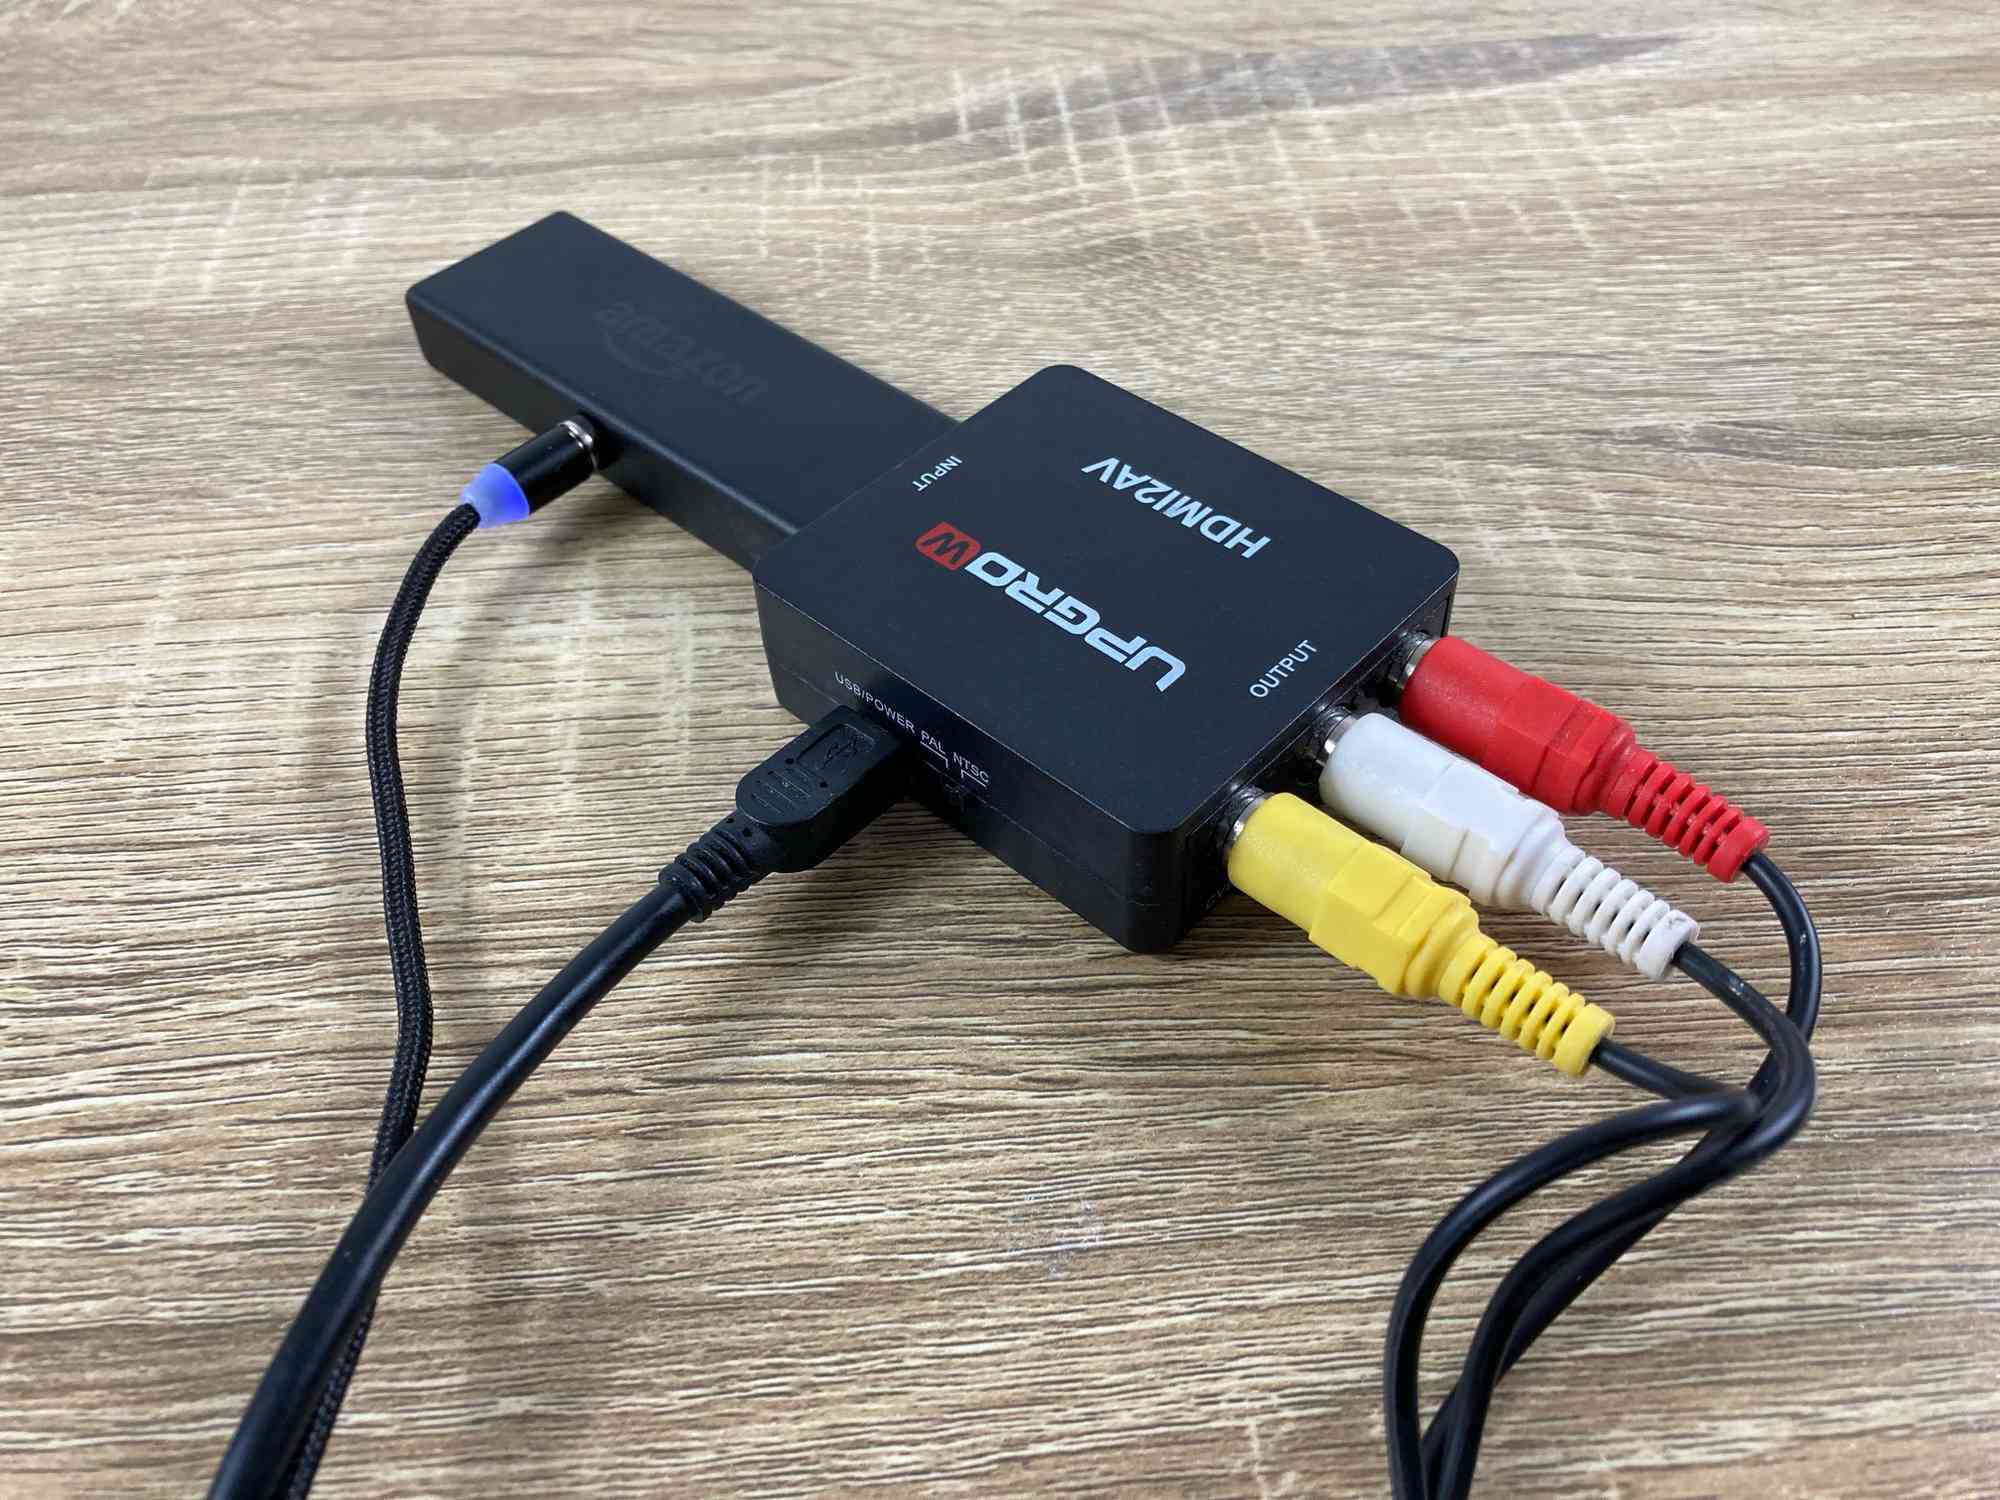
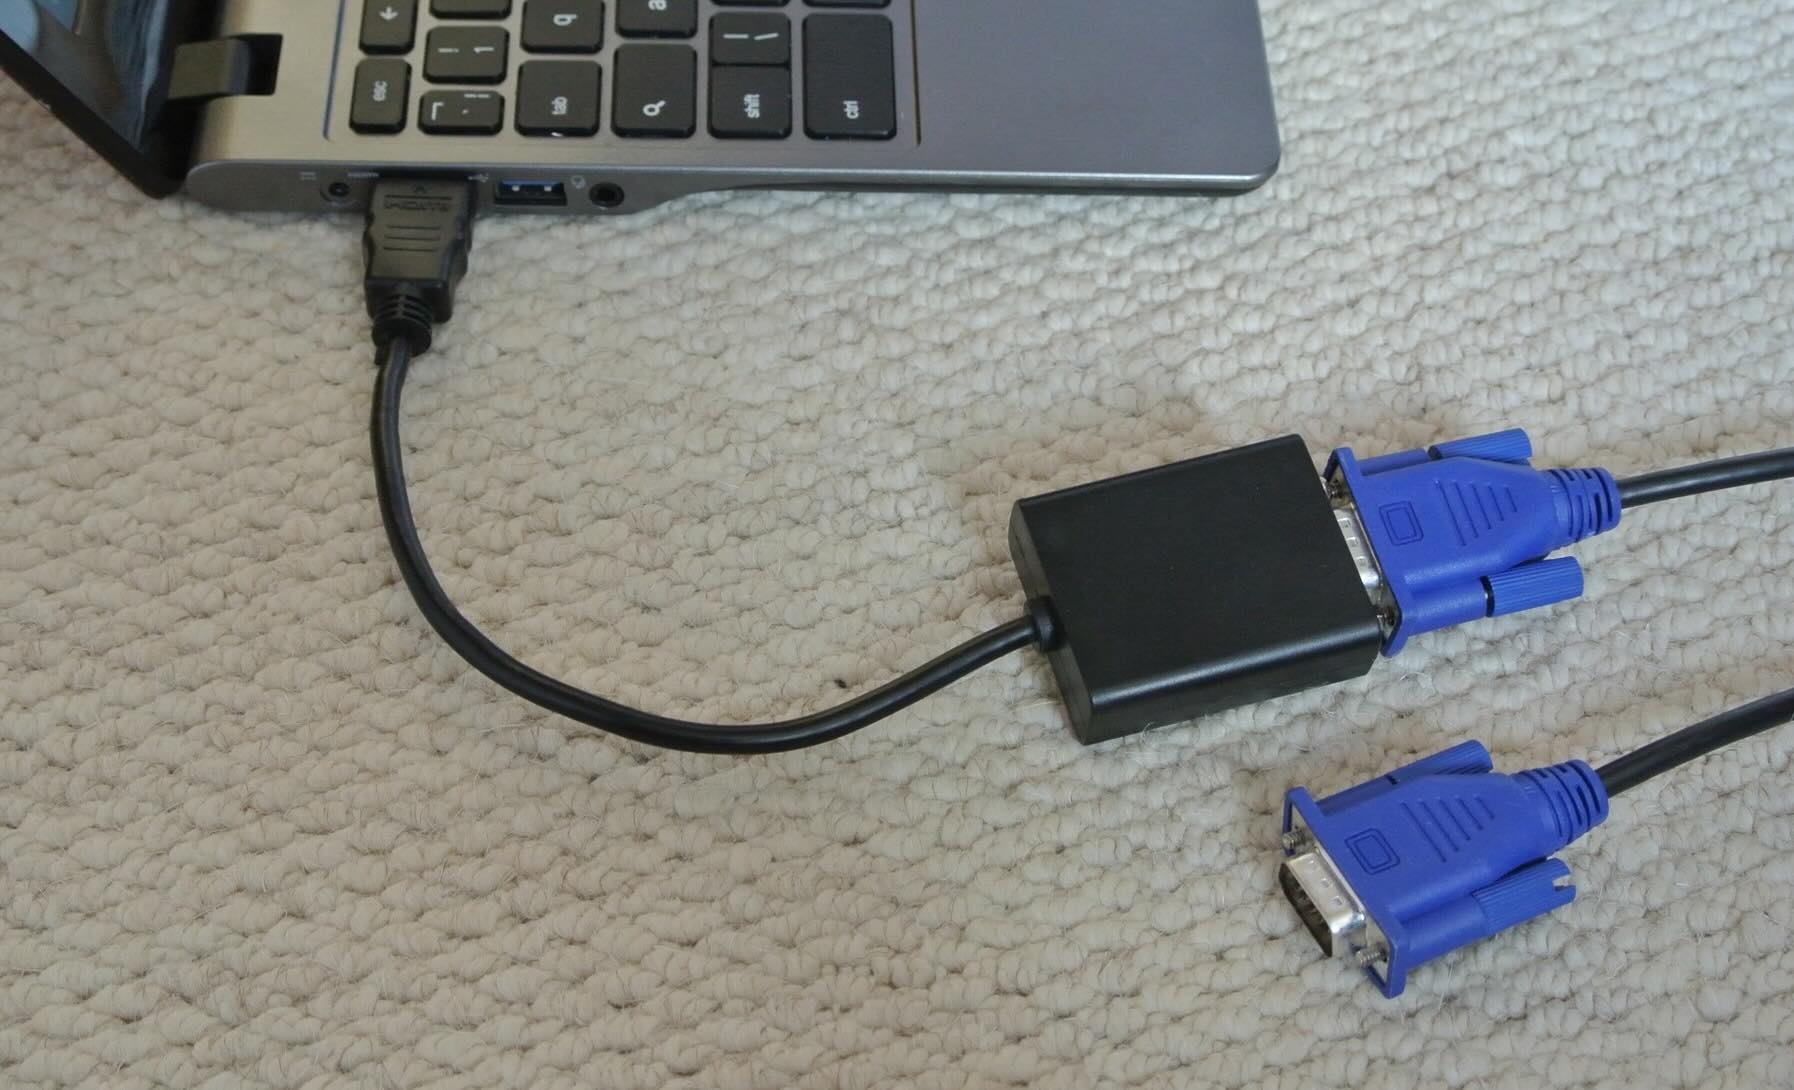
- HDMI Cable or Adapter: In most cases, connecting a TV cable to a projector requires an HDMI cable or adapter. This cable will transmit both high-definition video and audio signals from your cable box to the projector, ensuring a seamless viewing experience.
- Power Cords and Extensions: Depending on the distance between your cable box, projector, and power outlets, you may need power cords and extensions to ensure that all devices are adequately powered.
- Remote Control: If your projector or cable box comes with a remote control, ensure that it is readily available for making adjustments and navigating through the setup process.
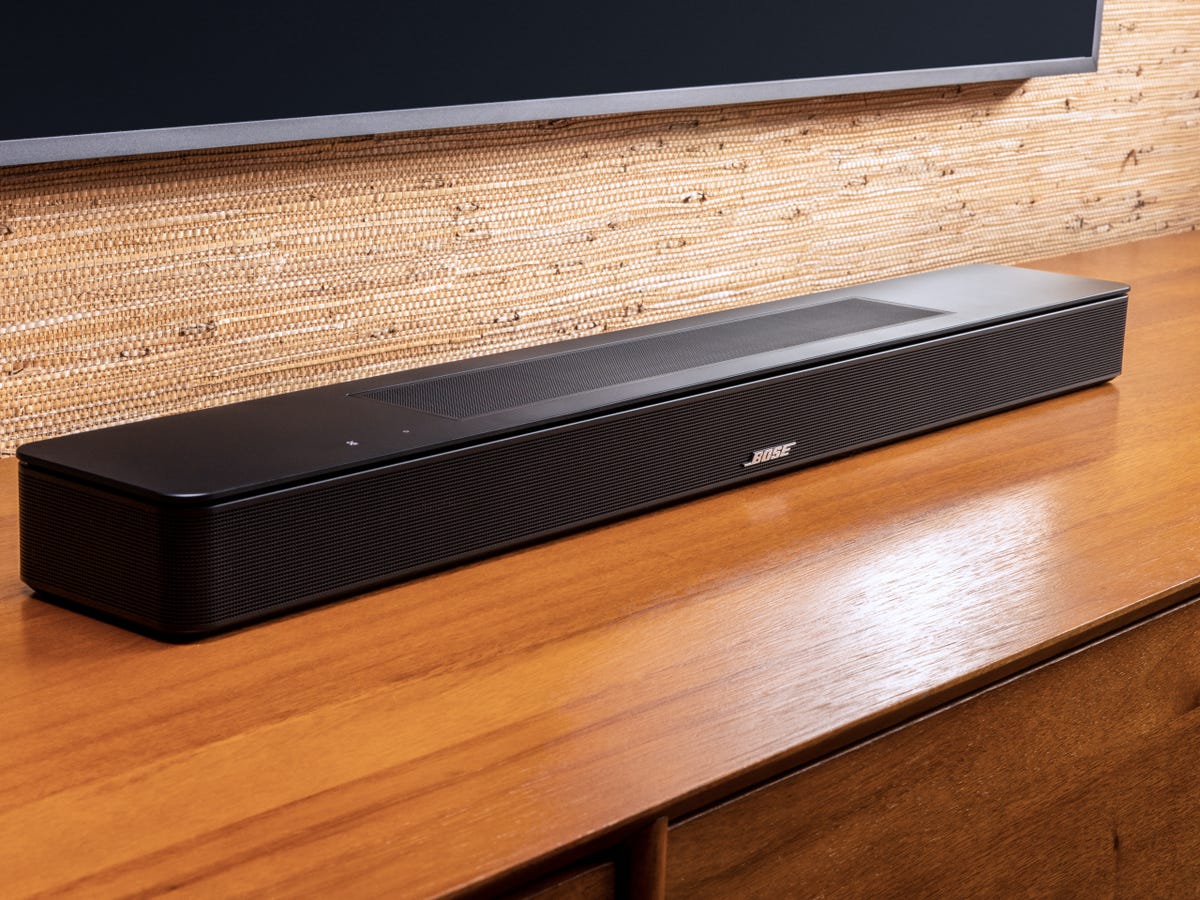
- Optional Audio Equipment: If you desire enhanced audio quality, consider incorporating external speakers, a soundbar, or a home theater audio system into your setup. While not mandatory for connecting the TV cable to the projector, these audio enhancements can significantly elevate your viewing experience.
By gathering these essential pieces of equipment, you’ll be well-prepared to move on to the next step: connecting your TV cable to the projector.
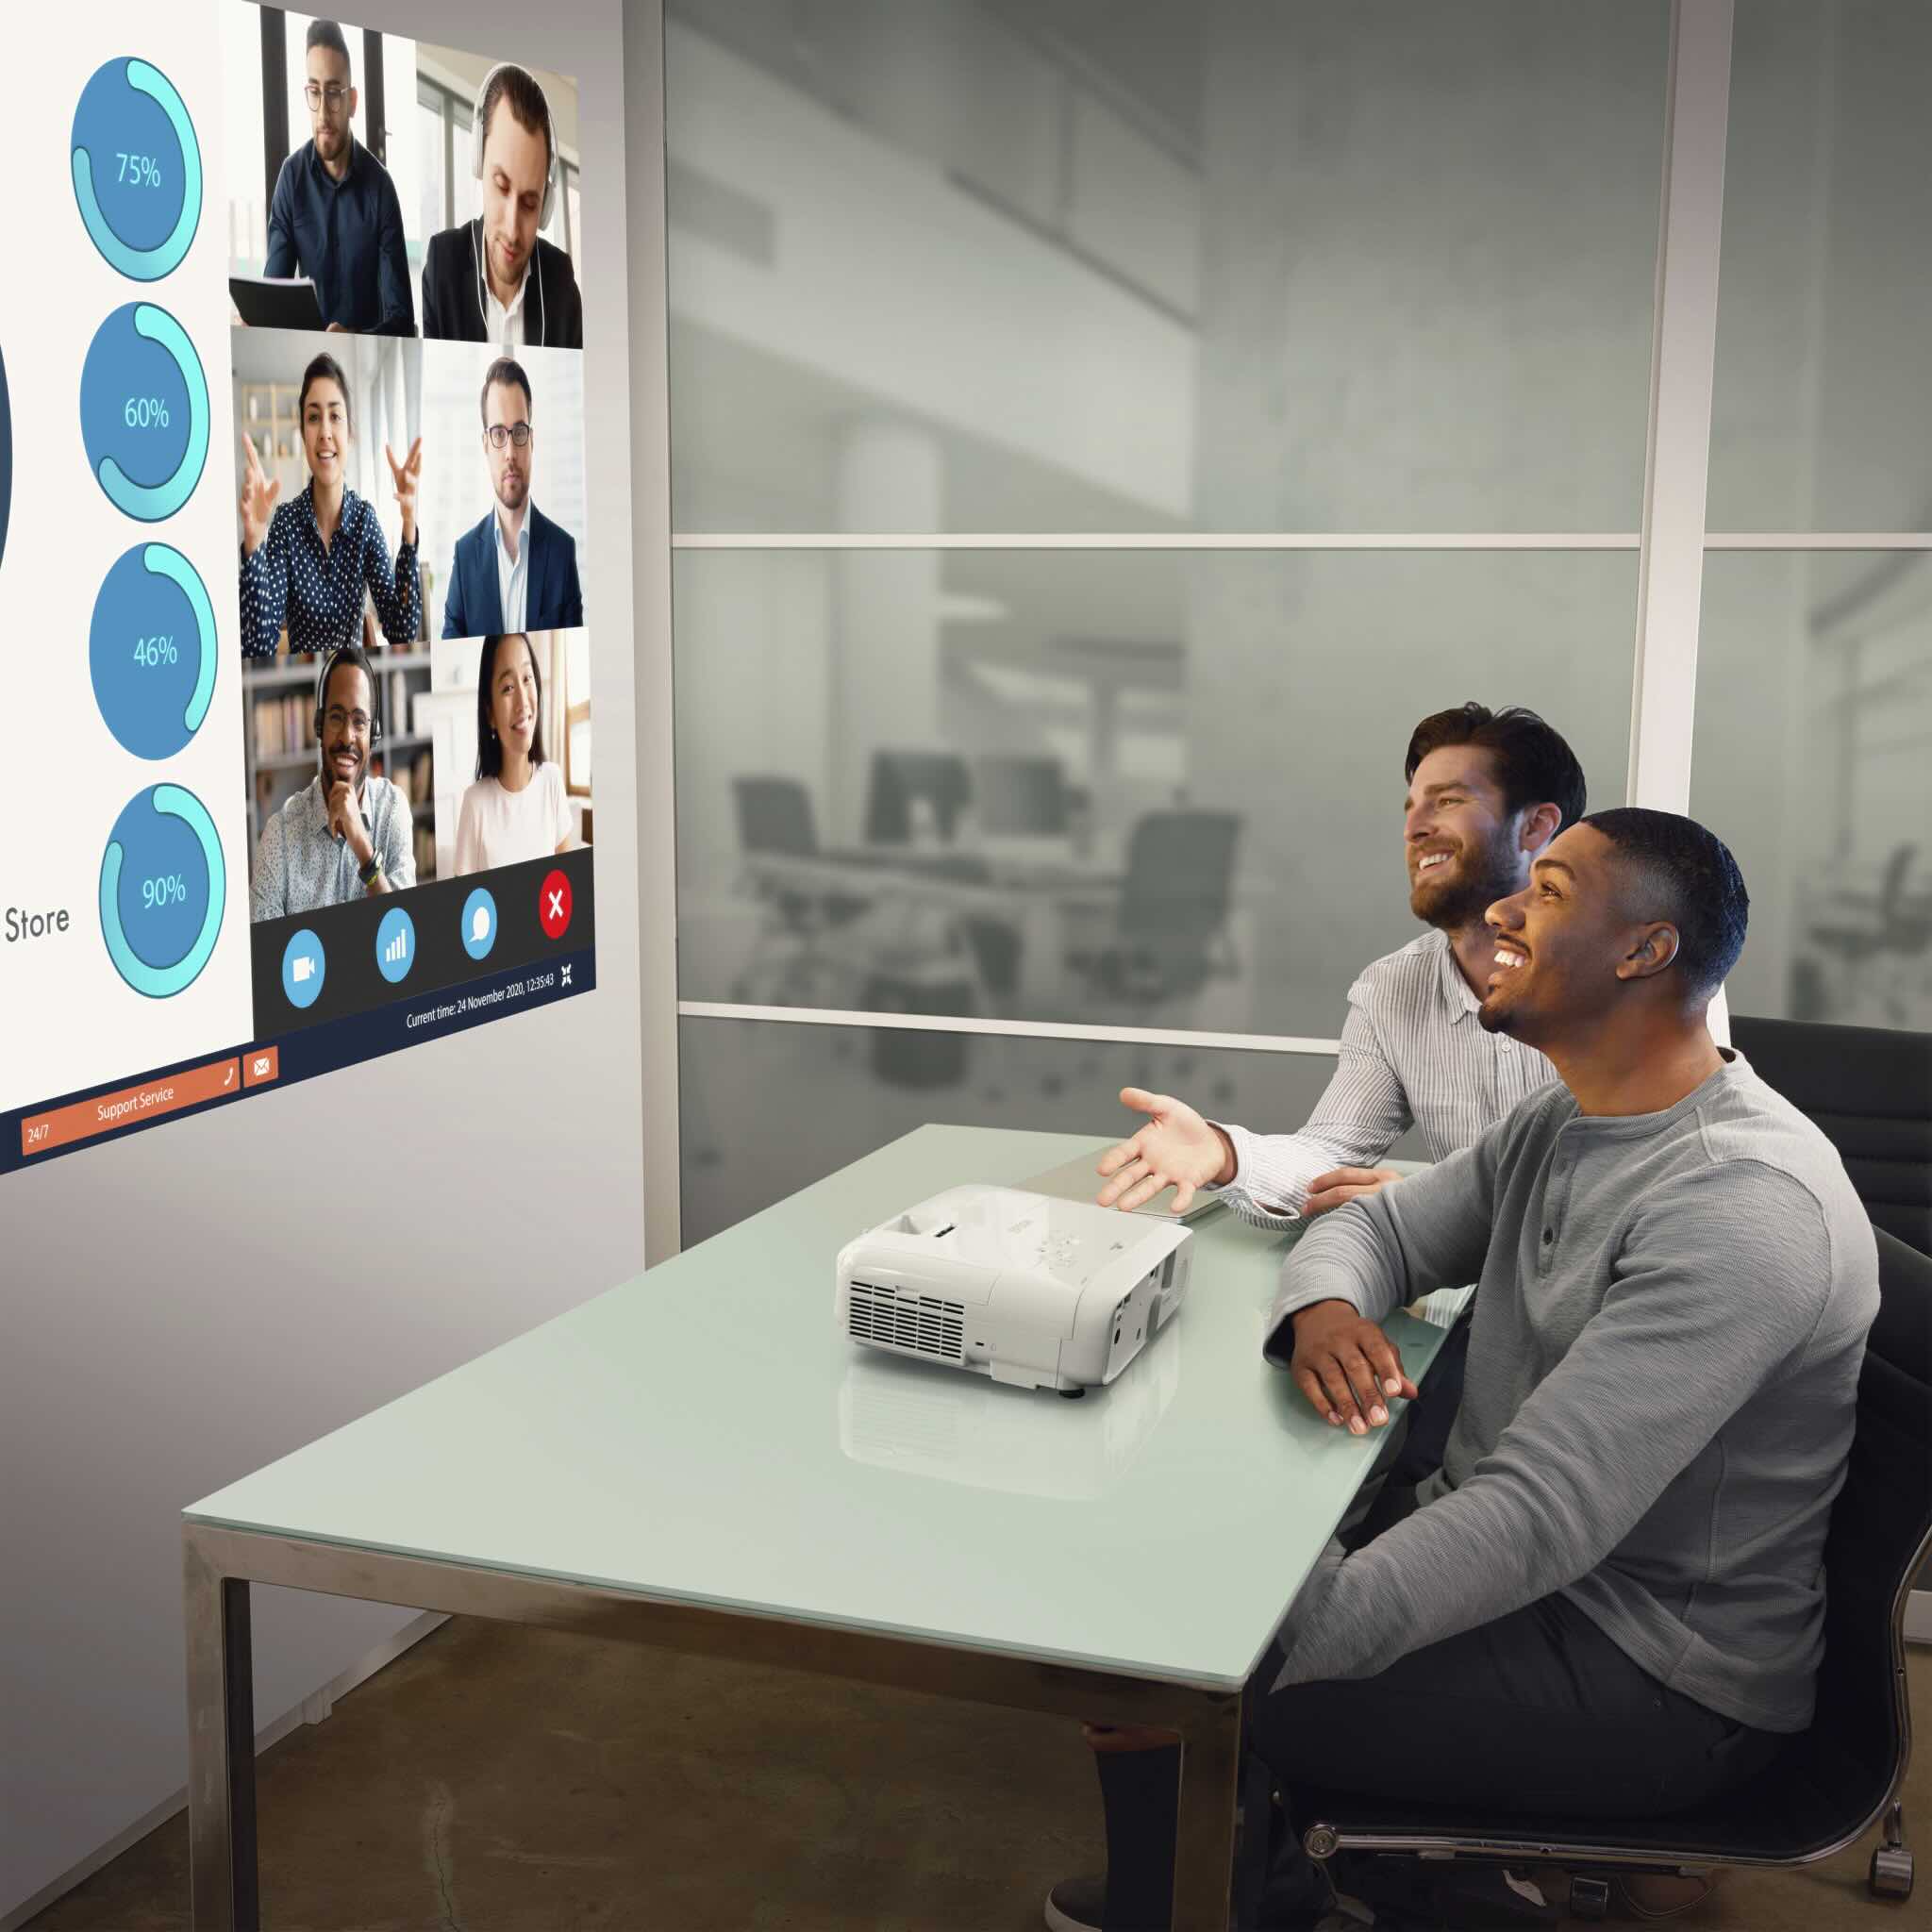
Step 2: Connect the TV Cable to the Projector
Now that you have all the necessary equipment assembled, it’s time to proceed with the crucial step of connecting your TV cable to the projector. This process involves establishing a seamless link between your cable box and the projector, allowing the television signal to be displayed on the projector’s screen.
Follow these steps to successfully connect the TV cable to the projector:
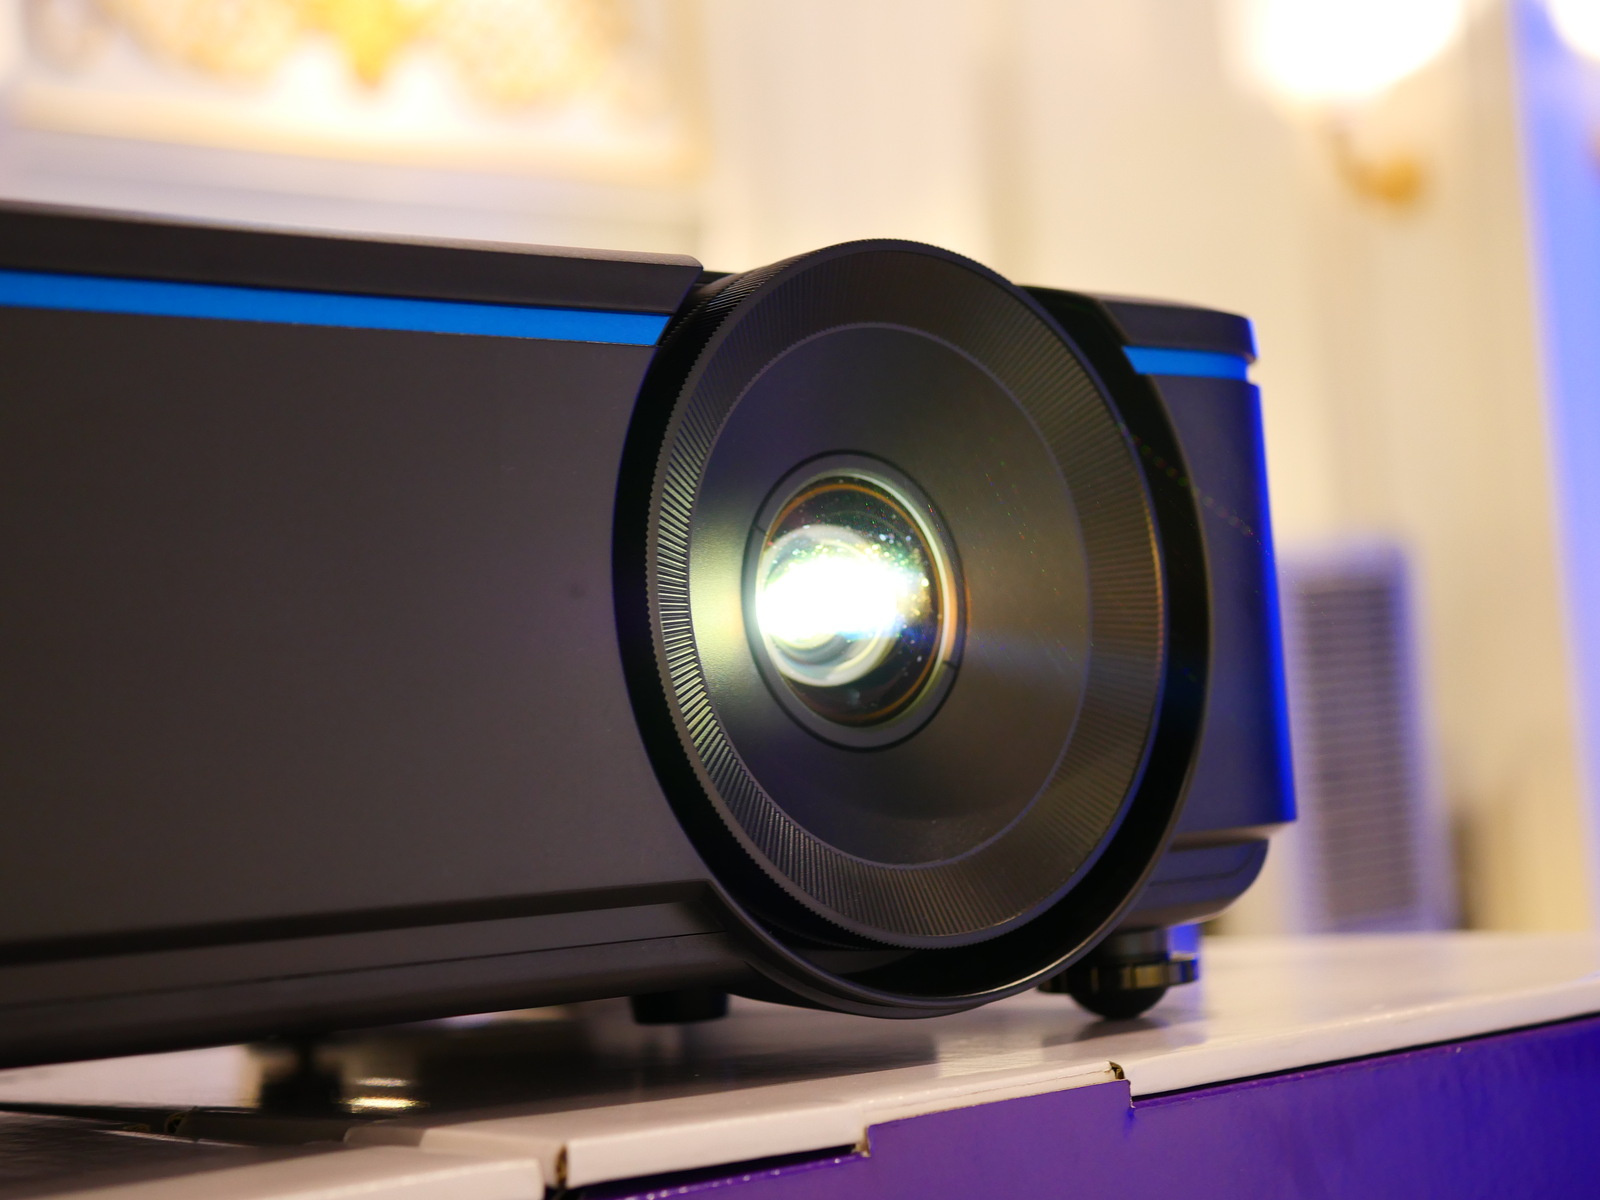
- Locate the HDMI Input Port: Begin by identifying the HDMI input port on your projector. This port is typically located at the rear or side of the projector and is labeled as “HDMI IN.” Ensure that the projector is powered off before proceeding.
- Connect the HDMI Cable: Take the HDMI cable and plug one end into the HDMI output port on your cable box. Then, connect the other end of the HDMI cable to the HDMI input port on the projector. Ensure that the connections are secure and snug to prevent any signal loss or disruptions.
- Power On the Devices: Power on your cable box and projector. Allow the devices to initialize and establish a connection. You may need to select the corresponding input source on the projector to receive the signal from the cable box.
- Adjust Display Settings: Once the cable box and projector are powered on, navigate to the projector’s settings menu using the remote control or onboard controls. Select the input source that corresponds to the HDMI port you connected the cable box to. This action ensures that the projector recognizes the incoming television signal from the cable box.
- Test the Connection: Tune your cable box to a known channel or program and verify that the projector is displaying the content correctly. If the image appears distorted or if there are any issues with the display, double-check the HDMI connections and ensure that the projector’s settings are configured appropriately.
By following these steps, you’ll establish a direct connection between your TV cable and the projector, allowing you to enjoy cable television programming on a larger screen with impressive visual clarity.
With the TV cable successfully connected to the projector, you’re ready to move on to the next step: adjusting the settings to optimize your viewing experience.
Make sure your projector has a HDMI or VGA input. Connect one end of the TV cable to the cable box and the other end to the projector’s input port. Turn on the projector and select the correct input source. Enjoy your TV on the big screen!
Step 3: Adjust the Settings
After connecting the TV cable to the projector, it’s essential to fine-tune the settings to ensure optimal visual and audio performance. By making adjustments to the projector’s settings and exploring additional configuration options, you can elevate your viewing experience and tailor it to your preferences.
Here are the key settings to consider adjusting:
- Display Mode: Explore the projector’s display modes to find the one that best suits your viewing environment and content. Options may include standard, cinema, vivid, or custom modes, each offering distinct color profiles and brightness settings.
- Aspect Ratio: Select the appropriate aspect ratio based on the content you’re viewing. For cable television programming, the standard 16:9 aspect ratio is typically ideal for widescreen displays.
- Keystone Correction: If your projector offers keystone correction, use this feature to adjust the image’s shape and ensure that it appears rectangular and undistorted, especially if the projector is not positioned perfectly perpendicular to the screen.
- Audio Output: If you’re utilizing the projector’s built-in speakers or connecting external audio devices, adjust the audio output settings to achieve the desired sound quality and volume levels.
- Color and Contrast: Fine-tune the color temperature, contrast, and saturation settings to enhance the overall visual quality and ensure that colors are vibrant and accurate.
Additionally, consider the following tips to optimize your viewing experience:
- Lighting Conditions: Take into account the ambient lighting in your viewing area. Dim the lights or use blackout curtains to minimize glare and enhance the contrast and clarity of the projected image.
- Audio Configuration: If you’re incorporating external speakers or a sound system, position the speakers strategically to achieve balanced sound distribution and immerse yourself in the audio experience.
- Cable Management: Organize and secure the TV cable and power cords to prevent tripping hazards and maintain a tidy setup.
By adjusting the settings and considering these additional tips, you can create an immersive and personalized viewing environment that maximizes the potential of your connected TV cable and projector.
With the settings optimized, you’re now poised to enjoy a captivating home entertainment experience that seamlessly integrates cable television content with the visual impact of a projector.
Conclusion
Congratulations on successfully connecting your TV cable to a projector, unlocking a world of entertainment possibilities within your home. By following the steps outlined in this guide and taking the time to fine-tune the settings, you’ve created a versatile and immersive home viewing experience that combines the convenience of cable television with the cinematic impact of a projector.
As you settle in to enjoy your favorite shows, movies, and live events on the enlarged screen, remember that the possibilities for enhancing your home entertainment setup are virtually limitless. Consider exploring additional audio enhancements, such as a dedicated sound system or wireless speakers, to further elevate the audiovisual experience. Additionally, experimenting with different content sources, such as streaming services and gaming consoles, can add even more versatility to your setup.
Furthermore, as technology continues to evolve, staying informed about the latest advancements in home entertainment systems can empower you to continually enhance and expand your setup. Whether it’s embracing cutting-edge display technologies, integrating smart home features, or optimizing the acoustics of your viewing space, there’s always room to refine and personalize your home entertainment environment.
Remember to maintain the equipment, keep cables organized, and periodically recalibrate the settings to ensure that your home theater setup continues to deliver exceptional performance and reliability over time.
With your TV cable seamlessly connected to the projector and the settings adjusted to perfection, you’re now poised to embark on a journey of immersive entertainment experiences, all within the comfort of your own home. Whether it’s a movie night with loved ones, a thrilling sports event, or a captivating documentary, your home entertainment system is primed to deliver unforgettable moments and cherished memories.
So, sit back, relax, and immerse yourself in the captivating world of home entertainment, where the fusion of cable television and projector technology opens the door to a realm of visual splendor and audio immersion. Your personalized home theater awaits, ready to transport you to new dimensions of entertainment and enjoyment.
Frequently Asked Questions about How To Connect TV Cable To A Projector
Was this page helpful?
At Storables.com, we guarantee accurate and reliable information. Our content, validated by Expert Board Contributors, is crafted following stringent Editorial Policies. We're committed to providing you with well-researched, expert-backed insights for all your informational needs.


0 thoughts on “How To Connect TV Cable To A Projector”