Home>Technology>Home Entertainment Systems>How To Mount A Projector Without Drilling
Home Entertainment Systems
How To Mount A Projector Without Drilling
Modified: February 25, 2024
Learn how to mount a projector without drilling for your home entertainment system. Find easy and effective installation methods for a seamless setup.
(Many of the links in this article redirect to a specific reviewed product. Your purchase of these products through affiliate links helps to generate commission for Storables.com, at no extra cost. Learn more)
Introduction
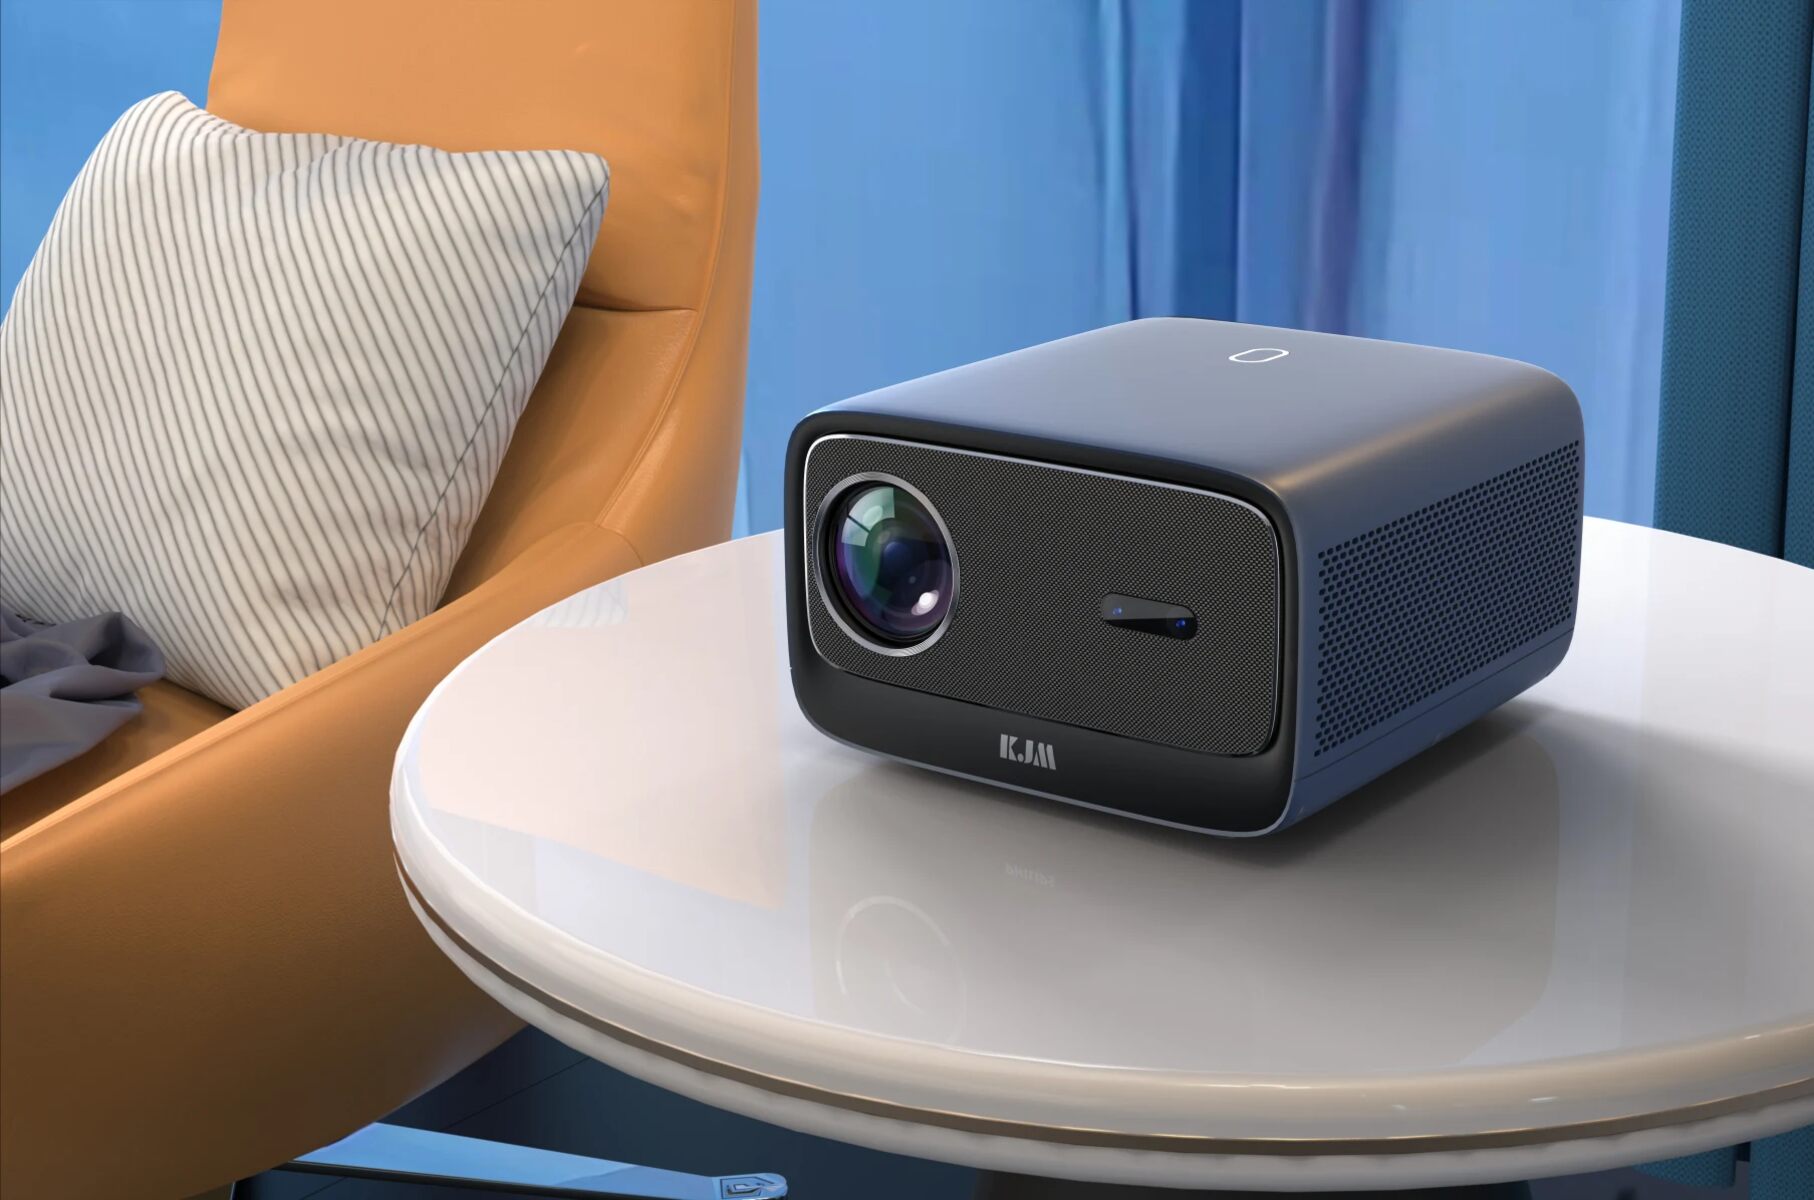
Projectors are a fantastic addition to any home entertainment system, offering a larger-than-life cinematic experience right in the comfort of your own living room. However, the thought of drilling holes into your walls or ceiling to mount a projector can be daunting, especially for renters or those who prefer to avoid the hassle of permanent installations. The good news is that there are alternative methods for mounting a projector without drilling, allowing you to enjoy the benefits of a big screen without the need for extensive renovations.
In this guide, we’ll explore three effective ways to mount a projector without drilling. Whether you’re looking to set up a temporary home theater or simply want to avoid making permanent alterations to your living space, these methods offer practical and versatile solutions for projector installation. From adhesive hooks to ceiling mount stands and tripod stands, you’ll discover the steps and considerations for each approach, empowering you to choose the method that best suits your needs and space.
By the end of this article, you’ll have the knowledge and confidence to mount your projector without drilling, transforming your viewing experience and bringing the magic of the big screen directly to your home.
Key Takeaways:
- Transform your home entertainment experience without drilling by using adhesive hooks, ceiling mount stands, or tripod stands to securely and conveniently mount your projector.
- Enjoy the flexibility and freedom to create immersive viewing environments with non-invasive projector mounting methods, perfect for renters, students, and anyone seeking hassle-free installations.
Read more: How To Mount A Tv On Brick Without Drilling
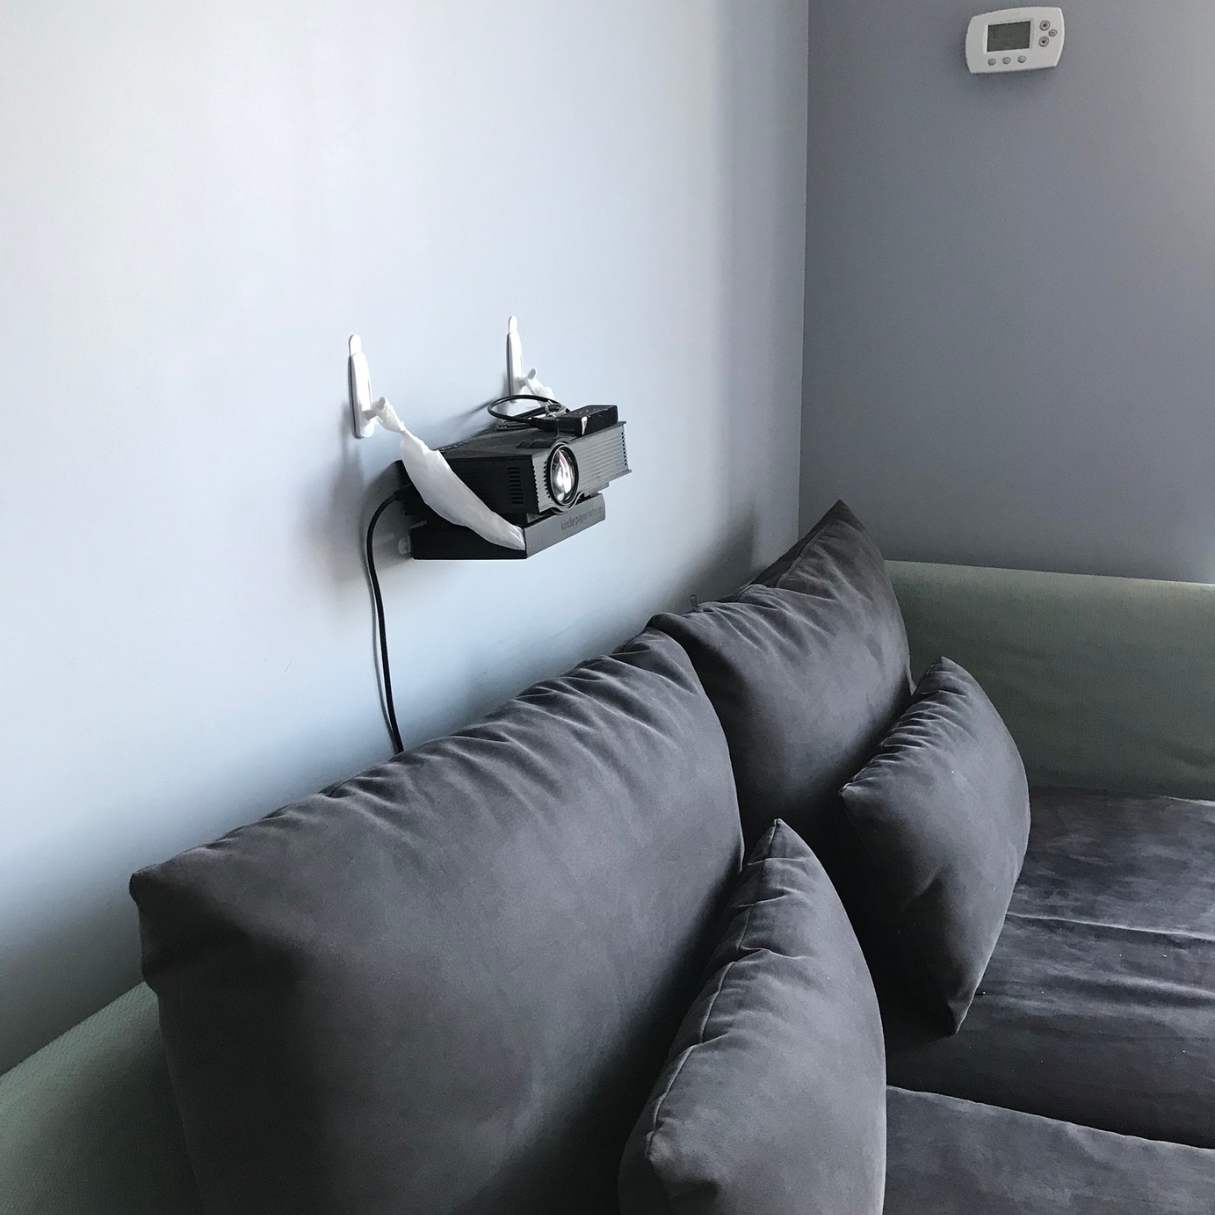
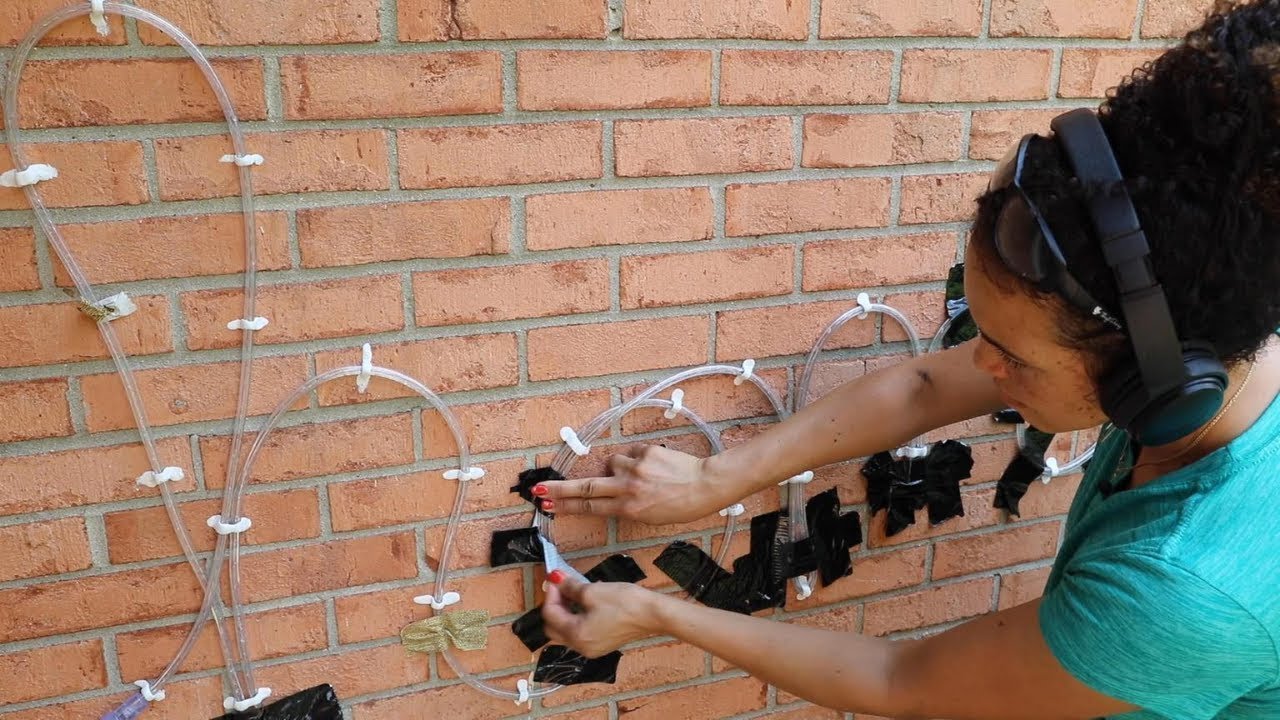
Method 1: Using Adhesive Hooks
Mounting a projector using adhesive hooks is a convenient and non-invasive method that is ideal for temporary setups or situations where drilling is not an option. Adhesive hooks are designed to adhere to various surfaces, providing a reliable way to hang lightweight objects such as small to medium-sized projectors.
Here’s a step-by-step guide to mounting your projector using adhesive hooks:
- Choose the Right Hooks: Select adhesive hooks that are specifically designed to hold the weight of your projector. Check the weight capacity of the hooks and ensure that they are suitable for the size and dimensions of your projector.
- Clean the Surface: Prepare the surface where you plan to attach the hooks by cleaning it thoroughly. Use a mild cleaning solution to remove any dust, dirt, or grease that could affect the adhesion of the hooks.
- Position the Hooks: Determine the optimal placement for the adhesive hooks. Consider the projector’s throw distance, ensuring that the hooks are positioned at an appropriate distance from the screen or wall to achieve the desired image size and clarity.
- Attach the Hooks: Follow the manufacturer’s instructions to affix the adhesive hooks to the surface. Press firmly and hold each hook in place for the recommended duration to ensure a secure bond.
- Hang the Projector: Once the adhesive hooks are firmly in place, carefully hang the projector from the hooks. Ensure that the weight is evenly distributed and that the projector is stable and level.
- Adjust and Test: Fine-tune the projector’s position and angle to align the image with the screen or wall. Test the projection to ensure that the setup meets your visual and viewing requirements.
When using adhesive hooks to mount a projector, it’s essential to prioritize safety and stability. Regularly check the adhesion of the hooks and the integrity of the mounting surface to prevent any potential accidents or damage.
This method offers a flexible and reversible solution for mounting a projector without drilling, making it particularly suitable for renters, students, or anyone seeking a hassle-free installation process. With proper preparation and adherence to the manufacturer’s guidelines, adhesive hooks can provide a secure and convenient way to elevate your home entertainment experience.
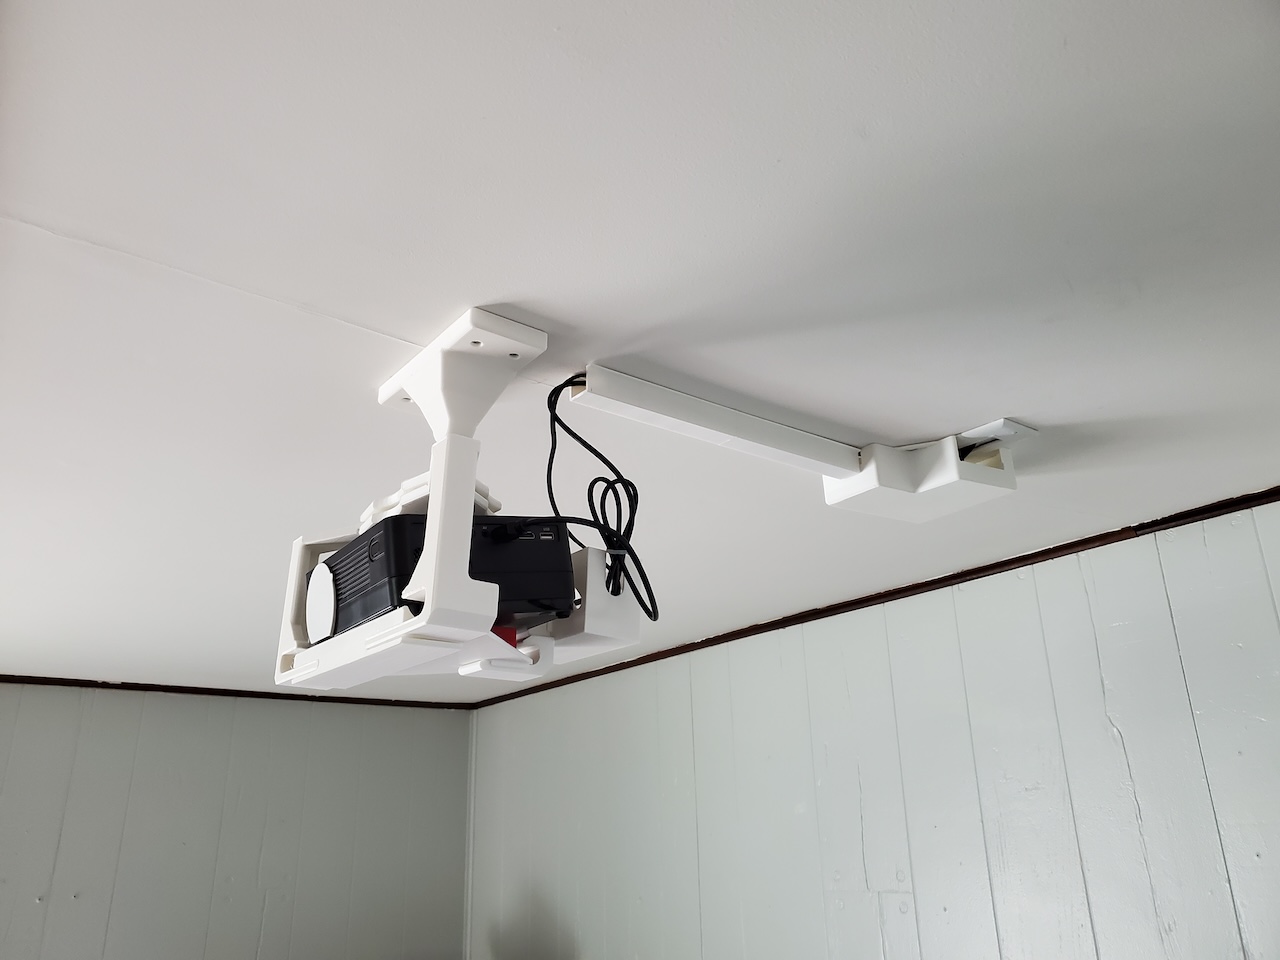
Method 2: Ceiling Mount Stand
When it comes to creating a dedicated and professional-looking projector setup without drilling into walls, a ceiling mount stand offers a practical and versatile solution. This method allows you to securely suspend your projector from the ceiling, providing an elevated and unobtrusive placement that maximizes floor space and ensures an optimal viewing experience.
Here’s a comprehensive guide to utilizing a ceiling mount stand for your projector:
- Choose the Right Mount: Select a ceiling mount stand that is compatible with your projector model and designed to support its weight and dimensions. Consider the adjustability and swivel capabilities of the mount to achieve the desired projection angle.
- Locate the Mounting Position: Identify the ideal location on the ceiling for installing the mount. Ensure that it is centered with the viewing area and positioned at an appropriate distance from the screen or wall to achieve the desired projection size and clarity.
- Prepare the Ceiling: Before installation, ensure that the ceiling surface is suitable for mounting. If necessary, use a stud finder to locate ceiling joists or beams that can provide secure anchoring points for the mount.
- Install the Mount: Follow the manufacturer’s instructions to securely install the ceiling mount stand, ensuring that it is level and firmly anchored to the ceiling. Use appropriate hardware and, if applicable, attach the mount to ceiling joists or use anchors for added stability.
- Attach the Projector: Once the mount is in place, carefully attach the projector to the mounting plate or bracket, following the specific guidelines provided by the manufacturer. Ensure that the projector is securely fastened and that all connections and cables are properly managed.
- Adjust and Test: Utilize the adjustable features of the ceiling mount stand to fine-tune the projector’s position and projection angle. Test the projection to confirm that the setup meets your visual and viewing requirements.
A ceiling mount stand offers a professional and space-saving solution for mounting a projector without drilling, making it an excellent choice for home theaters, media rooms, or any space where a clean and unobstructed projection setup is desired. By leveraging the ceiling’s height and strategic placement, this method provides a polished and immersive viewing experience while avoiding the need for wall modifications.
When implementing a ceiling mount stand, it’s crucial to prioritize safety and precision during installation, ensuring that the mount is securely affixed and that the projector is properly attached and aligned. With careful planning and execution, a ceiling mount stand can elevate your home entertainment system without the hassle of drilling into walls or ceilings.
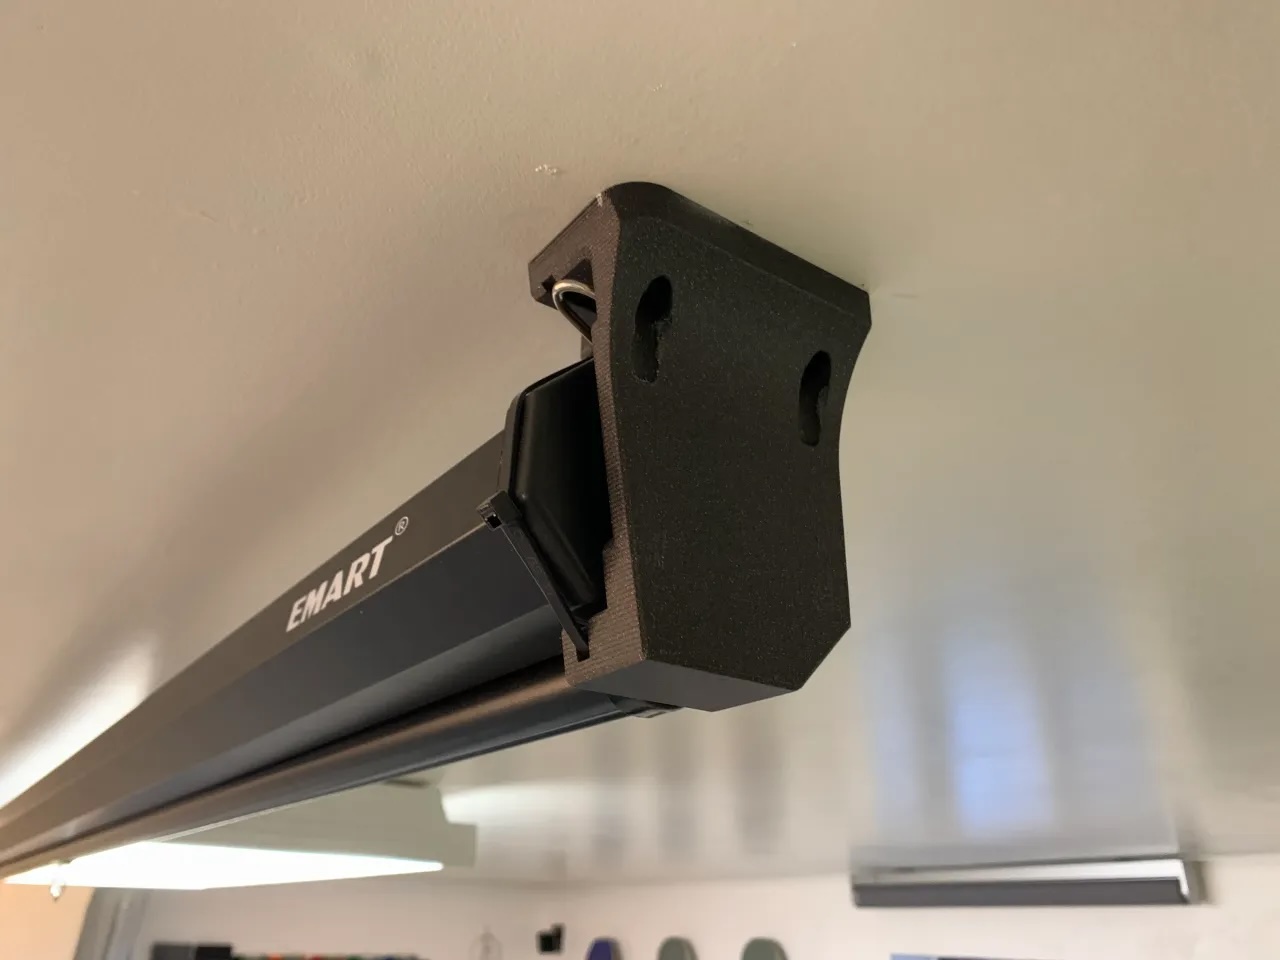
You can use a ceiling mount with adhesive or suction cups to avoid drilling. Make sure it’s rated to hold the weight of your projector.
Method 3: Tripod Stand
For a versatile and portable approach to mounting a projector without drilling, a tripod stand offers a convenient and adaptable solution. Whether you’re setting up a temporary viewing area, hosting outdoor movie nights, or simply prefer a flexible installation option, a tripod stand provides stability and mobility for your projector setup.
Here’s a detailed guide to using a tripod stand to mount your projector:
- Choose a Sturdy Tripod: Select a tripod stand that is designed to support the weight of your projector and offers adjustable height and stability. Consider the material, weight capacity, and portability of the tripod to ensure it meets your specific needs.
- Set Up the Tripod: Extend the tripod legs and lock them into place, ensuring that the stand is stable on the floor or ground. Adjust the height of the tripod to achieve the desired projection level and ensure that it is positioned at an appropriate distance from the screen or wall.
- Mount the Projector: Depending on the design of the tripod stand, you may utilize a mounting plate, bracket, or adjustable platform to secure the projector. Follow the manufacturer’s instructions to attach the projector to the tripod, ensuring that it is stable and level.
- Position and Angle the Projector: Utilize the tripod stand’s adjustable features to position and angle the projector for optimal projection. Fine-tune the orientation and height to align the image with the screen or wall, taking into account the projector’s throw distance and the desired viewing angle.
- Secure Cables and Connections: Organize and secure the projector’s cables and power cords to prevent tripping hazards and ensure a tidy setup. Utilize cable management solutions or clips to keep the cables safely routed along the tripod stand.
- Test the Projection: Power on the projector and test the projection to confirm that the setup meets your visual and viewing requirements. Make any necessary adjustments to the tripod stand’s position and the projector’s angle to achieve the desired image quality.
A tripod stand offers a portable and user-friendly method for mounting a projector without the need for permanent installations. Whether you’re transforming different spaces within your home for movie nights or seeking a convenient setup for presentations and events, a tripod stand provides a versatile and adaptable solution.
By leveraging the portability and adjustability of a tripod stand, you can create a temporary or semi-permanent projector setup that can be easily repositioned or stored when not in use. This flexibility makes the tripod stand an excellent choice for individuals who value convenience, mobility, and the ability to customize their viewing environment without the constraints of drilling into walls or ceilings.
Conclusion
Mounting a projector without drilling opens up a world of possibilities for creating immersive and personalized viewing experiences in your home. Whether you’re a renter looking to avoid permanent alterations or simply prefer a flexible and non-invasive installation method, the three approaches outlined in this guide offer practical and effective solutions for projector placement.
From utilizing adhesive hooks for temporary setups to embracing the elevated and professional look of a ceiling mount stand, and harnessing the portability and adaptability of a tripod stand, each method empowers you to enjoy the benefits of a projector without the need for extensive renovations or modifications to your living space.
By following the step-by-step guides for each method, you can confidently mount your projector while prioritizing safety, stability, and optimal viewing angles. These approaches not only cater to diverse preferences and space constraints but also provide the flexibility to adjust and reposition your projector setup as needed.
Whether you’re transforming your living room into a home theater, setting up a temporary outdoor movie night, or creating a versatile multimedia space, the ability to mount a projector without drilling offers convenience, adaptability, and the freedom to customize your viewing environment to suit your preferences.
With the knowledge and insights gained from this guide, you can embark on your projector mounting journey with confidence, knowing that you have the tools and methods to elevate your home entertainment experience without the constraints of traditional drilling and permanent installations.
Embrace the versatility and creativity that these non-invasive mounting methods offer, and let your imagination guide you as you transform your space into a captivating and immersive cinematic environment, all without the need for a single drill hole.
Frequently Asked Questions about How To Mount A Projector Without Drilling
Was this page helpful?
At Storables.com, we guarantee accurate and reliable information. Our content, validated by Expert Board Contributors, is crafted following stringent Editorial Policies. We're committed to providing you with well-researched, expert-backed insights for all your informational needs.


0 thoughts on “How To Mount A Projector Without Drilling”