Home>Technology>Security & Surveillance>How To Replace RV Door Lock
Security & Surveillance
How To Replace RV Door Lock
Modified: January 9, 2024
Learn how to enhance your RV security with our step-by-step guide on replacing the door lock. Keep your vehicle safe and secure. Expert tips and advice.
(Many of the links in this article redirect to a specific reviewed product. Your purchase of these products through affiliate links helps to generate commission for Storables.com, at no extra cost. Learn more)
Introduction
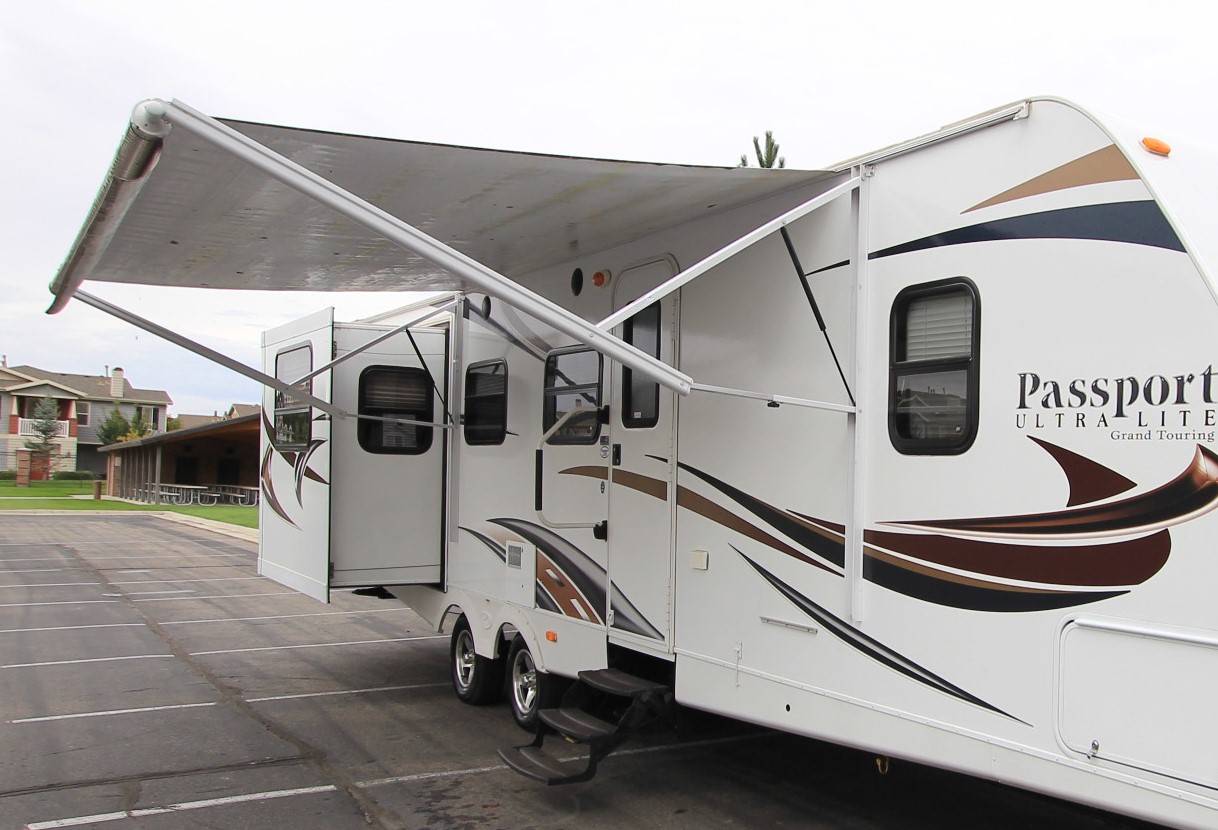
Securing your recreational vehicle (RV) is paramount for your peace of mind and the safety of your belongings. The door lock is a critical component of your RV's security system, and over time, it may need to be replaced due to wear and tear or for an upgrade to a more advanced locking mechanism.
Replacing an RV door lock is a task that can be accomplished with the right tools, a clear understanding of the process, and a methodical approach. In this guide, we'll walk you through the step-by-step process of replacing your RV door lock, empowering you to enhance the security of your home on wheels.
Whether you're a seasoned RV enthusiast or a novice traveler, learning how to replace an RV door lock is a valuable skill that can save you time and money in the long run. By following the instructions in this guide, you'll gain the confidence to tackle this project and ensure that your RV remains a safe and secure haven during your adventures.
So, gather your tools and let's dive into the process of replacing your RV door lock to safeguard your cherished belongings and enjoy worry-free travels.
Key Takeaways:
- Upgrade your RV’s security by replacing the door lock with confidence and precision, ensuring a safe and secure environment for your belongings and peace of mind during your travels.
- Replacing the RV door lock empowers you with valuable skills, cultivates a sense of self-reliance, and provides long-term benefits for the security and functionality of your cherished home on wheels.
Read more: How To Pick A RV Door Lock
Tools and Materials Needed
Before you embark on replacing your RV door lock, it’s essential to gather the necessary tools and materials to ensure a smooth and efficient process. Here’s a comprehensive list of what you’ll need:
Tools:
- Phillips head screwdriver
- Flat head screwdriver
- Adjustable wrench
- Drill with assorted drill bits
- Putty knife
- Wire cutters/strippers
- Silicone lubricant
Materials:
- New RV door lock assembly
- Replacement screws
- Painter's tape or masking tape
- Clean cloth
- Optional: Replacement strike plate
Having these tools and materials at your disposal will streamline the process of replacing your RV door lock and ensure that you’re well-prepared for any unexpected challenges that may arise. Now that you have everything you need, let’s move on to the next steps of removing the old RV door lock.
Removing the Old RV Door Lock
Before you begin removing the old RV door lock, it’s crucial to ensure that you’re working in a well-lit and spacious area, allowing for easy access to the door and ample room to maneuver. Here’s a step-by-step guide to help you through the process:
Read more: How To Replace A Patio Door Lock
Step 1: Prepare the Door
Start by ensuring that the RV is parked on a level surface and that the door is fully closed. This will provide stability and prevent any unexpected movements during the removal process. Additionally, use painter’s tape or masking tape to protect the surrounding areas of the door from potential scratches or damage.
Step 2: Remove the Interior Screws
Using a Phillips head screwdriver, carefully unscrew and remove the interior screws that secure the old door lock in place. Keep the screws in a safe place, as you may need them for the installation of the new lock.
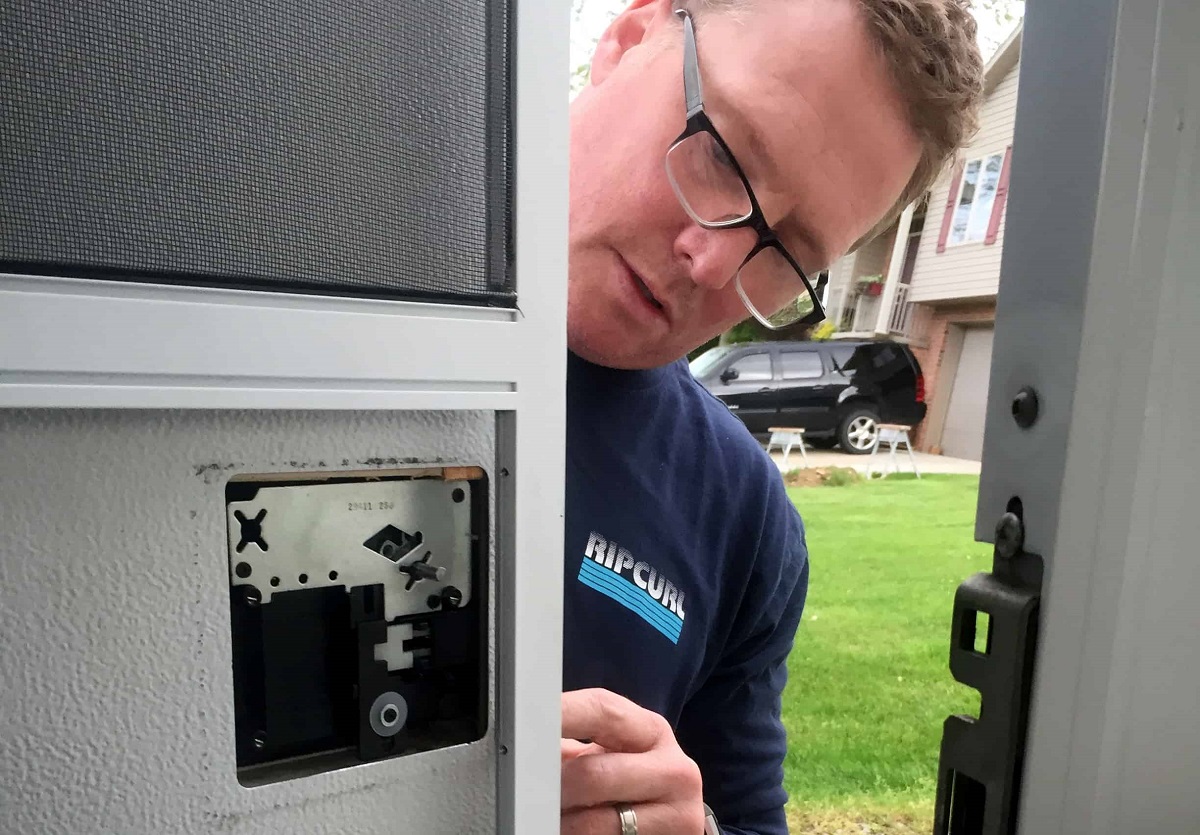
Step 3: Extract the Old Lock Assembly
Once the interior screws are removed, gently pull out the old lock assembly from the exterior side of the door. Take care not to force it out, as there may be wiring connected to the lock that needs to be detached first. If the old lock is hard to remove, a putty knife can be used to pry it away from the door.
Step 4: Disconnect Wiring (If Applicable)
If your RV door lock is electronic and has wiring connected to it, use wire cutters or strippers to carefully disconnect the wiring. Take note of the wire connections and their respective positions to facilitate the installation of the new lock later on.
Read more: How To Replace A Door Handle With Lock
Step 5: Remove the Strike Plate (If Necessary)
Inspect the strike plate on the door frame. If the new lock assembly comes with a replacement strike plate or if the existing one shows signs of wear, use a screwdriver to remove the screws securing the strike plate in place. Set the old strike plate aside for disposal or recycling.
With the old RV door lock successfully removed, you’re now ready to proceed with installing the new lock assembly. The next section will guide you through the installation process, ensuring that your RV’s security is upgraded with precision and care.
Installing the New RV Door Lock
Now that the old RV door lock has been safely removed, it’s time to embark on the installation of the new lock assembly. This process requires attention to detail and precision to ensure that the new lock is securely in place and fully functional. Follow these steps to seamlessly install the new RV door lock:
Step 1: Prepare the New Lock Assembly
Before proceeding, carefully unpack the new RV door lock assembly and familiarize yourself with its components. Take note of any included instructions or diagrams that illustrate the installation process specific to the model you have. This will provide valuable guidance as you proceed with the installation.
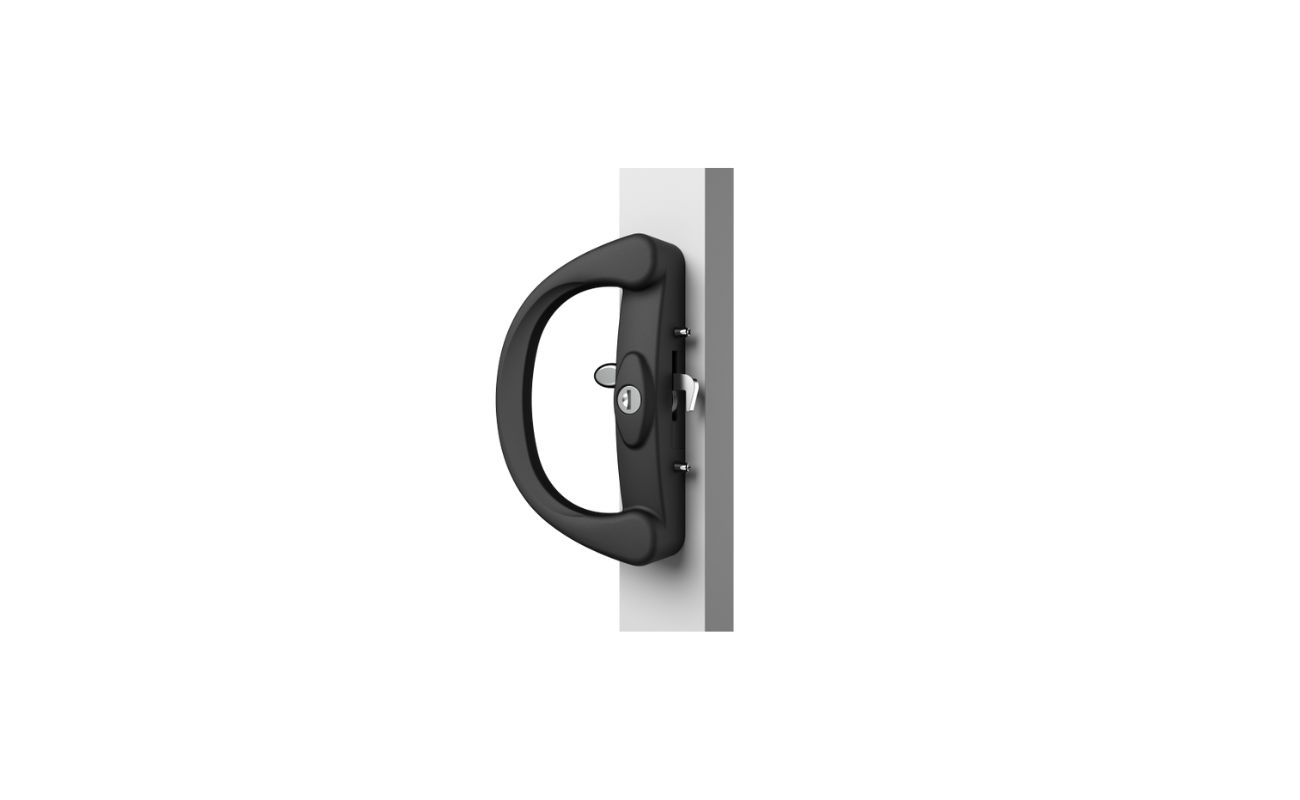
Step 2: Position the New Lock
From the exterior side of the door, insert the new lock assembly into the designated slot, ensuring that it aligns correctly with the interior components. Pay attention to any wiring that needs to be connected, following the markings or labels you made during the removal of the old lock.
Read more: How To Replace Door Lock Actuator
Step 3: Secure the Lock in Place
Using the provided screws or the original screws from the old lock, fasten the new lock assembly onto the door. Ensure that the screws are tightened securely, but be careful not to overtighten them, as this could affect the functionality of the lock.
Step 4: Connect Wiring (If Applicable)
If your new RV door lock is electronic and requires wiring connections, refer to the markings or labels you made during the removal process to reconnect the wiring correctly. Take care to insulate any exposed wires and ensure that the connections are secure to prevent any electrical issues in the future.
Step 5: Install the Strike Plate
If a new strike plate is included with the lock assembly or if you’ve opted to replace the existing one, position the strike plate on the door frame and secure it in place using the provided screws. Ensure that the strike plate aligns perfectly with the lock assembly for smooth operation.
Step 6: Test the Lock Functionality
Before finalizing the installation, test the functionality of the new RV door lock. Ensure that the key turns smoothly, the electronic components (if applicable) operate as intended, and the door latches securely. This step is crucial to identifying and addressing any potential issues before completing the installation.
With the new RV door lock successfully installed and functioning optimally, you’ve taken a significant step toward enhancing the security of your RV. However, before considering the installation complete, it’s essential to conduct a thorough test to validate the effectiveness of the new lock.
Read also: 11 Amazing RV Door Lock For 2024
Testing the New RV Door Lock
After installing the new RV door lock, it’s imperative to conduct a comprehensive testing process to ensure that the lock functions seamlessly and provides the level of security expected. Follow these steps to thoroughly test the new RV door lock:
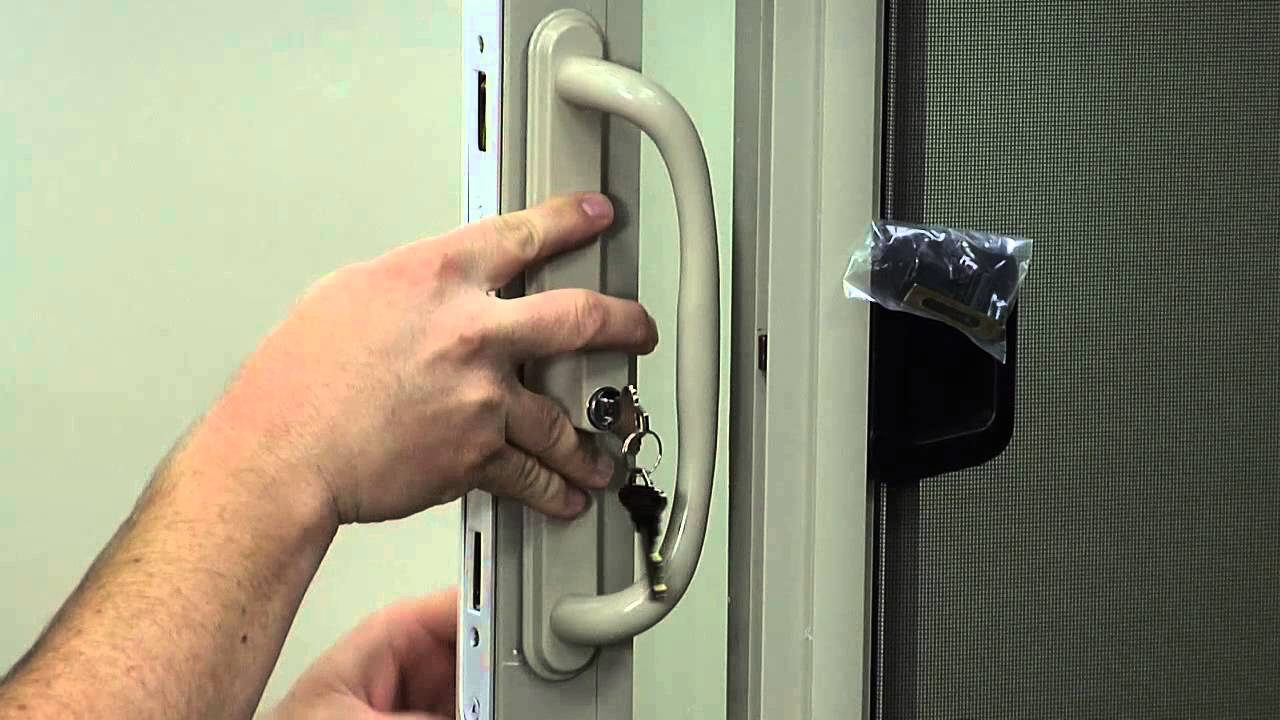
Step 1: Key Operation
Test the key operation by inserting the key into the lock cylinder and turning it in both directions. The key should turn smoothly without any resistance, and the lock should engage and disengage effortlessly. If there are any issues with the key operation, such as stiffness or sticking, reevaluate the installation to address the underlying cause.
Step 2: Latch Engagement
Close the RV door and test the latch engagement by attempting to open the door from both the inside and outside. The latch should secure the door firmly when closed, and there should be no excessive play or wobbling. If the latch does not engage properly, revisit the installation to ensure that the lock assembly is aligned correctly.
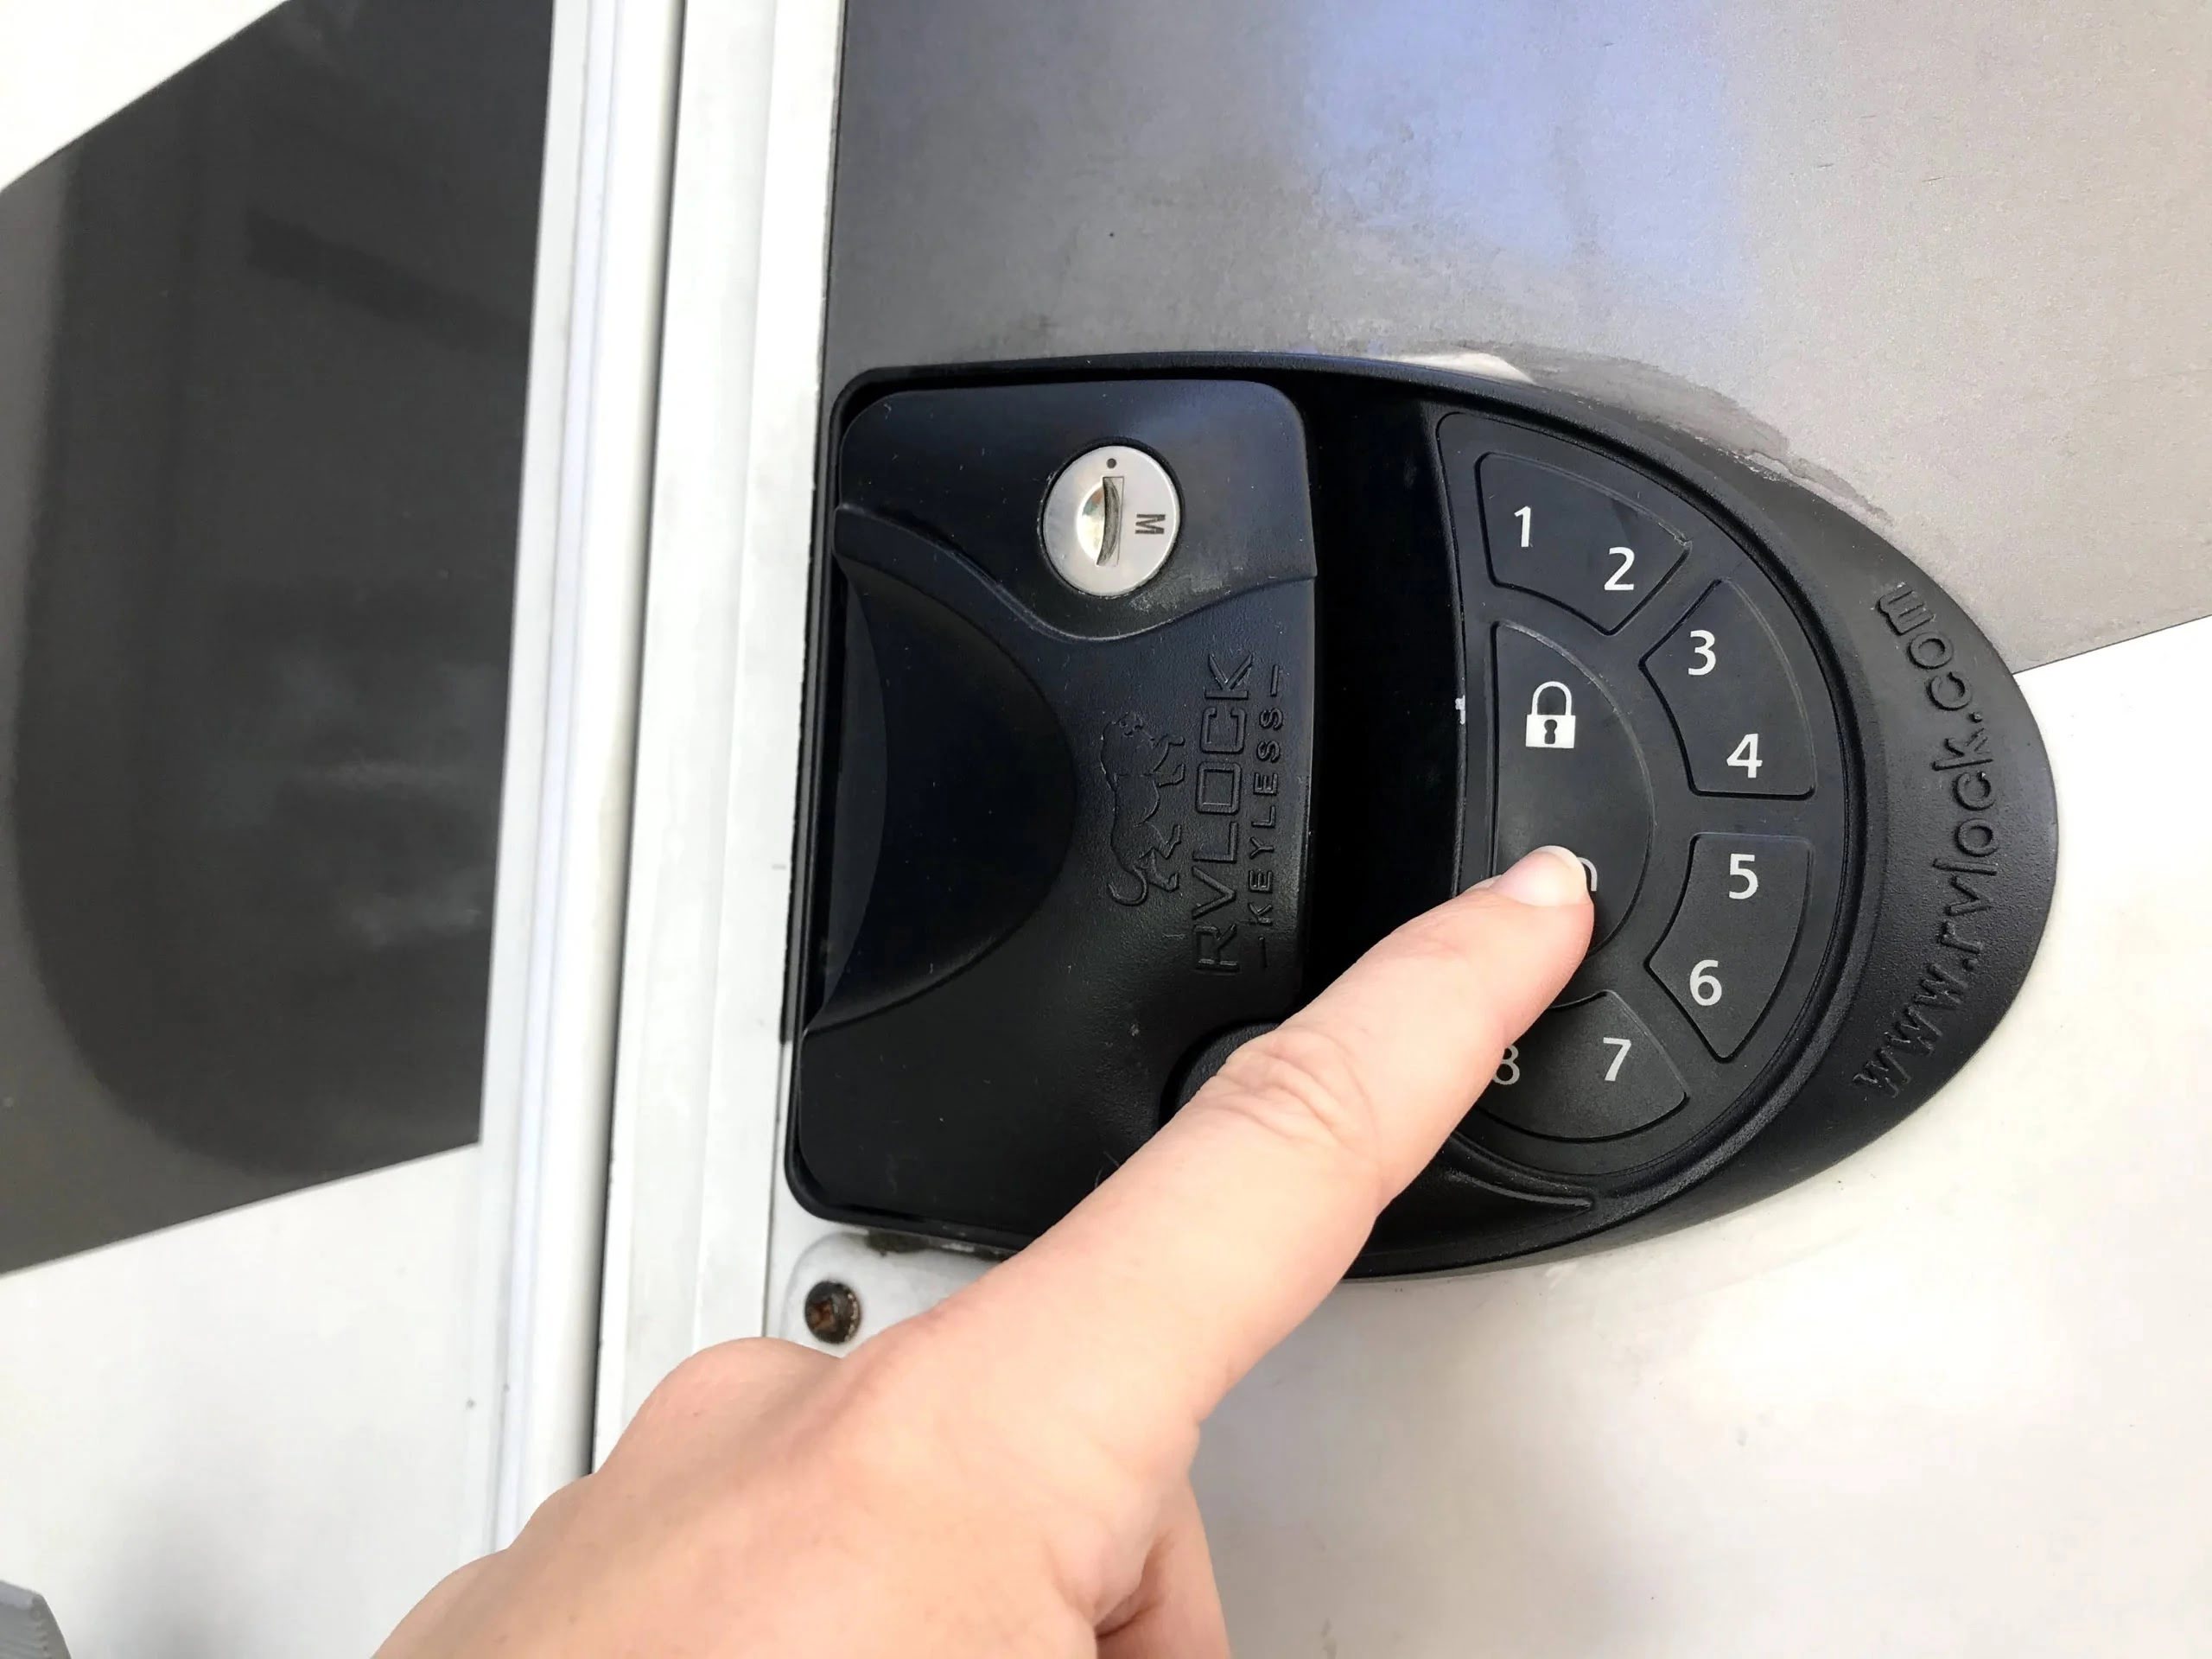
Step 3: Electronic Functionality (If Applicable)
If your new RV door lock features electronic components, such as keyless entry or remote operation, test the electronic functionality thoroughly. Ensure that all electronic features, including keypad entry, remote fob operation, and any integrated security systems, operate as intended. Verify that the electronic components respond promptly and consistently to user input.
Read more: How To Replace A Cylinder Lock On Door
Step 4: Security Assessment
Conduct a security assessment by applying gentle pressure to the door to simulate attempted forced entry. The lock should withstand the pressure and maintain its integrity, demonstrating resilience against potential intrusion. Additionally, inspect the strike plate and door frame for any signs of stress or misalignment during the security assessment.
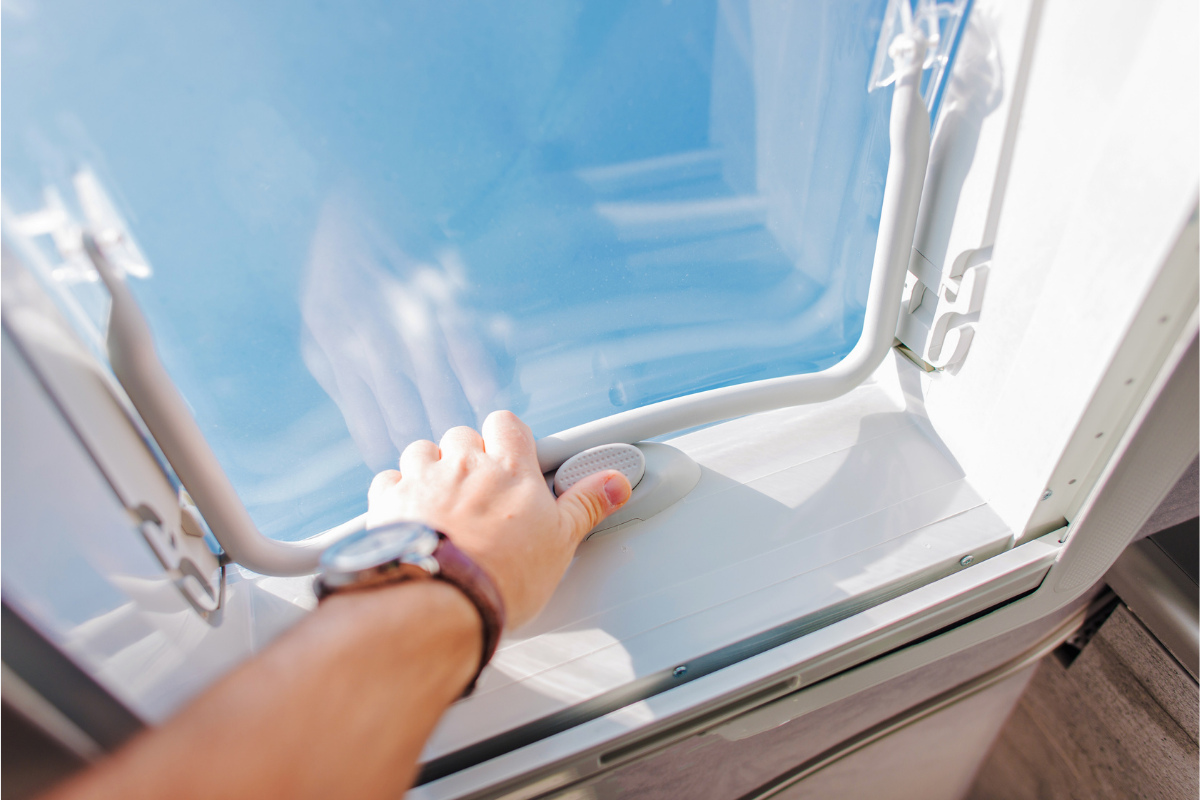
Step 5: Weather Resistance
If your RV door is exposed to the elements, test the new lock’s weather resistance by simulating various weather conditions, such as rain and wind. Ensure that the lock mechanism remains unaffected by moisture and that the protective features, such as rubber gaskets or seals, effectively safeguard the internal components from environmental factors.
Step 6: Repeat Testing
Perform a series of repeated tests to validate the consistent functionality and reliability of the new RV door lock. By repeating the testing process, you can identify any intermittent issues or inconsistencies that may not be apparent during initial testing. This thorough approach ensures that the lock meets the highest standards of performance and security.
By meticulously testing the new RV door lock, you can instill confidence in its reliability and effectiveness, providing you with the assurance that your RV is equipped with a robust security solution. Once the testing process is successfully completed, you can proceed with peace of mind, knowing that your RV is safeguarded by a dependable and resilient door lock.
Conclusion
Replacing the door lock on your RV is a proactive step toward fortifying the security of your home on wheels. By following the detailed process outlined in this guide, you’ve acquired the knowledge and skills to undertake this essential task with confidence and precision. As you conclude the replacement of your RV door lock, consider the following key points:
Read more: How To Replace Garage Door Lock
Enhanced Security
With the installation of a new RV door lock, you’ve elevated the security of your RV, providing a reliable defense against unauthorized access and potential intrusions. The meticulous attention to detail throughout the replacement process ensures that your RV remains a safe and secure environment for you and your belongings.
Peace of Mind
By taking proactive measures to replace the door lock, you’ve cultivated a sense of peace and assurance, knowing that your RV is equipped with a robust and dependable security solution. Whether you’re embarking on adventurous travels or temporarily parked at a serene campsite, the confidence in your RV’s security allows you to focus on enjoying your experiences to the fullest.
Empowerment and Skill Development
Engaging in the process of replacing the RV door lock has empowered you with valuable skills and knowledge that extend beyond this specific task. The ability to tackle maintenance and security enhancements for your RV not only saves time and resources but also fosters a deeper connection with your vehicle and a greater sense of self-reliance on the road.
Long-Term Benefits
Investing the time and effort to replace the RV door lock yields long-term benefits in terms of security, functionality, and overall peace of mind. The new lock, when maintained and cared for, will continue to serve as a steadfast guardian of your RV, contributing to the longevity and resilience of your cherished home away from home.
As you reflect on the successful completion of the RV door lock replacement, take pride in your accomplishment and the proactive approach you’ve taken to safeguard your RV. Your dedication to security and maintenance sets the stage for many more memorable adventures, knowing that your RV is equipped to handle whatever the journey may bring.
Frequently Asked Questions about How To Replace RV Door Lock
Was this page helpful?
At Storables.com, we guarantee accurate and reliable information. Our content, validated by Expert Board Contributors, is crafted following stringent Editorial Policies. We're committed to providing you with well-researched, expert-backed insights for all your informational needs.
0 thoughts on “How To Replace RV Door Lock”