Home>Technology>Smart Home Devices>How Do I Connect My Epson Printer To My Computer
Smart Home Devices
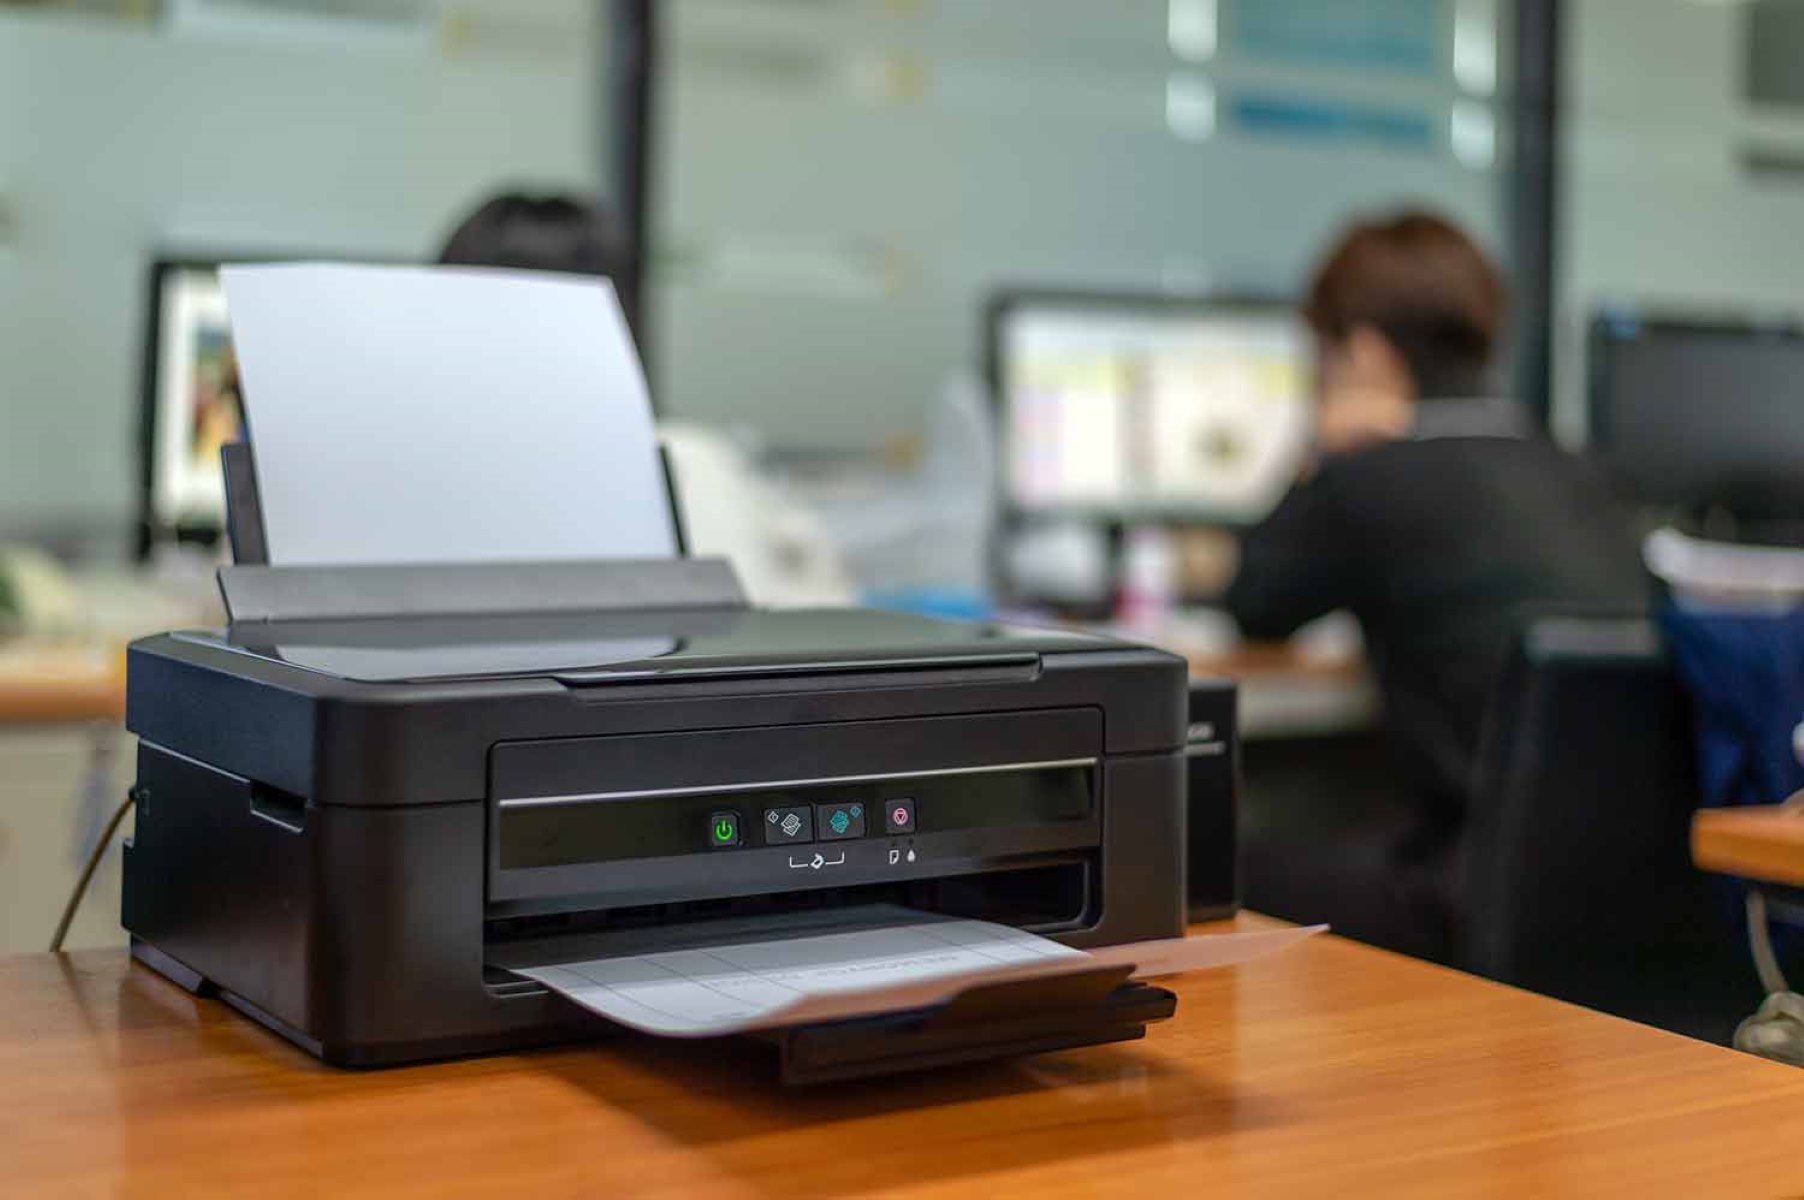
How Do I Connect My Epson Printer To My Computer
Modified: August 28, 2024
Learn how to easily connect your Epson printer to your computer and start printing from your smart home devices. Simplify your printing setup today!
(Many of the links in this article redirect to a specific reviewed product. Your purchase of these products through affiliate links helps to generate commission for Storables.com, at no extra cost. Learn more)
Introduction
Welcome to the world of smart home devices, where convenience meets innovation. Among the array of intelligent gadgets that have revolutionized modern living, Epson printers stand out as reliable and efficient companions for all your printing needs. Whether it's documents, photos, or creative projects, connecting your Epson printer to your computer is a fundamental step in unleashing its full potential.
In this comprehensive guide, we will walk you through the seamless process of connecting your Epson printer to your computer. By following the simple steps outlined here, you'll be able to set up your printer and start producing high-quality prints in no time. Let's dive in and explore the easy and efficient methods for establishing this essential connection.
Key Takeaways:
- Connecting your Epson printer to your computer is easy! Just check the devices, connect them using USB or wireless methods, install the printer software, and test the connection for seamless printing.
- Once connected, your Epson printer becomes a reliable partner for all your printing needs. Enjoy vibrant prints, efficient scanning, and the convenience of wireless printing, bringing your ideas to life with ease.
Read more: How Do I Connect A Printer To My Macbook
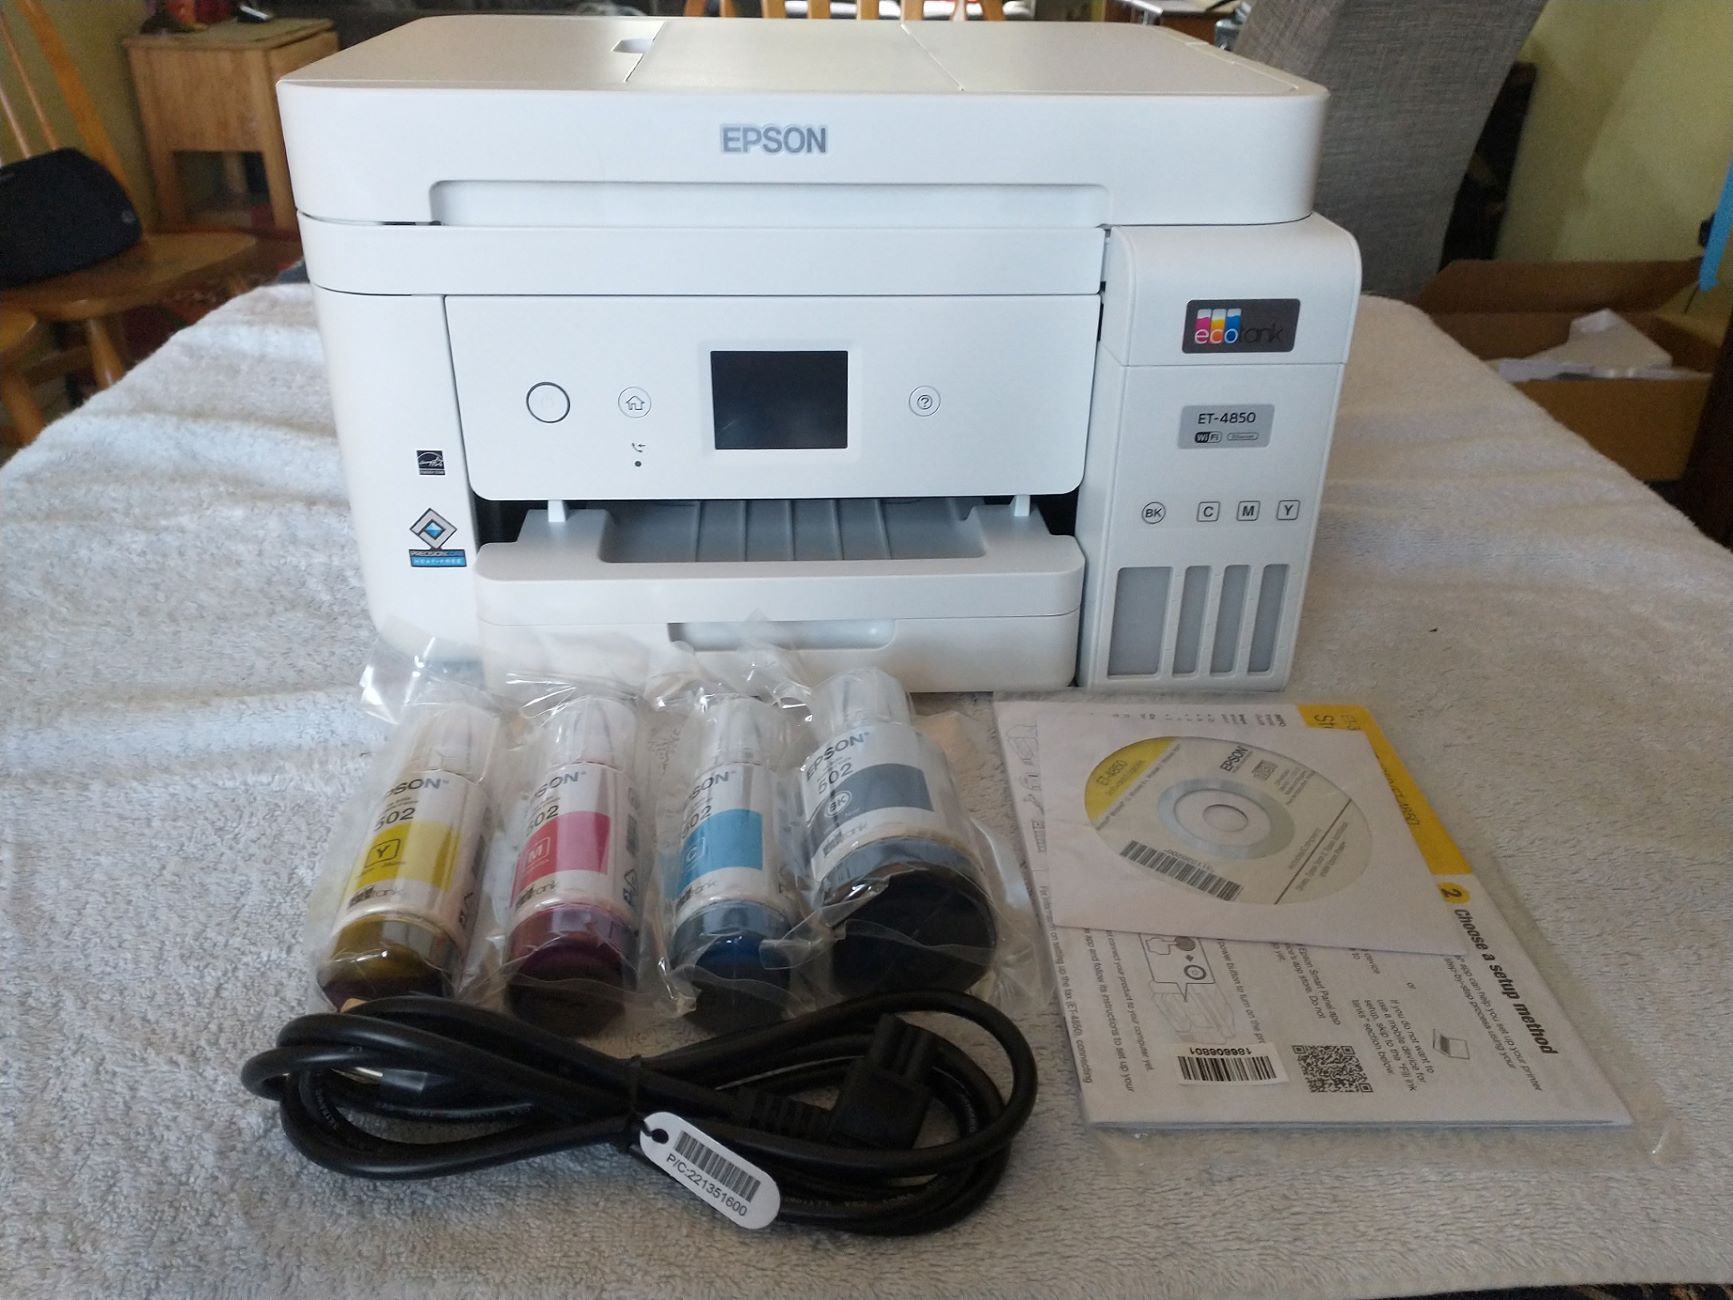
Step 1: Check your Epson printer and computer
Before embarking on the process of connecting your Epson printer to your computer, it's essential to ensure that both devices are ready for the setup. Here are the key steps to take:
- Power Up: Start by powering up your Epson printer and computer. Ensure that both devices are in working condition and have an adequate power supply.
- Connectivity: Check the connectivity options available on your Epson printer and computer. Epson printers often offer multiple connection methods, including USB, Wi-Fi, and Ethernet. Similarly, your computer should have compatible ports or wireless capabilities to establish a connection.
- Compatibility: Verify the compatibility of your Epson printer with your computer's operating system. Epson provides drivers and software tailored for specific operating systems, so it's crucial to confirm that your printer is compatible with your computer.
- Network Configuration: If you plan to connect your printer via Wi-Fi or Ethernet, ensure that your network settings are configured correctly. This includes checking the network name (SSID) and password for Wi-Fi connections, as well as ensuring that Ethernet cables are securely connected.
By conducting these checks, you can lay a solid foundation for the subsequent steps, ensuring a smooth and successful connection between your Epson printer and computer.
Step 2: Connect the printer to the computer
Once you have verified the readiness of your Epson printer and computer, it’s time to establish the physical connection between the two devices. The method of connection may vary based on the available interfaces and your preferences. Here’s a step-by-step guide to connecting your Epson printer to your computer:
- USB Connection: If you opt for a direct USB connection, simply use a USB cable to connect your Epson printer to an available USB port on your computer. Ensure that the cable is securely plugged in on both ends.
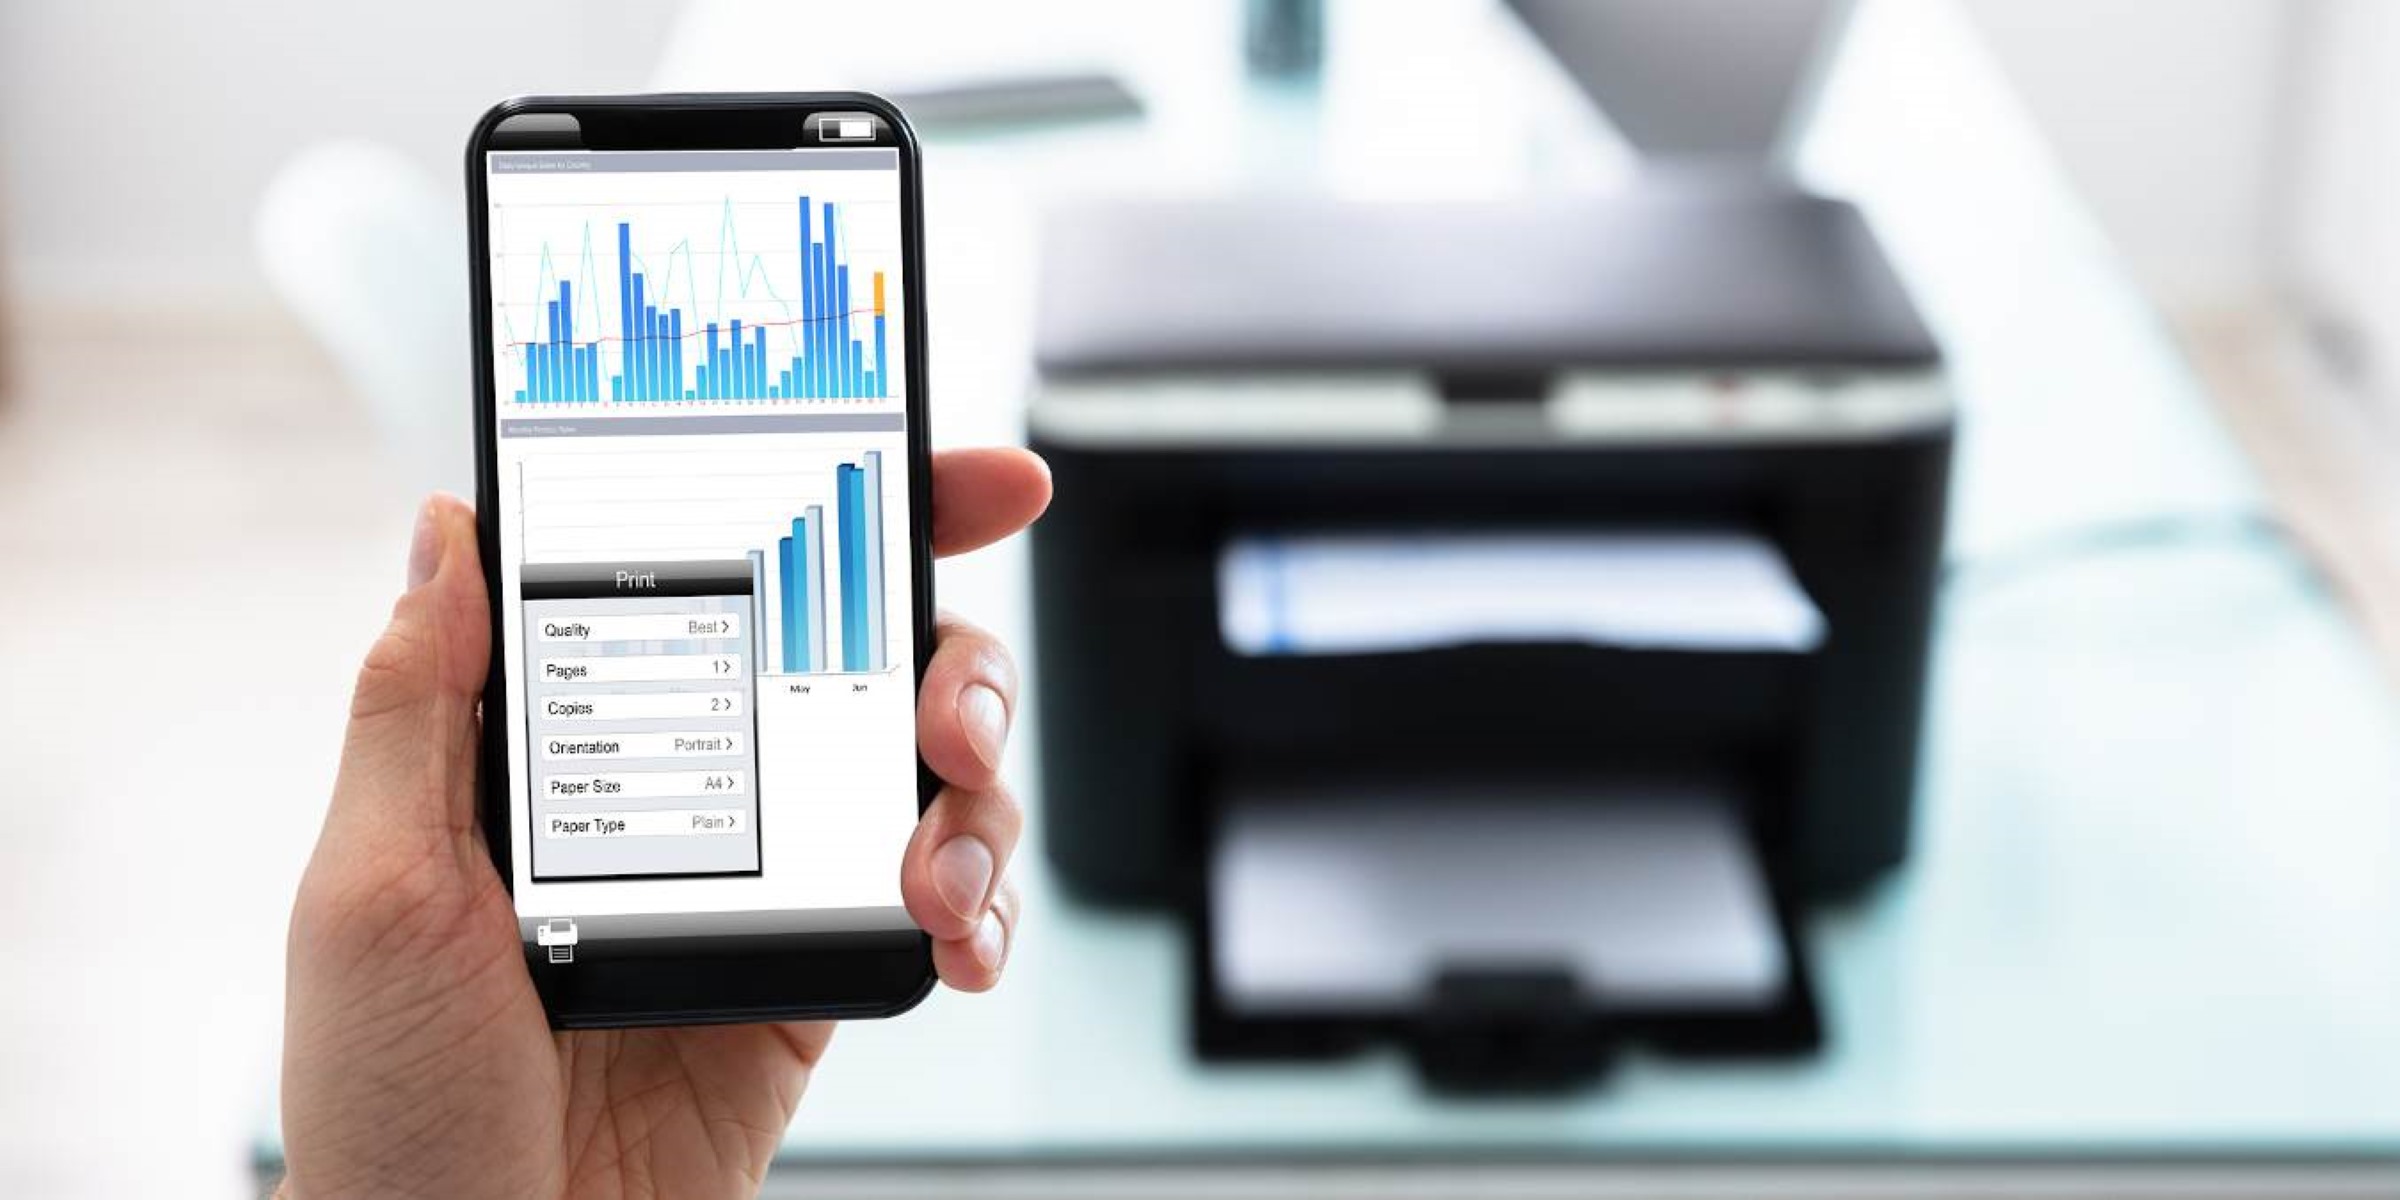
- Wireless Connection: For a wireless connection, refer to your printer’s manual or on-screen instructions to enable Wi-Fi or Bluetooth connectivity. On your computer, access the network settings and select your Epson printer from the list of available devices. Follow the prompts to establish the wireless connection.
- Network Connection: If you’re using an Ethernet connection, connect one end of the Ethernet cable to your printer and the other end to a network port on your router or directly to your computer, if applicable. This establishes a wired network connection between the devices.
By choosing the most suitable connection method and following these steps, you can physically link your Epson printer to your computer, paving the way for seamless communication and printing capabilities.
Make sure your Epson printer is turned on and connected to the same Wi-Fi network as your computer. Then, download and install the printer driver from the Epson website to connect it to your computer.
Step 3: Install the printer software
With the physical connection in place, the next crucial step is to install the necessary printer software on your computer. This software, often referred to as drivers or utilities, enables your computer to communicate effectively with your Epson printer and utilize its full range of features. Follow these steps to install the printer software:
- Driver Installation: Visit the official Epson website or use the installation CD that came with your printer to download and install the appropriate printer drivers for your operating system. Epson provides specific drivers for different operating systems, ensuring seamless compatibility and optimal performance.
- Software Utilities: In addition to drivers, Epson offers software utilities that enhance the functionality of your printer. These utilities may include scanning software, maintenance tools, and printing applications. Install the recommended software to leverage the complete capabilities of your Epson printer.
- Configuration: Once the software is installed, follow the on-screen instructions to configure the printer settings. This may include selecting the default paper size, print quality, and other preferences based on your printing needs.
- Wireless Setup (if applicable): If you’re using a wireless connection, the printer software installation process may guide you through the setup of wireless printing. Follow the prompts to establish a seamless wireless connection between your computer and Epson printer.
By installing the printer software and utilities, you empower your computer to harness the full potential of your Epson printer, enabling efficient printing, scanning, and other essential functions.
Step 4: Test the connection
After completing the physical connection and installing the necessary software, it’s essential to verify the successful integration of your Epson printer with your computer. Testing the connection ensures that your devices can communicate effectively and that you can initiate print tasks without any hitches. Here’s how to test the connection:
- Print a Test Page: Use your computer to send a print command to your Epson printer. This can be done by opening a document or image and selecting the print option. Ensure that your printer is selected as the designated device, and proceed to print a test page.
- Check Print Quality: Examine the printed test page for quality and clarity. Verify that the text is crisp, images are accurately reproduced, and colors are vibrant. This step allows you to confirm that the printer is functioning optimally and producing the expected results.
- Scan and Copy Functions: If your Epson printer offers scanning and copying capabilities, test these functions to ensure seamless integration with your computer. Use the scanner to digitize a document and initiate a copy task to assess the overall performance.
- Wireless Printing (if applicable): If you’ve set up a wireless connection, test the wireless printing functionality by sending print jobs from your computer to the Epson printer over the wireless network. This validates the reliability and convenience of wireless printing.
By conducting these tests, you can gain confidence in the successful connection between your Epson printer and computer, ensuring that you’re ready to embark on a seamless printing and scanning experience.
Read more: How Do I Change Ink In My Epson Printer
Conclusion
Congratulations on successfully connecting your Epson printer to your computer! By following the steps outlined in this guide, you’ve established a reliable and efficient link between your devices, unlocking a world of printing and scanning possibilities. As you embark on your printing journey, remember that maintaining updated printer software and periodically checking connectivity ensures a seamless experience.
With your Epson printer seamlessly integrated with your computer, you’re poised to unleash its full potential, whether it’s producing professional documents, vibrant photos, or creative projects. The convenience and versatility of your Epson printer are now at your fingertips, enhancing your productivity and enabling you to bring your ideas to life.
As technology continues to evolve, Epson remains at the forefront of innovation, consistently delivering cutting-edge printing solutions. By staying informed about the latest features and updates for your Epson printer, you can continue to optimize its performance and explore new capabilities.
Thank you for joining us on this journey to connect your Epson printer to your computer. Embrace the seamless printing experience and revel in the convenience of modern printing technology. Whether it’s for work, school, or personal projects, your Epson printer is now an indispensable tool in your creative arsenal.
Frequently Asked Questions about How Do I Connect My Epson Printer To My Computer
Was this page helpful?
At Storables.com, we guarantee accurate and reliable information. Our content, validated by Expert Board Contributors, is crafted following stringent Editorial Policies. We're committed to providing you with well-researched, expert-backed insights for all your informational needs.


0 thoughts on “How Do I Connect My Epson Printer To My Computer”