Home>Technology>Smart Home Devices>How To Calibrate A 3D Printer Extruder

Smart Home Devices
How To Calibrate A 3D Printer Extruder
Modified: January 24, 2024
Learn how to calibrate a 3D printer extruder for precise and accurate printing. Get expert tips and techniques for optimizing your smart home devices.
(Many of the links in this article redirect to a specific reviewed product. Your purchase of these products through affiliate links helps to generate commission for Storables.com, at no extra cost. Learn more)
Introduction
Welcome to the world of 3D printing, where creativity knows no bounds and innovation thrives. One of the key components of a 3D printer is the extruder, a vital element responsible for accurately dispensing filament during the printing process. However, to ensure precise and high-quality prints, it's crucial to calibrate the 3D printer extruder correctly.
Calibrating a 3D printer extruder might seem like a daunting task, especially for beginners, but fear not! This comprehensive guide will walk you through the process step by step, empowering you to optimize your 3D printer's extruder for impeccable printing results.
Whether you're a hobbyist, a professional, or an enthusiast eager to delve into the world of 3D printing, understanding the intricacies of calibrating a 3D printer extruder is a valuable skill that can elevate the quality of your prints and unleash your creativity.
So, let's embark on this enlightening journey to unravel the nuances of 3D printer extruder calibration, equip ourselves with the necessary tools, and master the art of achieving flawless prints through meticulous calibration.
Key Takeaways:
- Calibrating a 3D printer extruder ensures precise and consistent filament dispensing, leading to superior print quality and dimensional accuracy. It’s a crucial skill for 3D printing enthusiasts to master.
- Understanding and troubleshooting common extruder-related issues empowers 3D printing enthusiasts to maintain consistent print quality and optimize their 3D printer’s performance. Diligence and iterative refinement are key.
Read more: What Is An Extruder On A 3D Printer
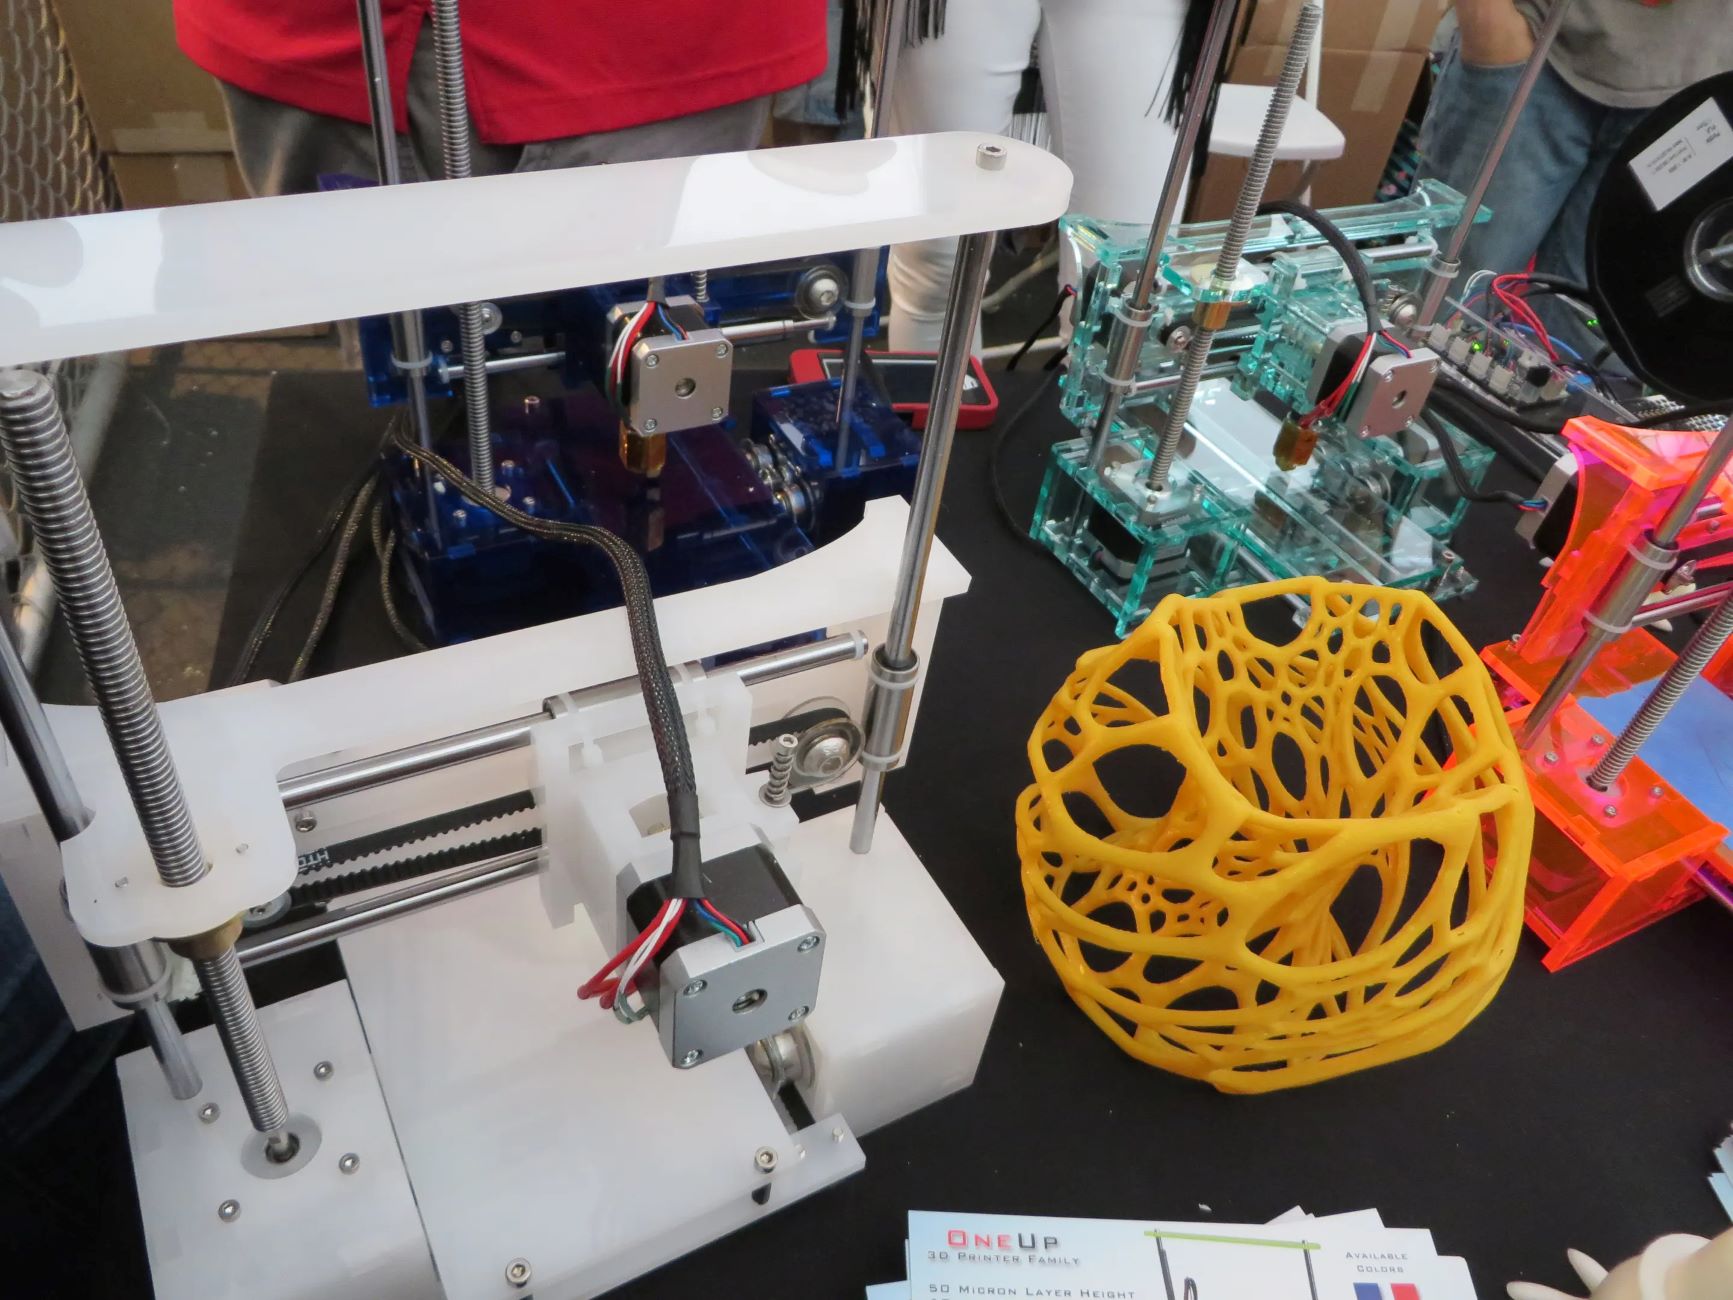
Understanding 3D Printer Extruders
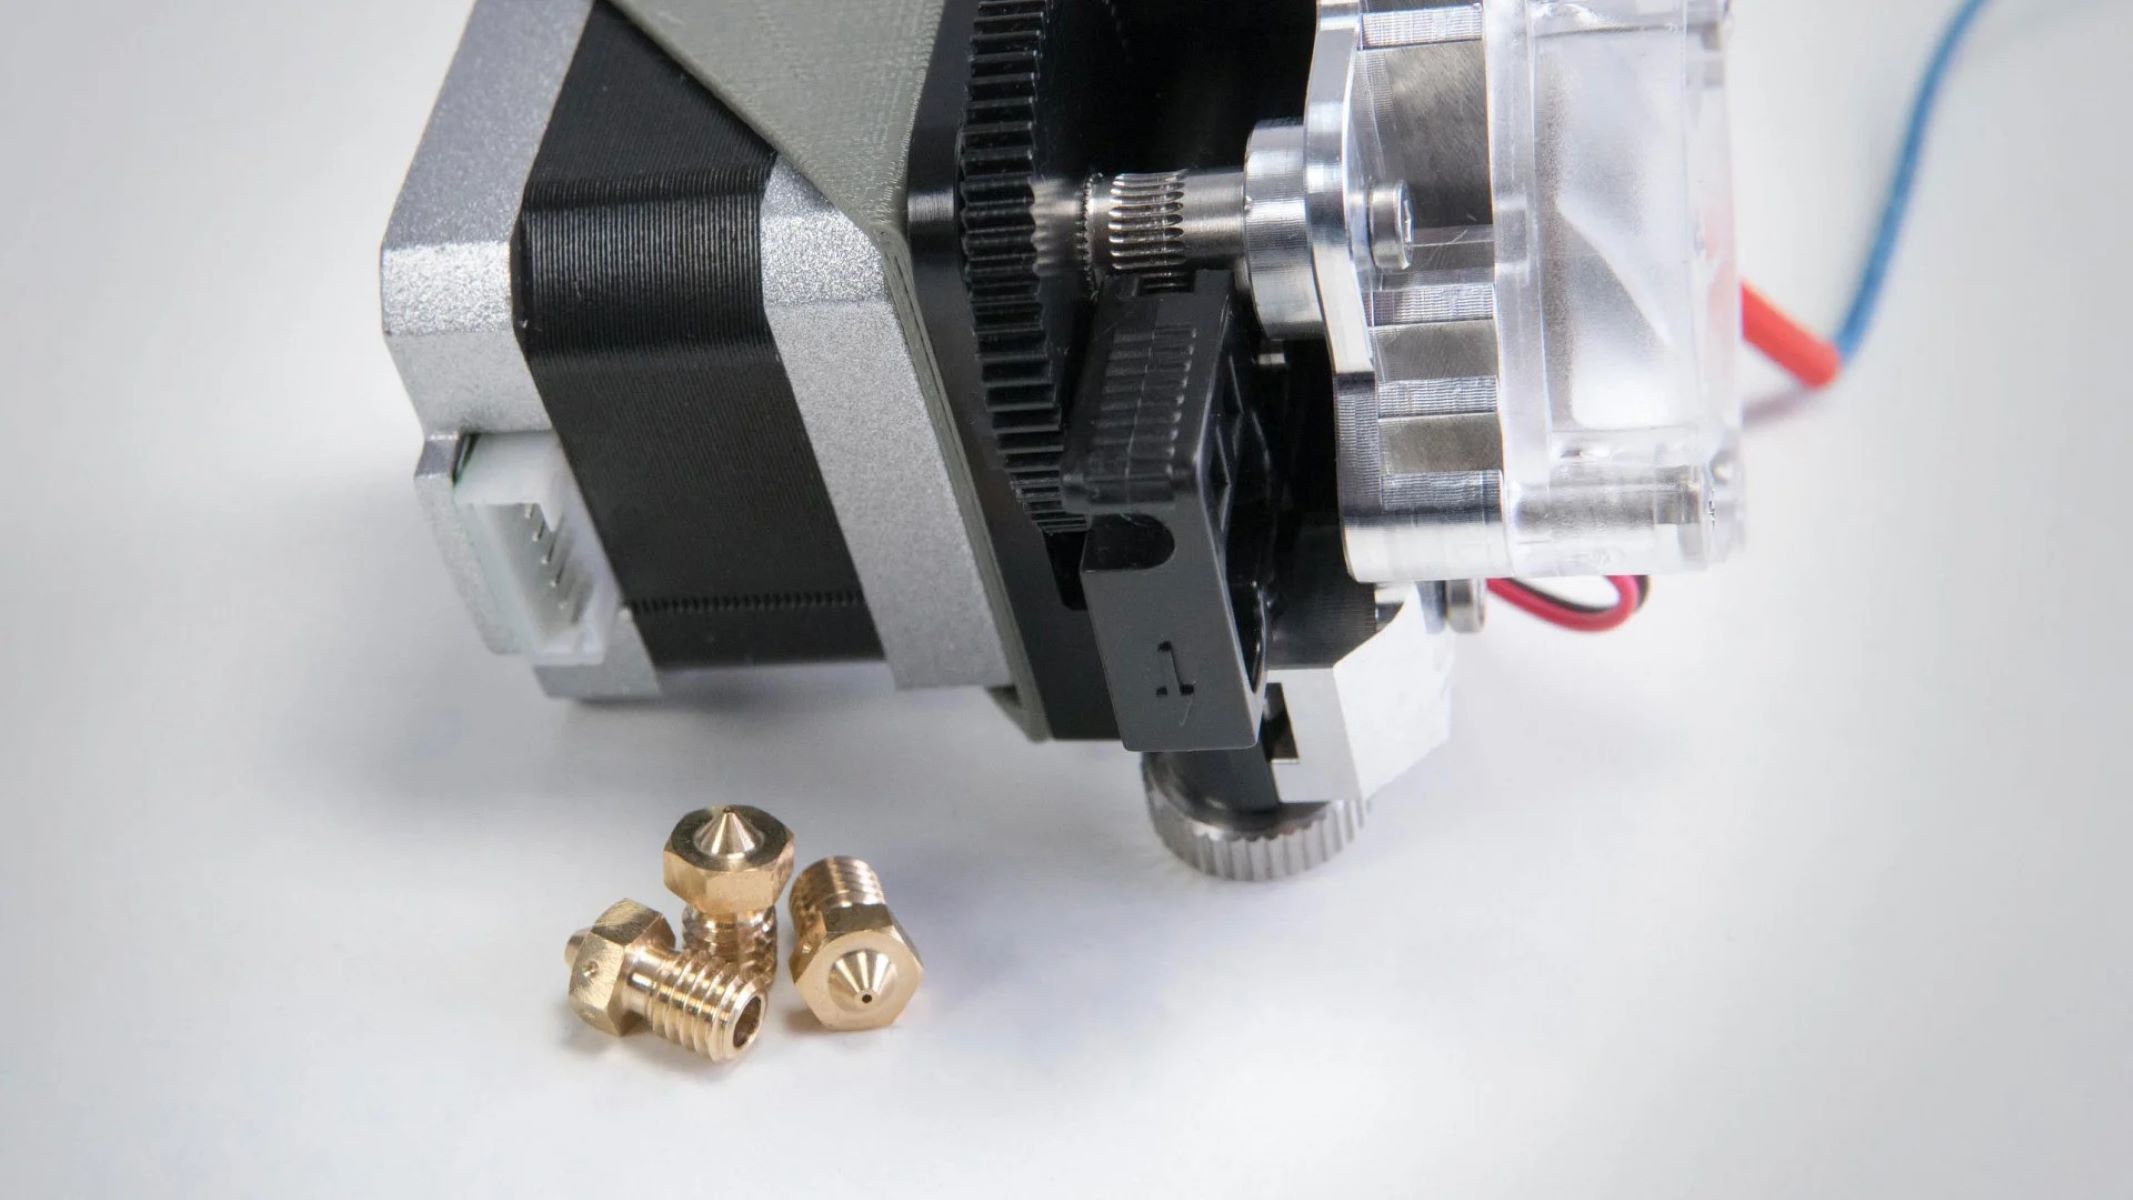
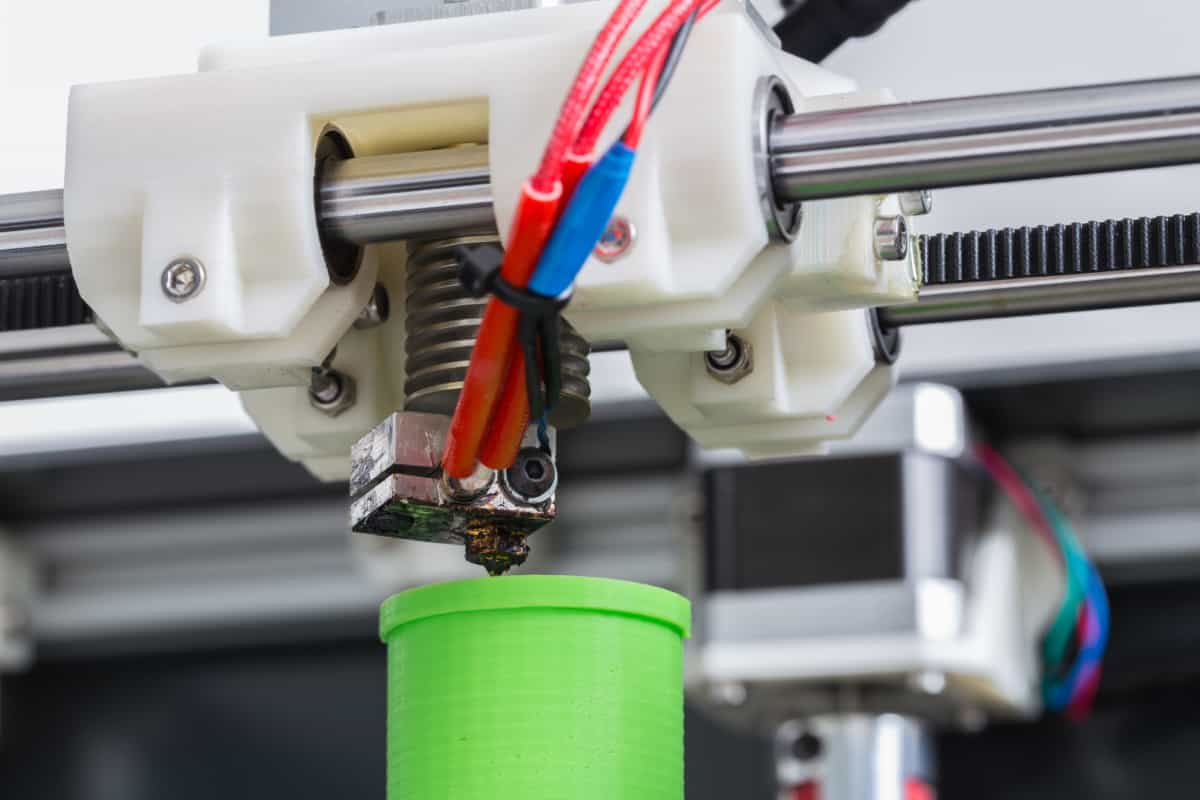
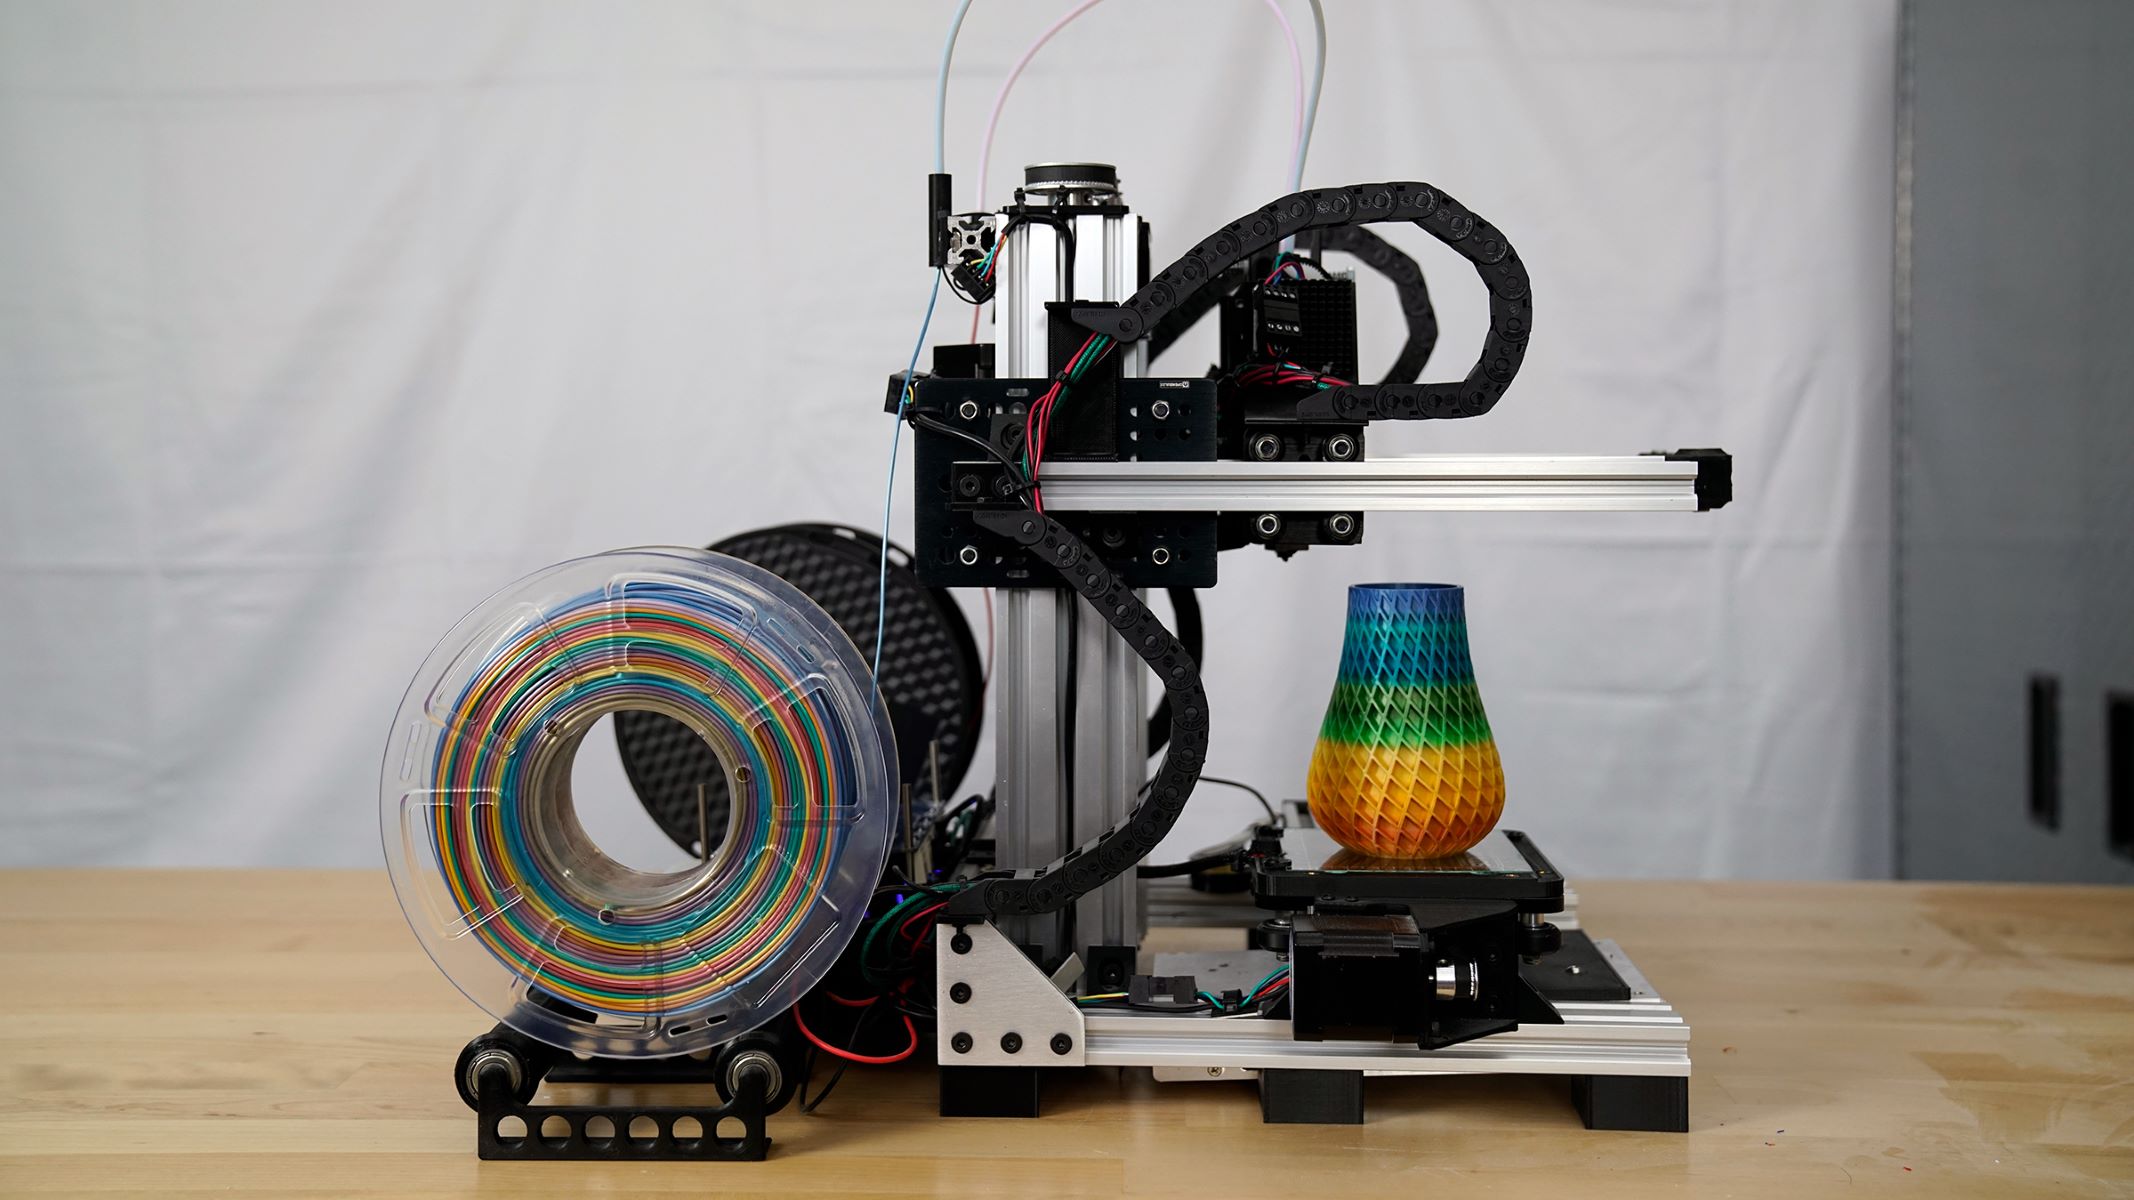
Before delving into the calibration process, it's essential to grasp the fundamental role of the 3D printer extruder. Essentially, the extruder is responsible for feeding filament into the hot end of the 3D printer, where it is melted and precisely deposited layer by layer to form the desired object.
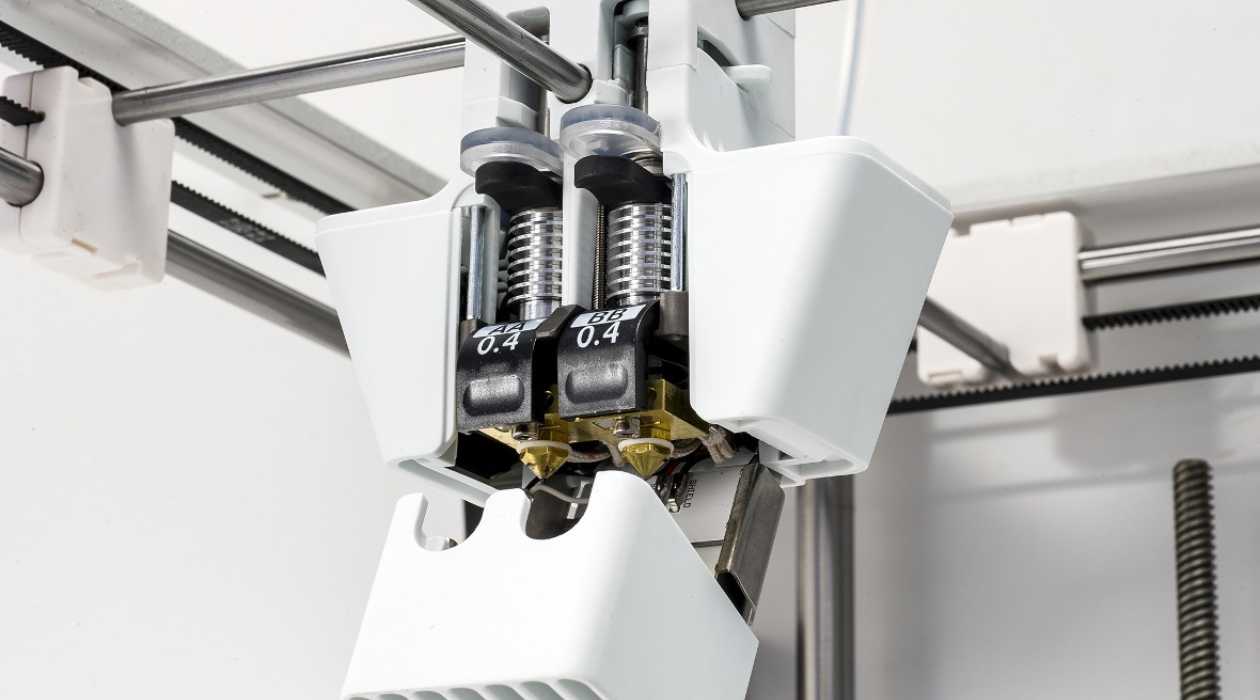
Most 3D printers utilize a single extruder, although some advanced models feature dual or even multiple extruders to enable multi-material and multi-color printing. The extruder comprises a motor-driven gear mechanism that grips the filament and pushes it through a heated nozzle, where it is melted and extruded onto the print bed or previous layers of the print.
Understanding the intricacies of the extruder's operation is crucial for achieving optimal print quality. Factors such as filament diameter, extrusion multiplier, retraction settings, and nozzle diameter directly influence the extrusion process and, consequently, the final print. Therefore, calibrating the extruder ensures that the filament is dispensed accurately and consistently, leading to precise layer deposition and impeccable print quality.
Moreover, the proper calibration of the extruder contributes to minimizing the risk of issues such as under-extrusion, over-extrusion, and inconsistent layer adhesion, all of which can compromise the structural integrity and visual appeal of the printed object.
By comprehending the pivotal role of the 3D printer extruder and its impact on print quality, you are better equipped to appreciate the significance of calibration and its positive implications for your 3D printing endeavors.
Tools and Materials Needed
Before embarking on the calibration process, it’s essential to gather the necessary tools and materials to ensure a smooth and efficient calibration experience. Here’s a comprehensive list of the items you’ll need:
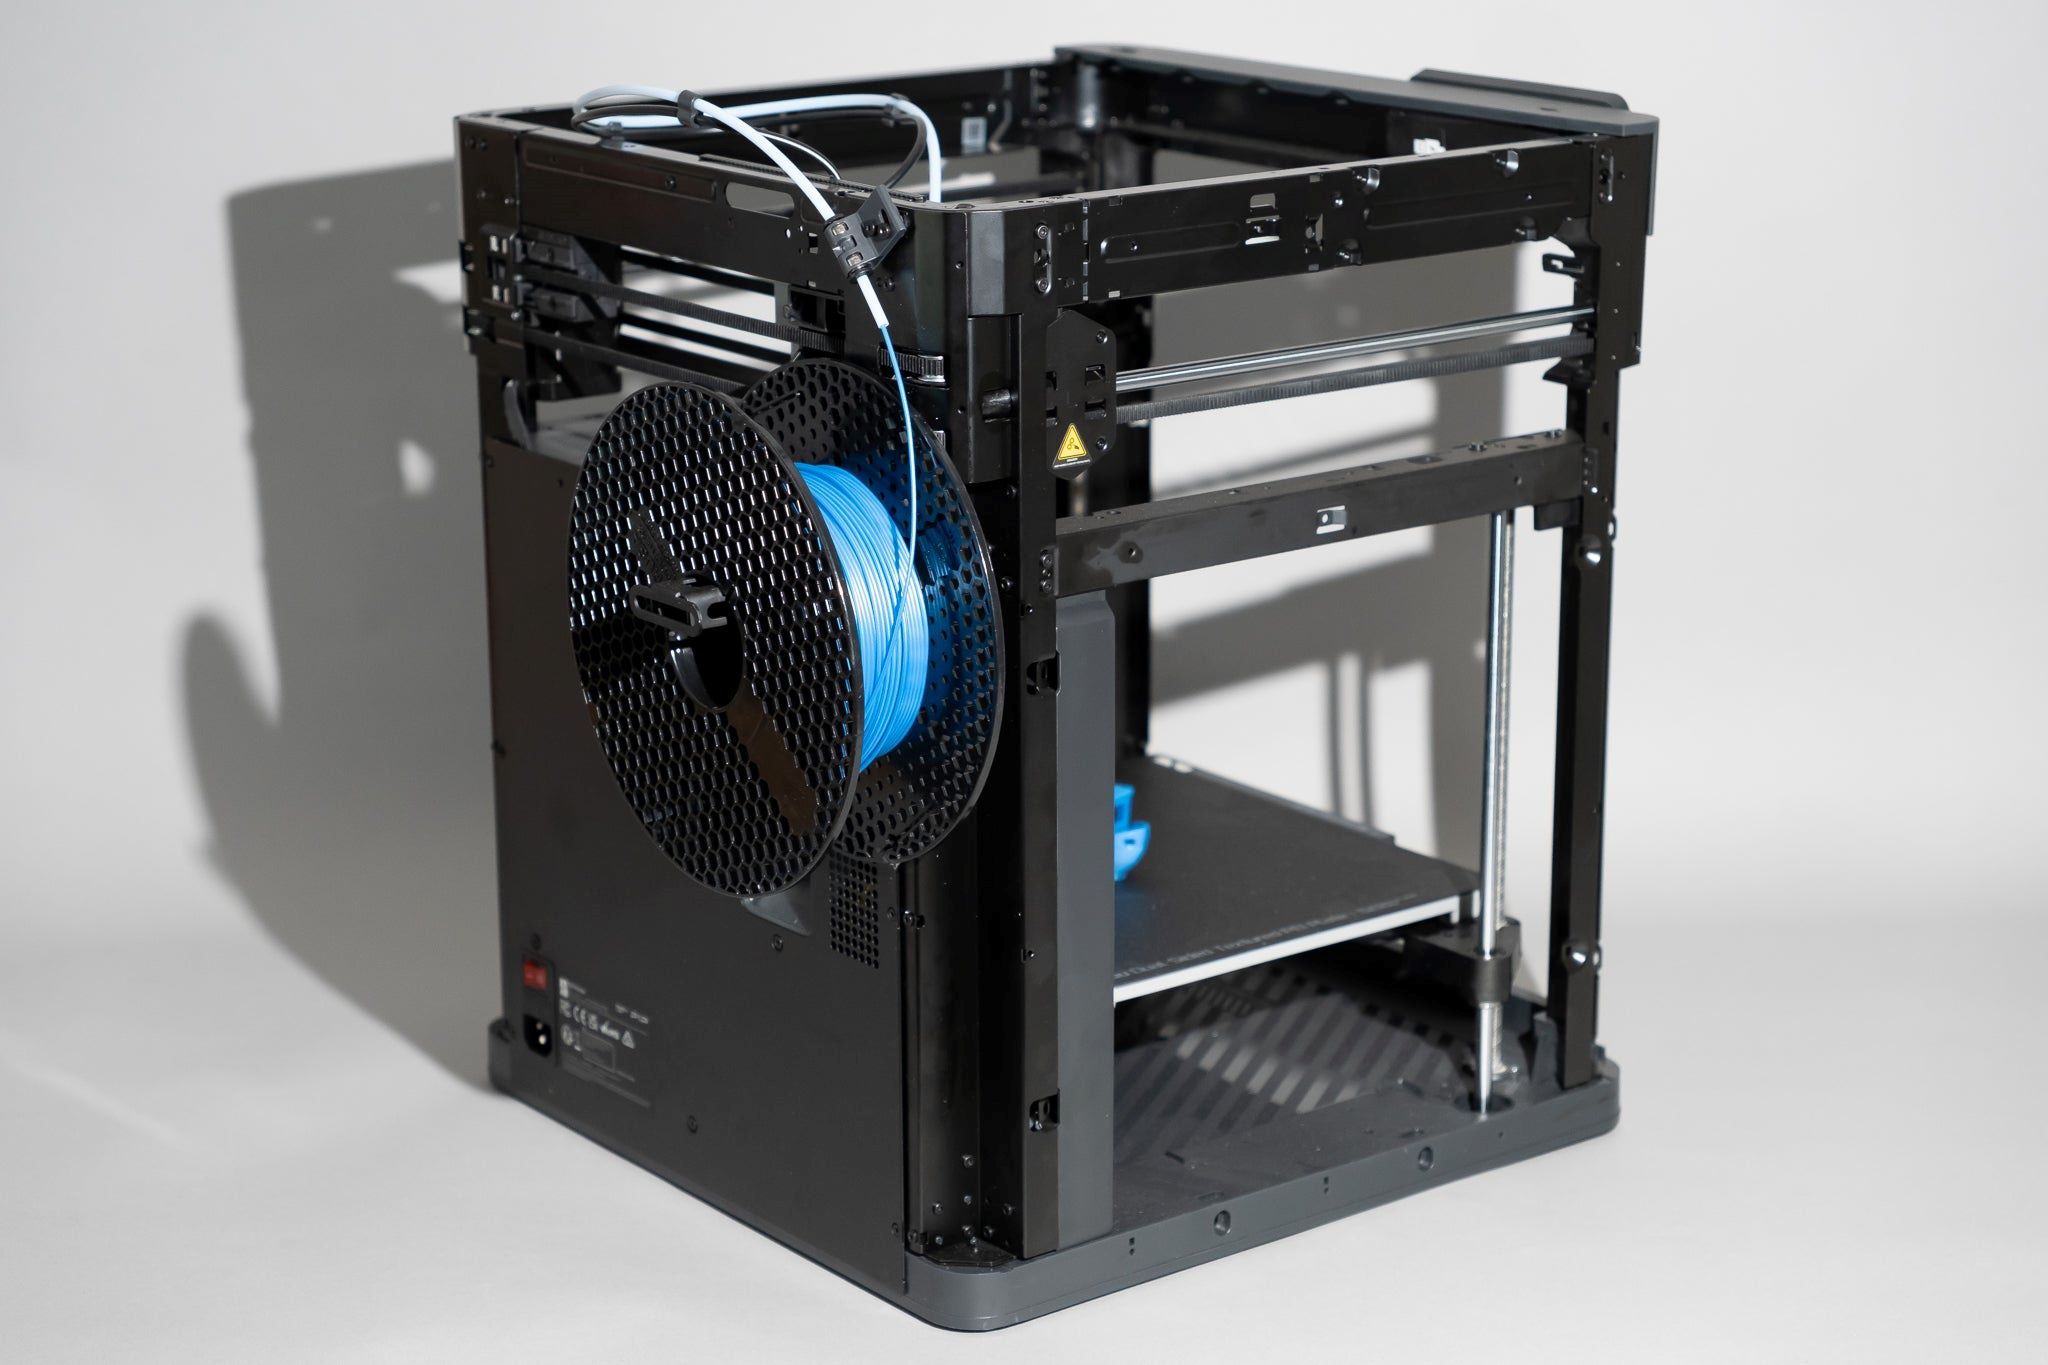
- 3D Printer: A functional 3D printer with a single or multiple extruders, depending on your specific setup.
- Computer or Mobile Device: To access the printer’s control interface or firmware settings.
- Calipers: Precise measurements of filament diameter and extrusion width are crucial for accurate calibration.
- Filament: High-quality filament compatible with your 3D printer, preferably in the color you frequently use for printing.
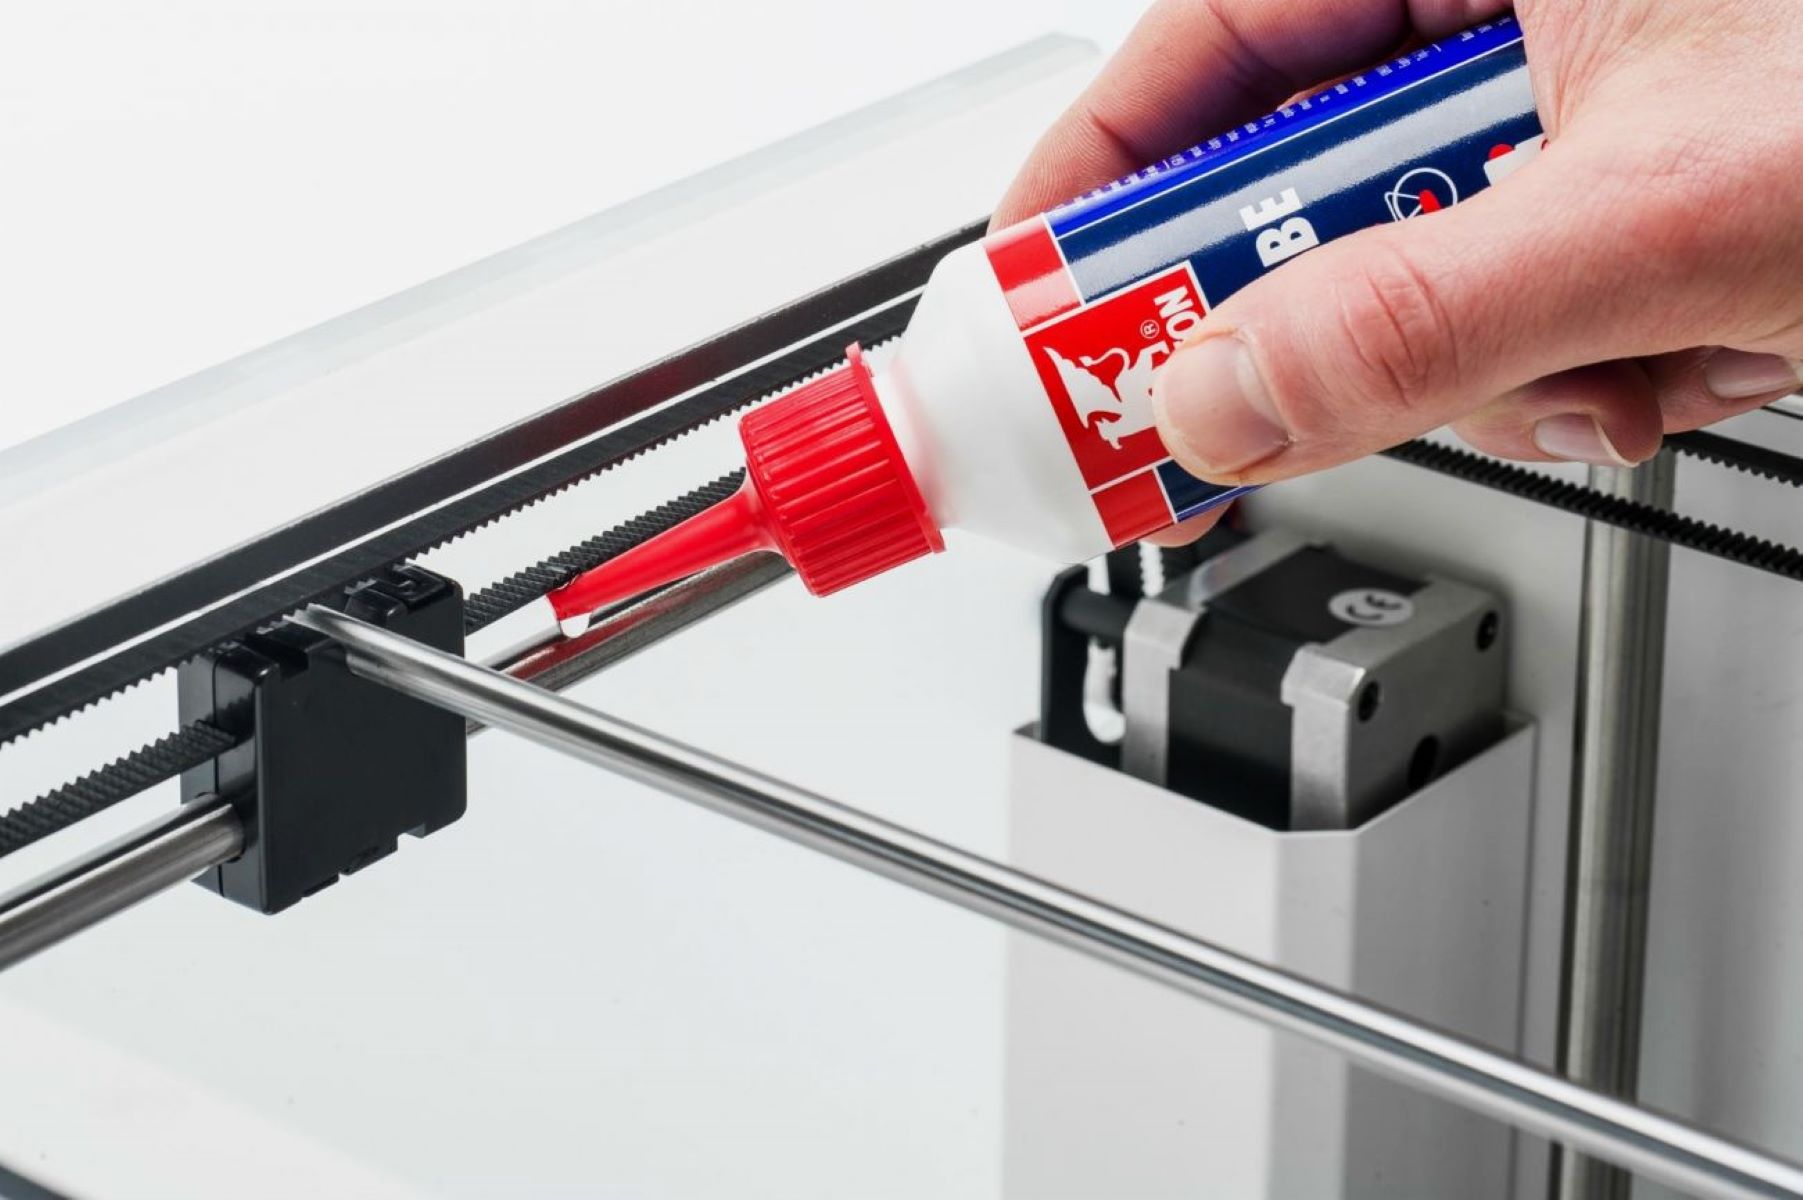
- Extruder Cleaning Kit: Tools for clearing any filament residue or debris from the extruder assembly.
- Small Hand Tools: Such as screwdrivers or hex keys, depending on your printer’s design, for accessing and adjusting the extruder components.
- Print Surface: A suitable print surface, such as a build plate or print bed, where you can perform test prints during the calibration process.
- Calibration Cube or Test Print Models: Objects specifically designed for testing dimensional accuracy and extrusion consistency.
- Leveling Tools: If your printer requires manual bed leveling, have the necessary tools on hand to ensure a level print surface.
Having these tools and materials readily available will streamline the calibration process and enable you to address any adjustments or fine-tuning required during the calibration of your 3D printer’s extruder.
Now that we’ve assembled the essential tools and materials, let’s proceed to the step-by-step process of calibrating a 3D printer extruder to achieve optimal print quality.
Steps to Calibrate a 3D Printer Extruder
Calibrating a 3D printer extruder involves a series of precise adjustments to ensure that the filament is extruded accurately and consistently during the printing process. Follow these step-by-step instructions to calibrate your 3D printer’s extruder:
- Measure Filament Diameter: Use calipers to measure the diameter of your filament at several points along its length. Record the average diameter, as this value will be crucial for the calibration process.
- Access Printer Interface: Connect your 3D printer to a computer or mobile device and access the printer’s control interface or firmware settings, where you can make adjustments to the extruder steps per millimeter (E-steps) and other relevant parameters.
- Extruder Disengagement: Temporarily disengage the extruder motor to allow manual filament feeding. This step may vary depending on your printer model, but it typically involves accessing the extruder assembly and releasing the tension on the filament.
- Manual Extrusion: Manually feed a specified length of filament through the extruder while observing its movement. Measure the actual length of filament that is extruded and compare it to the intended length. This comparison will help determine the accuracy of the extruder’s steps per millimeter setting.
- Calculate New E-steps Value: Based on the measured filament extrusion length and the intended length, calculate the new E-steps value using the following formula: New E-steps = (Current E-steps x Intended Length) / Actual Length.
- Adjust E-steps: Enter the calculated new E-steps value into the printer’s firmware settings to update the extruder steps per millimeter. This adjustment ensures that the extruder accurately dispenses the specified length of filament for each step of the motor.
- Test Print: Perform a test print, such as a calibration cube or another suitable model, to evaluate the extruder’s performance. Pay attention to the dimensional accuracy, layer adhesion, and overall print quality to assess the effectiveness of the calibration adjustments.
By meticulously following these steps and making the necessary adjustments, you can effectively calibrate your 3D printer’s extruder to achieve precise and consistent filament extrusion, ultimately leading to superior print quality and dimensional accuracy.
When calibrating a 3D printer extruder, make sure to measure and adjust the extrusion amount accurately to ensure proper filament flow and print quality. Use a caliper to measure the extruded filament and adjust the extruder steps/mm in the printer settings accordingly.
Testing and Adjusting the Extruder Calibration
Once you have calibrated the 3D printer’s extruder using the prescribed steps, it’s imperative to thoroughly test the calibration and make any necessary adjustments to fine-tune its performance. Here’s a detailed guide on testing and adjusting the extruder calibration:
- Dimensional Accuracy Test: Print a calibration cube or a model specifically designed to assess dimensional accuracy. Use calipers to measure the dimensions of the printed object, comparing them to the intended specifications. This test will reveal any discrepancies in dimensional accuracy resulting from the extruder calibration.
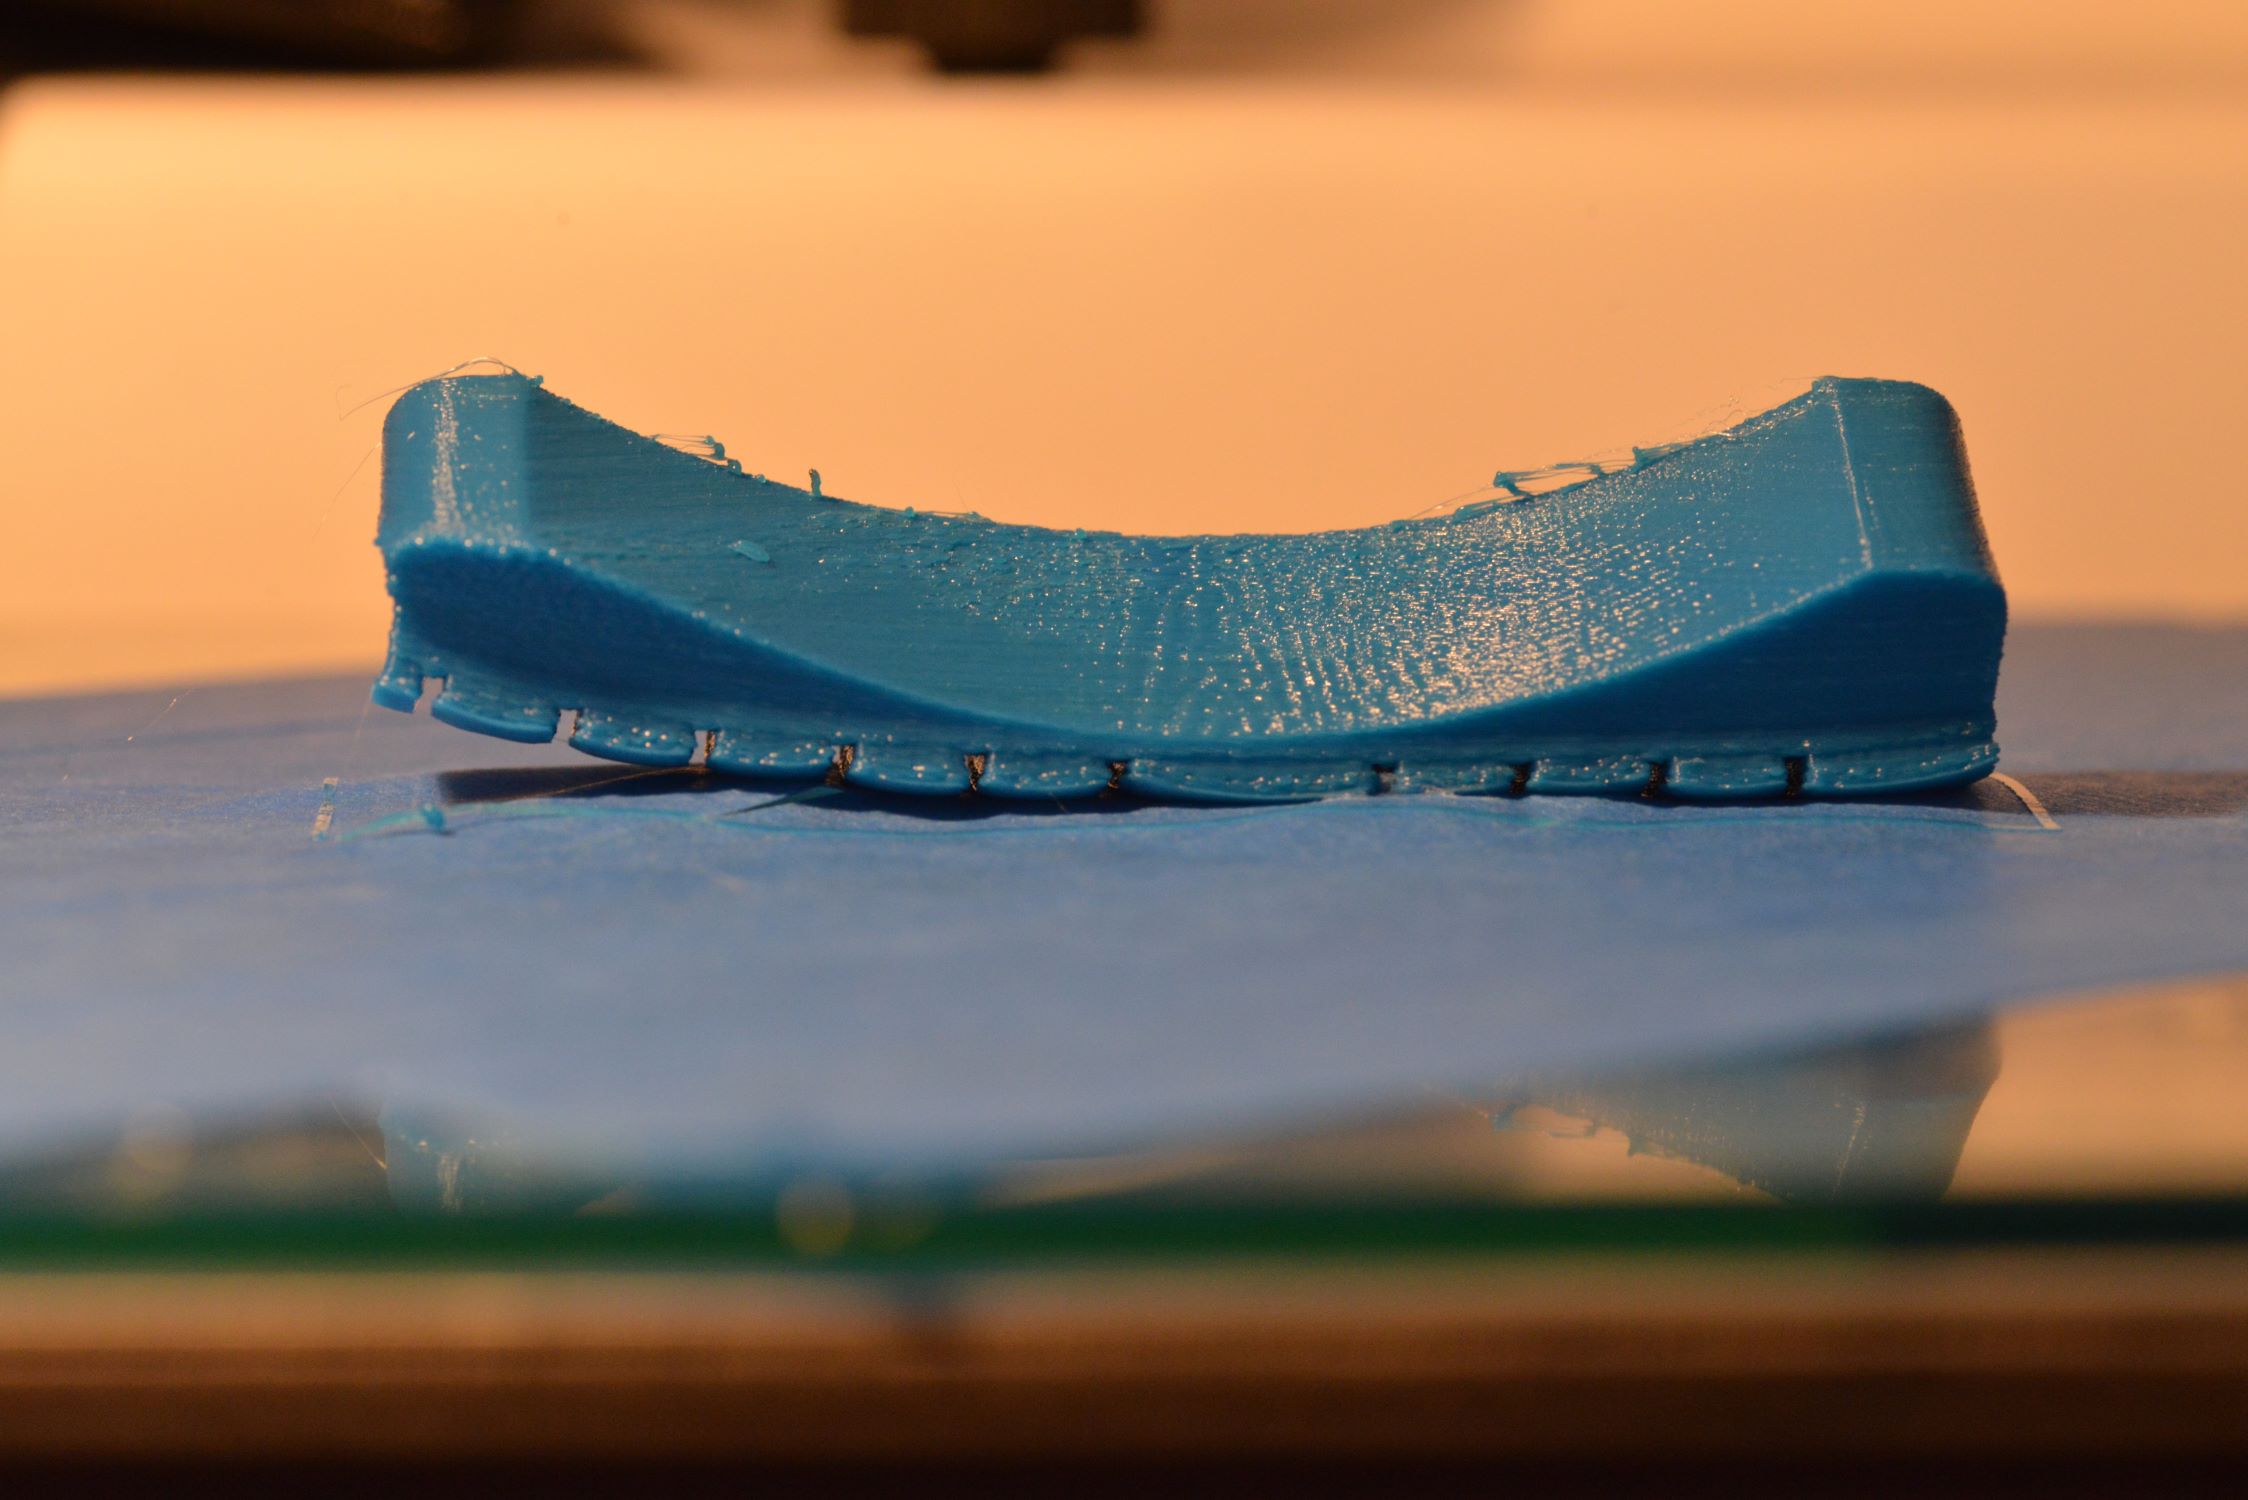
- Layer Adhesion and Consistency: Evaluate the layer adhesion and consistency of the printed object. Inspect the layer bonding and overall surface finish to identify any signs of under-extrusion or over-extrusion, which may indicate the need for further calibration adjustments.
- Fine-Tuning Extrusion Multiplier: If the test prints exhibit minor imperfections such as gaps between layers or inconsistent extrusion, consider adjusting the extrusion multiplier in the printer’s settings. This parameter controls the amount of filament extruded during printing and can be fine-tuned to enhance print quality.
- Retraction Settings: Assess the retraction settings to minimize stringing or oozing between printed features. Fine-tuning the retraction distance and speed can significantly improve the overall print quality, especially in models with intricate geometries or overhangs.
- Print Speed and Temperature: Experiment with varying print speeds and temperatures to optimize the extruder’s performance. Adjusting these parameters can mitigate issues such as filament oozing, warping, and poor surface finish, ultimately enhancing the print quality.
- Iterative Testing and Refinement: Conduct iterative testing and refinement to progressively enhance the extruder calibration. Make incremental adjustments based on the observed print results, striving to achieve optimal dimensional accuracy, layer adhesion, and overall print quality.
By rigorously testing the extruder calibration and iteratively refining its settings, you can fine-tune the 3D printer’s extrusion process to achieve exceptional print quality and consistency. With patience and attention to detail, you can optimize the extruder’s performance and unlock the full potential of your 3D printing endeavors.
Read more: How To Calibrate Toybox 3D Printer
Troubleshooting Common Issues
Despite meticulous calibration efforts, 3D printing enthusiasts may encounter common issues related to extruder performance. Understanding and effectively troubleshooting these issues is integral to maintaining consistent print quality. Here are some common extruder-related issues and their potential solutions:
- Under-Extrusion: If the printed object exhibits signs of under-extrusion, such as gaps between layers or weak structural integrity, consider the following remedies:
- Check the filament diameter and ensure it aligns with the calibrated value.
- Inspect the extruder assembly for clogs, debris, or filament binding, and perform thorough cleaning if necessary.
- Adjust the extrusion multiplier to increase the amount of filament extruded, addressing under-extrusion issues.
- Over-Extrusion: Excessive filament deposition leading to bulging, rough surface finish, or dimensional inaccuracies can be mitigated by:
- Verifying the filament diameter and ensuring it matches the calibrated value.
- Adjusting the extrusion multiplier to decrease the amount of filament extruded, addressing over-extrusion concerns.
- Fine-tuning the retraction settings to minimize filament oozing and improve print quality.
- Stringing and Oozing: Stringing, or the presence of thin filament strands between printed features, can be resolved by:
- Optimizing the retraction distance and speed to reduce filament oozing during travel moves.
- Adjusting the print temperature to achieve better control over filament flow and minimize stringing.
- Ensuring proper cooling settings to solidify the filament and prevent stringing in intricate print geometries.
- Layer Shifting or Misalignment: If the printed layers exhibit shifting or misalignment, consider the following corrective actions:
- Inspect the printer’s mechanical components, such as belts and pulleys, to ensure they are properly tensioned and aligned.
- Verify the stepper motor drivers and adjust the voltage if necessary to prevent missed steps and layer misalignment.
- Calibrate the printer’s acceleration and jerk settings to optimize print head movement and minimize layer shifting.
By identifying and addressing these common extruder-related issues through systematic troubleshooting, 3D printing enthusiasts can maintain consistent print quality and optimize the performance of their 3D printer’s extruder. Diligent observation, iterative adjustments, and a methodical approach to issue resolution are key to achieving exceptional results in 3D printing endeavors.
Conclusion
Calibrating a 3D printer extruder is a pivotal process that directly influences the quality, accuracy, and consistency of 3D printed objects. By understanding the intricacies of the extrusion process, gathering the necessary tools and materials, and following a systematic calibration approach, enthusiasts can elevate their 3D printing experience to new heights.
Throughout this journey, we’ve explored the fundamental role of the 3D printer extruder and its impact on print quality. We’ve delved into the essential tools and materials needed for calibration, empowering enthusiasts to prepare for a seamless calibration process.
The step-by-step calibration guide provided comprehensive instructions for measuring filament diameter, adjusting the extruder steps per millimeter, and fine-tuning the extruder’s performance. Additionally, we emphasized the importance of thorough testing and iterative refinement to ensure optimal calibration results.
Furthermore, we addressed common extruder-related issues and their potential solutions, equipping enthusiasts with the knowledge to troubleshoot and maintain consistent print quality.
As you embark on your 3D printing endeavors, remember that calibration is not merely a technical task but an art that demands patience, observation, and a willingness to iterate and refine. By mastering the calibration process, you can unleash the full potential of your 3D printer, bringing your creative visions to life with precision and finesse.
With a deep understanding of 3D printer extruders and the calibration process, you are well-equipped to embark on a fulfilling and rewarding journey in the realm of 3D printing, where innovation and creativity converge to shape tangible manifestations of imagination.
Now, armed with the knowledge and insights gained from this comprehensive guide, it’s time to unleash your creativity, hone your calibration skills, and embark on a captivating 3D printing odyssey filled with remarkable creations and endless possibilities.
Frequently Asked Questions about How To Calibrate A 3D Printer Extruder
Was this page helpful?
At Storables.com, we guarantee accurate and reliable information. Our content, validated by Expert Board Contributors, is crafted following stringent Editorial Policies. We're committed to providing you with well-researched, expert-backed insights for all your informational needs.


0 thoughts on “How To Calibrate A 3D Printer Extruder”