Home>Technology>Smart Home Devices>How To Build A 3D Printer
Smart Home Devices
How To Build A 3D Printer
Modified: February 18, 2024
Learn how to build a 3D printer for your smart home devices with our comprehensive guide. Start creating your own gadgets today!
(Many of the links in this article redirect to a specific reviewed product. Your purchase of these products through affiliate links helps to generate commission for Storables.com, at no extra cost. Learn more)
Introduction
Welcome to the exciting world of 3D printing, where creativity knows no bounds and the power to turn imagination into tangible objects lies at your fingertips. Building your own 3D printer is a rewarding endeavor that not only offers a deeper understanding of the technology but also provides the flexibility to customize the machine to your specific needs.
In this comprehensive guide, we will delve into the process of building a 3D printer from scratch, covering everything from selecting the right components to calibrating and testing the printer for optimal performance. Whether you're a DIY enthusiast, a hobbyist, or a professional looking to expand your toolkit, this guide will equip you with the knowledge and skills to embark on this exciting journey.
Before we dive into the technical aspects, it's important to understand the fundamental principles of 3D printing. By grasping the basics of this revolutionary technology, you'll gain a clearer perspective on the components and processes involved in building a 3D printer. So, let's embark on this enlightening journey and unlock the potential of 3D printing together.
Key Takeaways:
- Building a 3D printer involves understanding the technology, choosing the right components, assembling the frame, installing electronics, calibrating, and troubleshooting for optimal performance.
- 3D printing offers endless creativity and customization. By mastering the process of building and optimizing a DIY 3D printer, you can bring your digital designs to life with precision and finesse.
Read more: How To Operate A 3D Printer
Understanding the Basics of 3D Printing
At its core, 3D printing, also known as additive manufacturing, is a process of creating three-dimensional objects by depositing successive layers of material based on a digital model. This innovative technology has revolutionized various industries, including manufacturing, healthcare, automotive, and aerospace, by enabling the production of complex and customized parts with unparalleled precision.
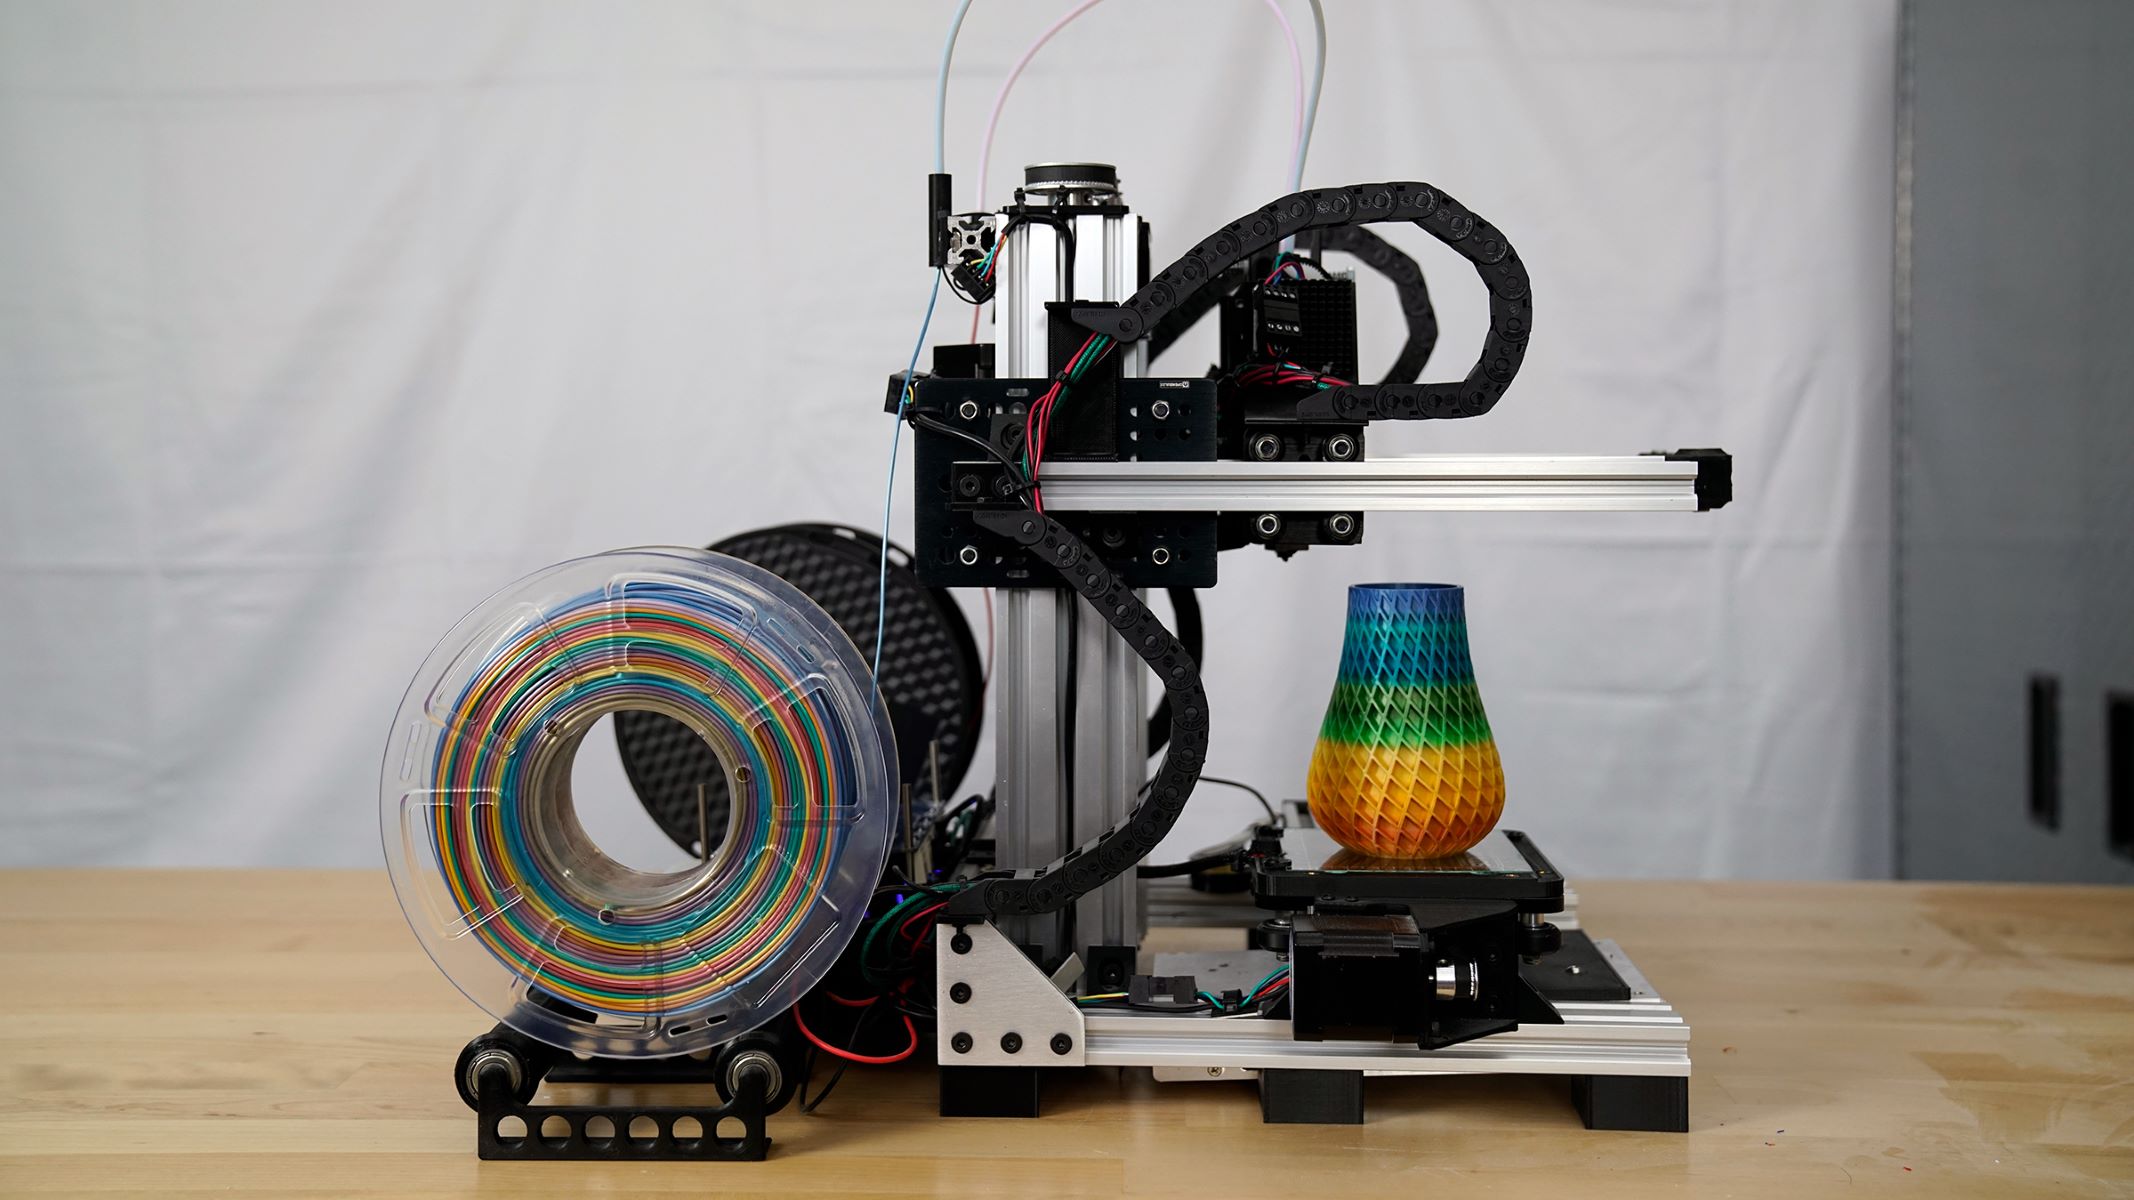
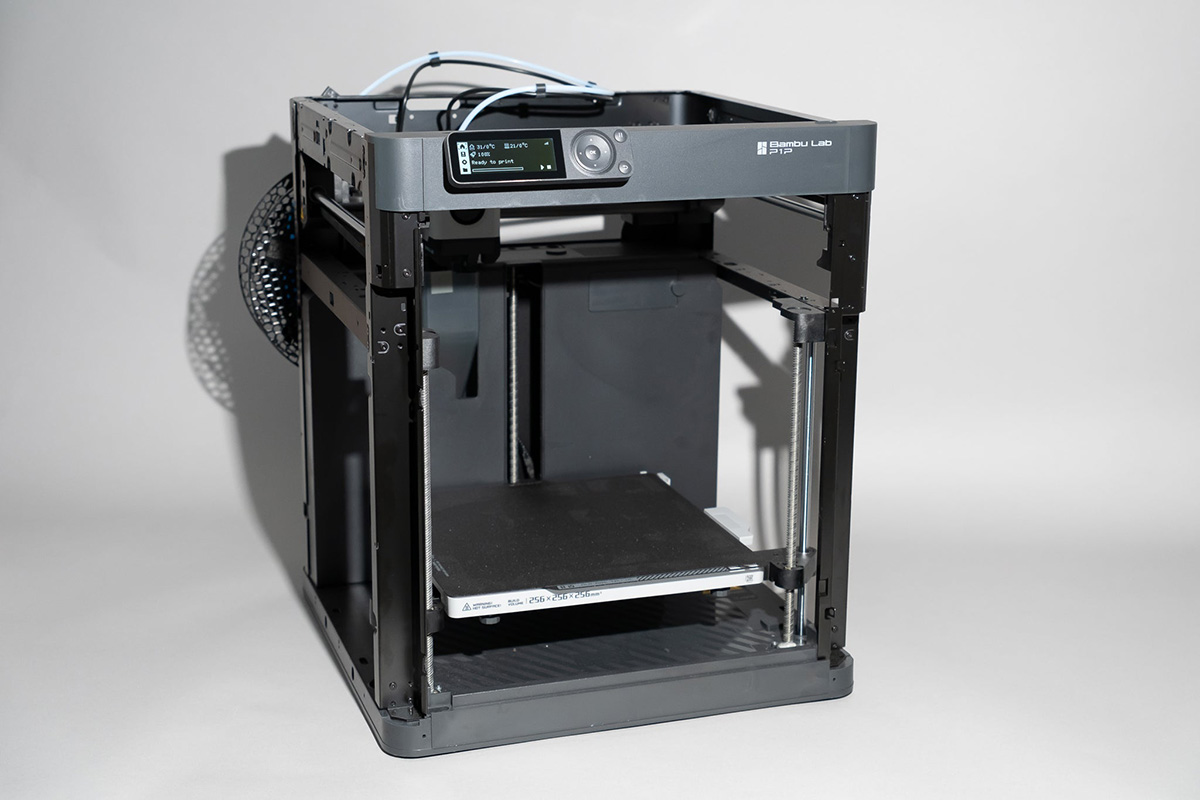
The key components of a typical 3D printer include the print bed, extruder, hotend, and motion system. The print bed serves as the platform where the object is built, while the extruder, equipped with a motor and a heated nozzle, dispenses the filament, which could be plastic, metal, or composite material. The hotend melts the filament, allowing it to be precisely deposited onto the print bed. Meanwhile, the motion system, comprising motors and belts, facilitates the precise movement of the extruder, ensuring accurate layer-by-layer deposition.
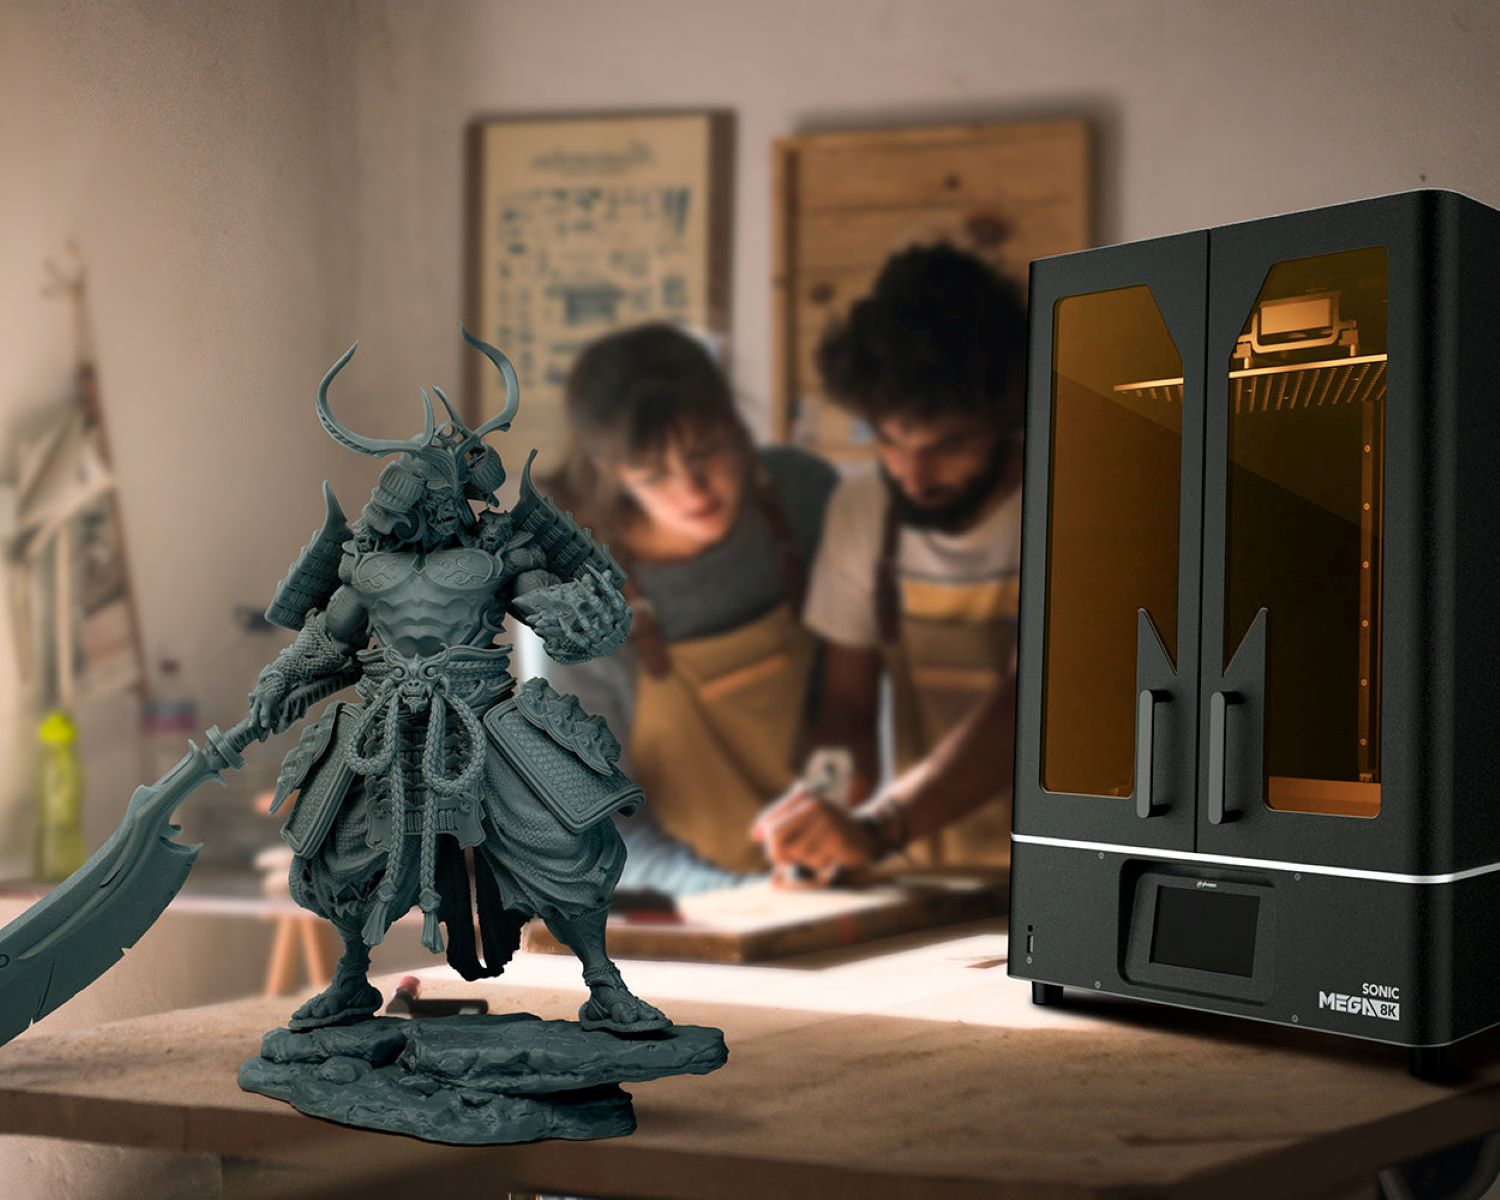
Understanding the various 3D printing technologies is essential for selecting the most suitable approach for your DIY printer. Fused Deposition Modeling (FDM), Stereolithography (SLA), and Selective Laser Sintering (SLS) are among the popular 3D printing techniques, each offering unique advantages in terms of material compatibility, resolution, and speed.
Furthermore, comprehending the role of slicing software is crucial. Slicing software translates the digital 3D model into individual layers and generates the G-code, which instructs the 3D printer on how to create the object layer by layer. This software also allows for customization of printing parameters such as layer height, infill density, and support structures, influencing the strength, surface finish, and print time of the object.
By gaining a solid understanding of these fundamental concepts, you will be well-prepared to embark on the journey of building your own 3D printer. In the next section, we will explore the process of selecting the right components to bring your DIY 3D printer to life.
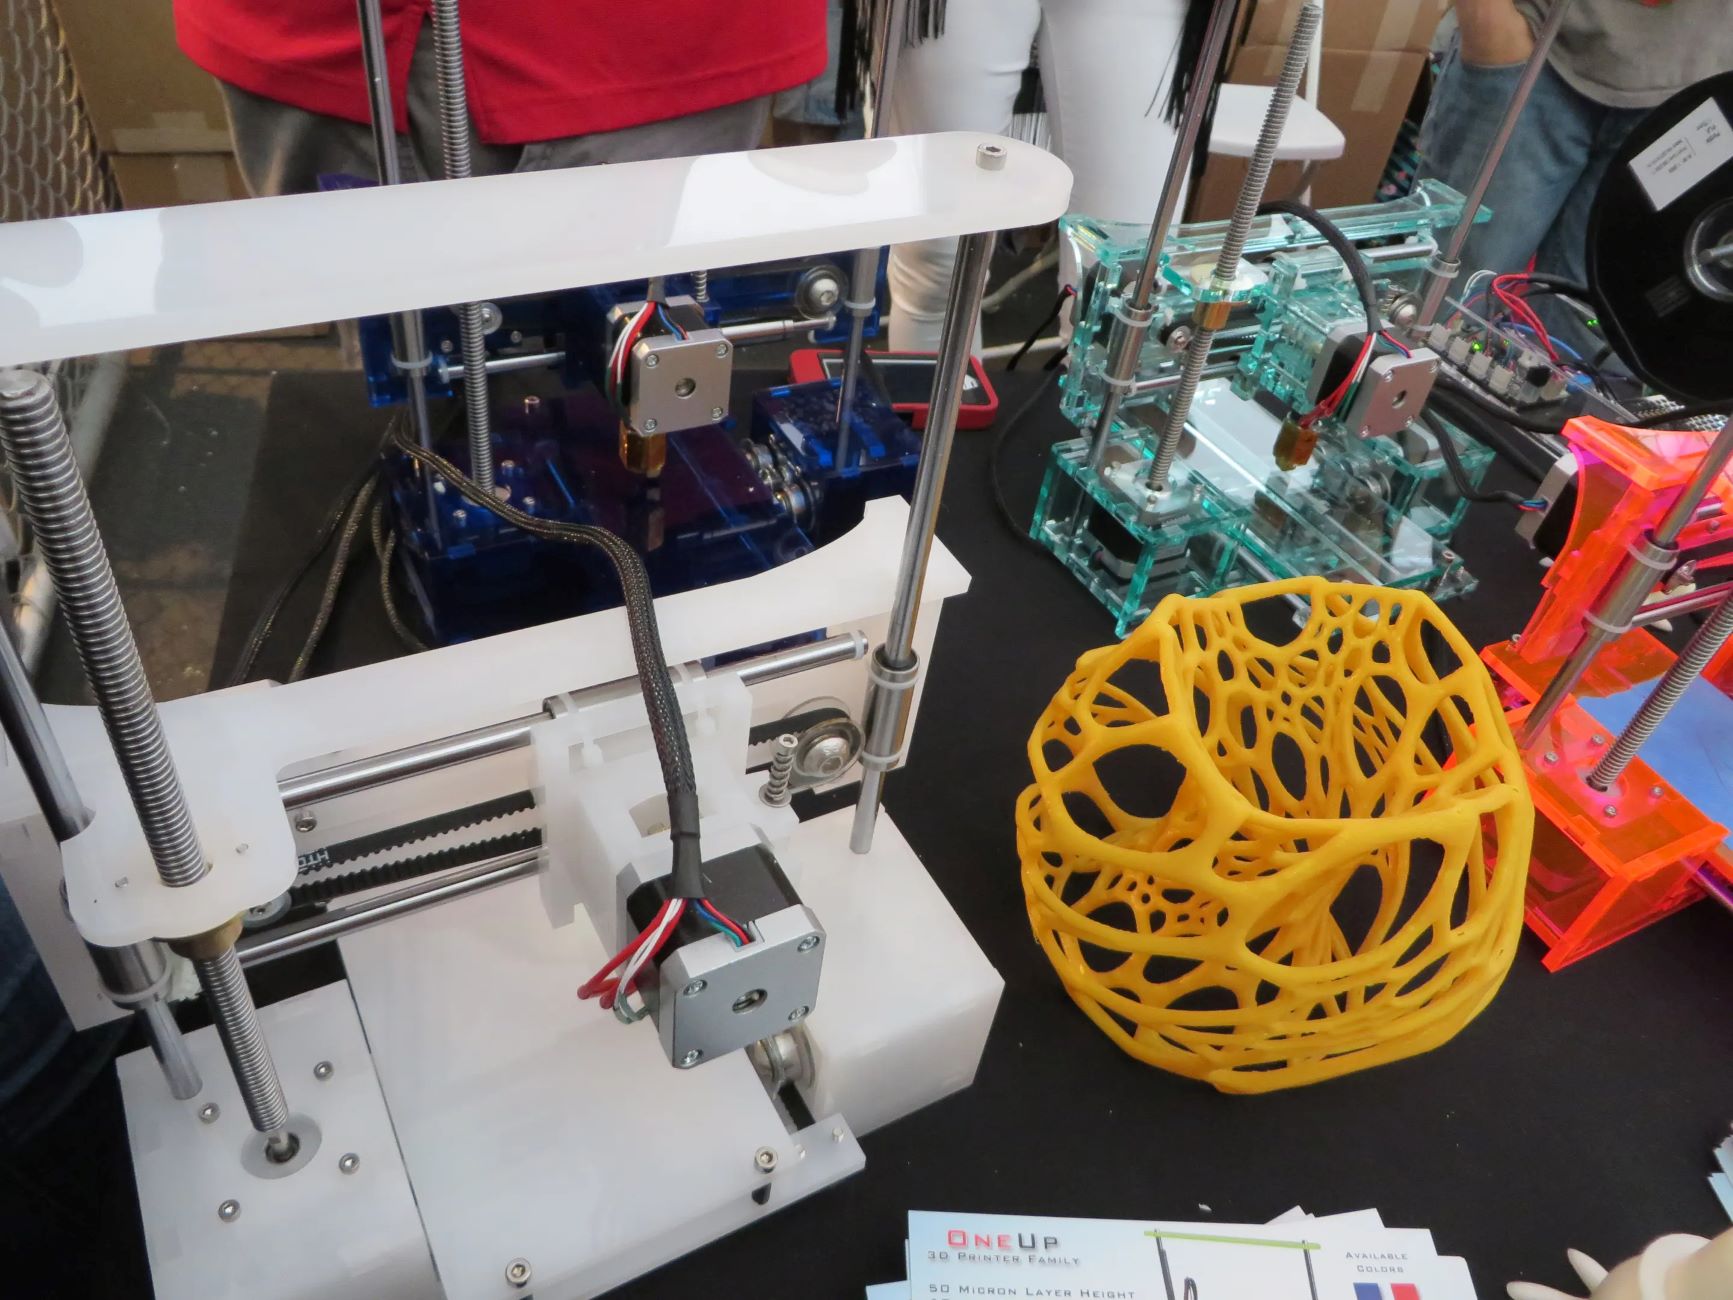
Choosing the Right Components for Your 3D Printer
When embarking on the exciting endeavor of building a 3D printer, selecting the right components is crucial to the overall performance and capabilities of the machine. From the frame and motion system to the extruder and electronics, each component plays a pivotal role in determining the printer’s precision, reliability, and versatility.
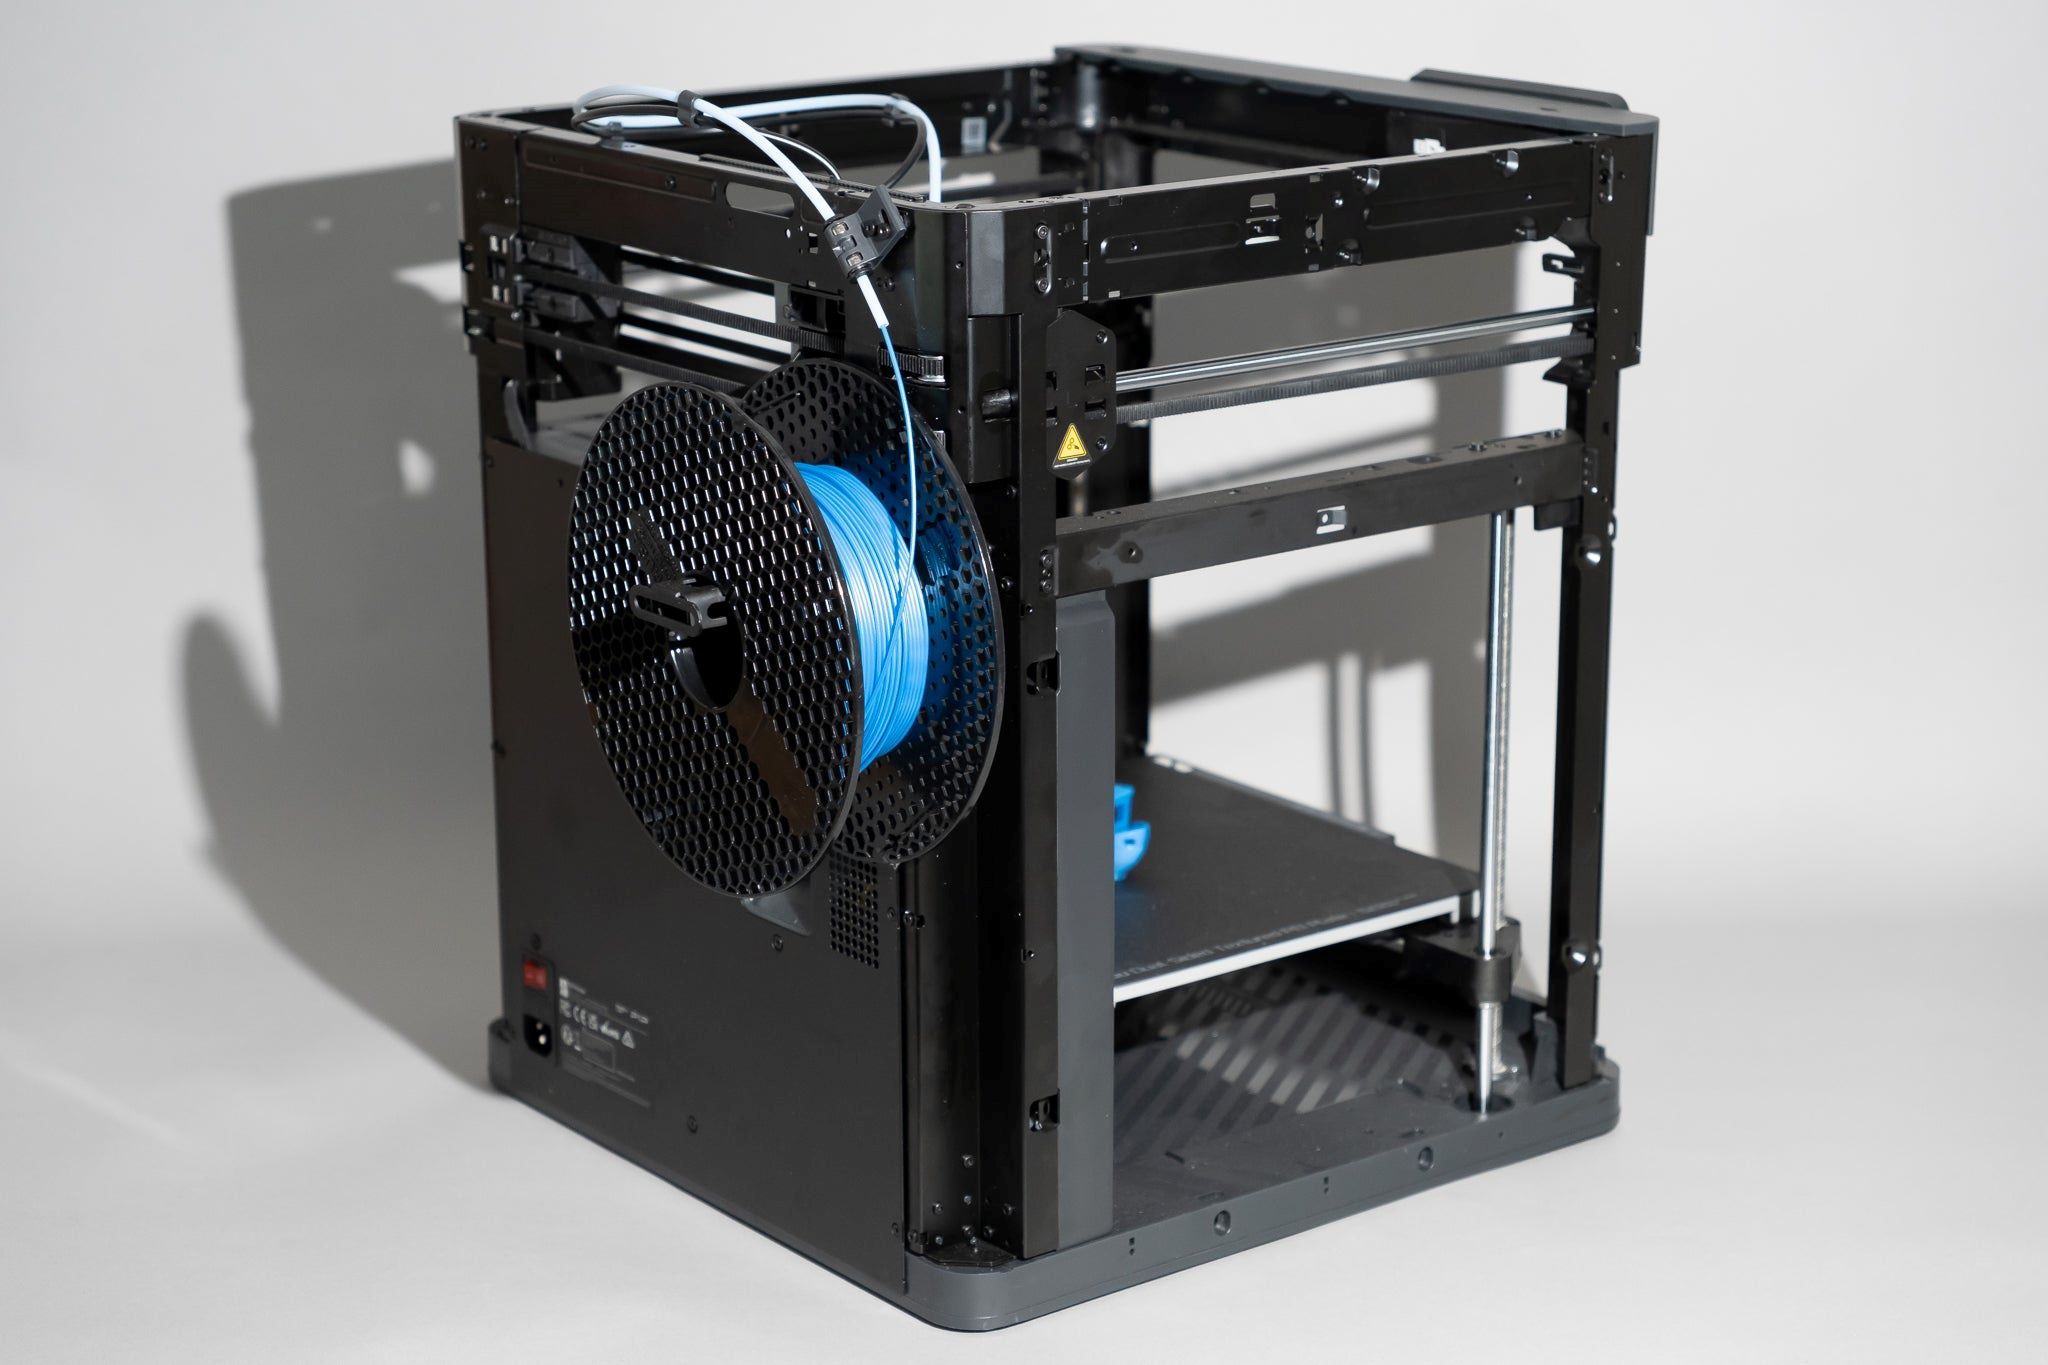
The frame serves as the foundation of the 3D printer, providing structural support and stability during the printing process. Common materials for frames include aluminum, steel, and acrylic, each offering a unique balance of rigidity, weight, and cost. Additionally, the size and design of the frame should accommodate the desired build volume and future expansion, ensuring flexibility for various printing projects.
Equally important is the motion system, comprising stepper motors, lead screws, linear rails, and belts. The precision and smoothness of motion directly impact the printer’s ability to produce accurate and detailed objects. High-quality linear rails and lead screws contribute to minimal backlash and consistent layer alignment, resulting in superior print quality.
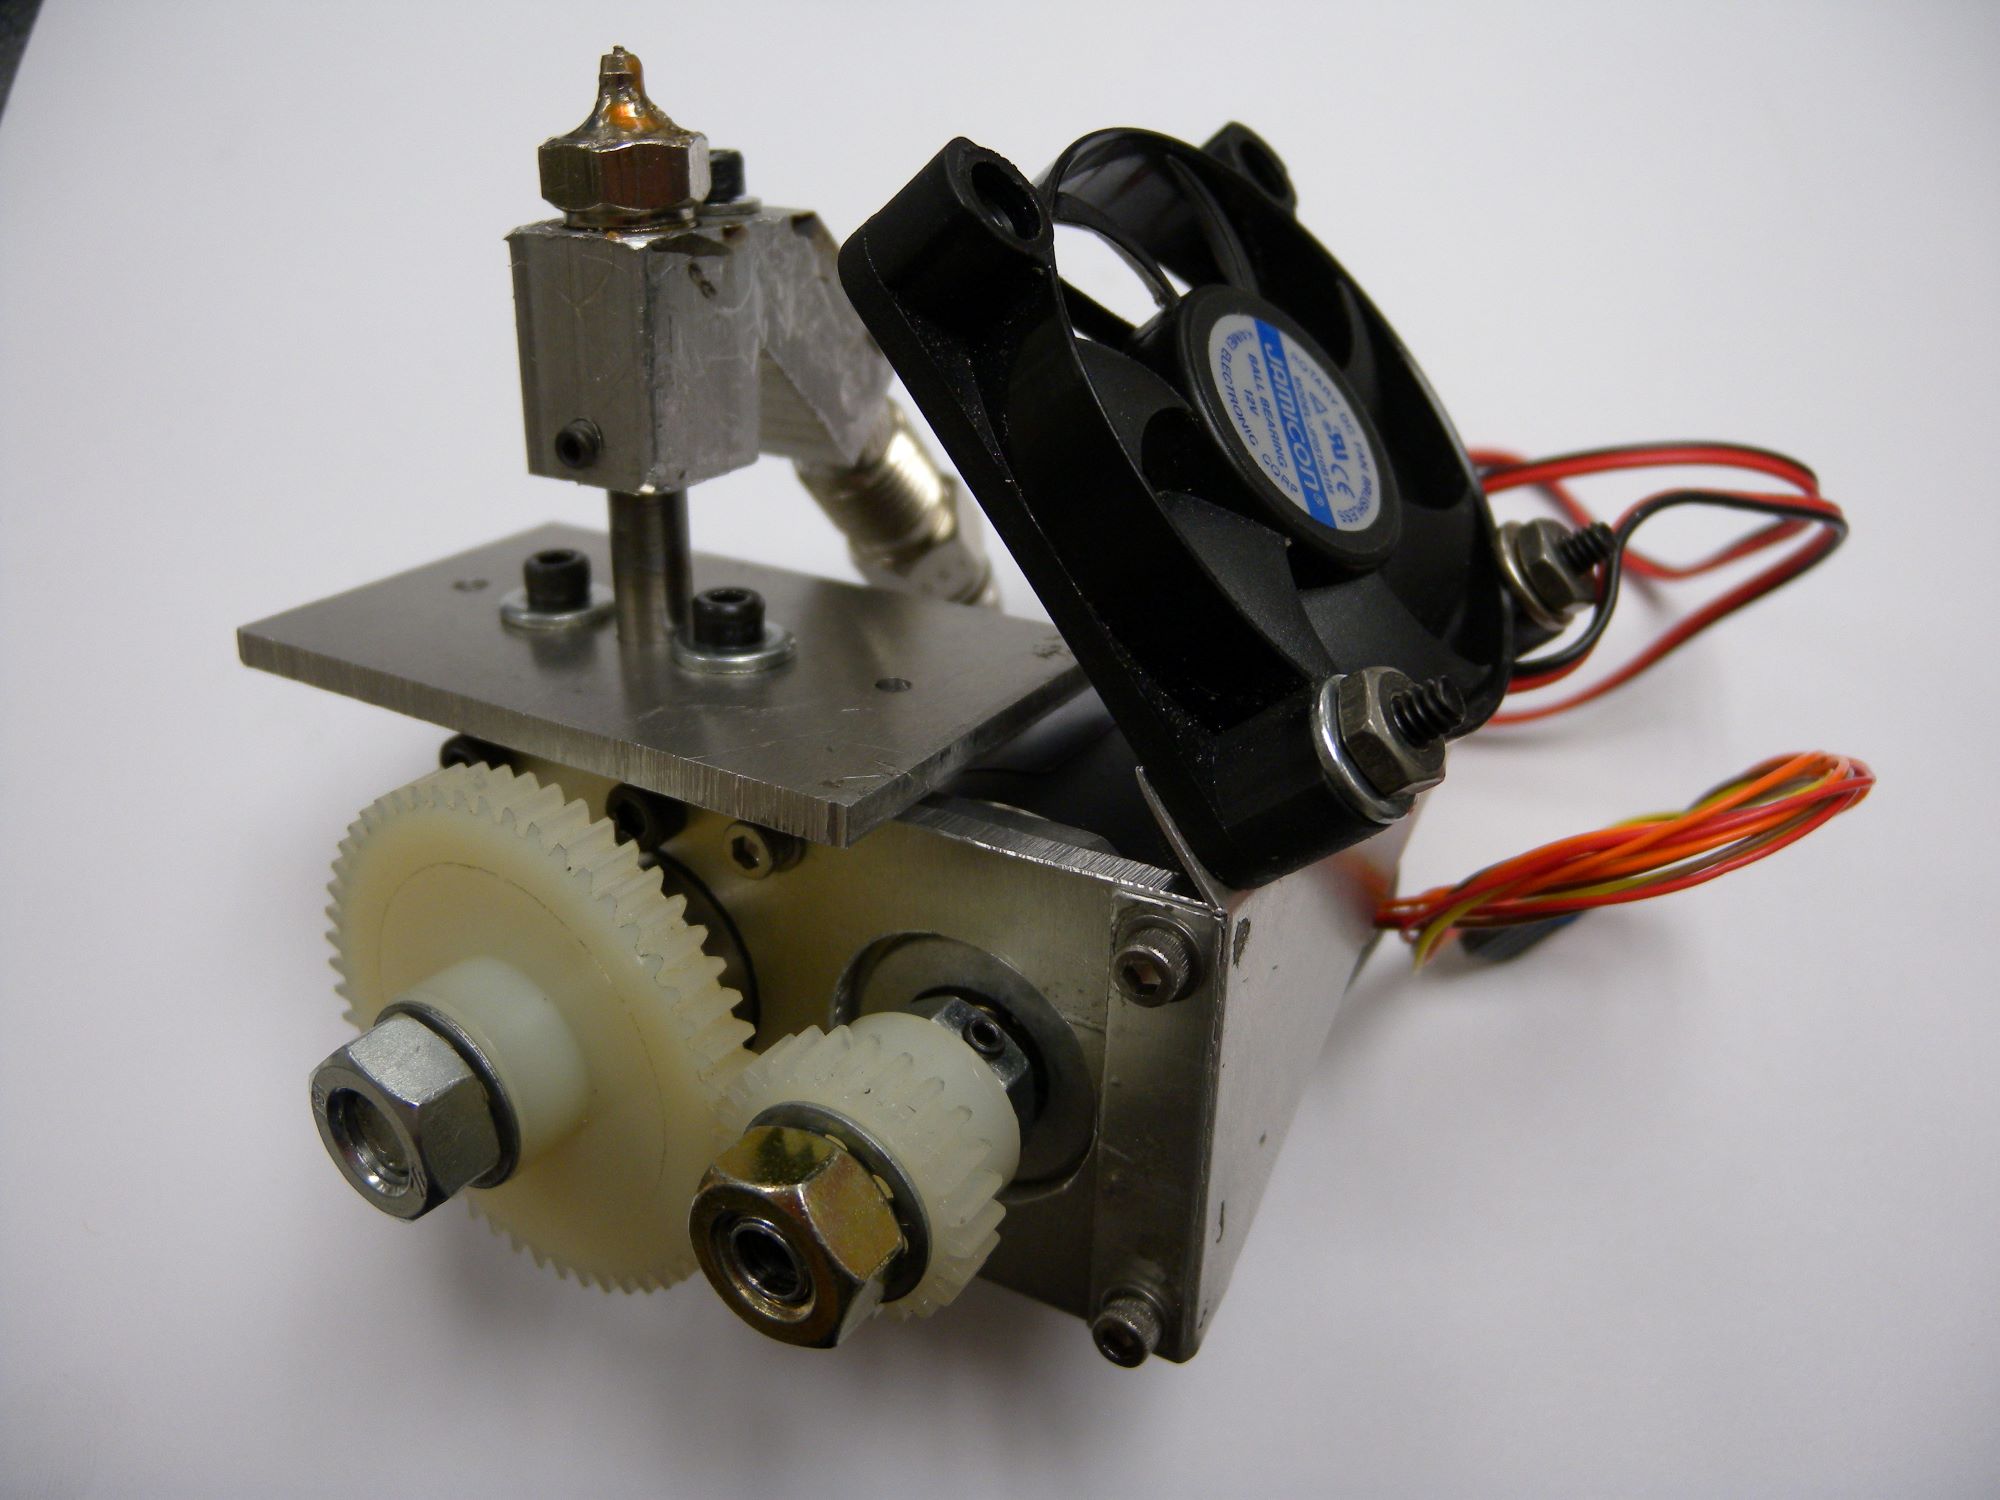
The extruder, responsible for feeding and melting the filament, is available in various configurations, including direct drive and Bowden setups. Direct drive extruders offer precise filament control and are well-suited for flexible materials, while Bowden setups reduce the moving mass, enabling faster print speeds. Choosing the appropriate extruder design depends on the intended applications and material compatibility.
When it comes to electronics, the choice of a reliable control board, stepper motor drivers, and power supply is paramount. The control board, such as the popular Arduino-based or 32-bit microcontroller boards, dictates the printer’s firmware compatibility and processing capabilities. Stepper motor drivers, like the A4988 or TMC2209, influence the motor control precision and noise levels, while a stable power supply ensures consistent and uninterrupted operation.
Furthermore, the selection of a suitable hotend and heated bed is essential for achieving optimal print quality and material versatility. The hotend’s temperature range, nozzle size, and compatibility with various filaments should align with your printing requirements, while the heated bed’s size and uniform heating play a crucial role in preventing warping and ensuring adhesion of printed objects.
By carefully evaluating and selecting the components based on your specific needs and budget, you can lay a solid foundation for the successful construction of a reliable and high-performance 3D printer. In the next section, we will delve into the intricate process of assembling the frame of your DIY 3D printer.
Assembling the 3D Printer Frame
Building the frame of your 3D printer is a pivotal step that sets the stage for the machine’s structural integrity and printing precision. Whether you opt for an off-the-shelf frame kit or decide to fabricate a custom frame, attention to detail and precision assembly are essential for ensuring a stable and reliable platform for your DIY 3D printer.
Before commencing the assembly, it’s crucial to meticulously organize the frame components and hardware, ensuring that all necessary parts are accounted for and readily accessible. Following the assembly instructions provided with the frame kit, if applicable, or referencing detailed online guides, begin by laying out the frame components and familiarizing yourself with the assembly process.
When securing the frame components, such as extrusion profiles or panels, ensure that the structural elements are aligned and squared to prevent misalignment and instability. Utilizing right-angle clamps and precision measuring tools can aid in achieving accurate alignment and perpendicularity, contributing to the overall rigidity and stability of the frame.
Depending on the frame design, the assembly may involve fastening corner brackets, connecting linear rails, or integrating additional structural supports to enhance the frame’s robustness. Attention to detail during this phase is paramount, as any inaccuracies or misalignments can propagate throughout the assembly, potentially compromising the printer’s performance.
Moreover, incorporating provisions for cable management and component mounting during the frame assembly stage can streamline the subsequent installation of electronics, wiring, and motion components. By strategically planning and integrating cable conduits, mounting points, and accessibility features, you can ensure a tidy and organized internal layout, facilitating future maintenance and upgrades.
Upon completing the frame assembly, it’s essential to verify the structural integrity and dimensional accuracy of the frame. This involves assessing the frame’s stability, checking for any residual play or misalignments, and confirming the squareness and dimensional consistency of the frame’s geometry.
With the frame assembled and validated, you have laid a solid foundation for the subsequent integration of motion components, electronics, and the print bed. In the following section, we will delve into the intricate process of installing the electronics and wiring, bringing your DIY 3D printer one step closer to fruition.
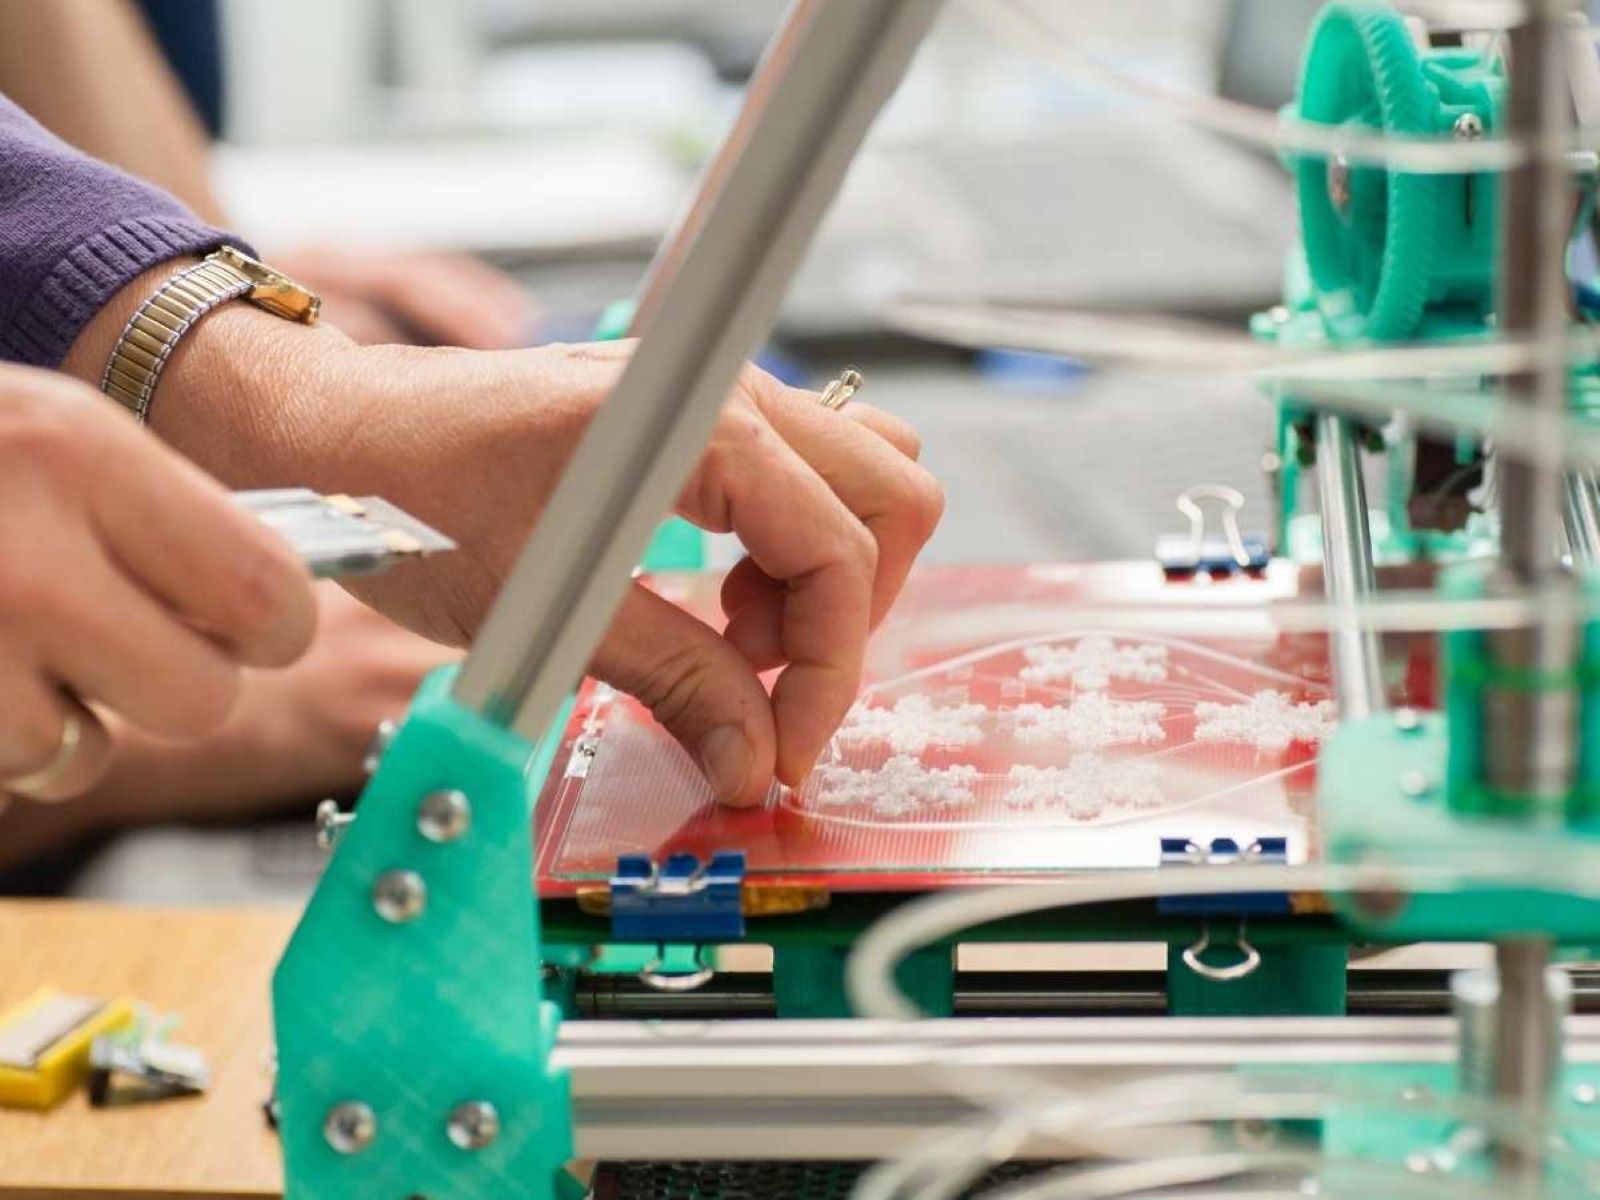
When building a 3D printer, make sure to carefully follow the assembly instructions and double-check all connections to ensure everything is properly aligned and secure.
Installing the Electronics and Wiring
Assembling the electronics and wiring of your DIY 3D printer is a critical phase that brings the machine to life, enabling precise control and coordination of its various components. From the control board and stepper motor drivers to the wiring harness and endstops, meticulous attention to detail and adherence to best practices are essential for ensuring the reliable and efficient operation of your 3D printer.
The heart of the 3D printer’s electronics is the control board, which governs the printer’s movements, temperature regulation, and overall functionality. When installing the control board, ensure that it is securely mounted within the frame, positioned to facilitate convenient access for wiring and future maintenance, and adequately cooled to prevent overheating during prolonged operation.
Integrating the stepper motor drivers, which regulate the movement and positioning of the printer’s axes, demands precision and care. Aligning the drivers with the corresponding stepper motors, configuring the current limits as per the motor specifications, and ensuring proper heat dissipation are crucial steps for optimizing motor performance and longevity.
Wiring harness assembly involves connecting the various components, including the motors, endstops, hotend, heated bed, and power supply, to the control board while meticulously managing the cable routing and strain relief. Employing cable management solutions such as spiral wrap, cable chains, and cable clips can mitigate wire fatigue, prevent tangling, and maintain a tidy internal layout, facilitating troubleshooting and maintenance.
During the wiring process, attention should be given to proper cable dressing and labeling to differentiate the wires, prevent accidental reversals, and simplify future diagnostics or modifications. Additionally, integrating cable strain relief mechanisms at critical connection points and moving components mitigates the risk of cable damage and ensures reliable and consistent electrical connections.
Verifying the correctness of the wiring connections, polarity, and continuity is paramount before powering up the printer. Thoroughly inspecting the wiring harness for any potential short circuits, loose connections, or pinched wires can avert electrical hazards and prevent damage to the components when the printer is brought online.
By methodically installing the electronics and wiring with precision and attention to detail, you pave the way for the calibration and testing phase, bringing your DIY 3D printer one step closer to realizing its full potential. In the subsequent section, we will explore the crucial process of calibrating and testing your 3D printer to ensure optimal performance and print quality.
Read more: Where To Put A 3D Printer
Calibrating and Testing Your 3D Printer
Calibrating and testing your DIY 3D printer is a pivotal phase that fine-tunes its performance and validates its capabilities, ensuring precise and reliable operation. From homing the axes and setting the endstops to calibrating the extruder and fine-tuning the print bed, meticulous attention to detail and systematic testing are essential for achieving optimal print quality and dimensional accuracy.
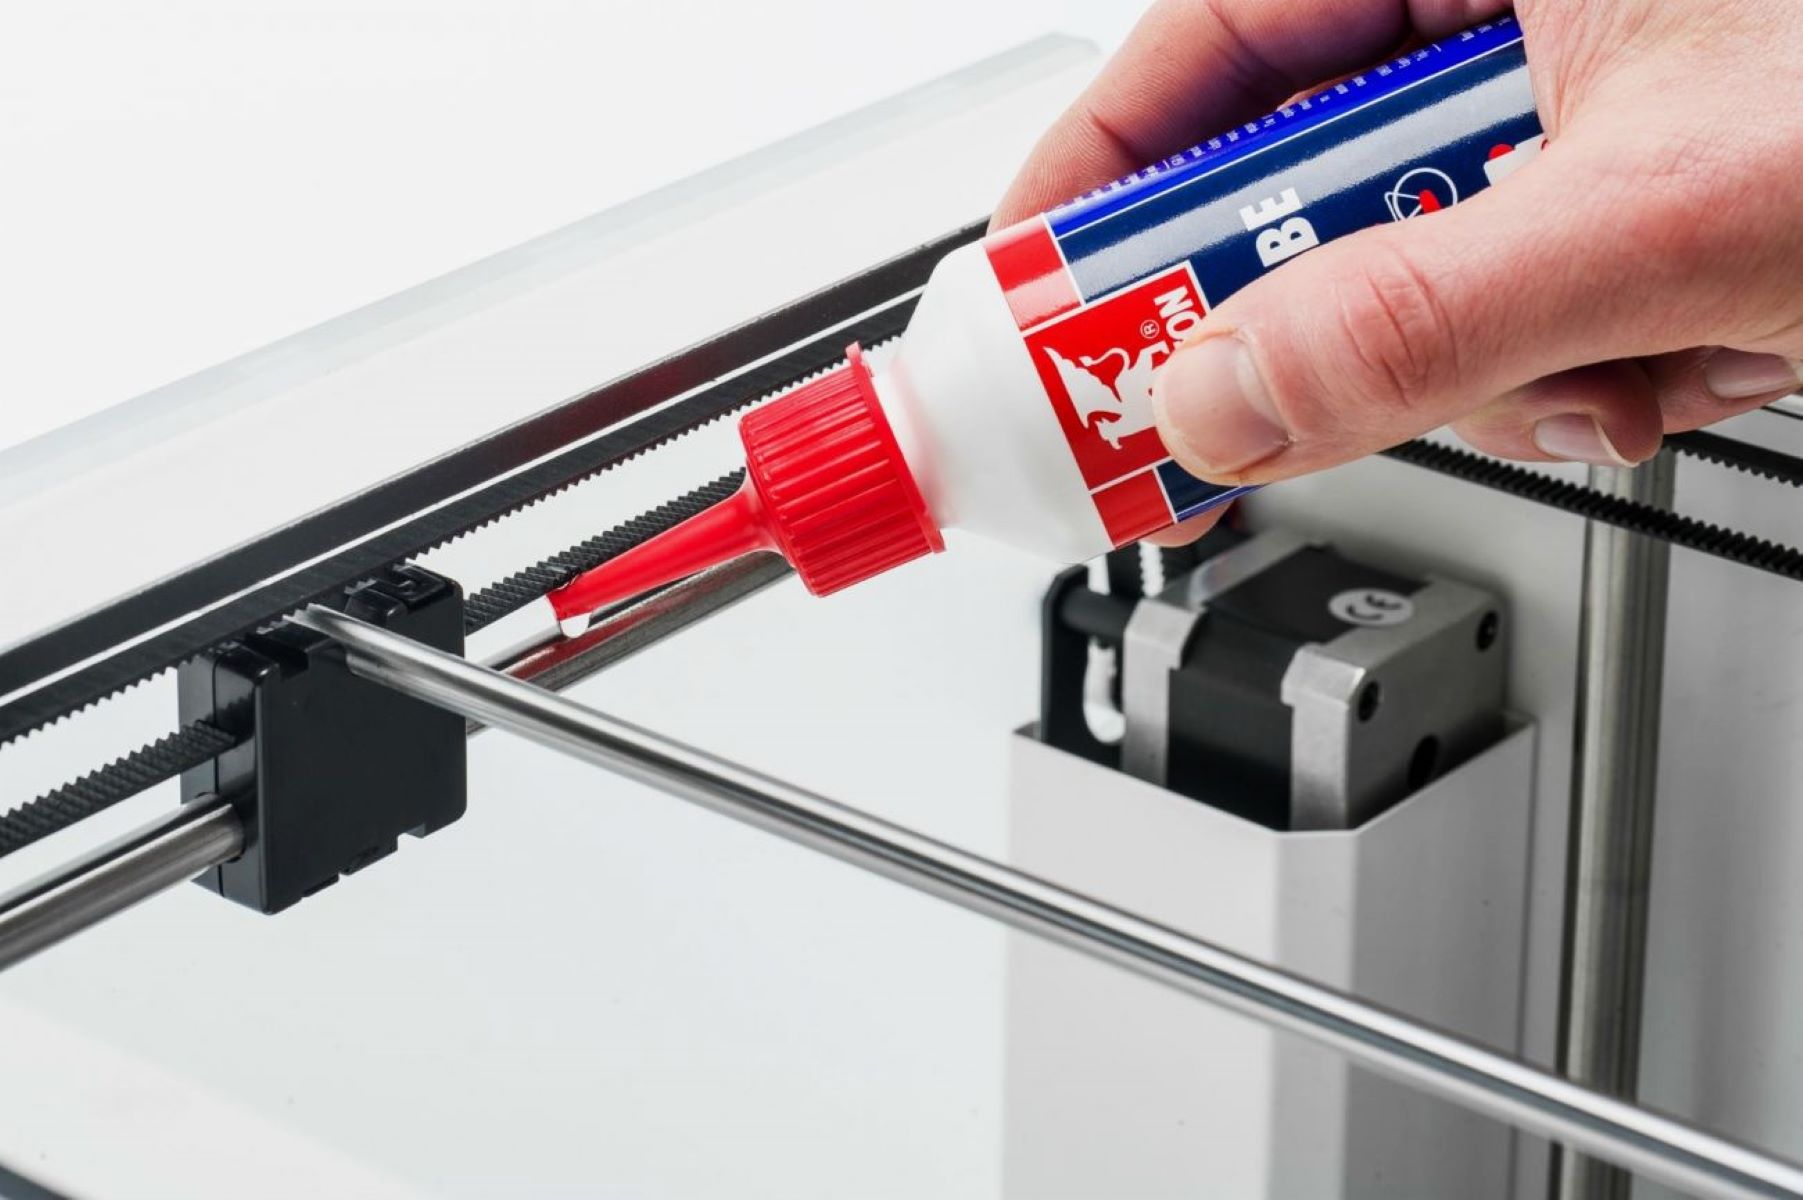
Before initiating the calibration process, it’s imperative to ensure that the printer’s motion system, including the stepper motors, lead screws, and linear rails, is properly lubricated and free from any obstructions or binding that could compromise smooth and consistent movement.
Homing the printer’s axes, which involves accurately positioning the extruder and the print bed at their respective reference points, sets the foundation for precise and repeatable print operations. Verifying the homing behavior and adjusting the endstop positions, if necessary, ensures that the printer’s movements are well-calibrated and aligned with the intended print volume.
Calibrating the extruder involves configuring the steps per millimeter (mm) of filament extrusion to ensure accurate filament deposition and dimensional consistency in printed objects. This process entails measuring and adjusting the extruded filament length to match the specified distance, compensating for any discrepancies in the extrusion performance.
Fine-tuning the print bed’s leveling and tramming is crucial for achieving optimal adhesion and layer consistency across the build surface. Utilizing precise leveling tools and following a systematic bed leveling procedure, such as the manual mesh bed leveling or automatic bed probing, ensures that the print bed’s surface is uniformly aligned with the extruder’s movement, preventing uneven first layers and print adhesion issues.
Once the mechanical and dimensional calibrations are completed, it’s essential to perform test prints to evaluate the printer’s performance across various geometries, layer heights, and print speeds. Analyzing the print quality, dimensional accuracy, and surface finish of the test prints enables the identification of any anomalies or artifacts, guiding subsequent adjustments and optimizations.
Systematically documenting the calibration settings, test print results, and any observed deviations or issues facilitates the iterative refinement of the printer’s parameters and configurations, ultimately leading to enhanced print quality and reliability.
By meticulously calibrating and testing your DIY 3D printer, you lay the groundwork for its seamless integration into your creative endeavors, unlocking the potential to bring your digital designs to life with precision and finesse. In the following section, we will explore common troubleshooting techniques to address potential issues that may arise during the printer’s operation.
Troubleshooting Common Issues
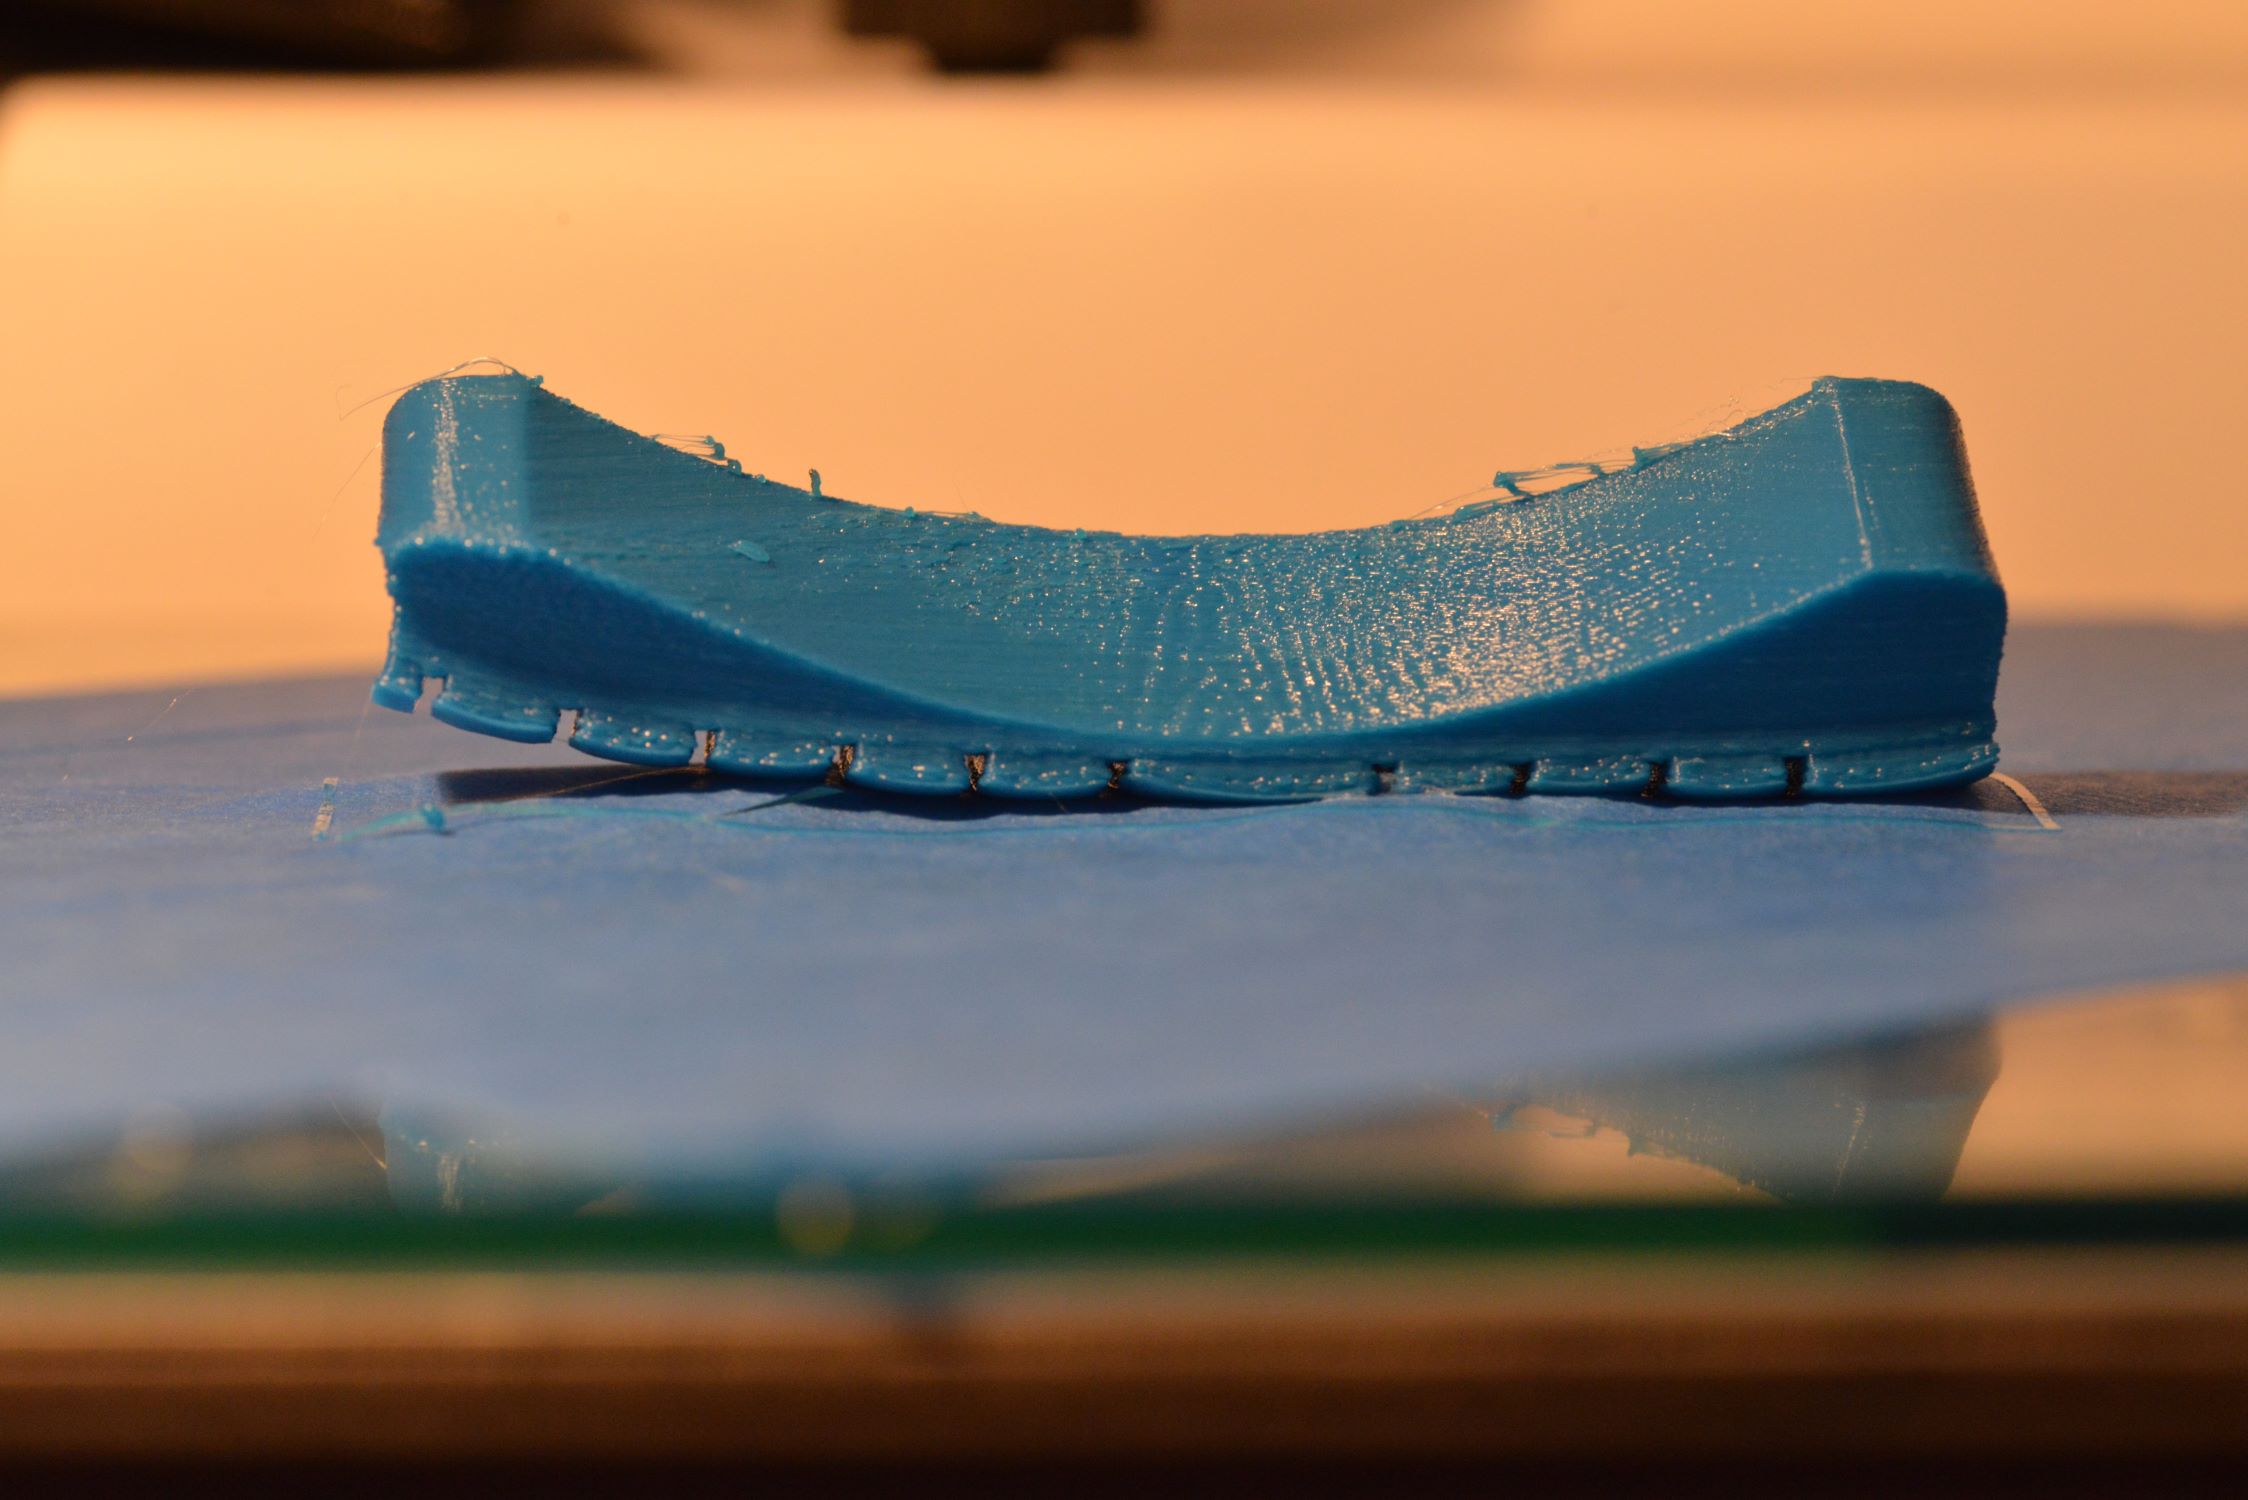
While building and calibrating your DIY 3D printer, encountering challenges and potential issues is a natural part of the process. Understanding common problems and employing effective troubleshooting techniques is essential for maintaining the printer’s reliability and performance. By addressing issues such as print adhesion problems, layer inconsistencies, and extrusion issues, you can optimize the printer’s functionality and enhance the quality of your printed creations.
Poor print adhesion, often manifested as warping or detachment of the printed object from the bed, can result from inadequate bed leveling, improper bed surface preparation, or suboptimal first layer settings. Addressing this issue involves meticulously leveling the print bed, ensuring proper bed surface adhesion enhancement methods such as adhesive sheets or bed adhesives, and fine-tuning the first layer settings to achieve optimal adhesion without compromising print quality.
Layer inconsistencies, characterized by visible shifts or irregularities in layer alignment, can stem from mechanical issues such as loose belts, misaligned lead screws, or insufficient lubrication of the motion system. Verifying the mechanical integrity of the printer’s motion components, adjusting belt tension, and ensuring proper lubrication can mitigate layer alignment issues and promote uniform layer deposition.
Extrusion issues, including under-extrusion or over-extrusion, may arise from incorrect filament diameter settings, partial clogging of the hotend, or inadequate extruder calibration. Addressing these issues involves verifying the filament diameter and temperature settings, conducting hotend maintenance to clear potential obstructions, and recalibrating the extruder steps per millimeter to achieve consistent and accurate filament extrusion.
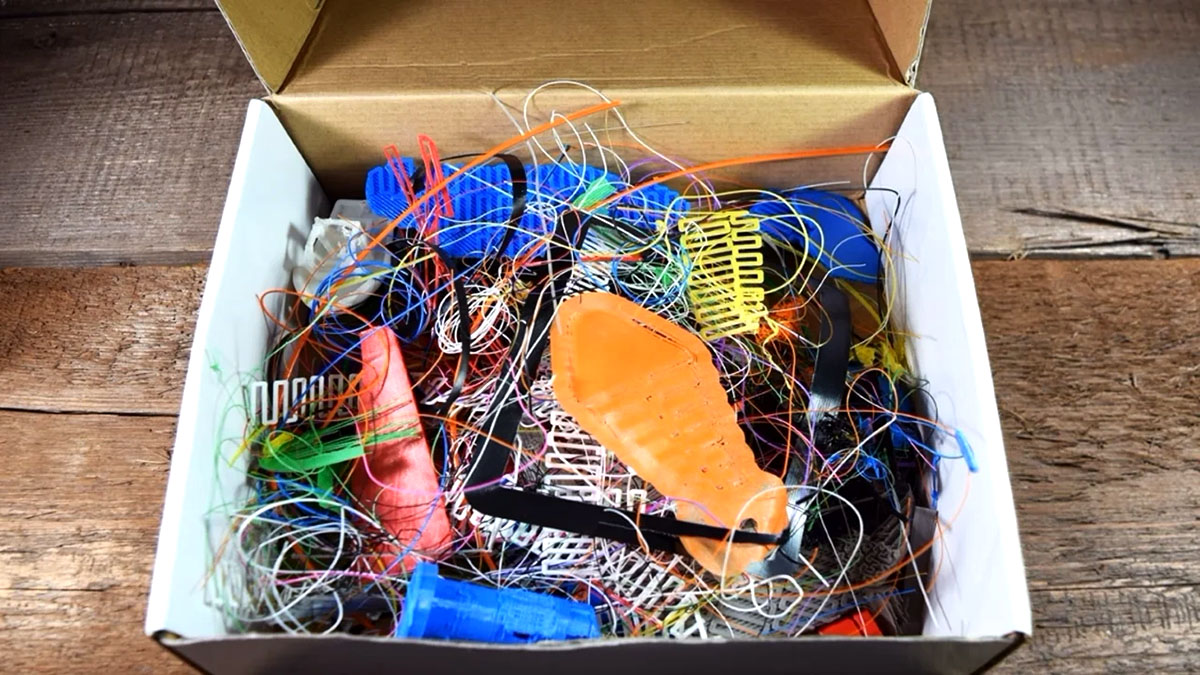
Additionally, addressing print artifacts such as stringing, oozing, or surface imperfections requires fine-tuning the printer’s retraction settings, optimizing print cooling, and adjusting print parameters such as speed, temperature, and layer adhesion. By systematically evaluating and adjusting these parameters, you can minimize print artifacts and enhance the overall print quality.
Systematically documenting the observed issues, applied troubleshooting techniques, and corresponding resolutions facilitates the creation of a comprehensive troubleshooting guide tailored to your specific printer and operational environment. This guide serves as a valuable resource for efficiently addressing recurring issues and optimizing the printer’s performance over time.
By mastering the art of troubleshooting common 3D printing issues, you equip yourself with the knowledge and skills to maintain your DIY 3D printer’s optimal functionality, ensuring consistent and high-quality output for your diverse printing projects.
With a solid understanding of the troubleshooting process, you are well-prepared to embark on the exciting journey of building and optimizing your own 3D printer, equipped with the expertise to address potential challenges and maximize the machine’s potential.
Conclusion
Congratulations on embarking on the exhilarating journey of building your own 3D printer! Throughout this comprehensive guide, we have explored the intricate process of constructing a DIY 3D printer, from understanding the fundamental principles of 3D printing to calibrating and troubleshooting the machine for optimal performance.
By delving into the basics of 3D printing, you have gained a deeper appreciation for the transformative capabilities of this innovative technology. Understanding the various 3D printing techniques, slicing software, and key components has provided you with a solid foundation for building a 3D printer tailored to your specific needs and creative aspirations.
Choosing the right components for your 3D printer, from the frame and motion system to the electronics and extruder, has empowered you to make informed decisions that lay the groundwork for a reliable and high-performance machine. The meticulous assembly of the frame and the precise installation of the electronics and wiring have set the stage for the printer’s seamless integration and operation.
Calibrating and testing the printer, from homing the axes and fine-tuning the extruder to evaluating test prints, has honed your skills in optimizing the machine’s performance and print quality. Moreover, mastering the art of troubleshooting common 3D printing issues has equipped you with the knowledge and techniques to maintain the printer’s reliability and address potential challenges with confidence.
As you venture into the realm of 3D printing, armed with the knowledge and expertise gained from this guide, you are poised to unleash your creativity and bring your digital designs to life with precision and finesse. Whether you are a hobbyist, a professional, or an enthusiast exploring the possibilities of additive manufacturing, your DIY 3D printer stands as a testament to your ingenuity and passion for innovation.
Embrace the journey ahead with enthusiasm and curiosity, knowing that you have the skills and understanding to navigate the intricacies of 3D printing and unlock its boundless potential. As you continue to refine and expand your 3D printing capabilities, remember that each challenge is an opportunity for growth, and each creation is a testament to your vision and craftsmanship.
With this knowledge in hand, you are well-prepared to embark on a fulfilling and rewarding journey in the world of 3D printing, where imagination knows no bounds, and innovation knows no limits.
Frequently Asked Questions about How To Build A 3D Printer
Was this page helpful?
At Storables.com, we guarantee accurate and reliable information. Our content, validated by Expert Board Contributors, is crafted following stringent Editorial Policies. We're committed to providing you with well-researched, expert-backed insights for all your informational needs.


0 thoughts on “How To Build A 3D Printer”