Home>Technology>Smart Home Devices>How To Change The Wi-Fi On My HP Printer
Smart Home Devices
How To Change The Wi-Fi On My HP Printer
Modified: May 6, 2024
Learn how to easily change the Wi-Fi network on your HP printer for seamless connectivity with your smart home devices. Follow our step-by-step guide.
(Many of the links in this article redirect to a specific reviewed product. Your purchase of these products through affiliate links helps to generate commission for Storables.com, at no extra cost. Learn more)
**
Introduction
**
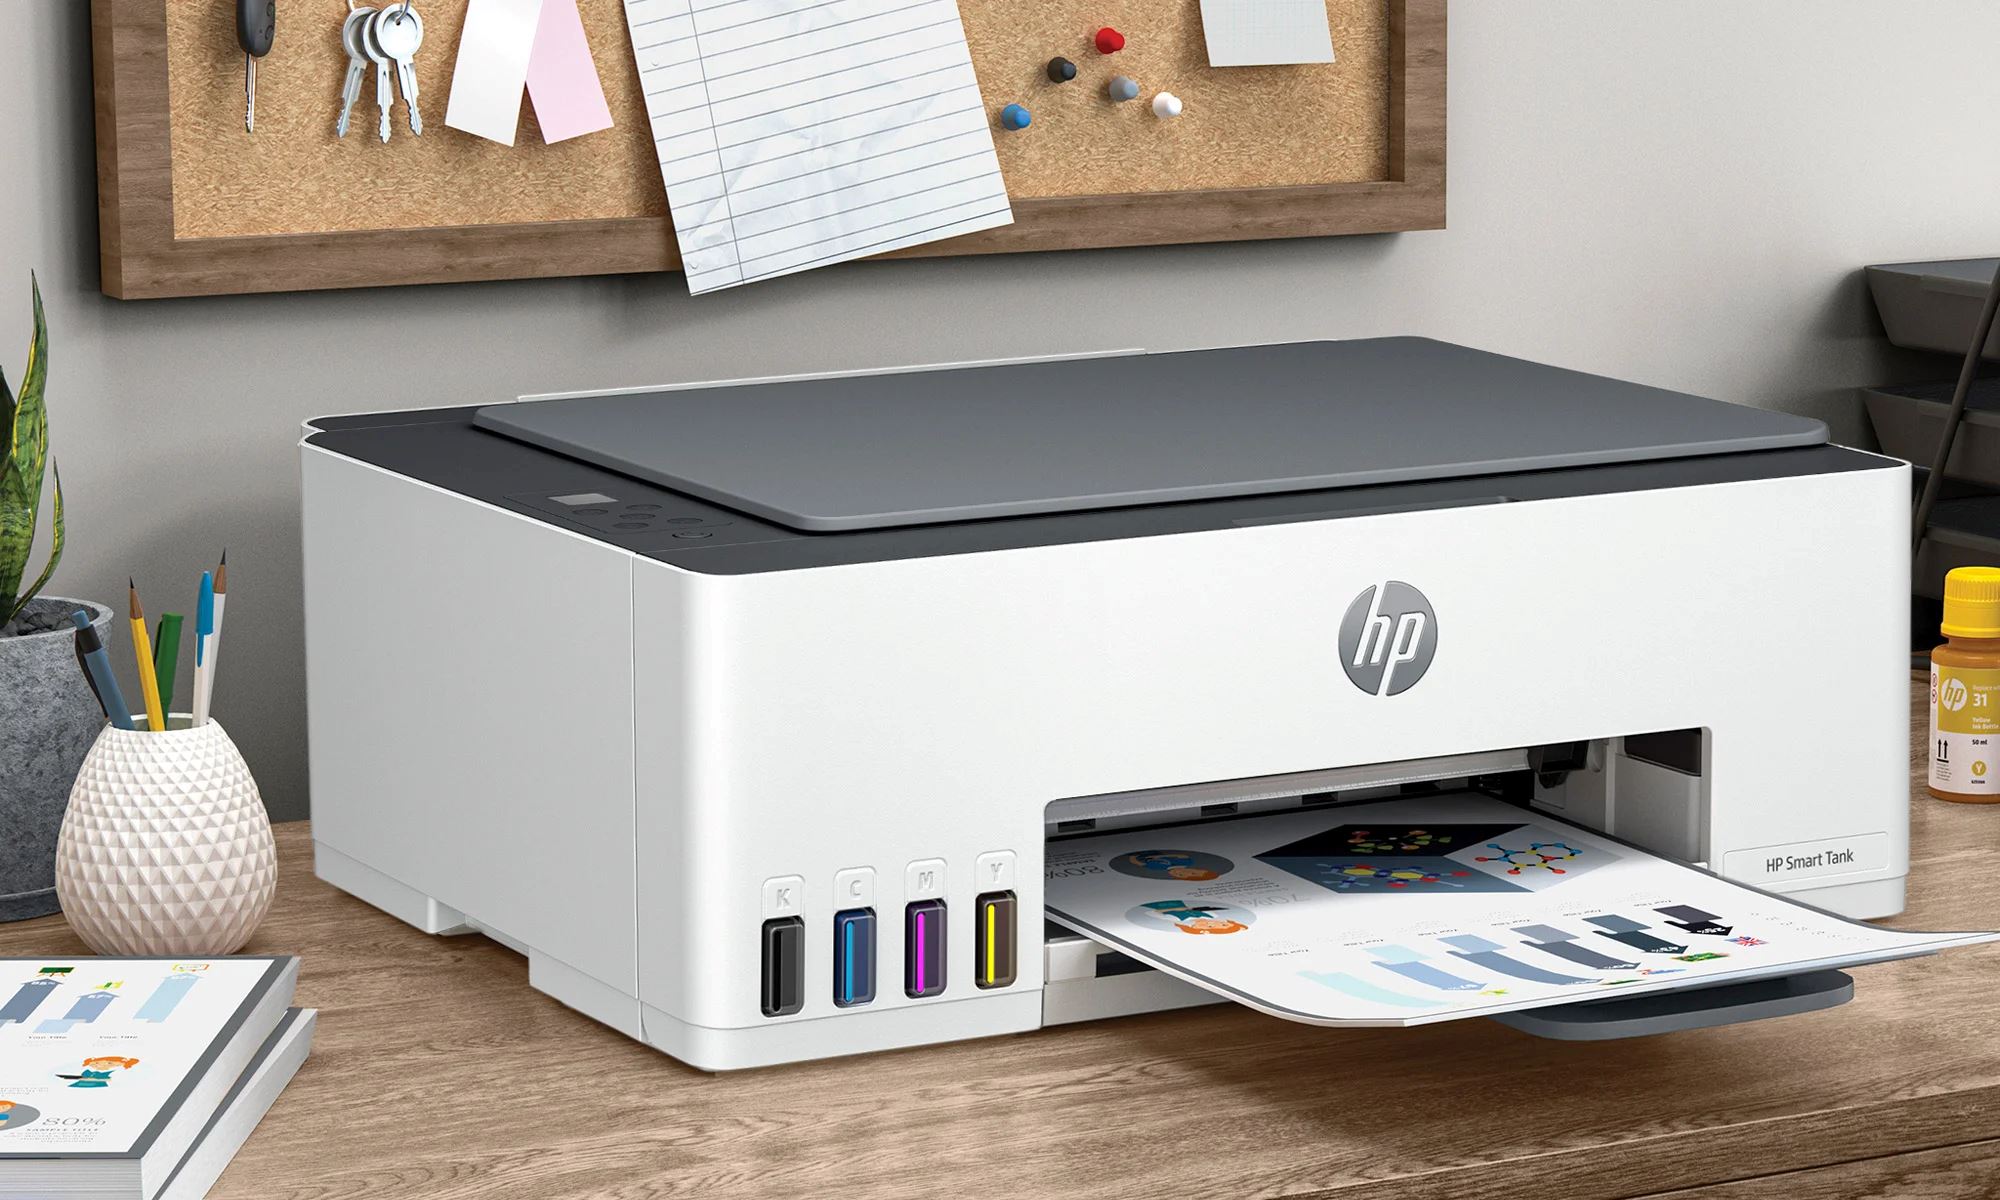
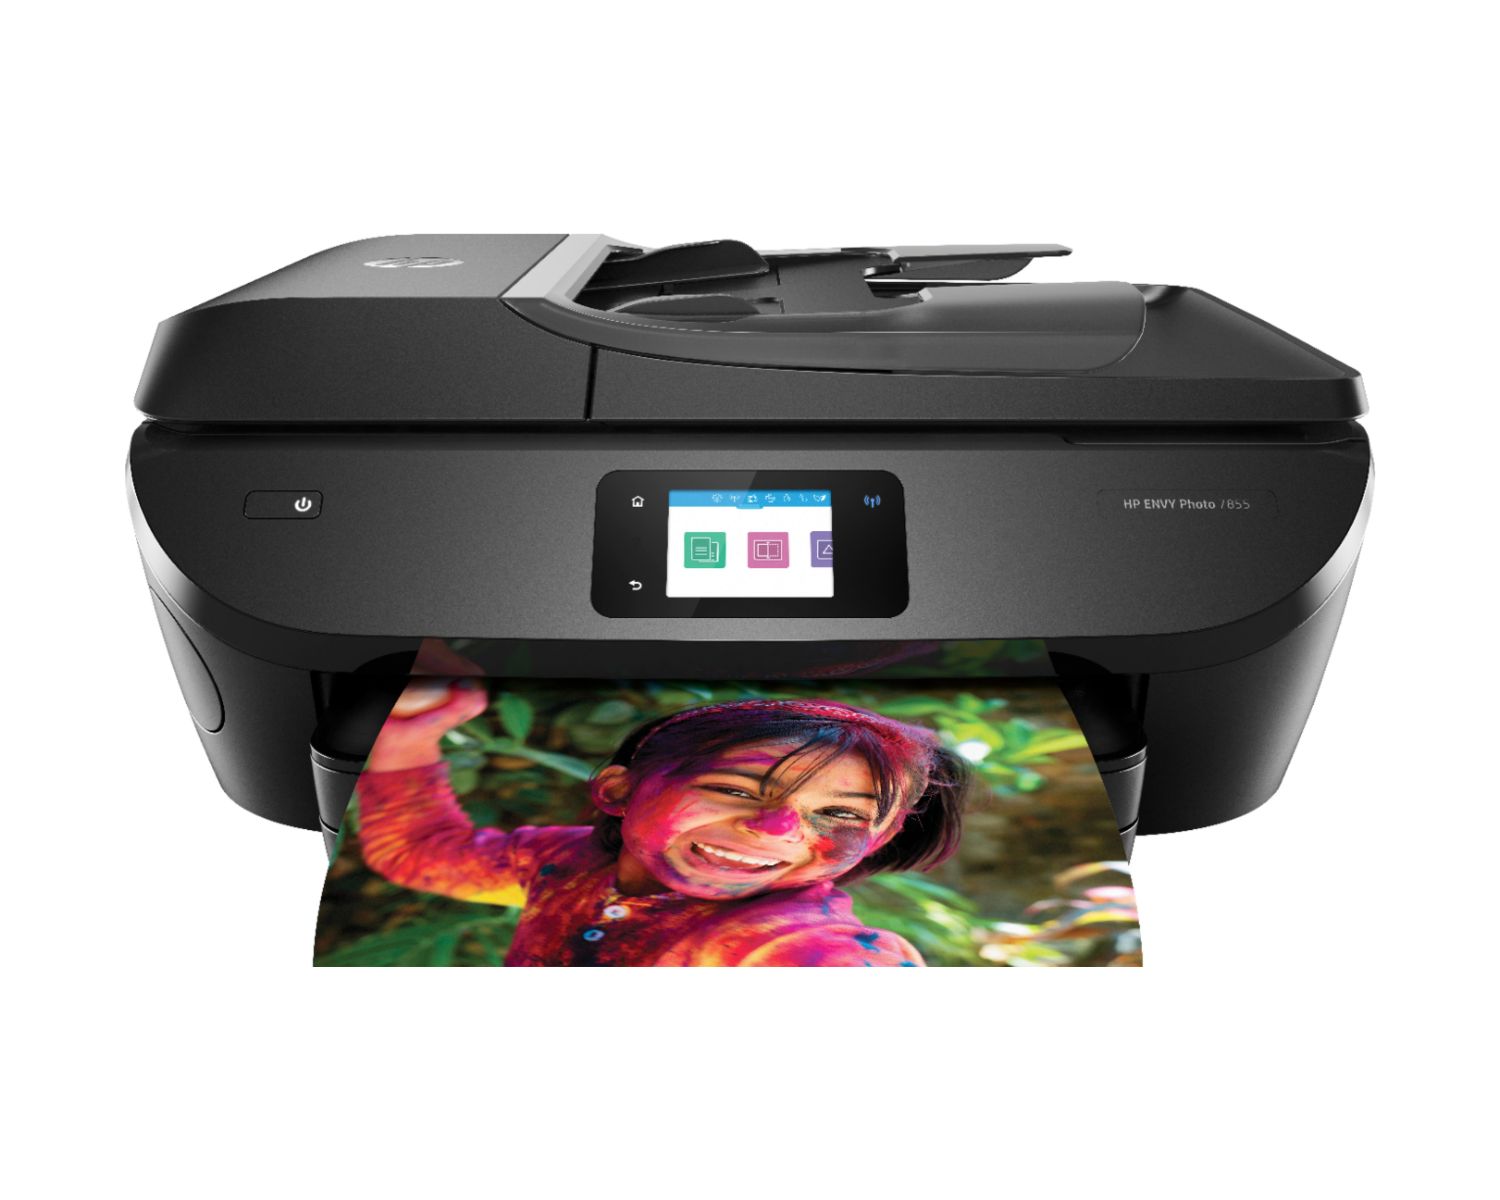
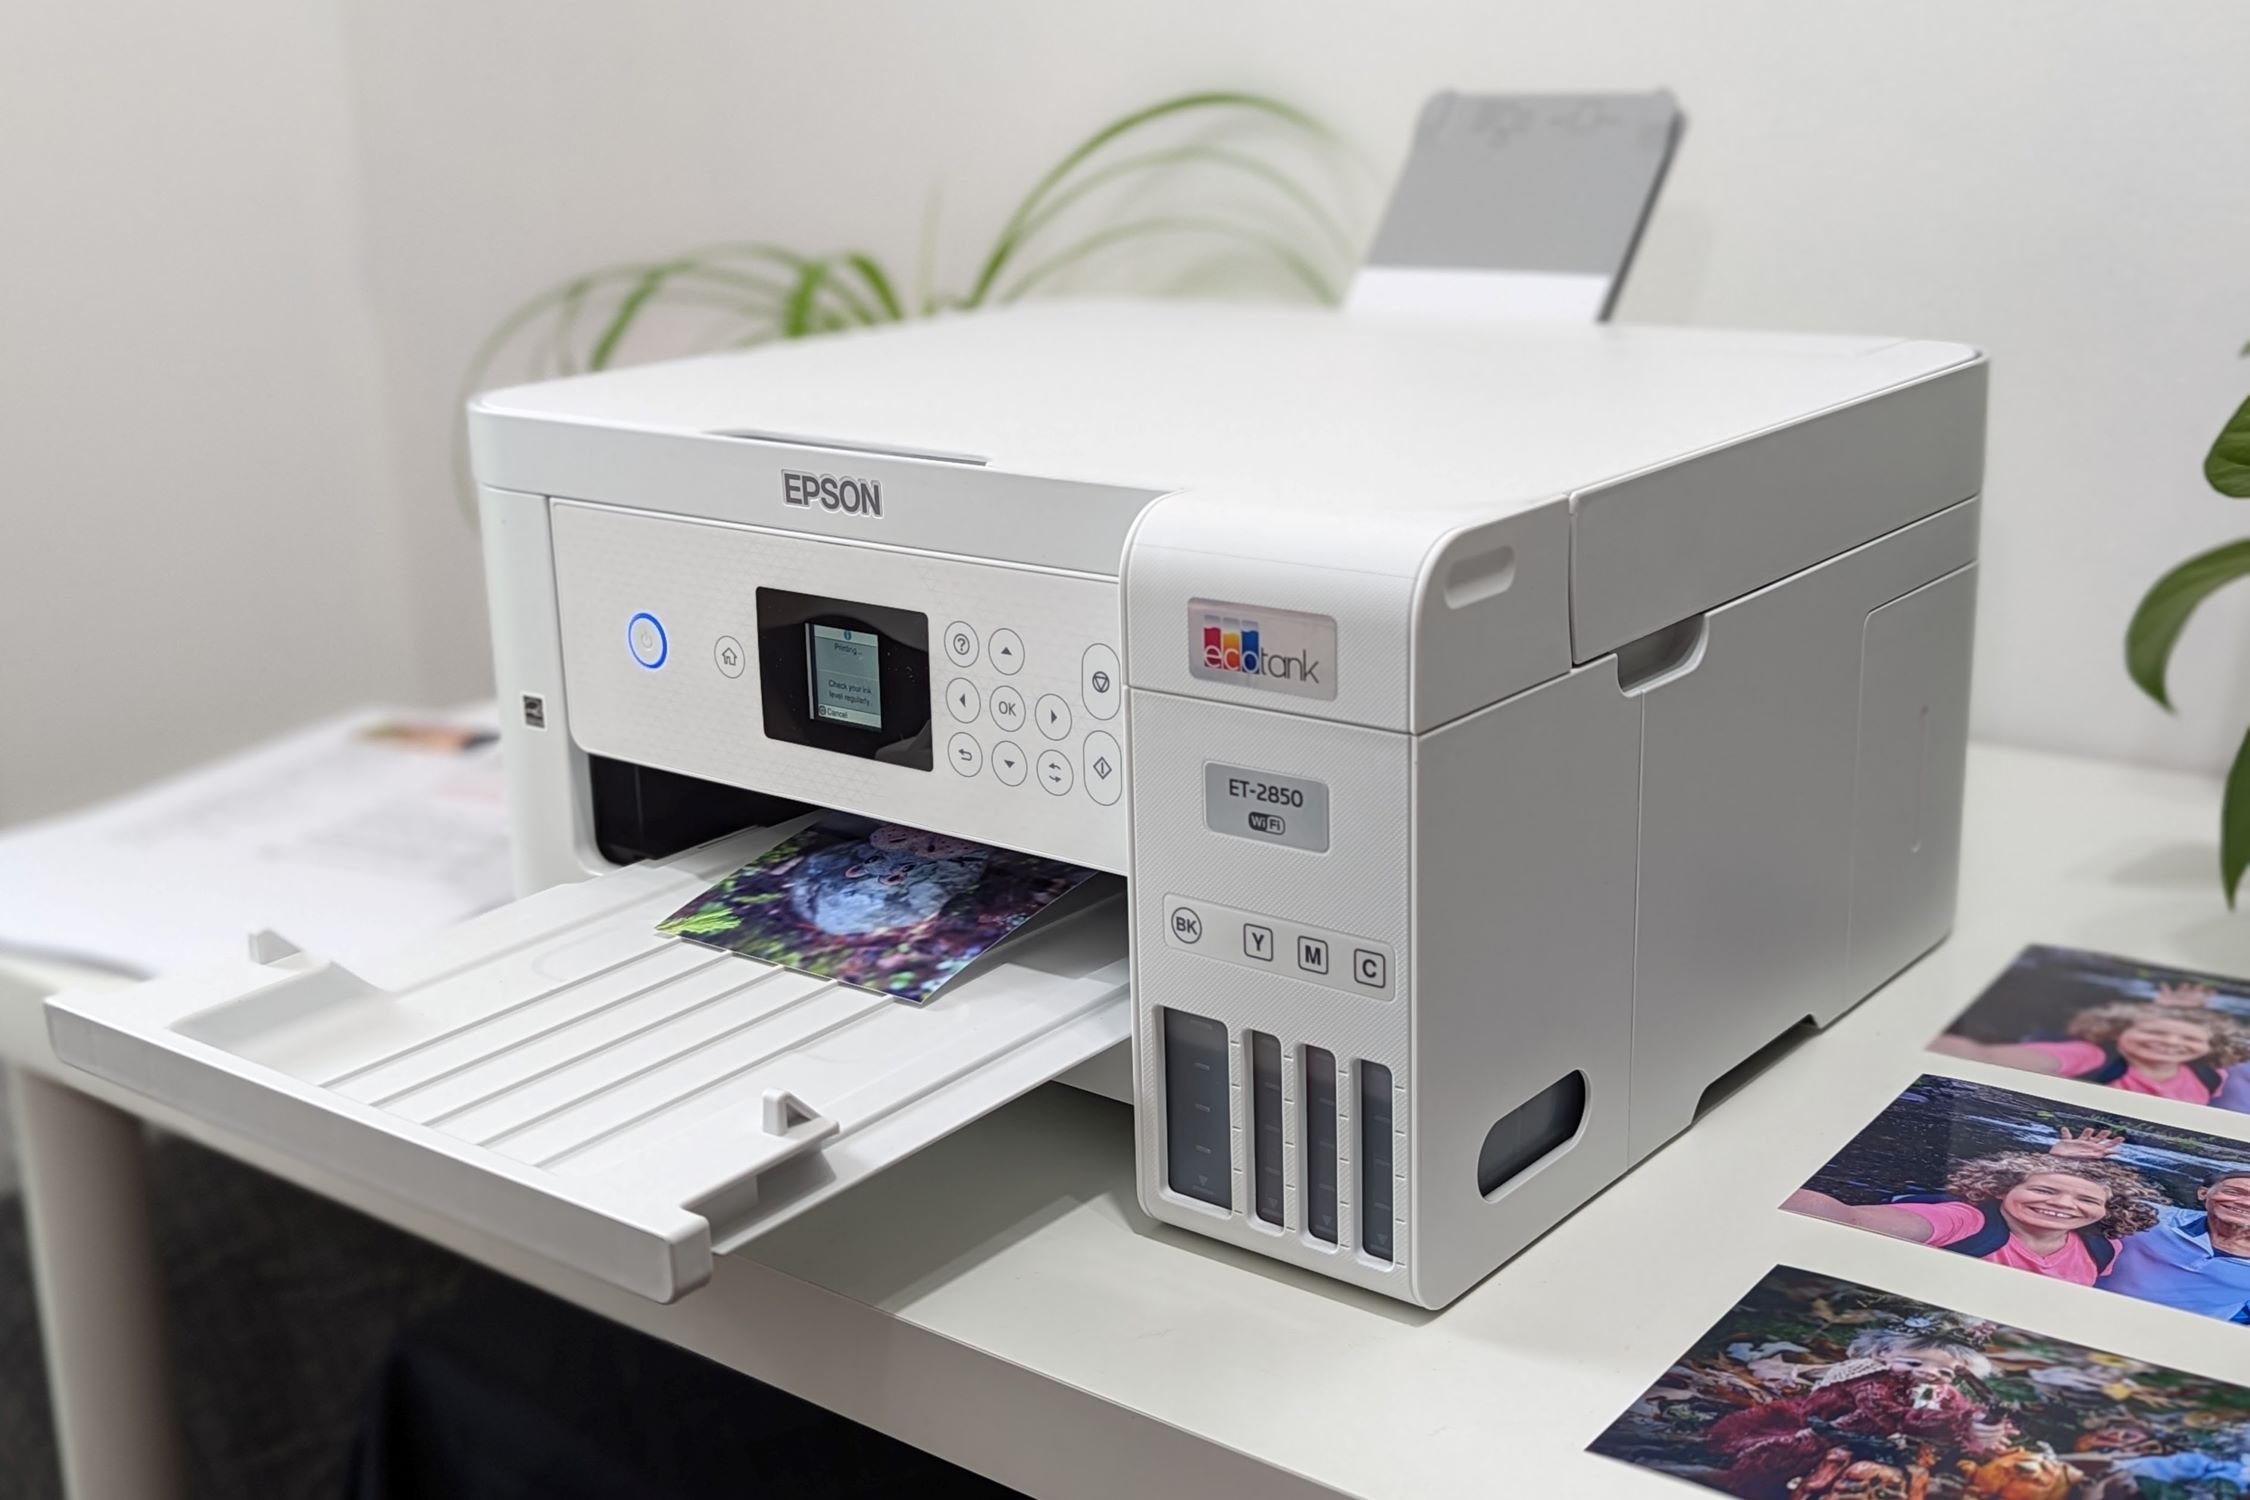
So, you've recently switched to a new Wi-Fi network, and now you need to update your HP printer to connect to the new network. Don't worry; it's a straightforward process, and I'm here to guide you through it. Whether you're setting up your HP printer for the first time or simply need to change the Wi-Fi network it's connected to, this step-by-step guide will walk you through the process with ease.
Your HP printer plays a crucial role in your daily life, handling everything from important documents to family photos. Ensuring that it's connected to the right Wi-Fi network is essential for seamless printing and scanning. By following the steps outlined in this guide, you'll be able to update your HP printer's Wi-Fi settings without any hassle.
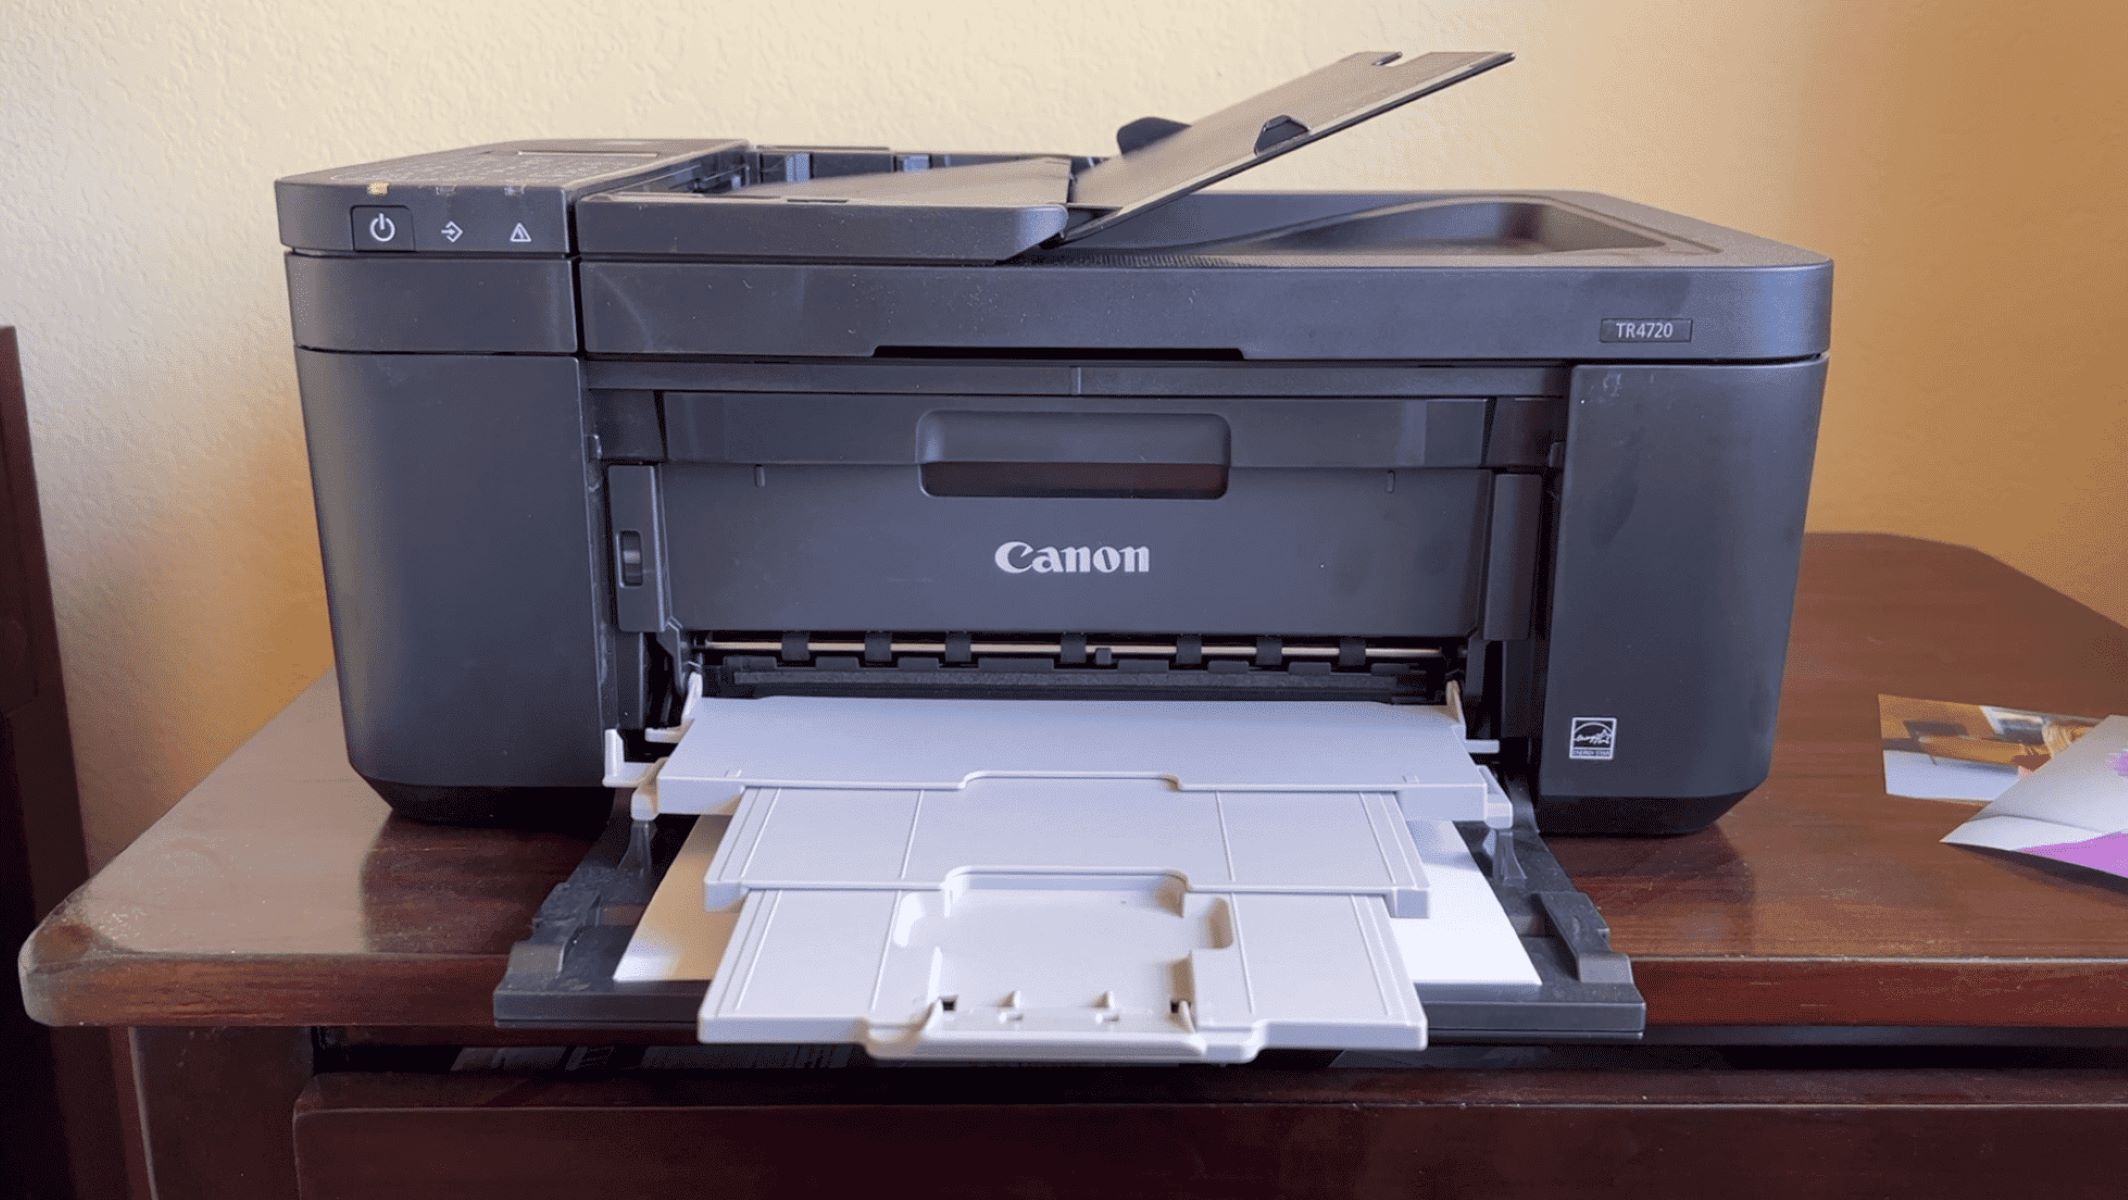
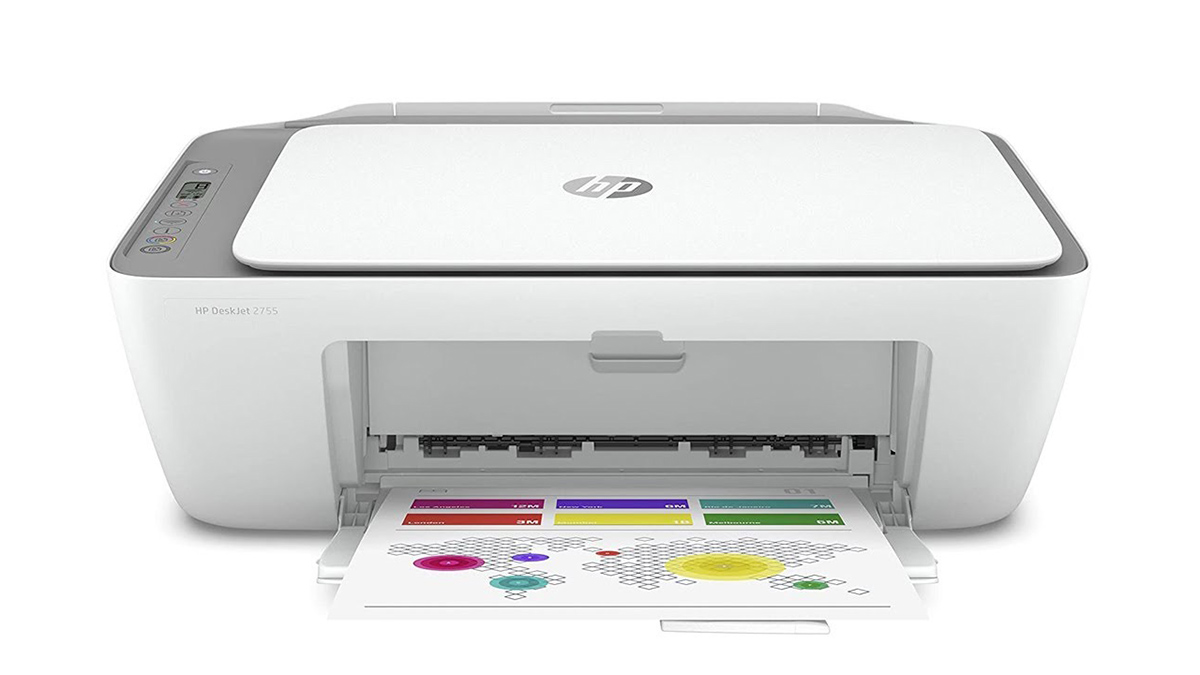
Before we dive into the steps, it's important to note that the exact process may vary slightly depending on the model of your HP printer. However, the fundamental steps for changing the Wi-Fi network on an HP printer remain consistent across most models. So, grab your laptop or smartphone, make sure you're connected to the new Wi-Fi network, and let's get started with the first step.
**
Key Takeaways:
- Updating the Wi-Fi network on your HP printer is easy! Just access the control panel, select the new Wi-Fi network, enter the password, and complete the setup for seamless printing and scanning.
- With the right steps, you can change the Wi-Fi network on your HP printer and enjoy the convenience of wirelessly printing and scanning from your devices. It’s a simple process that ensures your printer stays connected to the best Wi-Fi network.
Read more: How To Hook Up My HP Printer To Wi-Fi
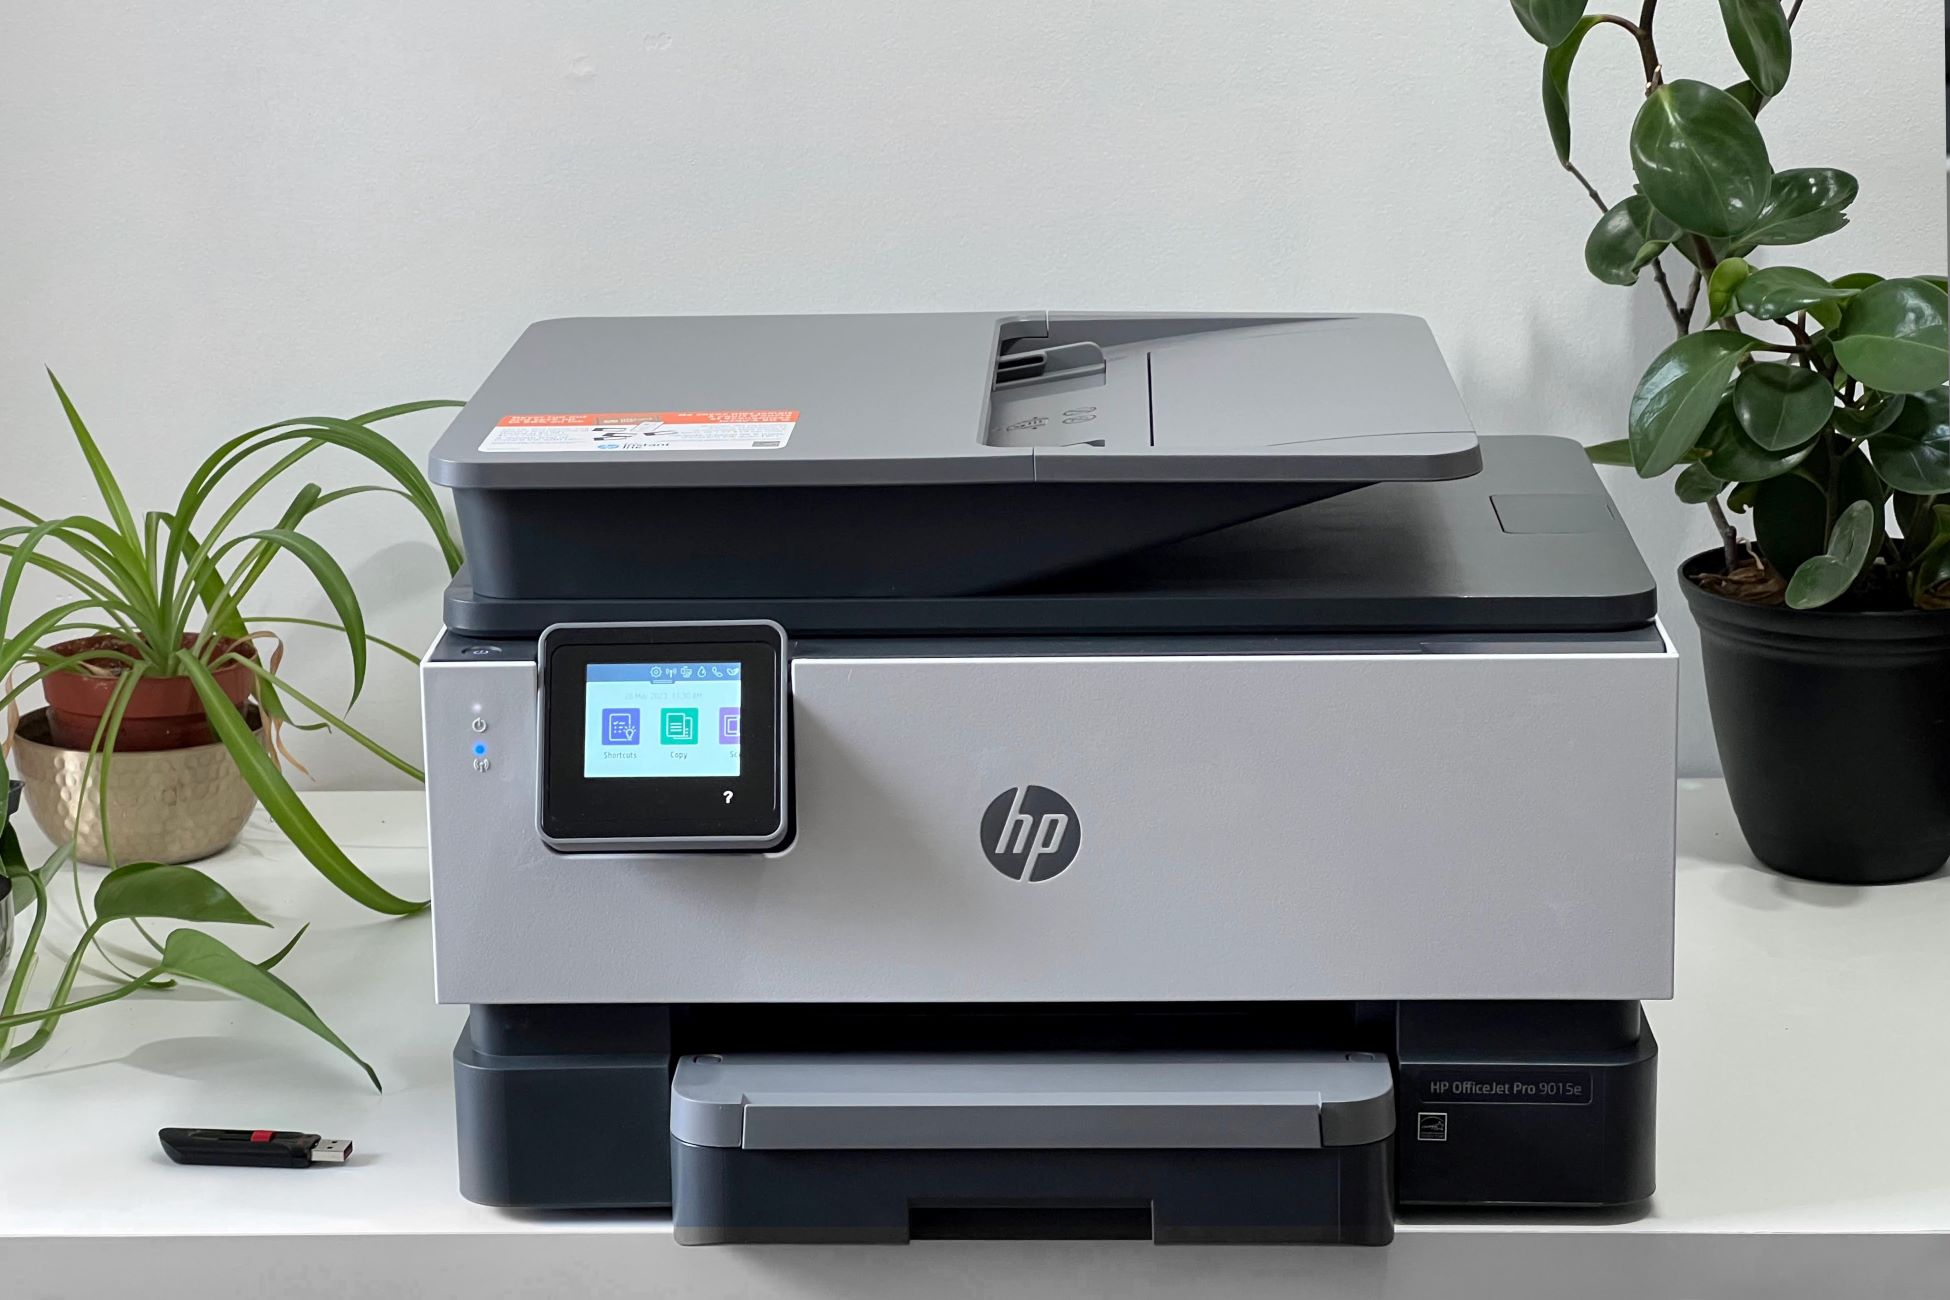
Step 1: Accessing the Printer’s Control Panel
**
The first step in changing the Wi-Fi network on your HP printer is to access the printer’s control panel. This is where you’ll navigate through the printer’s settings to initiate the Wi-Fi network update.
Start by ensuring that your HP printer is powered on and in a ready state. If the printer has a touchscreen display, simply tap on the screen to wake it up. If your printer has physical buttons, press the power button to turn it on.
Once the printer is powered on, locate the control panel. For printers with a touchscreen display, the control panel will be the interactive interface on the front of the printer. If your printer has physical buttons, the control panel will consist of the buttons and display panel.
Next, navigate to the settings or setup menu on the control panel. The exact location of these options may vary based on your printer model, but you can typically find them by looking for icons or labels indicating settings or setup. If your printer has a touchscreen display, you may need to swipe or tap to access the settings menu. For printers with physical buttons, use the arrow keys to navigate to the settings option and press the designated selection button.
Once you’ve accessed the settings or setup menu, you’re ready to proceed to the next step. With the control panel navigation complete, you’re one step closer to updating the Wi-Fi network on your HP printer.
**
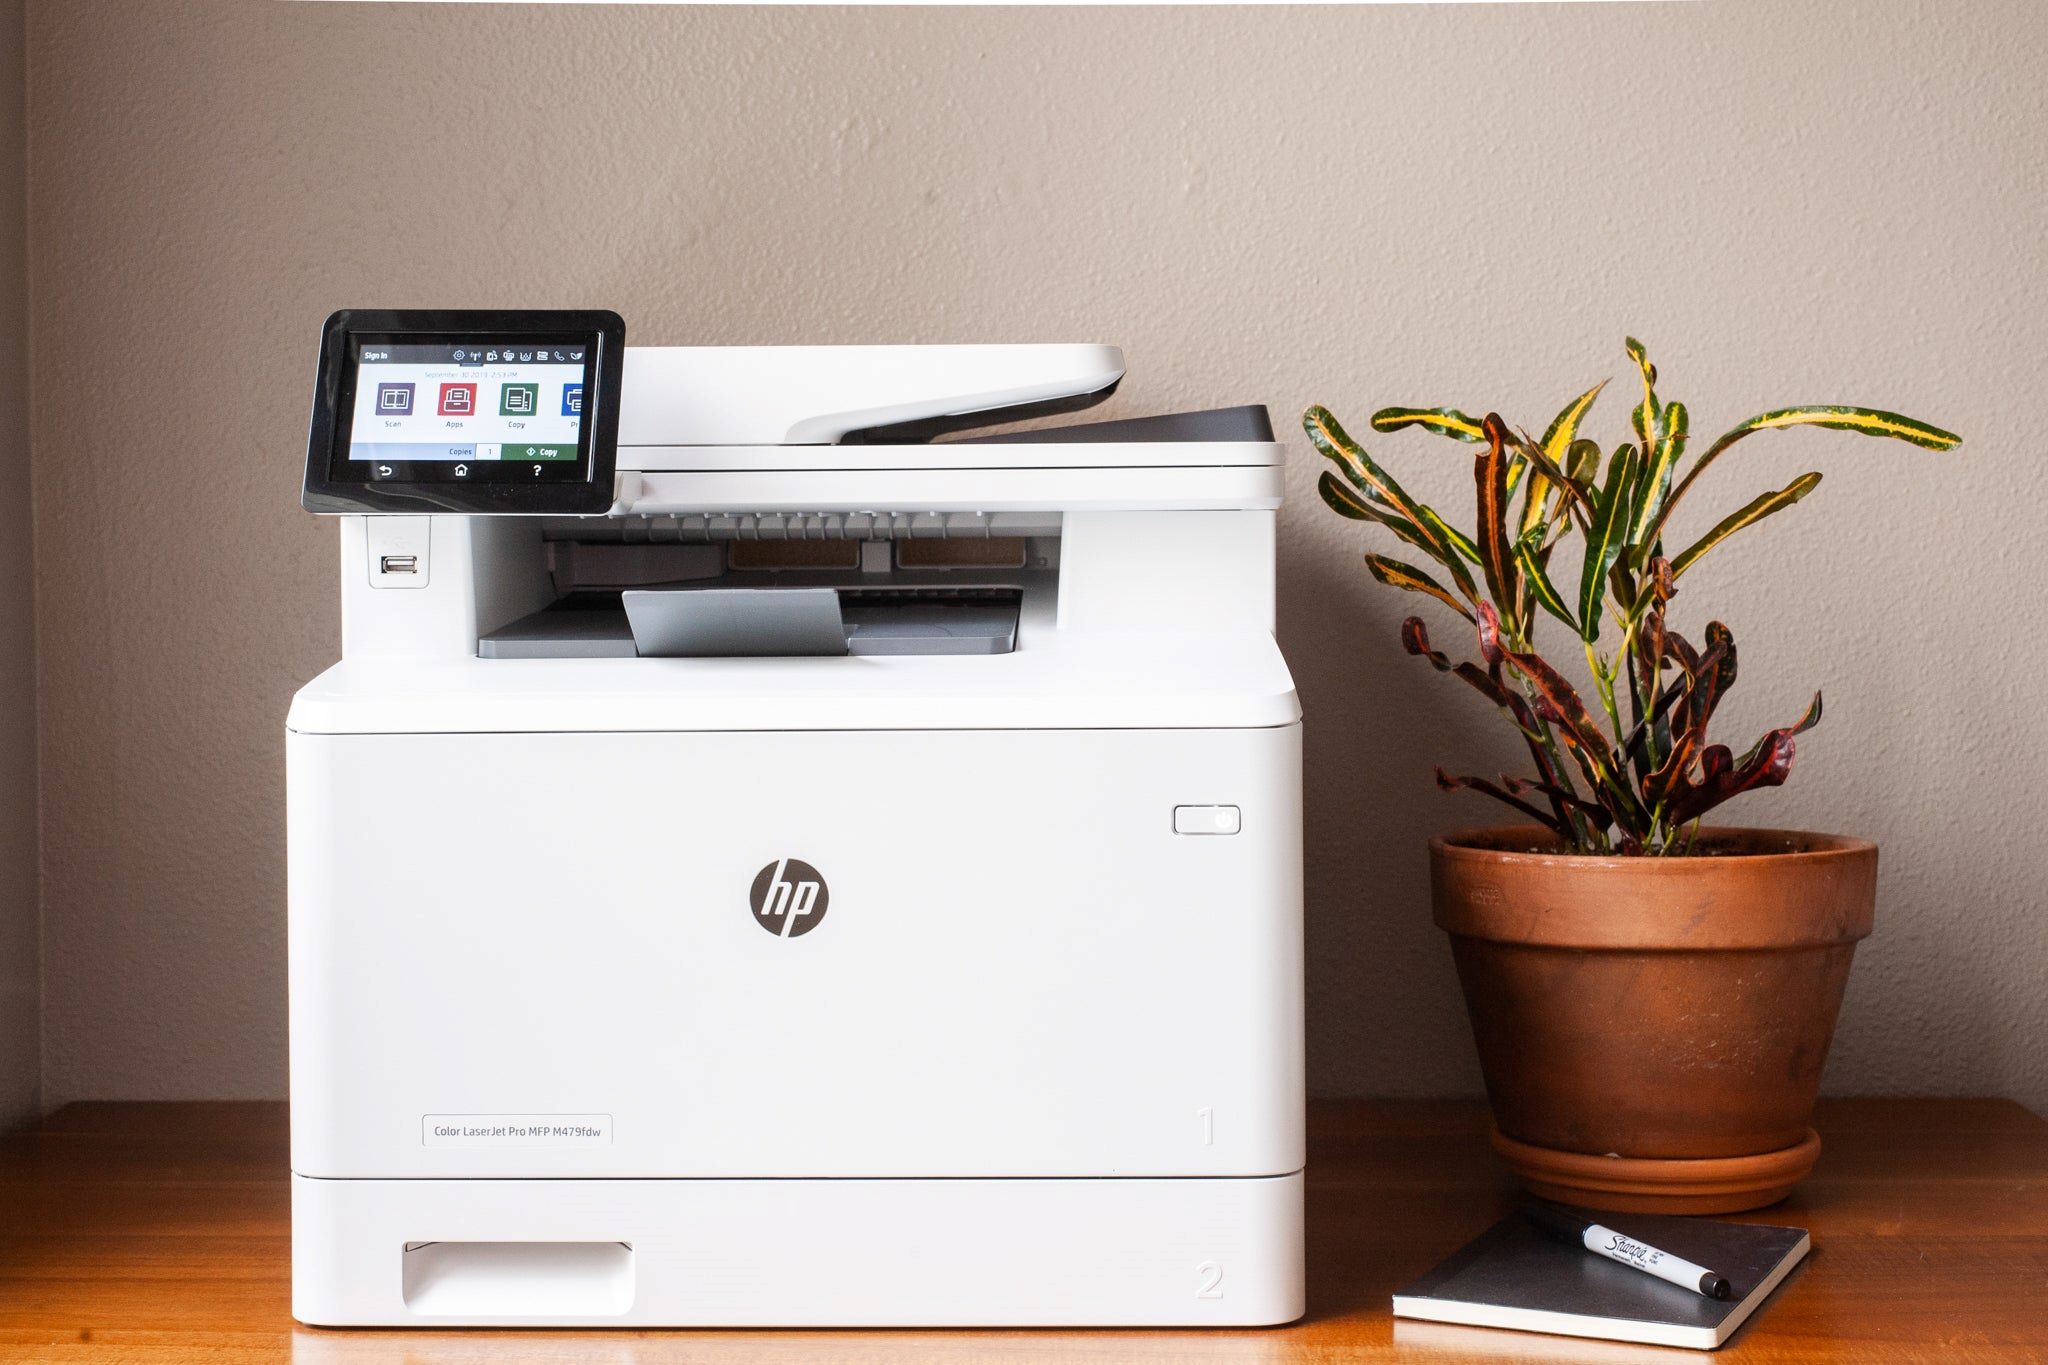
Step 2: Selecting the Wi-Fi Settings
**
After accessing the control panel of your HP printer, the next step is to select the Wi-Fi settings. This is where you’ll find the option to change the Wi-Fi network that your printer is connected to.
On the control panel, look for the “Wireless” or “Network” option. This may be represented by an icon or a text label, depending on your printer’s interface. Navigate to this option using the touchscreen display or the control panel buttons.
Once you’ve located the Wi-Fi settings, select the option to view available networks. Your printer will scan for nearby Wi-Fi networks, and the results will be displayed on the screen. If your new Wi-Fi network is not visible, ensure that it’s powered on and within range of the printer. You may need to wait a moment for the printer to detect all available networks.
When the list of available networks is displayed, look for the name of your new Wi-Fi network. This is the network that you want your HP printer to connect to. Use the touchscreen display or the control panel buttons to highlight and select your new Wi-Fi network from the list.
At this stage, you’ve successfully navigated to the Wi-Fi settings on your HP printer and selected the new Wi-Fi network. With the network chosen, you’re ready to proceed to the next step and initiate the connection process.
**
Step 3: Choosing a New Wi-Fi Network
**
With the Wi-Fi settings accessed on your HP printer, it’s time to choose the new Wi-Fi network that you want your printer to connect to. This step involves selecting your new network from the list of available options displayed on the printer’s control panel.
After the list of available networks is presented on the control panel, locate and select your new Wi-Fi network. If you don’t see your network listed, ensure that it’s within range of the printer and powered on. You may also need to wait for the printer to complete its network scan.
Once you’ve identified your new Wi-Fi network, proceed to select it using the touchscreen display or the control panel buttons. Depending on your printer model, you may need to confirm your selection by pressing a designated button or tapping an on-screen option.
After choosing your new Wi-Fi network, your HP printer will begin the process of connecting to the selected network. This may take a few moments, during which the printer will establish a secure connection with the Wi-Fi network. Be sure to allow the printer to complete this process without interruption.
By choosing the new Wi-Fi network on your HP printer, you’ve taken a crucial step in updating its wireless connectivity. With the network selected, you’re now ready to proceed to the next step, where you’ll enter the Wi-Fi password for the new network.
**
To change the Wi-Fi on your HP printer, go to the printer’s control panel, select the wireless or network settings, and then choose the option to change the Wi-Fi network. Follow the on-screen instructions to connect to the new Wi-Fi network.
Step 4: Entering the Wi-Fi Password
**
After selecting your new Wi-Fi network on the HP printer, the next step is to enter the Wi-Fi password for the chosen network. This password is required to establish a secure connection between your printer and the Wi-Fi network.
On the printer’s control panel, you will be prompted to enter the Wi-Fi password. This may be displayed as a text field where you can input the password using the touchscreen keyboard or the control panel buttons. Navigate to the password field and proceed to enter the password for your new Wi-Fi network.
When entering the Wi-Fi password, ensure that you input each character accurately to avoid any connectivity issues. If your password contains uppercase and lowercase letters, numbers, or special characters, use the appropriate input methods on the printer’s interface to enter the password correctly.
Once you’ve entered the Wi-Fi password, carefully review the characters to confirm that they are accurate. Take your time to ensure that the password is entered correctly, as any errors may prevent the printer from connecting to the Wi-Fi network.
After inputting the Wi-Fi password and verifying its accuracy, proceed to confirm your input. Depending on your printer model, you may need to select a “Connect” or “Confirm” option to initiate the connection process with the new Wi-Fi network.
With the Wi-Fi password entered and confirmed, your HP printer will proceed to establish a connection with the new network. This finalizes the process of updating the Wi-Fi settings on your printer, and you’re now ready to complete the setup.
**
Read more: How To Connect My HP Printer To New Wi-Fi
Step 5: Completing the Setup
**
As you reach the final step in updating the Wi-Fi network on your HP printer, it’s time to complete the setup and ensure that the printer is successfully connected to the new network.
After entering the Wi-Fi password and confirming the input on the printer’s control panel, the printer will initiate the connection process with the new Wi-Fi network. During this time, the printer will establish a secure and stable connection to enable seamless printing and scanning.
Once the printer has successfully connected to the new Wi-Fi network, it may display a confirmation message on the control panel or the touchscreen display. This message will indicate that the setup is complete and that the printer is now connected to the updated Wi-Fi network.
With the setup finalized, you can perform a test print or scan to ensure that the printer is functioning correctly on the new network. This will allow you to verify that the printer is communicating with your devices over the updated Wi-Fi connection.
If the test print or scan is successful, congratulations! You’ve successfully updated the Wi-Fi network on your HP printer. Your printer is now ready to serve your printing and scanning needs over the new Wi-Fi network, providing seamless connectivity and reliable performance.
By following these steps, you’ve effectively navigated through the process of changing the Wi-Fi network on your HP printer, ensuring that it remains connected to the most relevant and accessible network in your home or office environment.
With the setup complete, you can now enjoy the convenience of wirelessly printing and scanning from your devices, knowing that your HP printer is connected to the right Wi-Fi network.
**
Conclusion
**
Updating the Wi-Fi network on your HP printer is a pivotal task that ensures seamless connectivity and efficient printing and scanning capabilities. By following the step-by-step guide outlined in this article, you’ve successfully navigated through the process of changing the Wi-Fi network on your HP printer, allowing it to connect to the most relevant and accessible network in your home or office environment.
From accessing the printer’s control panel to selecting the new Wi-Fi network, entering the Wi-Fi password, and completing the setup, you’ve effectively managed the transition to a new wireless network for your HP printer. This accomplishment paves the way for uninterrupted printing and scanning, empowering you to harness the full potential of your HP printer’s capabilities.
As technology continues to evolve, maintaining a reliable and up-to-date Wi-Fi connection for your printer is essential for seamless integration with your digital devices. Whether you’ve upgraded your home network or relocated to a new environment, the ability to update your HP printer’s Wi-Fi network ensures that it remains a versatile and indispensable tool in your daily tasks.
With the setup complete, take a moment to appreciate the convenience of wirelessly printing and scanning from your devices, knowing that your HP printer is connected to the right Wi-Fi network. This connectivity empowers you to effortlessly produce documents, photos, and creative projects, enhancing your productivity and enabling you to bring your ideas to life with ease.
As you embark on your printing and scanning endeavors, rest assured that your HP printer is poised to deliver exceptional performance over its updated Wi-Fi network. By embracing the seamless connectivity offered by your printer, you’re equipped to tackle a wide array of printing tasks with confidence and efficiency.
So, whether you’re printing important documents for work, capturing cherished memories in vivid detail, or expressing your creativity through vibrant visuals, your HP printer stands ready to bring your vision to fruition over its newly updated Wi-Fi network.
Embrace the boundless possibilities that await as you harness the power of wireless printing and scanning with your HP printer, now seamlessly connected to the Wi-Fi network that best suits your needs.
Now that you've mastered changing Wi-Fi settings on your HP printer, why not expand your tech knowledge even further? Our next read delves into the essentials of connectivity devices. If you're curious about how printers communicate within your network, our detailed guide on network printers is just right. This engaging piece simplifies complex concepts, ensuring you're well-informed about how these devices enhance your home or office setup.
Frequently Asked Questions about How To Change The Wi-Fi On My HP Printer
Was this page helpful?
At Storables.com, we guarantee accurate and reliable information. Our content, validated by Expert Board Contributors, is crafted following stringent Editorial Policies. We're committed to providing you with well-researched, expert-backed insights for all your informational needs.


0 thoughts on “How To Change The Wi-Fi On My HP Printer”