Home>Technology>Smart Home Devices>How Do I Change Ink In My Epson Printer
Smart Home Devices
How Do I Change Ink In My Epson Printer
Modified: October 28, 2024
Learn how to easily change ink in your Epson printer and keep your smart home devices running smoothly. Follow our step-by-step guide for quick and hassle-free ink replacement.
(Many of the links in this article redirect to a specific reviewed product. Your purchase of these products through affiliate links helps to generate commission for Storables.com, at no extra cost. Learn more)
Introduction
Welcome to the world of Epson printers, where high-quality printing meets user-friendly design. As a proud owner of an Epson printer, you understand the importance of maintaining its ink cartridges to ensure crisp, vibrant prints every time. Whether you're a seasoned pro or a newcomer to the world of printer maintenance, learning how to change the ink in your Epson printer is a valuable skill that can save you time and money.
In this comprehensive guide, we will walk you through the step-by-step process of changing the ink in your Epson printer. By following these simple instructions, you can keep your printer running smoothly and continue producing professional-quality prints. So, grab your new ink cartridge and let's get started on this ink-replacing adventure!
Key Takeaways:
- Changing the ink in your Epson printer is essential for vibrant, high-quality prints. Gather supplies, follow step-by-step instructions, and print a test page to ensure successful ink replacement.
- Proper ink cartridge maintenance ensures your Epson printer’s reliability and consistent output. By following the ink replacement process, you’re ready for countless pages of vivid, high-quality prints.
Step 1: Gather the necessary supplies
Before diving into the ink-changing process, it’s essential to gather all the required supplies. This ensures a seamless and efficient cartridge replacement. Here’s what you’ll need:
- New Ink Cartridge: Ensure that you have the correct replacement cartridge for your specific Epson printer model. Epson ink cartridges are designed to work harmoniously with their respective printers, delivering optimal results.
- Protective Gloves: While optional, wearing protective gloves can help prevent ink smudges on your hands and maintain a clean working environment.
- Paper Towels: Keep a few paper towels handy to clean any accidental ink spills or smudges.
- Trash Can: Have a designated trash can nearby for the safe disposal of the old ink cartridge.
- Printer Manual: If you’re unsure about your printer model’s specific ink replacement process, refer to the printer manual for detailed instructions.
By ensuring that you have all the necessary supplies within reach, you can streamline the ink replacement process and minimize any potential disruptions. With these items at your disposal, you’re ready to embark on the next steps of changing the ink in your Epson printer.
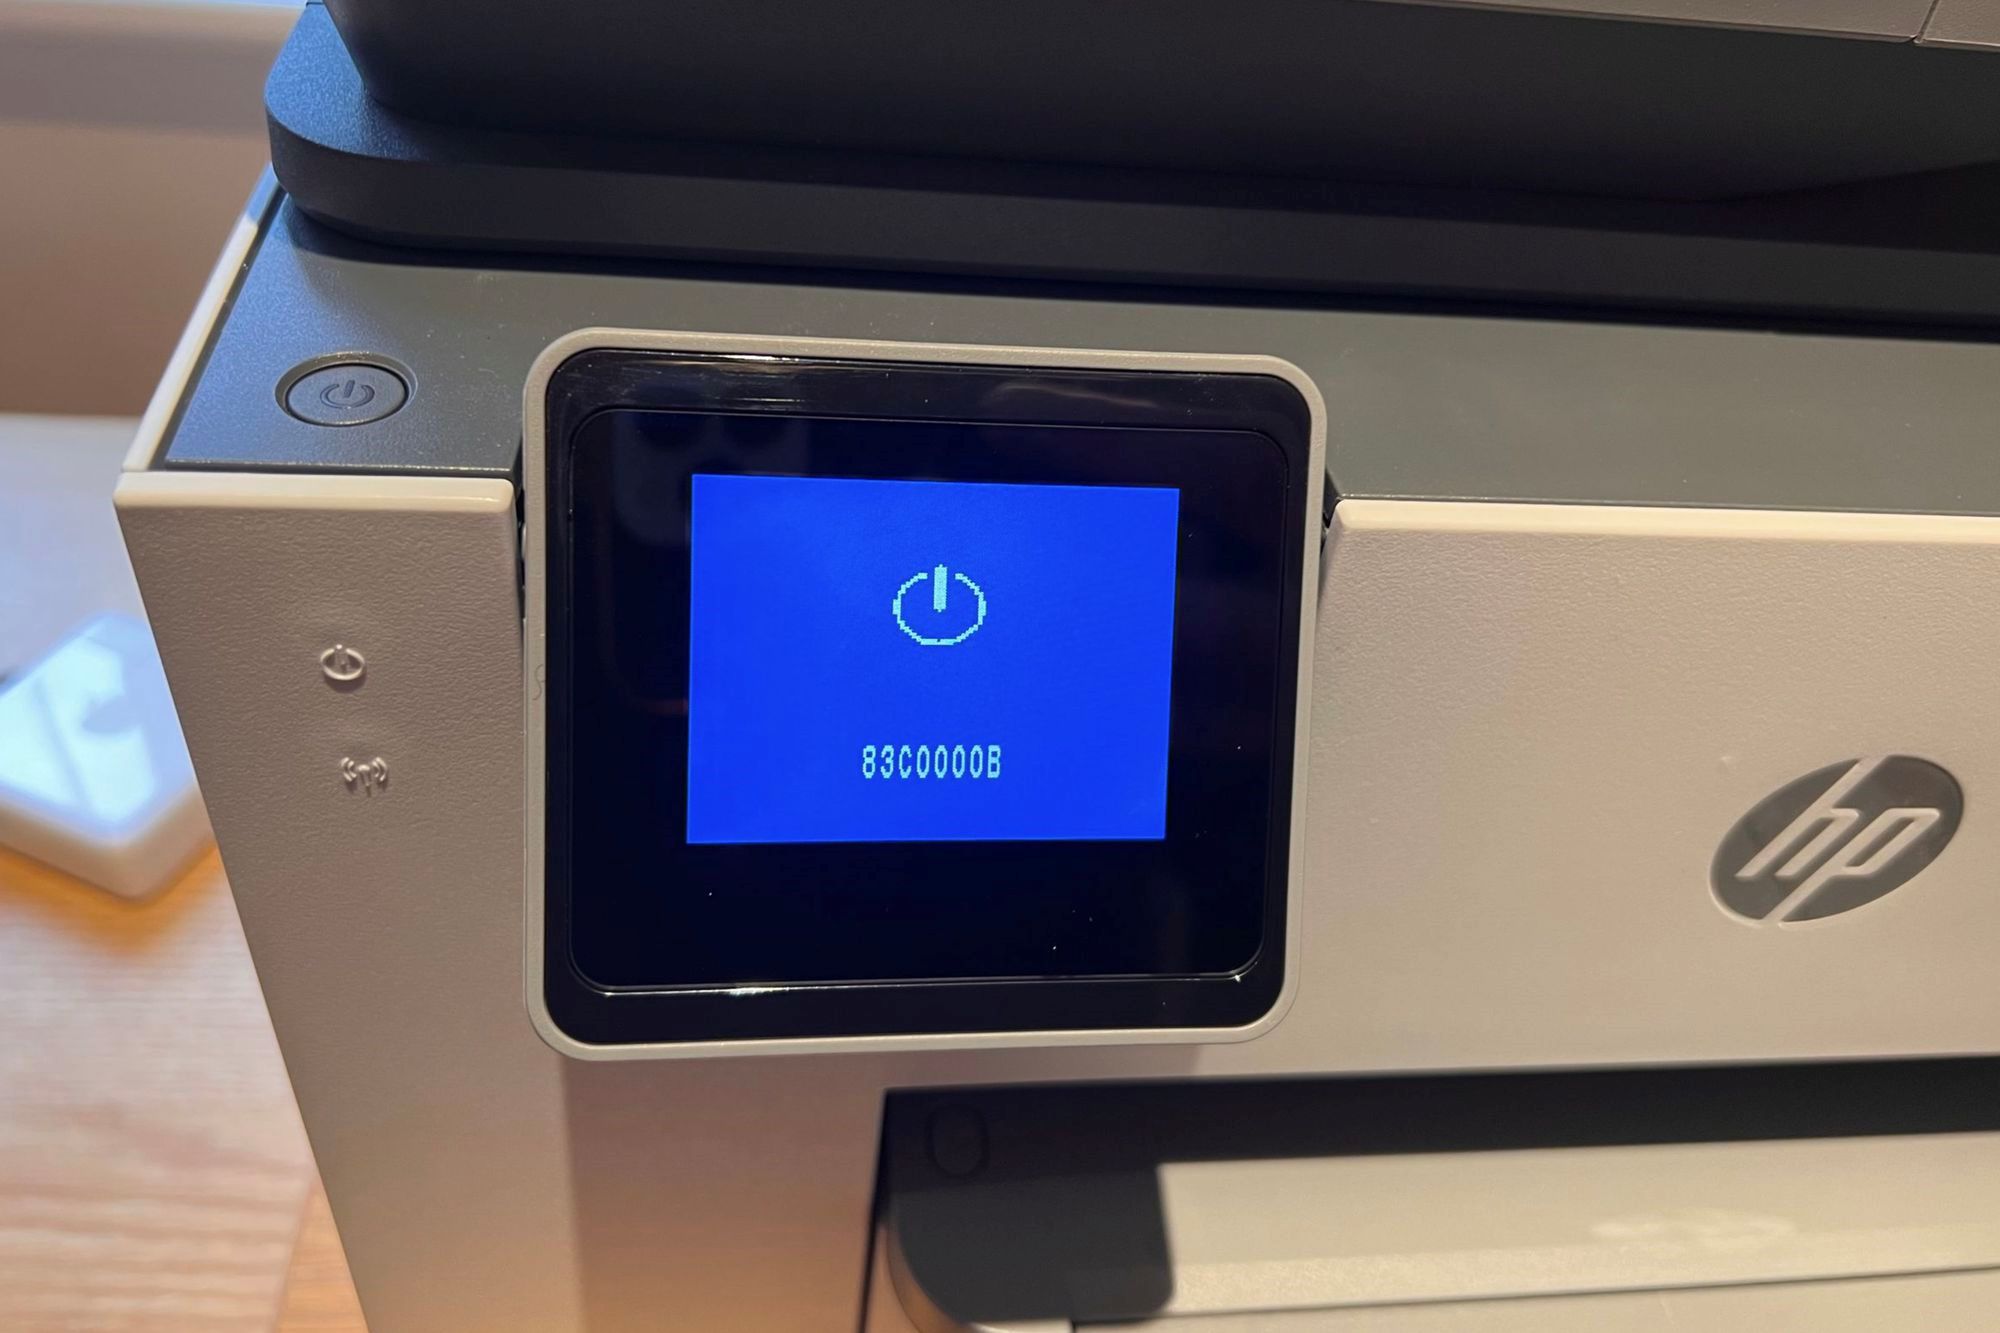
Step 2: Turn on the printer
Before beginning the ink replacement process, it’s crucial to ensure that your Epson printer is powered on. This step allows the printer to position the ink cartridges properly, enabling seamless access for cartridge replacement. Here’s how to turn on your Epson printer:
- Locate the Power Button: Depending on your specific Epson printer model, the power button may be located on the control panel or the front of the printer.
- Press the Power Button: Gently press the power button to turn on the printer. After pressing the button, wait for the printer to initialize and complete its startup process. This may involve the printer’s indicator lights flashing and the internal components aligning for operation.
- Confirm Readiness: Once the printer has powered on, ensure that it displays no error messages or issues related to ink cartridges. If any error messages appear, consult your printer manual or the printer’s display for guidance on resolving the issue before proceeding with the ink replacement.
By following these simple steps, you can ensure that your Epson printer is ready for the ink replacement process. With the printer powered on and in a state of readiness, you’re one step closer to refreshing your printer with a new ink cartridge.
Step 3: Open the printer cover
With your Epson printer powered on and ready, the next step in the ink replacement process is to open the printer cover. This grants access to the ink cartridge compartment, allowing for the safe removal and installation of ink cartridges. Follow these straightforward instructions to open the printer cover:
- Locate the Printer Cover: Depending on your Epson printer model, the cover may be situated at the top or front of the printer. It is typically designed to be easily accessible for maintenance tasks.
- Gently Lift the Cover: Carefully lift the printer cover to reveal the internal components, including the ink cartridge compartment. Take caution to lift the cover smoothly, ensuring that it opens without resistance.
- Secure the Cover: Once the printer cover is open, ensure that it remains in a stable and secure position to provide unobstructed access to the ink cartridges. Some printer models may have a built-in mechanism to hold the cover in place during maintenance tasks.
By following these steps, you can safely open the printer cover and prepare to proceed with the next stages of the ink replacement process. With the cover open, you’re now ready to access the ink cartridges and initiate the cartridge replacement procedure.
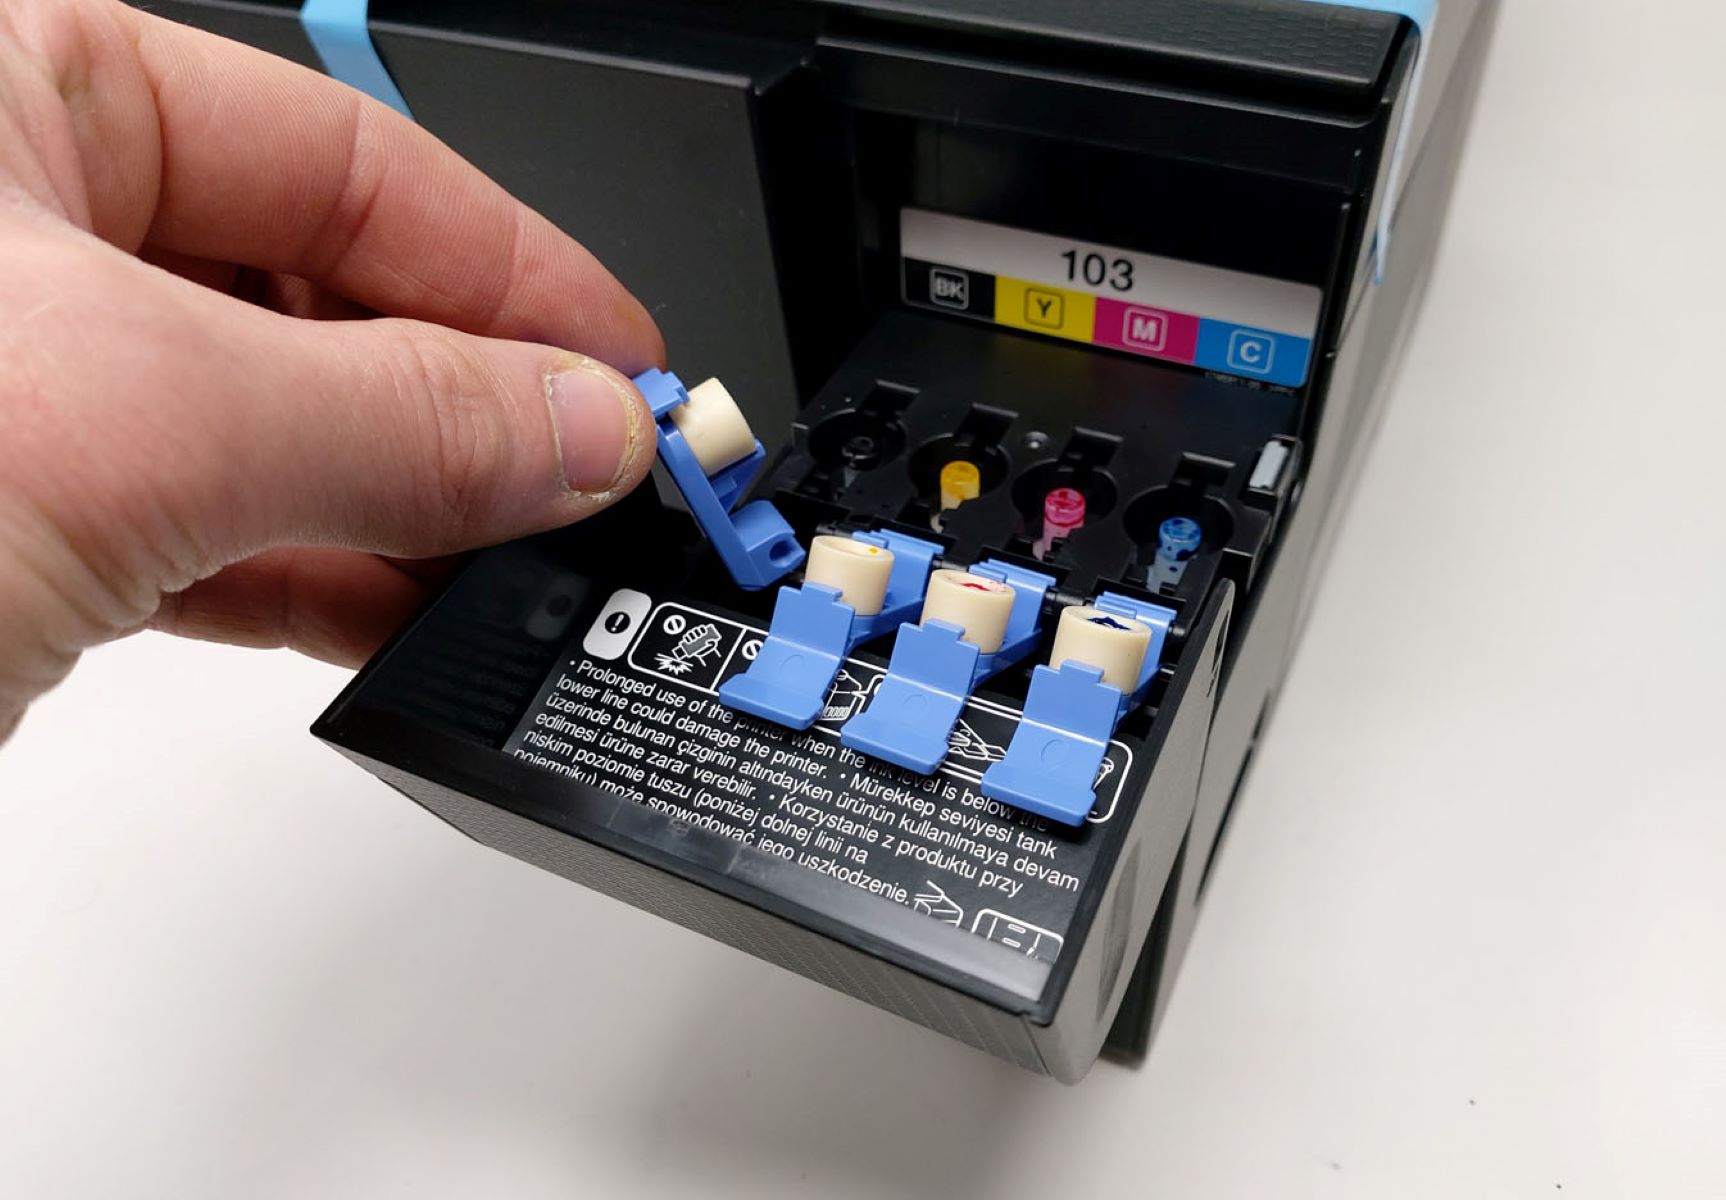
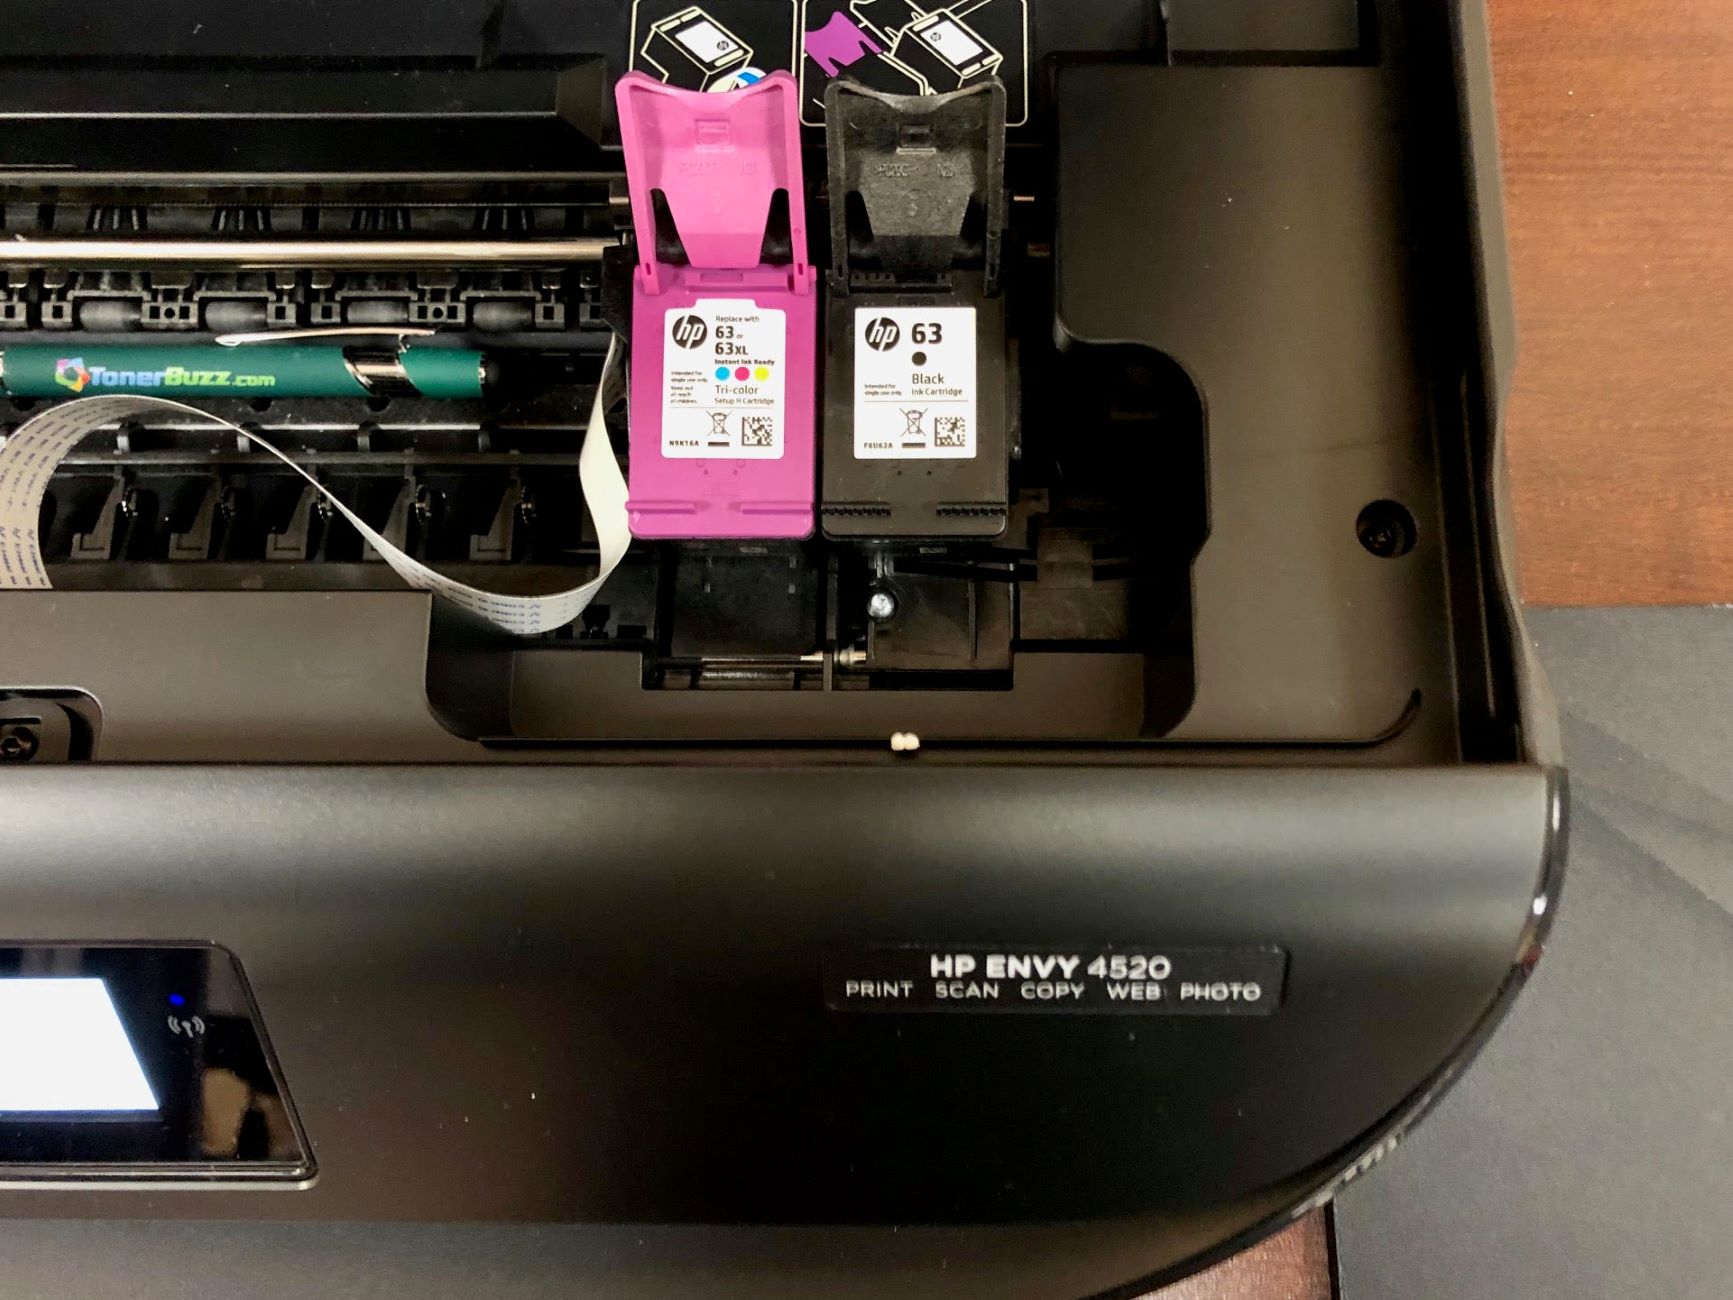
Step 4: Remove the old ink cartridge
Now that you have access to the ink cartridge compartment with the printer cover open, it’s time to remove the old ink cartridge from your Epson printer. This process involves careful handling to prevent any ink spills or damage to the printer. Follow these steps to safely remove the old ink cartridge:
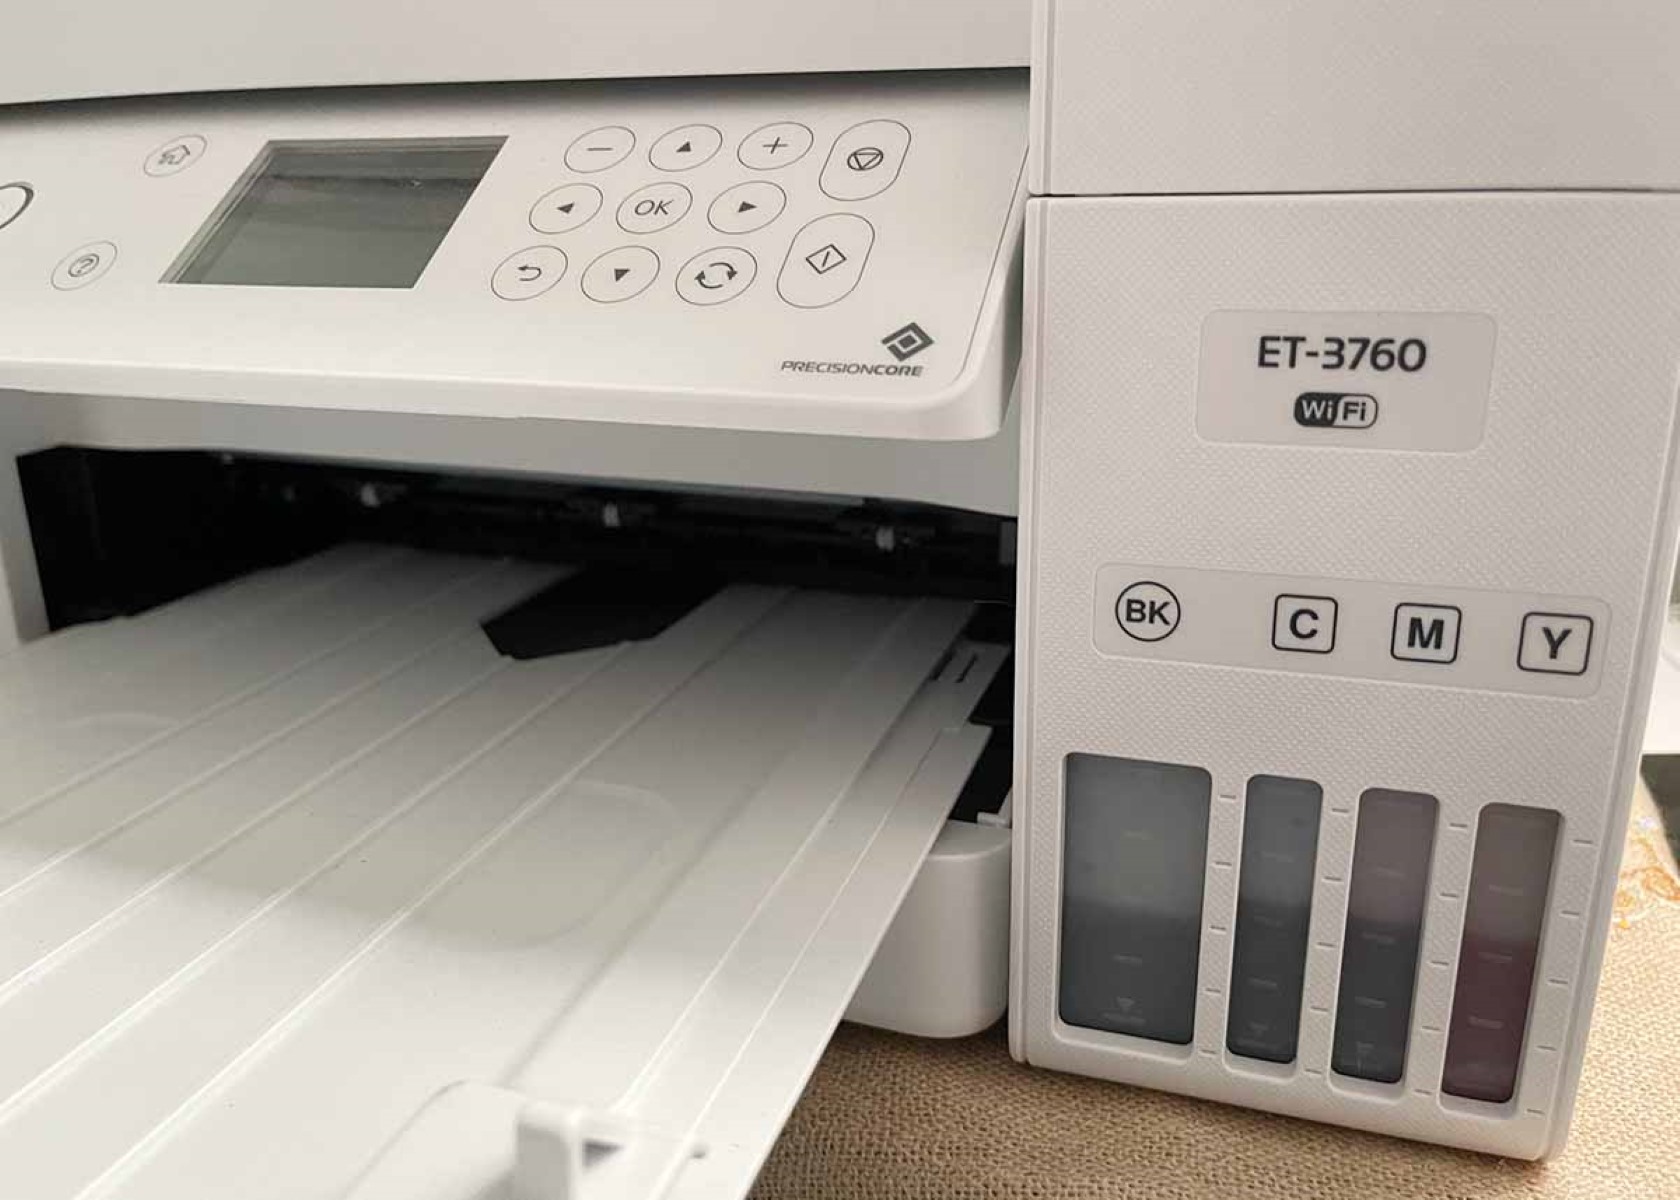
- Identify the Old Cartridge: Locate the old ink cartridge within the designated compartment. Epson printers typically have individual slots for each ink color, making it easy to identify the cartridges.
- Press the Release Tab: On most Epson printer models, the ink cartridges are secured in place with a locking mechanism. Press the release tab or button adjacent to the cartridge to unlock it from its position.
- Remove the Cartridge: Once the cartridge is unlocked, carefully grasp it and gently lift it out of its slot. Take care to avoid touching the nozzles or electrical contacts on the cartridge, as this can affect print quality and overall performance.
- Set Aside the Old Cartridge: Place the removed ink cartridge on a stable surface, such as a paper towel, to prevent any potential ink leakage. If the cartridge is empty, prepare it for safe disposal according to local regulations for electronic waste.
By following these steps, you can safely remove the old ink cartridge from your Epson printer, paving the way for the installation of a new cartridge. With the old cartridge set aside, you’re ready to proceed to the next phase of the ink replacement process.
To change ink in your Epson printer, first, make sure the printer is on. Open the printer cover and wait for the ink cartridge holder to stop moving. Then, press the tab on the cartridge and lift it out. Finally, shake the new cartridge gently before installing it.
Read more: Why Is My Epson Printer Leaking Ink On Paper
Step 5: Install the new ink cartridge
With the old ink cartridge successfully removed, it’s time to install the new ink cartridge in your Epson printer. This pivotal step ensures that your printer is equipped with fresh ink to deliver high-quality prints. Follow these clear instructions to seamlessly install the new ink cartridge:
- Unpack the New Cartridge: Carefully remove the new ink cartridge from its packaging, ensuring that you handle it with care to avoid any damage to the cartridge or potential ink leaks.
- Shake the Cartridge (if recommended): Some ink cartridges may benefit from gentle shaking before installation to ensure the ink is evenly distributed. Refer to the instructions provided with the new cartridge to determine if shaking is recommended.
- Remove the Protective Seal: Check the new cartridge for any protective seals or tapes that cover the nozzles or contacts. If present, carefully remove these seals to prepare the cartridge for installation.
- Insert the Cartridge: Align the new ink cartridge with its corresponding slot in the printer, ensuring that it matches the correct color and position. Gently insert the cartridge into the slot, applying even pressure until it securely clicks into place.
- Lock the Cartridge: Once the new cartridge is inserted, press down on it until it locks into position. This ensures that the cartridge is securely seated and ready to deliver optimal printing results.
- Repeat for Additional Cartridges: If your printer utilizes multiple ink cartridges for different colors, repeat the above steps for each additional cartridge, ensuring that each one is correctly installed.
By following these straightforward steps, you can successfully install the new ink cartridge in your Epson printer, setting the stage for vibrant and precise printing performance. With the new cartridge securely in place, you’re ready to proceed to the final stages of the ink replacement process.
Step 6: Close the printer cover
After installing the new ink cartridge, it’s crucial to close the printer cover to secure the ink cartridges and restore the printer to its operational state. This step ensures that the internal components are protected and that the ink cartridges are properly positioned for printing. Follow these simple instructions to close the printer cover:
- Check Cartridge Alignment: Before closing the printer cover, visually confirm that the new ink cartridges are securely inserted and aligned within their respective slots. This ensures that the cartridges are positioned correctly for optimal printing performance.
- Gently Lower the Cover: Carefully lower the printer cover back into its original position, ensuring that it descends smoothly and aligns with the printer’s body. Take care to avoid applying excessive force, allowing the cover to settle naturally into place.
- Secure the Cover Latch (if applicable): Some Epson printer models may feature a latch or locking mechanism to secure the cover in place. If your printer includes this feature, engage the latch to ensure that the cover remains closed during printing operations.
By following these steps, you can effectively close the printer cover, safeguarding the ink cartridges and internal components within your Epson printer. With the cover securely closed, your printer is poised to resume its printing duties with the newly installed ink cartridges, delivering exceptional print quality with every task.
Step 7: Print a test page
After completing the ink cartridge replacement process, it’s essential to print a test page to verify that the new cartridges are functioning correctly and producing high-quality prints. This step allows you to confirm that the printer is ready for regular use and that the ink replacement was successful. Follow these simple instructions to print a test page from your Epson printer:
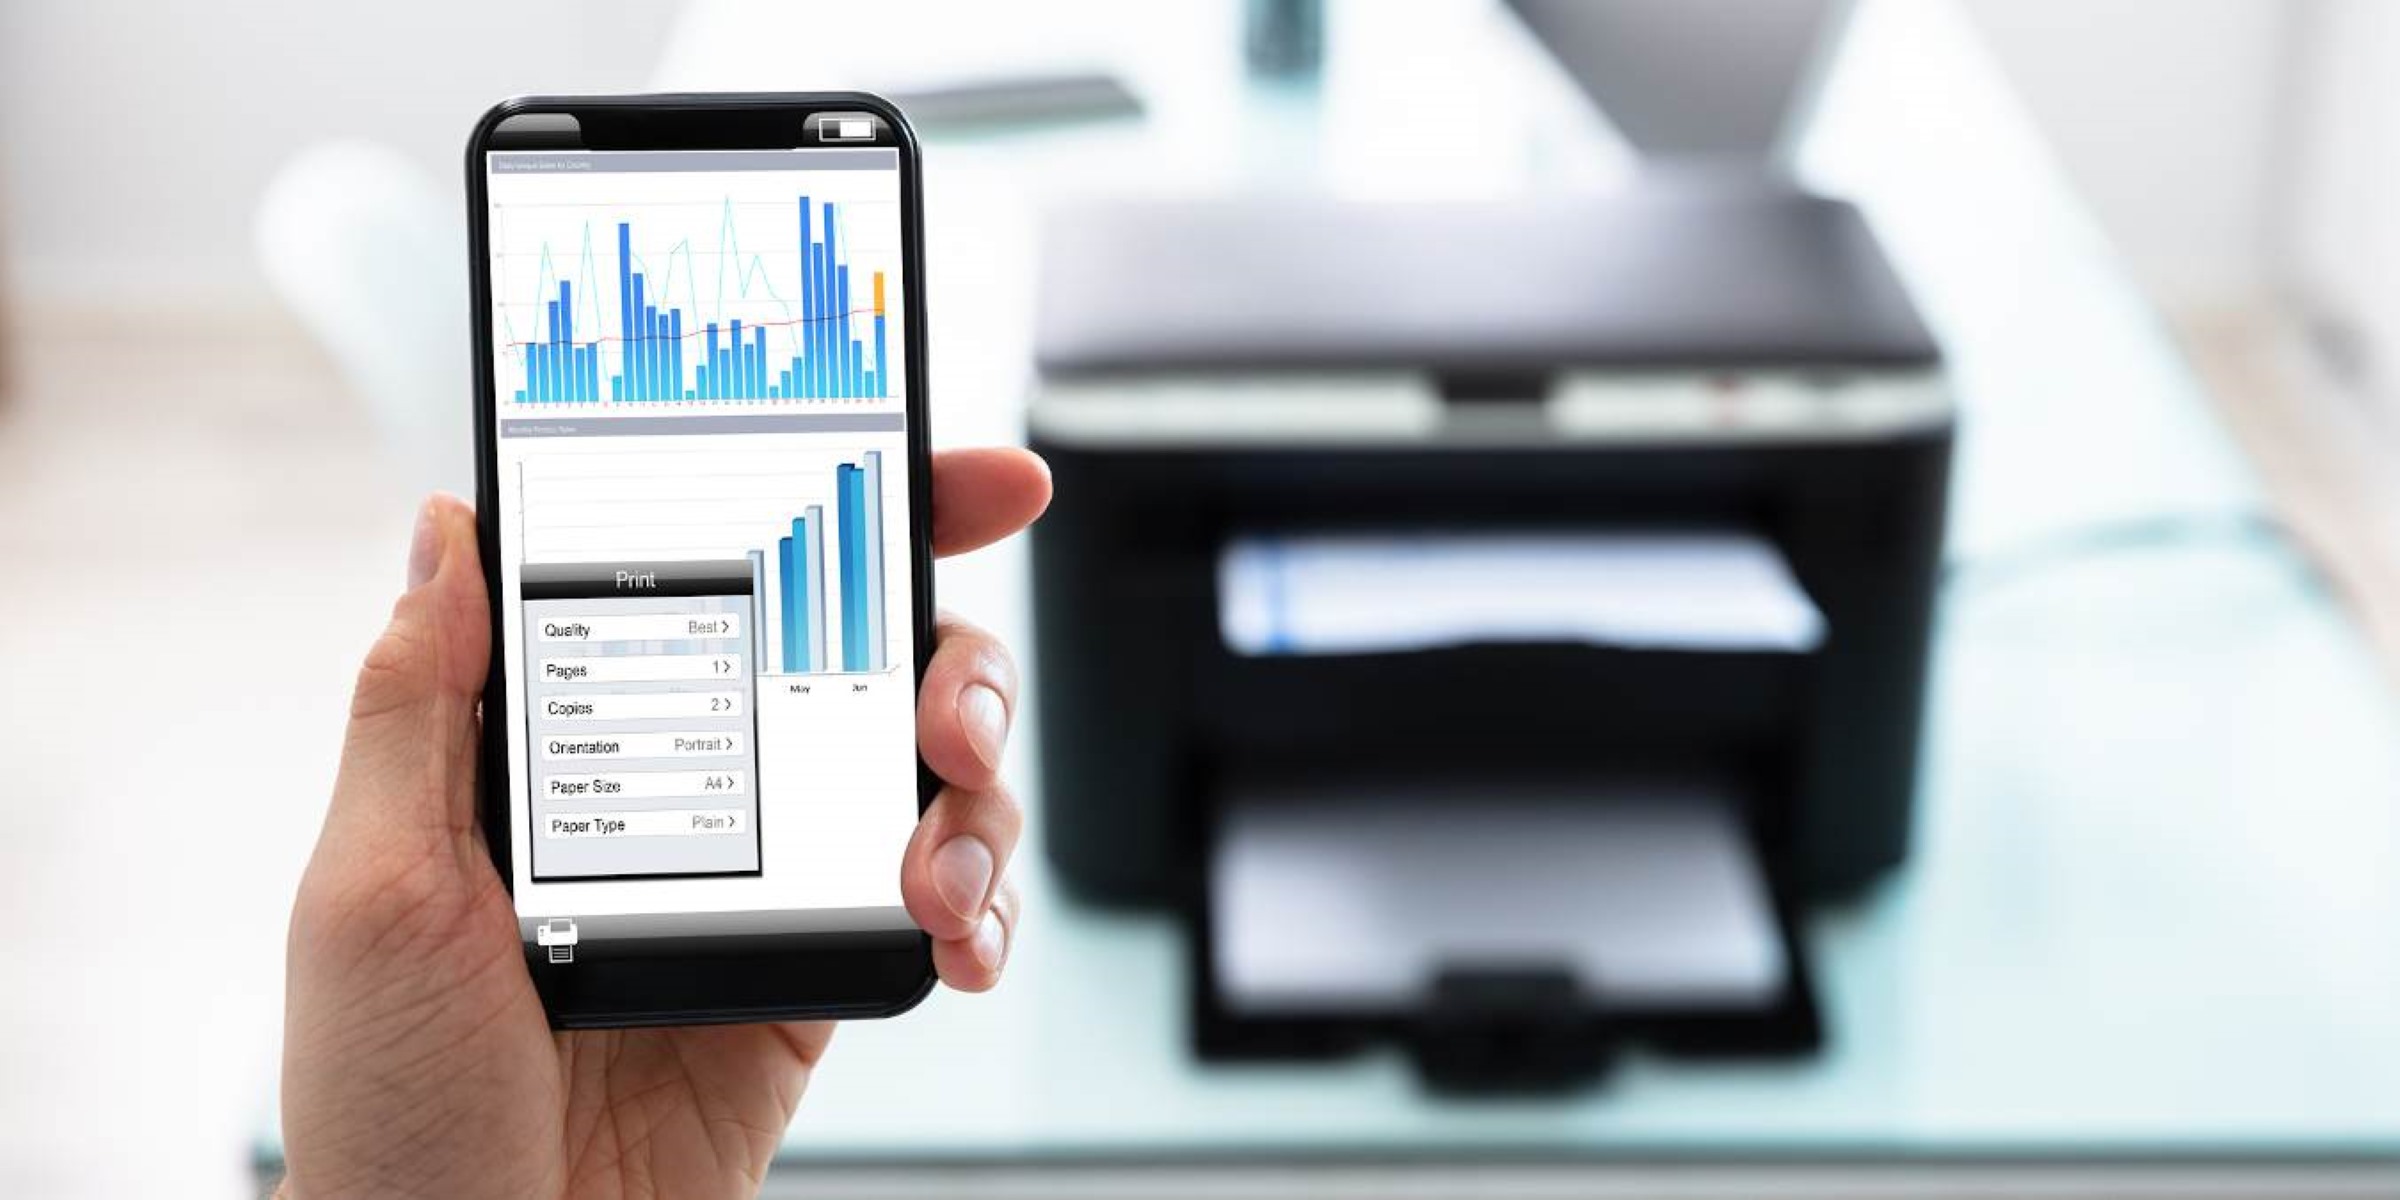
- Access Printer Settings: Using the control panel or the printer’s software interface on your computer, navigate to the printer settings or maintenance menu. Look for the option to initiate a test page print.
- Initiate Test Page Print: Select the test page print option and follow any on-screen prompts to confirm the printing task. The printer will begin processing the test page, providing valuable insights into the performance of the new ink cartridges.
- Review the Test Page: Once the test page is printed, carefully examine it for any issues such as ink smudges, streaks, or color discrepancies. A well-executed test page indicates that the new ink cartridges are functioning optimally.
- Address Any Concerns: If the test page reveals any print quality issues, consider running a printer maintenance cycle or performing additional troubleshooting steps. Consult the printer manual or Epson’s support resources for guidance on resolving potential printing issues.
By printing a test page and assessing the results, you can confirm that the new ink cartridges have been successfully installed and that your Epson printer is ready for continued use. With a successful test page print, you can proceed with confidence, knowing that your printer is equipped to deliver exceptional print quality for your documents and photos.
Conclusion
Congratulations on successfully navigating the ink replacement process for your Epson printer! By following the step-by-step instructions outlined in this guide, you’ve not only refreshed your printer with new ink cartridges but also gained valuable insight into the maintenance of your printing equipment. As you conclude this ink-replacing adventure, it’s important to reflect on the significance of proper ink cartridge maintenance and its impact on the quality of your printed materials.
Changing the ink in your Epson printer is a fundamental aspect of printer upkeep, ensuring that your prints maintain their vibrancy and clarity. By gathering the necessary supplies, powering on the printer, opening the printer cover, removing the old ink cartridge, installing the new ink cartridge, closing the printer cover, and printing a test page, you’ve demonstrated a commitment to preserving the performance and longevity of your Epson printer.
As you embark on your printing endeavors with the newly installed ink cartridges, remember that regular maintenance and care for your printer can contribute to its reliability and consistent output. Whether you’re producing documents for work, creative projects, or cherished photographs, the ink replacement process plays a vital role in achieving exceptional print results.
Should you encounter any challenges or have further inquiries about your Epson printer or its ink cartridges, don’t hesitate to consult the printer manual, Epson’s support resources, or reach out to knowledgeable professionals for assistance. Your dedication to maintaining your printer ensures that it continues to be a reliable tool for bringing your ideas to life on paper.
With your Epson printer now equipped with fresh ink and ready to embark on its next printing tasks, you can proceed with confidence, knowing that you’ve mastered the art of changing the ink in your Epson printer. Here’s to countless more pages of vivid, high-quality prints and the seamless operation of your trusted printing companion.
Frequently Asked Questions about How Do I Change Ink In My Epson Printer
Was this page helpful?
At Storables.com, we guarantee accurate and reliable information. Our content, validated by Expert Board Contributors, is crafted following stringent Editorial Policies. We're committed to providing you with well-researched, expert-backed insights for all your informational needs.

0 thoughts on “How Do I Change Ink In My Epson Printer”