Home>Technology>Smart Home Devices>How To Change The Channel On An AT&T Wi-Fi Router
Smart Home Devices
How To Change The Channel On An AT&T Wi-Fi Router
Modified: January 4, 2024
Learn how to change the channel on your AT&T Wi-Fi router to optimize connectivity for your smart home devices. Follow our step-by-step guide for seamless network performance.
(Many of the links in this article redirect to a specific reviewed product. Your purchase of these products through affiliate links helps to generate commission for Storables.com, at no extra cost. Learn more)
Introduction
Read more: How To Change Channels On A Wi-Fi Router
Introduction
Welcome to the world of smart home devices, where seamless connectivity and reliable Wi-Fi are paramount for a smooth and enjoyable experience. In this article, we'll delve into the process of changing the channel on an AT&T Wi-Fi router to optimize your wireless network's performance.
In today's digital age, our homes are filled with an array of smart devices, from smartphones and laptops to smart TVs, streaming devices, and smart home assistants. These devices rely on a stable and efficient Wi-Fi connection to function at their best. However, various factors can impact Wi-Fi performance, including interference from neighboring networks, electronic devices, and physical obstructions within your home.
One effective way to mitigate these issues and enhance your Wi-Fi signal strength and reliability is by changing the channel on your AT&T Wi-Fi router. By doing so, you can potentially minimize interference and optimize your Wi-Fi network for improved connectivity and performance.
In the following sections, we'll explore the process of accessing your AT&T Wi-Fi router's settings, changing the Wi-Fi channel, and testing the new channel to ensure an optimal wireless experience. Whether you're experiencing slow Wi-Fi speeds, intermittent connectivity issues, or simply aiming to proactively optimize your network, this guide will equip you with the knowledge and confidence to make the necessary adjustments.
Let's embark on this journey to enhance your Wi-Fi network and elevate your smart home experience. Whether you're a tech enthusiast or a casual user seeking a smoother wireless connection, this article will provide valuable insights into optimizing your AT&T Wi-Fi router for peak performance. So, grab your device of choice, and let's dive into the process of optimizing your Wi-Fi channel for a seamless and reliable smart home experience.
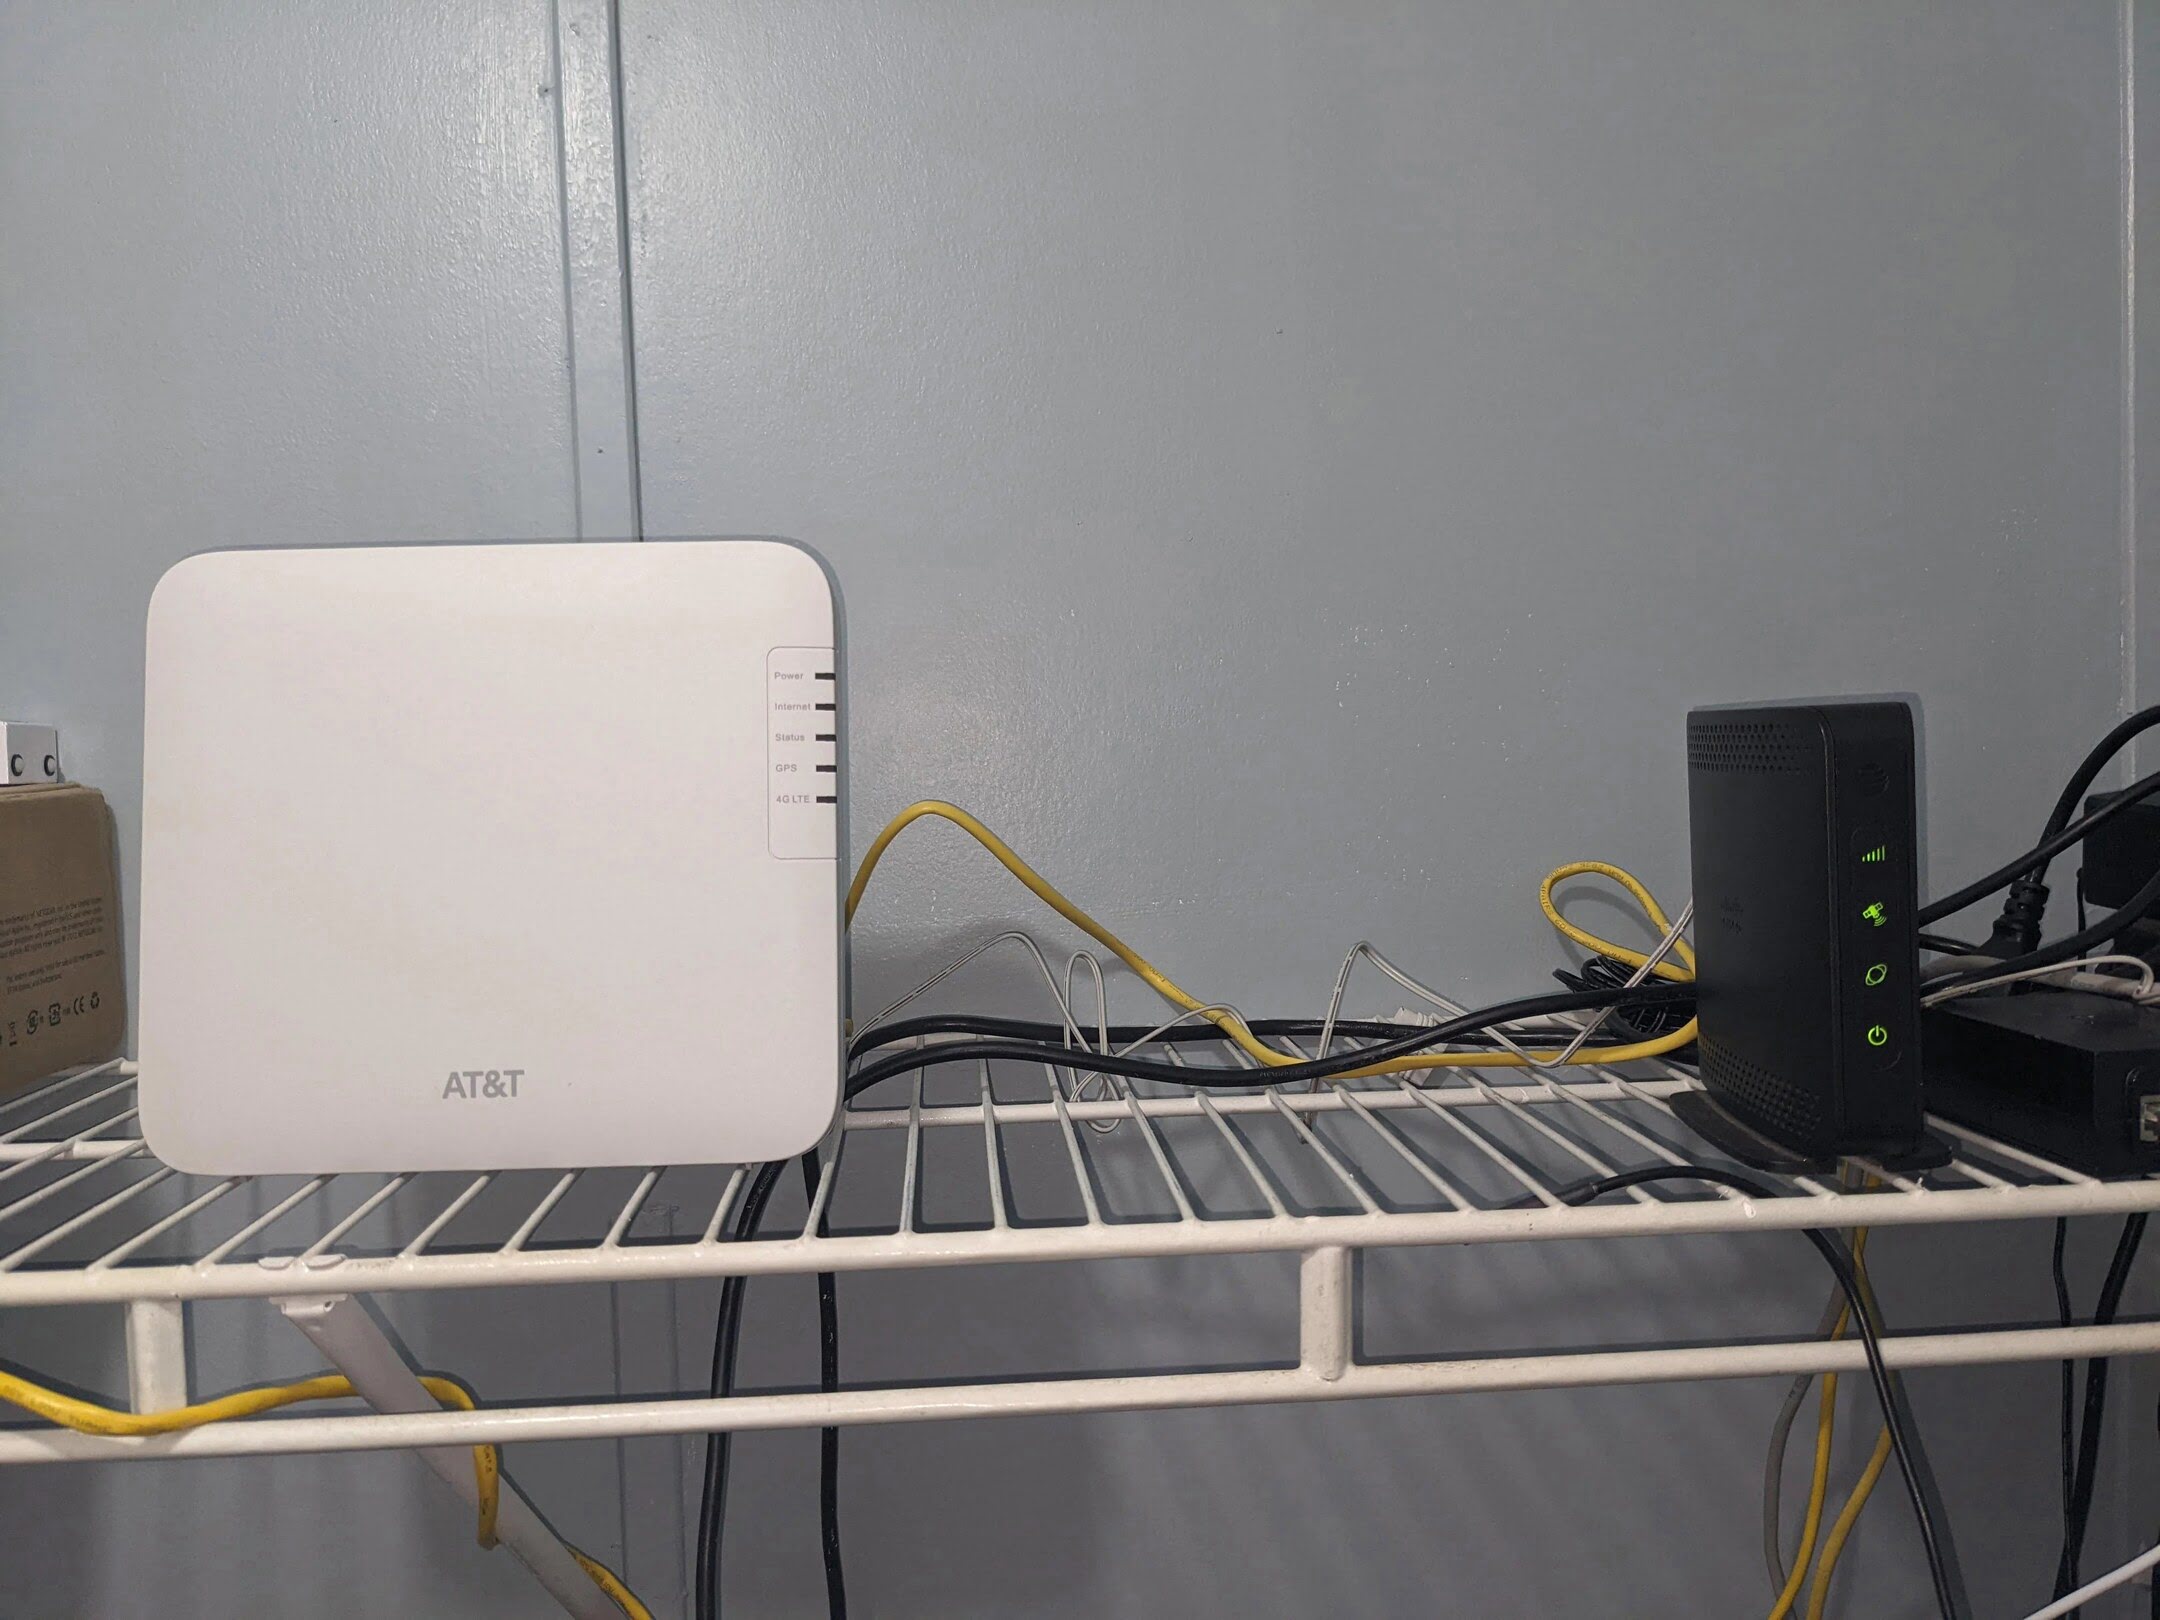
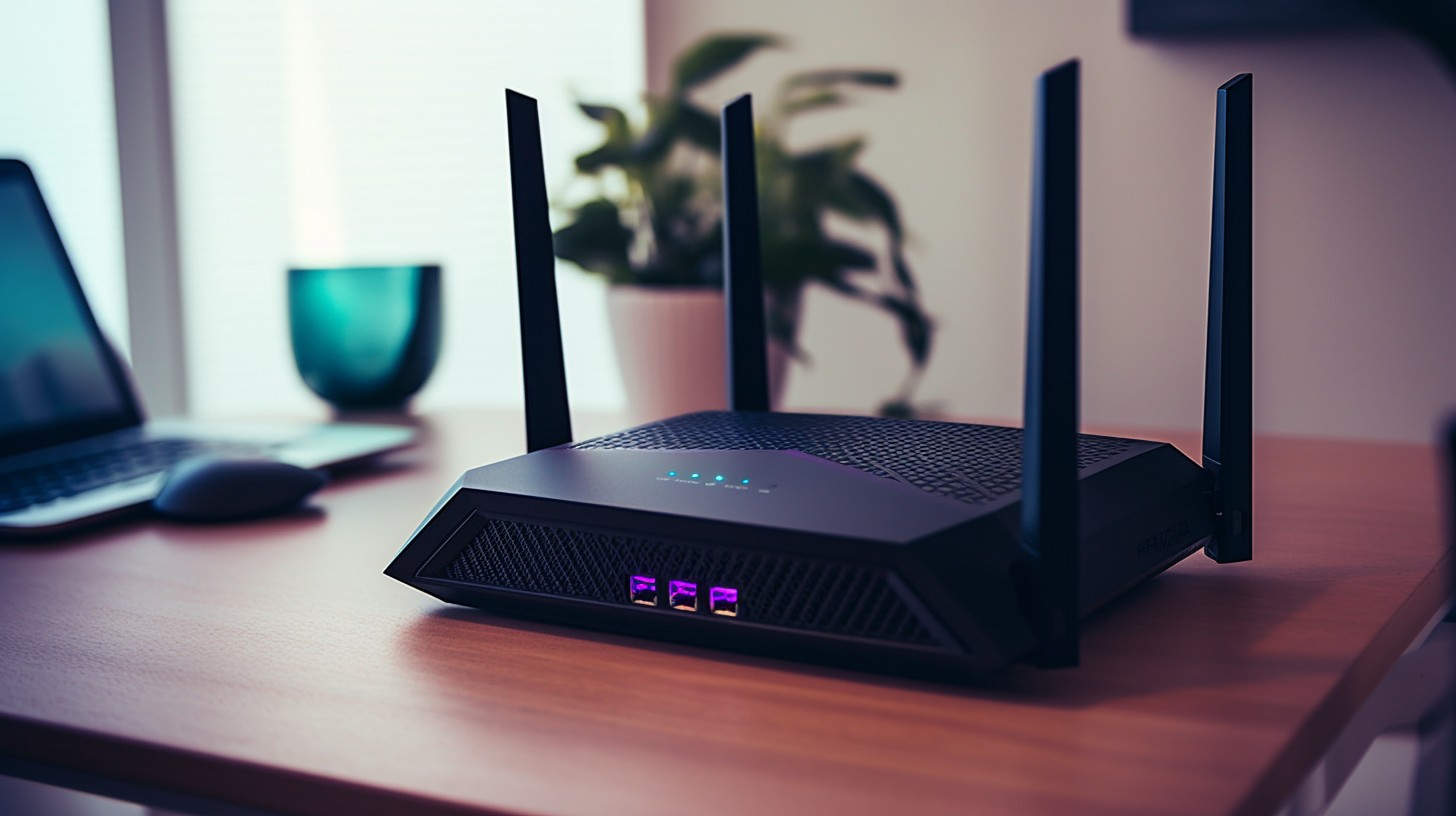
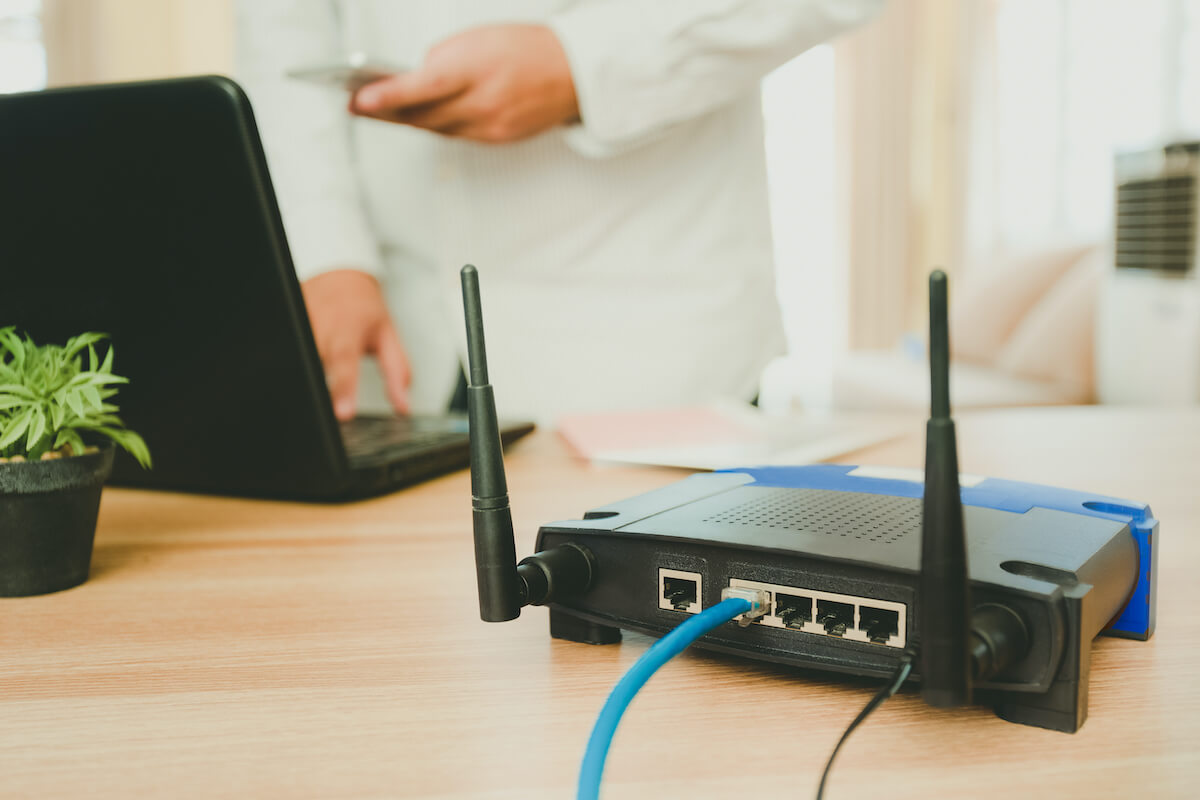
Accessing the AT&T Wi-Fi Router
Key Takeaways:
- Optimizing your AT&T Wi-Fi router’s channel can improve your smart home’s wireless performance. By accessing the router’s settings, changing the Wi-Fi channel, and testing the new channel, you can enhance speed and reliability.
- Proactively adjusting the Wi-Fi channel on your AT&T router can lead to a seamless and efficient smart home experience. By staying informed about Wi-Fi technology and periodic reassessment, you can maintain a high-performing wireless network.
Accessing the AT&T Wi-Fi Router
Before we embark on the journey of optimizing your Wi-Fi channel, let’s first familiarize ourselves with the process of accessing your AT&T Wi-Fi router’s settings. This step is crucial as it grants us the necessary access to configure the Wi-Fi channel and make other adjustments to enhance your network’s performance.
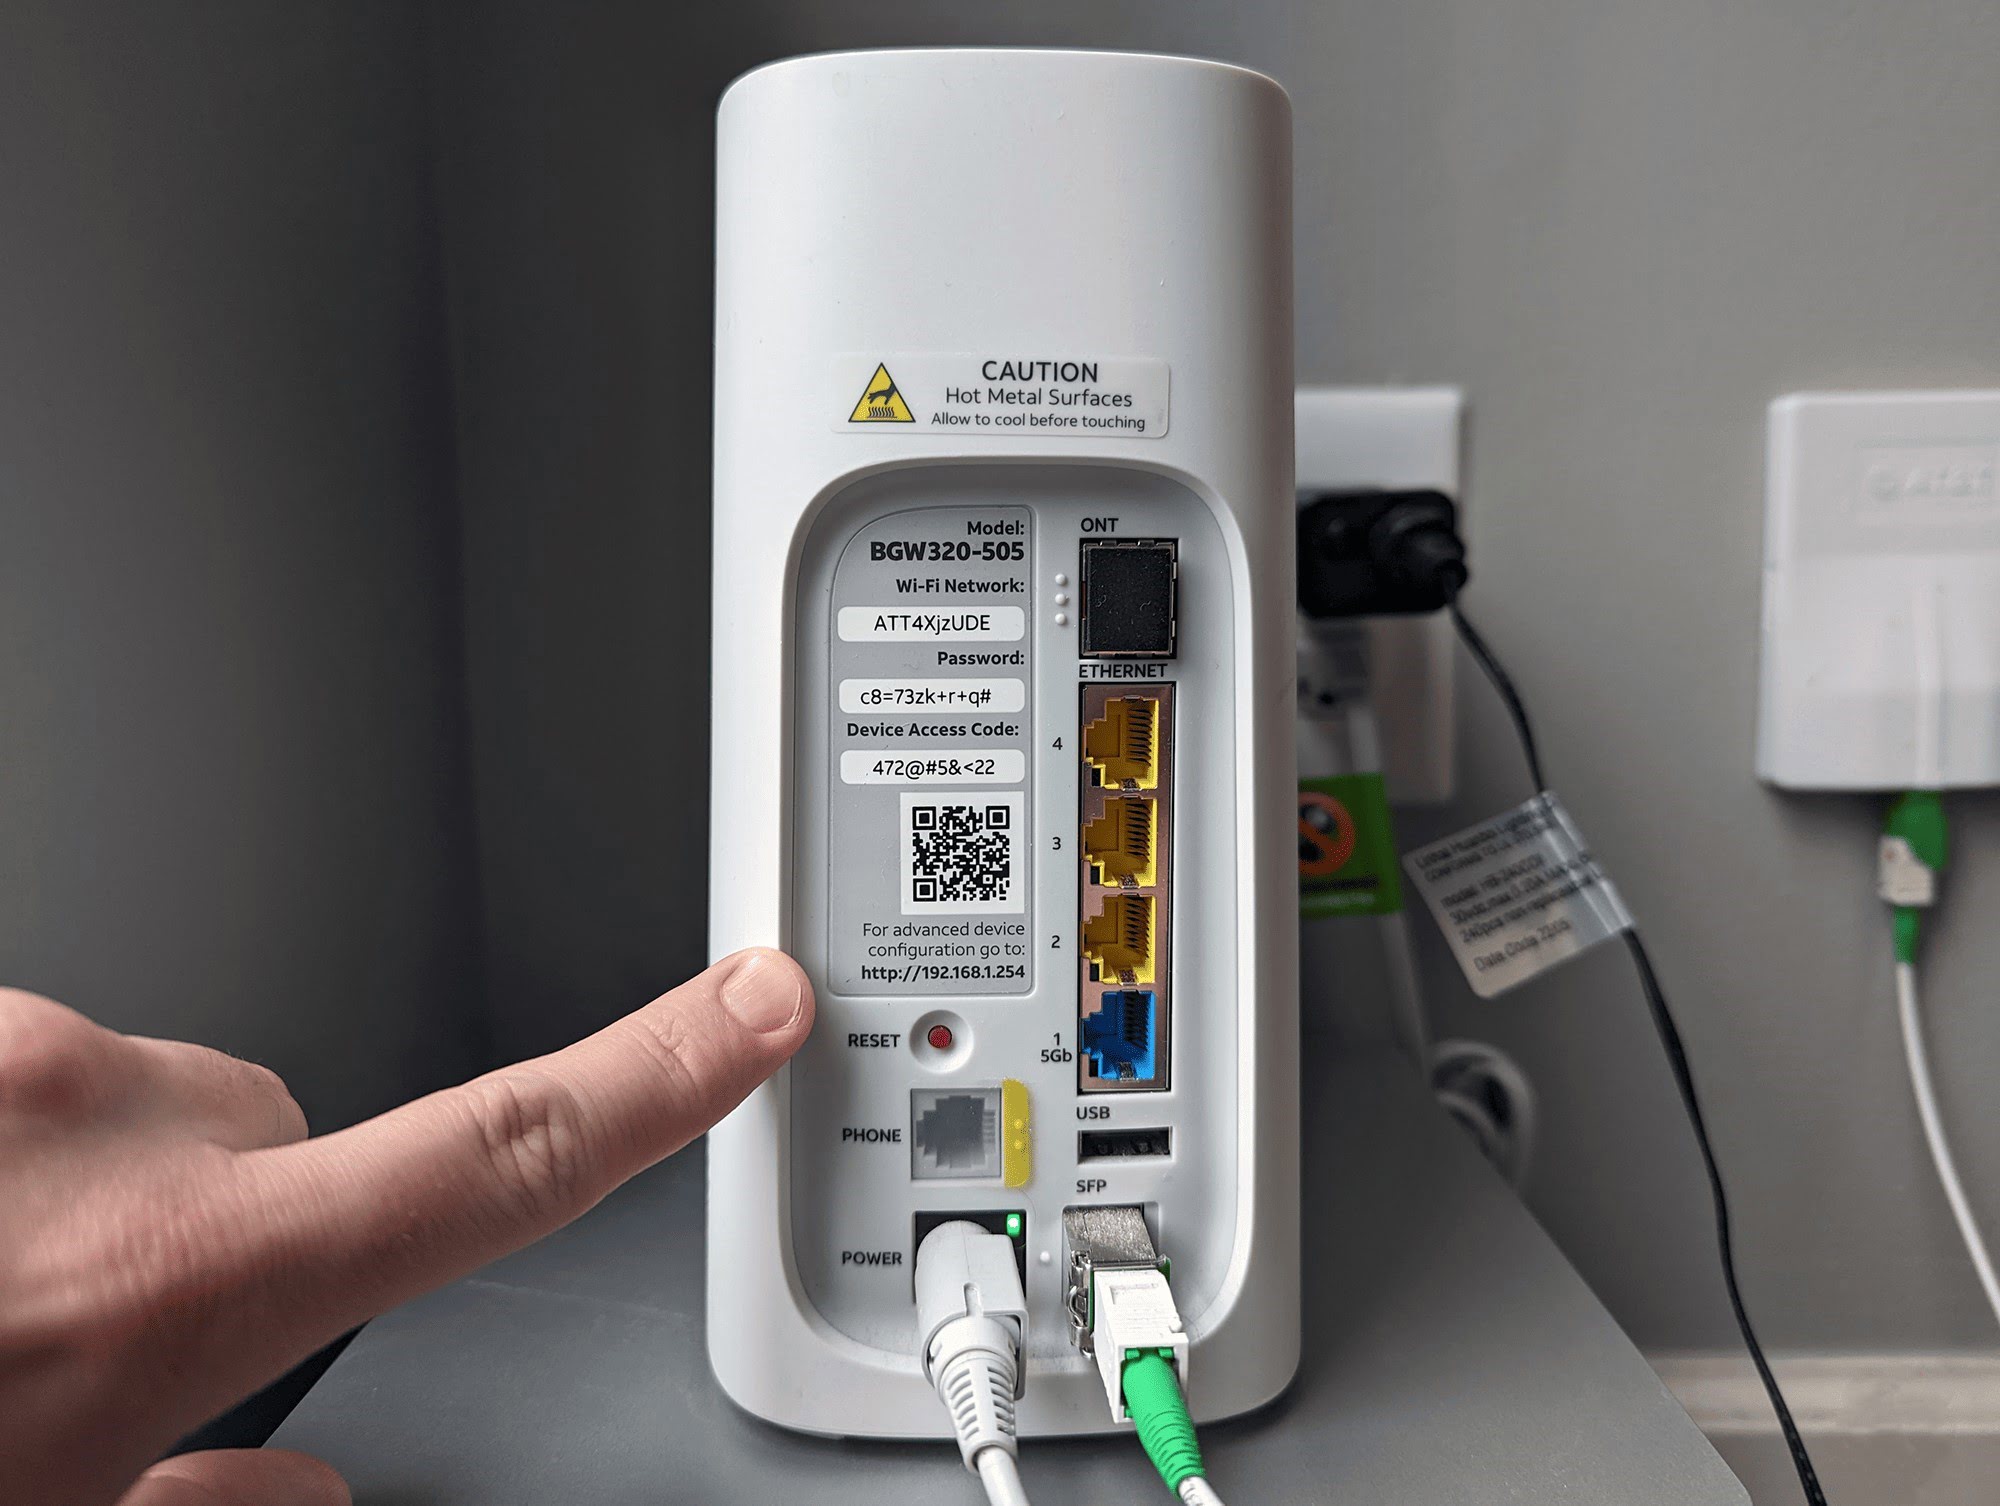
The first step is to ensure that your device is connected to the AT&T Wi-Fi network. Once connected, open your preferred web browser, whether it’s Google Chrome, Mozilla Firefox, Safari, or Microsoft Edge. In the address bar, enter the default gateway address for your AT&T Wi-Fi router. This address is typically a series of numbers, such as 192.168.1.254, but it can vary based on your specific router model.
Upon entering the default gateway address and pressing “Enter,” you’ll be directed to the AT&T Wi-Fi router’s login page. Here, you’ll need to enter the router’s login credentials, which typically consist of a username and password. If you haven’t customized these credentials, you can find the default login information on the router’s label or in the user manual.
Once you’ve successfully logged in, you’ll gain access to the router’s settings interface, which allows you to configure various aspects of your Wi-Fi network. It’s important to proceed with caution when making changes to these settings, as they directly impact the functionality of your router and network.
Now that you’ve accessed the AT&T Wi-Fi router’s settings, you’re one step closer to optimizing your Wi-Fi channel for improved performance. In the next section, we’ll delve into the process of changing the Wi-Fi channel to minimize interference and enhance your wireless network’s stability and speed.
With access to your router’s settings secured, you’re well-positioned to make the necessary adjustments to elevate your Wi-Fi experience. So, grab your device and let’s proceed with the process of optimizing your Wi-Fi channel on the AT&T router.
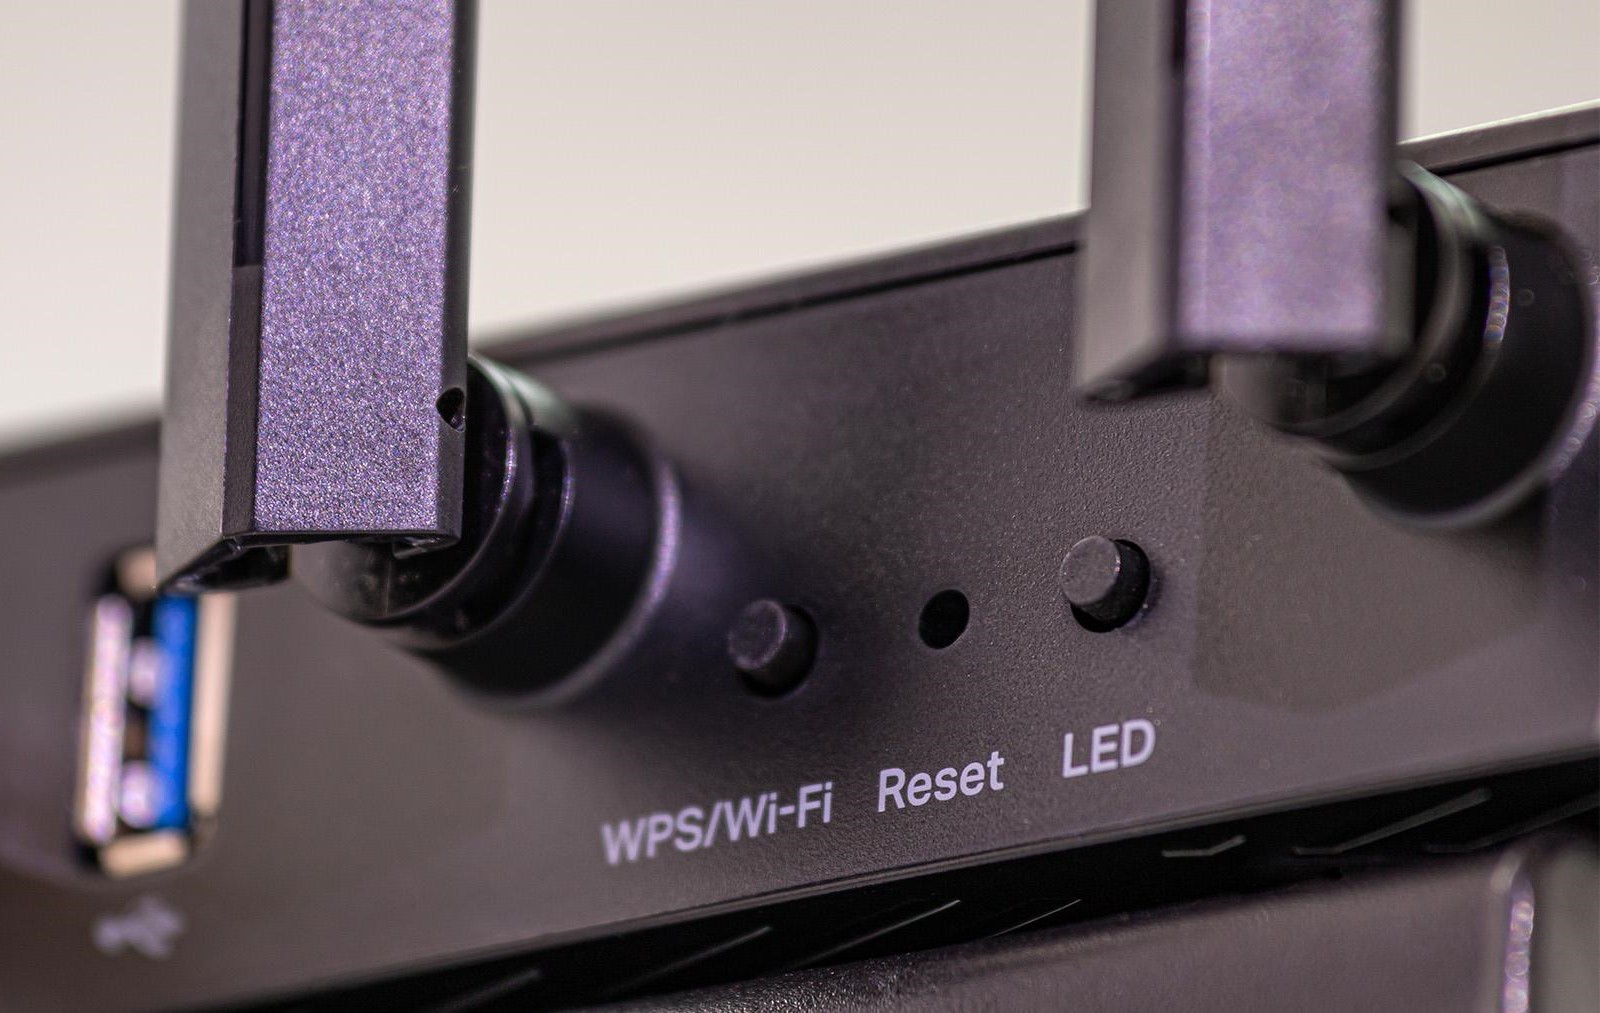
Changing the Wi-Fi Channel
Read more: How To Change The Password On Wi-Fi Router
Changing the Wi-Fi Channel
Now that you’ve gained access to your AT&T Wi-Fi router’s settings, it’s time to explore the process of changing the Wi-Fi channel to optimize your network’s performance. The Wi-Fi channel plays a crucial role in determining the signal strength and reliability of your wireless network, making it essential to select the most suitable channel for your specific environment.
Within the router’s settings interface, navigate to the section dedicated to wireless or Wi-Fi settings. Here, you’ll find the option to modify the Wi-Fi channel, typically displayed as a dropdown menu or a list of available channels. Before proceeding, it’s important to understand the factors that influence the selection of an optimal Wi-Fi channel.
Wi-Fi channels are divided into different frequencies, and each frequency band consists of multiple channels. In the 2.4GHz band, these channels often overlap, leading to potential interference from neighboring networks and electronic devices. Conversely, the 5GHz band offers a wider range of non-overlapping channels, providing greater flexibility in channel selection.
When selecting a Wi-Fi channel, it’s beneficial to use a Wi-Fi analyzer tool to identify the least congested channels in your vicinity. This tool provides insight into the Wi-Fi networks operating in your area, allowing you to make an informed decision when choosing a channel with minimal interference.
Once you’ve identified the optimal Wi-Fi channel based on the analysis, select the corresponding channel within your router’s settings. After applying the changes, the router will reallocate its resources to operate on the newly selected channel, potentially minimizing interference and enhancing your network’s stability and speed.
It’s important to note that the process of changing the Wi-Fi channel may vary slightly based on your specific AT&T Wi-Fi router model. Therefore, it’s advisable to refer to the router’s user manual or online support resources for detailed instructions tailored to your device.
By proactively adjusting the Wi-Fi channel to mitigate interference and optimize your network’s performance, you’re taking a significant step toward ensuring a seamless and reliable wireless experience within your smart home environment. With the Wi-Fi channel successfully modified, the next crucial step involves testing the new channel to validate its impact on your network’s performance.
With the Wi-Fi channel settings adjusted, your AT&T Wi-Fi router is primed to deliver an enhanced wireless experience. In the following section, we’ll explore the process of testing the new Wi-Fi channel to gauge its effectiveness in improving your network’s performance. Let’s proceed with this pivotal step to further elevate your smart home’s connectivity and efficiency.
Testing the New Wi-Fi Channel
Testing the New Wi-Fi Channel
With the Wi-Fi channel on your AT&T router successfully modified, it’s essential to conduct thorough testing to gauge the impact of the new channel on your network’s performance. Testing the new Wi-Fi channel allows you to assess the effectiveness of the adjustments and make any further refinements to optimize your wireless experience.
Before proceeding with the testing phase, it’s beneficial to establish a benchmark for your current Wi-Fi performance. This can be achieved by conducting speed tests and assessing the stability of your wireless connection across various areas within your home. Note down the download and upload speeds, as well as any instances of signal dropouts or connectivity issues.
Once the benchmark is established, proceed to test the Wi-Fi network’s performance after changing the channel. This involves conducting speed tests and evaluating the network’s stability and reliability in the same areas where the initial benchmarking was performed. Pay close attention to any noticeable improvements in speed and connectivity, as well as the mitigation of potential interference-related issues.
During the testing phase, it’s advisable to use multiple devices to assess the network’s performance from different perspectives. Test the Wi-Fi connectivity on smartphones, laptops, smart TVs, and other smart devices that rely on a stable and efficient wireless connection within your home. This comprehensive approach allows you to gain insights into the overall impact of the new Wi-Fi channel across various devices and usage scenarios.
Additionally, consider performing the testing process during different times of the day to account for potential fluctuations in network congestion and interference. By conducting tests during peak usage hours and off-peak periods, you can evaluate how the new Wi-Fi channel performs under varying conditions, providing a more comprehensive understanding of its effectiveness.
As you conduct the testing phase, take note of any specific areas within your home where Wi-Fi performance has notably improved or where persistent issues persist. This information can guide you in making further adjustments to optimize the Wi-Fi channel and address any remaining connectivity challenges.
Upon completing the testing phase and evaluating the network’s performance with the new Wi-Fi channel, compare the results to the initial benchmark to determine the effectiveness of the channel change. If significant improvements are observed in terms of speed, stability, and overall connectivity, you can proceed with confidence, knowing that your AT&T Wi-Fi router is optimized for peak performance.
With the testing phase concluded, you’re now equipped with valuable insights into the impact of the new Wi-Fi channel on your network’s performance. In the next section, we’ll summarize the key takeaways and conclude our journey of optimizing the AT&T Wi-Fi router for an enhanced smart home experience.
Conclusion
Read more: How To Change Settings On A Wi-Fi Router
Conclusion
Congratulations on successfully navigating the process of optimizing your AT&T Wi-Fi router by changing the Wi-Fi channel. By taking proactive steps to enhance your network’s performance, you’ve laid the foundation for a seamless and reliable wireless experience within your smart home environment.
Throughout this journey, you’ve gained valuable insights into the pivotal role of the Wi-Fi channel in determining signal strength, reliability, and overall network performance. By accessing your router’s settings and making informed decisions regarding the selection of an optimal Wi-Fi channel, you’ve demonstrated a proactive approach to addressing potential interference and optimizing your wireless connectivity.
The process of testing the new Wi-Fi channel provided you with tangible results, allowing you to gauge the effectiveness of the adjustments and make informed decisions about further refinements. By conducting comprehensive speed tests and assessing the network’s stability across various devices and usage scenarios, you’ve gained a holistic understanding of the impact of the Wi-Fi channel change on your smart home’s wireless experience.
As a result of your efforts, you now have a Wi-Fi network that is primed to deliver enhanced speed, stability, and reliability, catering to the diverse connectivity needs of your smart devices and ensuring a seamless user experience. Whether you’re streaming content, conducting video calls, or controlling smart home devices, your optimized Wi-Fi channel sets the stage for uninterrupted connectivity and efficient performance.
It’s important to note that the process of optimizing your AT&T Wi-Fi router doesn’t end here. As technology evolves and your smart home environment grows, periodic reassessment of your Wi-Fi channel selection and network optimization is recommended. Additionally, staying informed about the latest advancements in Wi-Fi technology and router firmware updates can further contribute to maintaining an efficient and reliable wireless network.
By proactively engaging in the optimization of your Wi-Fi channel and staying attuned to the evolving landscape of smart home technology, you’re poised to continue enjoying the benefits of a robust and high-performing wireless network. Your proactive approach to Wi-Fi optimization reflects a commitment to elevating your smart home experience and ensuring that your network remains aligned with the demands of modern connectivity.
As you reflect on this journey, take pride in the proactive steps you’ve taken to optimize your AT&T Wi-Fi router for peak performance. Your dedication to enhancing your network’s capabilities serves as a testament to your commitment to a seamless and efficient smart home experience.
With your AT&T Wi-Fi router now optimized for peak performance, you’re well-equipped to embrace the full potential of your smart home devices and enjoy a connected lifestyle characterized by reliability, speed, and uninterrupted connectivity.
Here’s to a future filled with seamless connectivity and optimized wireless performance within your smart home environment. Cheers to your Wi-Fi optimization journey and the enhanced smart home experience it brings!
Frequently Asked Questions about How To Change The Channel On An AT&T Wi-Fi Router
Was this page helpful?
At Storables.com, we guarantee accurate and reliable information. Our content, validated by Expert Board Contributors, is crafted following stringent Editorial Policies. We're committed to providing you with well-researched, expert-backed insights for all your informational needs.


0 thoughts on “How To Change The Channel On An AT&T Wi-Fi Router”