Home>Technology>Smart Home Devices>How To Clean A Clogged 3D Printer Nozzle
Smart Home Devices
How To Clean A Clogged 3D Printer Nozzle
Modified: August 20, 2024
Learn how to effectively clean a clogged 3D printer nozzle with our expert tips and tricks. Keep your smart home devices running smoothly with our easy-to-follow guide.
(Many of the links in this article redirect to a specific reviewed product. Your purchase of these products through affiliate links helps to generate commission for Storables.com, at no extra cost. Learn more)
Introduction
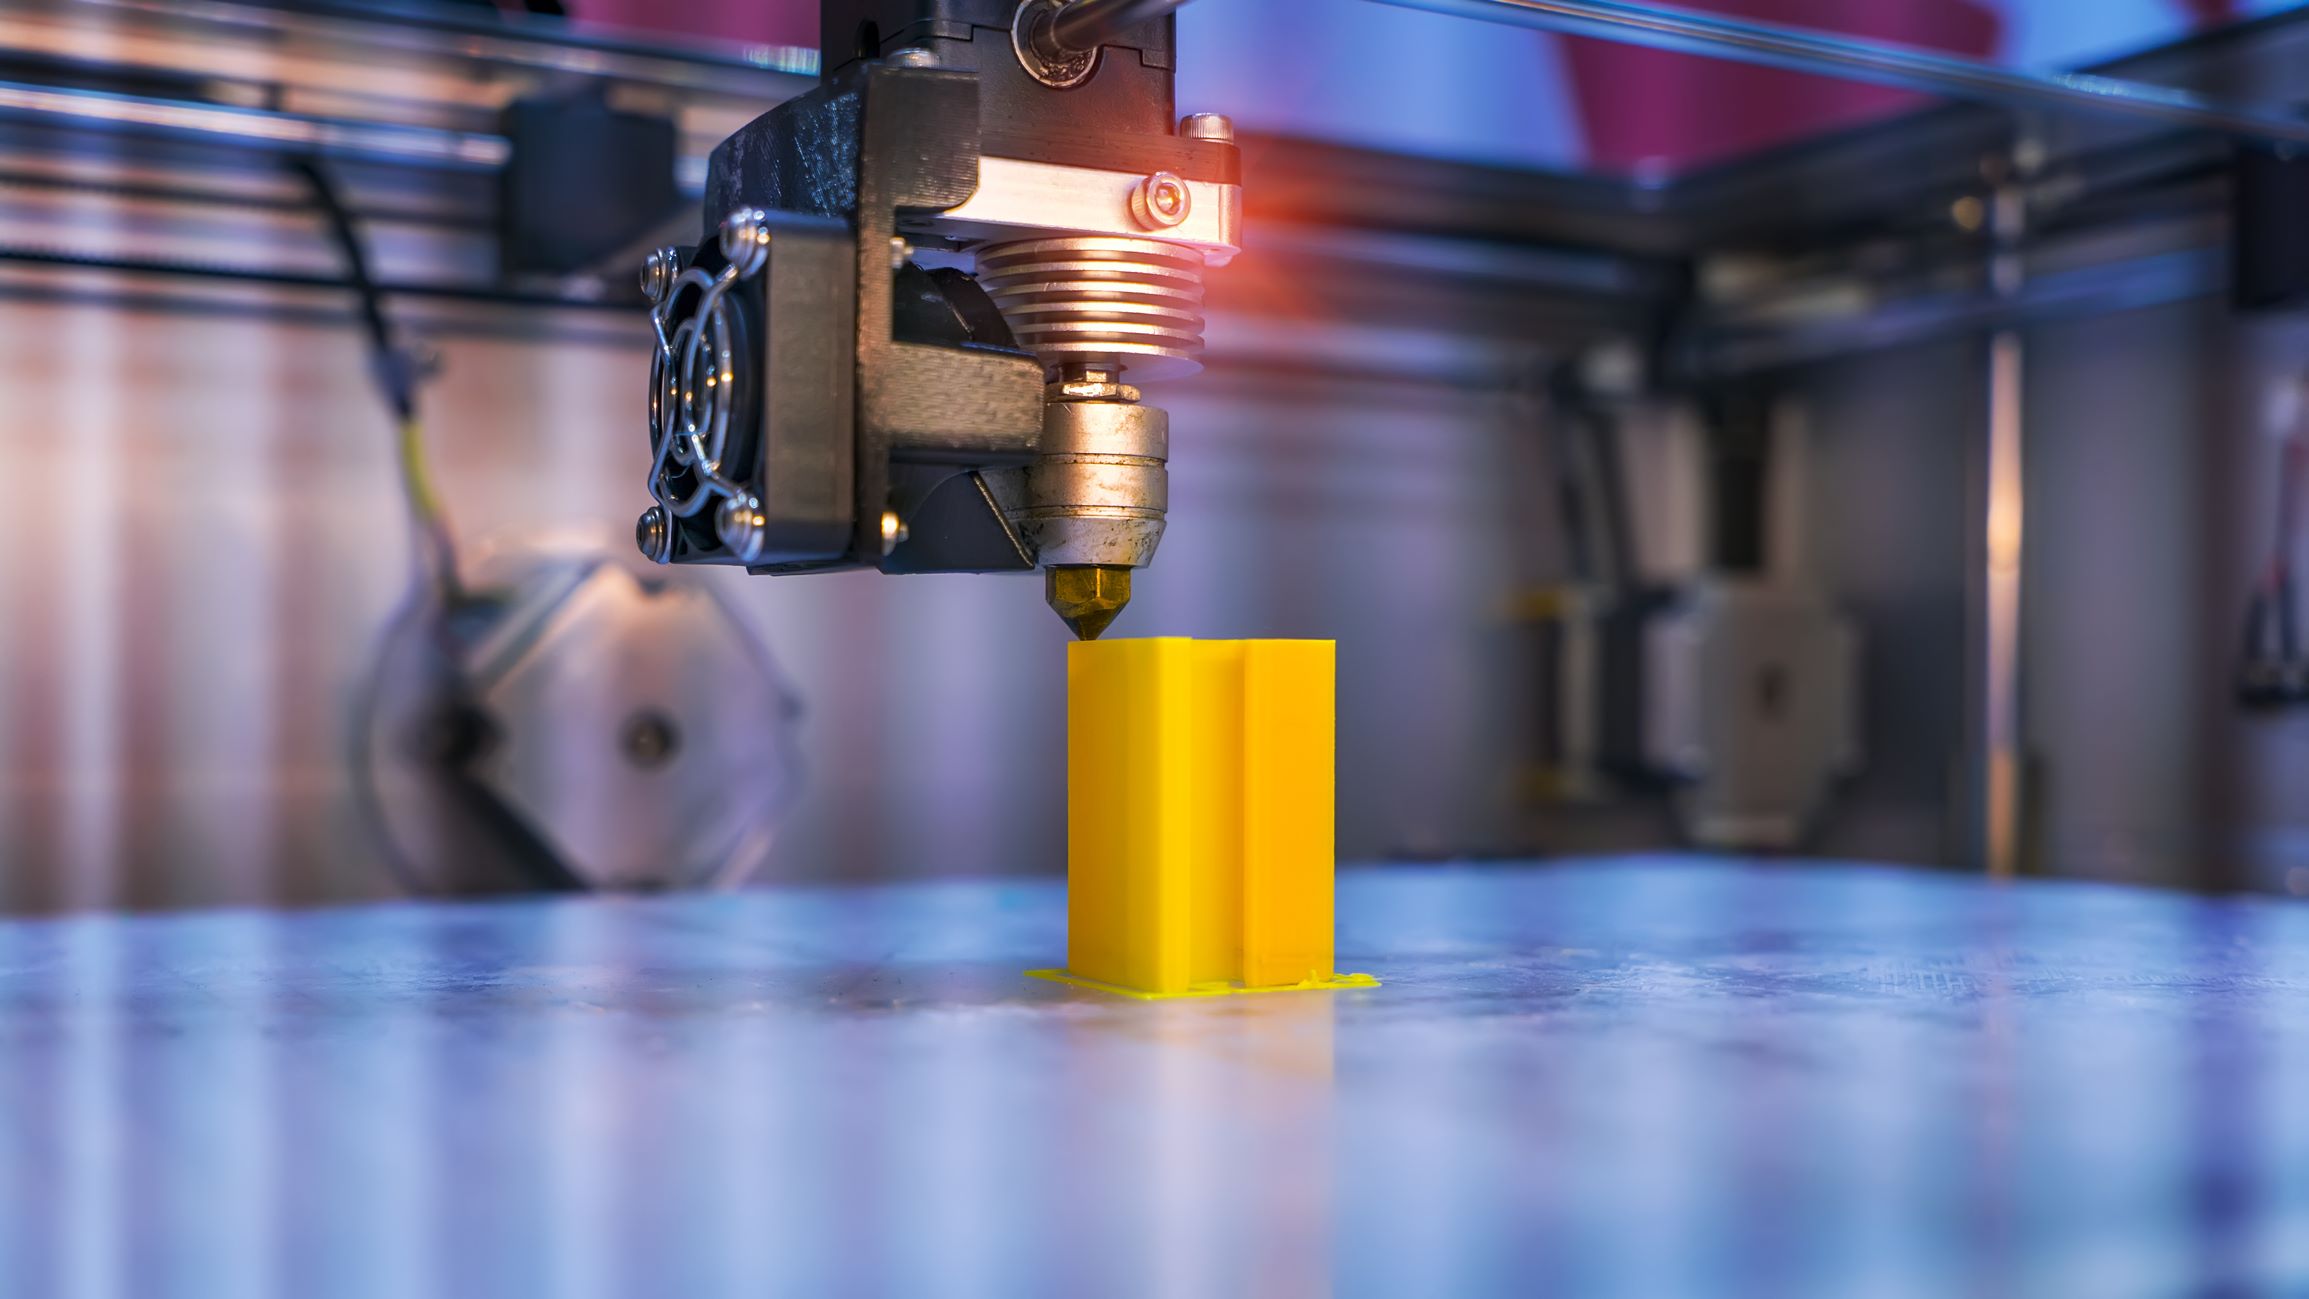
Welcome to the exciting world of 3D printing! Whether you're a seasoned enthusiast or a newcomer to this innovative technology, one common challenge that can arise is a clogged 3D printer nozzle. A clogged nozzle can lead to flawed prints, frustrating delays, and potential damage to your equipment. However, fear not! In this comprehensive guide, we will delve into the art of cleaning a clogged 3D printer nozzle, equipping you with the knowledge and skills to tackle this issue with confidence.
As we embark on this journey, we'll explore the underlying causes of clogs, the essential materials needed for the cleaning process, and a step-by-step walkthrough of disassembling, cleaning, and reassembling the nozzle. By the end of this guide, you'll be well-prepared to troubleshoot and maintain your 3D printer, ensuring optimal performance and pristine prints.
So, roll up your sleeves, gather your tools, and let's dive into the rewarding process of restoring your 3D printer nozzle to its full functionality!
Key Takeaways:
- Keep your 3D printer nozzle clean to avoid clogs and ensure flawless prints. Regular maintenance and the right tools can help you tackle this common challenge with confidence.
- Gather the necessary materials and follow a systematic process to disassemble, clean, and reassemble your 3D printer nozzle. Testing its performance ensures consistent and high-quality 3D prints.
Read more: When To Replace A 3D Printer Nozzle
Understanding the Problem
Before delving into the cleaning process, it’s crucial to grasp the common causes and symptoms of a clogged 3D printer nozzle. A clog typically occurs when foreign particles, such as dust, debris, or hardened filament residue, obstruct the narrow opening of the nozzle. This obstruction disrupts the smooth flow of filament, leading to irregular extrusion and, ultimately, compromised print quality.
Signs of a clogged nozzle may manifest as under-extrusion, where the printer fails to deposit the expected amount of filament, resulting in incomplete or weak layers. Additionally, you might observe erratic extrusion patterns, rough surface textures, or even filament oozing from unintended locations. These issues can be frustrating, but they serve as valuable indicators that prompt the need for nozzle maintenance.
It’s important to note that prevention is key to minimizing the occurrence of clogs. Regularly cleaning the nozzle and employing quality filament can significantly reduce the risk of obstructions. Furthermore, maintaining optimal printing temperatures and ensuring proper cooling mechanisms can contribute to a smoother printing process and a cleaner nozzle.
By comprehending the intricacies of nozzle clogs, you’ll be better equipped to troubleshoot and address this common challenge. With a clear understanding of the problem at hand, we can now shift our focus to the essential materials needed to effectively clean a clogged 3D printer nozzle.
Materials Needed
Before embarking on the task of cleaning a clogged 3D printer nozzle, it’s essential to gather the necessary materials to ensure a thorough and successful cleaning process. Here’s a list of items you’ll need:
- Nozzle Cleaning Kit: Invest in a specialized cleaning kit designed for 3D printer nozzles. These kits typically include fine-gauge needles, miniature drills, and other tools tailored for nozzle maintenance.
- Heat-Resistant Gloves: When working with a heated nozzle, it’s crucial to prioritize safety. Heat-resistant gloves will protect your hands from accidental burns during the disassembly and cleaning procedures.
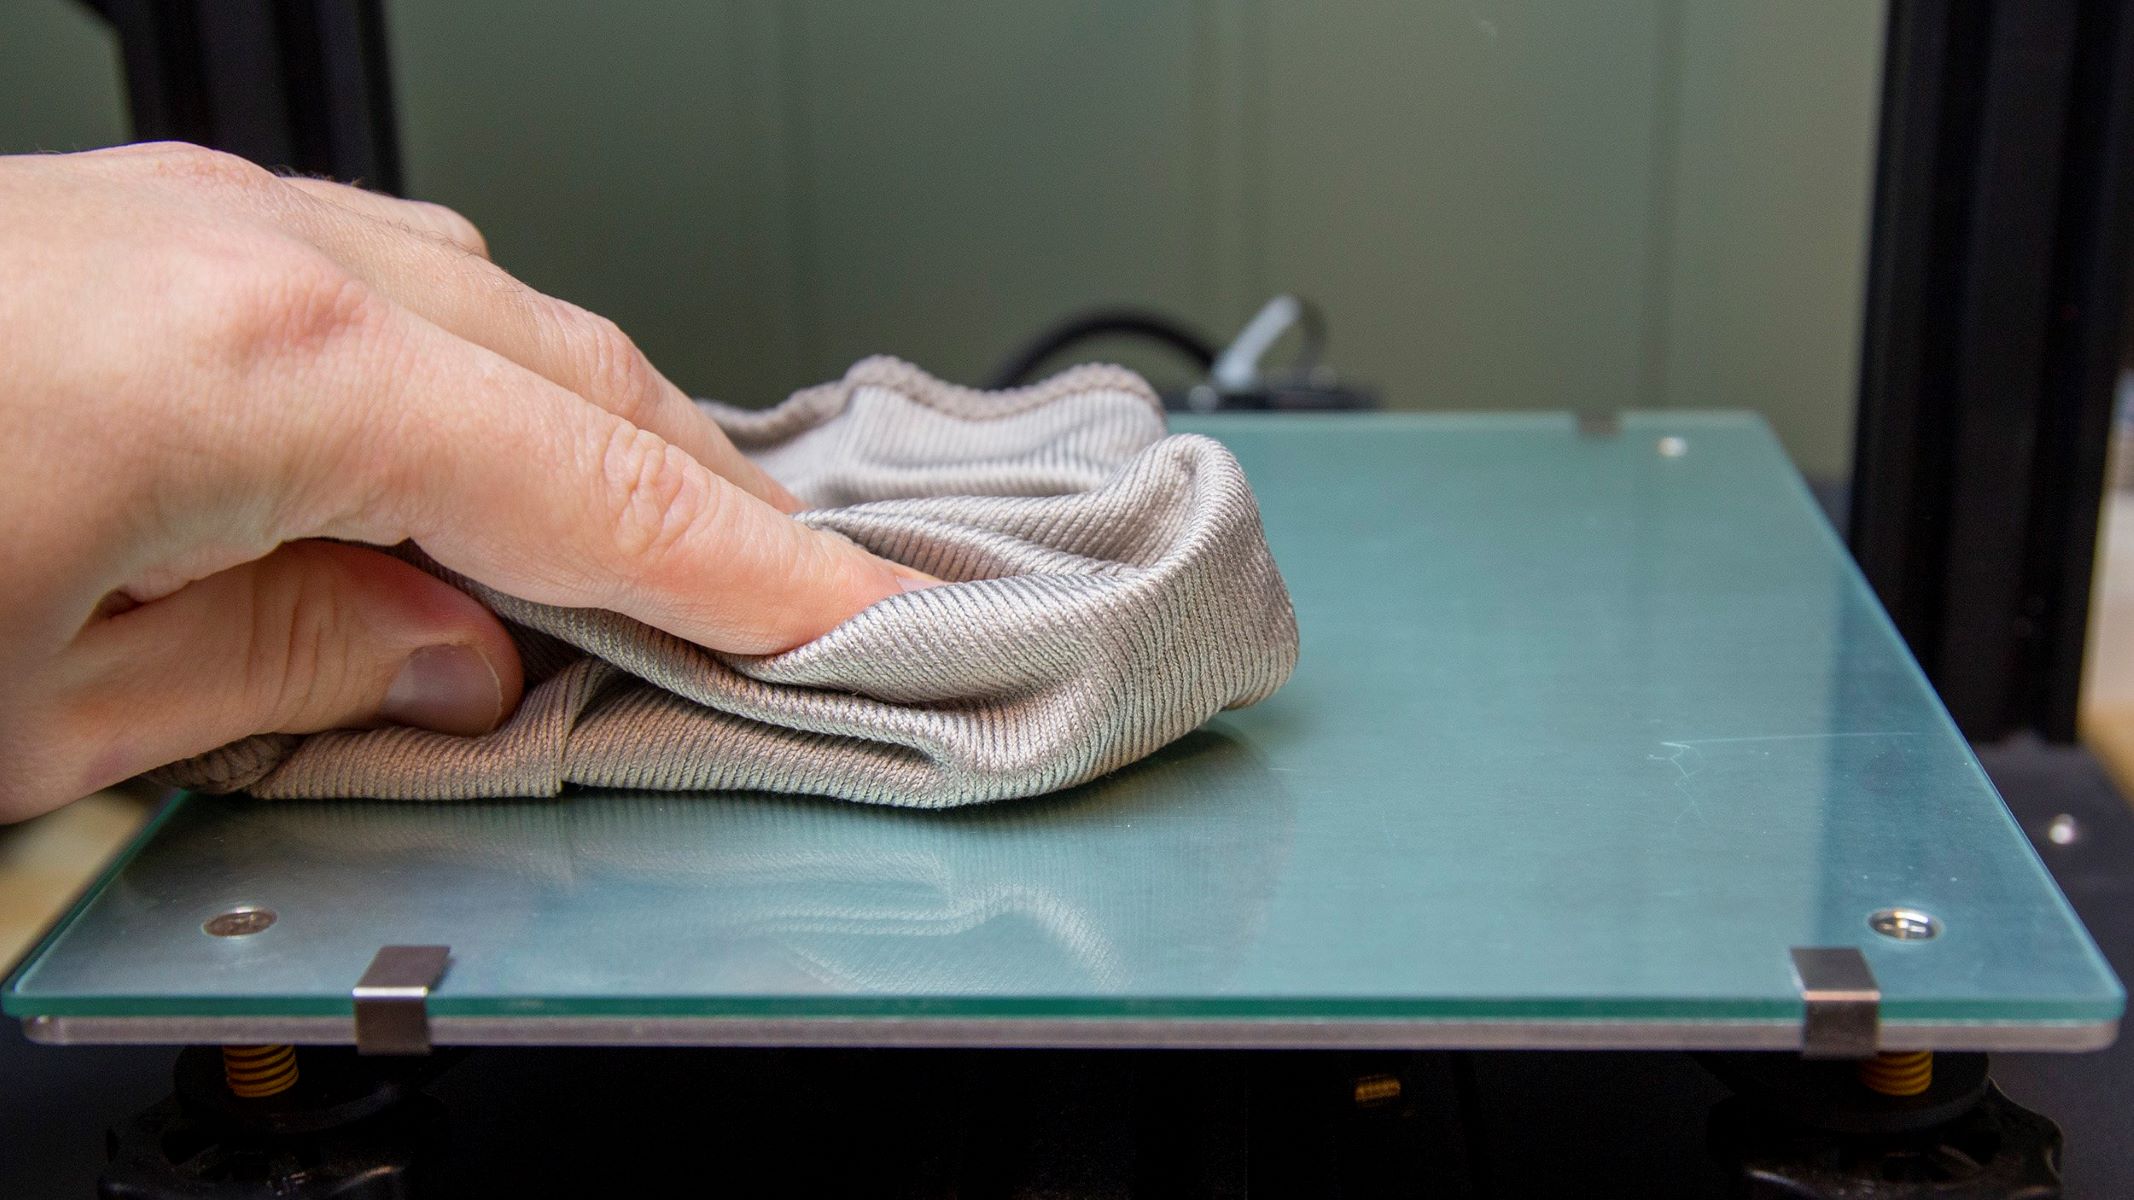
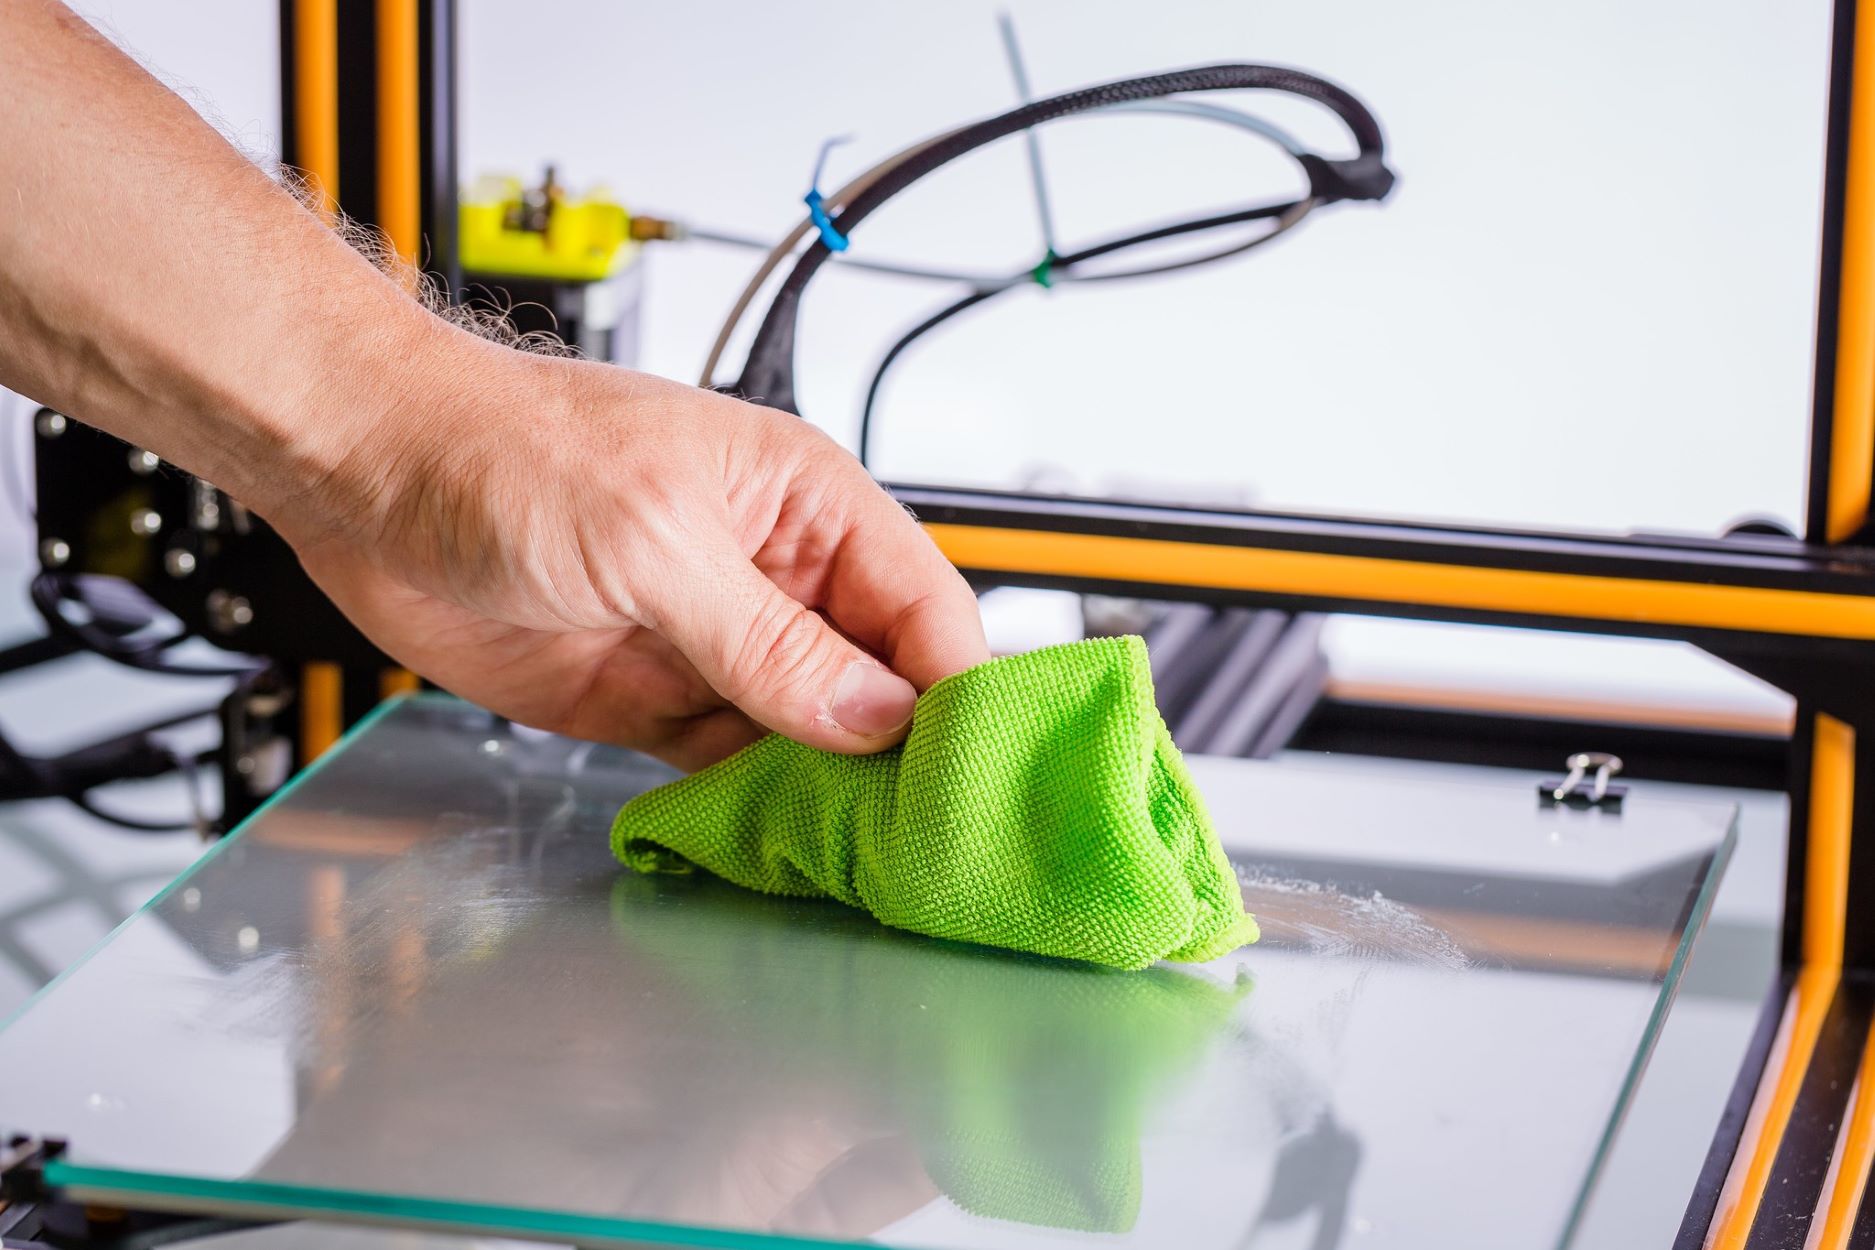
- Lint-Free Cloth: Use a soft, lint-free cloth to wipe away excess filament residue and cleaning solutions. Avoid using materials that could leave behind fibers or lint, which may exacerbate clogging issues.
- Cleaning Solutions: Isopropyl alcohol or specialized nozzle cleaning solutions are effective for dissolving stubborn filament deposits and residue. Ensure that the cleaning solution is compatible with the materials used in your 3D printer.
- Needle-Nose Pliers: These are handy for gripping and maneuvering small components during disassembly and reassembly. Opt for pliers with a slim profile to facilitate access to confined spaces.
- Container for Soaking: Prepare a small container or receptacle to hold the disassembled nozzle components during the cleaning process. This container should be resistant to the cleaning solution being used.
- Protective Eyewear: While not directly related to the cleaning process, protective eyewear is essential for general safety when working with tools and cleaning solutions.
By ensuring that you have these materials readily available, you’ll be well-prepared to tackle the task of cleaning a clogged 3D printer nozzle with confidence and precision.
Disassembling the Nozzle
Before initiating the cleaning process, it’s crucial to disassemble the nozzle from the 3D printer’s hotend assembly. This allows for thorough access to the internal components, facilitating effective cleaning and maintenance. Follow these steps to safely disassemble the nozzle:
- Prepare the Work Area: Begin by ensuring that the 3D printer has cooled down to a safe temperature to avoid burns or damage. Clear a well-lit and spacious area to work on, with all necessary tools and materials within reach.
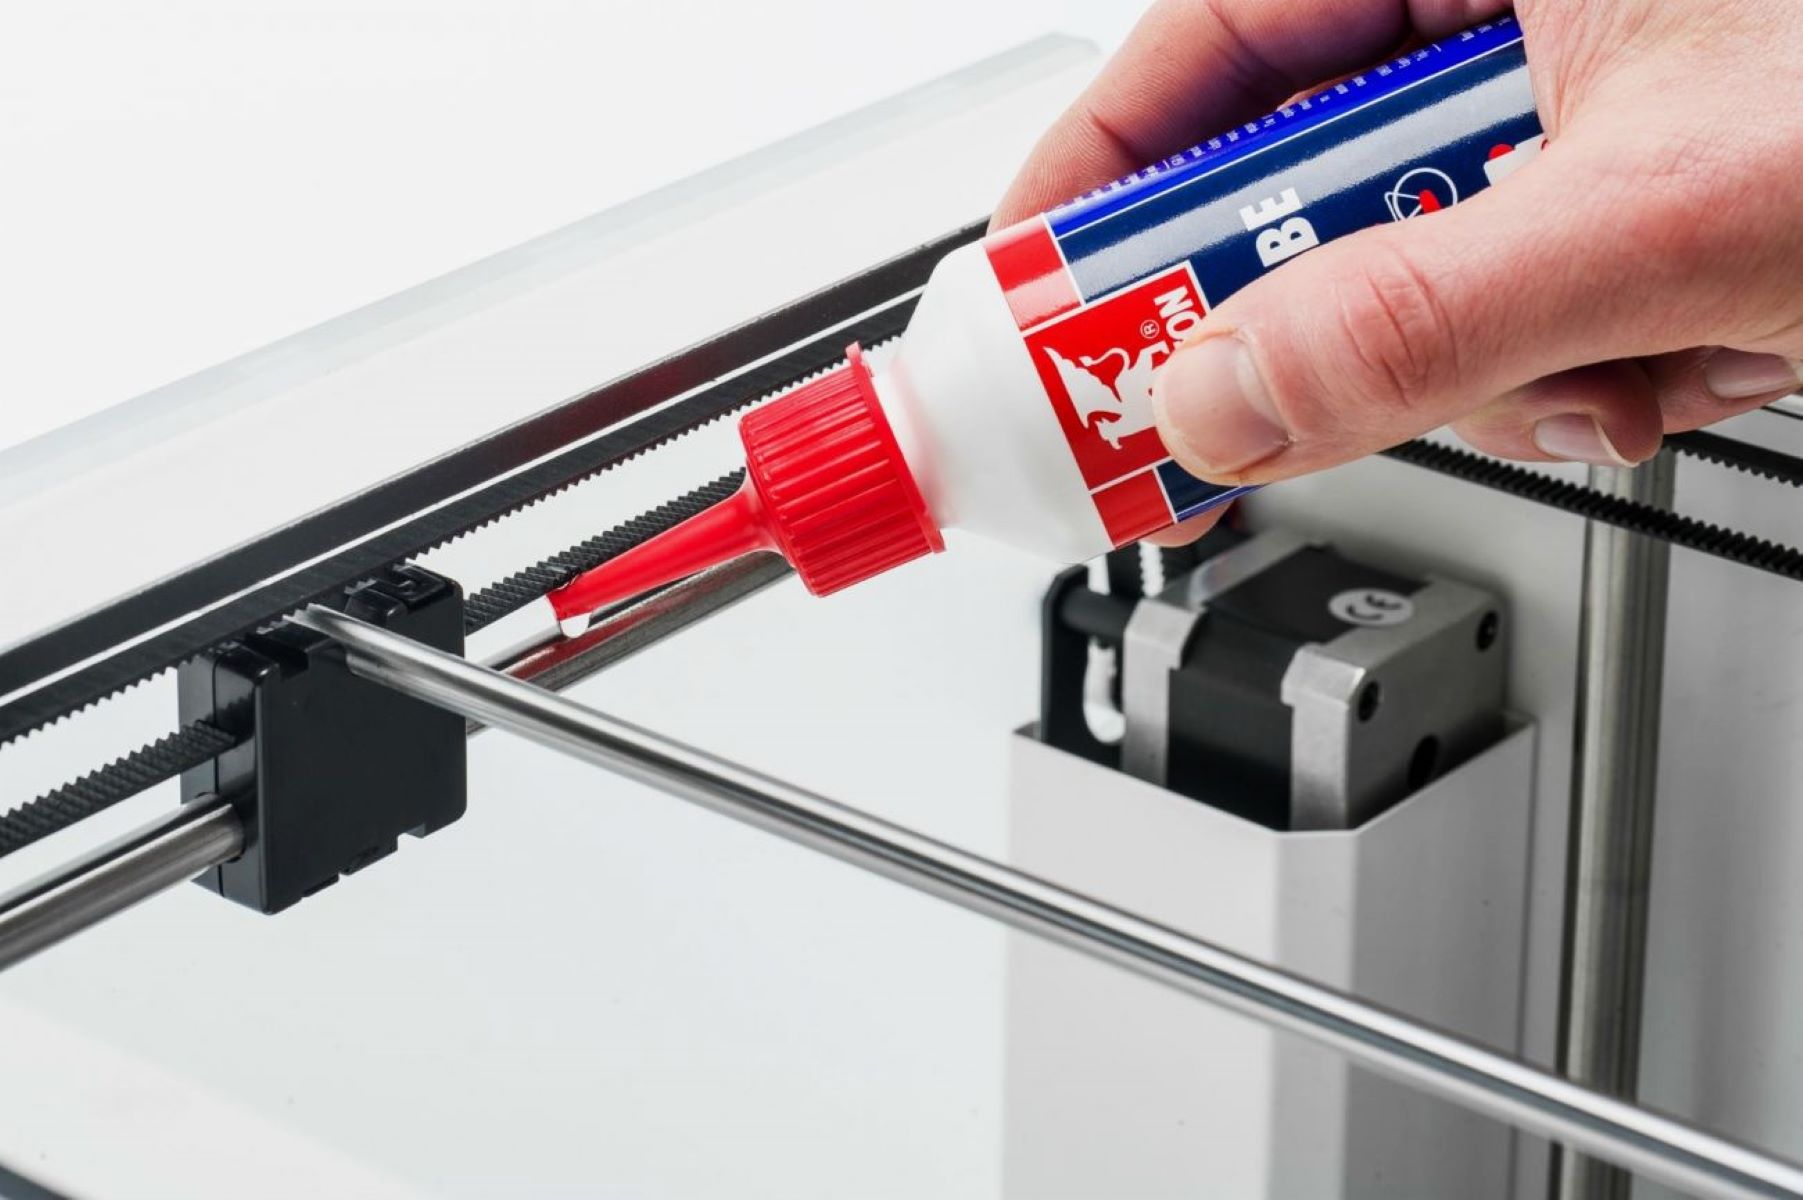
- Heat the Nozzle: Heat the nozzle to its standard operating temperature, typically around 200-240°C, to soften any filament residue and make disassembly easier. Exercise caution when working with a heated nozzle, and wear heat-resistant gloves for protection.
- Secure the Nozzle: Using needle-nose pliers, carefully grip the heated nozzle and unscrew it from the hotend assembly. Take care to avoid applying excessive force, as this may damage the delicate threads or surrounding components.
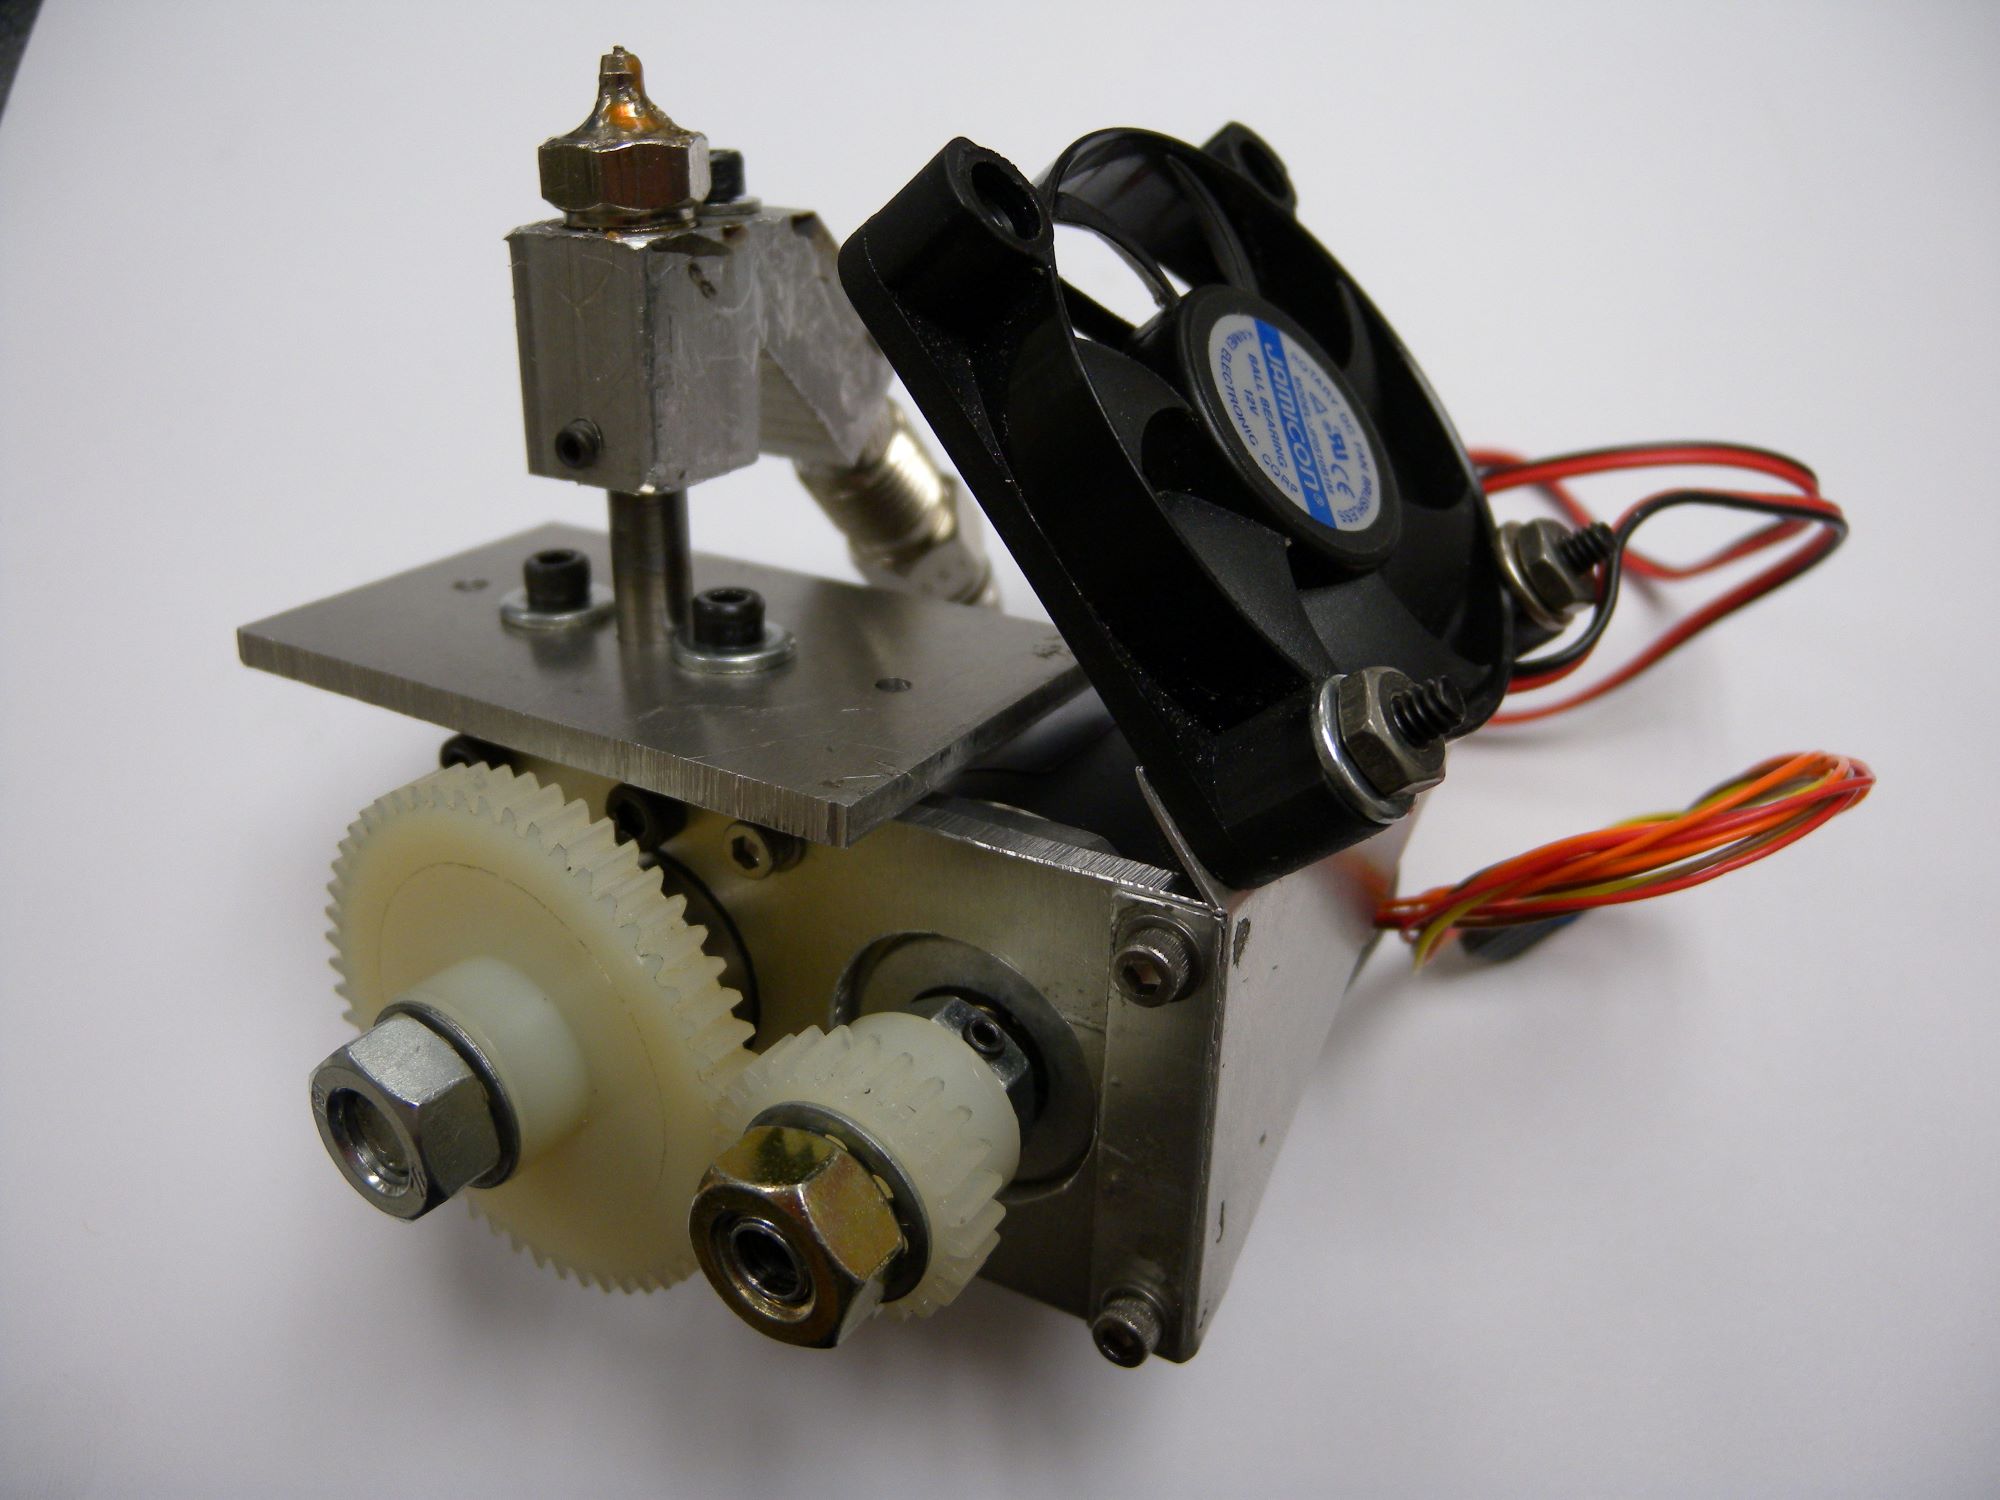
- Disassemble the Nozzle: Once the nozzle is removed, disassemble it by carefully unscrewing any additional components, such as the heat break and heater block. Take note of the order and orientation of each component for reassembly.
- Inspect the Components: With the nozzle disassembled, inspect each component for signs of filament buildup or damage. Use a lint-free cloth to gently wipe away any visible residue, taking care not to leave behind any fibers or debris.
By methodically disassembling the nozzle and conducting a thorough inspection, you’ll be well-prepared to proceed with the meticulous cleaning process. With the nozzle components exposed, we can now delve into the crucial steps of cleaning the clogged 3D printer nozzle.
Soak the clogged nozzle in a cleaning solution like acetone or a commercial nozzle cleaner. Use a small wire or needle to gently remove any remaining debris. Be careful not to damage the nozzle.
Cleaning the Nozzle
With the 3D printer nozzle disassembled, it’s time to embark on the critical phase of cleaning the clogged nozzle. This process involves meticulous attention to detail and the use of appropriate tools and cleaning solutions to effectively remove any obstructions and residue. Follow these steps to ensure a thorough cleaning:
- Soaking the Nozzle: Submerge the disassembled nozzle components in a container filled with a suitable cleaning solution, such as isopropyl alcohol or a specialized nozzle cleaning solution. Allow the components to soak for a sufficient duration to dissolve any hardened filament residue.
- Cleaning Tools: Utilize the tools provided in the nozzle cleaning kit, such as fine-gauge needles and miniature drills, to carefully dislodge any remaining obstructions within the nozzle’s intricate channels. Exercise caution to avoid damaging the internal surfaces of the nozzle.
- Thorough Rinsing: After soaking, thoroughly rinse the disassembled components under running water to remove any residual cleaning solution and loosened debris. Ensure that all traces of the cleaning solution are effectively flushed out to prevent potential issues during reassembly.
- Drying the Components: Once rinsed, use a lint-free cloth or compressed air to gently dry the cleaned components. It’s essential to ensure that no moisture or residue remains, as this could impede the nozzle’s functionality and lead to further clogs.
- Reinspection: Carefully inspect the cleaned components to verify that all obstructions and residue have been effectively removed. Any lingering debris or blockages should be addressed before proceeding to reassemble the nozzle.
By meticulously adhering to these cleaning steps, you’ll be able to restore the nozzle to its optimal condition, free from obstructions and filament residue. With the nozzle components now clean and prepared, we can transition to the pivotal phase of reassembling the nozzle and hotend assembly.
Reassembling the Nozzle
As we approach the final stages of restoring the 3D printer to full functionality, the reassembly of the cleaned and inspected components is a critical step in the process. Follow these systematic guidelines to ensure a seamless and precise reassembly of the nozzle and hotend assembly:
- Component Orientation: Before reassembling the nozzle, ensure that all components are oriented correctly and that any necessary seals or insulating materials are in place. Refer to the manufacturer’s guidelines or documentation for specific details on component orientation.
- Threaded Assembly: Carefully thread the cleaned nozzle back into the hotend assembly, taking care to align the threads properly and avoid cross-threading. Use needle-nose pliers to secure the nozzle snugly, ensuring a proper seal without overtightening.
- Heater Block and Heat Break: Reassemble any additional components, such as the heater block and heat break, in the correct order and orientation. Verify that all connections are secure and that any wiring or thermistors are properly positioned.
- Final Inspection: Conduct a thorough visual inspection of the reassembled components to confirm that all elements are securely in place and properly aligned. Check for any signs of misalignment, loose connections, or missing components.
- Heating Test: Gradually heat the nozzle to the standard operating temperature and observe the extrusion of filament to ensure smooth and consistent flow. Any irregularities or blockages should be addressed before proceeding to actual printing tasks.
By meticulously reassembling the cleaned components and conducting a comprehensive inspection, you’ll be well-prepared to proceed to the final phase of testing the nozzle’s functionality. With the nozzle now reassembled and ready for action, we can transition to the pivotal phase of testing its performance.
Testing the Nozzle
With the 3D printer nozzle successfully reassembled and the cleaning process concluded, it’s time to validate its performance through a series of testing procedures. This critical phase ensures that the nozzle functions optimally, facilitating pristine and accurate 3D prints. Follow these essential steps to thoroughly test the nozzle’s functionality:
- Extrusion Calibration: Initiate a calibration process to ensure that the extrusion rate and flow are consistent and accurate. This involves adjusting the printer’s settings to deposit a controlled amount of filament and evaluating the extrusion’s uniformity.
- Test Prints: Execute a series of test prints, including simple geometric shapes and intricate models, to assess the nozzle’s performance across various print settings and complexities. Monitor the print quality, layer adhesion, and overall precision of the printed objects.
- Filament Compatibility: Experiment with different types and brands of filament to gauge the nozzle’s compatibility and performance across a diverse range of materials. Note any issues related to filament adhesion, stringing, or irregular extrusion patterns.
- Long-Term Reliability: Conduct extended printing sessions to evaluate the nozzle’s sustained performance over time. Monitor for any signs of recurring clogs, under-extrusion, or other irregularities that may indicate unresolved issues.
- Maintenance Schedule: Establish a regular maintenance schedule for the 3D printer nozzle, incorporating periodic inspections and preemptive cleaning to prevent future clogs and maintain consistent print quality.
By methodically testing the nozzle’s performance across a spectrum of scenarios and print tasks, you’ll gain valuable insights into its reliability and functionality. This comprehensive testing phase ensures that the 3D printer is primed for consistent and high-quality output, setting the stage for a seamless and rewarding 3D printing experience.
Frequently Asked Questions about How To Clean A Clogged 3D Printer Nozzle
Was this page helpful?
At Storables.com, we guarantee accurate and reliable information. Our content, validated by Expert Board Contributors, is crafted following stringent Editorial Policies. We're committed to providing you with well-researched, expert-backed insights for all your informational needs.


0 thoughts on “How To Clean A Clogged 3D Printer Nozzle”