Home>Technology>Smart Home Devices>How To Install A Printer On An IPad
Smart Home Devices
How To Install A Printer On An IPad
Modified: October 19, 2024
Learn how to easily set up and install a printer on your iPad to enhance your smart home devices experience. Follow these simple steps for seamless connectivity.
(Many of the links in this article redirect to a specific reviewed product. Your purchase of these products through affiliate links helps to generate commission for Storables.com, at no extra cost. Learn more)
Introduction
Welcome to the era of seamless connectivity and convenience, where technology continues to revolutionize our daily lives. Gone are the days when printing was confined to desktops or laptops. With the advancement of smart home devices, you can now effortlessly print from your iPad. Whether it's a document, photo, or boarding pass, the process of setting up a printer on your iPad is surprisingly straightforward.
In this comprehensive guide, we will walk you through the step-by-step process of installing a printer on your iPad. By the end of this tutorial, you'll be equipped with the knowledge and confidence to effortlessly print directly from your iPad to a compatible printer. So, let's dive in and explore the seamless integration of your iPad with a printer, unlocking a world of printing possibilities at your fingertips.
Key Takeaways:
- You can easily print from your iPad by checking printer compatibility, installing a dedicated app, connecting to Wi-Fi, adding the printer to your iPad, and testing the printing functionality.
- Seamlessly integrating your iPad with a printer unlocks a world of printing possibilities, bridging the digital and physical realms with convenience and efficiency.
Read more: How To Find A Printer On IPad
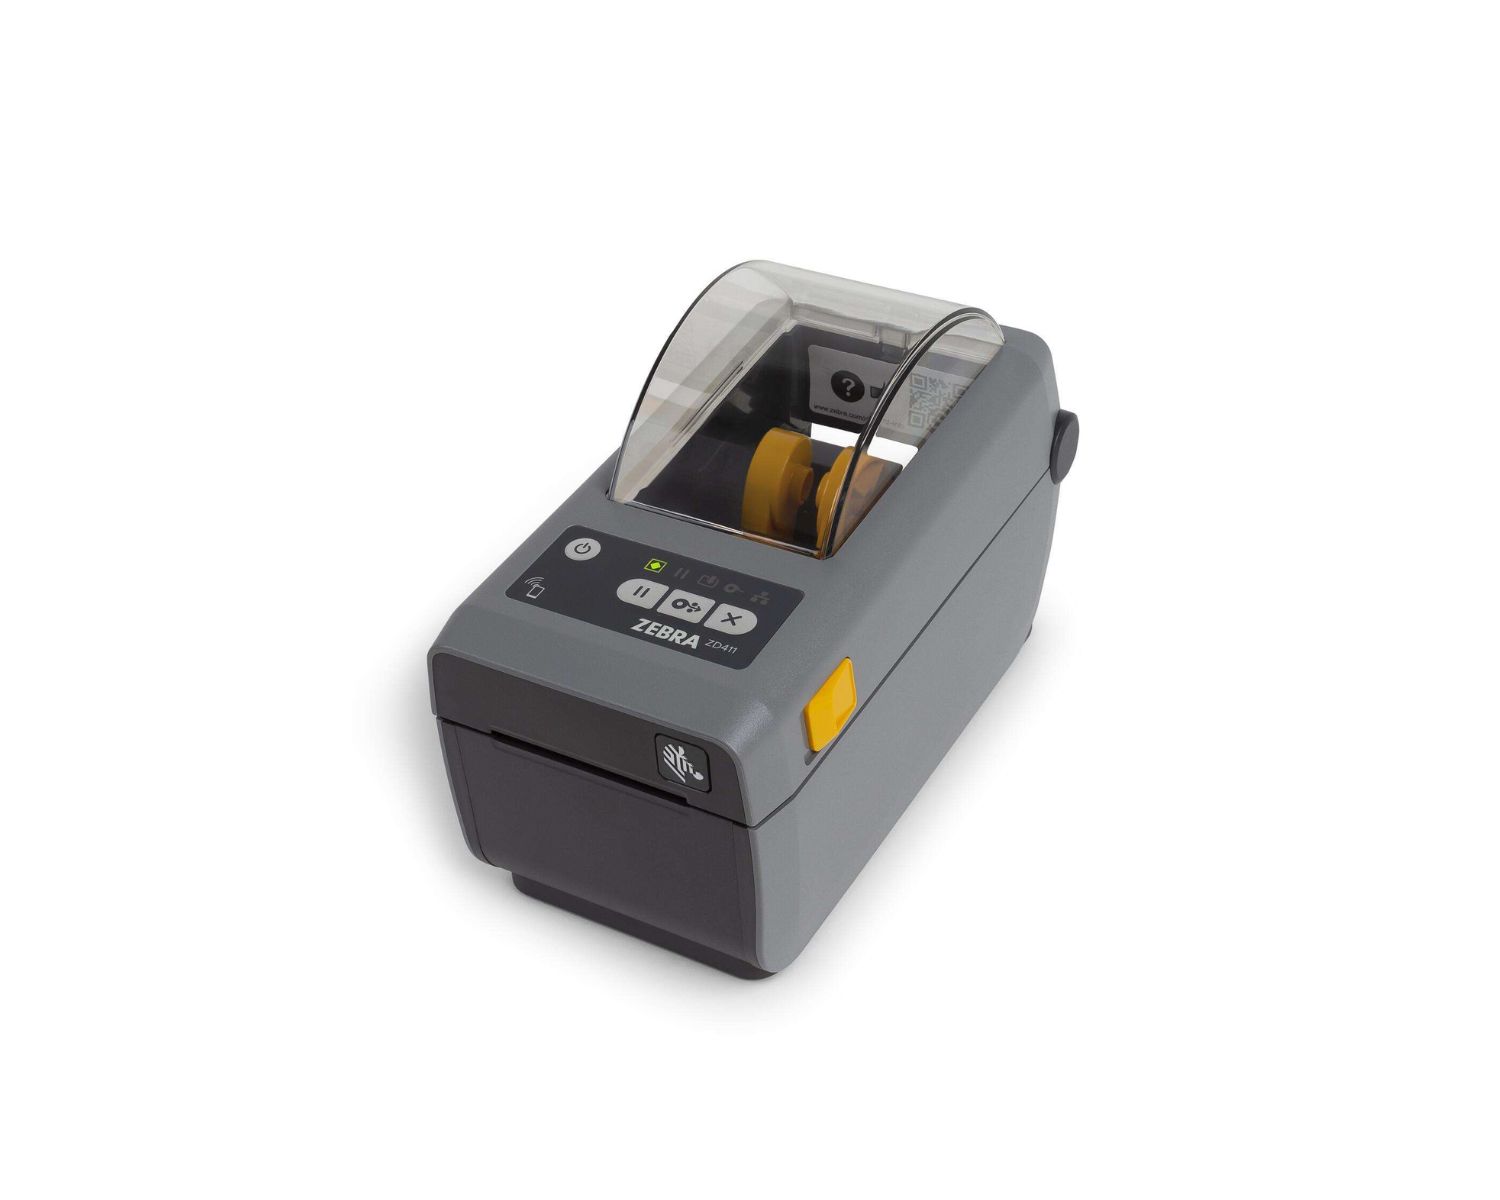
Step 1: Check Compatibility
Before embarking on the printer installation process, it's crucial to ensure that your printer is compatible with your iPad. Start by checking the manufacturer's specifications or documentation to verify if the printer supports wireless printing from an iPad. Most modern printers are designed to be compatible with a wide range of devices, including iPads, through wireless connectivity.
Additionally, you can refer to the printer's manual or visit the manufacturer's website to confirm compatibility with iOS devices. Look for specific mentions of iPad compatibility, AirPrint support, or the availability of dedicated printer apps for iPad in the App Store. It's essential to ascertain that your printer model aligns with the requirements for seamless integration with your iPad.
If your printer is not inherently compatible with the iPad, there might be alternative solutions available, such as third-party apps or intermediary devices that facilitate the connection between the iPad and the printer. However, for optimal user experience and convenience, selecting a printer with native iPad compatibility or AirPrint support is highly recommended.
By confirming the compatibility of your printer with your iPad, you can lay a solid foundation for a smooth and hassle-free printing experience. Once you've established compatibility, you're ready to proceed to the next steps of the installation process, bringing you closer to the convenience of wireless printing from your iPad.
Step 2: Install Printer App
After confirming the compatibility of your printer with your iPad, the next step involves installing the respective printer app on your iPad. Many printer manufacturers offer dedicated applications designed to streamline the printing process from iOS devices, providing a user-friendly interface and enhanced functionality.
Begin by navigating to the App Store on your iPad and initiating a search for the official app associated with your printer model or brand. For example, if you own an HP printer, search for the "HP Smart" app. Similarly, if you have an Epson printer, look for the "Epson iPrint" app. These apps are tailored to facilitate seamless communication between your iPad and the printer, offering features such as wireless printing, scanning, and printer management.
Once you've located the appropriate printer app, proceed to download and install it on your iPad. During the installation process, ensure that the app is granted the necessary permissions to access your iPad's network and printer functionalities, enabling it to establish a secure connection with your printer.
Upon successful installation, launch the printer app and follow the on-screen instructions to set up the app and configure it to work with your specific printer model. This may involve connecting the app to your Wi-Fi network and selecting the corresponding printer from the available devices. The app may also offer additional features, such as ink level monitoring, printer maintenance, and access to cloud printing services, enriching your overall printing experience.
By installing the dedicated printer app on your iPad, you are harnessing the power of specialized software designed to optimize the printing process, ensuring seamless compatibility and enhanced functionality. With the app in place, you are now ready to proceed to the next crucial step: connecting your printer to Wi-Fi, paving the way for wireless printing convenience from your iPad.
Step 3: Connect Printer to Wi-Fi
Ensuring that your printer is connected to the same Wi-Fi network as your iPad is essential for enabling wireless printing capabilities. By establishing a wireless connection, you eliminate the need for physical cables and enable effortless printing from your iPad to the printer, regardless of their physical proximity.
To connect your printer to Wi-Fi, begin by accessing the printer's control panel or display, where you can navigate through the settings menu to locate the wireless or network setup options. Depending on the printer model, you may be prompted to select your Wi-Fi network from a list of available networks and enter the network password to authenticate the connection.
Once you have successfully connected your printer to the Wi-Fi network, it is advisable to print a network configuration or status report directly from the printer. This report serves as a confirmation that the printer is connected to the same network as your iPad and provides valuable information, such as the assigned IP address and network connectivity status.
With the printer now linked to your Wi-Fi network, it is poised to receive print jobs wirelessly from your iPad, offering unparalleled convenience and flexibility. This wireless connectivity paves the way for seamless printing, empowering you to unleash the full potential of your iPad as a versatile printing tool.
As you proceed to the next step of adding the printer on your iPad, the successful establishment of a Wi-Fi connection between your printer and the network sets the stage for a cohesive and efficient printing ecosystem, where your iPad and printer harmoniously collaborate to bring your digital content to life in physical form.
To install a printer on an iPad, make sure your printer is compatible with AirPrint. Then, go to “Settings” on your iPad, select “Printers,” and choose your printer from the list. Follow the on-screen instructions to complete the setup.
Step 4: Add Printer on iPad
With your printer connected to the Wi-Fi network and the dedicated printer app installed on your iPad, you are now ready to seamlessly integrate the printer with your iPad's printing infrastructure. The process of adding the printer on your iPad involves leveraging the native printing capabilities of iOS, enabling you to effortlessly send print jobs from your iPad to the designated printer.
Begin by accessing the settings on your iPad and navigating to the "Printers" or "Printers & Scanners" section. Here, you will have the option to "Add Printer" or "Add a Printer." Tap on this option to initiate the printer discovery process, where your iPad will search for available printers within the same Wi-Fi network.
Upon detecting your printer, it will be listed as an available device for printing. Select the identified printer from the list to add it to your iPad's printing repertoire. Depending on the printer model and iOS version, you may be prompted to install the appropriate printer driver or configuration settings to ensure seamless compatibility and optimal printing performance.
Once the printer is successfully added to your iPad, you can proceed to configure the printing preferences and settings, such as paper size, orientation, and color options. This customization empowers you to tailor the printing process to suit your specific requirements, ensuring that the printed output aligns with your desired specifications.
By adding the printer to your iPad, you are integrating it into the iOS ecosystem, unlocking the ability to conveniently print directly from your iPad to the designated printer. This seamless integration streamlines the printing process, eliminating the need for intermediary devices or complex configurations, and empowering you to harness the full potential of your iPad as a versatile printing hub.
As you move on to the final step of testing the printing functionality, the successful addition of the printer to your iPad marks a pivotal milestone in establishing a cohesive and efficient printing workflow, where your iPad serves as a powerful catalyst for transforming digital content into tangible, printed output.
Read more: How To Connect IPad To Epson Printer
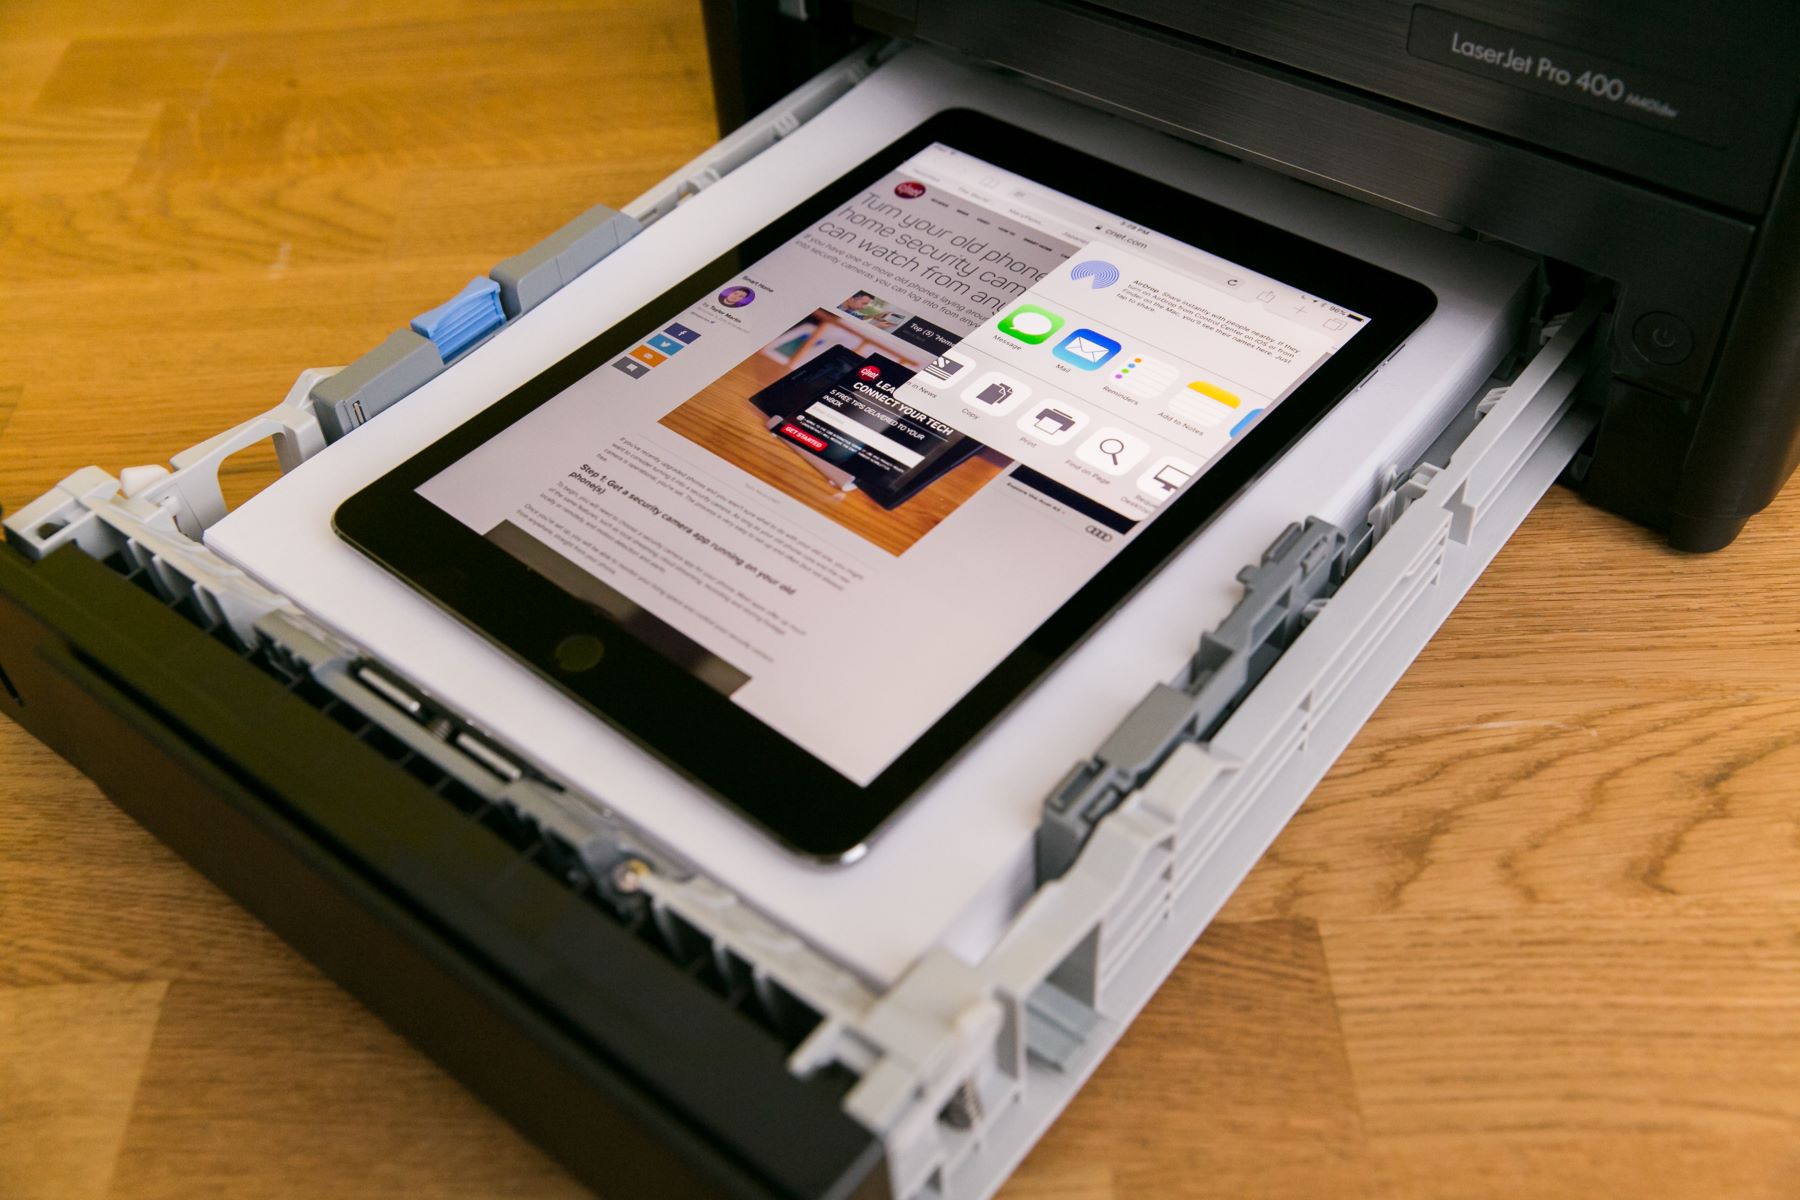
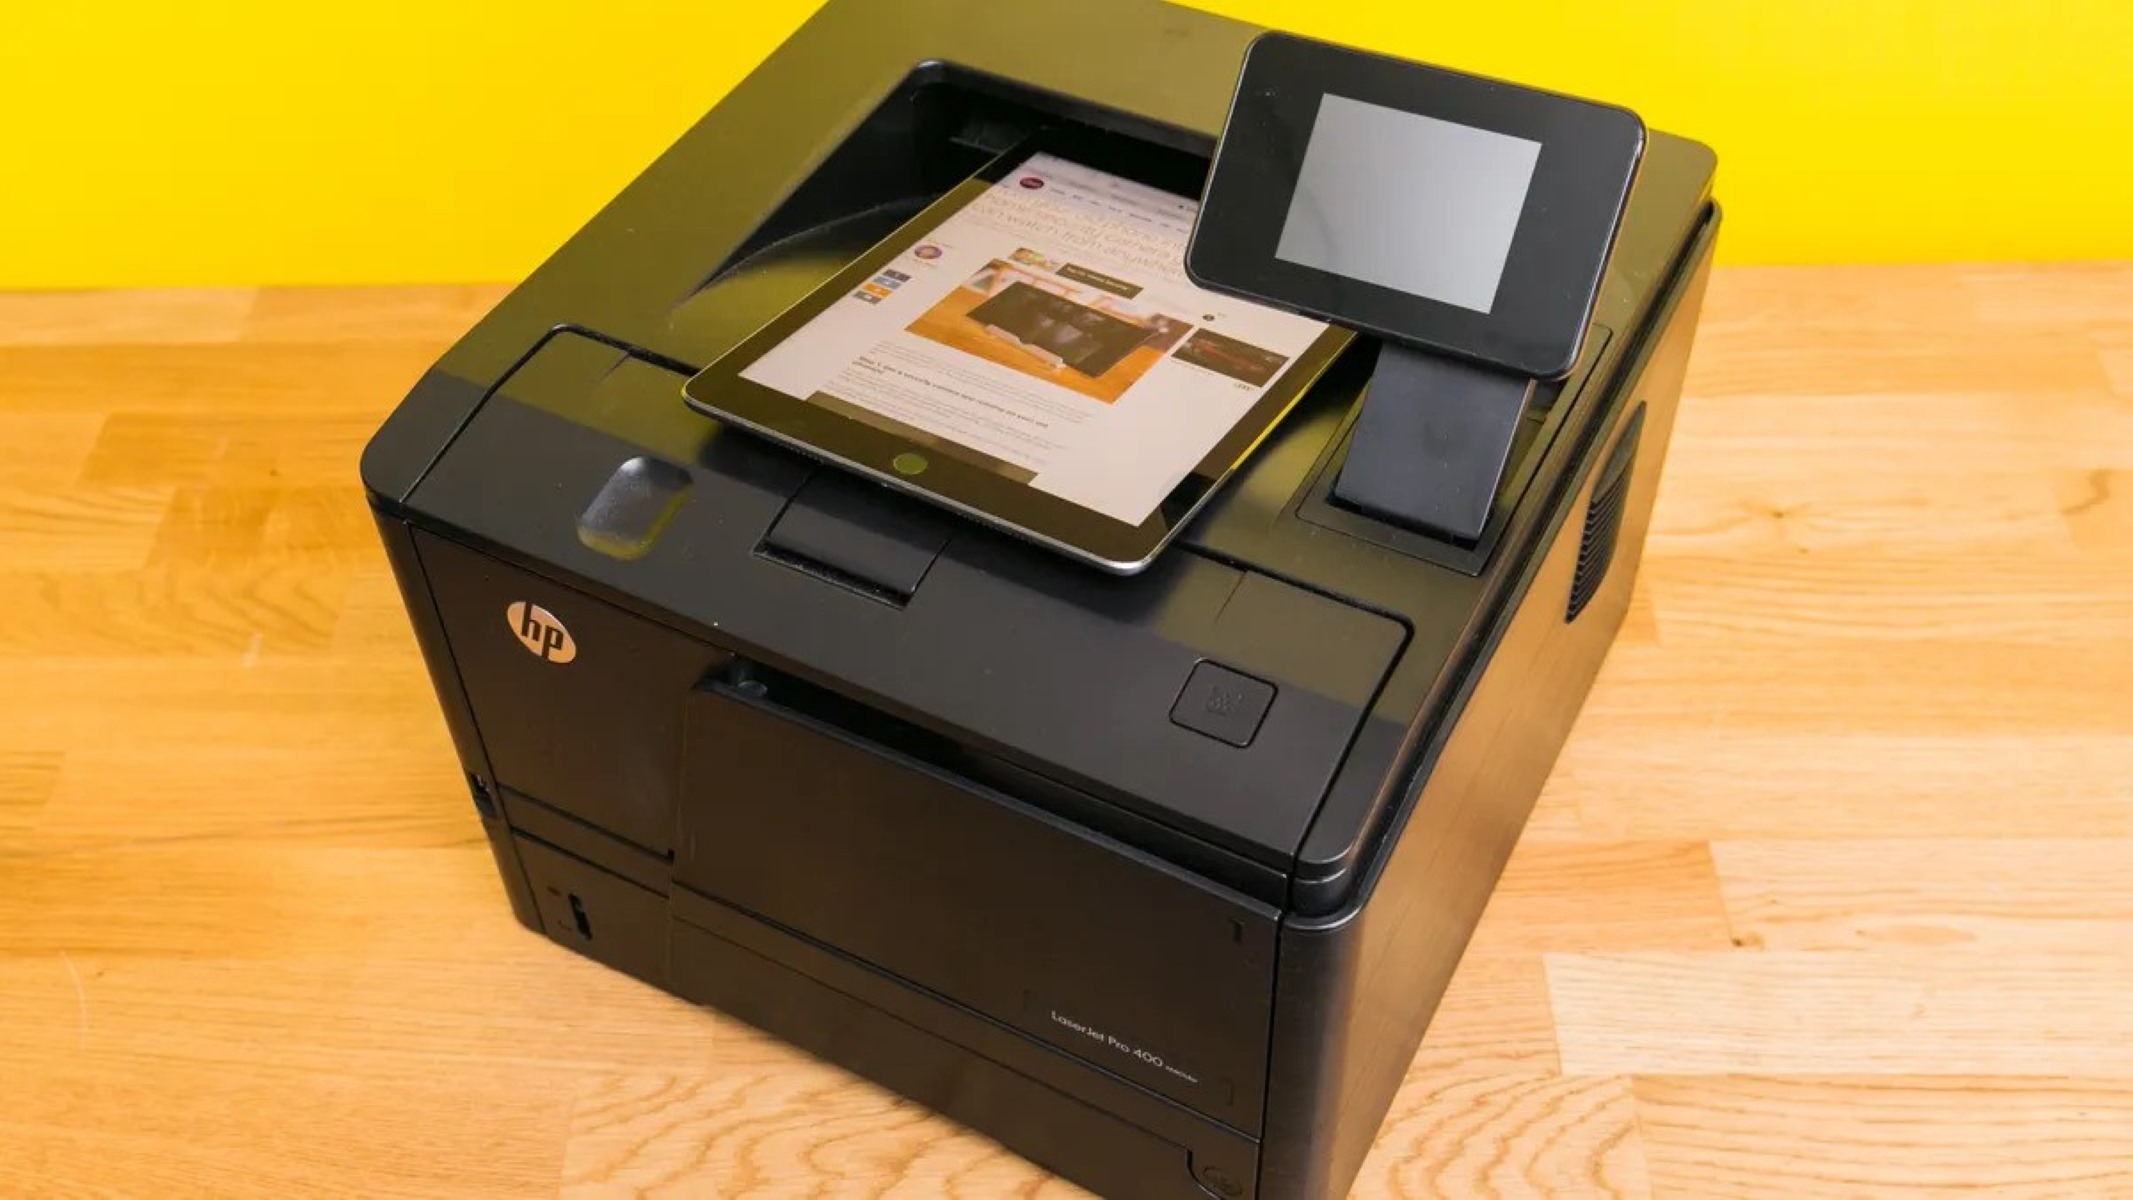
Step 5: Test Printing
After seamlessly integrating your printer with your iPad, it’s time to put the printing capabilities to the test. Testing the printing functionality not only validates the successful setup but also allows you to experience the convenience and efficiency of wirelessly printing from your iPad to the designated printer.
To initiate a test print from your iPad, open any document, photo, or webpage that you intend to print. Tap on the “Share” or “More” icon within the app or browser, depending on the specific application, to reveal the printing option. Select “Print” from the available sharing options to proceed to the printing interface.
Within the printing interface, you can customize the print settings, such as the number of copies, page range, and layout preferences. Additionally, you can verify that the correct printer is selected for the print job, ensuring that the output is directed to the intended device.
Once you have configured the printing settings, proceed to initiate the print job. Your iPad will communicate with the designated printer over the Wi-Fi network, sending the print job for processing. Depending on the printer model and settings, you may observe the printer preparing to receive the print job, indicating that the wireless communication is successfully established.
As the printer springs into action, you will witness your digital content materialize into a physical printout, seamlessly transitioning from the digital realm to a tangible, printed form. This transformative process encapsulates the essence of wireless printing from your iPad, where convenience, efficiency, and seamless integration converge to deliver a gratifying printing experience.
Upon the completion of the print job, retrieve the printed output from the printer and inspect the quality and accuracy of the printout. This final step serves as a confirmation of the successful wireless printing process, affirming that your iPad and printer have harmoniously collaborated to bring your digital content to life in physical form.
By testing the printing functionality, you not only validate the seamless integration of your iPad with the designated printer but also embrace the sheer convenience and versatility of wireless printing. This transformative experience underscores the evolution of printing in the digital age, where your iPad serves as a dynamic conduit for translating digital content into impactful, printed material with unparalleled ease.
Conclusion
Congratulations! You have successfully navigated the process of installing and integrating a printer with your iPad, unlocking the seamless capability to wirelessly print from your iPad to the designated printer. This transformative endeavor has empowered you to harness the full potential of your iPad as a versatile printing tool, seamlessly bridging the digital and physical realms with unparalleled convenience and efficiency.
By meticulously checking the compatibility of your printer with your iPad, installing the dedicated printer app, connecting the printer to Wi-Fi, adding the printer to your iPad, and testing the printing functionality, you have embarked on a journey that epitomizes the convergence of technology and practicality. The harmonious integration of your iPad and printer has ushered in a new era of printing convenience, where the boundaries between digital content and tangible output are effortlessly transcended.
As you bask in the convenience of wirelessly printing from your iPad, you are poised to embrace a myriad of printing possibilities, from documents and photos to creative projects and essential paperwork. The seamless integration of your iPad with the printer not only streamlines the printing process but also amplifies the versatility and functionality of your iPad, positioning it as a dynamic hub for translating your digital content into impactful, printed material.
Furthermore, the successful installation and integration of the printer with your iPad underscore the remarkable advancements in smart home devices and the transformative potential of wireless connectivity. This endeavor represents a testament to the evolving landscape of printing technology, where convenience, efficiency, and seamless integration converge to redefine the printing experience in the digital age.
As you embark on your printing journey with your iPad, may the seamless integration of your devices continue to inspire and elevate your digital and physical experiences, underscoring the boundless possibilities that emerge when cutting-edge technology harmonizes with everyday practicality.
With the printer seamlessly integrated with your iPad, you are now poised to embark on a transformative printing journey, where the convergence of technology and practicality unlocks a world of possibilities at your fingertips.
Frequently Asked Questions about How To Install A Printer On An IPad
Was this page helpful?
At Storables.com, we guarantee accurate and reliable information. Our content, validated by Expert Board Contributors, is crafted following stringent Editorial Policies. We're committed to providing you with well-researched, expert-backed insights for all your informational needs.


0 thoughts on “How To Install A Printer On An IPad”