Home>Technology>Smart Home Devices>How To Reset A Google Wi-Fi Router
Smart Home Devices
How To Reset A Google Wi-Fi Router
Modified: January 4, 2024
Learn how to reset your Google Wi-Fi router easily and quickly. Keep your smart home devices connected and running smoothly with these simple steps.
(Many of the links in this article redirect to a specific reviewed product. Your purchase of these products through affiliate links helps to generate commission for Storables.com, at no extra cost. Learn more)
**
Introduction
**
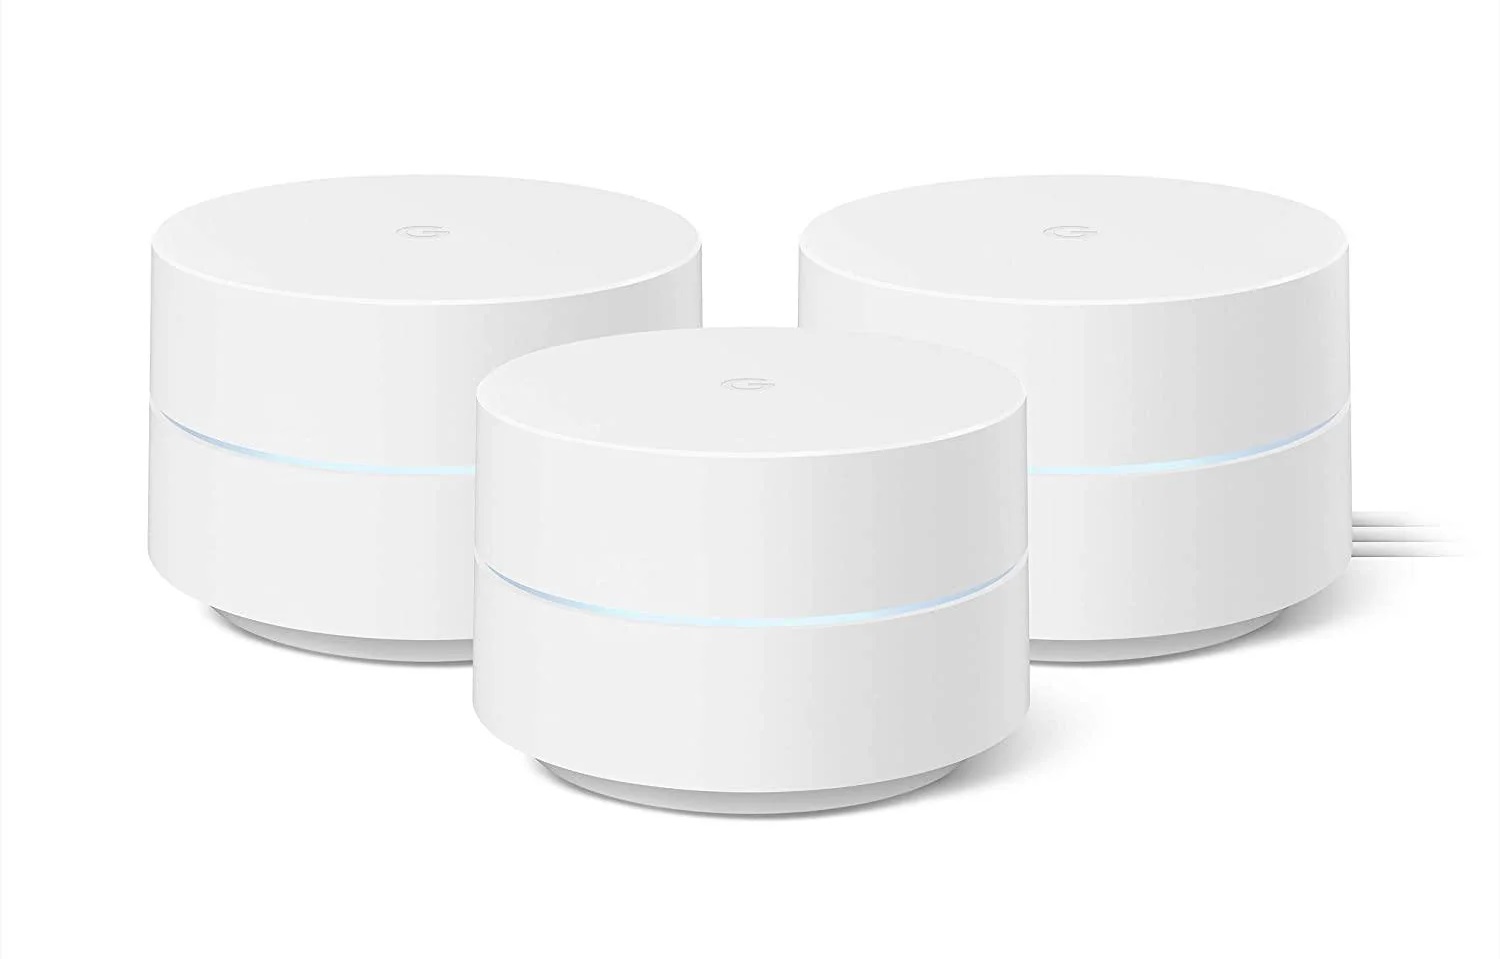
Smart home devices have become an integral part of modern living, offering convenience, security, and efficiency. Among these devices, the Google Wi-Fi router stands out as a reliable and robust networking solution. However, there are instances when users may encounter connectivity issues or the need to reconfigure their router. In such cases, performing a reset can often resolve these issues and restore the router to its default settings.
Resetting a Google Wi-Fi router is a straightforward process, but it's essential to follow the correct steps to ensure a successful reset without causing any damage to the device. In this comprehensive guide, we will walk you through the step-by-step process of resetting your Google Wi-Fi router, empowering you to troubleshoot connectivity issues and optimize your home network effortlessly.
Whether you're encountering persistent connection problems or simply need to reconfigure your router, understanding how to reset your Google Wi-Fi router is a valuable skill for any user. By the end of this guide, you will have the knowledge and confidence to perform a reset with ease, allowing you to enjoy a seamless and reliable internet connection throughout your home. Let's dive into the simple yet essential steps to reset your Google Wi-Fi router effectively.
**
Key Takeaways:
- Resetting a Google Wi-Fi router involves locating and pressing the reset button, waiting for the indicator light to signal completion, and reconfiguring the router for seamless connectivity.
- By following the step-by-step guide, users can troubleshoot connectivity issues and customize their Google Wi-Fi router, ensuring a reliable and high-speed internet experience at home.
Read more: How To Reset A Wi-Fi Router
Step 1: Locate the Reset Button
**
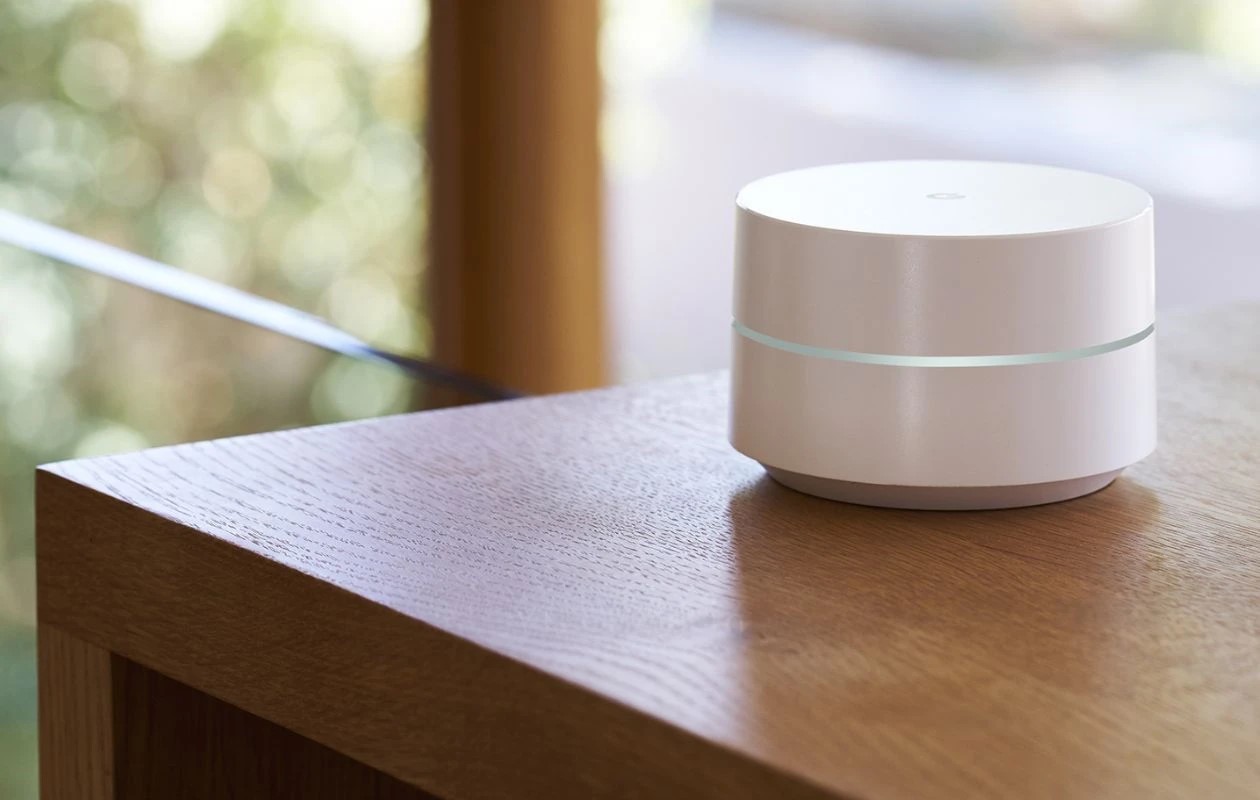
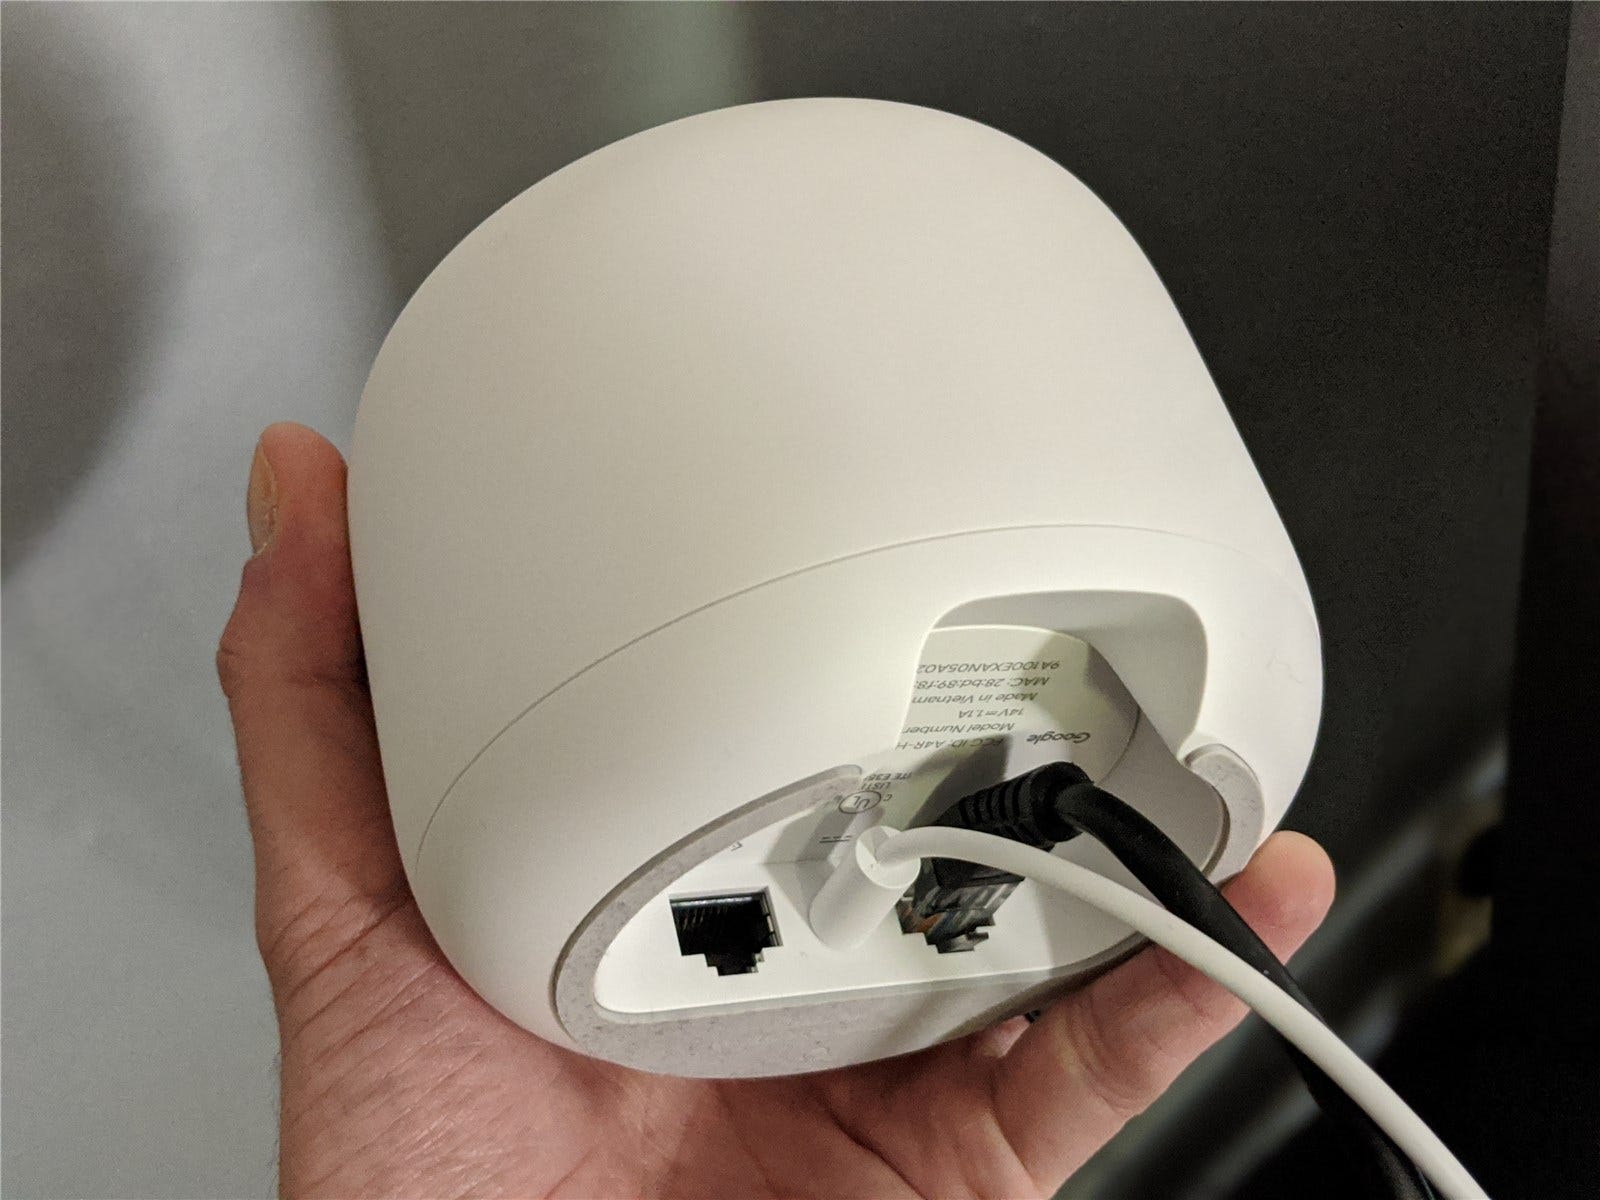
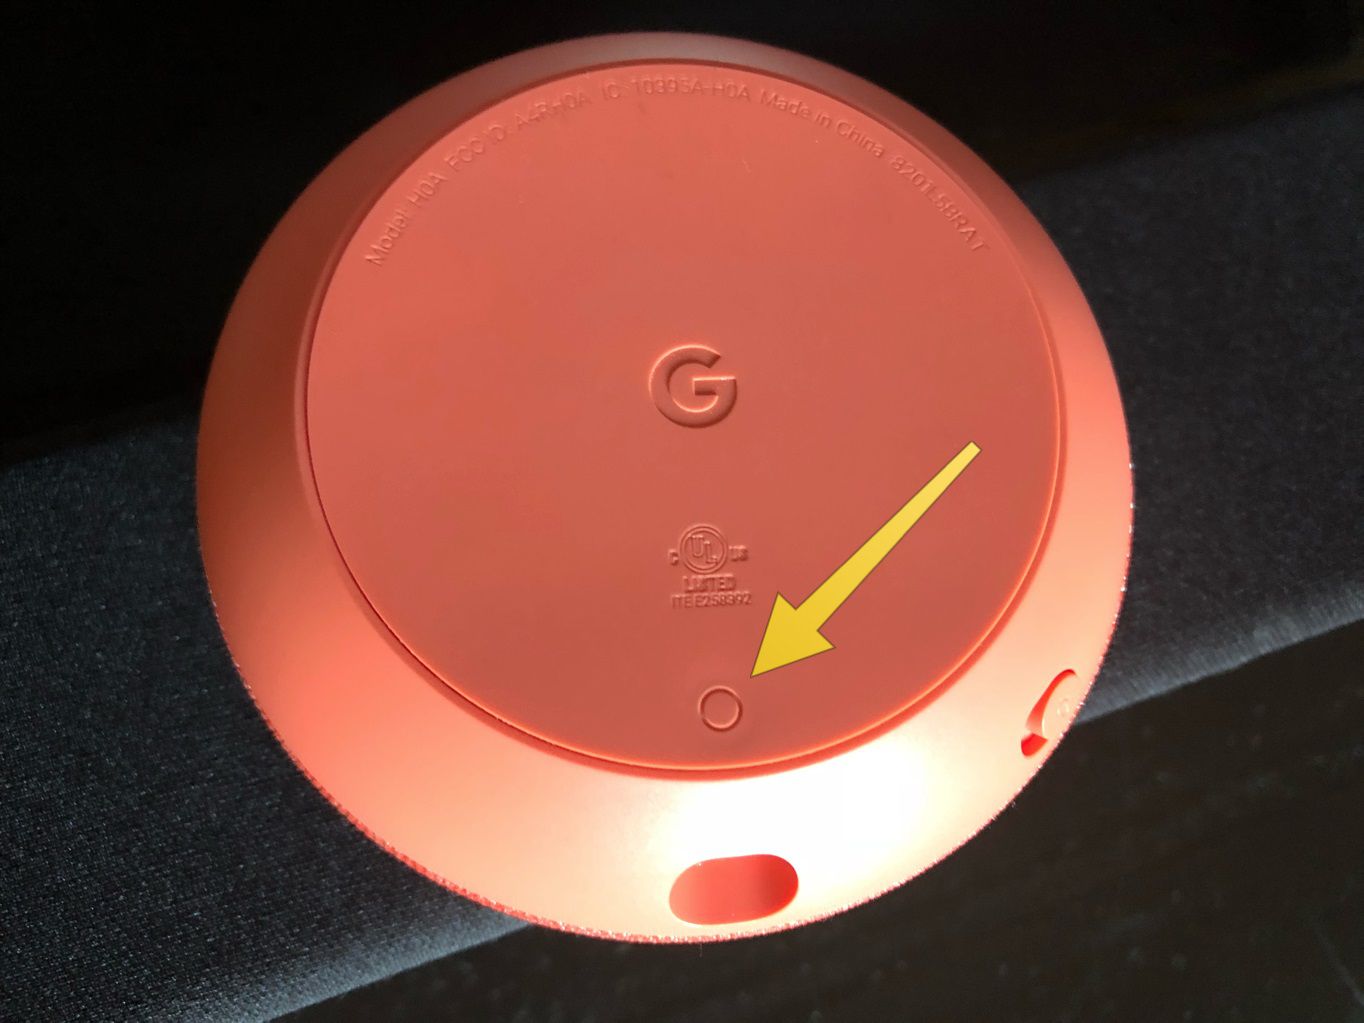
The first step in resetting your Google Wi-Fi router is to locate the reset button. This button is typically small and recessed to prevent accidental activation, and its precise location may vary depending on the specific model of your router. To find the reset button, you will need to identify the primary Google Wi-Fi device, which is the main router unit that connects directly to your modem.
On most Google Wi-Fi routers, the reset button can be found on the back or bottom of the device. It is often labeled “Reset” and may be located within a small pinhole to prevent unintentional presses. If you are unable to locate the reset button immediately, referring to the user manual or online documentation for your specific router model can provide clear guidance on its exact location.
When searching for the reset button, it’s essential to handle the router with care to avoid causing any damage. Gently inspect the exterior of the router, paying close attention to any small openings or labeled buttons. Once you have located the reset button, you are ready to proceed to the next step in the reset process.
By successfully identifying the reset button on your Google Wi-Fi router, you have completed the initial step necessary to initiate the reset process. With the button located, you are now prepared to move on to the next step, where you will learn how to perform the reset effectively.
**
Step 2: Press and Hold the Reset Button
**
Having located the reset button on your Google Wi-Fi router, the next crucial step is to press and hold the button to initiate the reset process. Before proceeding, it’s important to ensure that the router is powered on and connected to a stable power source. This will allow the reset process to proceed smoothly and effectively.
To begin the reset, use a small, pointed object such as a paperclip or a pen tip to press and hold the reset button. As mentioned earlier, the reset button is often recessed within a small pinhole to prevent accidental activation. Using a pointed object will enable you to reach and press the button securely without causing any damage to the router.
Once you have located the reset button and are ready to initiate the reset, firmly press and hold the button for approximately 10-15 seconds. It’s essential to maintain consistent pressure on the button throughout this duration to ensure that the reset process is successfully triggered. As you press and hold the reset button, you may notice the indicator lights on the router behaving in a specific manner, indicating that the reset process is underway.
While holding the reset button, you may feel a slight resistance, but it’s important to maintain steady pressure until the designated time has elapsed. This action will initiate the reset process, allowing the router to revert to its default settings and prepare for reconfiguration. Once you have completed the 10-15 second duration of holding the reset button, you are ready to proceed to the next step in the reset process.
By successfully pressing and holding the reset button on your Google Wi-Fi router, you have initiated the critical stage of the reset process. With the reset process underway, you are now prepared to move on to the subsequent step, where you will learn about the indicator lights and their significance during the reset.
**
To reset a Google Wi-Fi router, locate the small reset button on the back of the router and hold it down for at least 10 seconds. This will restore the router to its factory settings.
Step 3: Wait for the Indicator Light
**
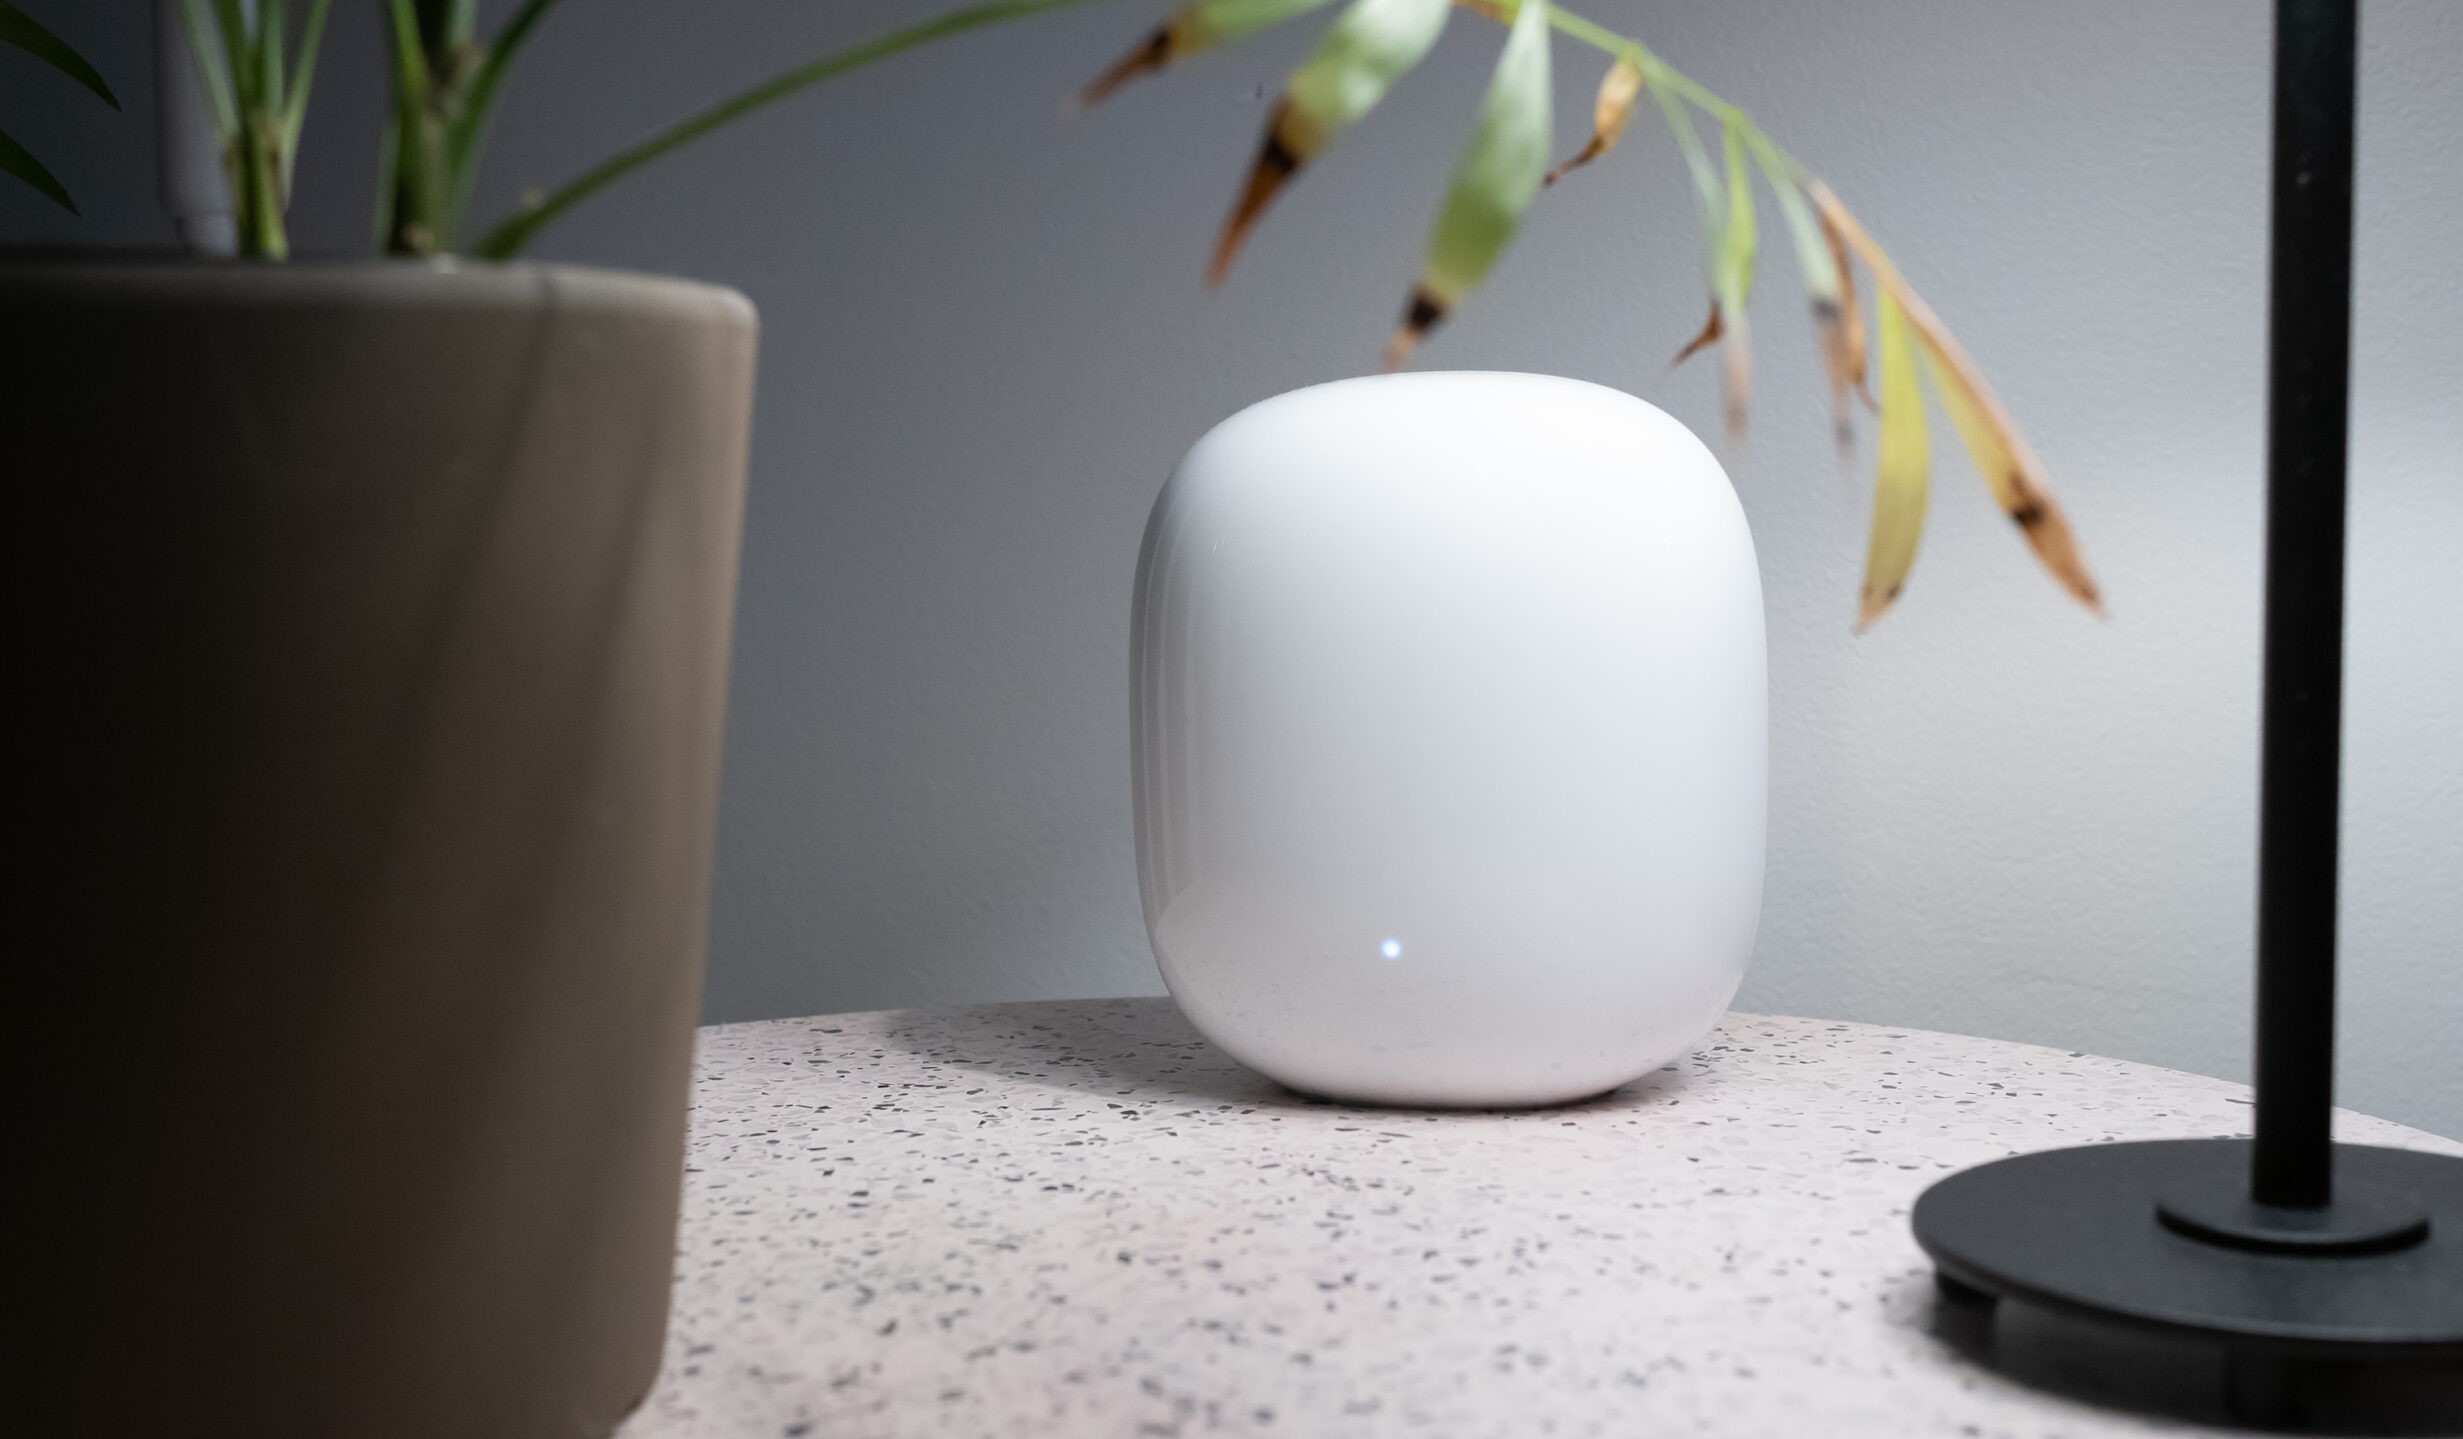
After pressing and holding the reset button on your Google Wi-Fi router, the next step in the reset process involves waiting for the indicator light to signal that the reset has been successfully initiated. The indicator light, located on the router itself, serves as a visual cue to inform you of the progress and completion of the reset process.
Upon releasing the reset button after the 10-15 second duration, observe the behavior of the indicator light on the router. In most cases, the indicator light will undergo specific changes to indicate that the reset process is underway. These changes may include flashing, changing color, or exhibiting a distinct pattern to signify that the router is reverting to its default settings.
It’s important to exercise patience during this phase, as the duration of the indicator light activity may vary depending on the specific model of your Google Wi-Fi router. While waiting for the indicator light, avoid pressing any additional buttons or attempting to interrupt the reset process, as this could disrupt the reset and lead to unexpected outcomes.
As you monitor the behavior of the indicator light, take note of any distinct patterns or changes in color. These visual cues will provide valuable insight into the progress of the reset process and indicate when the router has successfully reverted to its default settings. Once the indicator light stabilizes or exhibits a specific pattern as outlined in the router’s documentation, you will be ready to proceed to the final step of reconfiguring the router.
By patiently waiting for the indicator light to signal the completion of the reset process, you have successfully navigated through a crucial phase of resetting your Google Wi-Fi router. With the indicator light providing confirmation of the reset, you are now prepared to move on to the subsequent step, where you will learn about reconfiguring the router to restore connectivity and optimize its performance.
**
Step 4: Reconfigure the Router
**
After successfully resetting your Google Wi-Fi router, the final step involves reconfiguring the device to restore connectivity and optimize its performance. Reconfiguration is essential to ensure that the router is seamlessly integrated into your home network, providing reliable and efficient internet access to all connected devices.
To begin the reconfiguration process, you will need to access the Google Wi-Fi app on your mobile device or navigate to the Google Wi-Fi web interface on a computer. The app and web interface provide intuitive and user-friendly platforms for managing and configuring your Google Wi-Fi router, allowing you to customize settings and establish a secure and robust home network.
Upon accessing the Google Wi-Fi app or web interface, follow the on-screen instructions to set up your router. This typically involves creating a new network name (SSID) and password, selecting the appropriate network settings, and configuring any additional features or preferences according to your specific requirements. The app or web interface will guide you through each step, ensuring a seamless and straightforward reconfiguration process.
As you reconfigure the router, take the opportunity to review and optimize your network settings to align with your connectivity needs. This may include prioritizing specific devices, setting up guest networks, or fine-tuning advanced features to enhance the performance and security of your home network. By customizing the settings during the reconfiguration process, you can tailor the router to suit your unique preferences and usage patterns.
Once you have completed the reconfiguration process and saved your settings, the Google Wi-Fi router will be ready to provide reliable and high-speed internet access to all connected devices within your home. By following the reconfiguration steps meticulously, you can ensure that the router is seamlessly integrated into your home network, delivering a stable and efficient internet connection for your daily activities.
With the router successfully reconfigured, you have accomplished the final step in the reset process, empowering you to restore connectivity and optimize the performance of your Google Wi-Fi router. By following these essential steps, you can confidently navigate the reset and reconfiguration process, ensuring that your router operates at its best and delivers a seamless internet experience throughout your home.
**
Read more: How To Reset A Wi-Fi Router Password
Conclusion
**
Resetting a Google Wi-Fi router is a fundamental skill that empowers users to troubleshoot connectivity issues and optimize their home network effortlessly. By following the step-by-step guide outlined in this comprehensive article, you have gained valuable insights into the process of resetting and reconfiguring your Google Wi-Fi router, enabling you to maintain a reliable and seamless internet connection within your home.
Throughout this guide, you have learned how to locate the reset button on your Google Wi-Fi router, initiate the reset process by pressing and holding the button, and patiently wait for the indicator light to signal the completion of the reset. Additionally, you have gained essential knowledge on reconfiguring the router to restore connectivity and customize its settings to align with your specific requirements.
Understanding the process of resetting and reconfiguring your Google Wi-Fi router equips you with the confidence and capability to address connectivity issues effectively and ensure that your home network operates at its best. Whether you encounter persistent connection problems or simply need to reconfigure your router, the knowledge gained from this guide empowers you to navigate the reset process with ease and efficiency.
By leveraging the intuitive Google Wi-Fi app or web interface, you can seamlessly reconfigure your router, customize network settings, and optimize its performance to deliver a stable and efficient internet connection to all connected devices within your home. This level of control and customization allows you to tailor the router to suit your unique connectivity needs, providing a reliable and high-speed internet experience for your daily activities.
In conclusion, the ability to reset and reconfigure your Google Wi-Fi router is a valuable skill that enhances your connectivity management capabilities and ensures a seamless internet experience within your home. By following the comprehensive steps outlined in this guide, you have acquired the knowledge and proficiency to navigate the reset process confidently, empowering you to maintain a robust and efficient home network.
With the insights gained from this guide, you are well-equipped to address connectivity issues, optimize your home network, and enjoy a reliable and high-speed internet connection courtesy of your Google Wi-Fi router.
Frequently Asked Questions about How To Reset A Google Wi-Fi Router
Was this page helpful?
At Storables.com, we guarantee accurate and reliable information. Our content, validated by Expert Board Contributors, is crafted following stringent Editorial Policies. We're committed to providing you with well-researched, expert-backed insights for all your informational needs.
0 thoughts on “How To Reset A Google Wi-Fi Router”