Home>Technology>Smart Home Devices>How To Scan To Email From Epson Printer
Smart Home Devices
How To Scan To Email From Epson Printer
Modified: October 19, 2024
Learn how to easily scan and email documents from your Epson printer, and streamline your workflow with smart home devices. Simplify your scanning process today!
(Many of the links in this article redirect to a specific reviewed product. Your purchase of these products through affiliate links helps to generate commission for Storables.com, at no extra cost. Learn more)
Introduction
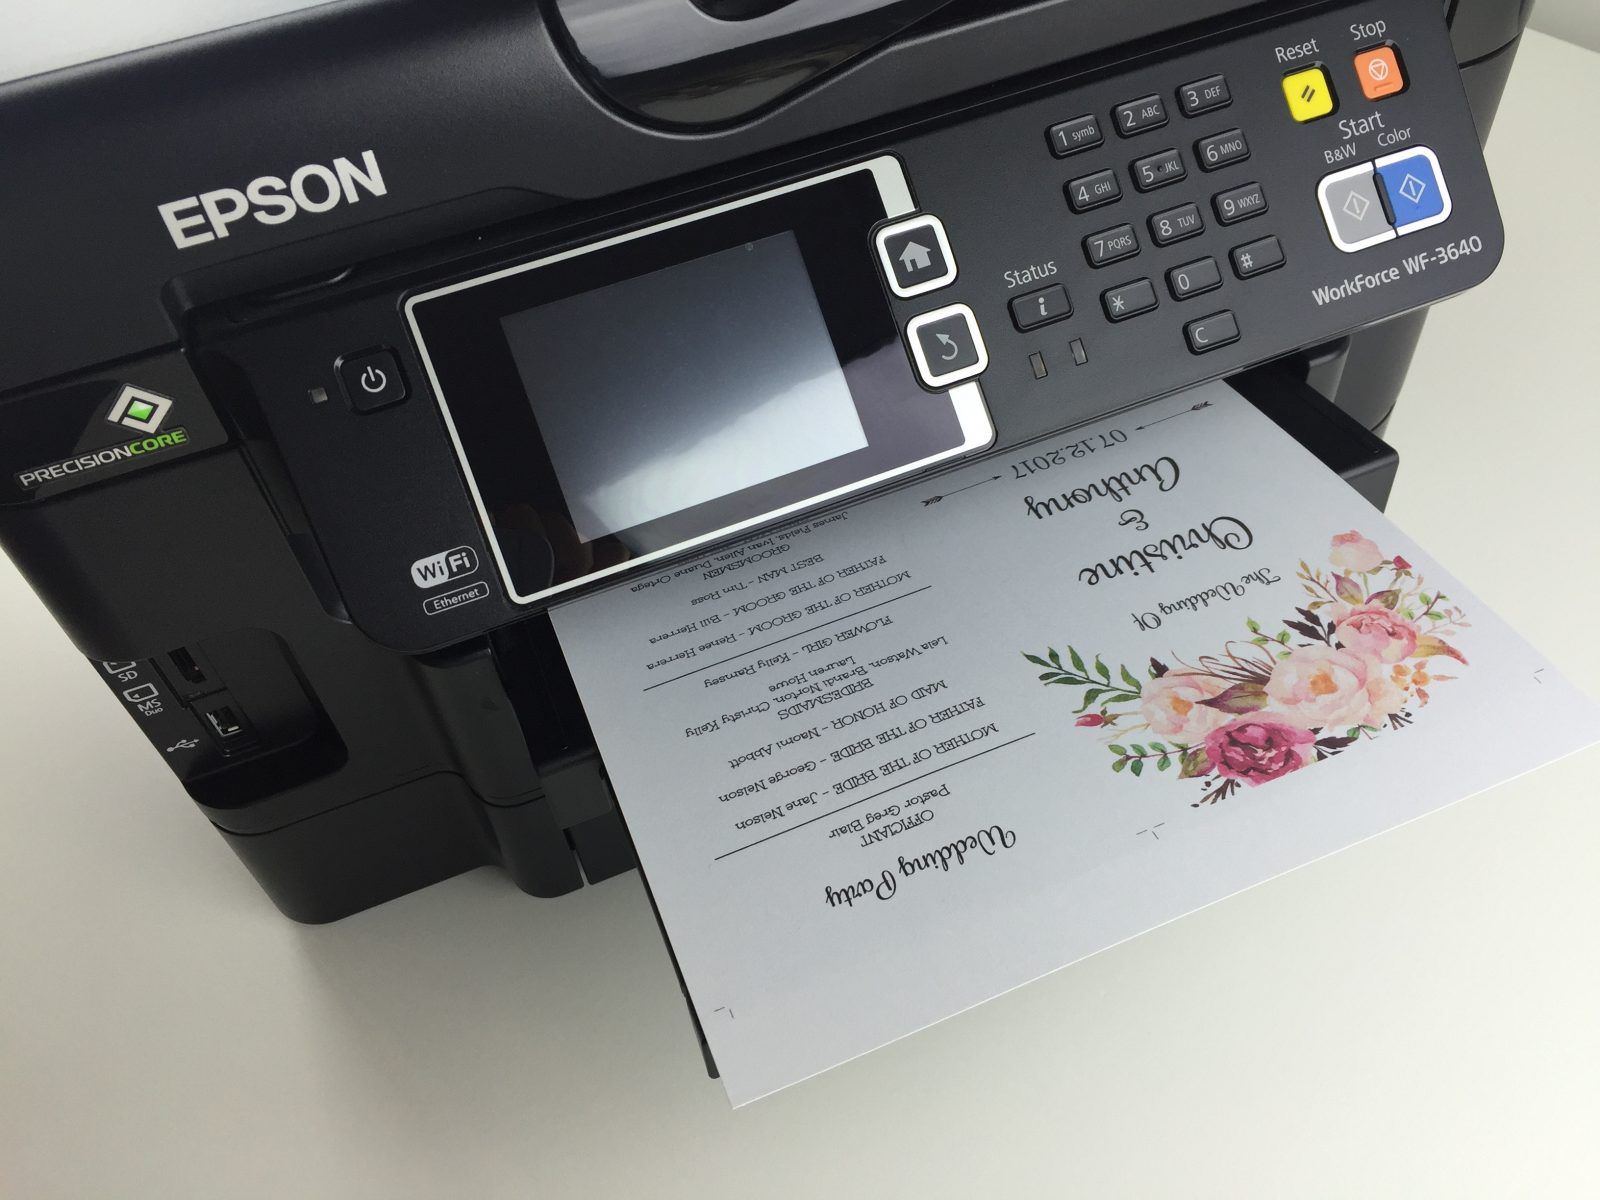
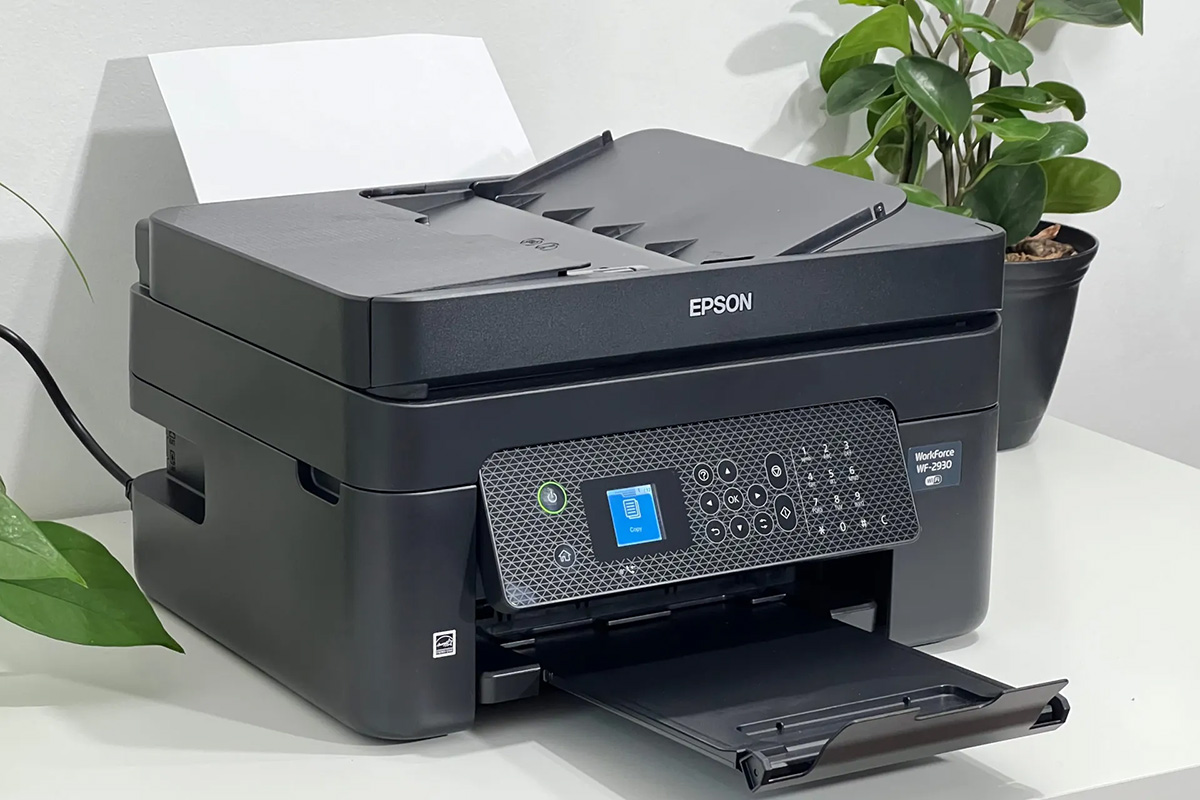
Smart home devices have revolutionized the way we interact with our living spaces. From intelligent thermostats to voice-activated lighting systems, these innovations have made our homes more convenient, efficient, and secure. Among these cutting-edge devices, the Epson printer stands out as a versatile and indispensable tool for both work and leisure.
In today's digital age, the ability to seamlessly scan and email documents directly from your printer is a game-changer. Whether you need to share important contracts with colleagues or send cherished family photos to loved ones, the process of scanning to email from your Epson printer is remarkably straightforward and efficient.
In this comprehensive guide, we will delve into the intricacies of setting up your Epson printer for scanning to email, the step-by-step process of scanning and sending documents, as well as troubleshooting common issues that may arise. By the end of this article, you will be well-equipped to harness the full potential of your Epson printer and effortlessly scan to email with confidence.
Let's embark on this enlightening journey to unlock the seamless and convenient scanning capabilities of your Epson printer, empowering you to effortlessly digitize and share your cherished memories and important documents with just a few clicks.
Key Takeaways:
- You can easily set up your Epson printer to scan and email documents by connecting it to a network, configuring email settings, and updating firmware and software. This allows for seamless digitization and sharing of important documents.
- Scanning to email from your Epson printer is a simple process that involves preparing the document, accessing the scanner interface, selecting email as the destination, configuring email parameters, initiating the scan, and reviewing before sending. This streamlines the task of digitizing and sharing documents with ease.
Read more: How To Set Up Scan To Email On Epson Printer
Setting up your Epson printer for scanning to email
Before you can start scanning to email from your Epson printer, it’s crucial to ensure that the necessary configurations are in place. Follow these steps to set up your Epson printer for seamless scanning to email:
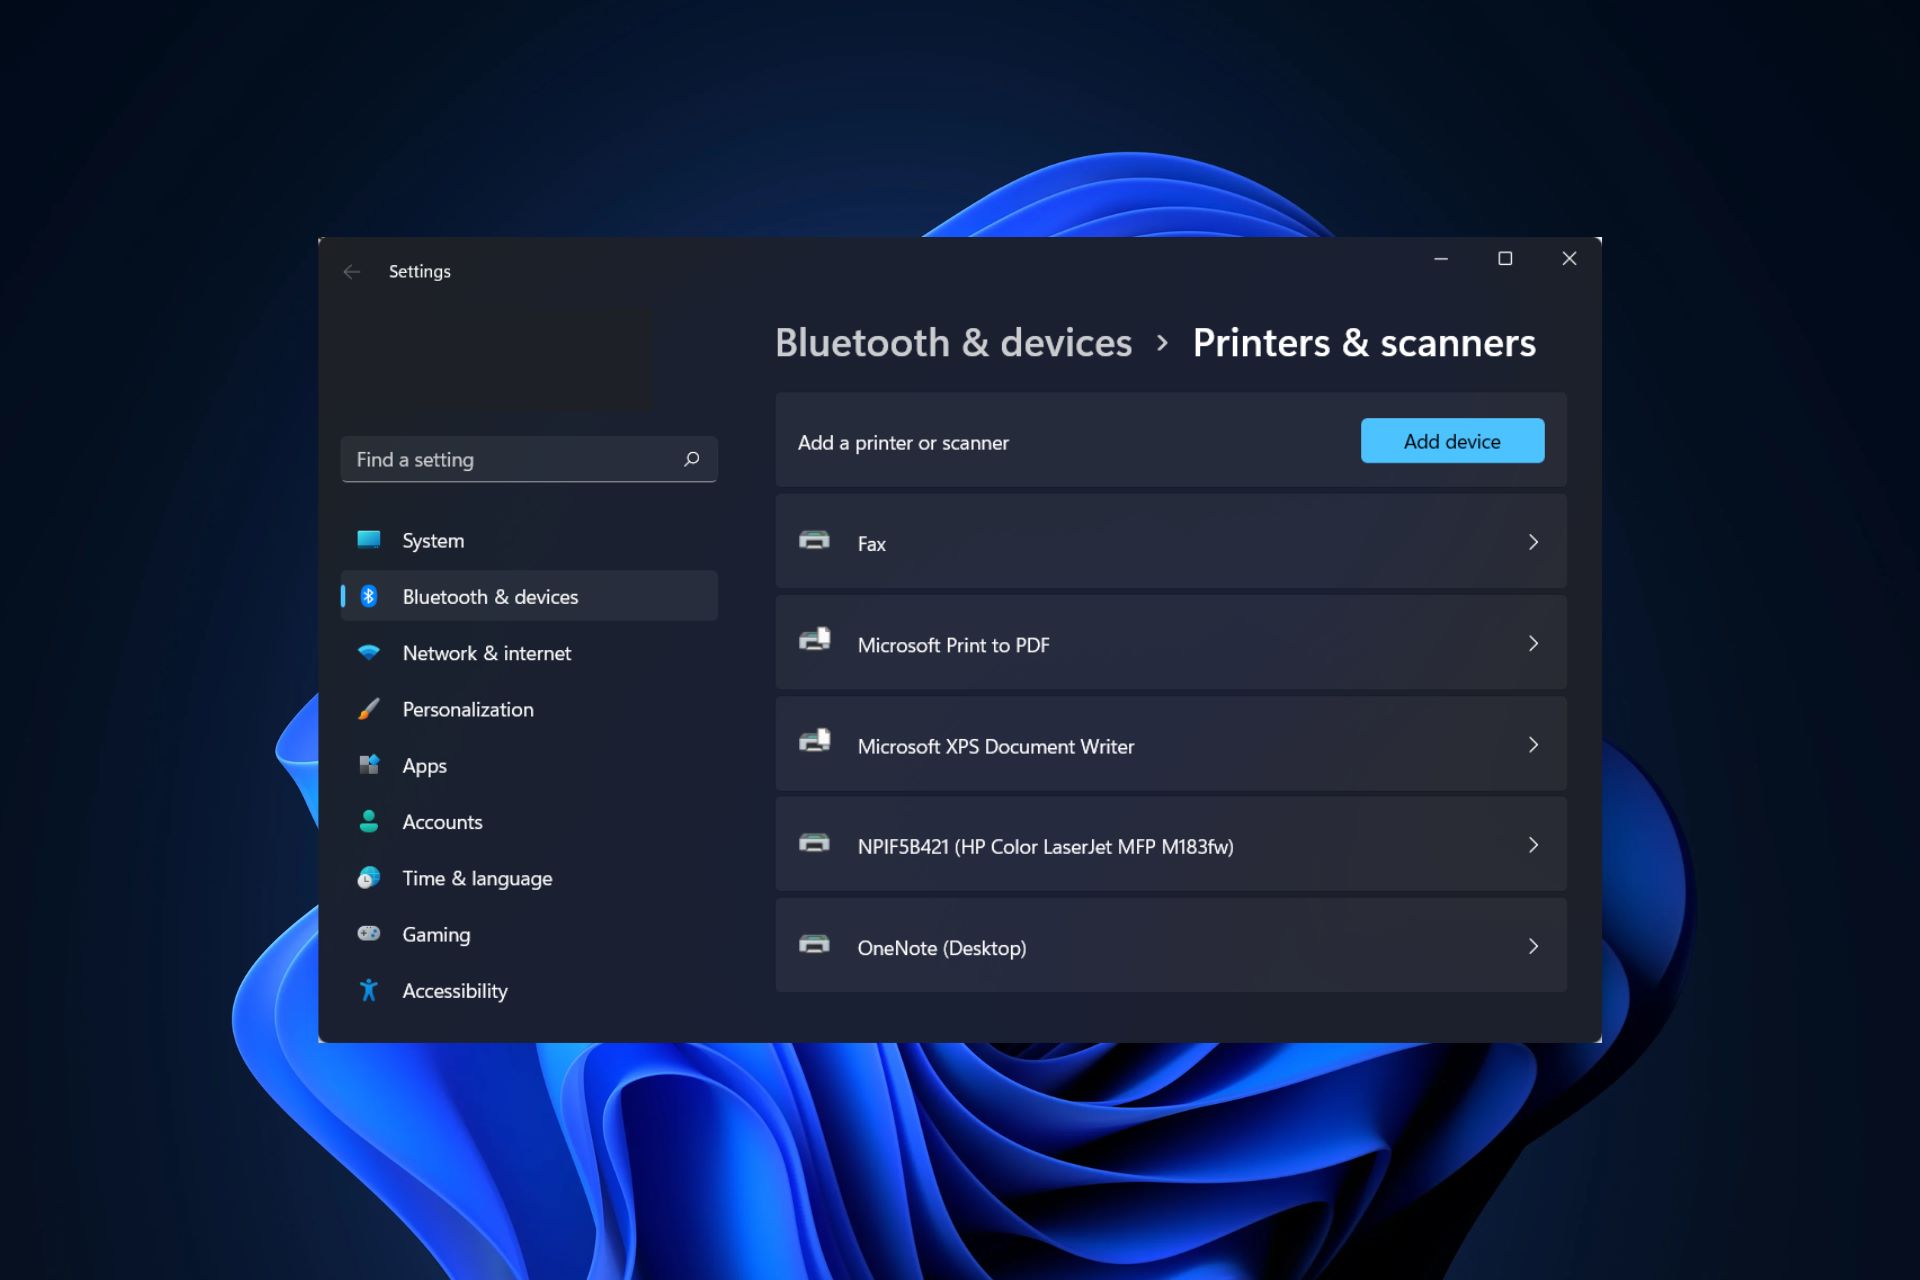
- Connect to a Network: To enable scanning to email functionality, your Epson printer must be connected to a network. This can be achieved by connecting the printer to your Wi-Fi network using the printer’s control panel or touchscreen interface. Alternatively, you can use the Epson Printer Finder app to connect the printer to your network effortlessly.
- Configure Email Settings: Access the printer’s control panel or web interface to configure the email settings. Enter the email address, server details, and authentication credentials for the email account you intend to use for scanning. Ensure that the email settings are accurately entered to facilitate seamless communication between your printer and the email server.
- Test the Connection: After configuring the email settings, perform a test scan to ensure that the connection to the email server is successful. This will help you identify and rectify any potential issues before attempting to scan and email important documents.
- Update Firmware and Software: It’s essential to keep your Epson printer’s firmware and software up to date to ensure optimal performance and compatibility with scanning to email functionality. Check for firmware updates on the Epson support website and install the latest software on your computer or mobile device to streamline the scanning process.
By following these steps, you can prepare your Epson printer for seamless scanning to email, laying the foundation for effortless document digitization and sharing. Once the setup is complete, you’ll be ready to embark on the scanning journey with confidence, knowing that your printer is primed for efficient email communication.
Scanning to email from your Epson printer
With your Epson printer primed and ready for scanning to email, it’s time to explore the straightforward process of digitizing and sharing documents directly from the convenience of your printer. Follow these simple steps to scan to email from your Epson printer:
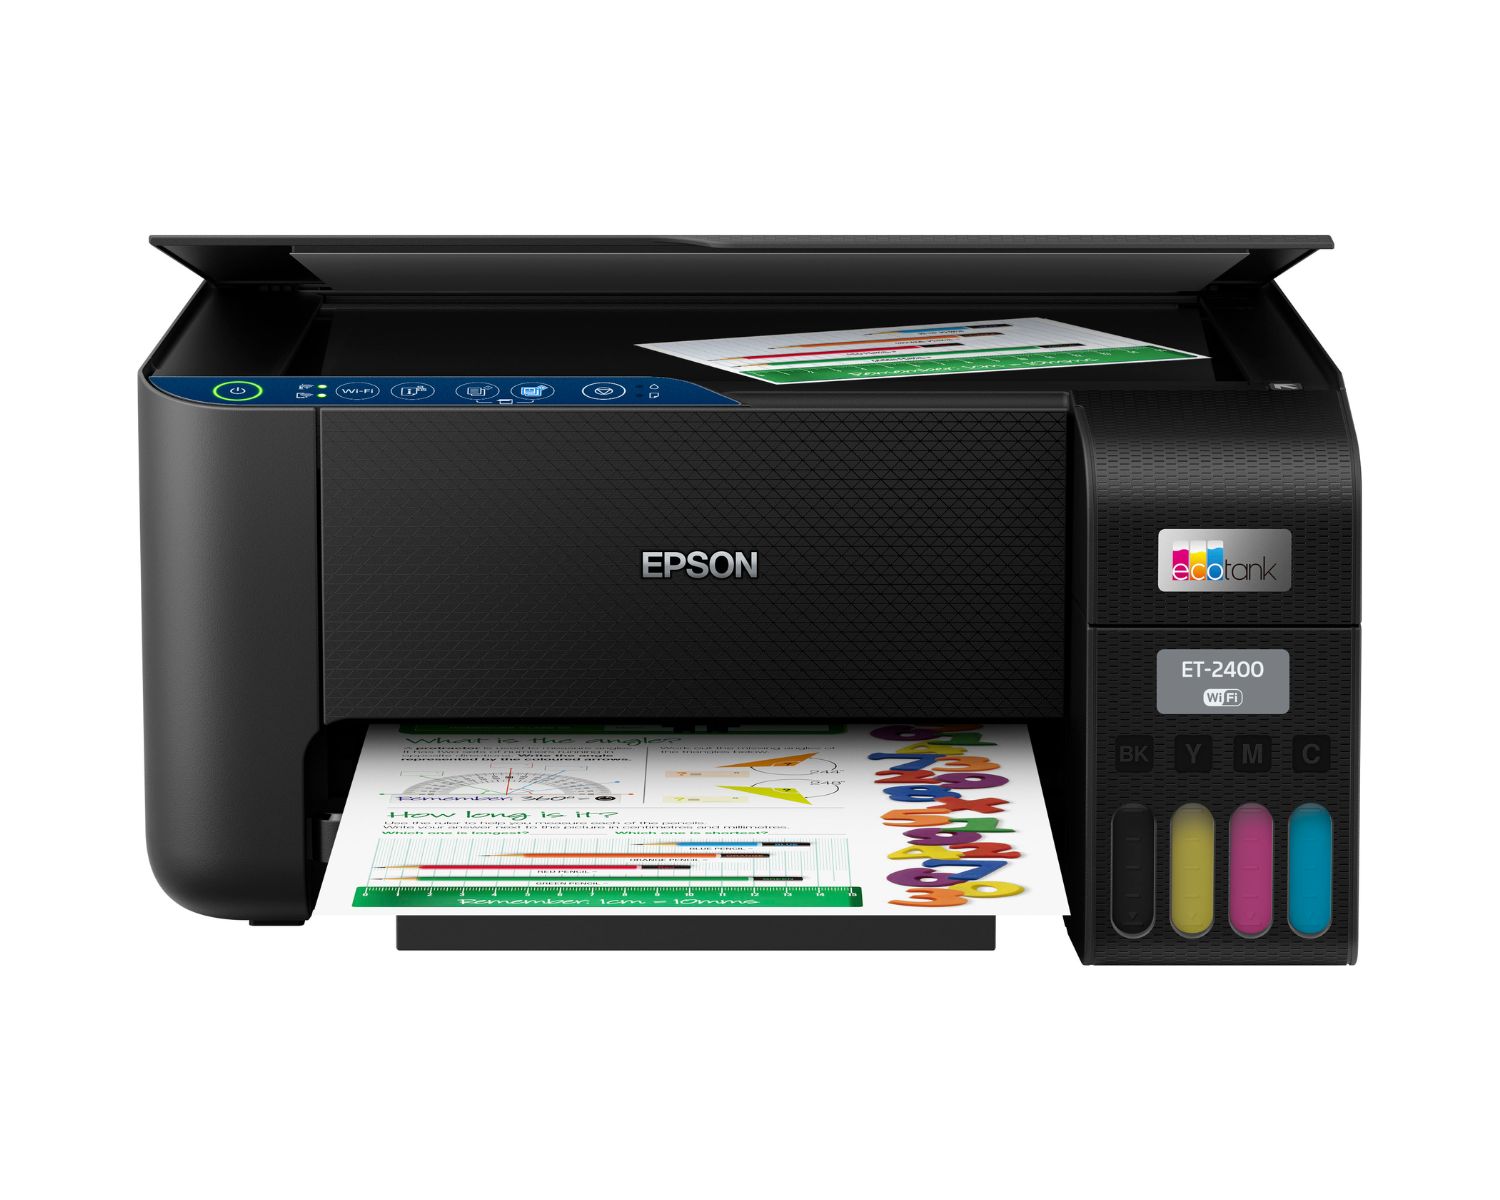
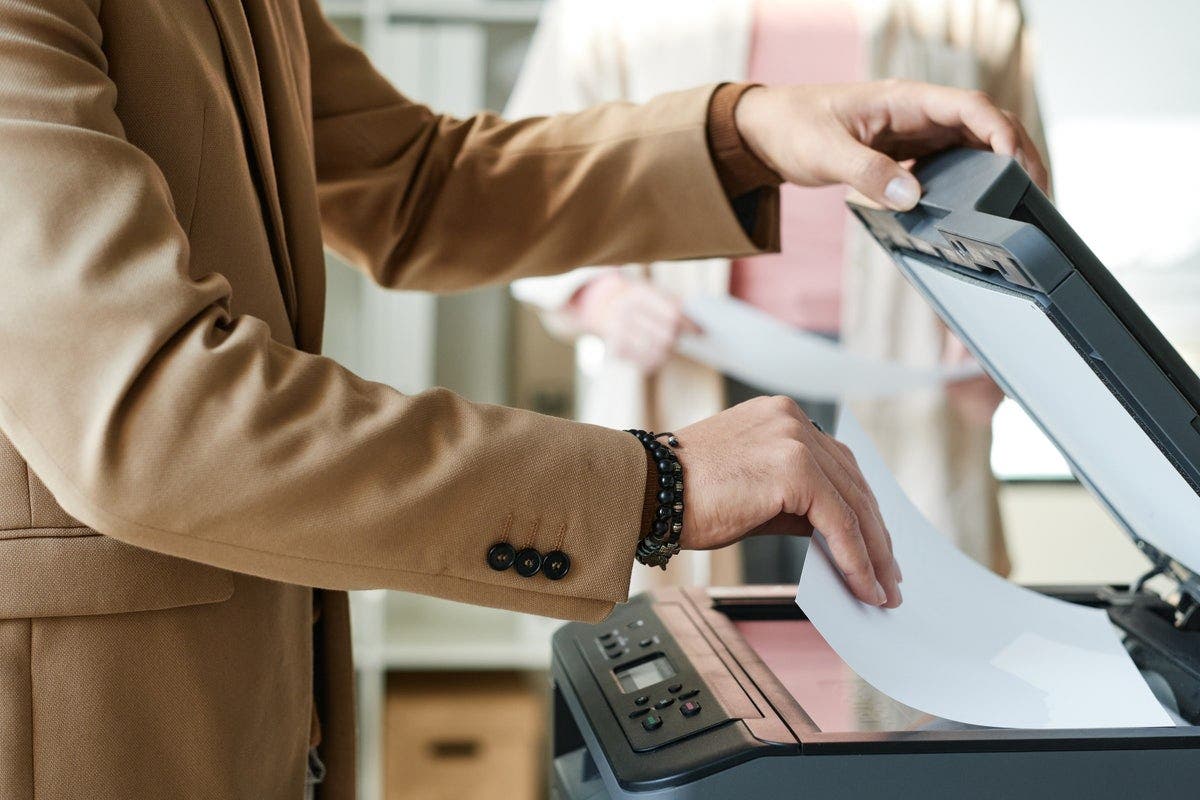
- Prepare the Document: Place the document you wish to scan on the printer’s scanning bed or feeder, ensuring that it is positioned correctly for accurate scanning.
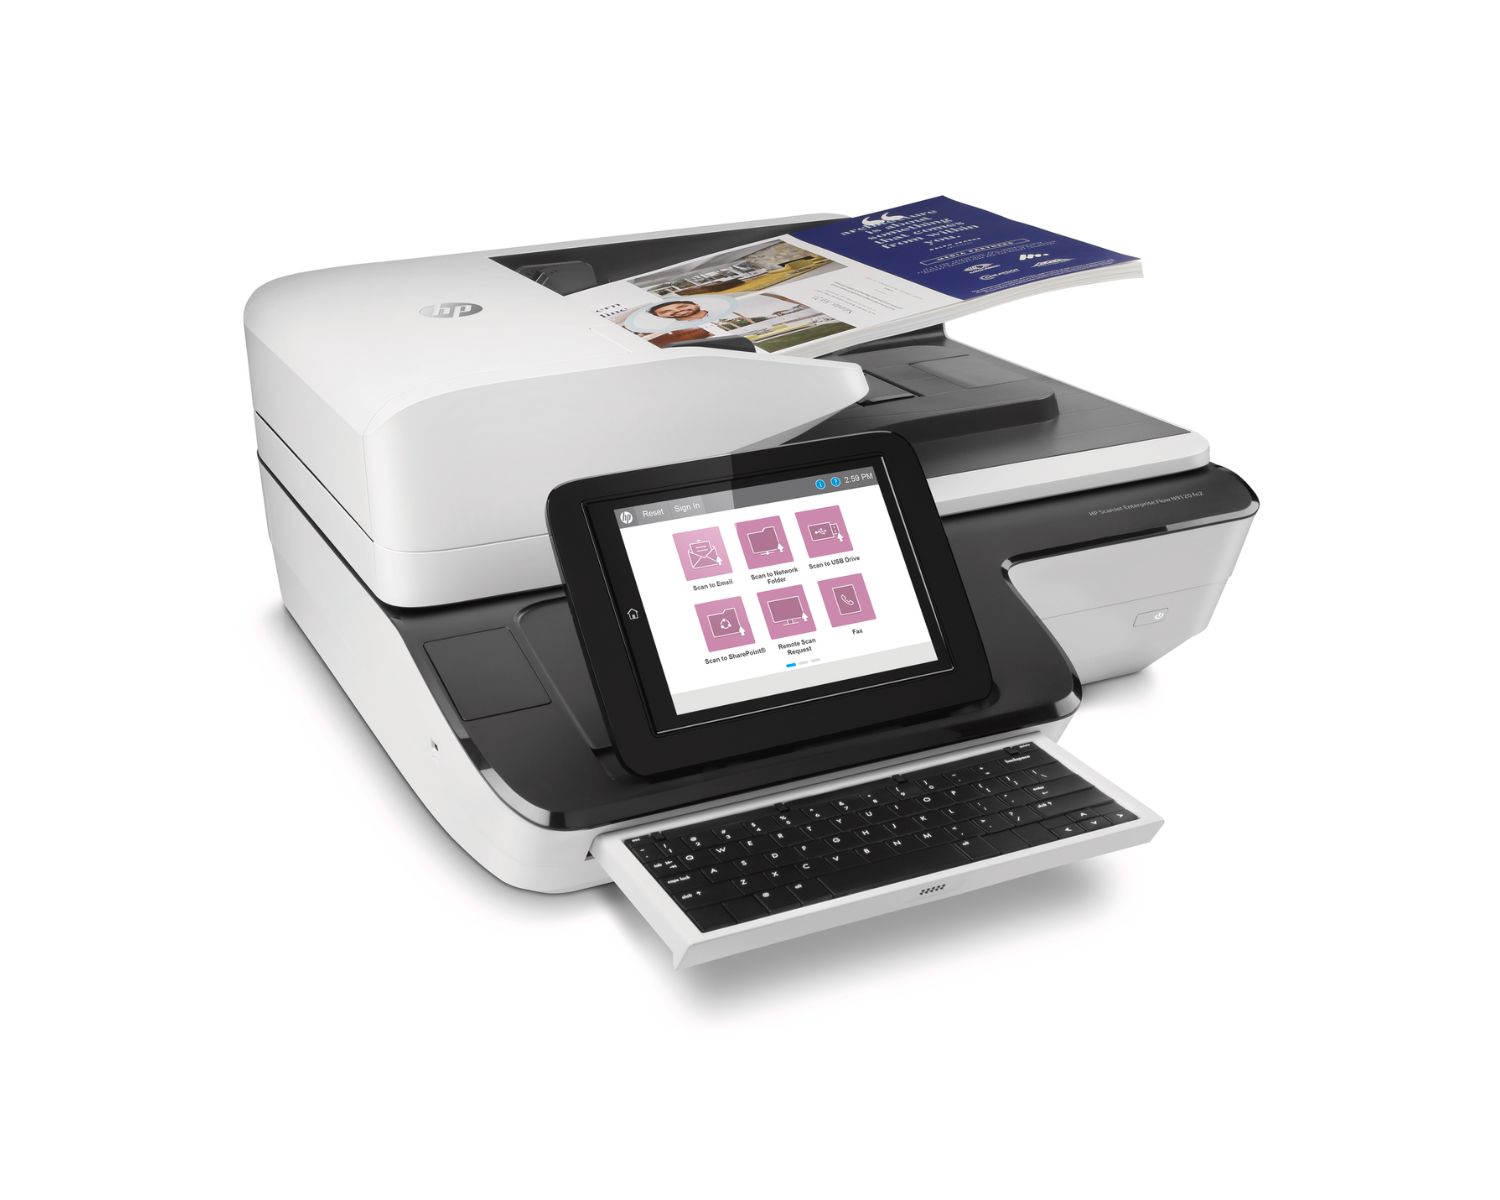
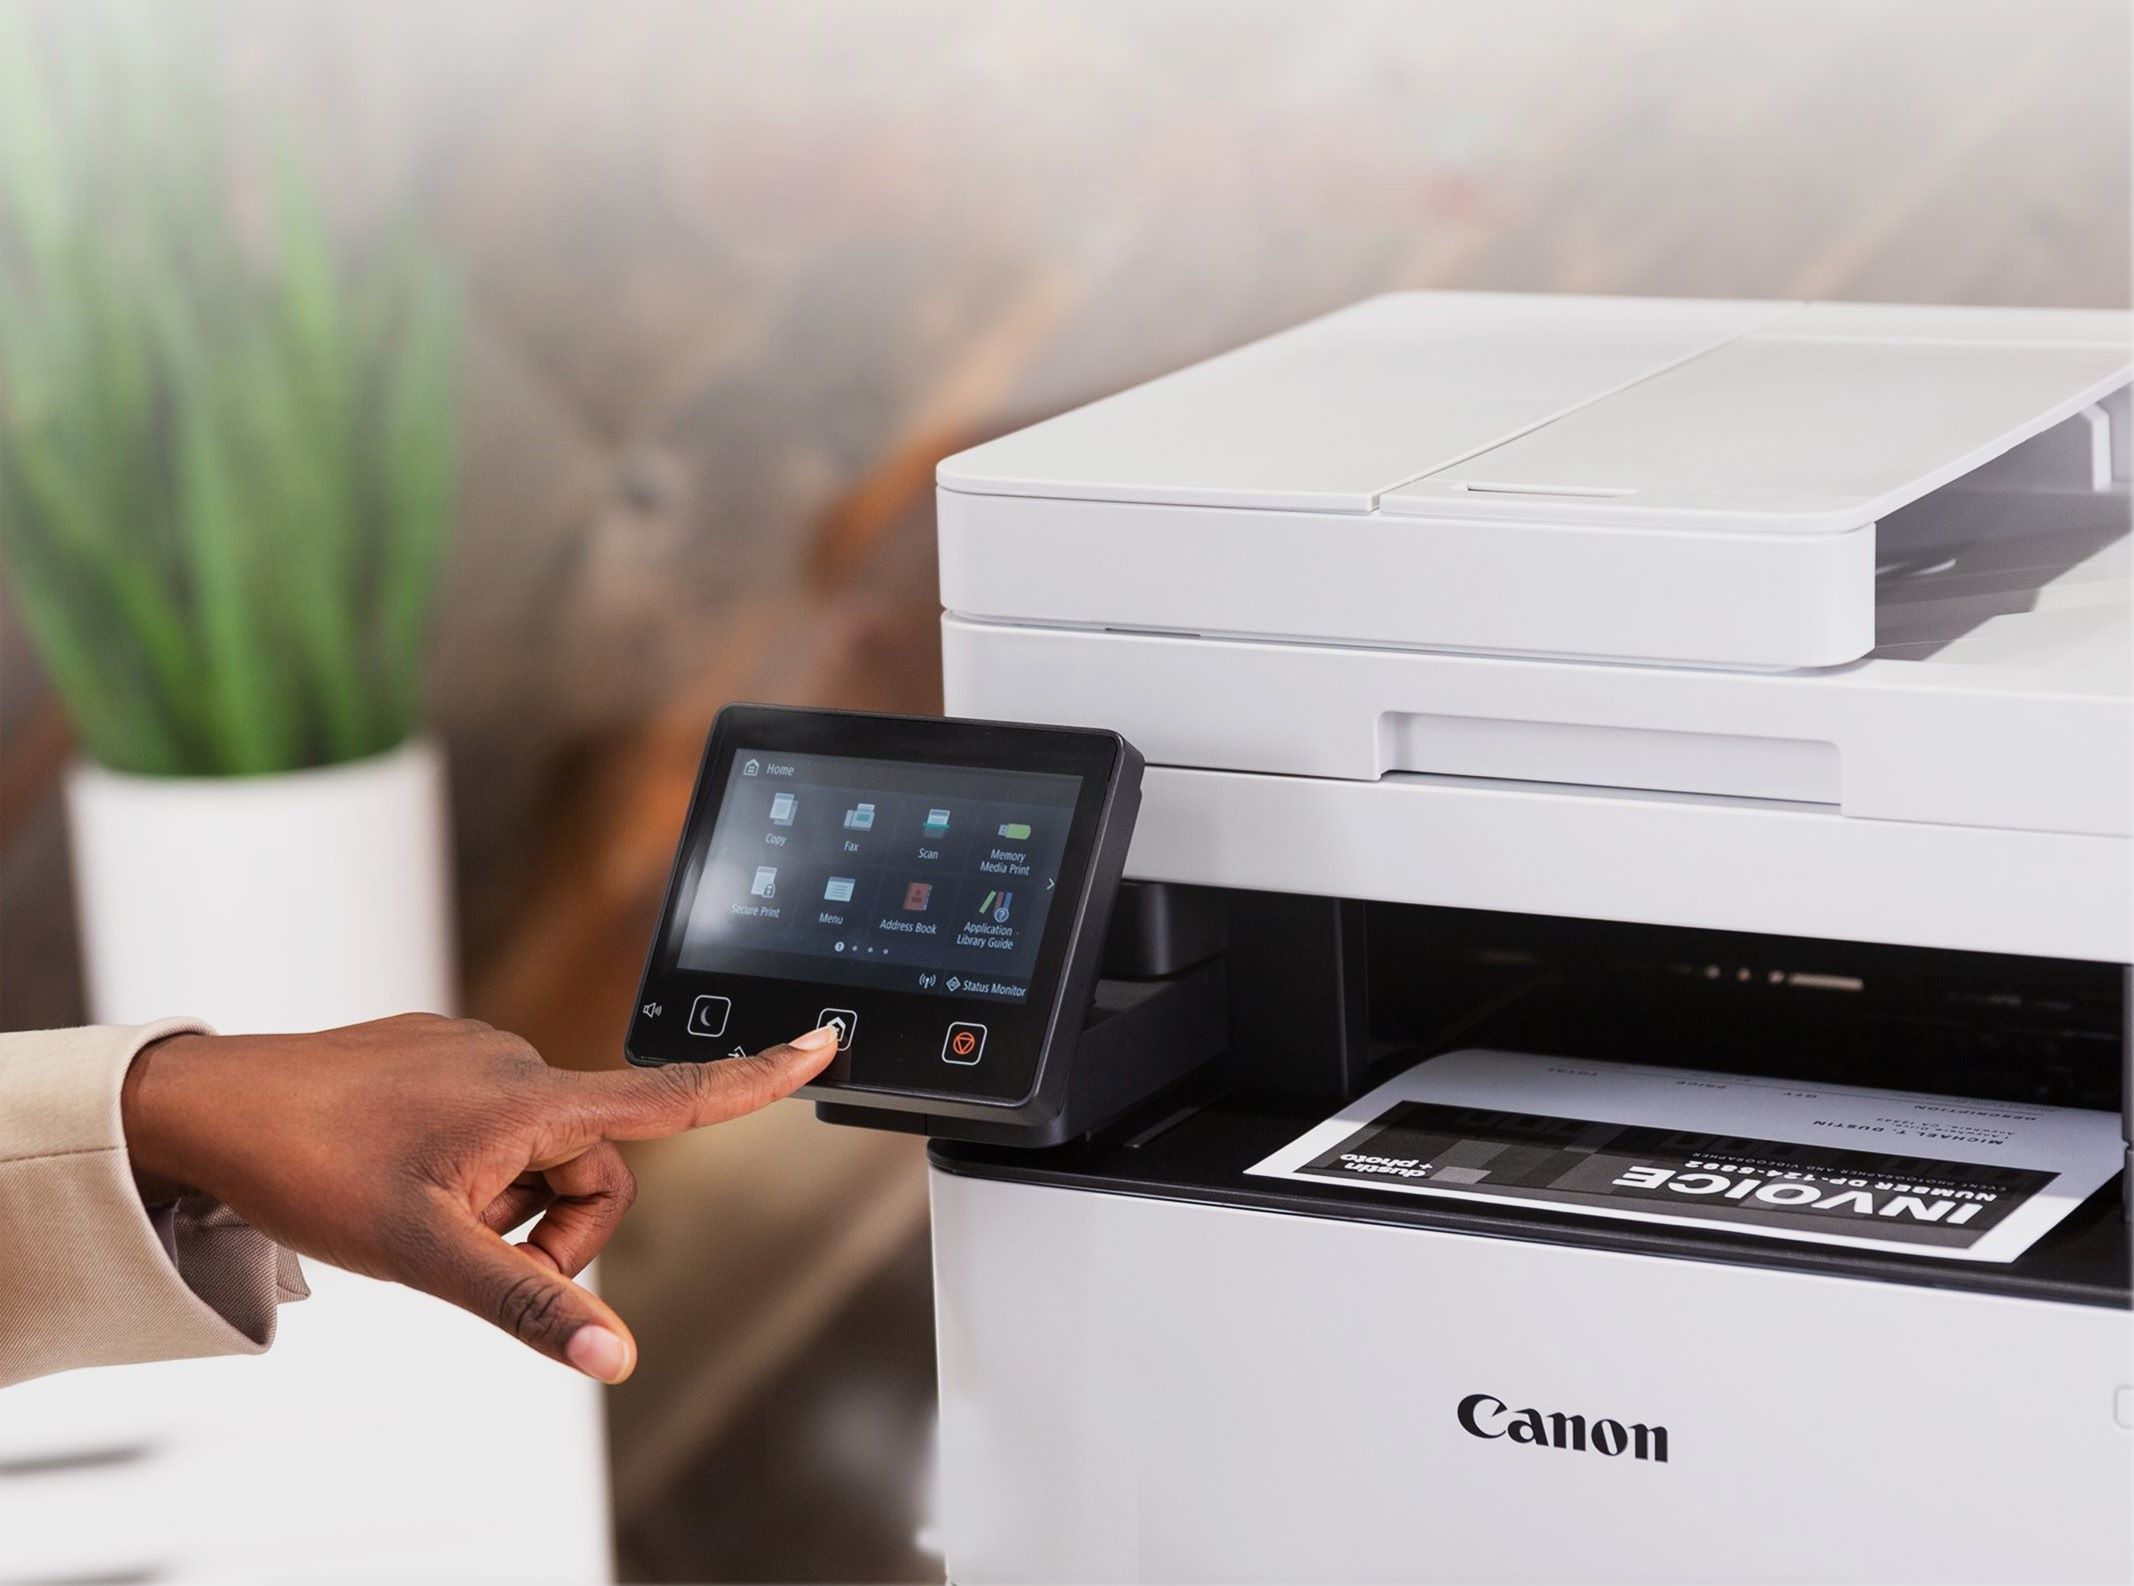
- Access the Scanner Interface: Using the printer’s control panel or the accompanying Epson scanning software on your computer, navigate to the scanning interface to initiate the scanning process.
- Select Email as the Destination: Within the scanning interface, choose the email option as the destination for the scanned document. This will prompt the printer to guide you through the email setup and composition process.
- Configure Email Parameters: Enter the recipient’s email address, subject line, and any additional message you wish to include with the scanned document. Verify the email settings to ensure that the communication parameters align with your preferences.
- Initiate the Scan: Once the email parameters are set, initiate the scanning process. The printer will digitize the document and seamlessly attach it to an email, ready for dispatch to the intended recipient.
- Review and Send: Before sending the email, review the scanned document and the accompanying message to ensure accuracy and completeness. Once satisfied, proceed to send the email directly from your Epson printer.
By following these steps, you can effortlessly scan documents and dispatch them via email directly from your Epson printer, eliminating the need for intermediary devices or complex software. This streamlined process empowers you to digitize and share important documents with unparalleled ease, enhancing your productivity and communication capabilities.
Whether you’re sending business contracts, personal letters, or cherished photographs, the ability to scan to email from your Epson printer simplifies the task, allowing you to focus on the content of your communication rather than the logistics of document digitization.
Make sure your Epson printer is connected to the same network as your email. Use the printer’s control panel to select “Scan to Email,” then enter the recipient’s email address and adjust any settings before scanning.
Troubleshooting common issues
While scanning to email from your Epson printer is designed to be a seamless and user-friendly process, occasional technical hiccups may arise. Here are some common issues you may encounter and the corresponding troubleshooting steps to address them:
- Connection Errors: If your printer encounters connectivity issues when attempting to send scanned documents via email, ensure that it is properly connected to the network. Check the Wi-Fi or Ethernet connection and verify that the printer’s network settings are accurate. Restarting the printer and your network router may also resolve temporary connectivity issues.
- Email Authentication Failures: If the printer reports authentication failures when attempting to send emails, double-check the email account settings configured on the printer. Verify the accuracy of the email address, password, and server details. If using two-factor authentication, ensure that the printer’s access to the email account is authorized.
- Scan Quality Issues: In the event of subpar scan quality, such as blurry or distorted images, ensure that the document is positioned correctly on the scanning bed or feeder. Clean the scanner glass to remove any smudges or debris that may affect the scan quality. Additionally, adjust the scanning settings on the printer’s interface or accompanying software to optimize the scan quality.
- Software Compatibility Problems: If you encounter software compatibility issues when attempting to initiate scans or send emails, ensure that the printer’s software and firmware are up to date. Check for updates on the Epson support website and install the latest software patches to ensure seamless compatibility with your operating system and email client.
- Email Delivery Failures: If emails containing scanned documents fail to reach their intended recipients, verify the accuracy of the recipient’s email address and check your email account’s sent items or outbox to confirm whether the email was successfully dispatched from the printer. Additionally, check your email server’s spam or junk mail folder to ensure that the scanned documents are not being filtered as spam.
By addressing these common issues with practical troubleshooting steps, you can overcome technical hurdles and ensure that your scanning to email experience remains smooth and efficient. Should you encounter persistent challenges beyond the scope of these troubleshooting steps, consider reaching out to Epson customer support for personalized assistance tailored to your specific printer model and setup.
Conclusion
Embarking on the journey of scanning to email from your Epson printer opens up a world of convenience, efficiency, and seamless communication. With the ability to effortlessly digitize and dispatch documents directly from your printer, you are empowered to streamline your workflow and elevate your communication capabilities.
By setting up your Epson printer for scanning to email and familiarizing yourself with the simple yet effective scanning process, you have unlocked a powerful tool that transcends traditional document handling. Whether you’re a business professional sharing contracts and reports, a creative individual sending artwork and photographs, or a home user sharing personal letters and invitations, the scanning to email functionality of your Epson printer enriches your communication experience.
As with any technological endeavor, the occasional troubleshooting may be necessary to address connectivity, quality, or compatibility issues. However, armed with the knowledge and practical solutions outlined in this guide, you are well-prepared to navigate and overcome these challenges, ensuring that your scanning to email experience remains seamless and reliable.
Ultimately, the versatility and convenience of scanning to email from your Epson printer epitomize the intersection of innovation and practicality, enhancing your ability to connect, share, and communicate with unparalleled ease. Whether in a professional or personal context, the ability to digitize and dispatch documents directly from your printer represents a significant leap forward in simplifying and enhancing your daily tasks.
As you continue to harness the capabilities of your Epson printer, may the seamless scanning to email functionality serve as a testament to the power of smart home devices in enriching and simplifying our lives, one document at a time.
Excited about getting the most out of your Epson printer? Don't stop learning after mastering scanning to email. Dive deeper and find out which models are hitting the mark in our upcoming guide, "13 Amazing Epson Printer For 2024." Whether you're upgrading or buying for the first time, this article will help you pick the perfect device to fit your needs and enhance your printing experience. Check it out and stay ahead in the world of home printing!
Frequently Asked Questions about How To Scan To Email From Epson Printer
Was this page helpful?
At Storables.com, we guarantee accurate and reliable information. Our content, validated by Expert Board Contributors, is crafted following stringent Editorial Policies. We're committed to providing you with well-researched, expert-backed insights for all your informational needs.


0 thoughts on “How To Scan To Email From Epson Printer”