Home>Technology>Smart Home Devices>How To Scan Pictures From Printer To Computer

Smart Home Devices
How To Scan Pictures From Printer To Computer
Published: January 22, 2024
Learn how to easily scan pictures from your printer to your computer using smart home devices. Streamline your scanning process today!
(Many of the links in this article redirect to a specific reviewed product. Your purchase of these products through affiliate links helps to generate commission for Storables.com, at no extra cost. Learn more)
Introduction
Welcome to the digital age, where the ability to effortlessly capture and preserve precious memories is at your fingertips. In today's world, scanning pictures from a printer to a computer has become a fundamental skill for anyone seeking to safeguard and share their cherished photographs. Whether you're a photography enthusiast, a family historian, or simply looking to digitize your collection, this guide will walk you through the process with ease.
In the following steps, you will learn how to seamlessly transfer physical photographs onto your computer, allowing you to store, edit, and share them digitally. By following these simple instructions, you can breathe new life into old memories and ensure their preservation for generations to come.
So, gather your favorite pictures and let's embark on this journey of digitizing and preserving your precious memories. Whether it's a vintage family portrait, a scenic snapshot, or a candid moment frozen in time, the steps outlined in this guide will empower you to effortlessly transition from physical prints to digital files. Let's dive in and unlock the potential of your printer and computer to transform your photo collection into a digital treasure trove.
Key Takeaways:
- Preserve your cherished memories by scanning pictures from your printer to your computer, ensuring they remain vivid and accessible for future generations to cherish.
- Seamlessly integrate your digitized pictures into the digital fabric of modern life, empowering you to share, enhance, and creatively interact with your photo collection.
Step 1: Prepare the Printer and Computer
Before diving into the process of scanning pictures from your printer to the computer, it is crucial to ensure that both devices are ready for the task at hand. Here’s how to prepare your printer and computer for a seamless scanning experience:
- Check Printer Connectivity: Start by ensuring that your printer is properly connected to your computer. Whether it’s via a USB cable, wireless network, or Bluetooth, a stable connection is essential for successful communication between the devices.
- Power On the Printer: Ensure that the printer is powered on and in a ready state. This includes checking the printer’s display or indicator lights to confirm that it is operational and ready to receive commands.
- Check Ink and Paper: Verify that the printer has an adequate supply of ink or toner and that there is sufficient paper loaded in the tray. This ensures that the scanning process can proceed without interruptions due to low ink levels or paper jams.
- Prepare the Computer: On the computer side, ensure that the necessary scanning software is installed. Most printers come with bundled software that includes scanning capabilities. If not, you may need to download and install the appropriate drivers and scanning applications from the printer manufacturer’s website.
- Ensure Adequate Storage: Before initiating the scanning process, make sure that your computer has sufficient storage space to accommodate the scanned images. This prevents any interruptions due to insufficient disk space and ensures that your pictures are safely preserved on the computer.
By taking these preparatory steps, you can set the stage for a smooth and efficient scanning process. Ensuring that both your printer and computer are ready will minimize potential hiccups and allow you to focus on capturing high-quality digital copies of your cherished photographs.
Step 2: Place the Picture on the Scanner
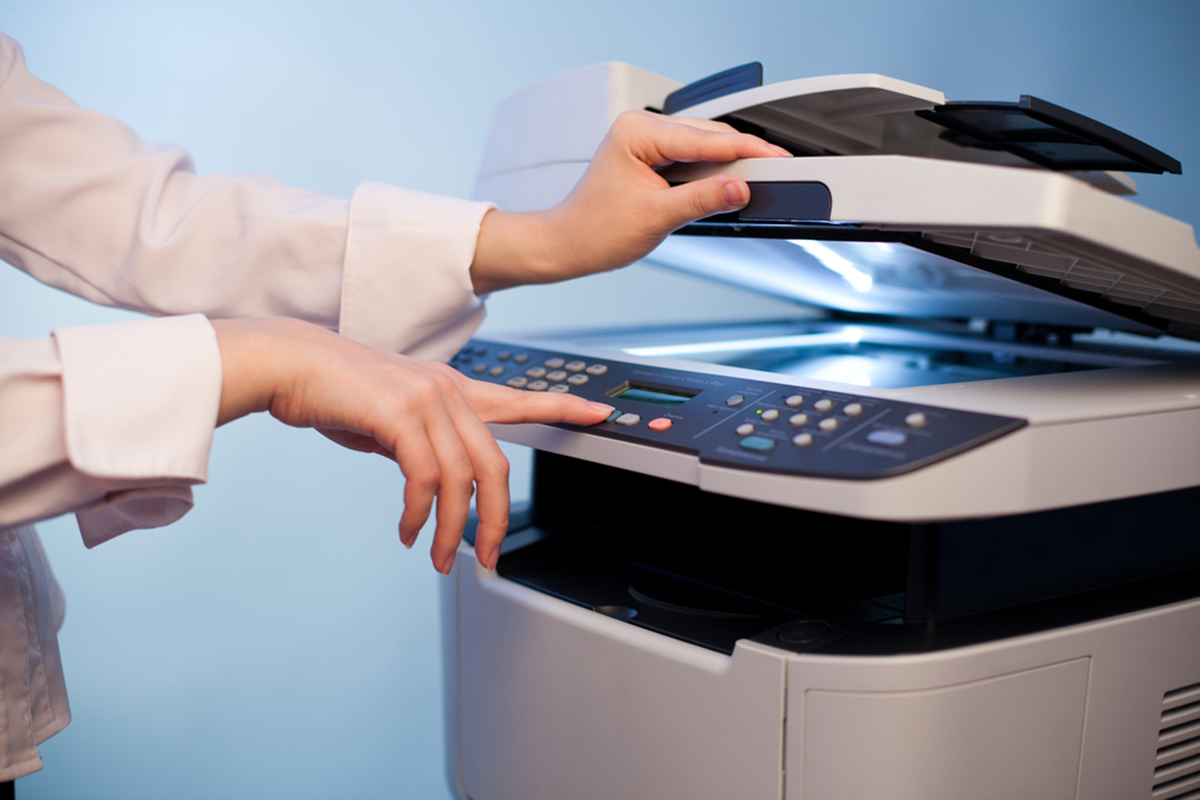
With the printer and computer prepared for the scanning process, the next step is to position the picture on the scanner bed. This step requires attention to detail to ensure that the scanned image accurately captures the essence of the original photograph. Here’s how to properly place the picture on the scanner:
- Clean the Scanner Bed: Before placing the picture, ensure that the scanner bed is clean and free of any dust or debris. A quick wipe with a soft, lint-free cloth can help eliminate potential blemishes on the scanned image.
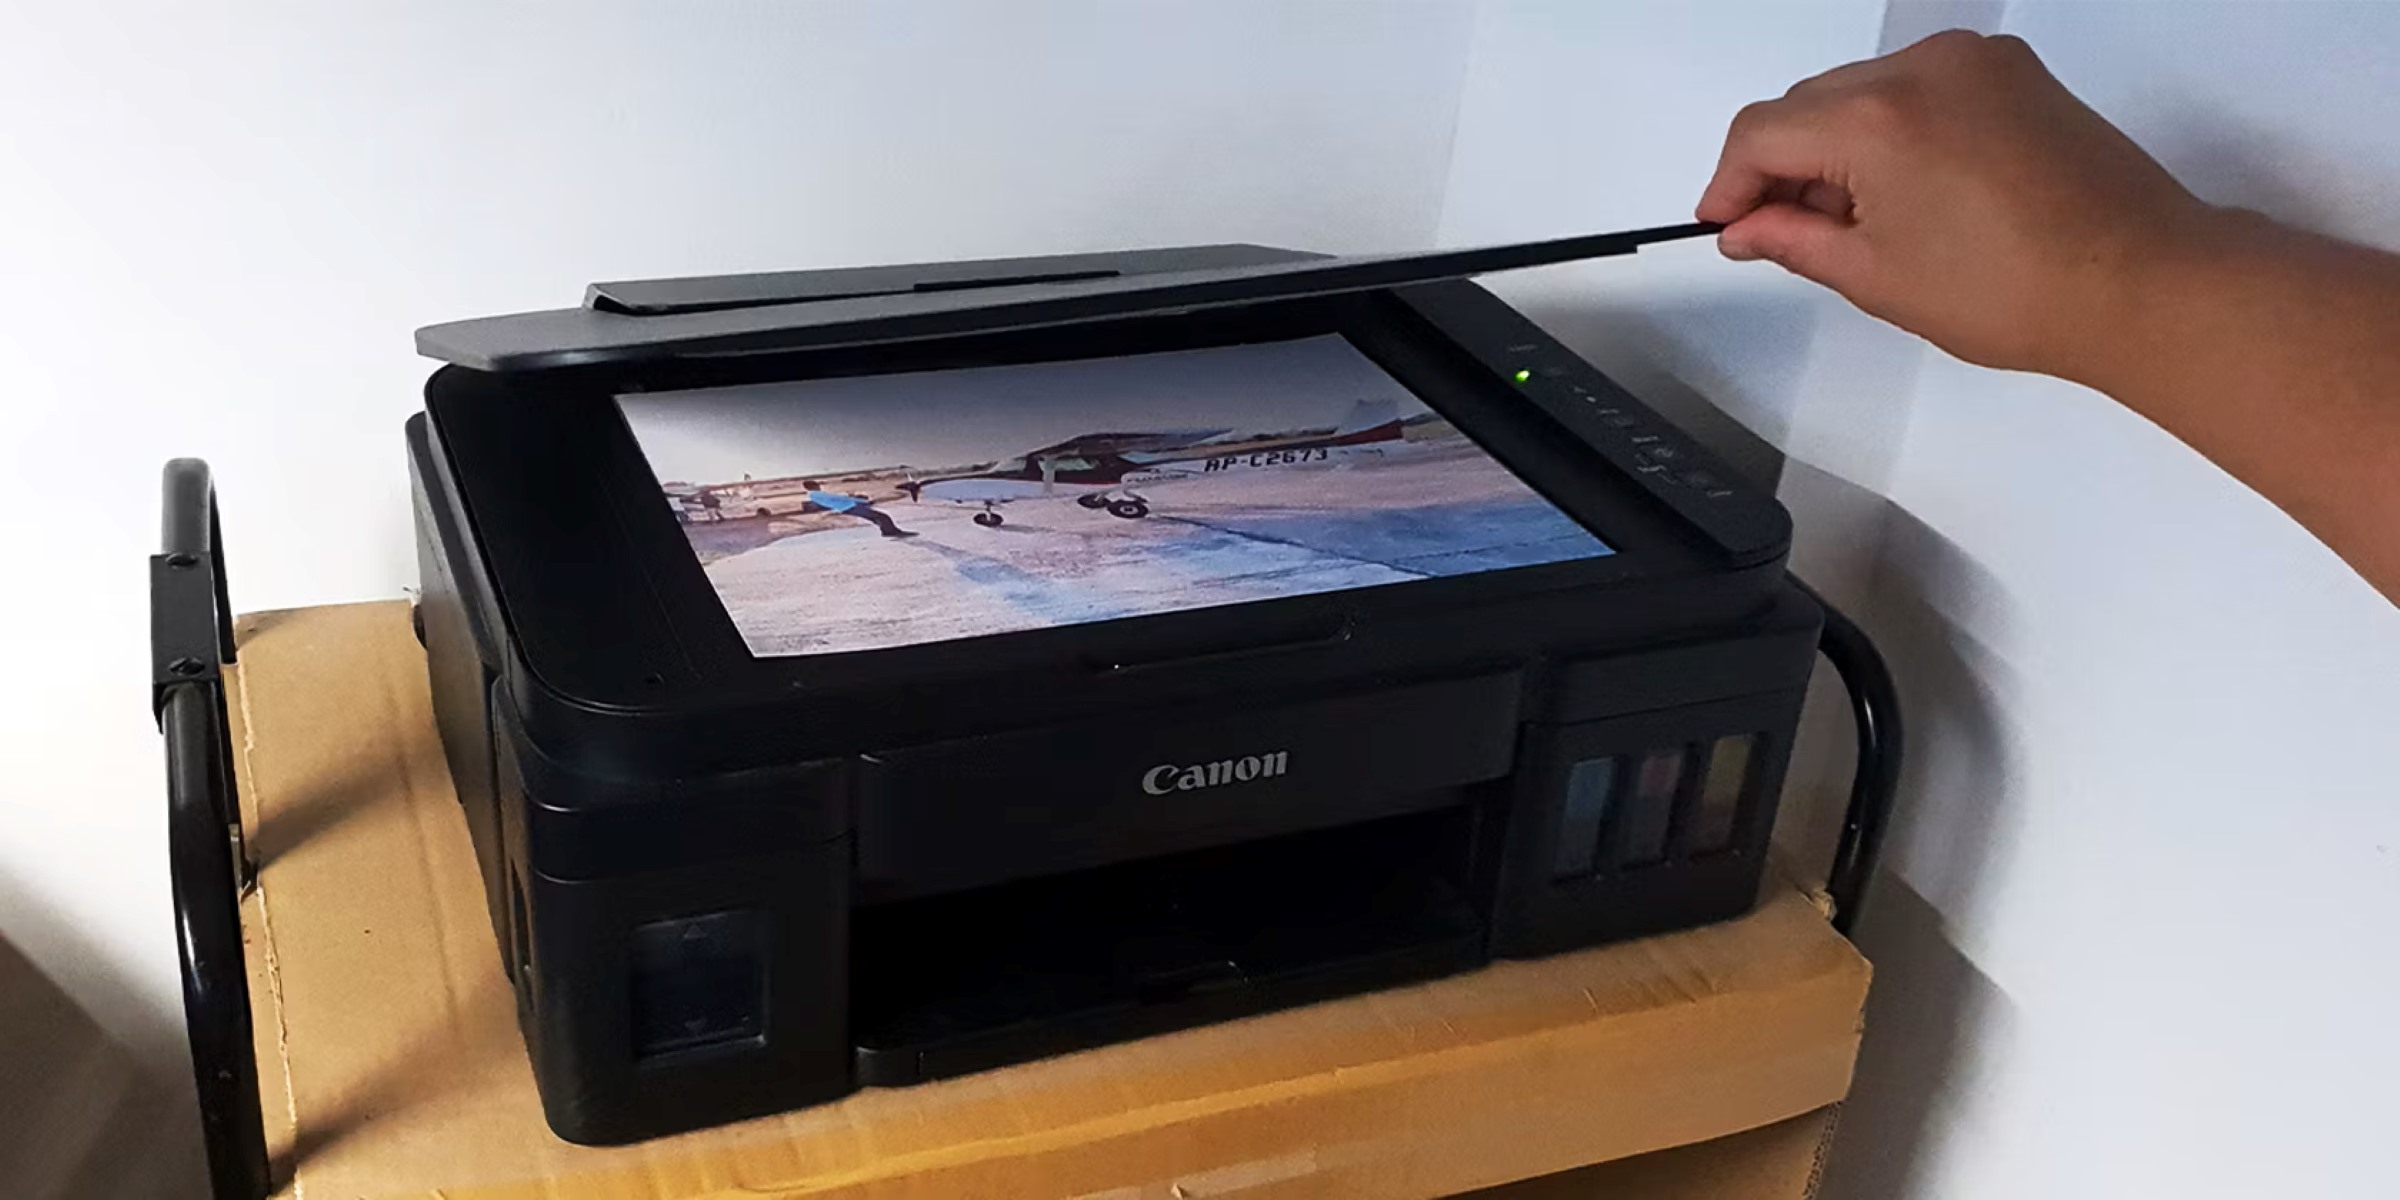
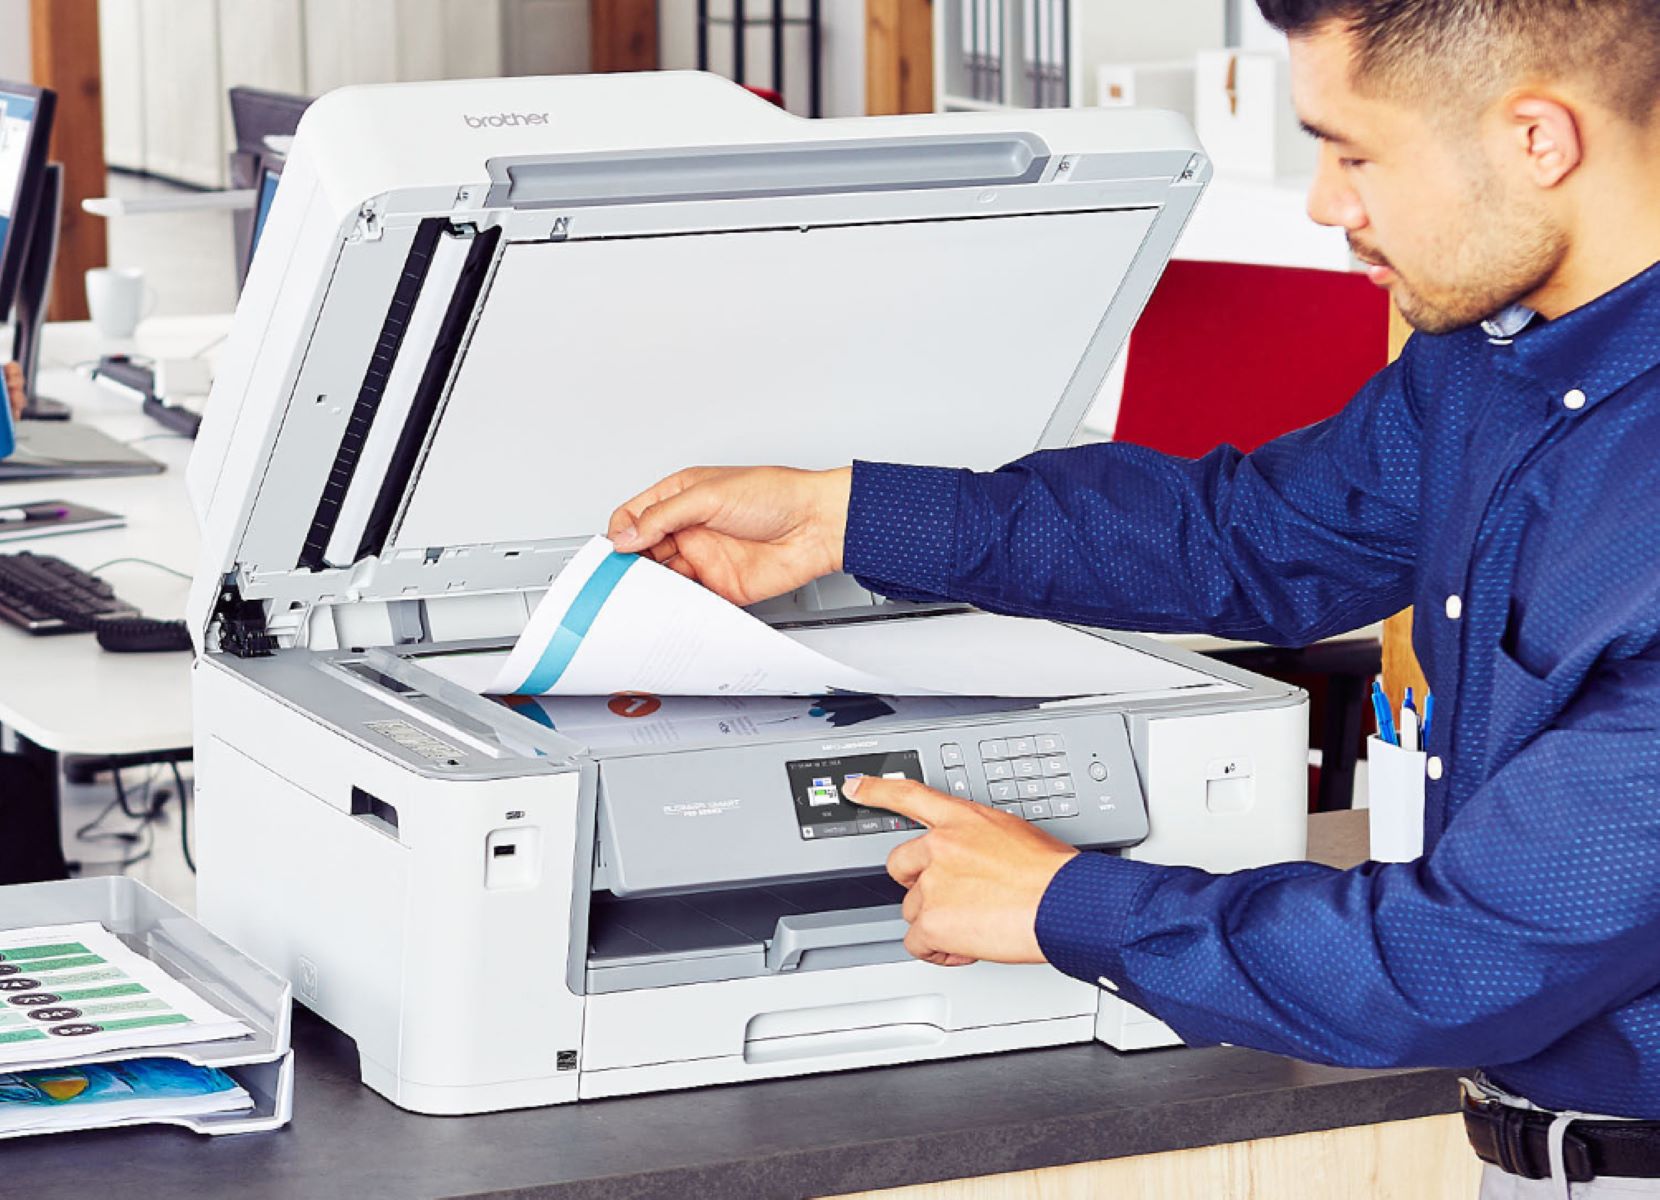
- Position the Picture: Carefully place the picture face down on the scanner bed. Ensure that it is aligned with the edges of the bed to prevent any cropping of the image during the scanning process.
- Use a Cover if Necessary: If the picture is delicate or prone to damage, consider using a transparent cover or a protective sheet to shield it from direct contact with the scanner glass. This extra precaution can help preserve the integrity of the original photograph.
- Consider Orientation: Depending on the orientation of the picture, ensure that it is placed in the desired position for scanning. Whether it’s a landscape or portrait orientation, positioning the picture correctly will result in a scanned image that accurately reflects the original layout.
- Avoid Overlapping: If scanning multiple pictures in a single session, ensure that they do not overlap on the scanner bed. Each picture should have adequate space around it to facilitate individual scanning and cropping if needed.
By carefully placing the picture on the scanner bed and paying attention to these details, you can set the stage for capturing high-quality digital scans that faithfully represent the original photographs. This step lays the foundation for producing digital copies that preserve the essence and visual appeal of your cherished memories.
Step 3: Open the Scanning Software
Once the picture is properly positioned on the scanner bed, the next crucial step is to open the scanning software on your computer. This software serves as the interface through which you can control the scanning process, adjust settings, and preview the scanned image before saving it to your computer. Here’s how to open the scanning software and prepare for the next stages of the process:
- Launch the Scanning Application: Locate and open the scanning application on your computer. This may be a standalone scanning software provided by the printer manufacturer or a built-in scanning feature within the printer management software.
- Initiate the Scanning Process: Once the scanning software is launched, look for options to begin the scanning process. This typically involves clicking on a “Scan” or “Start” button within the software’s interface.
- Choose Scanning Settings: Depending on the scanning software, you may have the option to adjust settings such as resolution, color mode, and file format. Consider the desired quality and file size of the scanned image when configuring these settings.
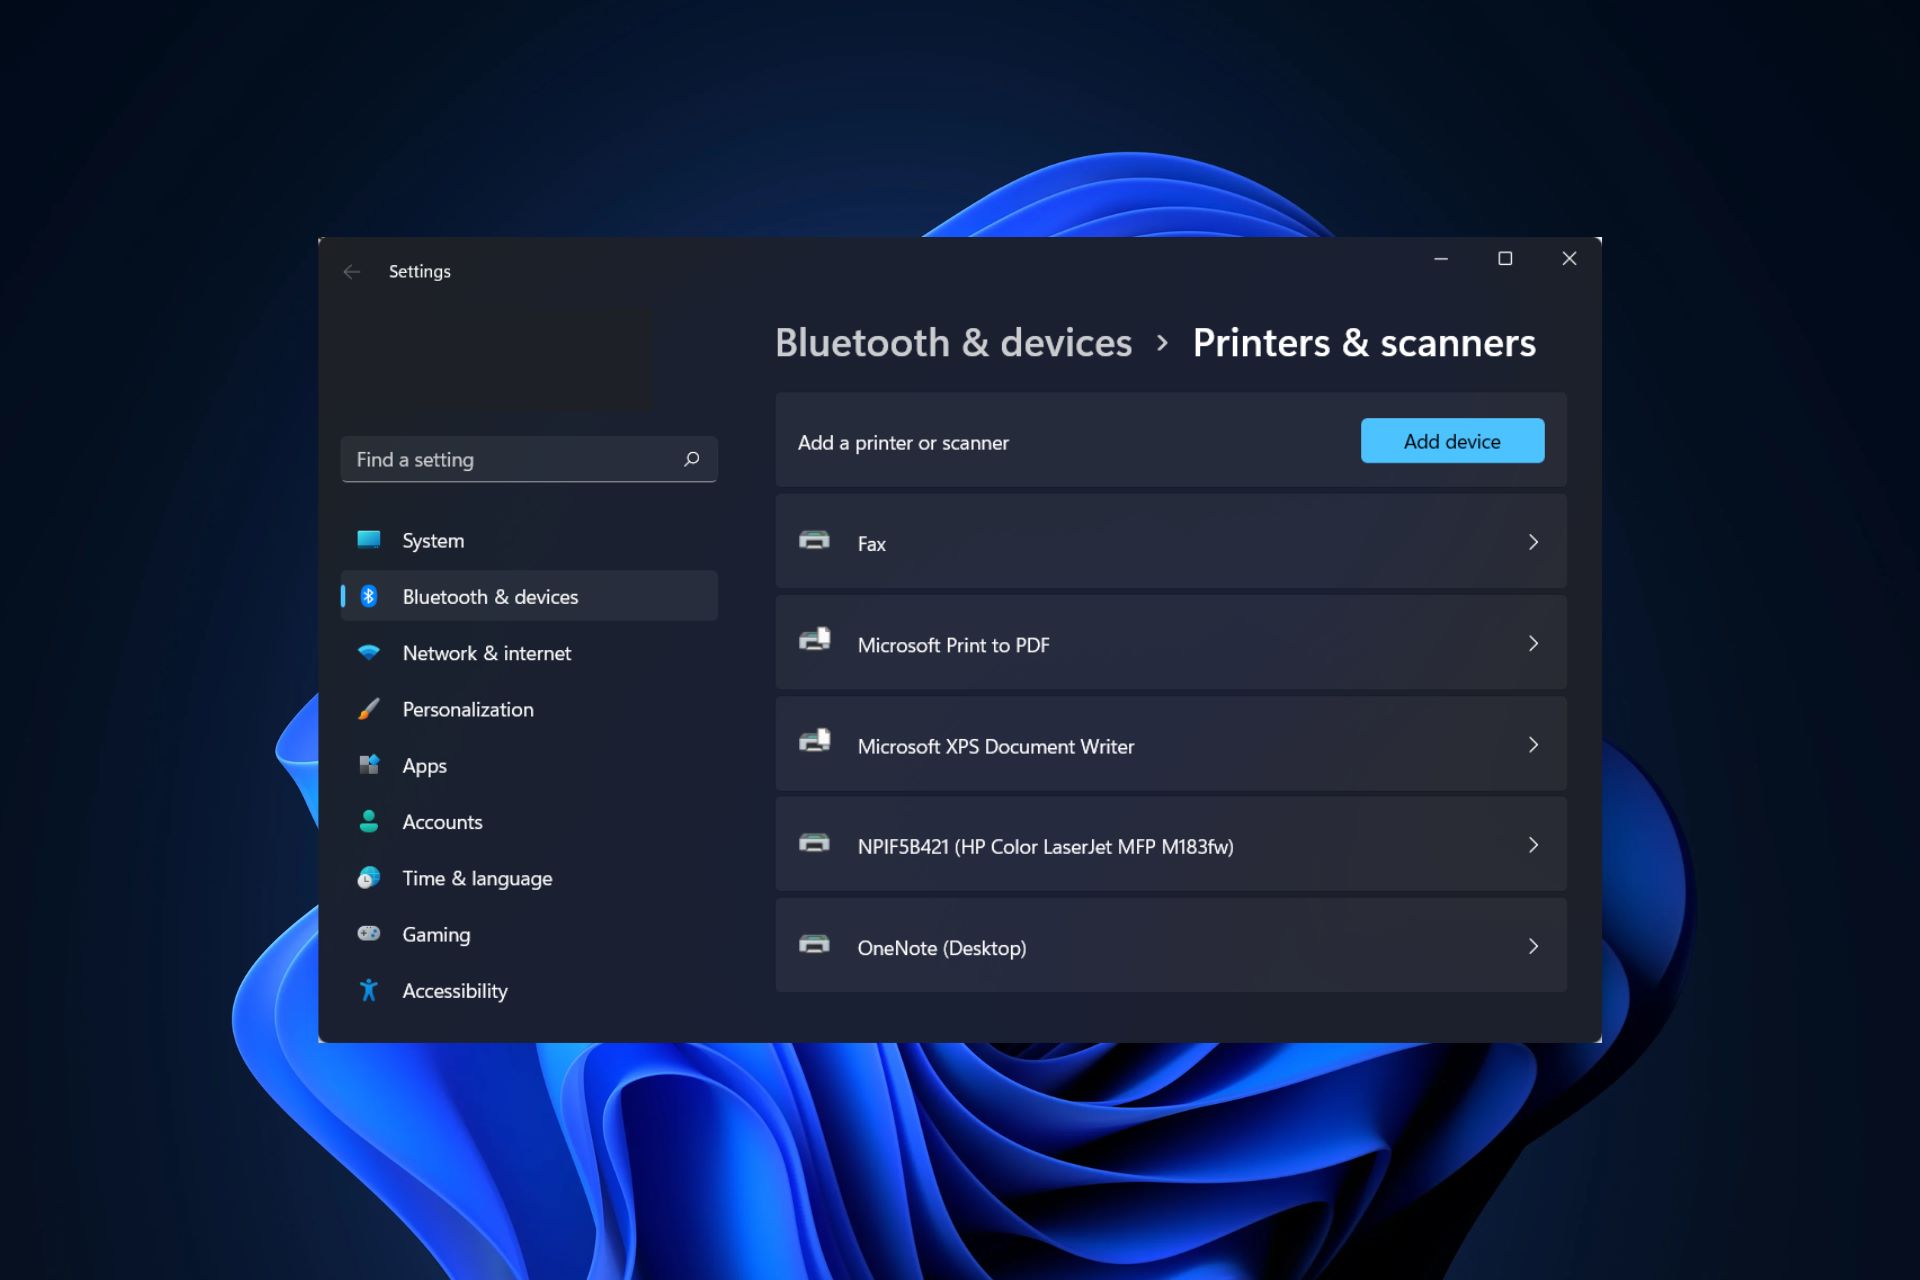
- Select the Scanner: If your computer is connected to multiple scanners or multifunction devices, ensure that the correct scanner is selected within the scanning software. This ensures that the scanning commands are directed to the intended device.
- Preview the Scanned Image: Some scanning software allows you to preview the scanned image before finalizing the process. Take advantage of this feature to ensure that the positioning and quality of the scanned picture meet your expectations.
By opening the scanning software and navigating through its features, you can take control of the scanning process and tailor the settings to your preferences. This step sets the stage for fine-tuning the scanning parameters and previewing the soon-to-be-digitized version of your cherished photograph.
Make sure your printer is connected to your computer. Place the picture face down on the scanner bed. Open the scanning software on your computer and select the option to scan a photo. Choose the appropriate settings and click scan. Save the scanned picture to your computer.
Step 4: Adjust Settings and Preview the Picture
As the scanning software is open and ready, it’s time to delve into the process of adjusting settings and previewing the picture before initiating the scan. This step allows you to fine-tune the scanning parameters to ensure that the resulting digital copy faithfully represents the original photograph. Here’s how to adjust settings and preview the picture:
- Resolution and Quality: Consider the desired resolution and quality of the scanned image. Higher resolutions result in more detailed scans but may also produce larger file sizes. Adjust the resolution settings based on your intended use for the scanned picture, whether it’s for online sharing or high-quality printing.
- Color Mode: Depending on the nature of the picture, choose the appropriate color mode for scanning. Options typically include color, grayscale, and black-and-white. Select the mode that best preserves the visual characteristics of the original photograph.
- File Format: Determine the file format for the scanned image. Common formats include JPEG, PNG, and TIFF. Consider the compatibility and intended use of the scanned picture when selecting the file format.
- Preview the Picture: Utilize the preview feature within the scanning software to view the scanned image before finalizing the process. This allows you to assess the positioning, clarity, and overall appearance of the scanned picture.
- Make Adjustments if Necessary: If the preview reveals any discrepancies or areas for improvement, take advantage of the software’s editing features to make adjustments. This may include cropping, color correction, or enhancing the sharpness of the scanned image.
By carefully adjusting the scanning settings and previewing the picture, you can ensure that the resulting digital copy captures the essence and visual fidelity of the original photograph. This step empowers you to tailor the scanning process to meet your specific preferences and requirements, setting the stage for a high-quality digital reproduction of your cherished picture.
Read more: How To Scan From Printer To Computer On Mac
Step 5: Scan the Picture
With the scanning software settings adjusted and the picture previewed to your satisfaction, it’s time to initiate the scanning process. This pivotal step brings your physical photograph into the digital realm, preserving it as a high-quality image on your computer. Here’s how to scan the picture from the printer to your computer:
- Initiate the Scan: Within the scanning software, look for the option to start the scan. This may be represented by a “Scan” or “Start” button, prompting the scanner to capture the image placed on the scanner bed.
- Monitor the Scanning Process: As the scanner begins the process, monitor the on-screen progress indicators provided by the scanning software. This allows you to ensure that the scanning operation is proceeding smoothly and without any issues.
- Exercise Patience: Depending on the resolution and color mode selected, the scanning process may take varying amounts of time. Exercise patience as the scanner meticulously captures the details of the picture to produce a faithful digital reproduction.
- Review the Scanned Image: Once the scanning process is complete, take a moment to review the scanned image within the scanning software. Ensure that it accurately reflects the visual characteristics of the original photograph and meets your expectations in terms of quality and clarity.
- Make Additional Scans if Needed: If you are scanning multiple pictures or variations of the same photograph with different settings, consider making additional scans as necessary. This allows you to compare the results and select the best-scanned image for preservation.
By following these steps, you can seamlessly transition your physical photograph into a high-quality digital image, ready for storage, sharing, and further enhancement on your computer. The scanning process transforms your cherished memories into versatile digital assets, ensuring their preservation and accessibility for years to come.
Step 6: Save the Scanned Picture to Your Computer
After successfully scanning the picture from the printer, the final step involves saving the scanned image to your computer, ensuring that it is securely stored and easily accessible for future use. Here’s how to save the scanned picture and organize it on your computer:
- Select a Storage Location: When prompted by the scanning software, choose a location on your computer where you want to save the scanned picture. This may be a specific folder or directory dedicated to storing scanned images for easy retrieval.
- Choose a File Name: Assign a descriptive and recognizable file name to the scanned picture. This facilitates quick identification and retrieval of the image when browsing through your computer’s storage system.
- Select the File Format: Confirm the file format for the scanned picture based on your intended use and compatibility requirements. Ensure that the selected format aligns with your future plans for sharing or editing the scanned image.
- Save the Scanned Picture: Once the storage location, file name, and format are confirmed, proceed to save the scanned picture to your computer. Depending on the scanning software, this may involve clicking a “Save” or “Finish” button to complete the process.
- Organize the Scanned Image: After saving the scanned picture, consider organizing it within your computer’s file structure. This may involve creating categorized folders for different types of scanned images, such as family photos, landscapes, or historical documents.
By following these steps, you can ensure that the scanned picture is securely stored on your computer, ready to be accessed, shared, and cherished. The process of saving the scanned image marks the culmination of your efforts to transition physical photographs into versatile digital assets that can be preserved and enjoyed for years to come.
Conclusion
Congratulations! You’ve successfully navigated the process of scanning pictures from your printer to your computer, transforming cherished physical photographs into digital treasures. By following the steps outlined in this guide, you’ve unlocked the potential of your printer and computer to preserve and enhance your collection of memories. As you reflect on this journey, consider the profound impact of digitizing your photographs:
Digitization Preserves Memories: By scanning your pictures, you’ve safeguarded them from the effects of time, preserving the visual narratives and emotional connections encapsulated within each image. These digital copies ensure that your memories remain vivid and accessible for future generations to cherish.
Enhanced Accessibility and Sharing: The transition to digital format empowers you to effortlessly access and share your photographs with friends, family, and across digital platforms. Whether it’s through social media, email, or digital photo albums, your scanned pictures can now reach a wider audience, fostering connections and storytelling.
Opportunities for Restoration and Enhancement: With your pictures digitized, you have the flexibility to restore, enhance, and creatively interact with the images using digital editing software. This opens a world of possibilities for refining the visual appeal of your photographs while preserving their authenticity.
Seamless Integration with Digital Lifestyles: The digitized pictures seamlessly integrate into the digital fabric of modern life, allowing you to incorporate them into presentations, multimedia projects, and personalized keepsakes. Your digital photo collection becomes a versatile resource for creative expression and storytelling.
As you bask in the satisfaction of completing the scanning process, take a moment to appreciate the newfound potential of your digital photo collection. Each scanned picture represents a bridge between the past and the future, ensuring that your most cherished memories endure in the digital realm. Embrace the opportunities that digital preservation offers, and continue to capture, preserve, and share the stories woven into each photograph.
With the knowledge and skills gained from this guide, you are well-equipped to embark on future scanning endeavors, preserving a wealth of visual narratives and moments frozen in time. Embrace the art of digitization, and let your printer and computer serve as gateways to a world where memories are perpetually alive and ready to be celebrated.
Frequently Asked Questions about How To Scan Pictures From Printer To Computer
Was this page helpful?
At Storables.com, we guarantee accurate and reliable information. Our content, validated by Expert Board Contributors, is crafted following stringent Editorial Policies. We're committed to providing you with well-researched, expert-backed insights for all your informational needs.


0 thoughts on “How To Scan Pictures From Printer To Computer”