Home>Technology>Smart Home Devices>What To Clean 3D Printer Bed With
Smart Home Devices
What To Clean 3D Printer Bed With
Modified: February 18, 2024
Discover the best ways to clean your 3D printer bed and keep your smart home devices in top condition. Learn effective cleaning methods and tips.
(Many of the links in this article redirect to a specific reviewed product. Your purchase of these products through affiliate links helps to generate commission for Storables.com, at no extra cost. Learn more)
Introduction
Welcome to the fascinating world of 3D printing, where creativity knows no bounds and innovation takes shape layer by layer. As a proud owner of a 3D printer, you understand the joy of transforming digital designs into tangible objects. However, amidst the excitement of bringing your creations to life, it’s crucial to remember the importance of maintaining your 3D printer, including the often-overlooked component – the print bed.
While the print bed may seem like a passive platform for your 3D prints, its condition and cleanliness play a vital role in the success of your printing endeavors. Whether you’re a seasoned 3D printing enthusiast or a newcomer to the craft, understanding how to properly clean and maintain your 3D printer bed is essential for achieving consistent, high-quality prints.
In this comprehensive guide, we’ll delve into the significance of cleaning your 3D printer bed, explore the various types of 3D printer beds, recommend suitable cleaning materials, and provide step-by-step instructions for cleaning different types of 3D printer beds. By the end of this article, you’ll be equipped with the knowledge and techniques to keep your 3D printer bed in optimal condition, ensuring smooth and successful printing experiences.
Key Takeaways:
- Regularly cleaning your 3D printer bed with appropriate materials is crucial for successful prints, preventing adhesion issues, and extending the bed’s lifespan.
- Different types of 3D printer beds require specific cleaning methods to maintain their unique properties and ensure optimal printing performance.
Read more: How To Clean Glass 3D Printer Bed
Why Cleaning Your 3D Printer Bed is Important
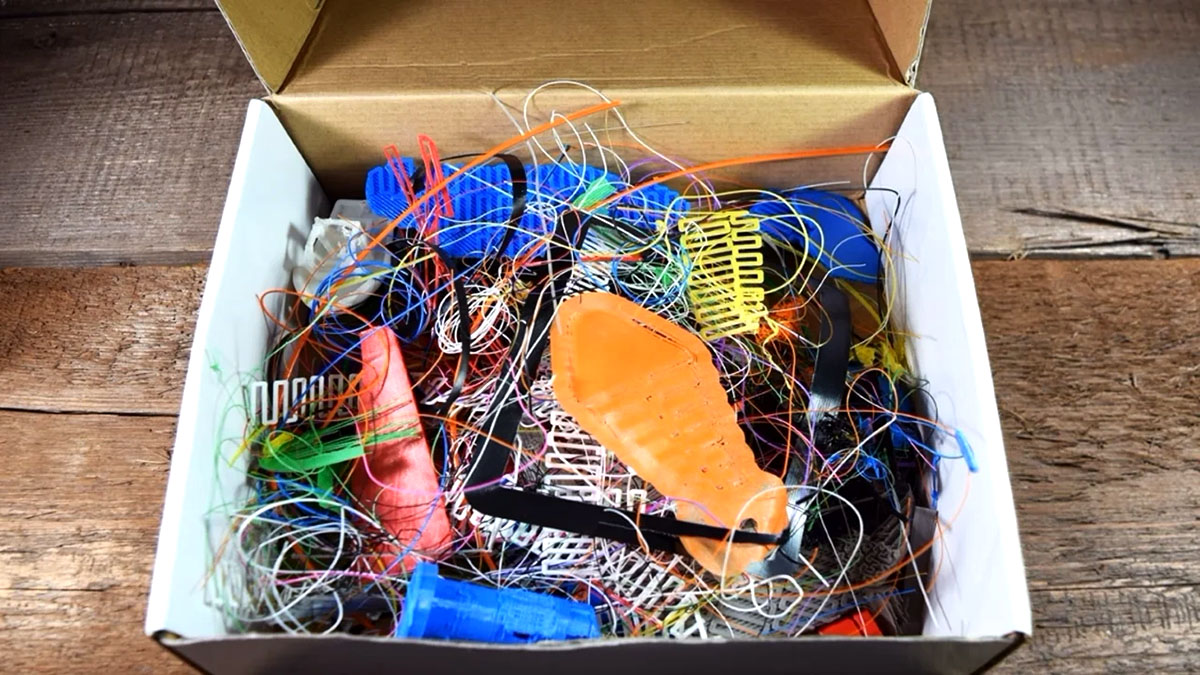
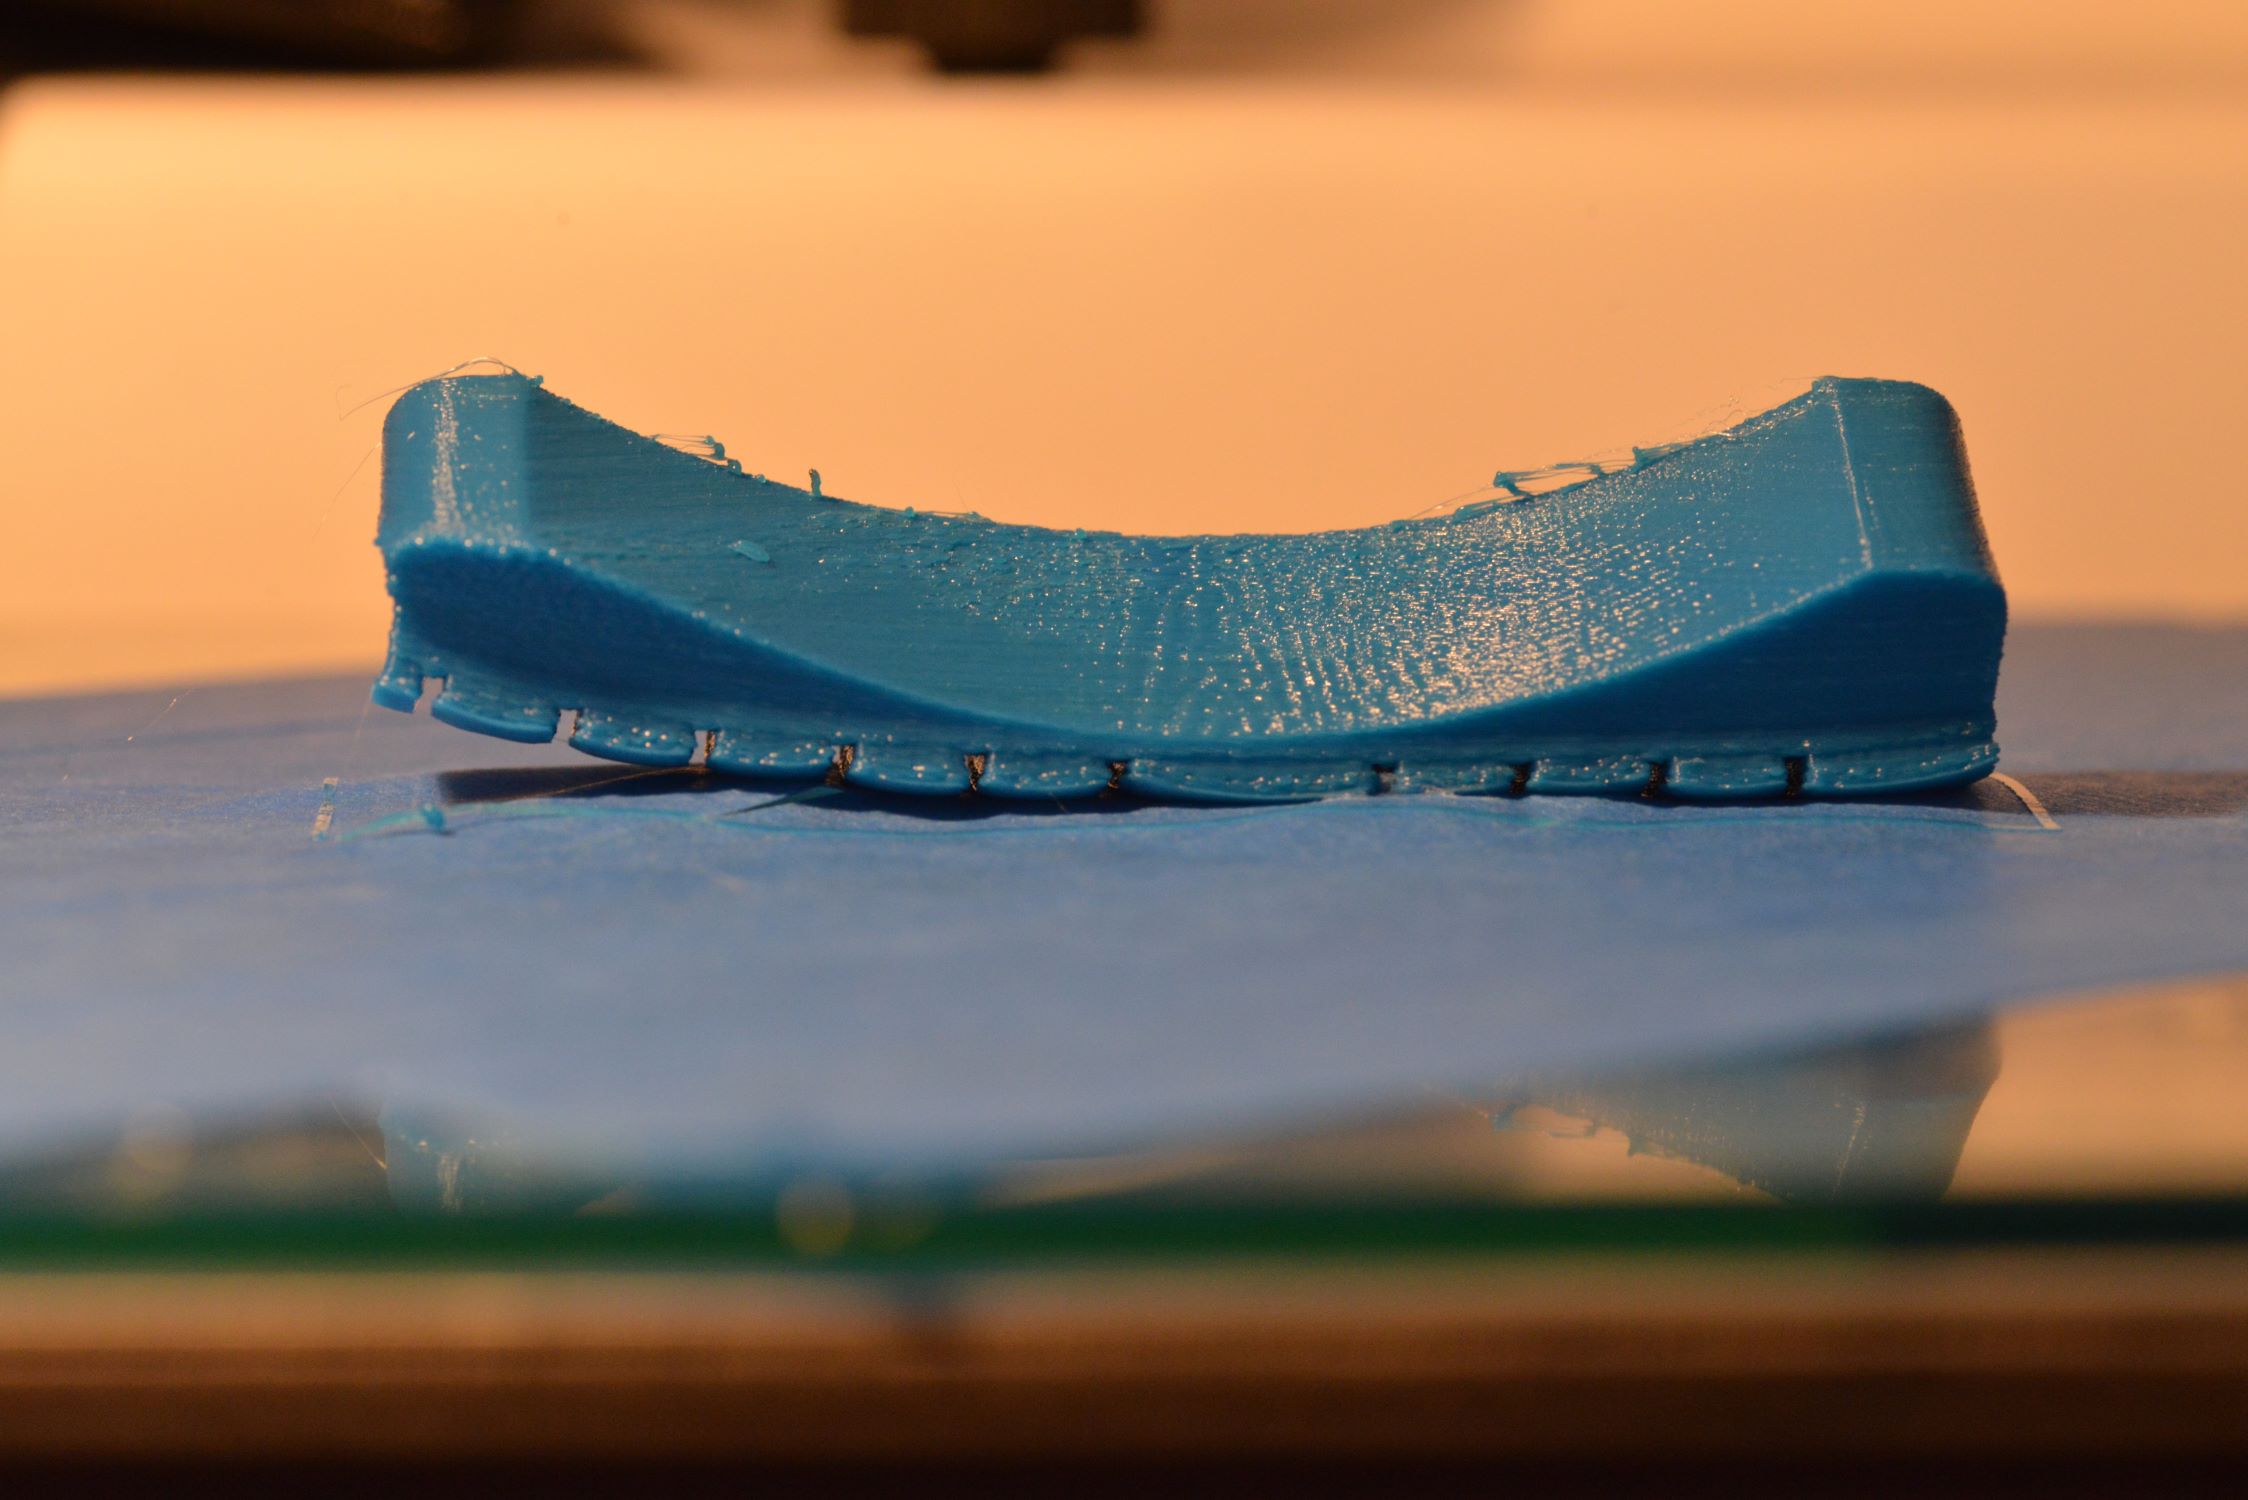
Imagine preparing to print a meticulously designed 3D model, eagerly anticipating the moment when your creation materializes into a physical object, only to be met with frustration as the print fails or exhibits imperfections. This scenario is all too familiar to many 3D printing enthusiasts, and often, the culprit behind such disappointments can be traced back to an unclean or improperly maintained print bed.
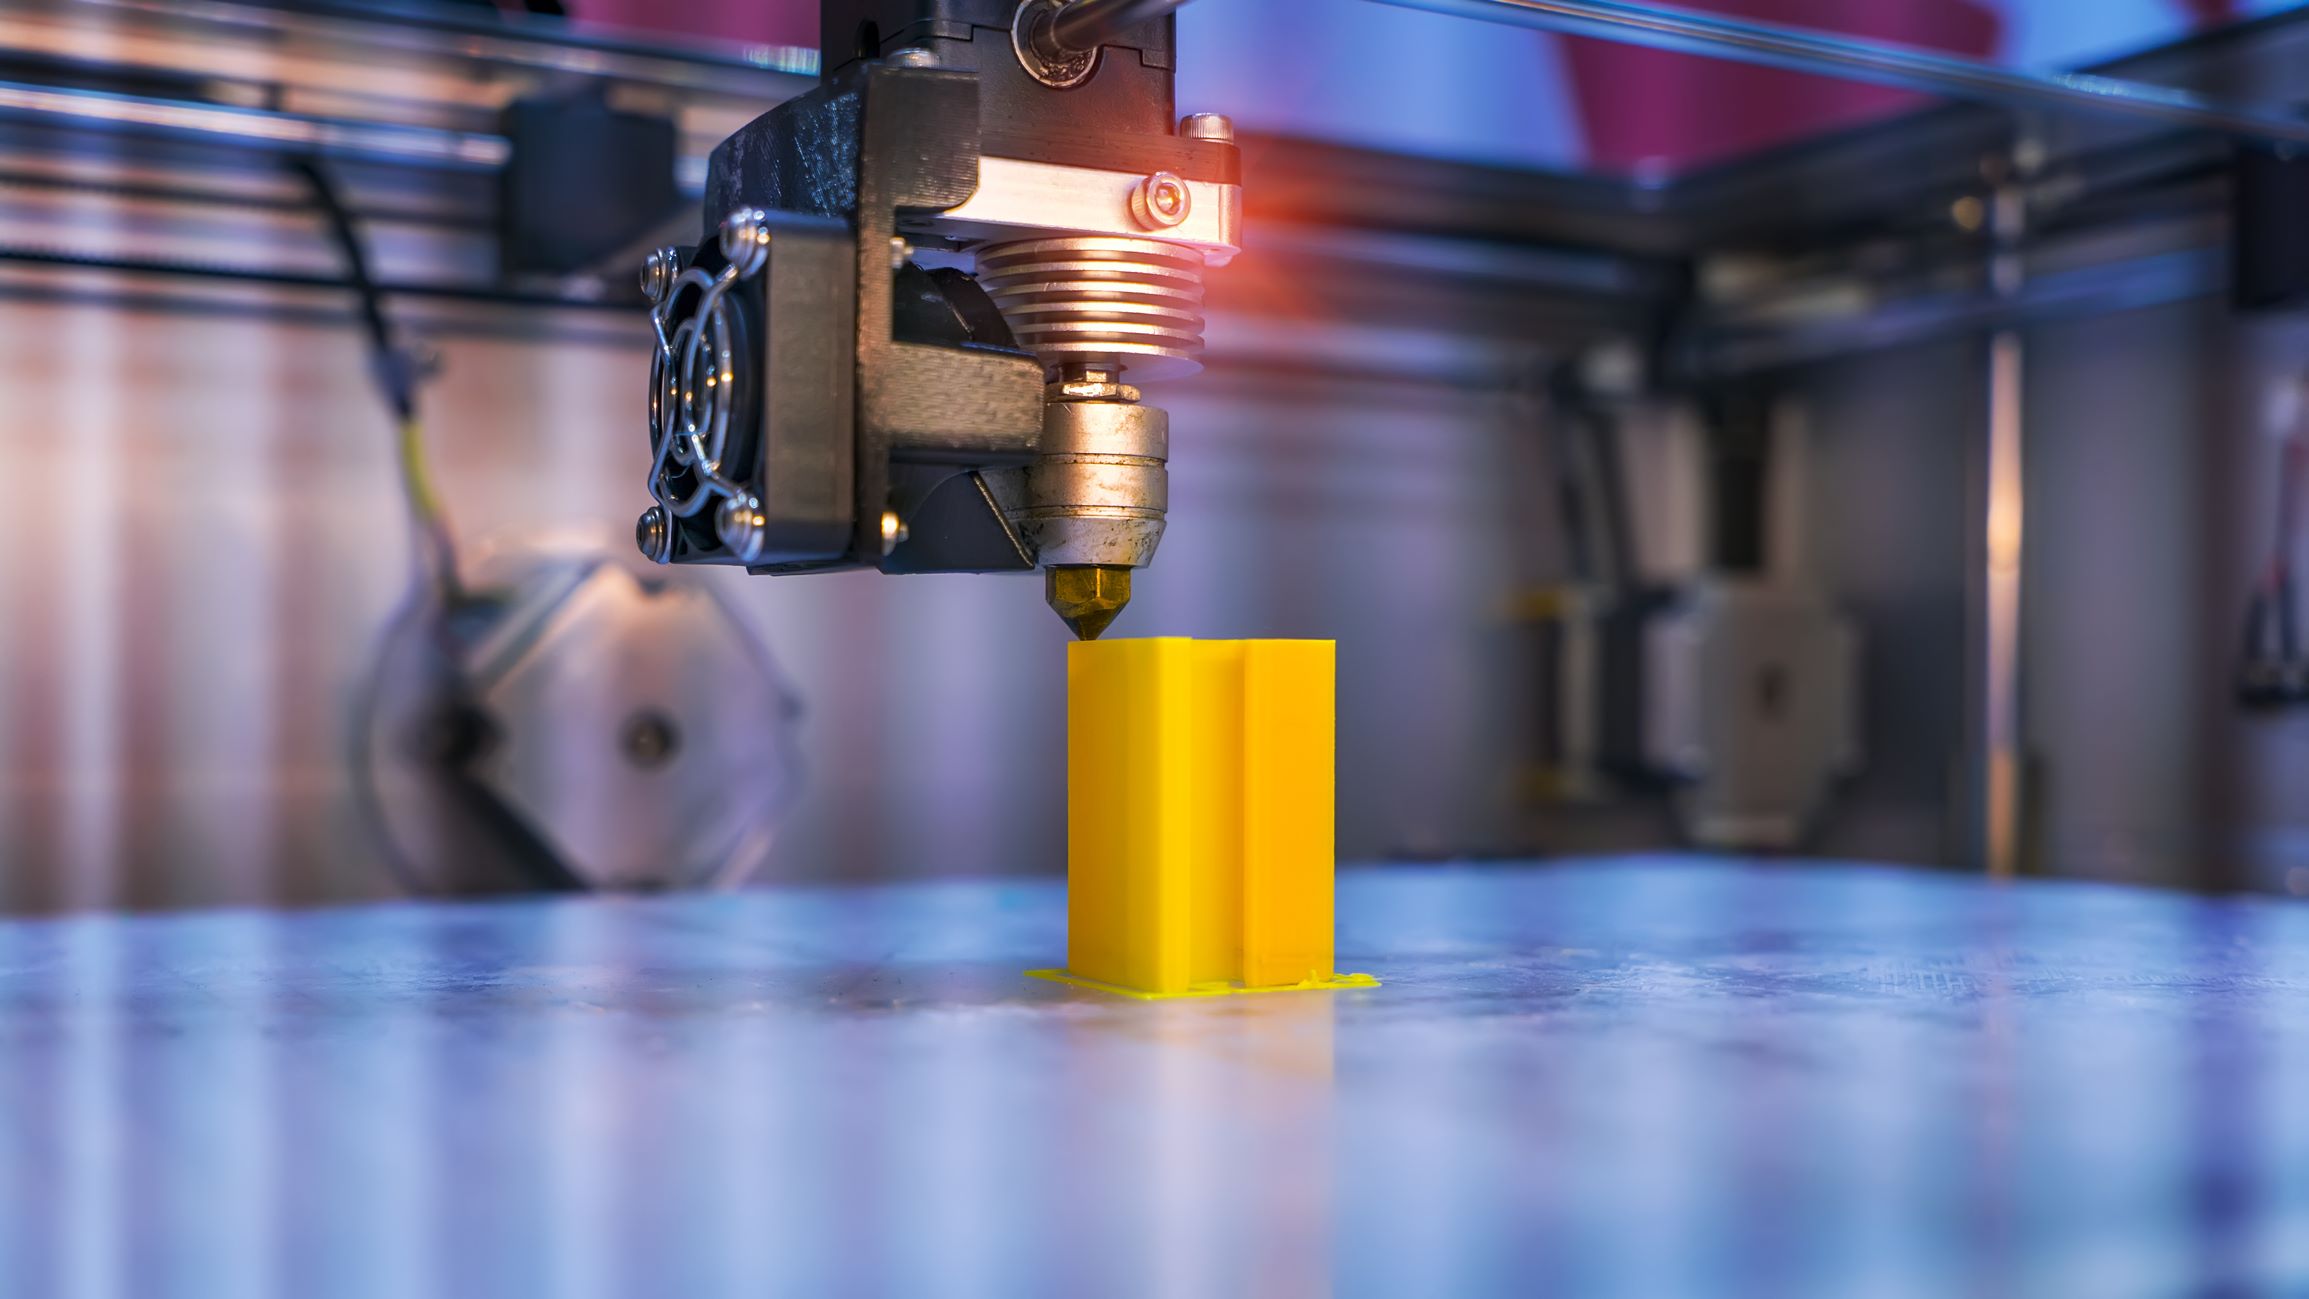
The print bed serves as the foundation for your 3D prints, providing a stable surface for the initial layers of filament to adhere to. A clean and well-maintained print bed is crucial for ensuring proper adhesion, preventing warping, and achieving consistent layer adhesion throughout the printing process. When the print bed is contaminated with residue, oils, or debris, it can lead to adhesion issues, uneven prints, or even damage to the print bed surface.
Furthermore, a pristine print bed promotes reliable first-layer adhesion, which is paramount for successful 3D prints. Proper adhesion during the initial layer significantly reduces the risk of print failures, such as warping, lifting, or detachment, ultimately contributing to the overall print quality and structural integrity of the final object.
Regularly cleaning your 3D printer bed also extends the longevity of the bed surface, whether it’s glass, BuildTak, PEI, or another material. By removing residual filament, adhesives, and contaminants, you can preserve the integrity of the print bed, ensuring that it remains a dependable platform for countless successful prints.
Moreover, maintaining a clean print bed minimizes the need for excessive use of adhesion aids such as hairspray, glue, or specialized adhesion sheets. While these aids can be effective, they may introduce additional variables and complexities into the printing process. By prioritizing the cleanliness of your print bed, you can reduce reliance on external adhesion methods and streamline your printing workflow.
In essence, cleaning your 3D printer bed is not merely a routine chore – it is a fundamental practice that directly impacts the success, quality, and reliability of your 3D prints. By understanding the significance of a clean print bed and adopting proper cleaning techniques, you can elevate your 3D printing experiences and unlock the full potential of your 3D printer.
Types of 3D Printer Beds
3D printers feature a diverse array of print bed materials, each offering unique properties and advantages. Understanding the characteristics of different types of 3D printer beds is essential for selecting the appropriate cleaning methods and materials. Here are some common types of 3D printer beds:
- Glass: Glass print beds are renowned for their flatness and smooth surface, which facilitates excellent adhesion and promotes even cooling of printed layers. They are often used with adhesion aids such as hairspray or adhesive sheets.
- BuildTak: BuildTak is a durable, heat-resistant material known for its strong adhesion properties. It provides a textured surface that promotes filament adhesion while allowing for easy print removal once the bed cools down.
- PEI (Polyetherimide): PEI sheets offer outstanding adhesion for a wide range of filament materials, including ABS and PLA. They exhibit excellent durability and can be used without additional adhesion aids in many cases.
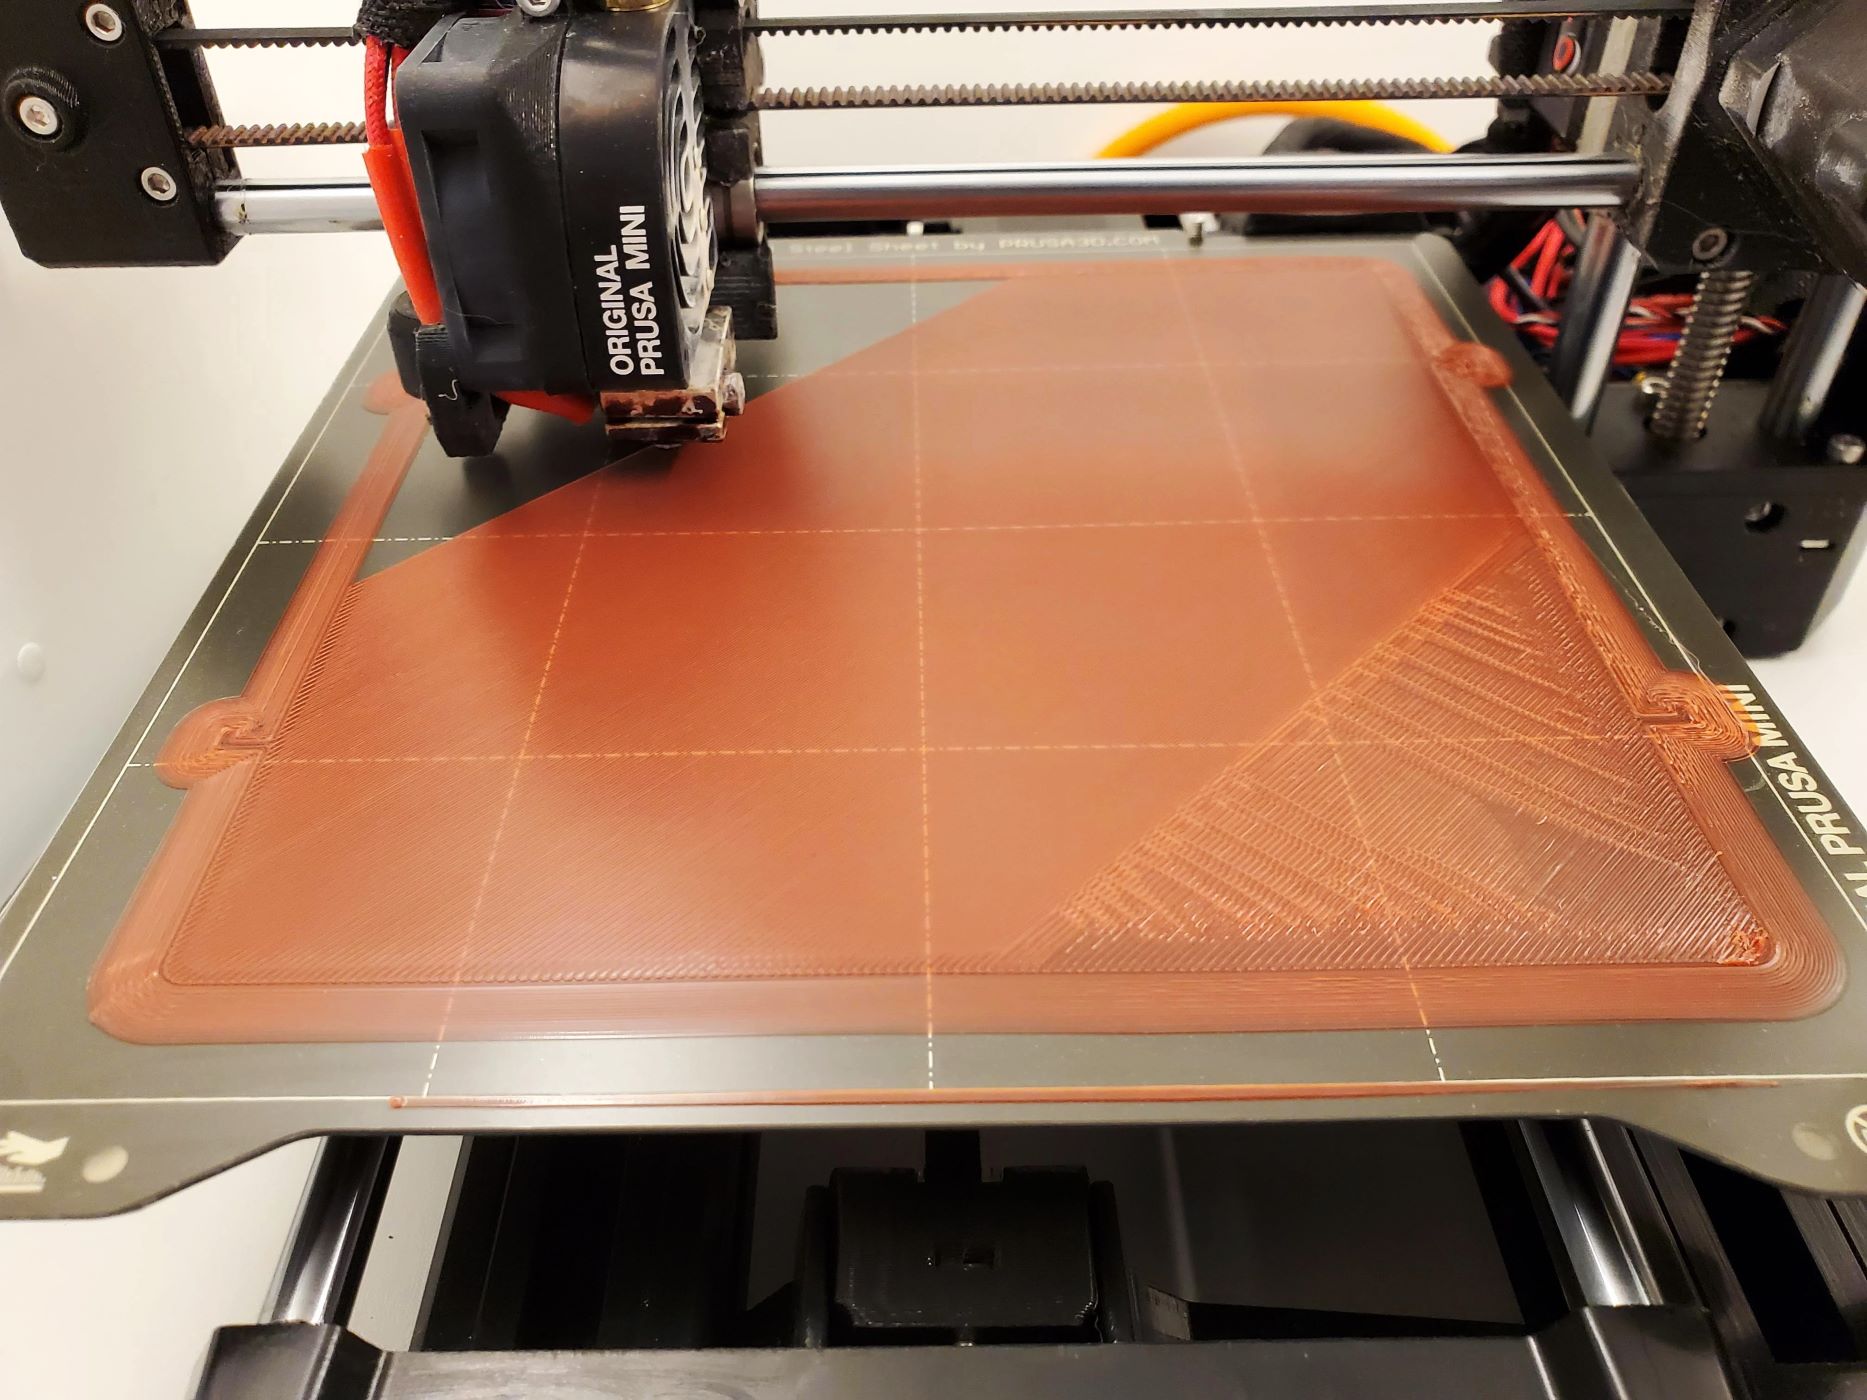
- PEI-Coated Spring Steel: This type of print bed combines the benefits of PEI with the flexibility of spring steel, allowing for easy removal of prints by flexing the steel sheet.
- Magnetic Flex Plates: Featuring a magnetic base and a removable flexible print surface, magnetic flex plates offer convenience in print removal and bed maintenance.
Each type of print bed material requires specific cleaning considerations to preserve its properties and ensure optimal printing performance. By identifying the type of bed your 3D printer utilizes, you can tailor your cleaning approach to suit its unique characteristics, ultimately enhancing the longevity and functionality of the print bed.
Recommended Cleaning Materials
When it comes to maintaining the cleanliness of your 3D printer bed, using the right cleaning materials is essential for achieving effective results without causing damage to the bed surface. Here are some recommended cleaning materials for various types of 3D printer beds:
- Isopropyl Alcohol (IPA): IPA is a versatile and widely used cleaning agent that effectively dissolves oils, residues, and adhesives without leaving behind any residue. It is suitable for cleaning glass, BuildTak, and PEI print beds.
- Glass Cleaner: Specifically formulated glass cleaners can be used for glass print beds to ensure a streak-free and pristine surface. Look for non-ammonia-based cleaners to avoid potential damage to the print bed coating.
- Mild Soap and Water: For general cleaning and maintenance, a solution of mild soap and water can be used to gently clean the print bed surface. This method is suitable for glass and PEI beds.
- Adhesive Remover: In cases where stubborn adhesives or residues are present on the print bed, a specialized adhesive remover can be employed to effectively dissolve and remove them without causing damage.
- Clean Microfiber Cloth: Utilize a clean, lint-free microfiber cloth to apply cleaning solutions and gently wipe the print bed surface, ensuring thorough removal of contaminants and residues.
- Plastic Scraper or Spatula: A non-metallic plastic scraper or spatula can be used to carefully remove stubborn residues or adhesives from the print bed without scratching or damaging the surface.
Before using any cleaning material, it is important to refer to the manufacturer’s guidelines for your specific 3D printer and print bed type. Additionally, always ensure that the print bed has cooled down to room temperature before initiating the cleaning process to prevent thermal shock or warping.
By employing the appropriate cleaning materials and techniques, you can effectively maintain the cleanliness and functionality of your 3D printer bed, contributing to consistent print quality and prolonged durability of the print bed surface.
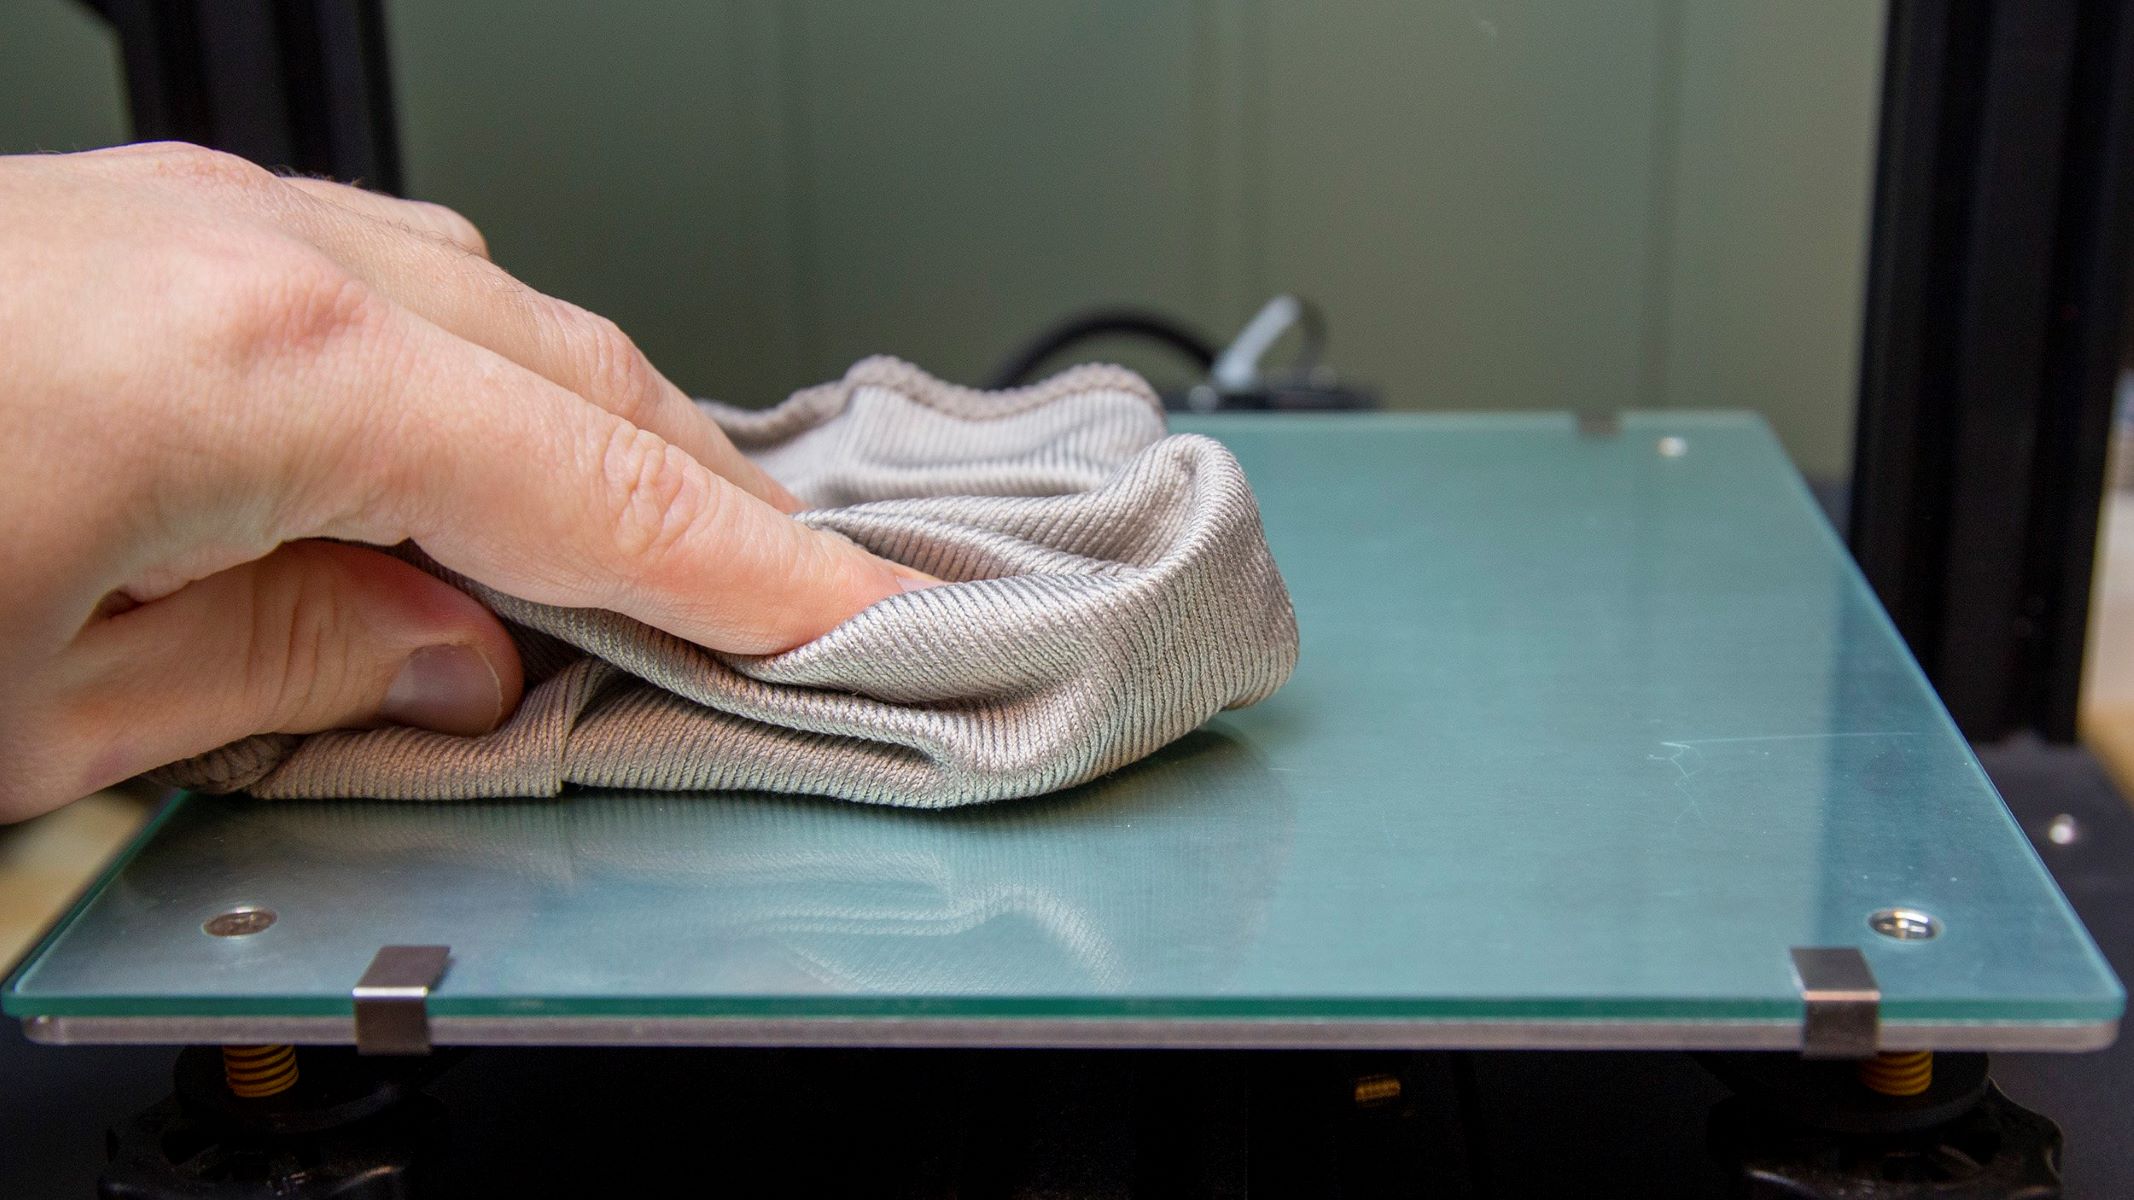
Use isopropyl alcohol and a microfiber cloth to clean your 3D printer bed. Wipe the bed gently to remove any residue and ensure a clean printing surface.
How to Clean a Glass 3D Printer Bed
Cleaning a glass 3D printer bed is a straightforward process that, when performed correctly, can contribute to reliable adhesion and smooth printing experiences. Follow these steps to effectively clean a glass print bed:
- Ensure Safety: Prior to cleaning, ensure that the print bed has cooled down to room temperature to prevent thermal shock or damage to the glass surface.
- Remove the Print Bed: If possible, carefully remove the glass print bed from the 3D printer to facilitate easier and safer cleaning. Handle the glass bed with care to avoid accidental breakage.
- Prepare the Cleaning Solution: Mix a solution of isopropyl alcohol (IPA) and water in a 1:1 ratio in a spray bottle. Alternatively, use a specialized glass cleaner formulated for electronic and print surfaces.
- Apply the Cleaning Solution: Liberally spray the cleaning solution onto the glass print bed, ensuring even coverage of the entire surface.
- Wipe with a Microfiber Cloth: Using a clean, lint-free microfiber cloth, gently wipe the print bed surface in a circular motion to remove residues, oils, and contaminants. Replace the cloth if it becomes excessively soiled.
- Inspect for Residues: Carefully inspect the glass surface for any remaining residues or streaks. If necessary, repeat the cleaning process using a fresh solution and cloth until the surface is pristine.
- Allow Drying: After cleaning, allow the glass print bed to air dry completely before reinstalling it in the 3D printer and resuming printing activities.
- Reinstall the Print Bed: Once the glass bed is dry, carefully reinstall it in the 3D printer, ensuring that it is securely positioned and leveled for optimal printing performance.
By following these steps and using the recommended cleaning materials, you can maintain the cleanliness and functionality of your glass 3D printer bed, promoting consistent adhesion and successful 3D prints.
Read more: What Is An Extruder On A 3D Printer
How to Clean a BuildTak 3D Printer Bed
BuildTak print surfaces are known for their strong adhesion properties and durability, making them a popular choice for 3D printing enthusiasts. Properly cleaning a BuildTak 3D printer bed is essential for preserving its adhesion capabilities and ensuring successful prints. Follow these steps to effectively clean a BuildTak print bed:
- Wait for Cooling: Allow the BuildTak surface to cool down to room temperature before initiating the cleaning process to prevent potential damage.
- Remove Prints and Residues: Carefully remove any completed prints from the BuildTak surface, ensuring that no residual filament or debris remains adhered to the bed.
- Utilize Isopropyl Alcohol (IPA): Dampen a clean, lint-free cloth with isopropyl alcohol (IPA). Gently wipe the BuildTak surface to remove any residual adhesives, oils, or contaminants. Avoid using excessive force to prevent damage to the BuildTak material.
- Inspect for Residues: Thoroughly inspect the BuildTak surface for any remaining residues or streaks. If necessary, repeat the cleaning process using fresh IPA and a clean cloth until the surface is free of contaminants.
- Air Dry the BuildTak Surface: Allow the BuildTak surface to air dry completely before proceeding with the next print. Avoid using heat sources to expedite the drying process, as excessive heat can potentially damage the BuildTak material.
- Perform Test Print: Once the BuildTak surface is dry, consider performing a test print to ensure that the adhesion and print quality have not been compromised as a result of the cleaning process.
By following these steps and exercising care during the cleaning process, you can effectively maintain the adhesion properties and cleanliness of your BuildTak 3D printer bed, contributing to consistent and successful 3D printing outcomes.
How to Clean a PEI 3D Printer Bed
PEI (Polyetherimide) print beds are valued for their exceptional adhesion properties and compatibility with a wide range of filament materials. Properly cleaning a PEI 3D printer bed is crucial for preserving its adhesion capabilities and ensuring consistent print quality. Follow these steps to effectively clean a PEI print bed:
- Cool Down the Bed: Allow the PEI print bed to cool down to room temperature before commencing the cleaning process to prevent potential damage.
- Remove Prints and Residues: Carefully remove any completed prints from the PEI surface, ensuring that no residual filament or debris remains adhered to the bed.
- Use Isopropyl Alcohol (IPA): Dampen a clean, lint-free cloth with isopropyl alcohol (IPA). Gently wipe the PEI surface to remove any residual adhesives, oils, or contaminants. Exercise caution to avoid applying excessive pressure that could potentially damage the PEI material.
- Inspect for Residues: Thoroughly examine the PEI surface for any lingering residues or streaks. If necessary, repeat the cleaning process using fresh IPA and a clean cloth until the surface is free of contaminants.
- Air Dry the PEI Surface: Allow the PEI surface to air dry completely before proceeding with the next print. Avoid using heat sources to hasten the drying process, as excessive heat can potentially damage the PEI material.
- Perform Test Print: Once the PEI surface is dry, consider conducting a test print to confirm that the adhesion and print quality have not been compromised as a result of the cleaning process.
By following these steps and handling the PEI print bed with care during the cleaning process, you can effectively maintain the adhesion properties and cleanliness of your PEI 3D printer bed, contributing to consistent and successful 3D printing outcomes.
Conclusion
Congratulations! You’ve now gained valuable insights into the importance of maintaining a clean 3D printer bed and the specific cleaning methods tailored to different types of print surfaces. By prioritizing the cleanliness and maintenance of your 3D printer bed, you are taking proactive steps to enhance the quality, reliability, and longevity of your 3D printing endeavors.
Remember, whether you have a glass, BuildTak, PEI, or another type of print bed, regular cleaning and proper maintenance are essential for promoting consistent adhesion, preventing print failures, and preserving the integrity of the print surface. By utilizing recommended cleaning materials and following the step-by-step cleaning procedures outlined in this guide, you can ensure that your 3D printer bed remains a dependable platform for bringing your digital creations to life.
As you embark on your 3D printing journey or continue to refine your printing techniques, consider the cleanliness of your print bed as a foundational element that significantly influences the outcome of your prints. Embrace the practice of conscientious print bed maintenance, and you’ll be rewarded with smoother printing experiences, improved print quality, and a well-maintained 3D printer bed that stands ready to bring your future creations to fruition.
With the knowledge and techniques acquired from this guide, you are well-equipped to uphold the cleanliness and functionality of your 3D printer bed, paving the way for countless successful and satisfying 3D printing adventures ahead.
Frequently Asked Questions about What To Clean 3D Printer Bed With
Was this page helpful?
At Storables.com, we guarantee accurate and reliable information. Our content, validated by Expert Board Contributors, is crafted following stringent Editorial Policies. We're committed to providing you with well-researched, expert-backed insights for all your informational needs.


0 thoughts on “What To Clean 3D Printer Bed With”