Home>Technology>Smart Home Devices>How To Clean Nozzle On 3D Printer

Smart Home Devices
How To Clean Nozzle On 3D Printer
Modified: March 2, 2024
Learn how to effectively clean the nozzle on your 3D printer for optimal performance. Keep your smart home devices running smoothly with our step-by-step guide.
(Many of the links in this article redirect to a specific reviewed product. Your purchase of these products through affiliate links helps to generate commission for Storables.com, at no extra cost. Learn more)
Introduction
Welcome to the exciting world of 3D printing! Whether you are a seasoned enthusiast or a newcomer to this innovative technology, maintaining your 3D printer is essential for achieving consistent and high-quality prints. One crucial aspect of printer maintenance is keeping the nozzle clean. Over time, the nozzle can become clogged with filament residue, leading to poor print quality and potential damage to the printer. In this guide, we will walk you through the step-by-step process of cleaning the nozzle on your 3D printer, ensuring that it operates at its best.
Cleaning the nozzle is a fundamental maintenance task that can significantly impact the performance of your 3D printer. By removing accumulated debris and residue, you can prevent nozzle clogs and maintain precise filament extrusion. Whether you are working with a standard brass nozzle or a specialized material, such as hardened steel or ruby, regular cleaning is essential for preserving the printer's functionality and print quality.
In the following sections, we will delve into the intricacies of the 3D printer nozzle, discuss the necessary tools and materials, and provide a comprehensive guide for cleaning and maintaining this critical component. By following these steps, you can ensure that your 3D printer operates smoothly, producing exceptional prints with every use. Let's embark on this journey to discover the art of cleaning the nozzle on your 3D printer, empowering you to unleash your creativity and bring your designs to life with precision and reliability.
Key Takeaways:
- Regularly cleaning the nozzle of your 3D printer is crucial for maintaining print quality and preventing clogs, ensuring precise filament extrusion and optimal performance.
- By following the step-by-step process of nozzle cleaning, you can empower your 3D printer to produce exceptional prints with precision and consistency, unlocking a world of creativity and innovation.
Read more: How To Clean A Clogged 3D Printer Nozzle
Understanding the Nozzle
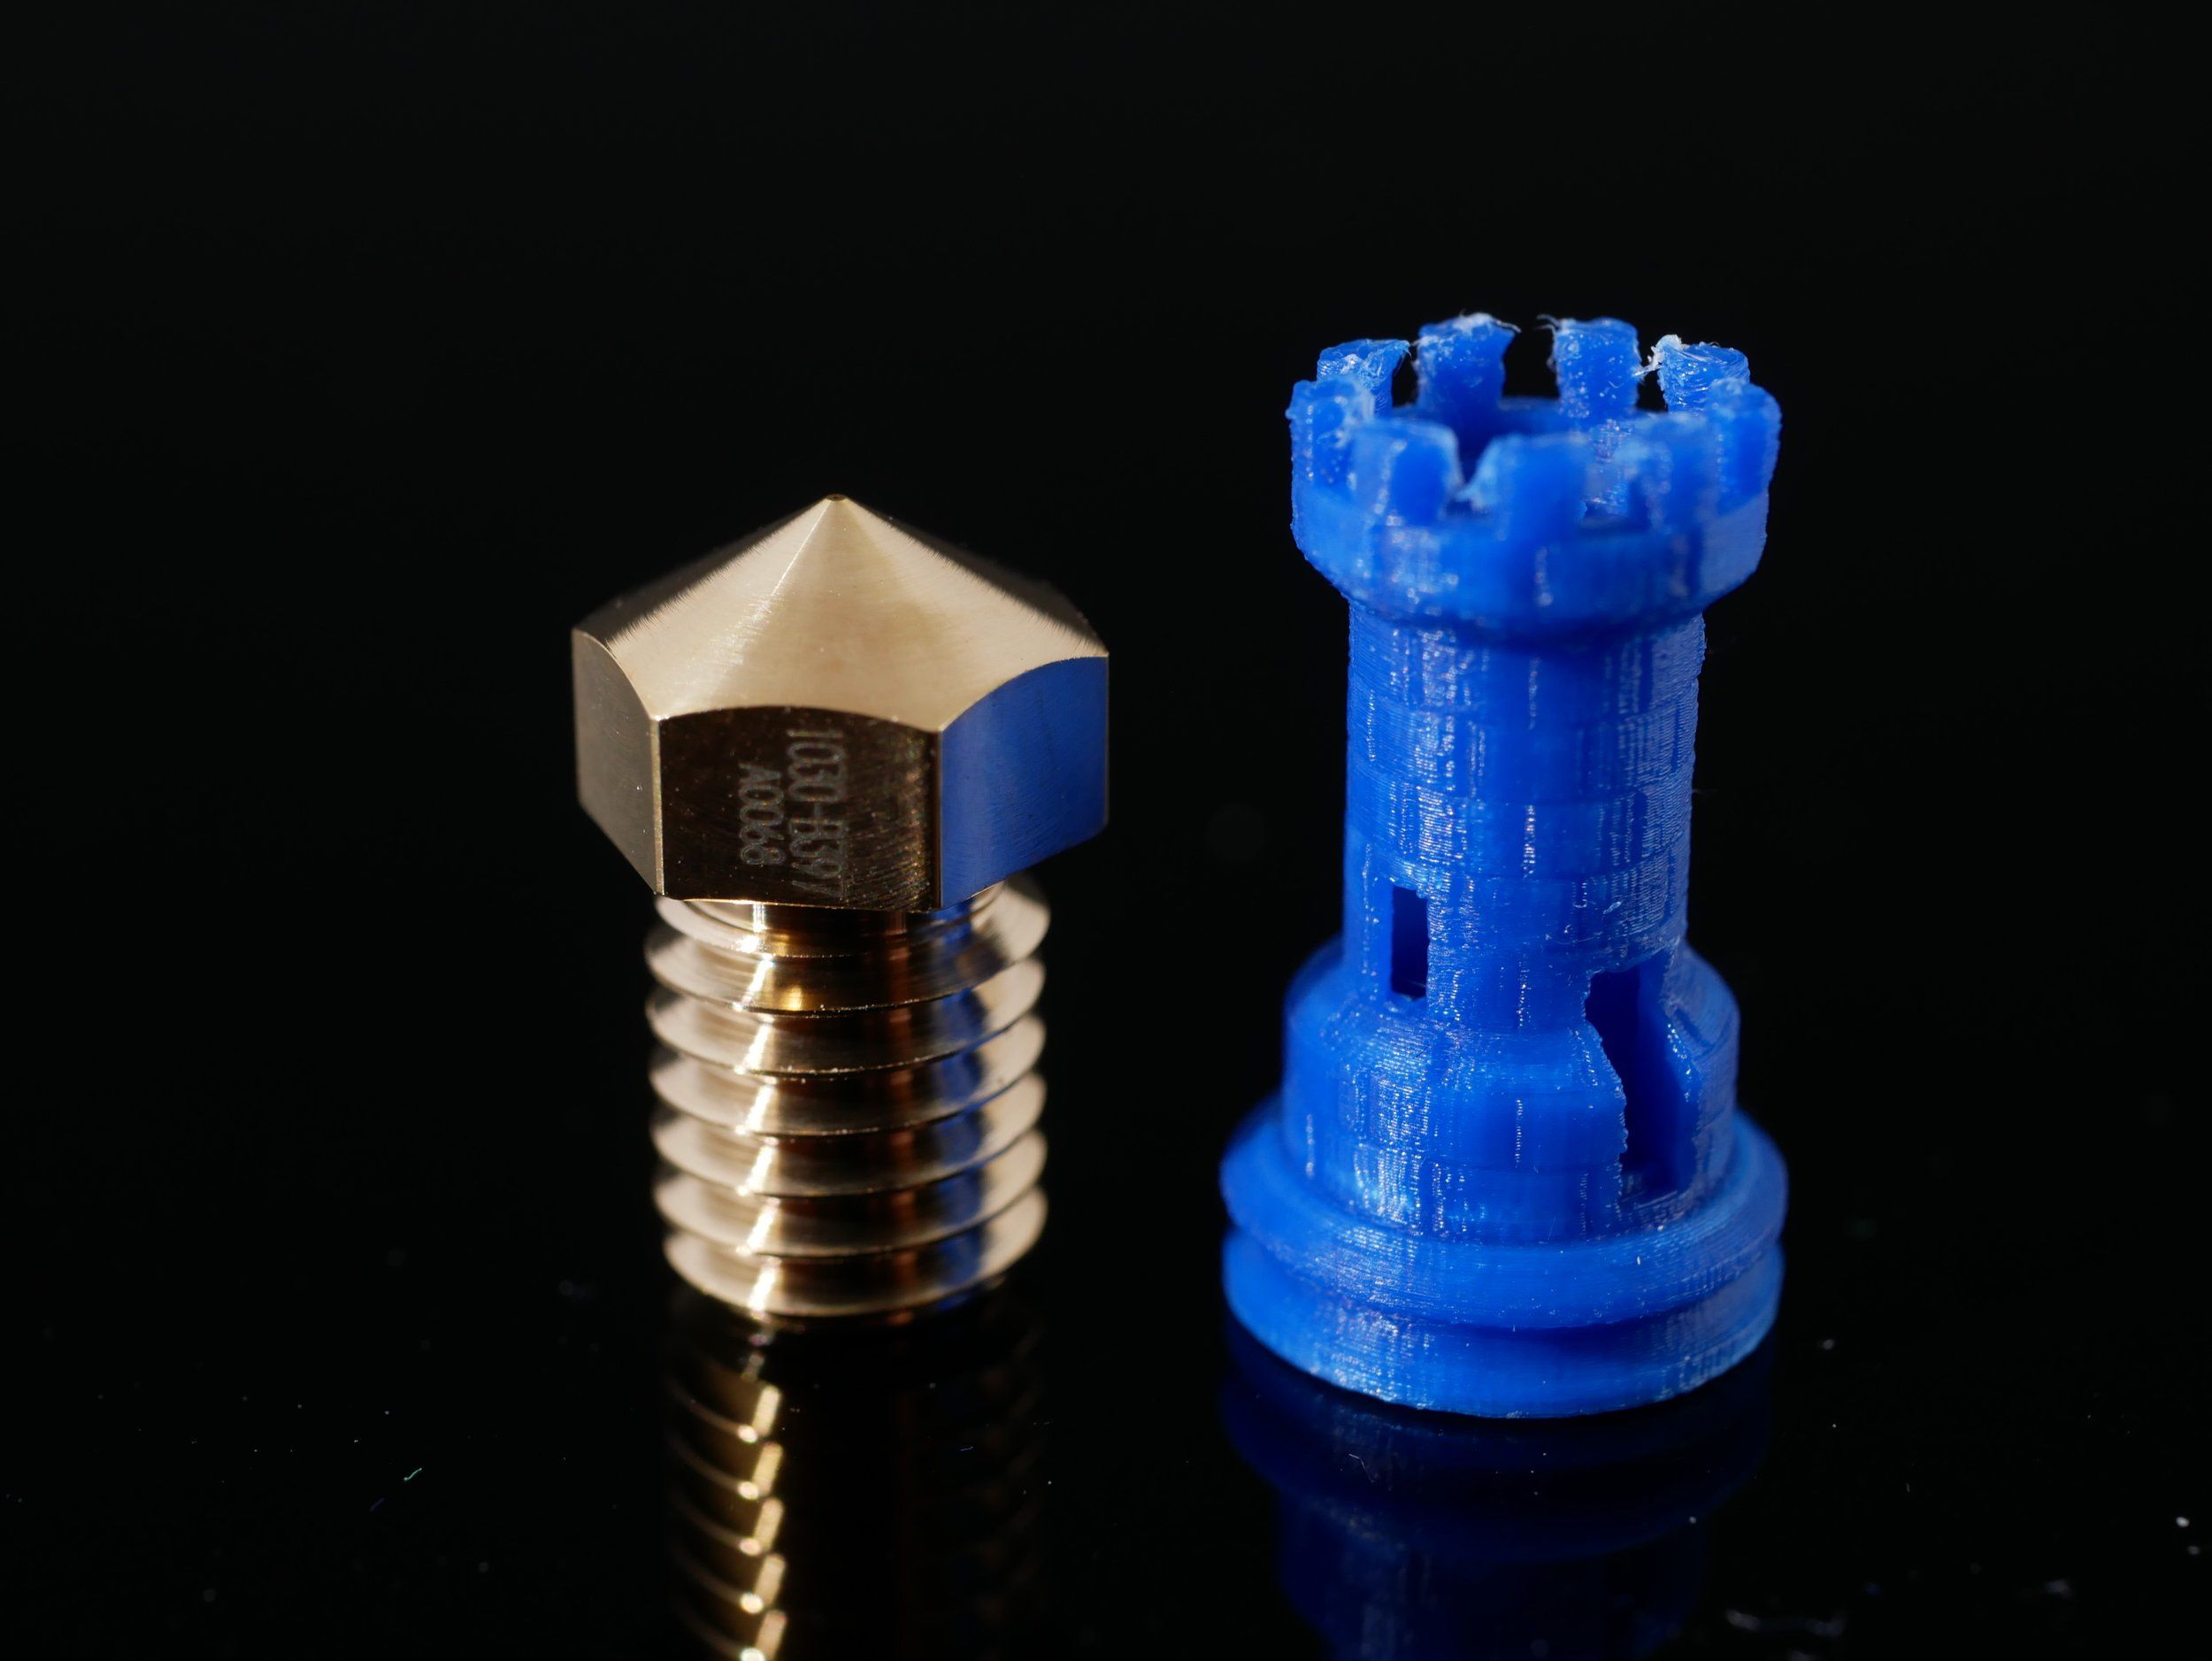
Before delving into the cleaning process, it’s essential to understand the pivotal role of the nozzle in the 3D printing process. The nozzle is a small, cylindrical component located at the hot end of the 3D printer’s extruder. Its primary function is to melt and extrude filament, depositing it layer by layer to form the printed object. Nozzles come in various sizes, typically measured in millimeters, with common diameters ranging from 0.2mm to 1.0mm. The nozzle size directly impacts the level of detail and the speed of printing, making it a critical factor in achieving the desired print quality.
When the 3D printer is in operation, the nozzle heats up to the specified temperature, allowing the filament to soften and flow through the nozzle opening. As the molten filament is extruded onto the print bed or previous layers, it rapidly cools and solidifies, contributing to the formation of the printed object. The precise control of filament flow and deposition is attributed to the nozzle’s diameter and the pressure exerted by the extruder, influencing the overall accuracy and resolution of the print.
It’s important to note that the nozzle is susceptible to clogging due to the accumulation of debris, burnt filament, or dust particles. When a clog occurs, the filament flow is obstructed, leading to irregular extrusion and compromised print quality. Additionally, different types of filaments, such as PLA, ABS, PETG, and exotic materials like wood-infused or metal-filled filaments, can leave residues that contribute to nozzle blockages over time.
Understanding the critical function of the nozzle in the 3D printing process underscores the significance of regular maintenance and cleaning. By ensuring that the nozzle remains free from obstructions and residue, you can optimize the printer’s performance and maintain consistent print quality. Now that we have gained insight into the nozzle’s role, let’s explore the tools and materials needed to embark on the nozzle cleaning process.
Tools and Materials Needed
Before initiating the nozzle cleaning process, it’s essential to gather the necessary tools and materials to ensure a smooth and effective maintenance procedure. Here’s a comprehensive list of items you will need:
Tools:
- Wrench or Spanner: A wrench or spanner of the appropriate size to remove the nozzle from the hot end. The size may vary based on the specific 3D printer model and nozzle type.
- Needle or Pin: A fine needle or pin to clear any debris or filament residue from the nozzle's opening.
- Tweezers: Precision tweezers for handling small components and extracting stubborn particles from the nozzle.
- Nozzle Cleaning Kit (Optional): Specialized kits containing cleaning needles, brushes, and other accessories designed for nozzle maintenance.
- Wire Brush: A small wire brush to gently scrub the exterior of the nozzle and remove any adhered contaminants.
- Cloth or Paper Towels: Clean, lint-free cloth or paper towels for wiping and drying the components during the cleaning process.
Materials:
- Isopropyl Alcohol: A commonly used solvent for dissolving and cleaning filament residues. It is effective in removing stubborn debris from the nozzle.
- Cleaning Filament (Optional): Specialized filament designed for cleaning the extruder and nozzle. It helps dislodge and remove residual material from the nozzle's interior.
- Lubricant (PTFE-Based): A PTFE-based lubricant for reassembling the nozzle and ensuring smooth filament flow after cleaning.
- Container or Small Basin: A container to hold the cleaning solvent for soaking and cleaning the nozzle components.
By assembling these tools and materials, you can proceed with confidence in undertaking the nozzle cleaning process. The next step involves preparing the 3D printer for maintenance, ensuring a safe and efficient cleaning procedure. Let’s delve into the initial steps of this maintenance journey and prepare the printer for the nozzle cleaning process.
Read more: How To Unclog A 3D Printer Nozzle
Step 1: Preparing the 3D Printer
Before embarking on the nozzle cleaning process, it’s crucial to prepare the 3D printer to ensure a safe and effective maintenance procedure. Follow these steps to prepare the printer for the cleaning process:
1. Power Off and Cool Down: Begin by turning off the 3D printer and allowing the hot end and nozzle to cool down to a safe temperature. This is essential to prevent accidental burns and ensure the secure handling of the components.
2. Unload Filament: If there is filament loaded in the printer, carefully unload it according to the manufacturer’s instructions. This step prevents filament from obstructing the nozzle access during the cleaning process.
3. Heat Nozzle (Optional): In some cases, heating the nozzle to a moderate temperature, as recommended by the printer’s manufacturer, can facilitate the removal of residual filament and debris. However, exercise caution when handling heated components to avoid burns.
4. Secure Work Area: Ensure that the work area is well-lit, clean, and organized. Clear any obstructions and prepare a stable surface to place the removed components and tools during the cleaning process.
5. Gather Tools and Materials: Verify that you have all the necessary tools and materials assembled, as outlined in the previous section. Having these items readily available will streamline the cleaning process and minimize interruptions.
By meticulously preparing the 3D printer and equipping yourself with the essential tools and materials, you are now ready to proceed with the next step: removing the nozzle from the hot end. This critical phase of the maintenance process sets the stage for thorough cleaning and maintenance, ensuring optimal nozzle performance and print quality. Let’s delve into the subsequent step of removing the nozzle, guiding you through each crucial stage of the nozzle cleaning process.
Step 2: Removing the Nozzle
Removing the nozzle from the 3D printer’s hot end is a pivotal step in the nozzle cleaning process. Follow these detailed steps to safely and effectively remove the nozzle:
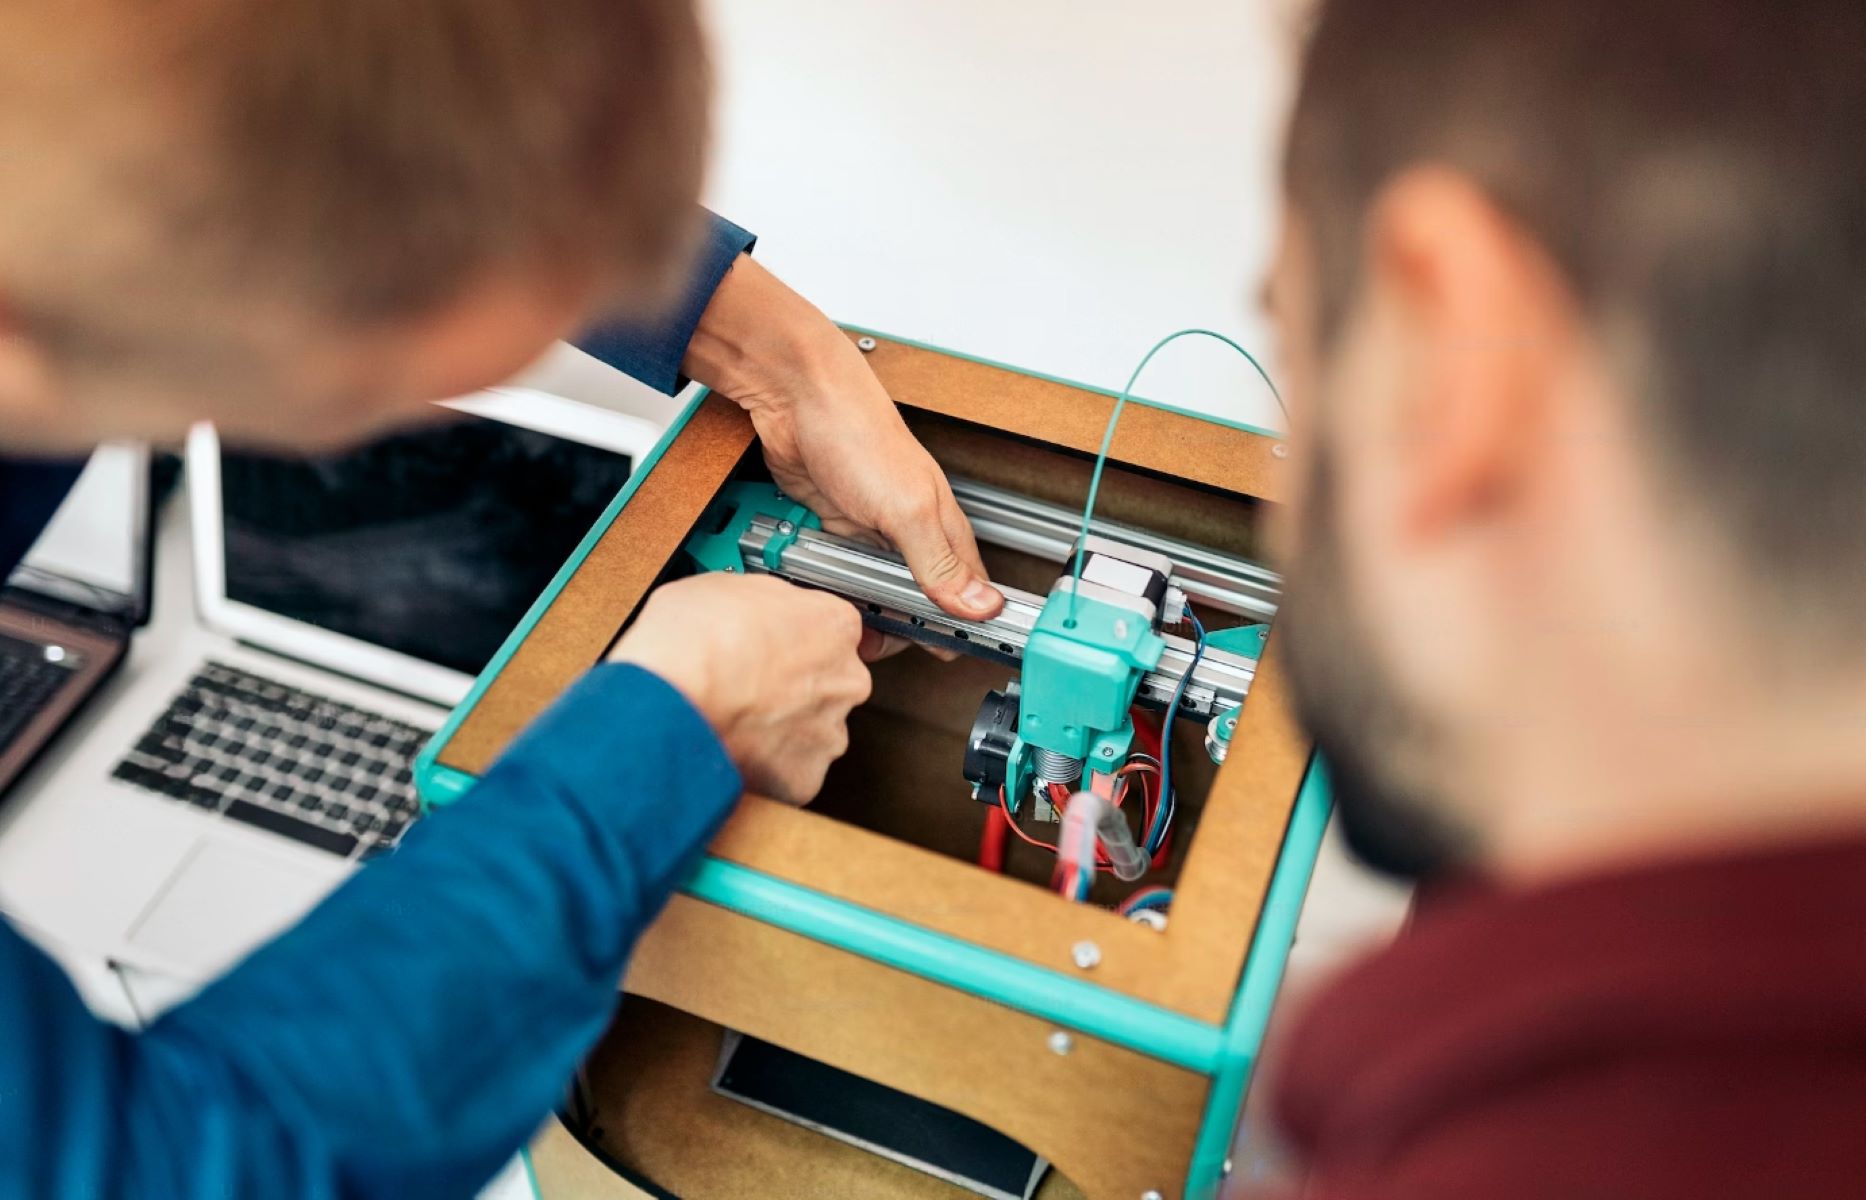
1. Access Hot End: Locate the hot end of the 3D printer, where the nozzle is situated. Depending on the printer model, you may need to disassemble certain components or access panels to reach the hot end assembly.
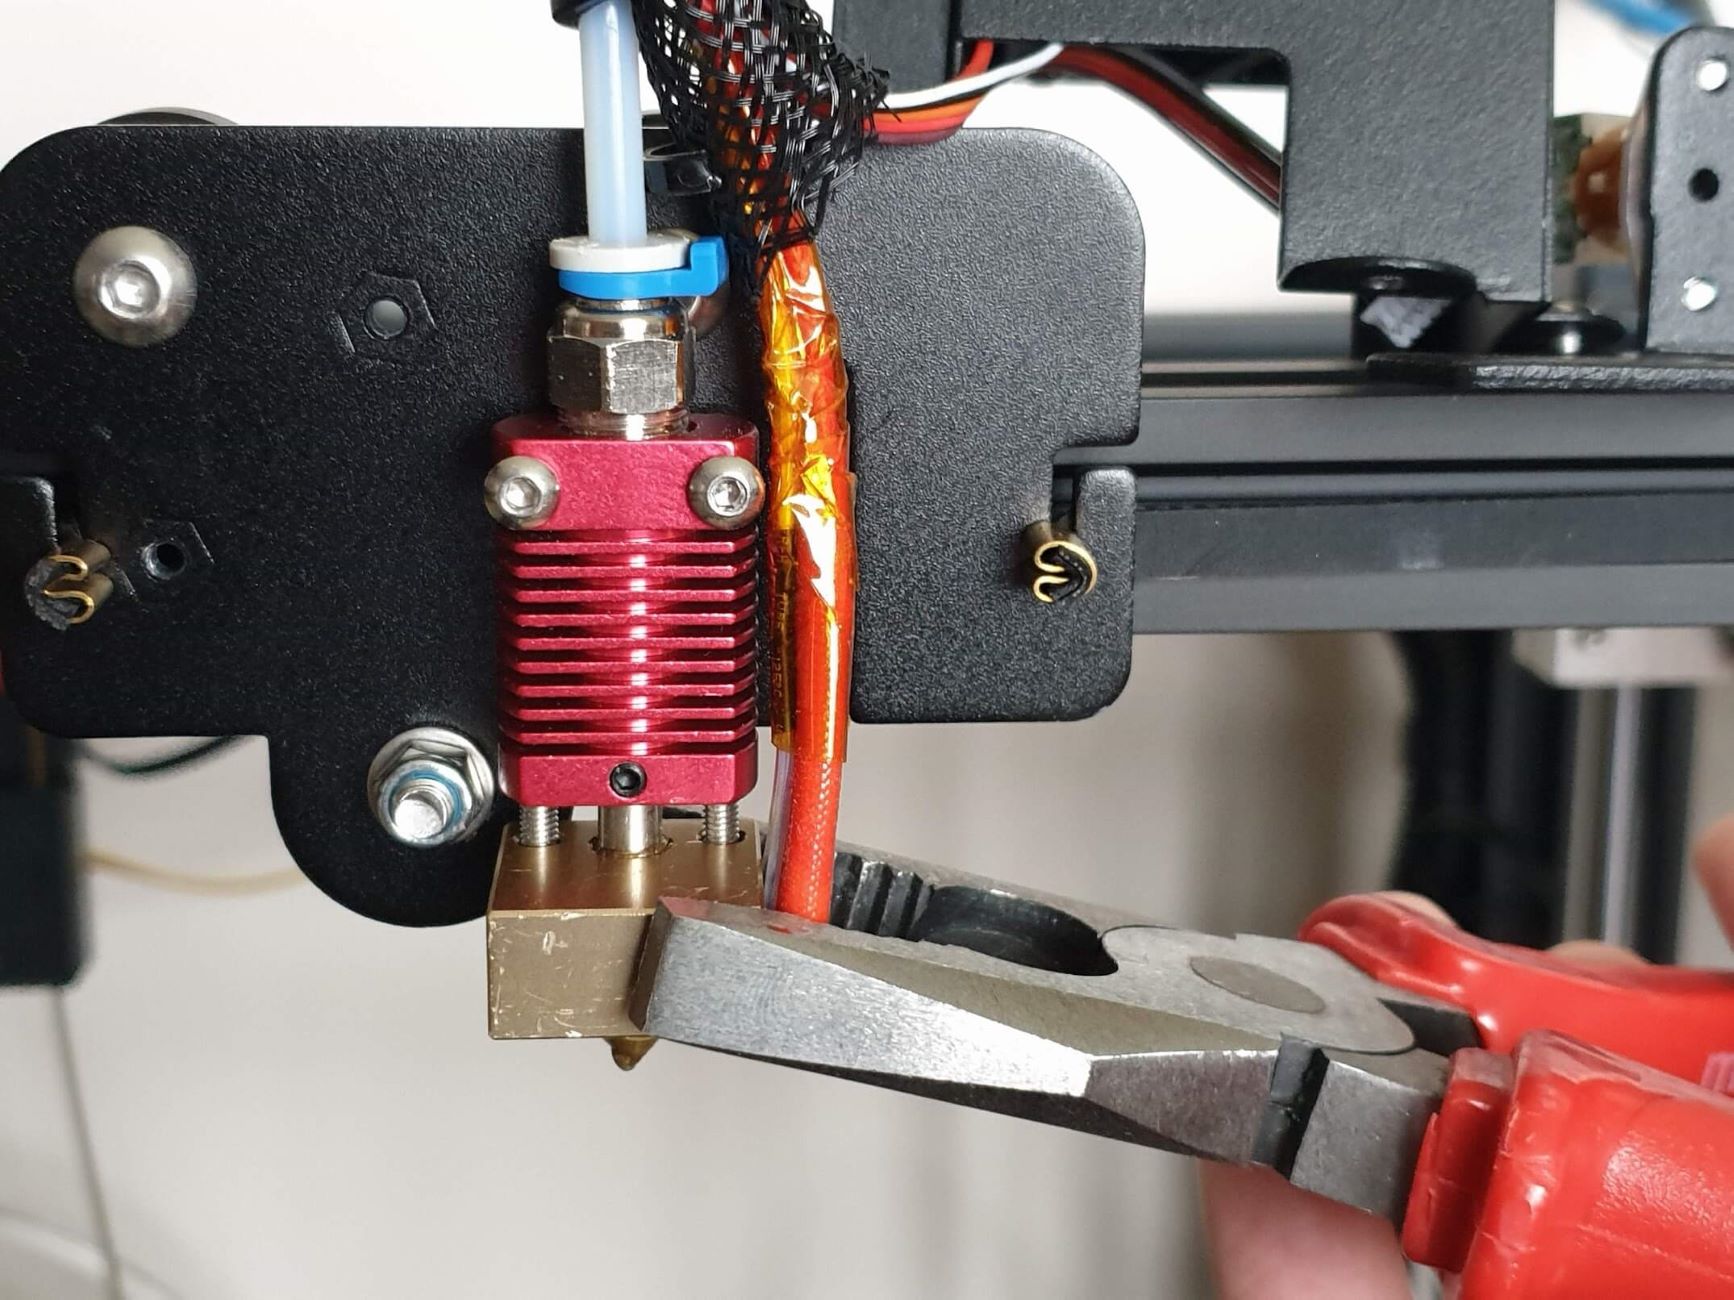
2. Heat Block and Nozzle: Using a wrench or spanner of the appropriate size, carefully loosen the nozzle from the heat block. Exercise caution to avoid damaging the delicate threads and components. If the nozzle is stuck due to residue or filament, apply gentle pressure and consider heating the nozzle to facilitate its removal.
3. Remove Nozzle: Once the nozzle is loosened, carefully unscrew it from the heat block. Handle the hot components with care, ensuring that the hot end has cooled down sufficiently to prevent burns. Place the removed nozzle on a clean, heat-resistant surface, ready for the subsequent cleaning steps.
4. Inspect Hot End: While the nozzle is removed, take the opportunity to inspect the hot end assembly for any signs of filament residue, blockages, or wear. Clear any visible debris using a needle, pin, or other suitable tools, preparing the hot end for reassembly with the cleaned nozzle.
5. Secure Components: Safely store the removed nozzle and any accompanying components in a designated area, ensuring that they are protected from contamination and damage. This will facilitate the subsequent cleaning and reassembly process, maintaining the integrity of the components.
By meticulously following these steps, you can successfully remove the nozzle from the 3D printer’s hot end, setting the stage for thorough cleaning and maintenance. The next phase involves the intricate process of cleaning the nozzle to ensure optimal performance and print quality. Let’s proceed to the crucial step of cleaning the nozzle, guiding you through each essential stage of this maintenance journey.
To clean the nozzle on a 3D printer, heat it to the printing temperature and carefully remove any clogs with a small wire or needle. Then, use a cleaning filament to further clear any remaining debris.
Step 3: Cleaning the Nozzle
Now that the nozzle has been safely removed from the 3D printer’s hot end, it’s time to embark on the essential process of cleaning the nozzle. Follow these detailed steps to effectively clean the nozzle and restore it to optimal functionality:
1. Soak Nozzle: Prepare a small container or basin with isopropyl alcohol and immerse the removed nozzle in the solvent. Allow the nozzle to soak for a sufficient duration, typically 15-30 minutes, to dissolve and loosen any residual filament and debris within the nozzle’s interior.
2. Clear Residues: After soaking, carefully remove the nozzle from the solvent and inspect it for remaining residues. Use a fine needle or pin to dislodge any stubborn debris or filament remnants from the nozzle’s opening and interior channels. Exercise caution to avoid damaging the delicate internal geometry of the nozzle.
3. Brush and Wipe: Gently scrub the exterior of the nozzle using a small wire brush to remove any adhered contaminants. Additionally, use a clean cloth or paper towel to wipe the exterior surfaces, ensuring that the nozzle is free from any residual solvent and debris. This step helps restore the nozzle to a clean and pristine condition.
4. Cleaning Filament (Optional): If available, consider using specialized cleaning filament designed for purging and cleaning the extruder and nozzle. Follow the manufacturer’s instructions to feed the cleaning filament through the hot end, effectively dislodging and removing residual material from the nozzle’s interior. This optional step can further enhance the cleaning process.
5. Verify Cleanliness: Inspect the cleaned nozzle to ensure that it is free from obstructions and residues. Verify that the nozzle opening and internal channels are clear and unobstructed, ready to facilitate precise filament extrusion and deposition during printing.
6. Dry and Prepare for Reassembly: After completing the cleaning process, thoroughly dry the nozzle using a clean, lint-free cloth or paper towel. Ensure that no moisture or solvent residue remains on the nozzle’s surfaces. With the cleaned and dried nozzle, you are now ready to proceed to the next crucial step: reassembling the nozzle and hot end assembly.
By meticulously following these steps, you can effectively clean the nozzle, ensuring that it is free from obstructions and residues that can compromise print quality and performance. The subsequent phase involves reassembling the cleaned nozzle, culminating in the restoration of the 3D printer’s optimal functionality. Let’s proceed to the next step: reassembling the nozzle and hot end assembly, guiding you through each essential stage of this maintenance journey.
Step 4: Reassembling the Nozzle
With the freshly cleaned and dried nozzle in hand, it’s time to embark on the critical process of reassembling the nozzle and the hot end assembly of the 3D printer. Follow these detailed steps to ensure a seamless and effective reassembly:
1. Position Nozzle: Align the cleaned nozzle with the heat block, ensuring that the threads engage smoothly and securely. Carefully thread the nozzle into the heat block by hand, exercising caution to prevent cross-threading and damage to the delicate components.
2. Secure Nozzle: Using a wrench or spanner of the appropriate size, gently tighten the nozzle into the heat block, ensuring a snug fit without over-tightening. This step is crucial for establishing a secure connection and preventing filament leaks or extrusion issues during printing.
3. Verify Alignment: Confirm that the nozzle is correctly seated and aligned with the heat block, maintaining a consistent and flush connection. This ensures optimal thermal transfer and filament flow during the printing process.
4. Apply Lubricant (Optional): If recommended by the printer’s manufacturer, apply a small amount of PTFE-based lubricant to the threads of the nozzle. This lubrication facilitates smooth assembly and disassembly in future maintenance procedures, enhancing the longevity of the components.
5. Inspect Hot End Assembly: Once the nozzle is reassembled, inspect the hot end assembly for any signs of misalignment or irregularities. Ensure that the components are securely fastened and that there are no obstructions that could impede filament flow and extrusion.
6. Reconnect Components (If Applicable): If any disassembled components, such as cooling fans or shrouds, were removed to access the hot end, carefully reconnect and secure them according to the manufacturer’s specifications. This ensures that the printer’s functionality is fully restored.
7. Power On and Test: With the nozzle reassembled and the hot end secured, power on the 3D printer and perform a test run to verify that the nozzle heats up properly and that filament extrusion is consistent and reliable. This test confirms the successful reassembly of the nozzle and hot end assembly.
By meticulously following these steps, you can successfully reassemble the cleaned nozzle, ensuring that it is securely seated and aligned within the hot end assembly. The meticulous reassembly process sets the stage for the restoration of the 3D printer’s optimal functionality, paving the way for precise and reliable printing. With the nozzle reassembled, you have completed the comprehensive maintenance journey, empowering your 3D printer to produce exceptional prints with precision and consistency.
Read more: When To Replace A 3D Printer Nozzle
Conclusion
Congratulations on completing the comprehensive process of cleaning and maintaining the nozzle on your 3D printer. By meticulously following the steps outlined in this guide, you have taken a crucial step towards ensuring the optimal performance and print quality of your 3D printer. The meticulous cleaning and reassembly of the nozzle are essential for preventing clogs, maintaining precise filament extrusion, and preserving the longevity of the printer’s components.
Regular maintenance, including nozzle cleaning, is fundamental to the seamless operation of a 3D printer. By incorporating this essential task into your printer maintenance routine, you can mitigate the risk of print defects, nozzle obstructions, and extrusion inconsistencies. This proactive approach not only enhances the print quality but also contributes to the longevity and reliability of your 3D printer.
As you continue your 3D printing journey, remember to adhere to the manufacturer’s guidelines and recommendations for maintenance and cleaning. Additionally, stay attuned to the printer’s performance, promptly addressing any signs of nozzle clogs or irregularities in filament extrusion. By maintaining a proactive and attentive approach to printer care, you can maximize the potential of your 3D printer, bringing your designs to life with precision and consistency.
Embrace the art of 3D printing with confidence, knowing that you have the knowledge and skills to maintain your printer’s critical components. By nurturing your printer through regular maintenance and care, you are poised to unlock a world of creativity and innovation, producing exceptional prints with each endeavor.
Thank you for joining us on this maintenance journey. May your 3D printing adventures be filled with boundless creativity and remarkable achievements, empowered by the meticulous care and maintenance of your trusted 3D printer.
Frequently Asked Questions about How To Clean Nozzle On 3D Printer
Was this page helpful?
At Storables.com, we guarantee accurate and reliable information. Our content, validated by Expert Board Contributors, is crafted following stringent Editorial Policies. We're committed to providing you with well-researched, expert-backed insights for all your informational needs.

0 thoughts on “How To Clean Nozzle On 3D Printer”