Home>Construction & Tools>Building Materials>How To Stucco Concrete Walls
Building Materials
How To Stucco Concrete Walls
Modified: November 2, 2024
Learn how to stucco concrete walls with our comprehensive guide. Find the best building materials and techniques for a professional finish.
(Many of the links in this article redirect to a specific reviewed product. Your purchase of these products through affiliate links helps to generate commission for Storables.com, at no extra cost. Learn more)
Introduction
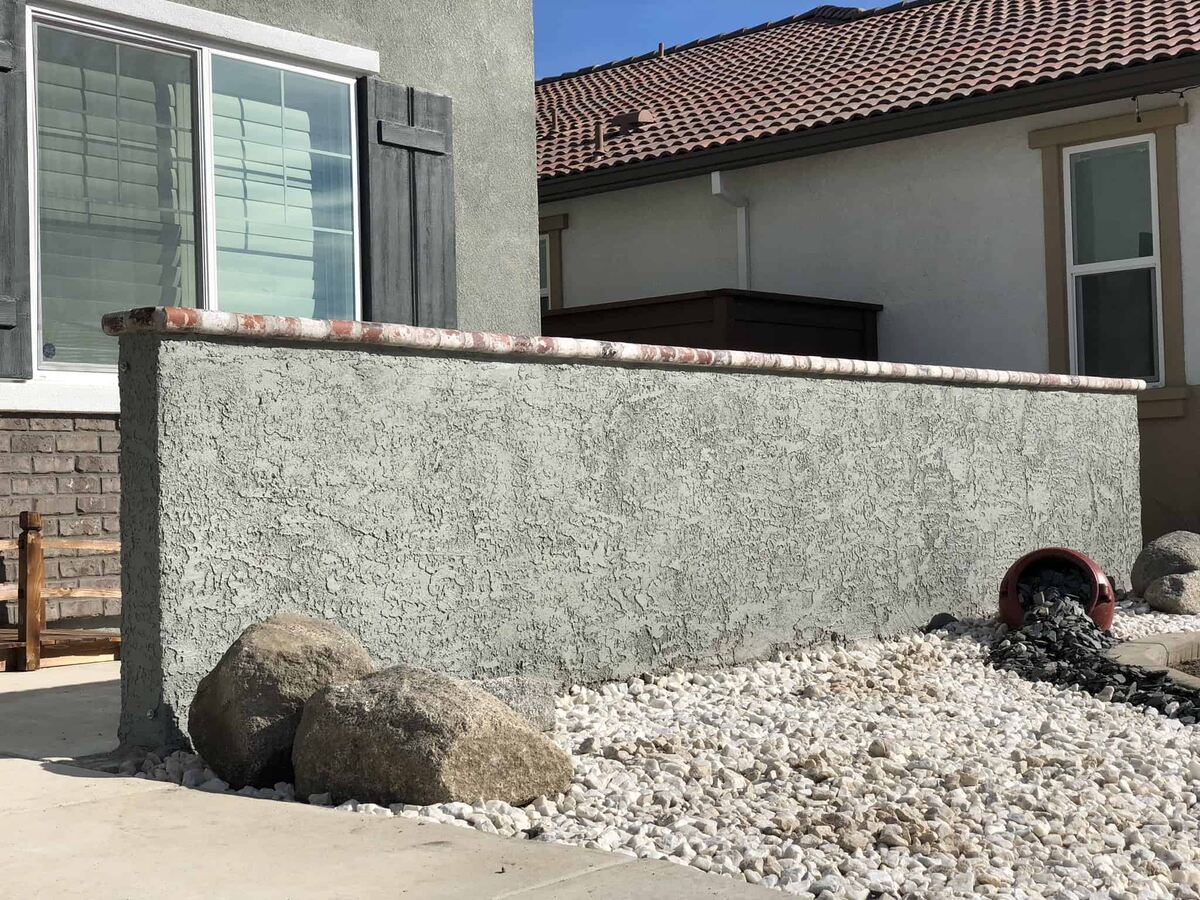
So, you've got concrete walls that need a facelift, and you're considering stucco as a viable option. Well, you're in luck! Stucco is not only a fantastic way to revamp the look of your concrete walls, but it also provides added protection against the elements. Whether you're aiming for a rustic, Mediterranean, or modern aesthetic, stucco can be customized to suit your style preferences. This versatile material offers durability and aesthetic appeal, making it a popular choice for exterior and interior wall finishes.
In this comprehensive guide, we'll walk you through the process of stuccoing concrete walls, from the necessary materials to the finishing touches. By the end of this journey, you'll be equipped with the knowledge and confidence to undertake this rewarding home improvement project. So, roll up your sleeves and let's dive into the world of stucco!
Key Takeaways:
- Transform concrete walls with stucco for a durable and customizable finish. Prepare, apply scratch and brown coats, and finish for stunning, long-lasting results.
- Ensure stucco longevity by proper curing and maintenance. Protect the finish, monitor curing, and maintain with routine cleaning for enduring beauty.
Read more: What Is A Stucco Wall
Materials Needed
Before embarking on your stucco adventure, it's essential to gather the necessary materials. Here's a comprehensive list to ensure you're well-prepared:
1. Stucco Mix:
- Portland cement
- Hydrated lime
- Sand
2. Bonding Agent:
- Concrete bonding adhesive
3. Wire Mesh:
- Galvanized metal lath
Read more: How To Do A Stucco Wall
4. Tools:
- Wheelbarrow
- Stucco trowels (finishing, corner, and margin)
- Masonry hoe
- Bucket
- Measuring tools
- Protective gear (gloves, goggles, mask)
5. Water-resistant Barrier:
- Building paper
- Flashing
6. Finishing Materials:
- Acrylic or elastomeric paint (optional)
These materials are essential for achieving a successful stucco application. It’s crucial to prioritize safety by wearing protective gear and to follow the manufacturer’s instructions for each product. With these materials at your disposal, you’re ready to transform your concrete walls with a stunning stucco finish!
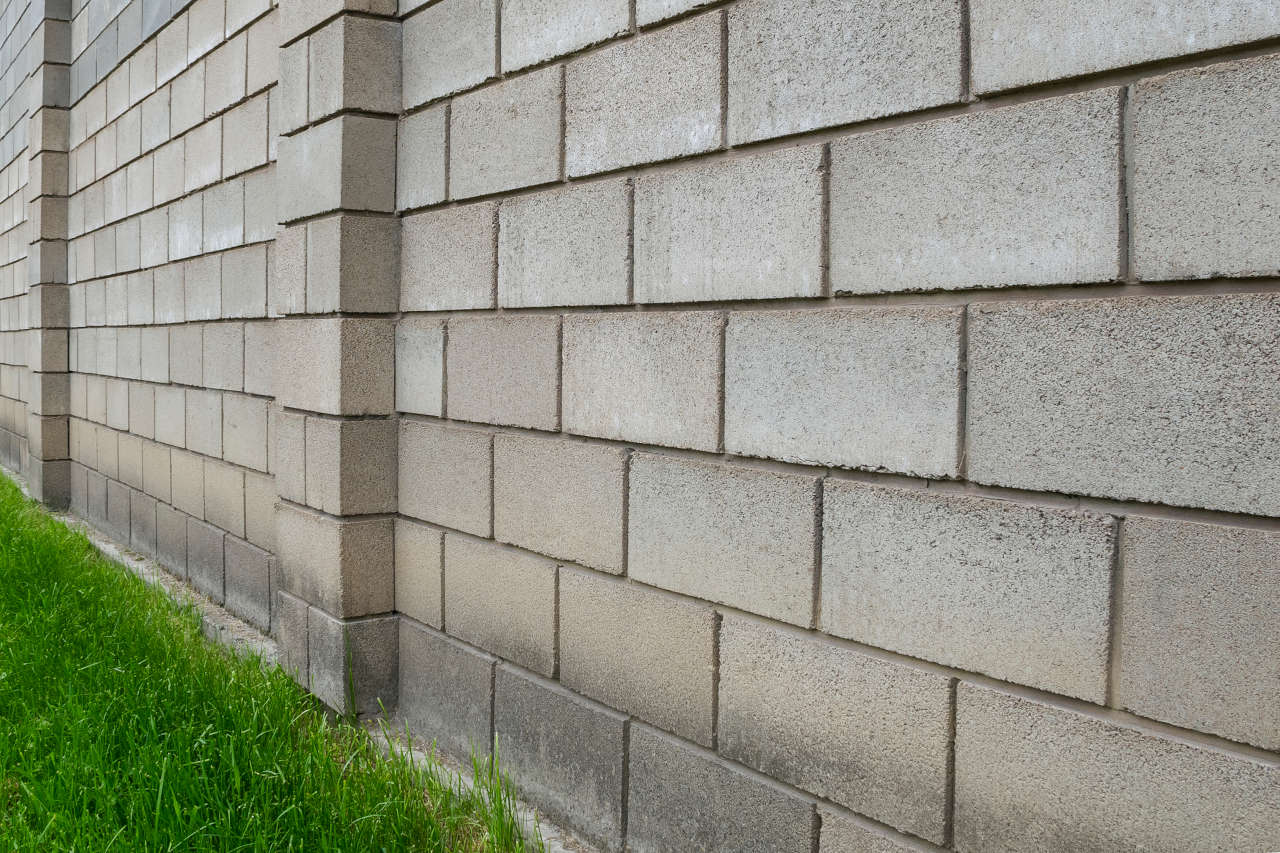
Preparing the Concrete Walls
Before diving into the stucco application process, it’s crucial to prepare the concrete walls to ensure optimal adhesion and a long-lasting finish. Here’s a step-by-step guide to preparing the surface:
Read more: How To Stucco A Brick Wall
1. Clean the Surface:
Start by thoroughly cleaning the concrete walls to remove any dirt, dust, or debris. A pressure washer can be highly effective in this regard, ensuring a clean and smooth surface for the stucco application.
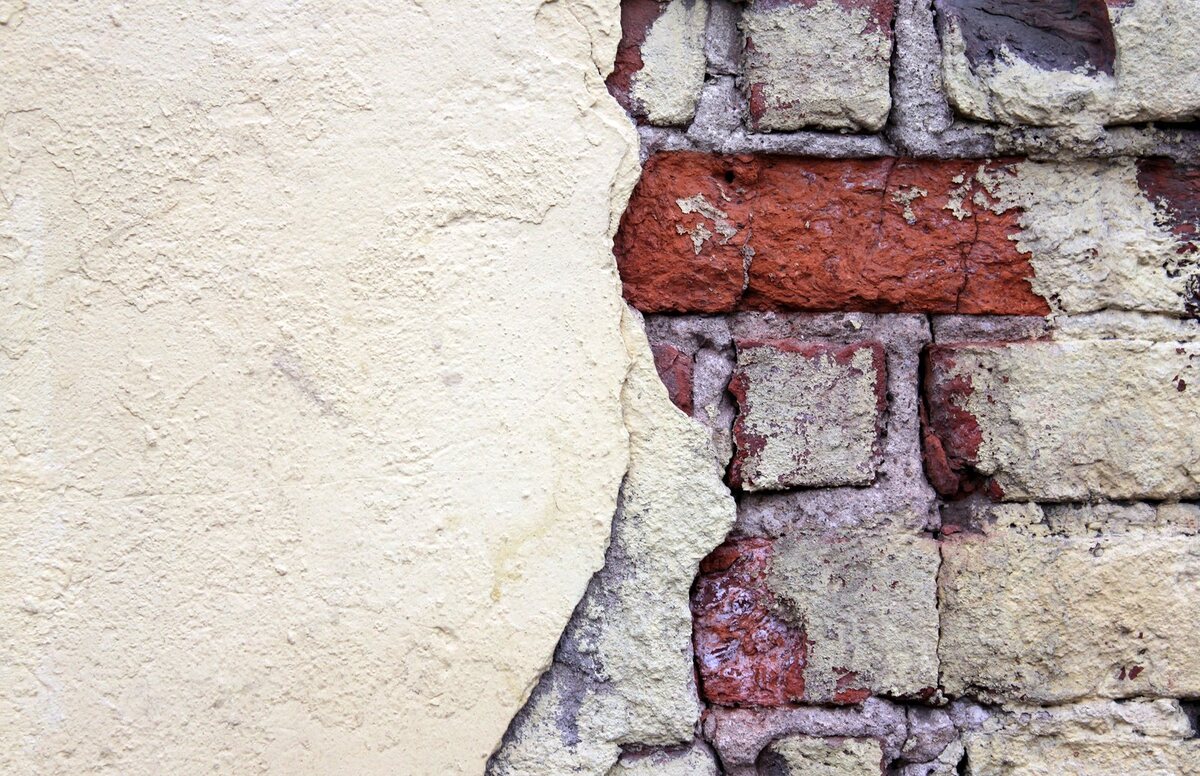
2. Repair Any Damage:
Inspect the walls for any cracks, holes, or imperfections. Use a suitable concrete patching compound to fill in these areas, ensuring that the surface is uniform and free of blemishes.
3. Apply Bonding Agent:
Once the surface is clean and repaired, apply a concrete bonding adhesive to promote adhesion between the existing concrete and the stucco. This crucial step enhances the bond, preventing delamination and ensuring the longevity of the stucco finish.
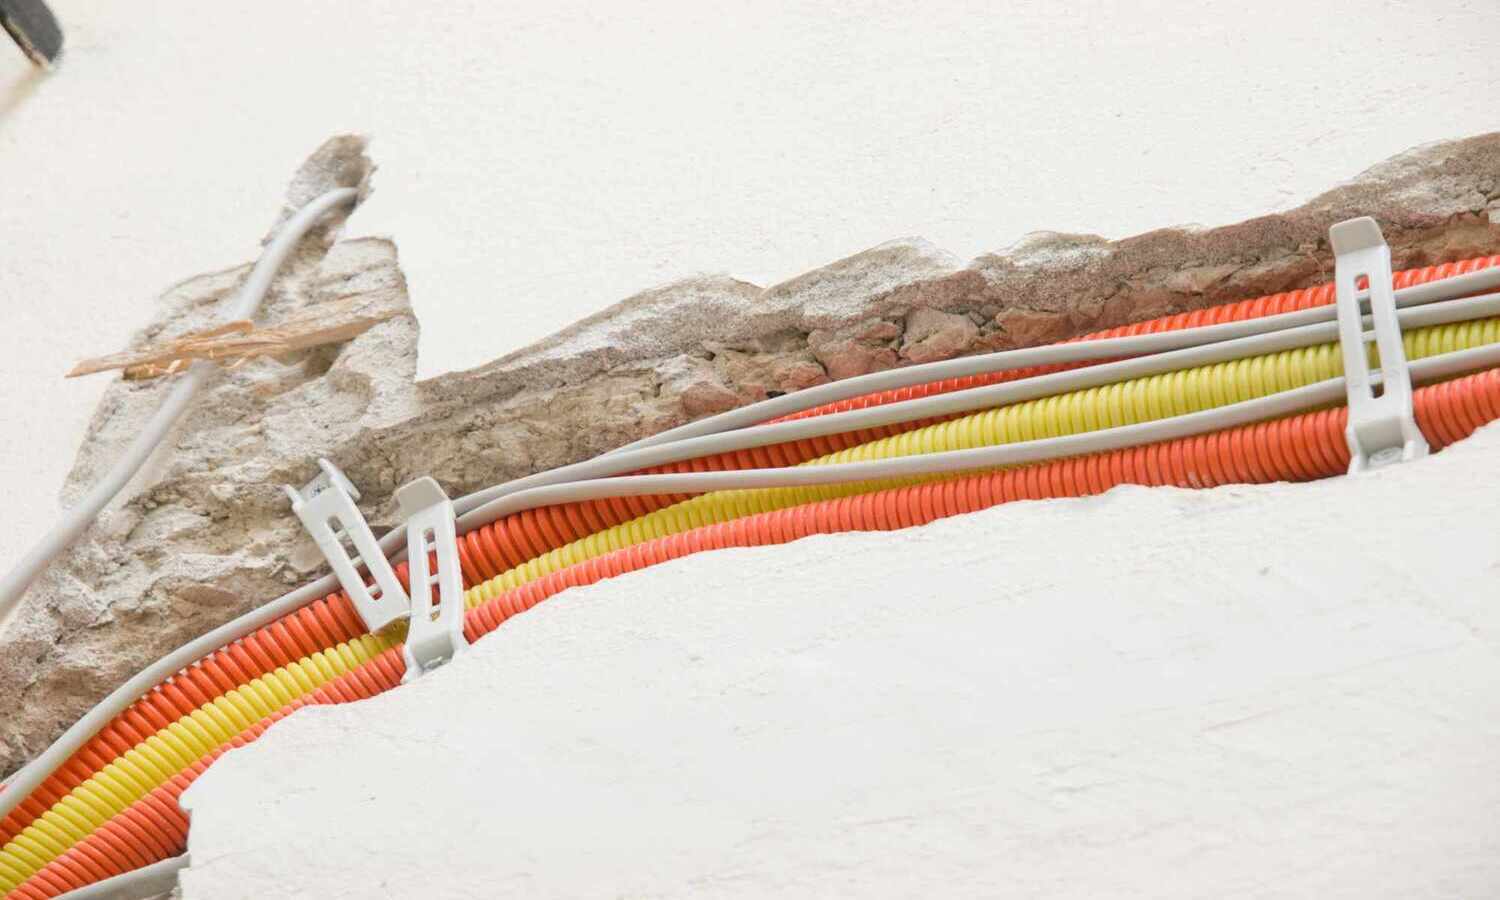
4. Install Water-resistant Barrier:
To protect the underlying structure from moisture, install a water-resistant barrier such as building paper and flashing. This barrier acts as a safeguard, preventing water intrusion and enhancing the durability of the stucco system.
By meticulously preparing the concrete walls, you establish a solid foundation for the stucco application. This proactive approach sets the stage for a flawless and enduring stucco finish that will elevate the aesthetic appeal and structural integrity of your walls.
Read more: How To Spray Stucco Exterior Walls
Applying the Scratch Coat
With the concrete walls primed and ready, it’s time to embark on the first phase of the stucco application process: the scratch coat. This initial layer serves as the foundation for the subsequent coats, providing a key bonding surface for the stucco system. Here’s a detailed walkthrough of the scratch coat application:
1. Mixing the Stucco:
Begin by preparing the stucco mix, which typically consists of Portland cement, hydrated lime, and sand. Follow the manufacturer’s instructions to achieve the desired consistency, ensuring a homogeneous blend that is free of lumps.
2. Applying the Stucco:
Using a masonry hoe or trowel, apply the stucco mix onto the prepared concrete walls. Work in manageable sections, ensuring an even and consistent application. The goal is to achieve a uniform thickness of approximately 3/8 inch, providing an ideal base for the subsequent coats.
3. Texturing the Surface:
Once the stucco is applied, use a scratcher or a scarifier to create horizontal grooves or a stippled texture on the surface. This texturing process enhances the bond between coats and promotes a secure grip for the next layer of stucco.
Read more: How To Cover Stucco Interior Walls
4. Curing the Scratch Coat:
After applying the scratch coat, it’s essential to allow adequate time for curing. Keep the surface moist by lightly misting it with water to facilitate the curing process. This step is critical for the scratch coat to achieve optimal strength and adhesion.
5. Inspecting for Uniformity:
Once the scratch coat has cured, inspect the surface for uniformity and any imperfections. Address any irregularities or areas that require touch-ups before proceeding to the next phase of the stucco application.
By meticulously executing the application of the scratch coat, you establish a solid foundation for the subsequent layers of stucco. This critical phase sets the stage for a seamless and resilient stucco finish that will enhance the visual appeal and structural integrity of your concrete walls.
Applying the Brown Coat
As the stucco application progresses, the next pivotal step is the application of the brown coat. This intermediate layer builds upon the scratch coat, further enhancing the structural integrity and visual appeal of the stucco finish. Here’s a comprehensive guide to applying the brown coat:
1. Mixing the Brown Coat:
Prepare the stucco mix for the brown coat, ensuring it comprises the appropriate ratio of Portland cement, hydrated lime, and sand. Consistency is key, so meticulously blend the materials to achieve a smooth and workable mixture.
Read more: How To Attach Wood To Stucco Wall
2. Applying the Brown Coat:
With the stucco mix ready, apply the brown coat onto the cured scratch coat using a stucco trowel. Work methodically, spreading the mixture evenly to achieve a uniform thickness of approximately 3/8 inch. This layer serves as a crucial bridge between the scratch coat and the final finish coat.
3. Smoothing and Leveling:
Once the brown coat is applied, use the trowel to smooth and level the surface, ensuring a consistent and visually appealing texture. Pay close attention to achieving a uniform and seamless finish, addressing any irregularities as needed.
4. Curing the Brown Coat:
After applying the brown coat, allow ample time for curing to strengthen the stucco and optimize its bond with the underlying layers. Maintain the appropriate level of moisture to facilitate the curing process, promoting the development of a robust and resilient stucco system.
5. Inspecting for Quality:
Once the brown coat has cured, conduct a thorough inspection of the surface to ensure uniformity and structural integrity. Address any imperfections or areas that require attention, preparing the surface for the final phase of the stucco application.
By meticulously executing the application of the brown coat, you reinforce the foundation established by the scratch coat, paving the way for the final finish coat. This crucial layer contributes to the overall strength and visual appeal of the stucco finish, bringing your vision of stunning, durable concrete walls to fruition.
Read more: How To Build Stucco Wall With Wood Frame
Finishing the Stucco
As the stucco application nears completion, the final phase involves applying the finish coat, culminating in a visually captivating and resilient stucco finish. This transformative step adds the crowning touch to your concrete walls, elevating their aesthetic appeal and fortifying their structure. Here’s a comprehensive guide to finishing the stucco:
1. Preparing the Finish Coat:
Begin by preparing the stucco mix for the finish coat, ensuring it comprises the appropriate blend of Portland cement, hydrated lime, and sand. Attain the desired consistency by meticulously mixing the components, creating a smooth and workable finish coat mixture.
2. Applying the Finish Coat:
With the finish coat mix ready, carefully apply it onto the cured brown coat using a stucco trowel. Work methodically, spreading the mixture evenly to achieve the desired thickness and texture. This final layer is where the visual appeal and character of the stucco finish truly come to life.
3. Texturing and Detailing:
As the finish coat is applied, incorporate the desired texture or detailing to achieve the aesthetic effect you envision. Whether it’s a smooth, troweled finish or a textured pattern, this step allows for artistic expression and customization, adding personality to the stucco finish.
Read more: How To Hang Curtains On Concrete Wall
4. Curing the Finish Coat:
After applying the finish coat, prioritize the curing process to enhance the strength and durability of the stucco finish. Maintain the appropriate moisture levels to facilitate curing, allowing the finish coat to achieve its optimal resilience and visual appeal.
5. Inspecting the Final Finish:
Once the finish coat has cured, conduct a meticulous inspection of the stucco surface, ensuring that it meets your quality standards. Address any imperfections or areas requiring touch-ups, ensuring that the final finish exemplifies the beauty and durability of a well-executed stucco application.
By meticulously executing the application of the finish coat, you bring your vision of stunning, enduring concrete walls to fruition. This transformative phase marks the culmination of the stucco application process, infusing your walls with character, charm, and resilience, and leaving a lasting impression for years to come.
Curing and Maintenance
Upon completing the stucco application, the curing and maintenance phase plays a pivotal role in ensuring the longevity and resilience of the newly finished concrete walls. Proper curing and ongoing maintenance are essential for preserving the stucco’s integrity and visual appeal. Here’s a comprehensive guide to the curing and maintenance process:
1. Curing the Stucco:
After the stucco application, it’s crucial to facilitate the curing process to enhance the strength and durability of the finish. Keep the stucco surface moist by lightly misting it with water, especially during the initial curing period. This promotes optimal hydration and crystalline formation within the stucco, bolstering its structural integrity.
Read more: How To Build A Concrete Retaining Wall
2. Monitoring the Curing Progress:
Throughout the curing phase, monitor the stucco’s progress and ensure that the surface remains adequately moist. This proactive approach contributes to the development of a robust and resilient stucco finish, minimizing the risk of cracks or imperfections.
3. Implementing Protective Measures:
During the curing period, safeguard the stucco from potential damage or abrasion. Avoid contact with the stucco surface and refrain from placing heavy objects against it. Implement protective measures to prevent accidental damage, preserving the integrity of the curing stucco.
4. Routine Maintenance:
Once the stucco has fully cured, incorporate routine maintenance practices to uphold its pristine condition. Periodically inspect the stucco for any signs of wear, cracks, or discoloration, addressing any issues promptly to prevent deterioration and maintain the stucco’s aesthetic appeal.
5. Cleaning and Preservation:
As part of ongoing maintenance, periodically clean the stucco surface to remove dirt, debris, or environmental residues. Utilize gentle cleaning methods, such as rinsing with water or using a mild detergent solution, to preserve the stucco’s luster and visual allure.
By prioritizing the curing process and implementing diligent maintenance practices, you contribute to the long-term resilience and visual appeal of the stucco finish. This proactive approach ensures that your concrete walls retain their stunning aesthetic and structural integrity, standing the test of time and weathering the elements with grace and durability.
Read more: How To Clean Concrete Basement Walls
Conclusion
Congratulations on embarking on the journey of stuccoing your concrete walls! By delving into the art of stucco application, you’ve not only enhanced the visual appeal of your walls but also fortified them with a resilient and enduring finish. Throughout this transformative process, you’ve harnessed the power of stucco to breathe new life into your surroundings, creating a captivating and durable exterior or interior aesthetic.
From meticulously preparing the concrete walls to applying the scratch, brown, and finish coats, you’ve demonstrated a commitment to craftsmanship and attention to detail. Each phase of the stucco application has contributed to the creation of a visually stunning and structurally robust finish, elevating the character and charm of your living space.
As you proceed with the curing and maintenance of the stucco, you’re ensuring that its beauty and resilience endure for years to come. By nurturing the stucco finish through proper curing and routine maintenance, you’re investing in the long-term preservation of its aesthetic allure and structural integrity.
Whether you’ve embraced a traditional, textured stucco finish or opted for a sleek, modern aesthetic, your commitment to the art of stucco application has left an indelible mark on your surroundings. The enduring beauty and durability of your stuccoed concrete walls stand as a testament to your dedication to enhancing your living space with a touch of timeless elegance.
As you revel in the transformative impact of your newly stuccoed walls, take pride in the craftsmanship and artistry that have brought this vision to life. Your concrete walls now stand as a canvas of enduring beauty, embodying the timeless allure and resilience of a well-executed stucco finish.
So, as you bask in the radiance of your stuccoed walls, may they serve as a testament to the transformative power of stucco and the enduring legacy of your dedication to creating a space of timeless elegance and enduring allure.
Frequently Asked Questions about How To Stucco Concrete Walls
Was this page helpful?
At Storables.com, we guarantee accurate and reliable information. Our content, validated by Expert Board Contributors, is crafted following stringent Editorial Policies. We're committed to providing you with well-researched, expert-backed insights for all your informational needs.

0 thoughts on “How To Stucco Concrete Walls”