
Articles
Basement Leaking Where Wall Meets Floor
Modified: October 20, 2024
Learn how to fix basement leaking where the wall meets the floor with our helpful articles.
(Many of the links in this article redirect to a specific reviewed product. Your purchase of these products through affiliate links helps to generate commission for Storables.com, at no extra cost. Learn more)
Introduction
A basement is a valuable space in a home, providing additional living or storage area. However, one common issue that homeowners often encounter is basement leaks. This can be a cause of distress, as it can lead to water damage, mold growth, and structural problems. One specific area where leaks commonly occur is where the wall meets the floor. Understanding the causes and solutions for basement leaks at the wall-floor joint is vital in order to protect your home and maintain a healthy and dry basement.
In this article, we will explore the common causes of basement leaks at the wall-floor joint, the signs of a leaking basement, how to diagnose the issue, and various solutions to eliminate the leaks and prevent further damage. Additionally, we will discuss the importance of repairing cracks in the wall-floor joint and how to waterproof your basement effectively. By implementing the recommended preventive measures, you can minimize the risk of basement leaks and preserve the integrity of your home.
Whether you have an unfinished basement or a fully renovated living space, understanding the potential for leaks and taking proactive steps to address them is crucial. Let’s delve deeper into the world of basement leaks at the wall-floor joint and discover effective solutions to keep your basement dry and protected.
Key Takeaways:
- Understanding the common causes of basement leaks at the wall-floor joint, such as hydrostatic pressure and poor construction, is crucial for effective prevention and protection. Implementing tailored solutions, like crack injection and exterior waterproofing, can safeguard your basement from water damage.
- Proactive measures, including regular inspections, proper grading, and gutter maintenance, play a vital role in preventing basement leaks. By addressing underlying causes and implementing preventive measures, homeowners can protect their property value and enjoy a dry and comfortable living environment.
Read more: How To Fix A Leaking Basement Wall
Understanding the Problem
Basement leaks at the wall-floor joint occur when water seeps into the basement through cracks, gaps, or weak points where the wall and floor meet. This problem can be attributed to several factors, including hydrostatic pressure, poor construction techniques, and water infiltration.
Hydrostatic pressure is the force exerted by water against your basement walls and floors. When the soil around your home becomes saturated with water, it creates pressure against the foundation, pushing water through any cracks or openings. This pressure can be exacerbated by heavy rainfall, improper grading, or poor drainage systems.
Poor construction techniques can also contribute to basement leaks. If the foundation was not properly sealed or the wall-floor joint was not adequately reinforced, it becomes vulnerable to water penetration. Additionally, improper sloping or insufficient waterproofing can allow water to accumulate around the foundation and seep into the basement.
Water infiltration is another common cause of basement leaks at the wall-floor joint. It can occur due to faulty or malfunctioning plumbing, overflowing gutters, or excessive surface water runoff. If water is not directed away from the foundation, it can find its way into the basement, leading to leaks and water damage.
Understanding these underlying causes is crucial for effectively addressing and preventing basement leaks at the wall-floor joint. By identifying the specific factors contributing to the problem, you can choose the most appropriate solutions to mitigate the issue and protect your basement from further damage.
Common Causes of Leaks at the Wall-Floor Joint
Basement leaks at the wall-floor joint can be caused by various factors. Identifying these common causes is essential in order to effectively address the issue and prevent further water damage in your basement.
1. Foundation Settlement: Over time, the soil underneath your home can settle, leading to foundation movement. This can result in cracks and gaps in the wall-floor joint, allowing water to enter the basement.
2. Hydrostatic Pressure: As mentioned earlier, hydrostatic pressure is the force exerted by water against the basement walls. If the water table rises or there is excessive groundwater around your home, it can create pressure against the foundation and force water through the wall-floor joint.
3. Poor Construction: Inadequate construction techniques and poor sealing between the wall and floor during the building process can leave weak points that are prone to leaks. If the joint was not properly reinforced or waterproofed, it becomes susceptible to water infiltration.
4. Cracks in the Foundation: Cracks in the foundation walls or floor can develop over time due to various factors, such as soil expansion and contraction, freeze-thaw cycles, or structural issues. These cracks provide a pathway for water to enter the basement.
5. Inadequate Drainage: Insufficient or malfunctioning drainage systems can contribute to basement leaks at the wall-floor joint. If the gutters are clogged or not properly sloped, water can overflow and accumulate around the foundation, increasing the likelihood of leaks.
6. Plumbing Issues: Faulty plumbing or leaking pipes in the basement can also lead to water leaks at the wall-floor joint. A burst pipe, a corroded pipe joint, or a faulty sump pump can cause water to seep into the basement, resulting in moisture problems and potential structural damage.
Understanding these common causes can help you determine the best course of action to address basement leaks at the wall-floor joint. By addressing the root cause, you can effectively eliminate the leaks and prevent further water damage in your basement.
Signs of Basement Leaking
Detecting basement leaks at the wall-floor joint early is crucial in preventing extensive water damage and costly repairs. Here are some common signs that indicate your basement may be leaking:
1. Damp or Musty Odor: If you notice a persistent musty smell in your basement, it could be a sign of excess moisture or water infiltration. This odor is often caused by mold or mildew growth, which thrive in damp environments.
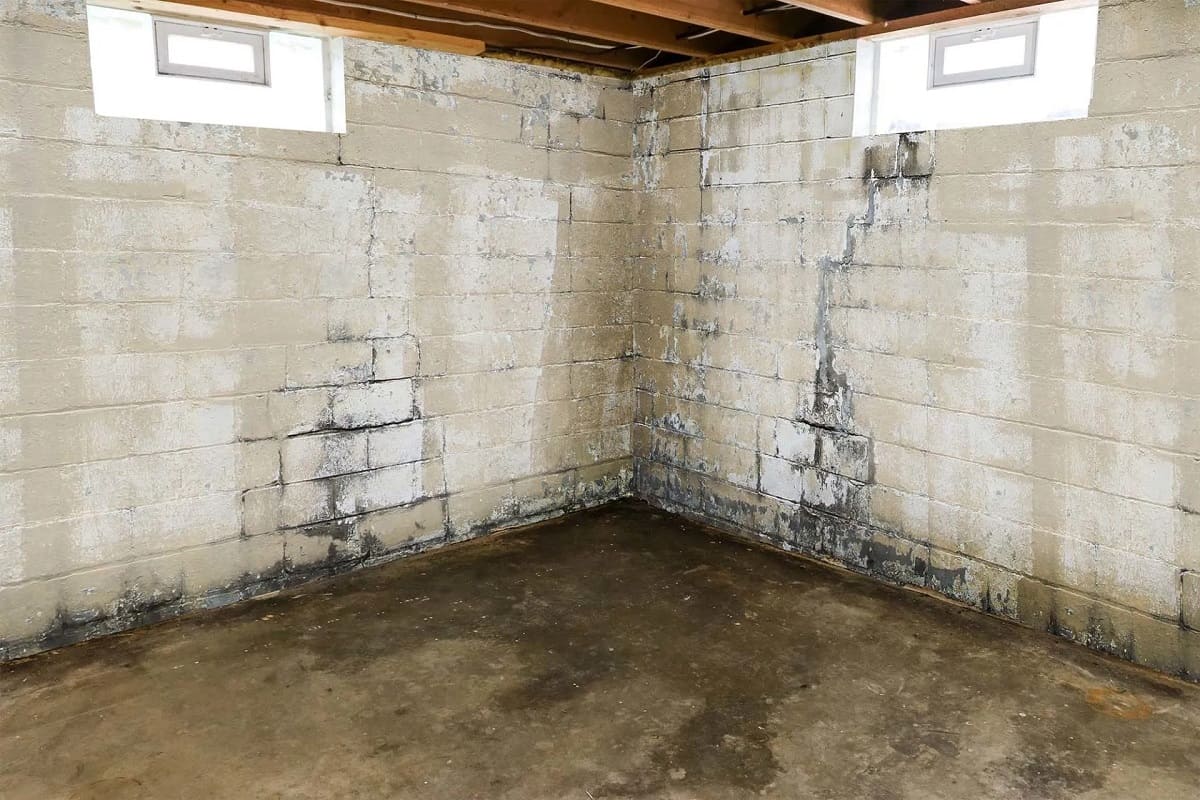
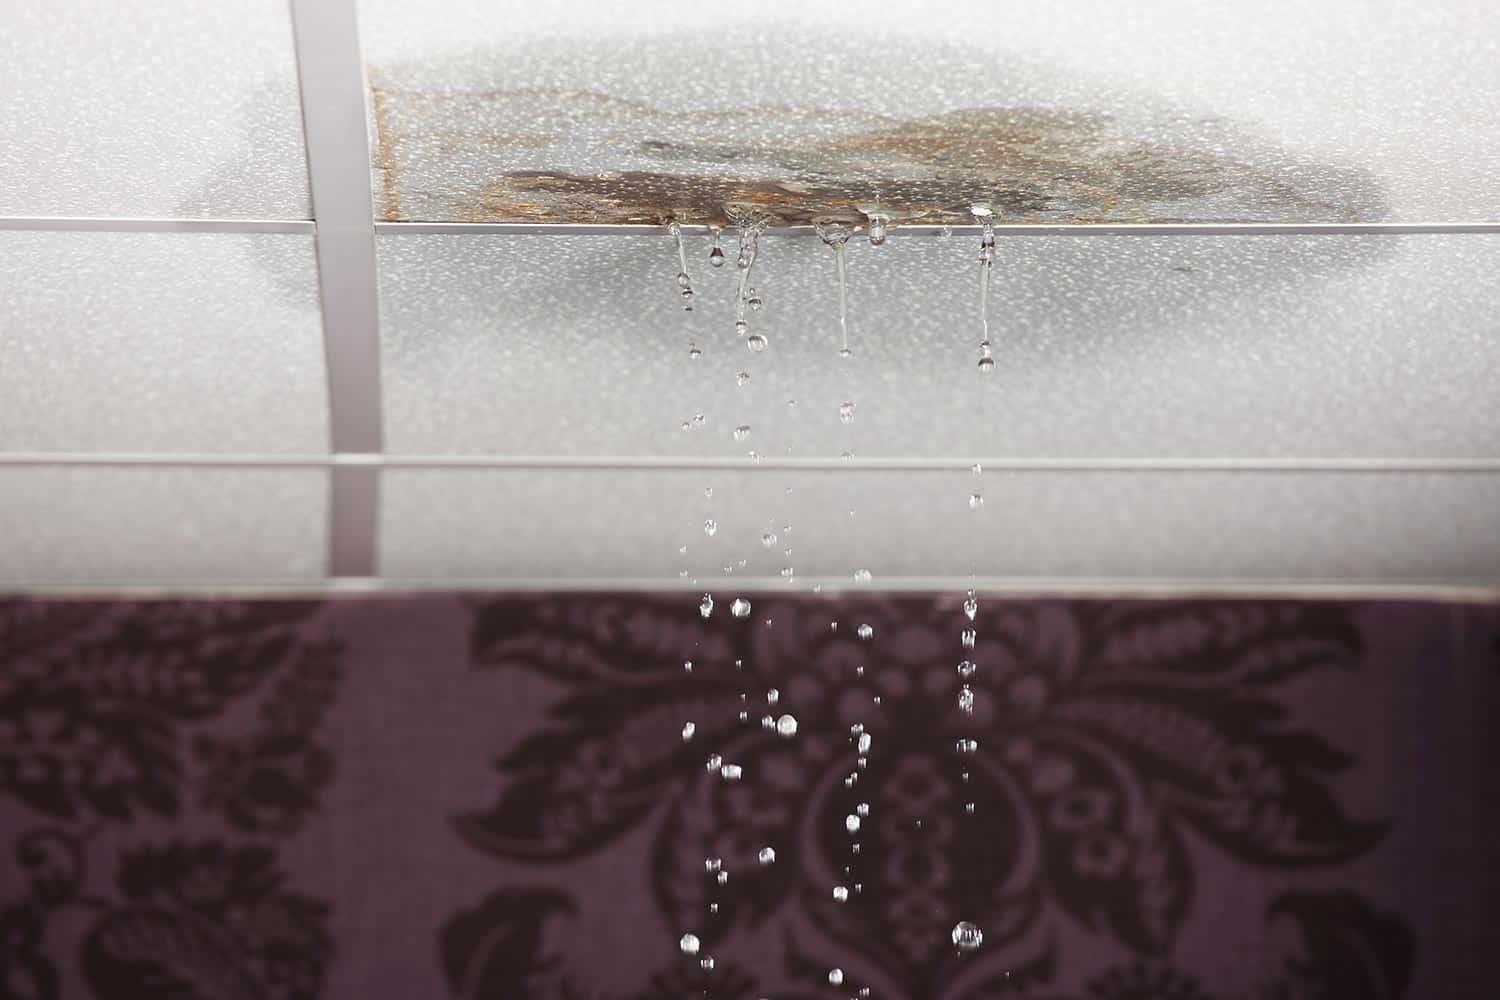
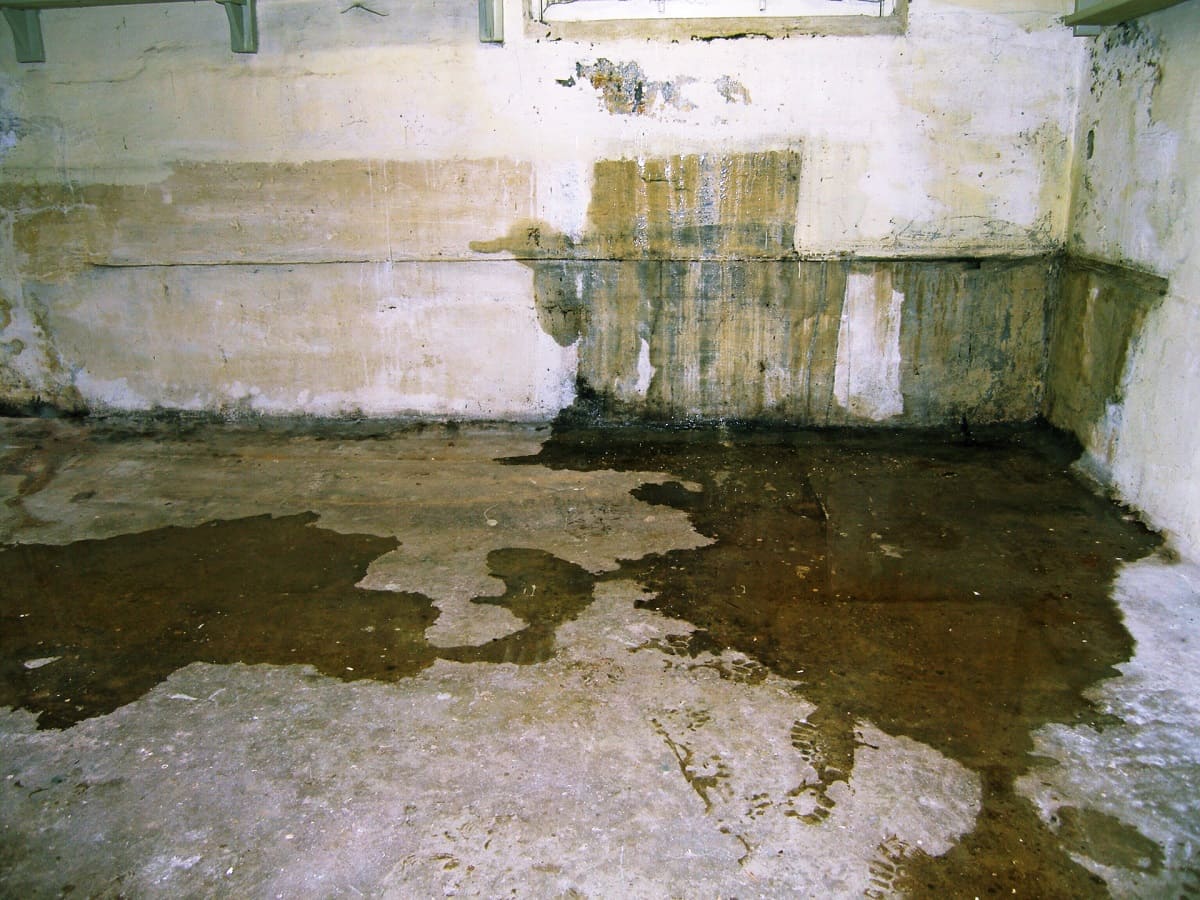
2. Visible Water Stains: Look for discoloration or watermarks on the walls or floors of your basement. These stains are indications that water has seeped into the foundation and may be leaking through the wall-floor joint.
3. Mold or Mildew Growth: Mold and mildew thrive in moist environments, making a damp basement an ideal breeding ground. If you spot mold or mildew growth on the walls, floors, or furniture in your basement, it is a clear sign of a moisture problem.
4. Peeling or Bubbling Paint: Excess moisture can cause paint on the walls or ceiling to bubble, crack, or peel. If you notice these signs, it may indicate water infiltration through the wall-floor joint.
5. Efflorescence: Efflorescence is a white, powdery substance that appears on walls or floors. It is caused by the minerals in the water that are left behind as the water evaporates. Efflorescence is a sign that water is present in the foundation and may be leaking into the basement.
6. Wet or Damp Basement Floor: A wet or consistently damp basement floor is a clear indication of water infiltration. If you notice pools of water or a damp feeling when walking on the basement floor, it’s likely that there is a leak in the wall-floor joint.
7. Cracks in the Walls or Floor: Inspect the walls and floor of your basement for any visible cracks. Cracks can provide a pathway for water to enter the basement and can indicate a leak at the wall-floor joint.
It is important to remember that these signs may not always be present in every case of basement leaking. However, if you notice any combination of these signs, it is essential to address the issue promptly to prevent further water damage and potential health hazards associated with mold growth.
Diagnosing the Issue
Diagnosing the source of basement leaks at the wall-floor joint requires a thorough inspection and investigation. By identifying the precise cause of the leaks, you can implement the most effective solutions and prevent further water damage. Here are some steps to help diagnose the issue:
1. Visual Inspection: Begin by examining the interior and exterior of your basement for any visible signs of water damage, such as damp spots, stains, or cracks. Pay close attention to the wall-floor joint area and look for any indications of water infiltration.
2. Exterior Assessment: Check the grading around your home to ensure that the ground slopes away from the foundation. Improper or inadequate grading can cause water to accumulate around the foundation, increasing the risk of basement leaks.
3. Gutter and Downspout Inspection: Inspect your gutters and downspouts to ensure they are clean and functioning properly. Clogged gutters or downspouts that deposit water near the foundation can contribute to basement leaks.
4. Plumbing Evaluation: Check for any plumbing leaks in the basement, such as dripping pipes or pools of water around plumbing fixtures. A plumbing issue can be a potential cause of water seeping into the basement through the wall-floor joint.
5. Interior Moisture Measurement: Use a moisture meter to measure the moisture levels in different areas of your basement. Elevated moisture levels can indicate areas of water intrusion or excessive humidity.
6. Professional Inspection: If you’re unable to identify the source of the leaks or suspect a more severe issue, it is recommended to hire a professional waterproofing contractor. They can conduct a comprehensive assessment of your basement, identifying hidden leaks and providing expert recommendations.
Remember, diagnosing the issue is a crucial step in effectively resolving basement leaks. By thoroughly examining your basement, addressing any prominent issues, and seeking professional help when needed, you can pinpoint the source of the leaks and proceed with the appropriate solutions for a dry and healthy basement.
Inspect the exterior of your home for any cracks or gaps where water could enter. Consider installing a sump pump or waterproofing the basement walls to prevent future leaks.
Read more: Bumps Where Infill Meets Outer Wall
Solutions for Basement Leaks
When it comes to addressing basement leaks at the wall-floor joint, there are various solutions available to effectively eliminate the leaks and protect your basement. Here are some common solutions:
1. Crack Injection: If there are visible cracks in the wall-floor joint, crack injection is a popular solution. This method involves injecting an epoxy or polyurethane material into the crack to seal it and prevent further water intrusion.
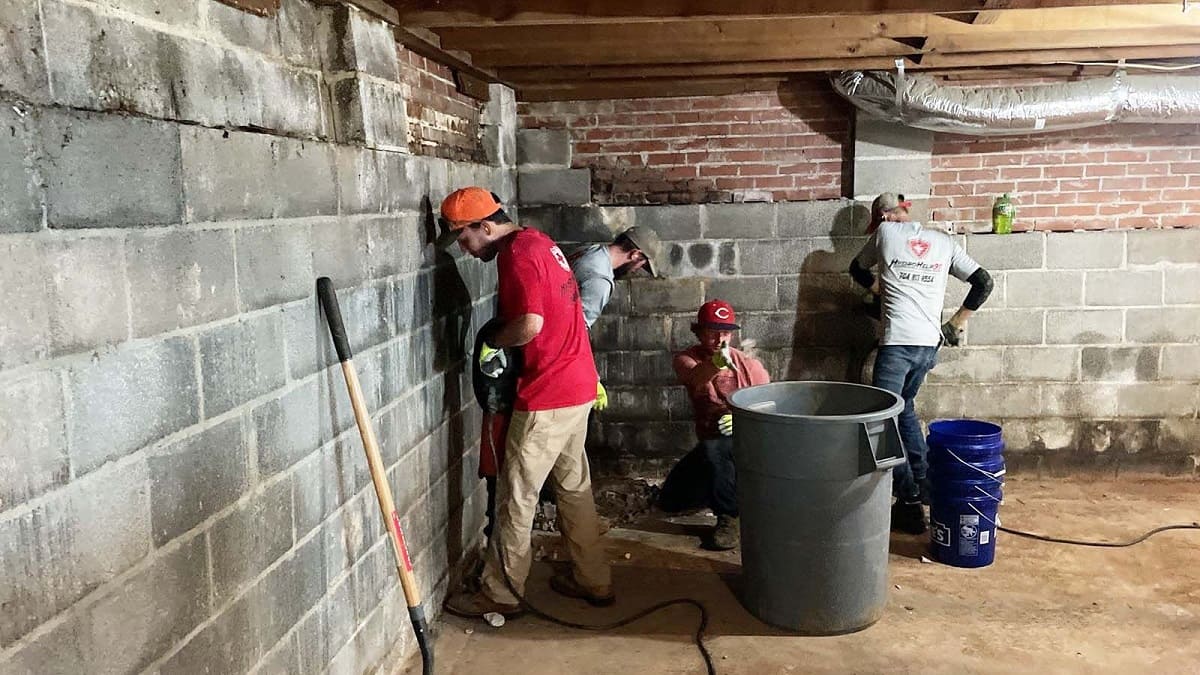
2. Exterior Waterproofing: In cases where the leaks are caused by poor exterior drainage or foundation issues, exterior waterproofing may be necessary. This involves excavating around the foundation, applying a waterproof membrane or coating, and installing a drainage system to redirect water away from the foundation.
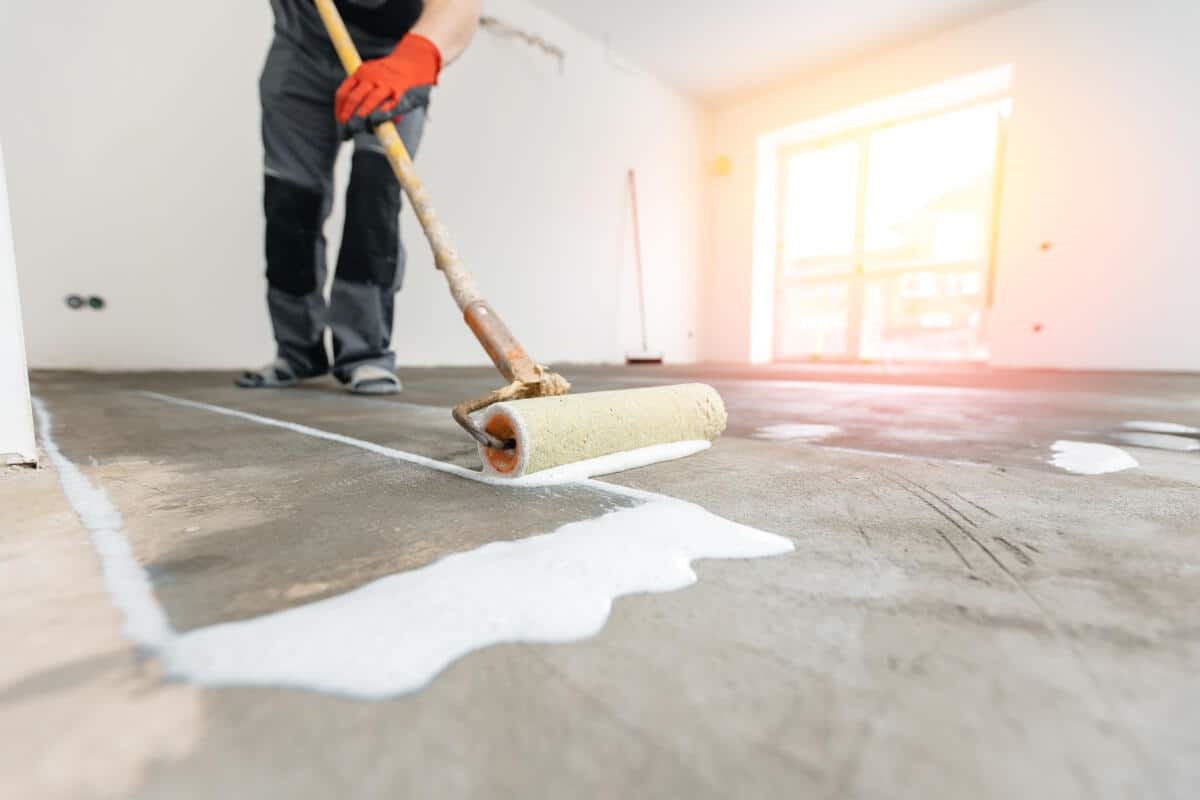
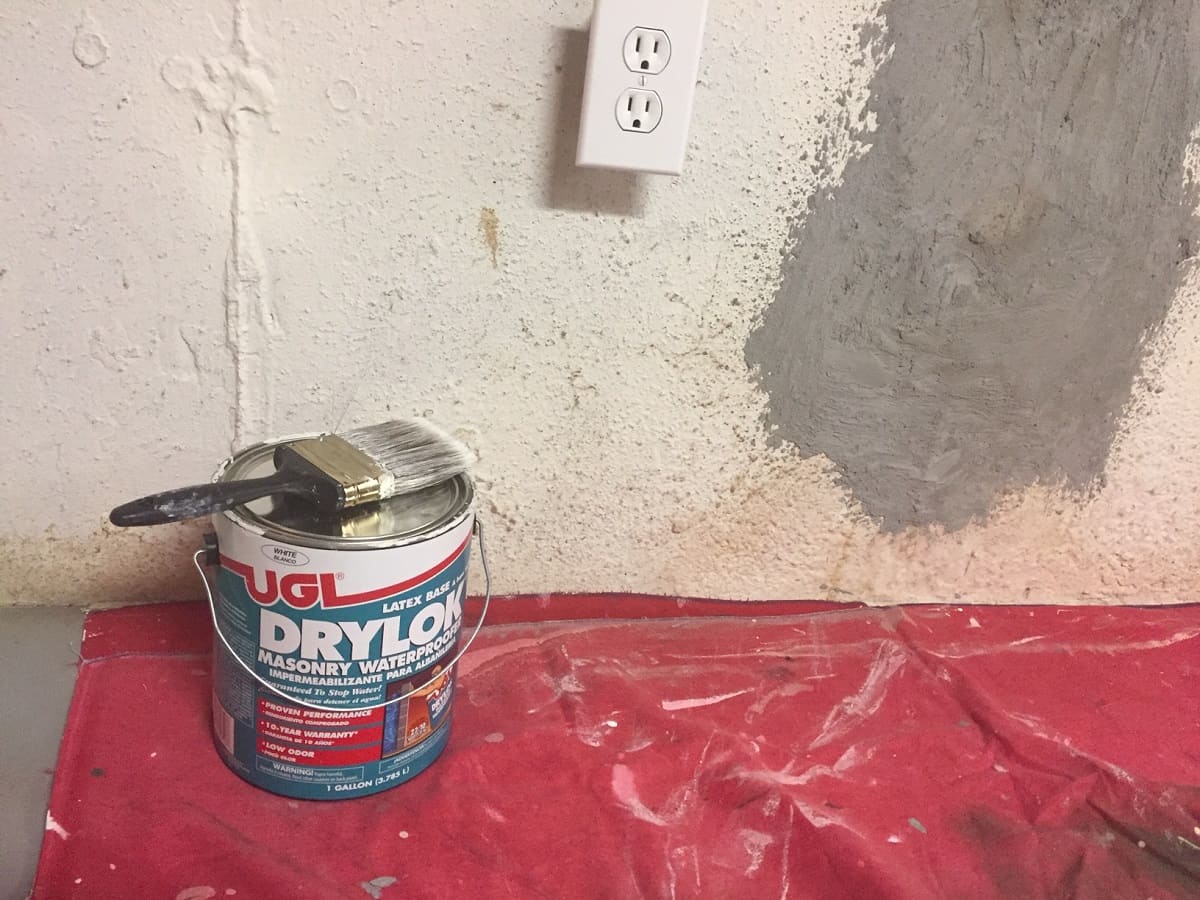
3. Interior Waterproofing: Interior waterproofing methods can be beneficial for addressing basement leaks at the wall-floor joint. These methods include applying waterproof coatings or sealants on the interior walls and floors, installing a drainage system and sump pump, and using vapor barriers to control moisture.
4. French Drain Installation: Installing a French drain can help redirect water away from the foundation and prevent it from entering the basement. A French drain consists of a perforated pipe buried in a gravel-filled trench, which collects and channels water away from the foundation.
5. Foundation Repair: If the leaks are due to foundation issues, such as settlement or structural damage, foundation repair may be required. This can involve techniques like underpinning, foundation stabilization, or wall reinforcement to address the underlying problem.
6. Gutters and Downspout Maintenance: Proper maintenance of gutters and downspouts is essential in preventing basement leaks. Make sure the gutters are clean and free of debris, and the downspouts are securely connected and direct water away from the foundation.
7. Landscaping Improvements: Improving the grading and landscaping around your home can help alleviate water accumulation near the foundation. Ensure that the ground slopes away from the house, and consider using landscaping features like swales or retaining walls to redirect water flow.
The most appropriate solution for your basement leaks depends on the specific cause and severity of the problem. It is recommended to consult with a professional waterproofing contractor who can evaluate your situation and provide tailored recommendations to address the leaks effectively.
Repairing Cracks in the Wall-Floor Joint
If you have identified cracks in the wall-floor joint as the source of your basement leaks, it is important to repair them promptly to prevent further water intrusion. Here are steps to effectively repair cracks in the wall-floor joint:
1. Clean and Prepare the Area: Start by cleaning the cracks and the surrounding area. Use a wire brush or a scraper to remove any loose debris, dirt, or old sealant. Ensure that the surface is clean and free from any loose material.
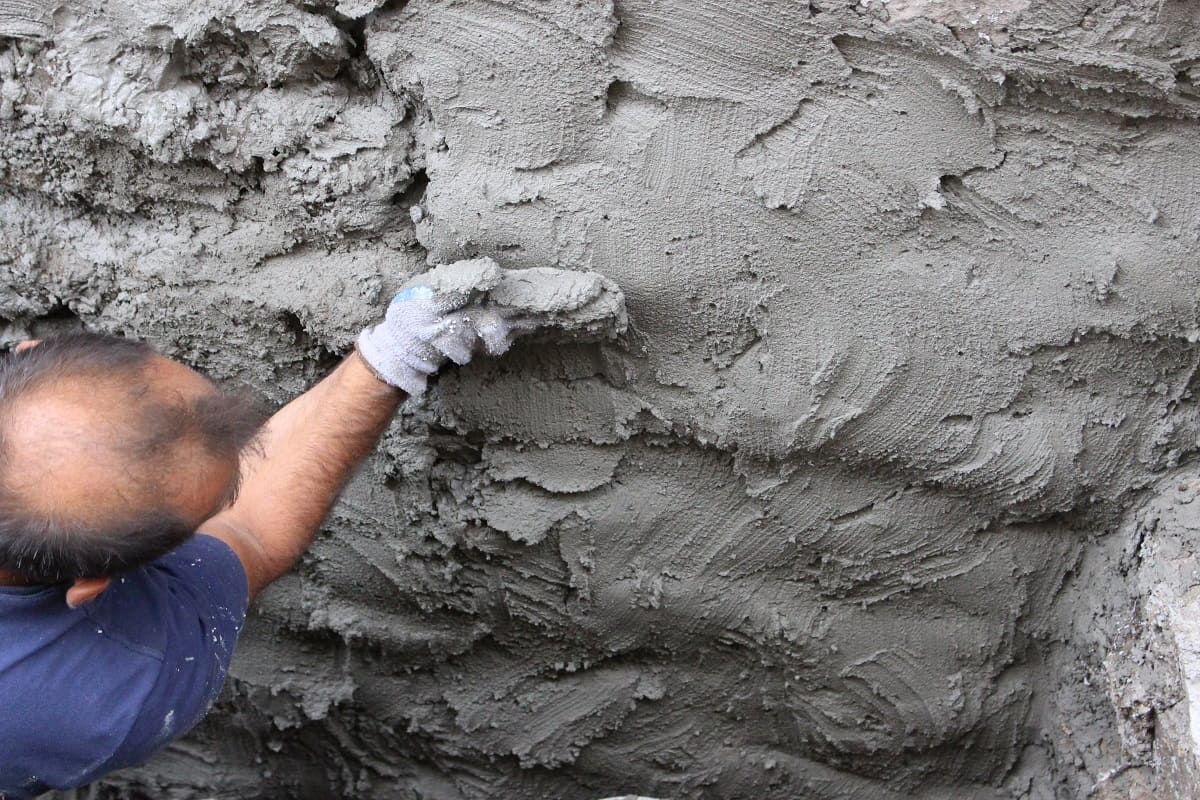
2. Choose the Right Sealant: The choice of sealant depends on the size and severity of the cracks. For smaller cracks, a high-quality epoxy or polyurethane injection resin is commonly used. These sealants penetrate the cracks and create a strong bond to effectively seal the opening. For larger cracks, a hydraulic cement-based material may be more suitable.
3. Inject the Sealant: Follow the manufacturer’s instructions to prepare the sealant. Using a caulk gun or injection system, carefully fill the cracks with the sealant, starting from the bottom and working your way up. Apply enough sealant to completely fill the crack but avoid overfilling, which can cause bulging or excessive pressure.
4. Smooth and Level the Surface: After injecting the sealant, use a putty knife or a trowel to smooth and level the surface, ensuring that it is flush with the surrounding area. This helps create a seamless seal and prevents water from seeping through any gaps or unevenness.
5. Allow Proper Drying and Curing: The drying and curing time for the sealant depends on the specific product used. Follow the manufacturer’s guidelines to ensure that the sealant has enough time to properly dry and cure before exposing it to moisture.
6. Monitor and Inspect: After the repairs, regularly monitor the area for any signs of reoccurrence or further leaks. If you notice any issues, consult a professional waterproofing contractor to assess the situation and determine if additional measures need to be taken.
It is important to note that while repairing cracks in the wall-floor joint can effectively address the immediate issue of basement leaks, it may not solve underlying structural problems that may be causing the cracks. If you suspect significant foundation issues, it is advisable to consult with a professional to ensure a comprehensive assessment and appropriate repairs.
Waterproofing the Basement
Waterproofing your basement is a crucial step in preventing future leaks and maintaining a dry and healthy living space. Here are some effective methods for waterproofing the basement:
1. Exterior Waterproofing: Exterior waterproofing is a long-term solution that involves excavating around the foundation and applying a waterproof membrane or coating. This acts as a barrier against water intrusion, preventing it from reaching the basement walls and floor. Additionally, installing a proper drainage system, such as a French drain, helps redirect water away from the foundation.
2. Interior Waterproofing: Interior waterproofing methods involve treating the interior surfaces of the basement to manage moisture and prevent leaks. This includes applying a waterproof coating or sealant to the walls and floor, installing a drainage system and sump pump to collect and remove water, and using vapor barriers to control moisture levels.
3. Foundation Sealants: Applying a foundation sealant is an effective way to prevent water penetration through the wall-floor joint. There are various sealants available, such as epoxy or polyurethane-based products, that can be applied to the joint to create a watertight seal.
4. Wall and Floor Membranes: The use of wall and floor membranes provides an additional layer of protection against water intrusion. These membranes are typically made of durable materials like plastic or rubber and are applied directly to the basement walls and floor to create a barrier against moisture.
5. Sump Pump Installation: Installing a sump pump in the basement helps prevent water accumulation by collecting and pumping water out of the basement. It is connected to a drainage system and activates when the water level reaches a certain point, effectively managing water infiltration.
6. Proper Drainage and Grading: Ensuring that the water drains away from the foundation is critical in preventing basement leaks. Regularly inspect and maintain gutters, downspouts, and surface drainage systems, ensuring that they are functioning properly and directing water away from the foundation.
7. Regular Maintenance: It is important to regularly inspect your basement for any signs of water intrusion, such as leaks, dampness, or mold growth. Promptly addressing any issues and maintaining the waterproofing systems in your basement will help ensure their effectiveness over time.
Consulting with a professional waterproofing contractor is recommended to assess your specific basement needs and determine the most appropriate waterproofing methods. They can provide expert advice, perform a thorough evaluation, and implement effective waterproofing techniques to keep your basement dry and protected from leaks.
Preventive Measures
Preventing basement leaks at the wall-floor joint is essential to protect your home from water damage and maintain a dry and healthy living space. Here are some preventive measures you can take to minimize the risk of basement leaks:
1. Proper Grading: Ensure that the ground around your home slopes away from the foundation. This helps divert water away from the basement walls and reduces the likelihood of water pooling around the foundation, which can lead to leaks.
2. Maintain Gutters and Downspouts: Regularly clean and inspect your gutters and downspouts to prevent clogging and ensure proper water flow. Make sure the downspouts are securely connected and direct water at least 6 feet away from the foundation.
3. Install Gutter Extensions: Consider installing gutter extensions or splash blocks to further redirect water away from the foundation. These extensions help prevent water from pooling near the basement walls and reduce the risk of leaks.
4. Seal Foundation Cracks: Periodically inspect the foundation walls and floor for any cracks and promptly seal them using an appropriate sealant. This helps prevent water from seeping through the cracks and entering the basement.
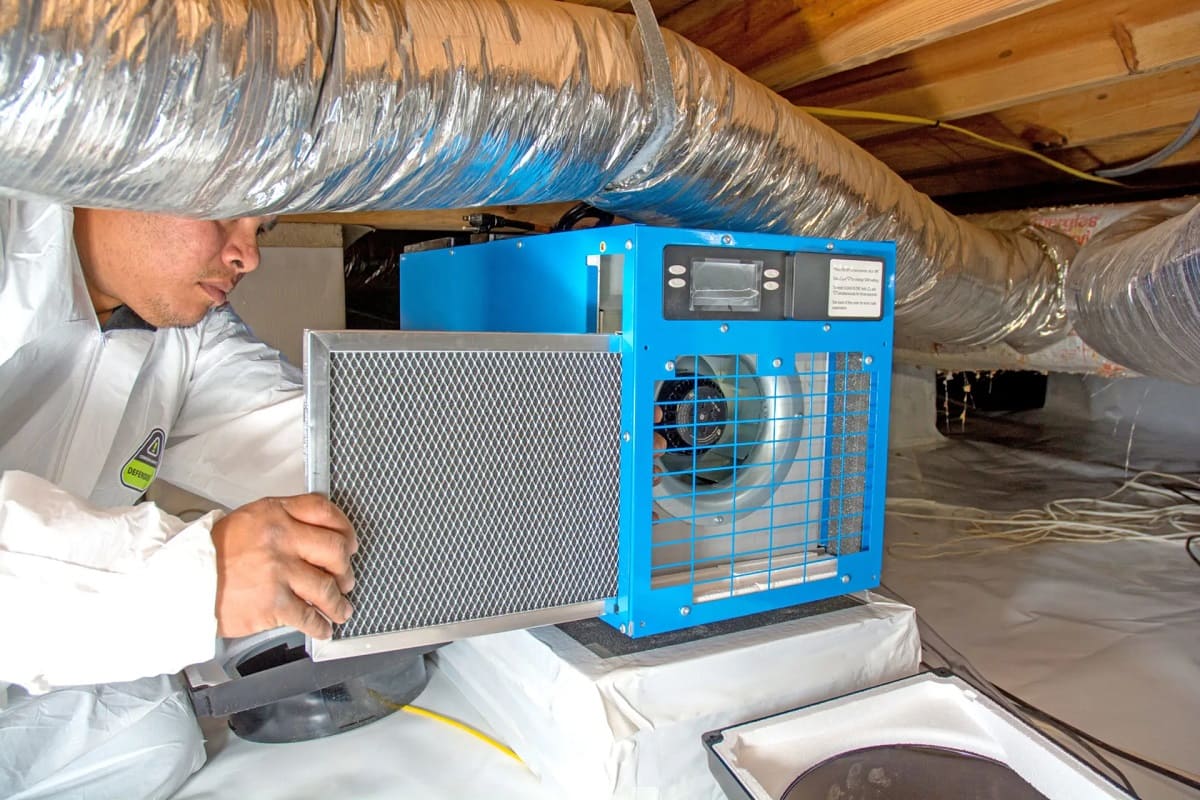
5. Maintain Proper Indoor Humidity: Keep the indoor humidity levels in check to prevent excess moisture in the basement. Use dehumidifiers if necessary, and ensure proper ventilation to reduce the risk of condensation and mold growth.
6. Regular Basement Inspections: Regularly inspect your basement for any signs of water damage, leaks, or mold growth. Addressing any issues early on helps prevent further damage and minimizes the risk of basement leaks.
7. Monitor Plumbing Systems: Regularly check your plumbing systems, including pipes, valves, and sump pumps, for any signs of leaks or malfunctions. Promptly repair or replace any faulty components to prevent water damage in the basement.
8. Professional Inspections: Consider hiring a professional waterproofing contractor to conduct periodic inspections of your basement. They can identify potential risks, provide maintenance recommendations, and ensure the effectiveness of your waterproofing systems.
By implementing these preventive measures, you can significantly reduce the risk of basement leaks and protect your home from water damage. Additionally, maintaining a dry and well-maintained basement enhances the overall livability and value of your property.
Conclusion
Basement leaks at the wall-floor joint can cause significant damage to your home, leading to water intrusion, mold growth, and structural issues. Understanding the causes and implementing effective solutions is crucial in protecting your basement and maintaining a dry and healthy living space.
In this article, we explored the common causes of basement leaks, the signs to look out for, and steps to diagnose the issue. We discussed various solutions, such as crack injection, exterior and interior waterproofing, and preventive measures like proper grading and gutter maintenance.
Repairing cracks in the wall-floor joint and waterproofing the basement are essential to eliminate leaks and prevent future water damage. By addressing the underlying causes, such as foundation settlement or poor construction techniques, you can effectively safeguard your home from basement leaks.
Regular maintenance and inspections are key to identifying issues early on and taking immediate action. Whether it’s repairing cracks, maintaining gutters, or monitoring plumbing systems, proactive measures play a vital role in preventing basement leaks.
In conclusion, basement leaks at the wall-floor joint pose a significant threat to your home. By understanding the problem, implementing proper solutions, and following preventive measures, you can protect your basement, preserve your property value, and enjoy a dry and comfortable living environment for years to come.
Frequently Asked Questions about Basement Leaking Where Wall Meets Floor
Was this page helpful?
At Storables.com, we guarantee accurate and reliable information. Our content, validated by Expert Board Contributors, is crafted following stringent Editorial Policies. We're committed to providing you with well-researched, expert-backed insights for all your informational needs.



0 thoughts on “Basement Leaking Where Wall Meets Floor”