Articles
How To Fix Ice Maker On Maytag Refrigerator
Modified: January 5, 2024
Learn how to fix the ice maker on your Maytag refrigerator with our helpful articles. Get step-by-step instructions and troubleshooting tips to get it working again.
(Many of the links in this article redirect to a specific reviewed product. Your purchase of these products through affiliate links helps to generate commission for Storables.com, at no extra cost. Learn more)
Introduction
Welcome to this comprehensive guide on how to fix the ice maker on your Maytag refrigerator. If you’ve noticed that your ice maker is not producing ice or it’s producing ice with strange odors or flavors, don’t worry. We’re here to help you troubleshoot and resolve these issues so you can enjoy a steady supply of ice whenever you need it.
Maytag refrigerators are known for their reliability and quality, but even the best appliances can encounter problems from time to time. The good news is that many ice maker issues can be resolved without the need for professional help. By following the steps outlined in this guide, you’ll be able to identify the source of the problem and fix it yourself.
Before we dive into the troubleshooting process, it’s important to note that these steps are specific to Maytag refrigerators. If you have a different brand of refrigerator, the troubleshooting methods may vary. However, many of the concepts discussed here can still be applied to other brands, so it’s worth giving them a try.
Now, let’s get started with the troubleshooting process for your Maytag refrigerator’s ice maker. By following these steps, you’ll increase the chances of successfully resolving the issue and getting your ice maker back to its optimal functioning state. Let’s begin!
Key Takeaways:
- Troubleshoot and resolve common Maytag refrigerator ice maker issues with simple steps like checking the water supply line, inspecting the water inlet valve, and testing the ice maker assembly. Save time and money by fixing it yourself!
- Keep your Maytag refrigerator’s ice maker in top condition by regularly cleaning it and replacing faulty components when needed. With the right knowledge and steps, you can revive your ice maker’s optimal functionality.
Read more: How To Fix Ice Maker Ge Refrigerator
Troubleshooting the Ice Maker
When your Maytag refrigerator’s ice maker is not working properly, the first step is to troubleshoot the issue. This involves identifying and addressing any common problems that may be causing the ice maker to malfunction. Here are some troubleshooting steps to follow:
- Check the power supply: Ensure that your refrigerator is properly connected to a power source and that there are no issues with the electrical outlet. Sometimes, a loose connection or power outage can disrupt the ice maker’s operation.
- Inspect the water supply line: Make sure that the water supply line is properly connected and not kinked or restricted in any way. A damaged or blocked water supply line can prevent the ice maker from receiving water.
- Verify water pressure: Low water pressure can affect the ice maker’s performance. Check the water pressure in your home and ensure it meets the recommended levels for your Maytag refrigerator. Adjusting the water pressure can sometimes resolve the issue.
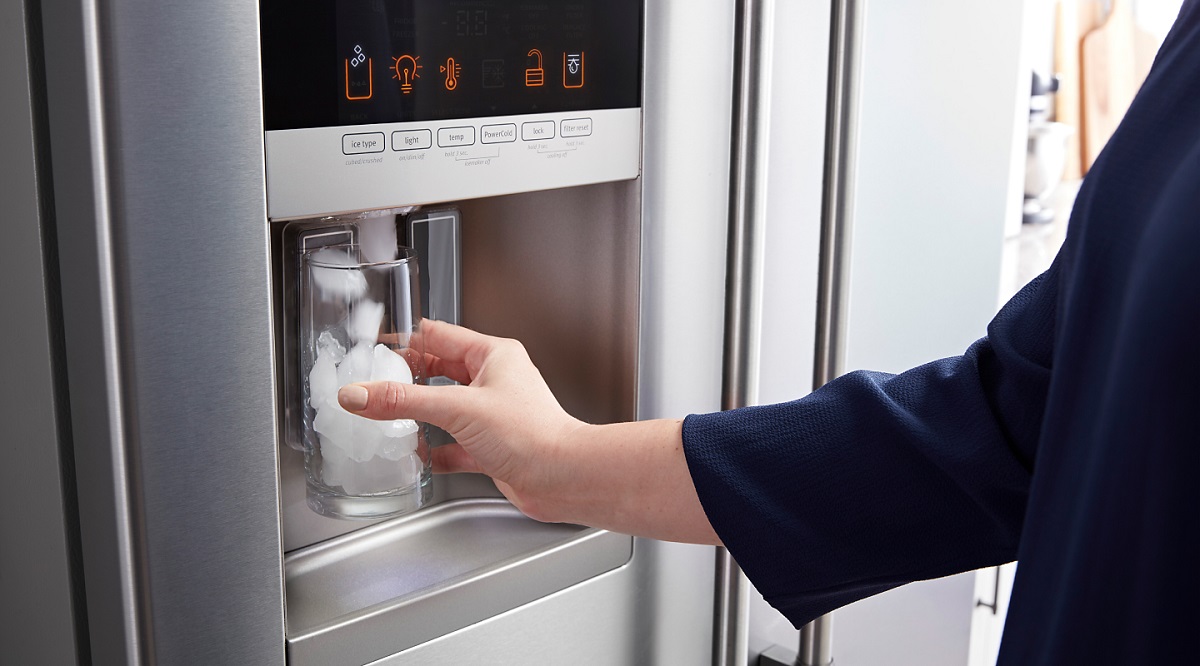
- Clear ice blockages: It’s possible that ice blockages may be causing the ice maker to malfunction. Inspect the ice chute and remove any ice buildup that may be obstructing the flow of ice. This can help restore normal ice production.
- Check the freezer temperature: The freezer temperature should be set at or below 0 degrees Fahrenheit (-18 degrees Celsius) for the ice maker to function optimally. If the temperature is too high, adjust the settings accordingly and give the ice maker some time to start producing ice.
- Inspect the ice bin sensor: Some Maytag refrigerators have a sensor that detects the ice bin’s level. If this sensor is faulty or blocked, it may prevent the ice maker from producing ice. Make sure the sensor is clean and functioning properly.
By following these troubleshooting steps, you’ll be able to identify and resolve common issues that may be affecting your Maytag refrigerator’s ice maker. If, after trying these steps, the ice maker still doesn’t work, you may need to proceed with further inspections and testing to pinpoint the problem. Let’s explore these steps in the next sections.
Checking the Water Supply Line
One of the common causes of ice maker problems in a Maytag refrigerator is a faulty or blocked water supply line. To check the water supply line, follow these steps:
- Locate the water supply line: The water supply line is typically located at the back of the refrigerator. It is a small tube that connects to a water source, such as your home’s plumbing.
- Inspect the water supply line: Carefully examine the water supply line for any signs of damage or kinks. A kinked or damaged line can restrict the flow of water to the ice maker, leading to reduced or no ice production.
- Ensure the water valve is fully open: Check if the water valve that supplies water to the refrigerator is fully open. Sometimes, the valve may be partially closed, causing a reduced water flow. Turn the valve counterclockwise to open it fully.
- Flush the water supply line: If there are no visible signs of damage or blockage in the water supply line, it’s possible that there may be debris or sediment clogging the line. To flush out any debris, disconnect the water supply line from the refrigerator and direct it into a bucket. Turn on the water supply briefly to clear out any obstructions.
- Reconnect and test the water supply line: Once you’ve flushed the water supply line, reconnect it to the refrigerator. Make sure it is securely attached. Then, dispense water from the refrigerator’s water dispenser to check for a steady flow of water. If the water flows properly, the water supply line is likely not the cause of the ice maker problem.
If you’ve checked the water supply line and it appears to be in good condition with no blockages, move on to the next step of inspecting the water inlet valve. This valve controls the flow of water into the ice maker and can be a potential cause of ice maker malfunction.
Inspecting the Water Inlet Valve
The water inlet valve is responsible for controlling the flow of water into the ice maker. If the water inlet valve is faulty or damaged, it can impede the ice maker’s ability to produce ice. Here’s how you can inspect the water inlet valve on your Maytag refrigerator:
- Locate the water inlet valve: The water inlet valve is typically located at the back of the refrigerator, near where the water supply line connects to the appliance.
- Shut off the water supply: Before inspecting the water inlet valve, it’s important to turn off the water supply to avoid any potential leaks or accidents. Locate the water shut-off valve near the refrigerator and turn it off.
- Disconnect the water supply line: Once the water supply is turned off, disconnect the water supply line from the water inlet valve. You may need a wrench or pliers to loosen the connection.
- Inspect the water inlet valve: Take a close look at the water inlet valve for any signs of damage, such as cracks or leaks. If you notice any visible damage, the water inlet valve will need to be replaced.
- Test the water inlet valve: If the water inlet valve appears to be in good condition, you can perform a simple test to check its functionality. Use a multimeter to test for continuity in the valve. If there is no continuity, it indicates a faulty valve that needs to be replaced.
- Replace the water inlet valve: If you’ve determined that the water inlet valve is faulty or damaged, it’s best to replace it with a new one. Consult your Maytag refrigerator’s user manual or contact Maytag customer support for the specific part number and instructions on how to replace the water inlet valve.
Inspecting the water inlet valve is an important step in troubleshooting the ice maker on your Maytag refrigerator. If the water inlet valve is not the cause of the problem, it’s time to move on to testing the ice maker assembly itself.
Testing the Ice Maker Assembly
Testing the ice maker assembly is a crucial step in diagnosing any issues with your Maytag refrigerator’s ice maker. By checking the ice maker’s components and performing specific tests, you can determine if there are any problems that need to be addressed. Here’s how you can test the ice maker assembly:
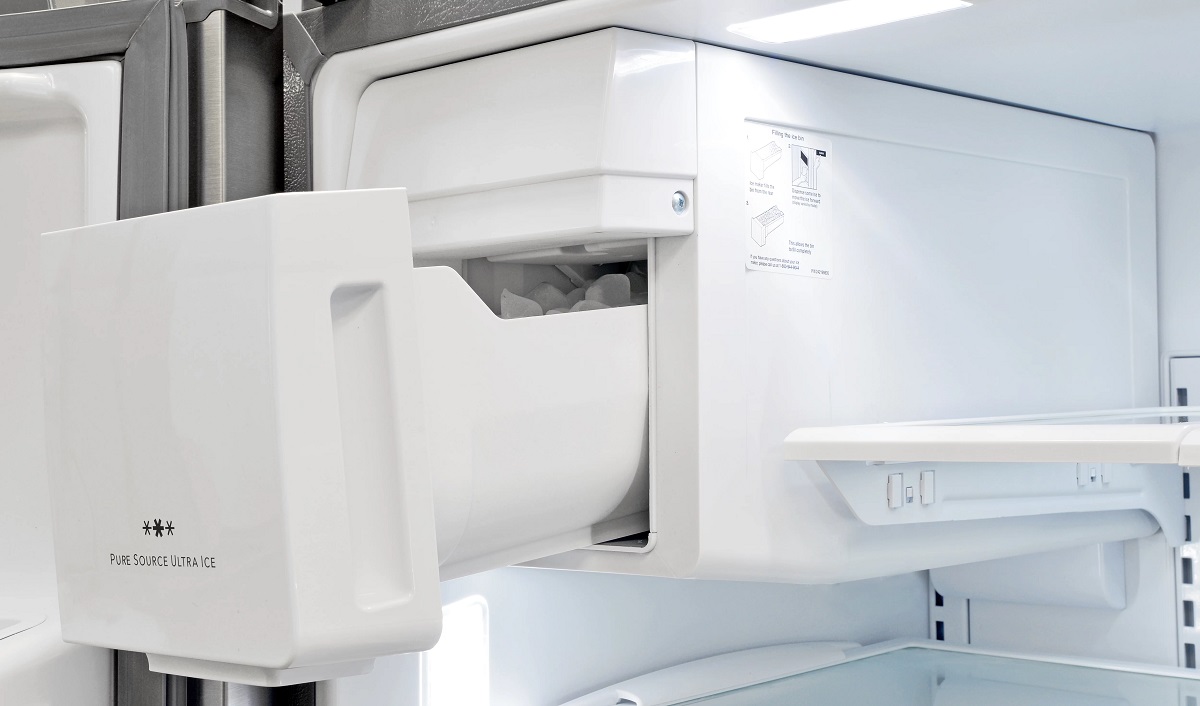
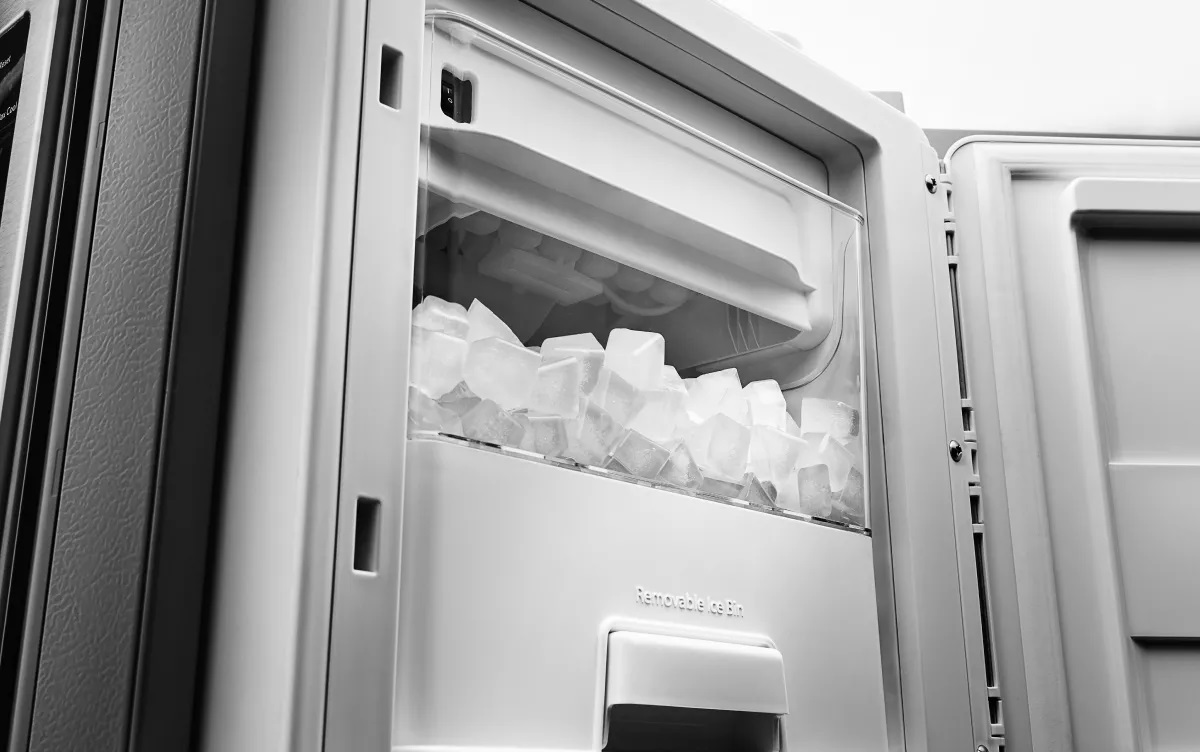
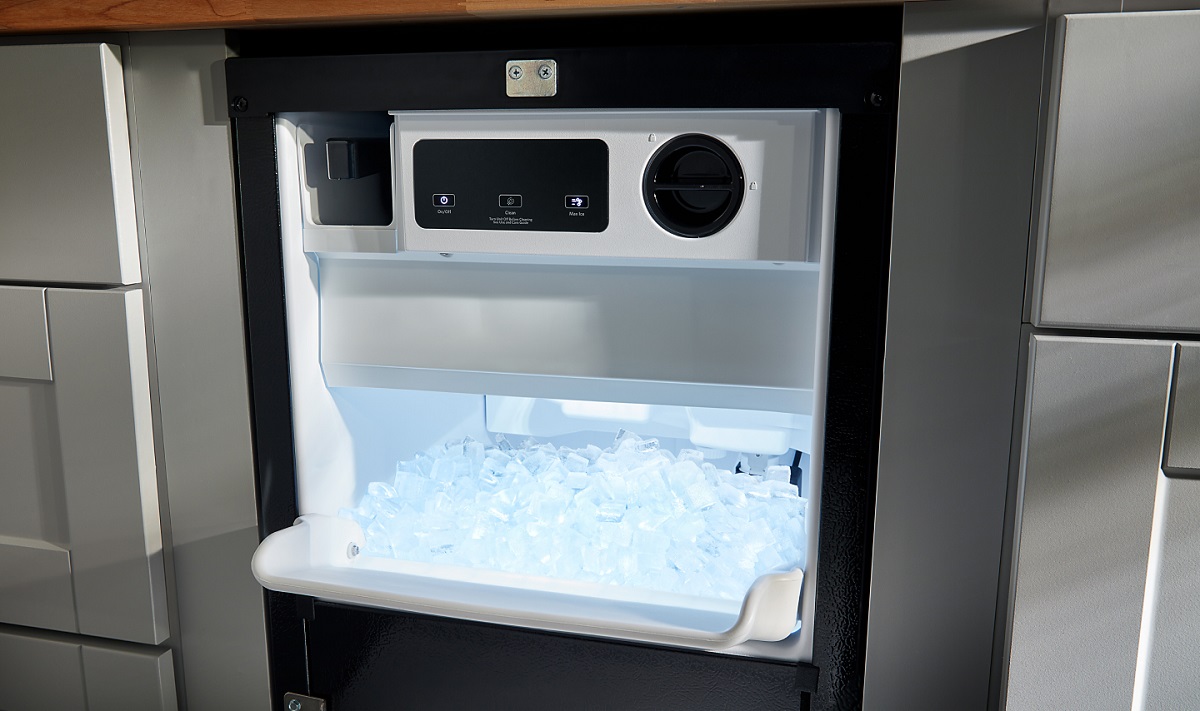
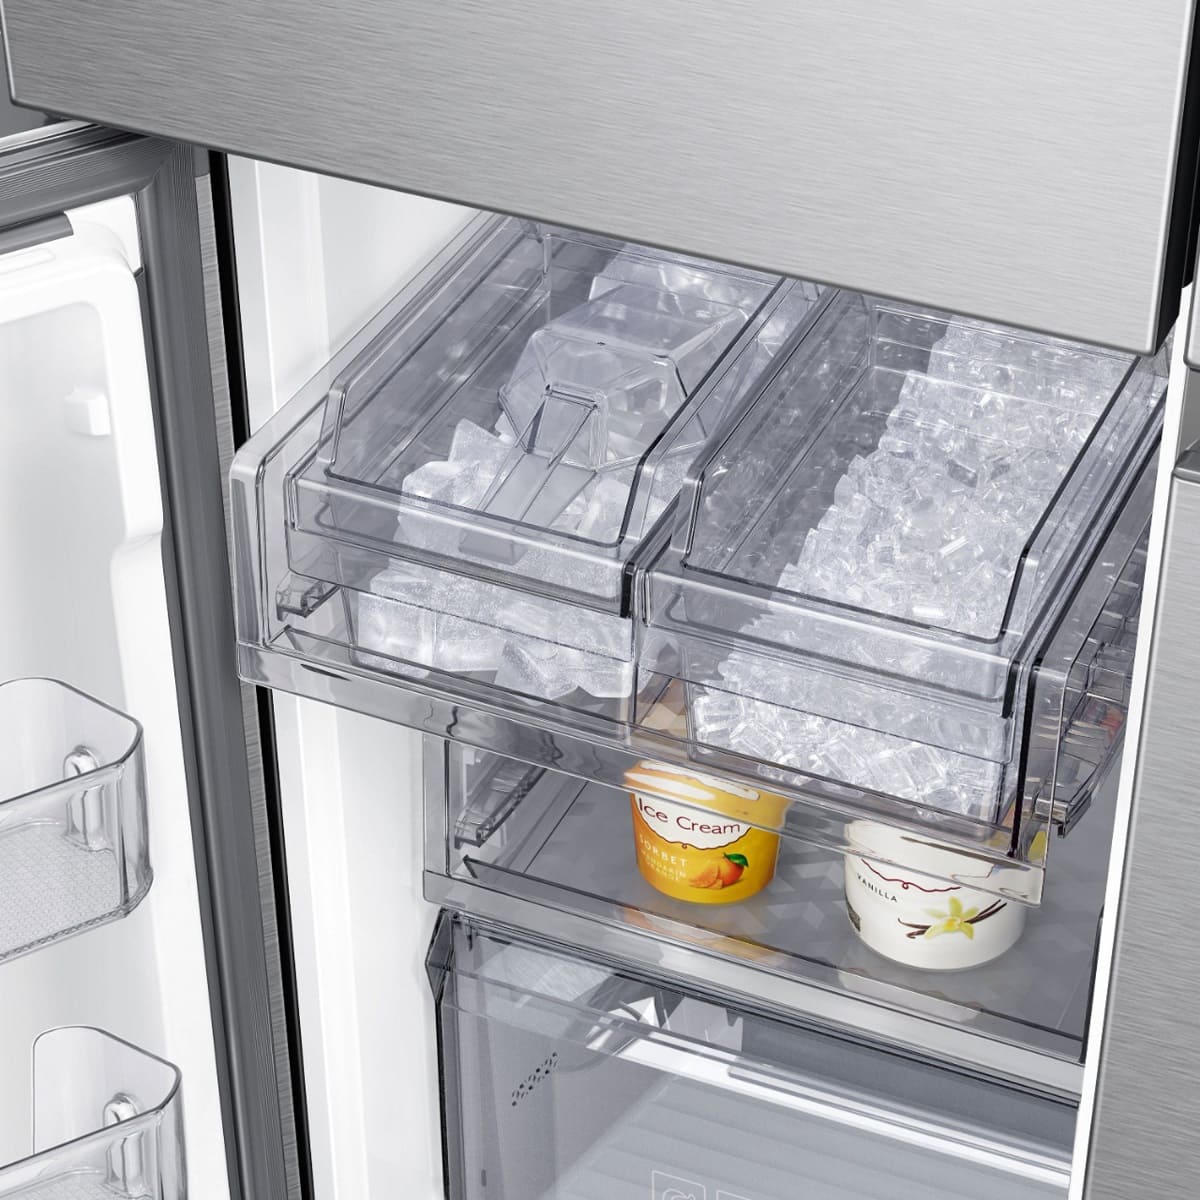
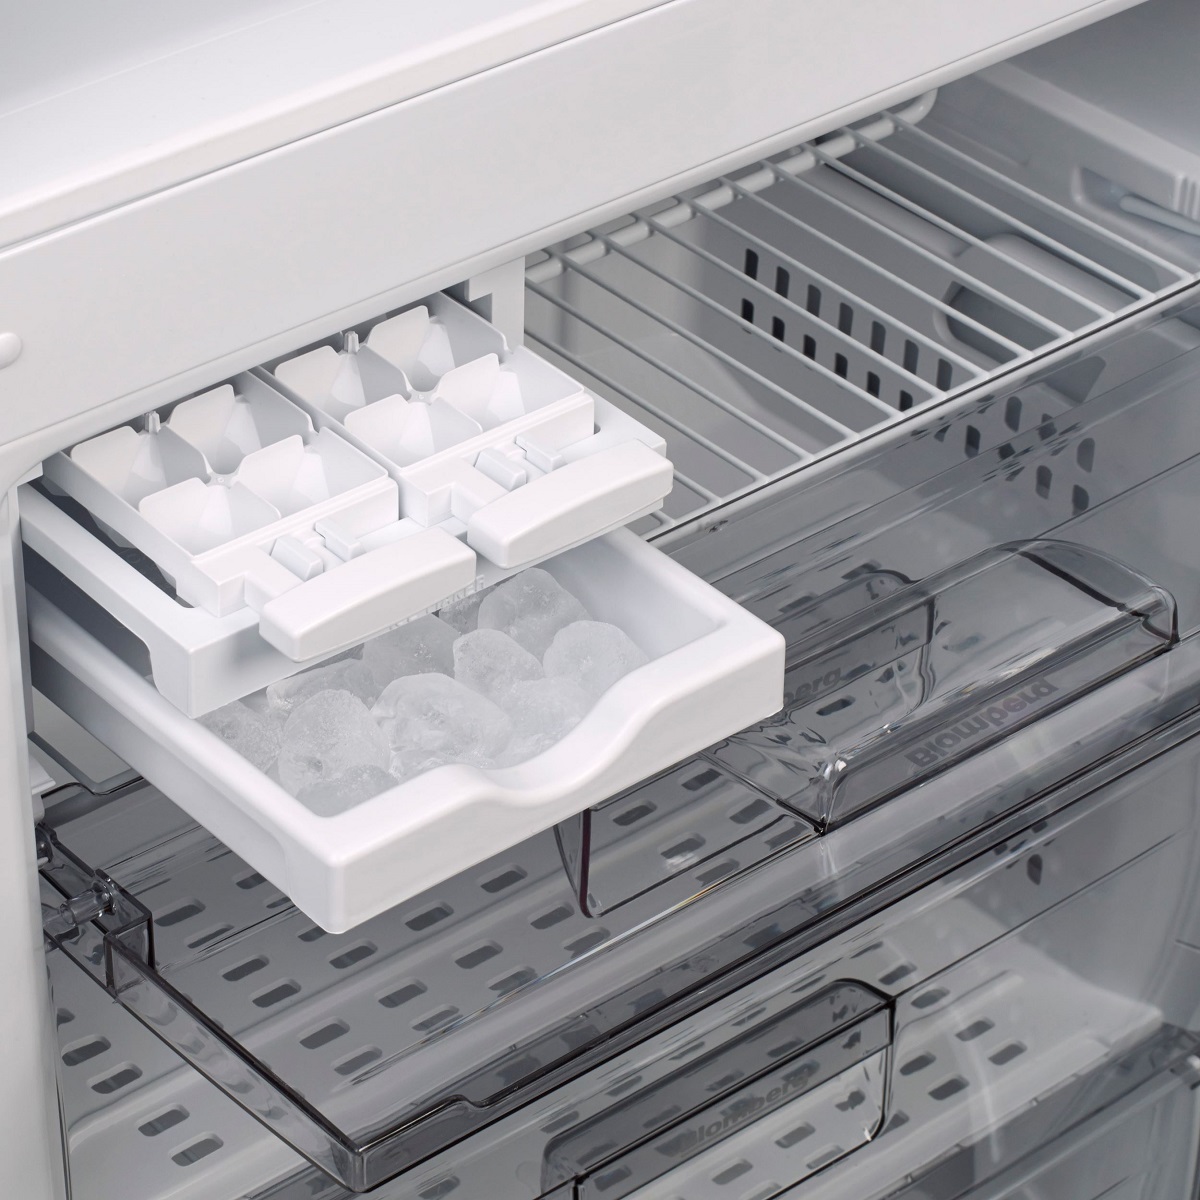
- Locate the ice maker assembly: The ice maker assembly is usually situated within the freezer compartment of your Maytag refrigerator. It is responsible for creating and dispensing ice cubes.
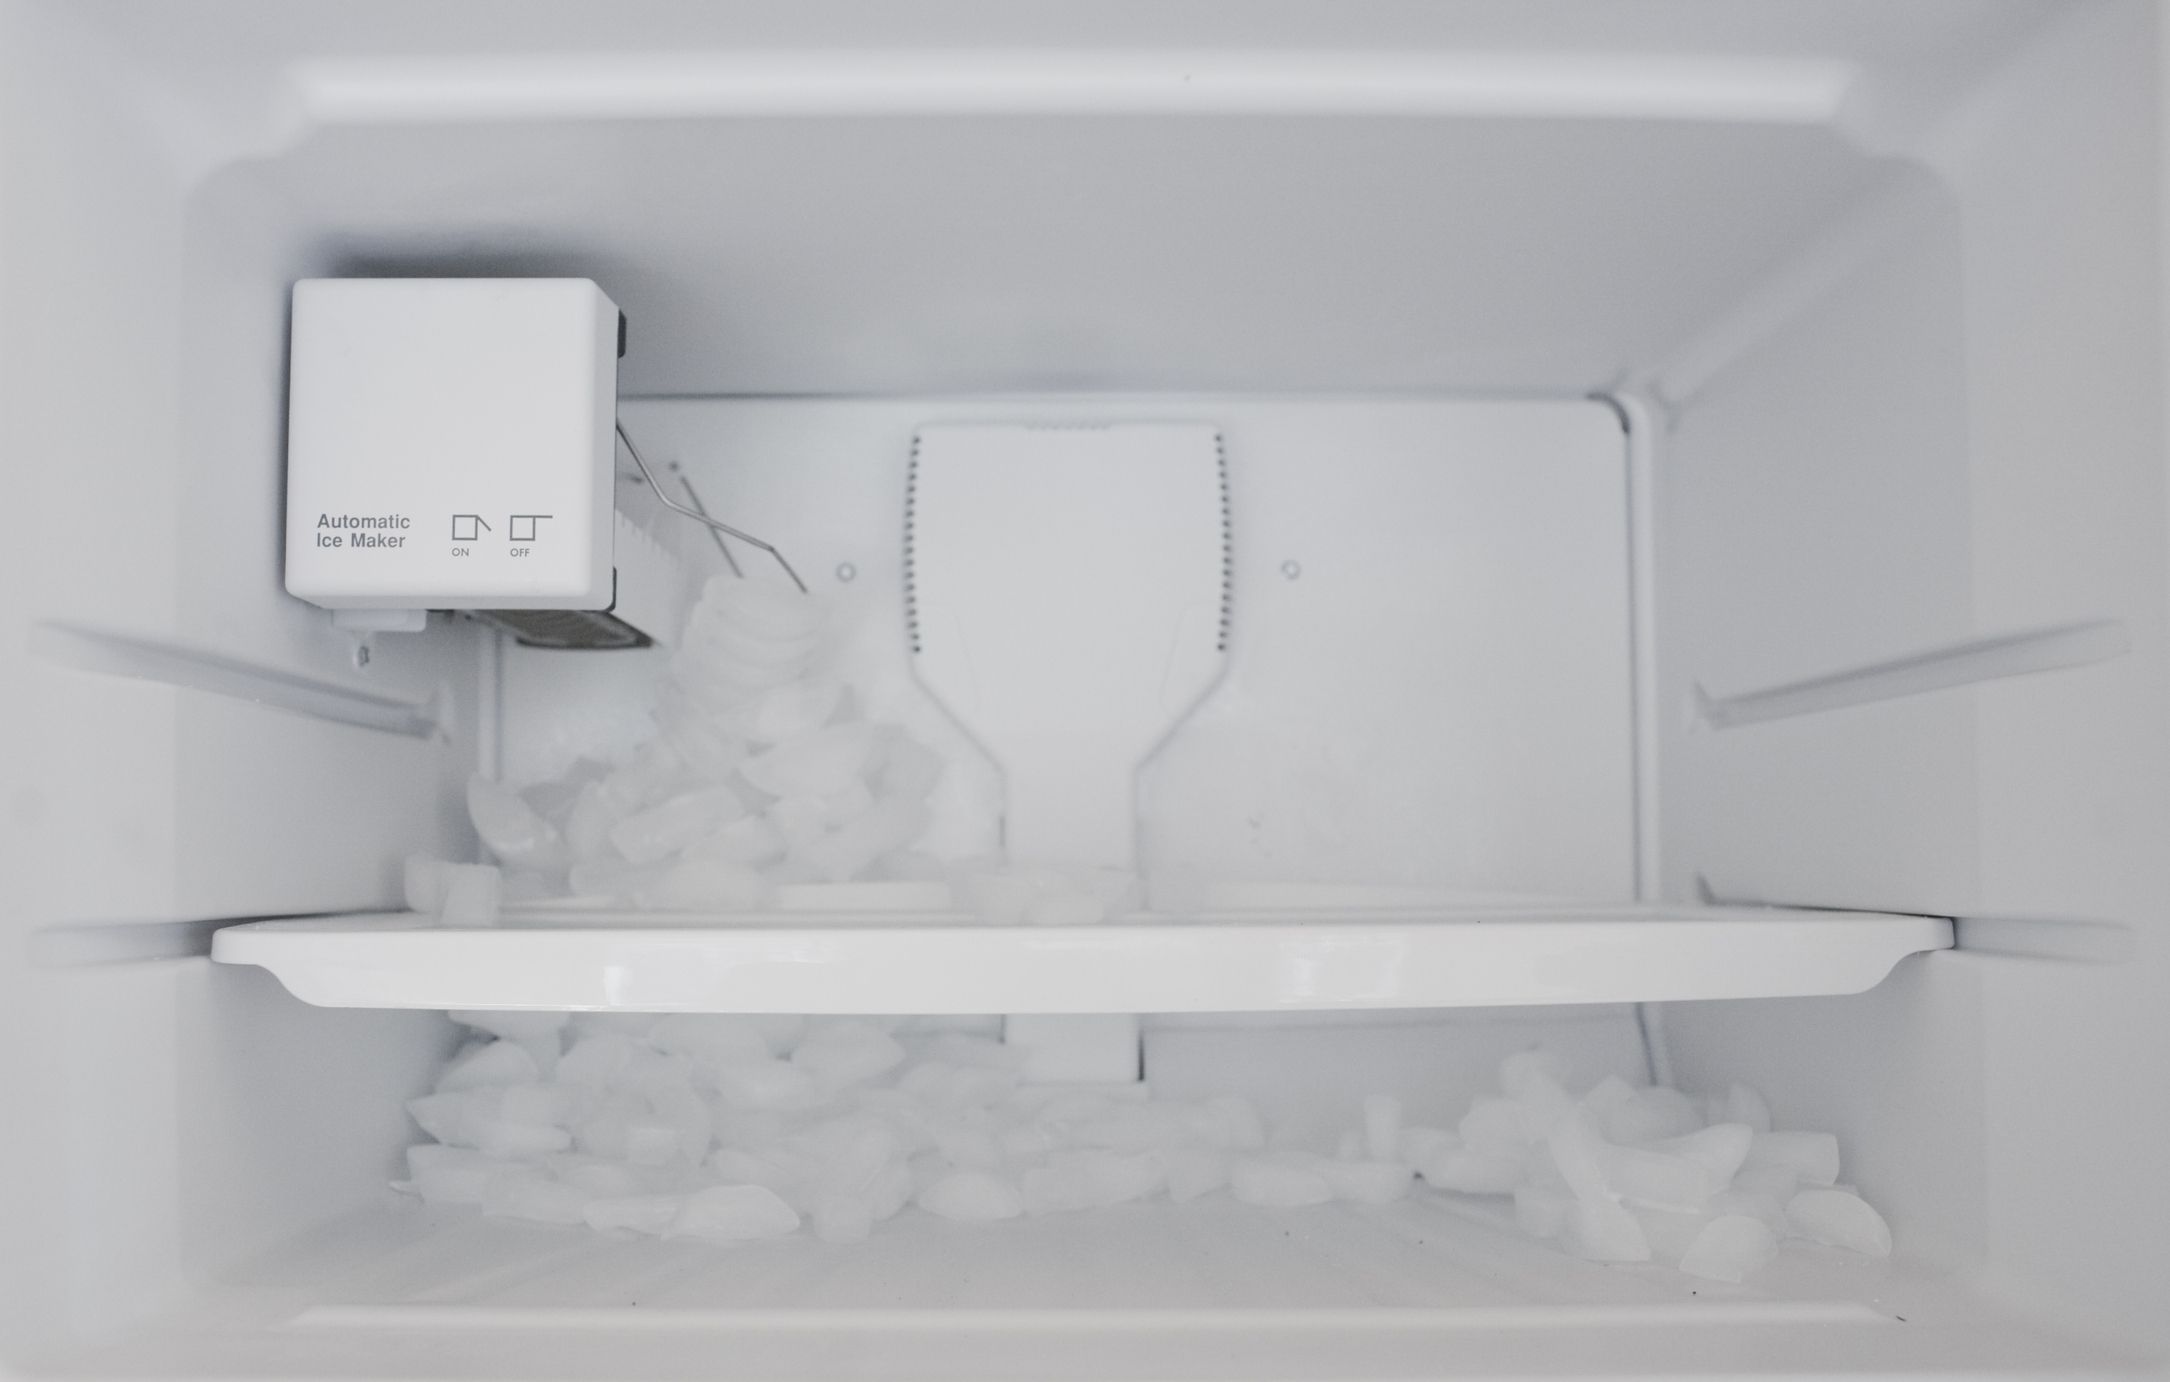
- Manually initiate an ice harvest cycle: On some models, there is a small button or switch located on the ice maker assembly. Press or toggle this button to manually initiate an ice harvest cycle. If the ice maker cycles and produces ice, it suggests that the issue may lie elsewhere in the system, such as the water supply or the ice bin sensor.
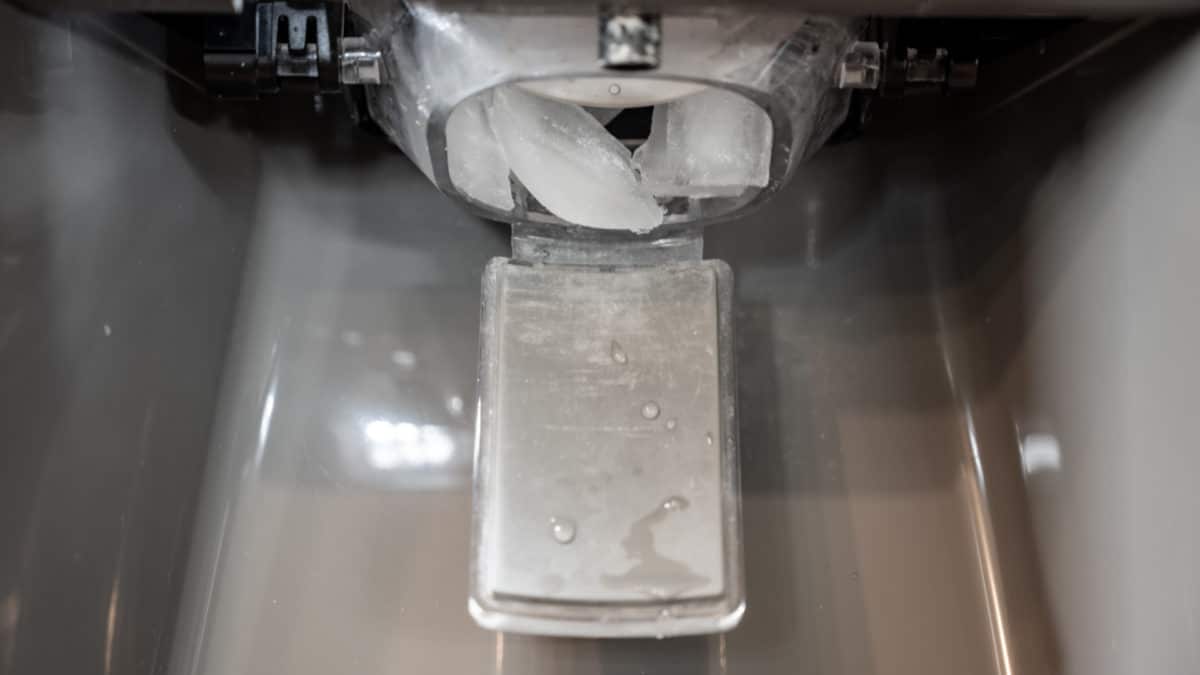
- Inspect the ice maker’s components: While the ice maker is in the harvest cycle, closely observe the components. Check if the water inlet tube is filling with water, the ice cubes are being formed properly, and the ice cubes are being pushed out into the ice bin.
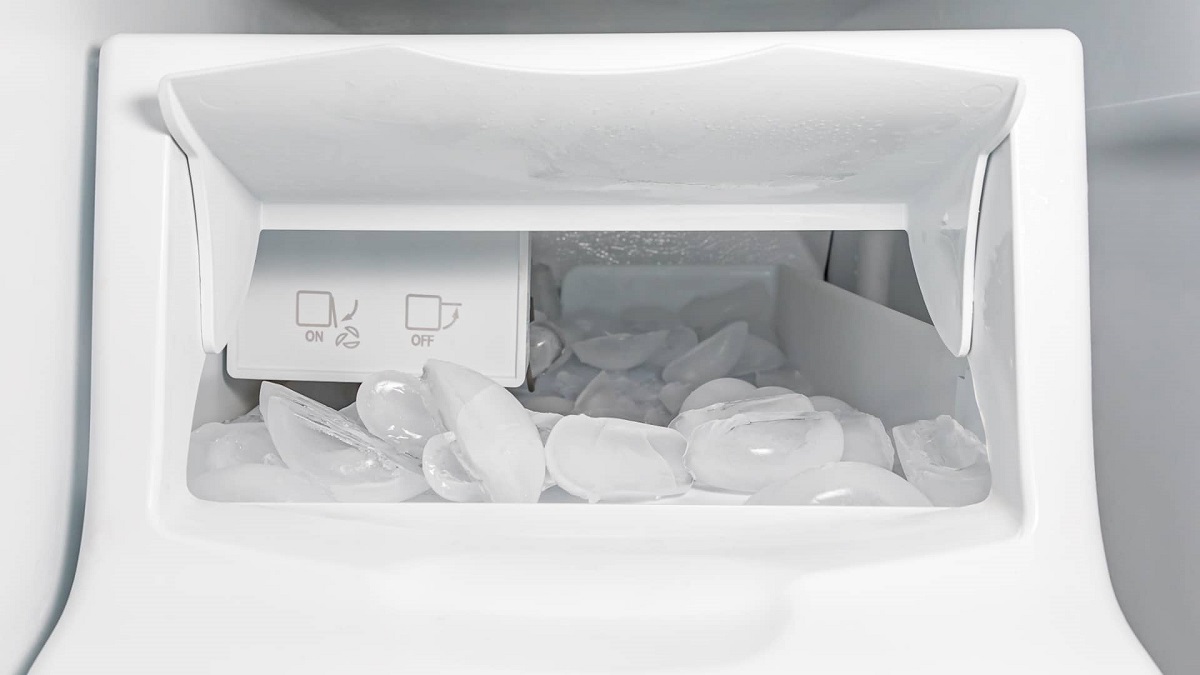
- Check the ice cube size and shape: Pay attention to the size and shape of the ice cubes. If the ice cubes are small or misshapen, it could indicate a problem with the water supply or the ice maker itself.
- Monitor the ice maker for a full cycle: Allow the ice maker to complete a full cycle, including the fill cycle, freezing cycle, and harvest cycle. Observe if the ice maker continues to produce ice throughout the entire cycle.
- Record any observed issues: If you notice any abnormalities or malfunctions during the testing process, make note of them. This information will be helpful when troubleshooting further or seeking assistance from a professional technician.
By testing the ice maker assembly, you can gather valuable information about its functionality. If the ice maker is not producing ice or if there are any noticeable issues with the ice cubes, it may be necessary to proceed with additional steps to reset or clean the ice maker. Let’s explore these steps in the following sections.
Check the water supply line to the ice maker for any kinks or blockages. Also, make sure the freezer temperature is set to the proper level for ice production.
Read more: How To Fix LG Refrigerator Ice Maker
Resetting the Ice Maker
If your Maytag refrigerator’s ice maker is not functioning properly, resetting the ice maker can often help resolve the issue. Resetting the ice maker essentially clears any internal glitches or errors and allows it to start fresh. Here’s how you can reset the ice maker:
- Locate the power switch: Depending on the model of your Maytag refrigerator, the ice maker may have a power switch. Find the power switch and turn it off. Alternatively, you can unplug the refrigerator from the power source.
- Wait for a few minutes: After turning off the power, wait for about 5 minutes. This time allows the internal components of the ice maker to reset and any potential blockages to clear.
- Turn on the power again: Once the waiting period is over, turn on the power switch or plug the refrigerator back in. Ensure that the ice maker is receiving power.
- Monitor the ice maker for functionality: Allow the ice maker to go through its cycles and monitor its operation. Check if it begins to produce ice within a reasonable timeframe.
- Give it time to start producing ice: It may take a few hours for the ice maker to begin producing ice after being reset. Be patient and give it enough time to see if the reset has resolved the problem.
- Observe the ice production: Once the ice maker starts producing ice, check the ice cubes’ size, shape, and consistency. If the ice maker is still experiencing issues despite the reset, further troubleshooting or professional assistance may be required.
Resetting the ice maker is a simple yet effective step to troubleshoot common problems. It can often resolve minor issues by giving the ice maker a fresh start. If, after resetting the ice maker, you still encounter difficulties, it’s time to consider cleaning the ice maker to remove any potential buildup or contaminants. Let’s explore that next.
Cleaning the Ice Maker
Regularly cleaning your Maytag refrigerator’s ice maker is essential to ensure optimal performance and prevent any issues caused by dirt, debris, or mineral buildup. Over time, contaminants can accumulate inside the ice maker and affect its functionality. Here’s how you can clean the ice maker:
- Prepare a cleaning solution: Mix a solution of equal parts warm water and vinegar. The acidic properties of vinegar help dissolve mineral deposits and disinfect the ice maker.
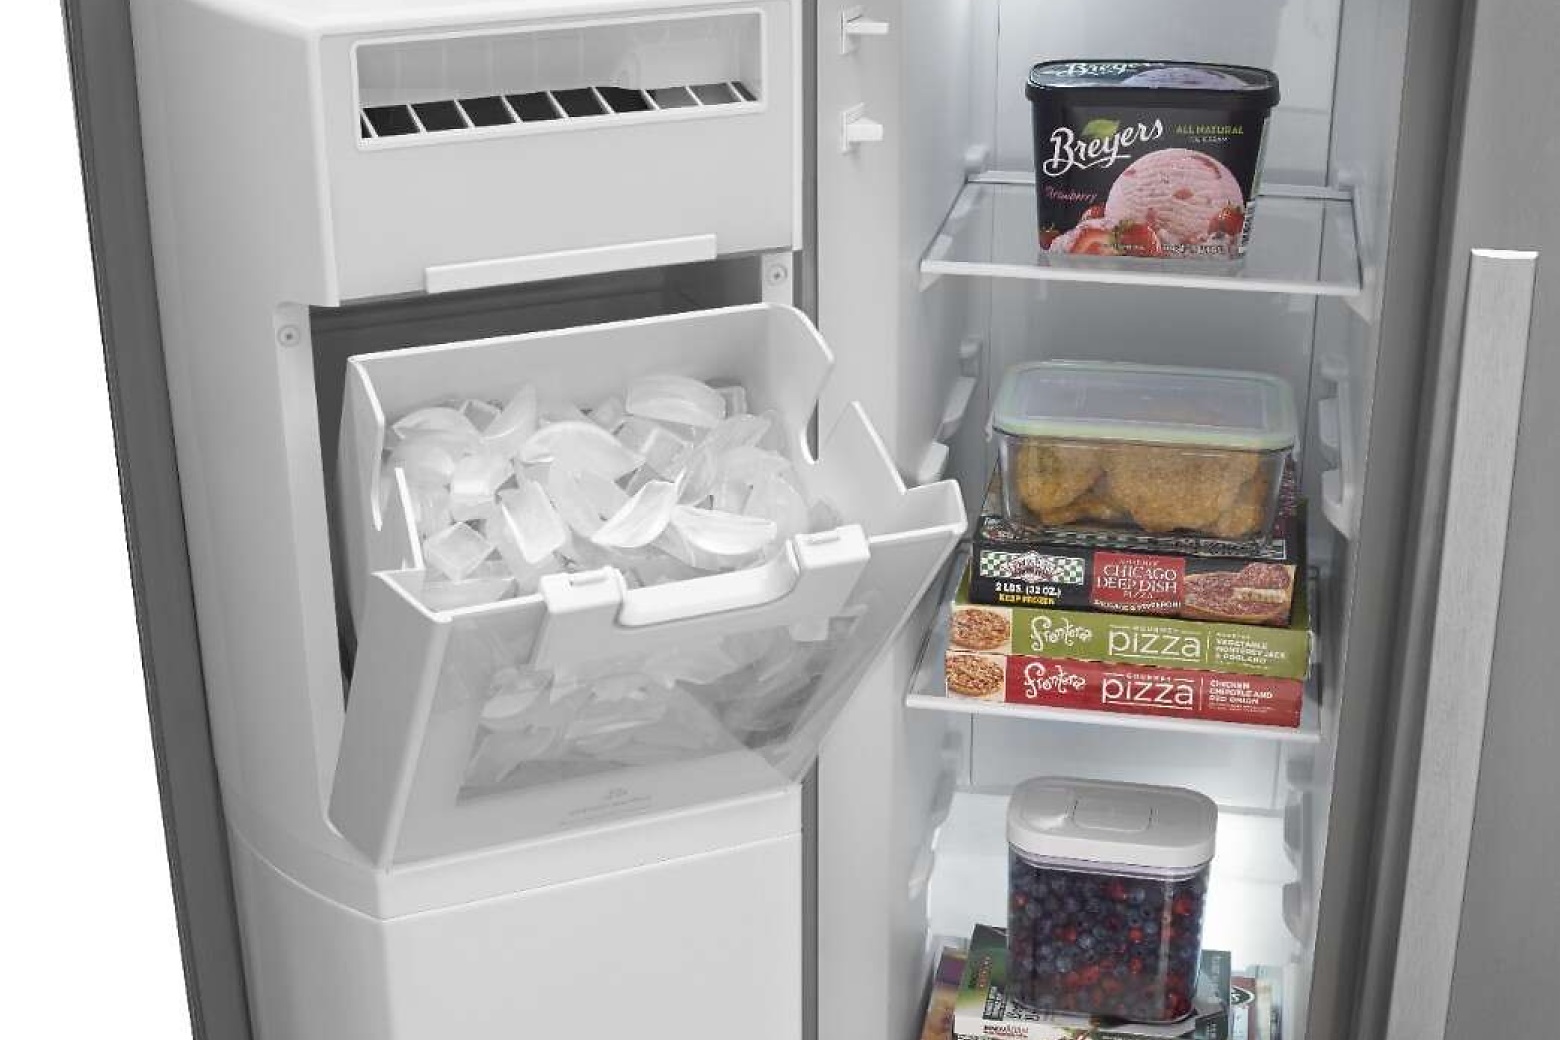
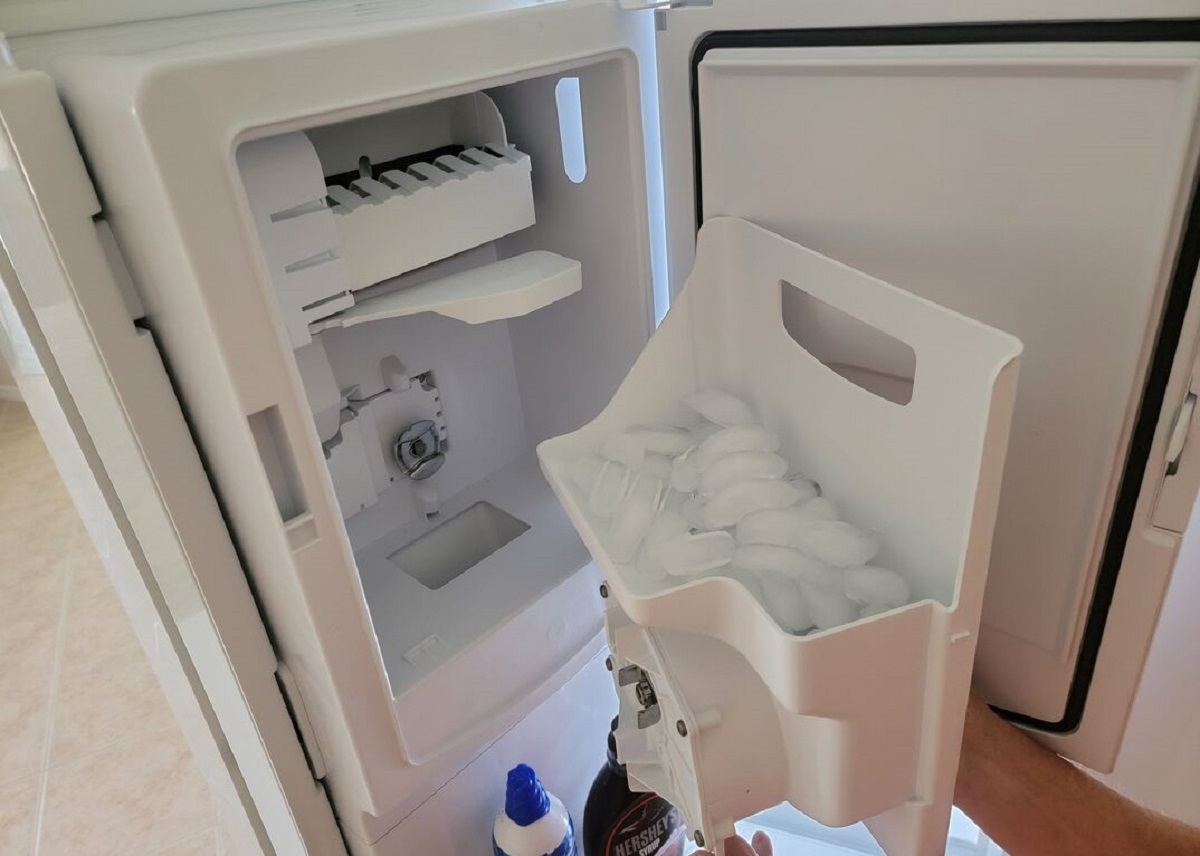
- Turn off the ice maker and remove the ice bin: Locate the power switch for the ice maker and turn it off. Then, remove the ice bin from the freezer compartment and empty any existing ice cubes.
- Clean the ice bin: Wash the ice bin with warm water and a mild detergent. Rinse it thoroughly to remove any soap residue. This will help ensure that the ice produced by the ice maker remains clean and free from any contaminants.
- Clean the ice maker’s interior: Dip a soft cloth or sponge into the vinegar solution and gently clean the interior surfaces of the ice maker. Pay attention to areas where mineral deposits or mold may be present. Avoid using abrasive cleaners or brushes that could damage the ice maker.
- Remove and clean the ice maker components, if applicable: Some ice makers have removable components, such as the ice tray or water feed tube. If your model allows it, carefully remove these components and clean them in the vinegar solution. Rinse them thoroughly before reattaching them.
- Wipe down the exterior: Use a clean cloth dampened with the vinegar solution to wipe down the exterior of the ice maker and the surrounding areas. This helps remove any dirt or grime that may have accumulated.
- Allow the ice maker to dry: After cleaning, let the ice maker air dry completely before reassembling it and turning it back on. This helps prevent any moisture from interfering with the ice-making process.
- Reinstall the ice bin and turn on the ice maker: Once the ice maker and components are fully dry, reinsert the ice bin into the freezer compartment. Turn on the ice maker and monitor its operation to ensure it is functioning properly after the cleaning process.
Cleaning the ice maker regularly not only improves its performance but also helps maintain the quality and taste of the ice it produces. If cleaning the ice maker doesn’t resolve the issue, it may be necessary to consider replacing any faulty components that may be causing the problem. Let’s explore that possibility next.
Replacing Faulty Components
If you’ve tried troubleshooting, testing, resetting, and cleaning your Maytag refrigerator’s ice maker but are still experiencing issues, it may be necessary to replace faulty components. There are several key components that could be responsible for the malfunction, and replacing them can often solve the problem. Here’s what you need to do:
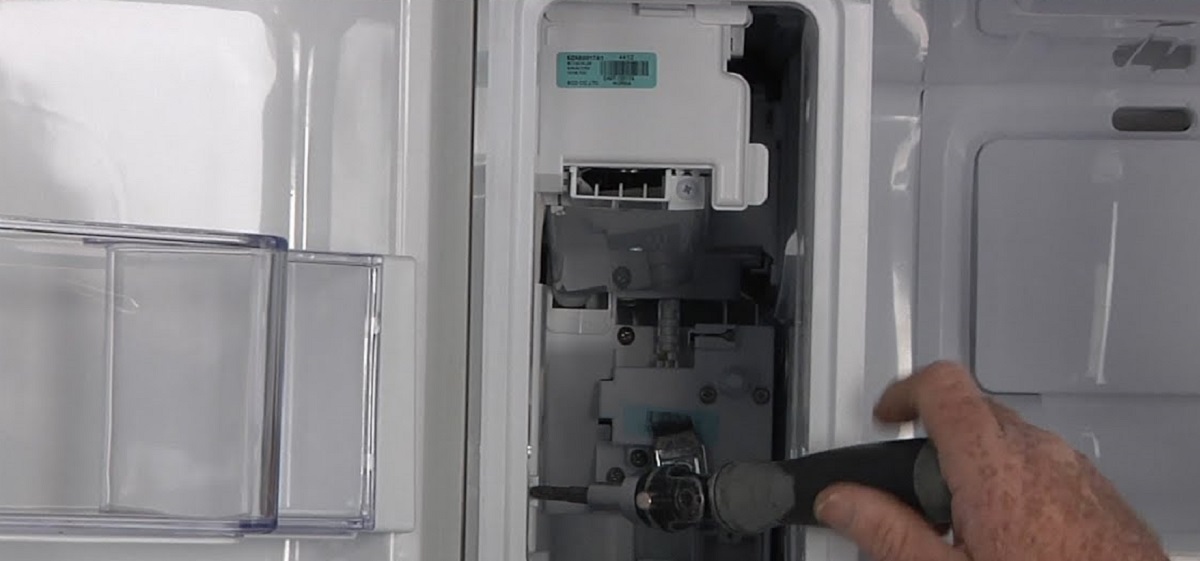
- Identify the faulty component: Based on the observations and tests you have performed so far, try to pinpoint the specific component that may be causing the ice maker problem. It could be the water inlet valve, the ice maker module, the ice mold thermostat, or even the entire ice maker assembly itself.
- Consult the user manual or contact Maytag support: Refer to your Maytag refrigerator’s user manual or contact Maytag customer support to determine the exact part number and specifications for the component you need to replace. They can provide you with the necessary guidance and support for the replacement process.
- Obtain the replacement component: Once you have the part number, purchase the replacement component from an authorized Maytag parts dealer or a reputable appliance parts store. Ensure that you have the correct component for your model and that it is compatible with your Maytag refrigerator.
- Turn off the power: Before performing any repairs or replacements, disconnect the power to your refrigerator. This ensures your safety and prevents any potential damage to the appliance.
- Replace the faulty component: Follow the instructions provided in the user manual or the guidance from Maytag support to replace the faulty component. Take your time and be careful when disconnecting and reconnecting any wires or connections. If you’re unsure about any step, consider seeking assistance from a professional technician.
- Test the ice maker: After installing the new component, turn on the power to your refrigerator and test the ice maker’s functionality. Monitor its operation to ensure that the issue has been resolved and that the ice maker is producing ice as expected.
Replacing faulty components may require some technical knowledge and skills. If you’re not comfortable performing the replacement yourself, it’s always best to seek assistance from a qualified technician who can ensure the proper installation and functioning of the new component.
By following these steps and replacing any faulty components, you can breathe new life into your Maytag refrigerator’s ice maker and enjoy the convenience of a reliable and efficient ice production system once again.
Conclusion
Fixing the ice maker on your Maytag refrigerator is a task that, with the right knowledge and steps, can be accomplished by anyone. By troubleshooting, checking the water supply line, inspecting the water inlet valve, testing the ice maker assembly, resetting the ice maker, cleaning it, and replacing faulty components, you can effectively address common issues that may arise with your ice maker.
Remember to always refer to your Maytag refrigerator’s user manual or contact Maytag customer support for specific instructions and part numbers when replacing components. Safety should be a priority, so always turn off the power before performing any repairs or replacements.
If you’re unsure about any step or encounter difficulties during the process, seeking assistance from a professional technician is a smart decision. They have the expertise and experience to handle more complex issues and ensure a successful resolution.
By following the steps outlined in this comprehensive guide, you can save time and money by fixing your Maytag refrigerator’s ice maker on your own. Proper maintenance, regular cleaning, and prompt troubleshooting will help keep your ice maker in optimal condition and ensure a steady supply of ice for all your cooling needs.
Now that you have the knowledge, it’s time to roll up your sleeves, get those troubleshooting skills in action, and revive your ice maker to its fullest potential!
Frequently Asked Questions about How To Fix Ice Maker On Maytag Refrigerator
Was this page helpful?
At Storables.com, we guarantee accurate and reliable information. Our content, validated by Expert Board Contributors, is crafted following stringent Editorial Policies. We're committed to providing you with well-researched, expert-backed insights for all your informational needs.
0 thoughts on “How To Fix Ice Maker On Maytag Refrigerator”