Home>diy>Architecture & Design>How To Use Blender For 3D Modeling

Architecture & Design
How To Use Blender For 3D Modeling
Modified: October 20, 2024
Learn how to use Blender for 3D modeling and create stunning architectural designs. Master key tools and techniques in this comprehensive tutorial.
(Many of the links in this article redirect to a specific reviewed product. Your purchase of these products through affiliate links helps to generate commission for Storables.com, at no extra cost. Learn more)
Introduction
Welcome to the world of 3D modeling! In today’s digital age, the demand for visually stunning and realistic graphics has skyrocketed. Whether you’re a graphic designer, animator, game developer, or just someone with a passion for creating digital art, learning how to use Blender for 3D modeling is an essential skill to have.
Blender is a powerful and versatile open-source software that allows you to create stunning 3D models, animations, visual effects, and more. It offers a wide range of tools and features, making it suitable for both beginners and experienced artists. This article will serve as a comprehensive guide to help you get started with Blender and unleash your creativity.
Before we dive into the intricacies of Blender, it’s important to understand the basic concepts of 3D modeling. At its core, 3D modeling involves creating three-dimensional objects that can be manipulated, textured, and rendered to create realistic or stylized visuals. It is commonly used in various industries such as film, gaming, architecture, and product design.
Blender provides a plethora of modeling tools and techniques to help you bring your ideas to life. From simple geometric shapes to complex structures, Blender allows you to create virtually anything you can imagine. Whether you want to design characters, build architectural models, or even create abstract artwork, Blender has got you covered.
One of the great advantages of Blender is its open-source nature, which means that it is freely available to download and use. This has led to a strong community of Blender users who actively contribute to its development and provide support to fellow users. This rich community offers a vast repository of resources, tutorials, and forums where you can learn, share, and collaborate with other Blender enthusiasts.
In the next sections of this guide, we will explore the various aspects of Blender and delve into its features and functionalities. We will cover everything from navigating the interface to advanced modeling techniques. By the end of this article, you will have a solid foundation in using Blender for 3D modeling and be ready to embark on your creative journey.
So, without further ado, let’s dive into the fascinating world of Blender and unleash your imagination in the realm of 3D modeling!
Key Takeaways:
- Blender offers a comprehensive set of tools and techniques for 3D modeling, from basic navigation and modeling to advanced sculpting, animation, and rendering. Embrace the learning process and unleash your creativity in the world of 3D modeling with Blender.
- By utilizing keyboard shortcuts, add-ons, and advanced techniques like procedural modeling and retopology, you can optimize your workflow and elevate your 3D modeling skills in Blender. Engage with the community, share knowledge, and continuously refine your craft for success in the dynamic world of 3D modeling.
Read more: How Hard Is 3D Modeling
Getting Started with Blender
Before you begin your 3D modeling journey with Blender, it’s essential to understand the software’s installation process and basic setup. In this section, we will walk you through the steps required to get started with Blender.
The first thing you need to do is download Blender from the official website. Blender is available for Windows, Mac, and Linux operating systems. Once the download is complete, run the installer and follow the on-screen instructions to install Blender on your computer.
When you open Blender for the first time, you will be greeted with a clean interface consisting of various panels and windows. Don’t be overwhelmed by the complexity; you will get familiar with it in no time.
The default layout in Blender is called the “Default” or “General” layout. However, Blender offers several other pre-defined layouts tailored to specific tasks such as sculpting, animation, and video editing. You can switch between these layouts by selecting them from the top menu bar.
Blender uses a combination of mouse movements and keyboard shortcuts to navigate through its interface. The mouse controls the 3D viewport, while the keyboard is used for executing commands and accessing different tools.
By default, the left mouse button is used for selecting objects and interacting with the interface. However, some users prefer using the right mouse button for selection. You can customize these settings by going to the Preferences window and navigating to the Input tab.
To become proficient in using Blender, it’s crucial to familiarize yourself with the keyboard shortcuts. Blender has an extensive set of keyboard shortcuts for quick access to various tools and functionalities. Some of the commonly used shortcuts include:
- Ctrl + N: Create a new file
- Tab: Switch between Object mode and Edit mode
- G: Grab/move objects
- S: Scale objects
- R: Rotate objects
- Z: Toggle between wireframe and solid view modes
These are just a few examples, and there are many more shortcuts available in Blender. As you continue to use the software, you will gradually learn and become comfortable with them.
Blender’s interface consists of various editor types, such as the 3D viewport, the Properties editor, the Outliner, and the Timeline. Each editor serves a specific purpose and can be customized to suit your workflow. You can arrange these editors by dragging and rearranging the window borders.
Another essential aspect of using Blender is understanding its file management system. Blender uses the .blend file format to save your projects. Within a .blend file, you can have multiple scenes, each containing different objects, materials, and settings. It’s important to save your work regularly to avoid losing progress.
In this section, we have covered the initial steps to get started with Blender. You have installed the software, explored the interface, learned about navigation, and familiarized yourself with keyboard shortcuts. Now, you are ready to dive deeper into the world of 3D modeling with Blender. In the following sections, we will explore the fundamental modeling tools and techniques that will help you create and manipulate 3D geometry.
Navigating the Blender Interface
When you first open Blender, its interface may seem overwhelming with its various panels and menus. However, with a little guidance, you will soon find your way around. Navigating the Blender interface is crucial for efficient workflow and accessing different tools and functions.
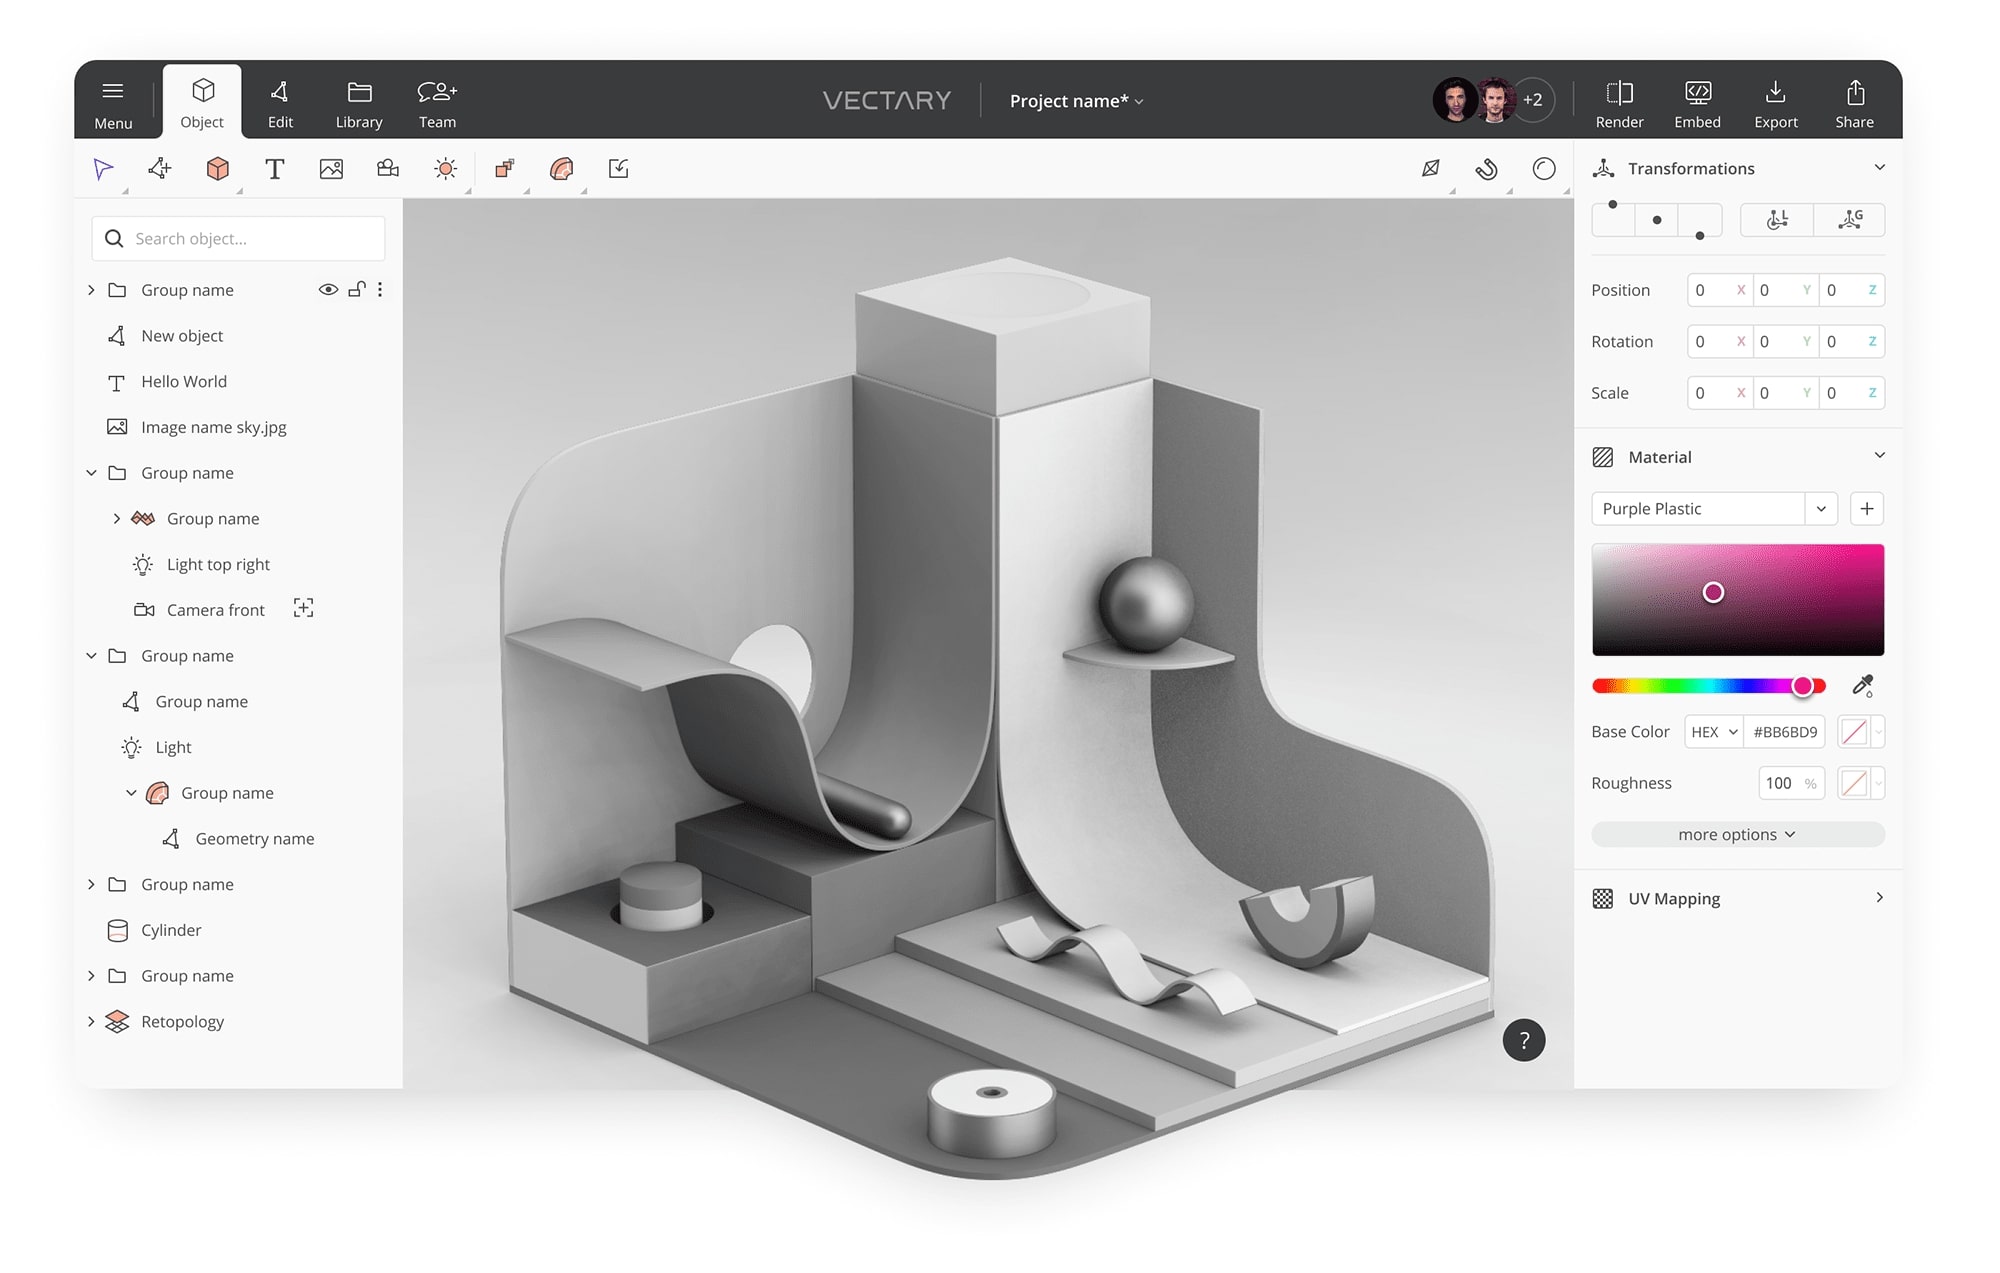
The default Blender layout consists of several areas or panels, each serving a specific purpose. The main area is the 3D viewport, where you will create and manipulate your 3D objects. On the right side, you have the Properties editor, which allows you to modify object properties, materials, and more.
At the top, you will find the menu bar, providing access to various menus like File, Edit, and Object. The toolbar, located on the left side of the screen, contains frequently used tools and functions.
To navigate the 3D viewport, you can use a combination of mouse gestures and keyboard shortcuts. Here are some essential navigation controls:
- Rotate: Hold down the middle mouse button and move the mouse to rotate the view.
- Zoom: Use the scroll wheel to zoom in and out of the 3D viewport.
- Pan: Hold down the Shift key and the middle mouse button and move the mouse to pan the view.
- Orbit: Use the NumPad keys 4, 6, 2, and 8 to orbit the view from left to right, up and down.
- View Modes: Use the number keys from 1 to 7 on the top row to switch between various viewport modes.
Blender also offers a powerful navigation tool called the Viewport Navigation Gizmo. It appears as a navigation compass in the top right corner of the 3D viewport and provides an easy way to navigate and manipulate the view.
In addition to navigation, another important aspect of the Blender interface is customization. Blender allows you to customize the layout, editor types, and shortcut keys to suit your preferences.
To customize the layout, you can drag and rearrange the window borders to create a layout that fits your workflow. You can also split and merge panels, dock them to different areas, and maximize or minimize specific editors for focused work.
Blender also lets you create multiple workspaces, each with its own set of layouts and editor arrangements. This allows you to switch between different workspaces based on your tasks, making it easier to organize your workspace and improve efficiency.
To customize the shortcut keys, you can go to Preferences and navigate to the Keymap tab. Here, you can assign custom shortcuts or modify existing ones to speed up your workflow and suit your preferences.
By becoming familiar with the Blender interface and its navigation controls, you will be able to seamlessly navigate through the software, access different tools, and customize the interface to enhance your workflow. This understanding will lay a solid foundation for your 3D modeling journey with Blender.
Basic Modeling Tools
Now that you are familiar with navigating the Blender interface, it’s time to dive into the world of modeling. Blender offers a robust set of modeling tools that allow you to create and shape 3D objects with precision and creativity.
Let’s explore some of the basic modeling tools in Blender:
- Add Primitive: Blender provides a variety of primitive shapes, such as cubes, spheres, cylinders, cones, and more. You can add them by going to the Add menu in the top menu bar or by pressing Shift + A. This is a great starting point for any model.
- Extrude: The Extrude tool is used to create new geometry by extending or duplicating existing faces, edges, or vertices. You can select the desired component and use the E key to initiate the extrusion. Moving the extruded component will create new geometry.
- Bevel: Beveling allows you to round or chamfer the edges of your model, giving it a more polished and realistic appearance. Select the edges you want to bevel and press Ctrl + B. You can adjust the bevel amount and other parameters in the operator panel or by using shortcuts.
- Subdivision Surface: The Subdivision Surface tool helps to create smooth and detailed surfaces by subdividing the existing geometry. It adds additional geometry to give a more refined shape. You can find this tool in the Modifier tab of the Properties editor.
- Loop Cut: The Loop Cut tool allows you to add new edge loops to your model, creating more geometry for detailed control. Use the Ctrl + R shortcut, hover over the desired face or edge, and click to add the loop cut. You can move it along the model’s surface to adjust the position.
- Knife: The Knife tool is used to cut through existing edges or faces to create new geometry. Activate the tool by pressing K and then click on the edges you want to cut. Hold down Ctrl to constrain the knife to straight lines.
- Merge: The Merge tool is used to combine multiple vertices, edges, or faces into a single point or edge. You can access this tool by selecting the desired components and pressing Alt + M. It is useful for clean topology and creating complex shapes.
These are just a few of the basic modeling tools available in Blender. As you explore the software further, you will discover many more tools and techniques to shape and refine your models.
Remember to experiment with different tools and practice using them. Blender offers a high degree of flexibility, allowing you to combine tools and techniques in unique ways to achieve the desired results.
Additionally, Blender supports both procedural and sculpting-based workflows. Procedural modeling relies on creating models using geometric shapes, modifiers, and mathematical functions. Sculpting, on the other hand, allows you to sculpt and shape your model using brushes and intuitive sculpting tools for more organic forms.
With these basic modeling tools and techniques, you are well on your way to creating custom 3D models in Blender. Practice and experiment to refine your skills and continue to explore the vast world of modeling possibilities that Blender offers.
Working with Objects
Objects are the building blocks of your 3D scene in Blender. They can represent anything from simple geometric shapes to complex characters, props, or architectural elements. Understanding how to work with objects is essential for creating and organizing your 3D models effectively.
Here are some key concepts and tools for working with objects in Blender:
- Create Objects: Blender provides a range of primitive shapes such as cubes, spheres, cylinders, and more. You can create these objects by pressing Shift + A or by going to the Add menu in the top menu bar. Additionally, you can import external objects or use the sculpting tools to create custom shapes.
- Select Objects: You can select objects in the 3D viewport by right-clicking on them. To select multiple objects, hold down the Shift key while clicking on them. To deselect an object, press the A key to toggle the selection.
- Transform Objects: Blender offers various transformation tools to move, rotate, and scale objects. You can access these tools by pressing the keyboard shortcuts: G for grab (move), R for rotate, and S for scale. Additionally, you can use the transform controls in the toolbar or the Transform panel in the Properties editor to precisely control the object’s position, rotation, and scale.
- Parenting Objects: Parenting allows you to create a hierarchical relationship between objects, where one object becomes the parent and another object becomes its child. The child object’s transformations will be relative to the parent object. Parenting can be useful for creating complex hierarchies, animating objects together, or organizing your scene.
- Duplicate Objects: Blender provides several ways to duplicate objects. You can duplicate an object by selecting it and pressing Shift + D. This creates a copy of the selected object, which you can then move and modify independently. Blender also offers more advanced duplication techniques like linked duplicates and particle instancing.
- Hide and Show Objects: Sometimes, you may want to hide certain objects in your scene to focus on specific elements. You can hide an object by selecting it and pressing the H key. To show a hidden object, press the Alt + H shortcut.
- Organize Objects: Blender allows you to organize objects into collections, which are like folders for grouping related objects together. You can create collections in the Outliner panel and drag objects into them for better organization and management of your scene.
Working with objects in Blender requires a combination of selection, transformation, duplication, and organization techniques. As you gain more experience, you will develop your own workflow and preferences for managing objects in your 3D scenes.
Remember that objects can represent various elements in your scene, including the main models, lights, cameras, and other props. Each object can have its own unique properties and settings that you can modify in the Properties editor. Understanding how to customize and control these properties is crucial for achieving the desired look and behavior of your objects.
By mastering the techniques for working with objects, you will be able to create complex and interactive 3D scenes in Blender. Practice and experiment with different object manipulation tools to build your modeling skills and bring your creative visions to life.
Creating 3D Geometry
Creating 3D geometry is at the heart of 3D modeling in Blender. Whether you’re designing characters, architectural structures, or intricate objects, understanding the process of creating and manipulating geometry is essential. In this section, we’ll explore various methods of creating 3D geometry in Blender.
Here are some techniques you can use to create 3D geometry:
- Extrusion: Extrusion is a fundamental technique used to create new geometry by extending existing faces, edges, or vertices. In Blender, you can select a component—such as a face or an edge—and extrude it by pressing E. You can then move, scale, or rotate the extruded component to define the shape of your 3D object.
- Modifiers: Blender offers a wide range of modifiers that can be applied to objects to create complex geometry quickly. Modifiers can be added and adjusted in the Properties editor’s Modifier tab. Some common modifiers include Mirror, Array, Bevel, and Subdivision Surface. By combining different modifiers, you can achieve intricate and detailed geometry.
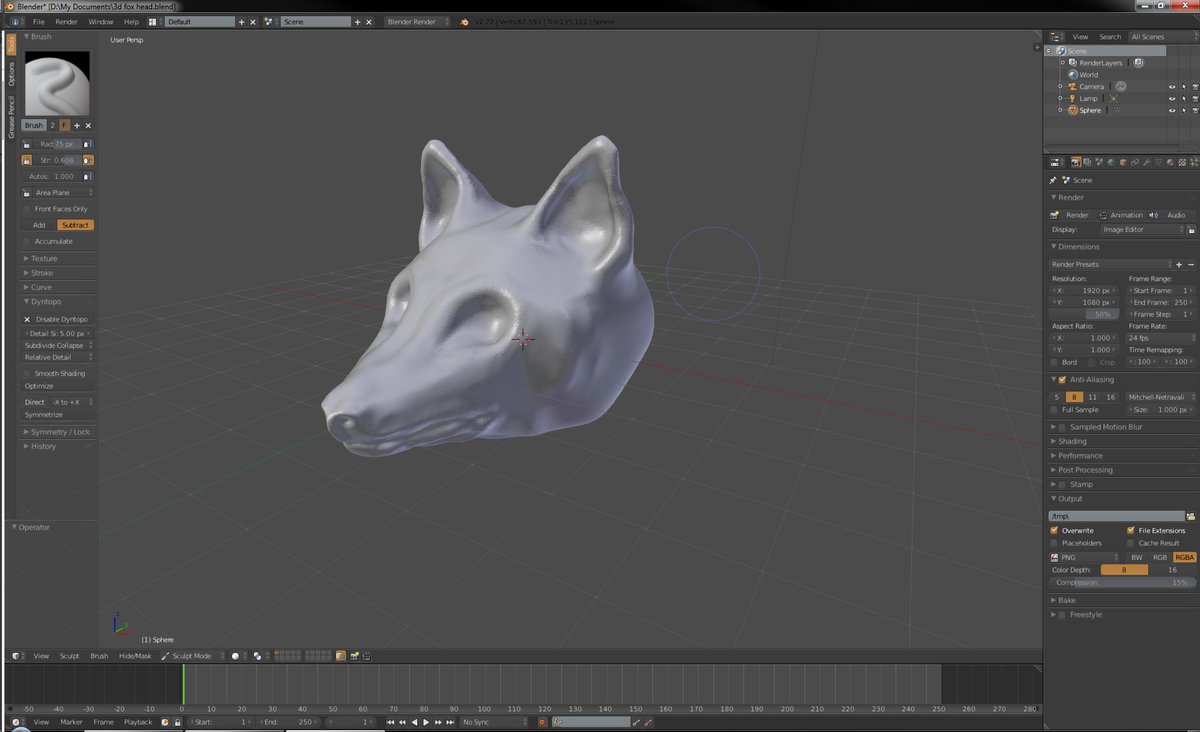
- Sculpting: Blender’s sculpting tools provide an intuitive way to shape and deform geometry. In Sculpt Mode, you can use brushes to push, pull, smooth, and carve the model’s surface. Blender also offers dynamic topology, which dynamically adds or removes geometry as you sculpt, allowing for highly detailed and organic shapes.
- Boolean Operations: Boolean operations are used to combine or cut through geometry using Boolean operators like Union, Difference, and Intersection. In Blender, you can perform boolean operations by using the Boolean modifier or by using the Boolean tools found in the Mesh menu.
- Bezier Curves and Splines: Blender allows you to create 3D shapes using Bezier curves and splines. By manipulating the control points and handles of these curves, you can create smooth and complex shapes. You can convert these curves into mesh objects or use them as guides for other operations like extrusion or beveling.
- Procedural Modeling: Procedural modeling involves using mathematical functions and algorithms to generate 3D geometry. Blender provides a variety of procedural modeling tools, such as the built-in Add Curve: Extra Objects addon, the Fracture modifier, and the Animation Nodes addon. These tools enable you to create complex and intricate geometry without manually modeling each detail.
Each of these methods offers different advantages and is suitable for various modeling scenarios. Experiment with these techniques to find the ones that best fit your project’s needs and your personal workflow.
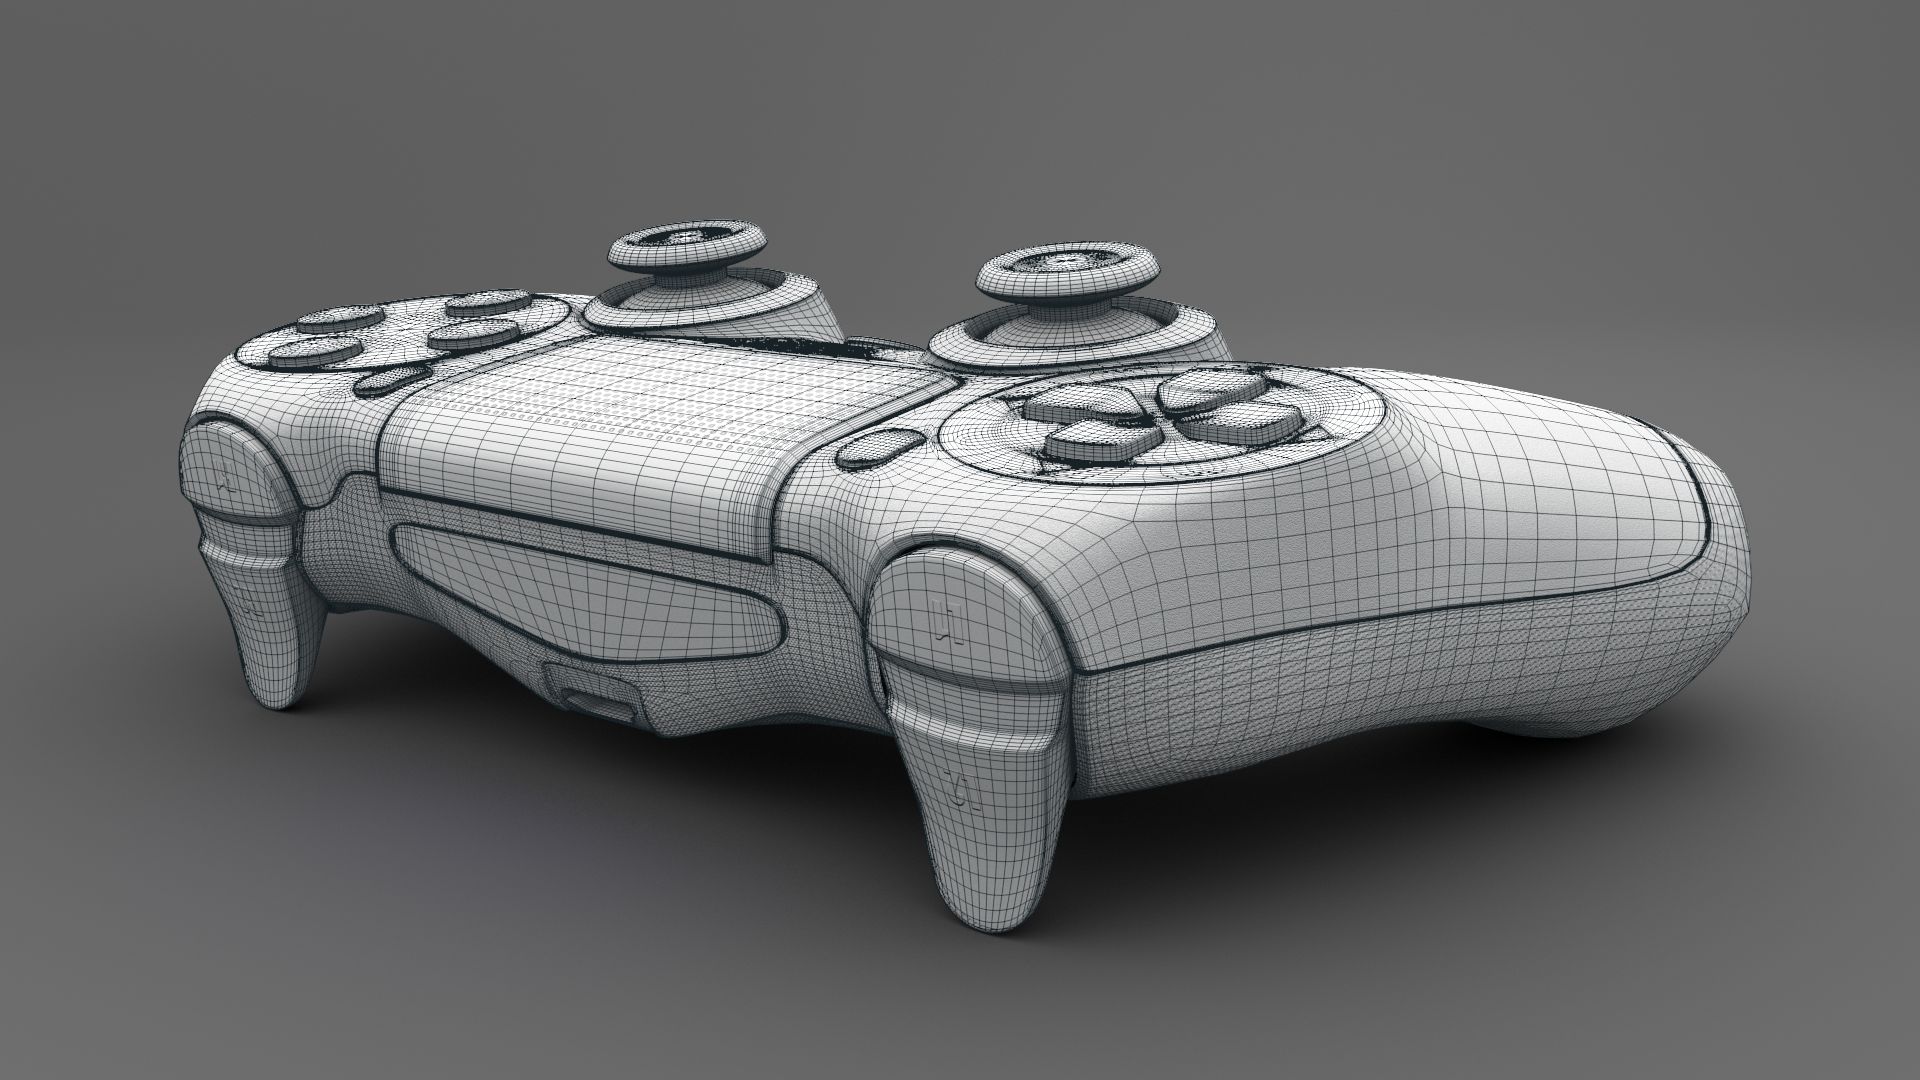
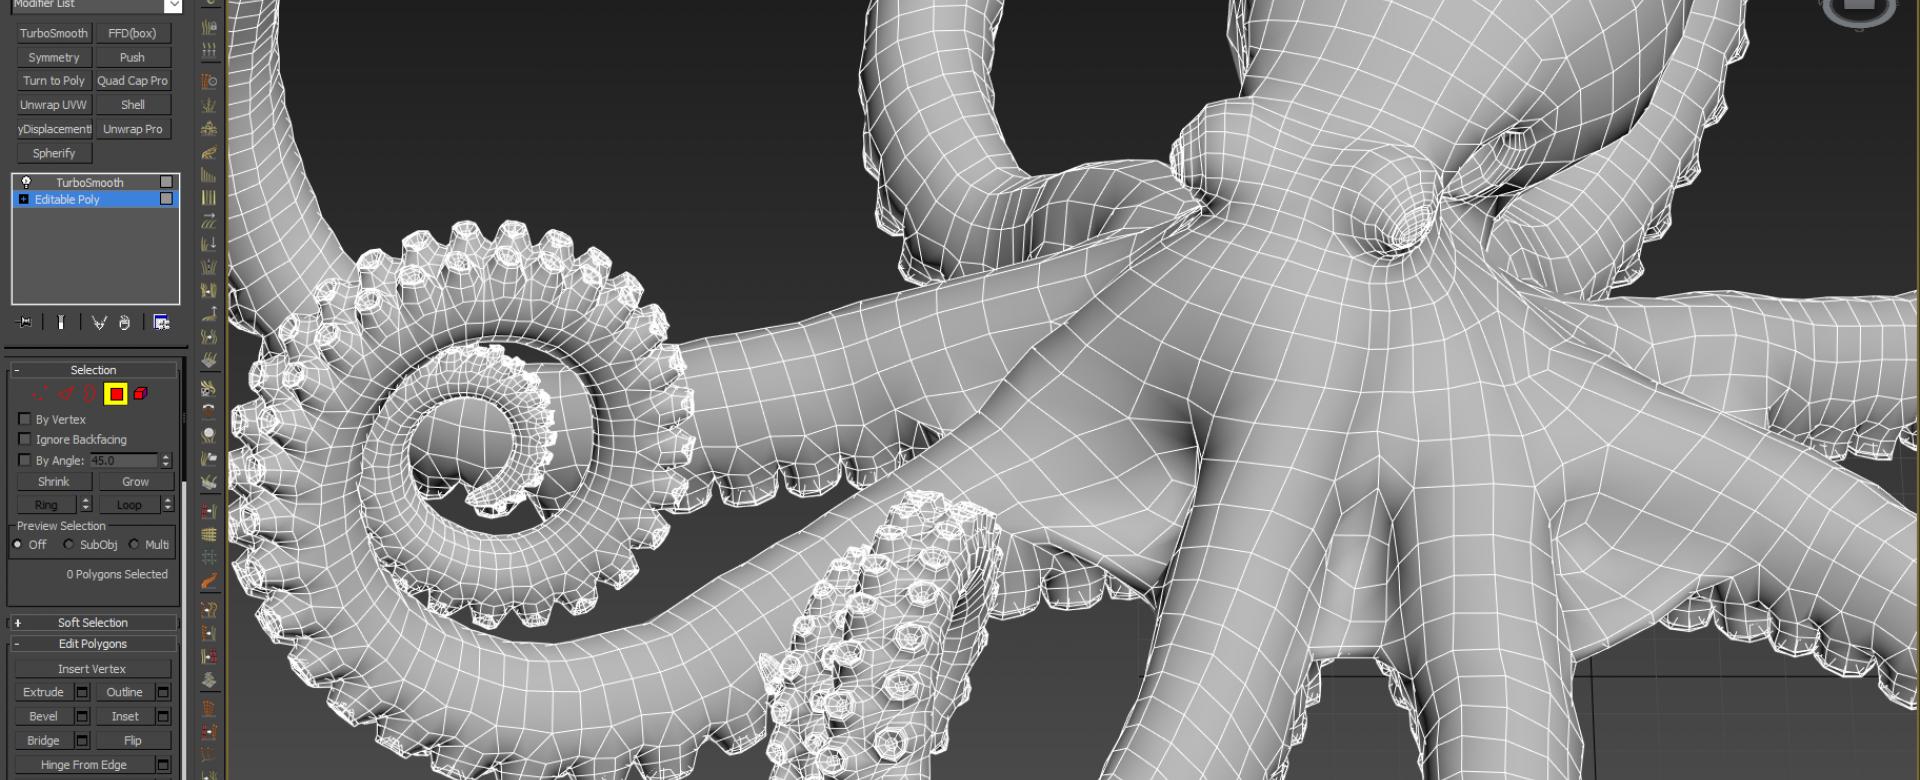
When creating 3D geometry, it’s important to pay attention to the topology—the organization and flow of the geometry’s vertices, edges, and faces. Clean and well-structured topology is essential for achieving smooth deformations, applying materials and textures, and optimizing the model for animation or rendering.
Blender provides tools like the Knife tool, Loop Cut tool, and the Merge tool to help you maintain good topology and ensure clean geometry. By practicing good topology habits from the start, you will save time and effort in the later stages of your modeling process.
By using these techniques and understanding the principles of good topology, you’ll be able to create a wide variety of 3D geometry in Blender. Let your creativity lead the way and experiment with different methods to bring your ideas to life.
Manipulating Meshes
Manipulating meshes is an essential aspect of 3D modeling in Blender. Whether you’re refining the shape of a character, adjusting the proportions of an object, or creating intricate details, understanding how to manipulate meshes effectively is crucial. In this section, we’ll explore some key techniques for manipulating meshes in Blender.
Here are some methods you can use to manipulate meshes:
- Selection: Blender provides multiple ways to select vertices, edges, and faces of a mesh. You can use the right-click selection method, box selection by holding down the B key, or the Circle Select tool. Holding down the Shift key allows you to add or remove elements from the selection. Precise selection can also be done through the use of vertex groups, which allow you to select specific areas of a mesh based on assigned weights.
- Translation, Rotation, and Scaling: Blender offers several transformation tools to move, rotate, and scale selected elements of a mesh. You can access these tools by pressing the appropriate keyboard shortcuts: G for grab/move, R for rotate, and S for scale. Additionally, you can use the Transform panel in the Properties editor or the manipulator widgets displayed in the 3D viewport for precise control over these transformations. Holding down the Ctrl key while transforming allows for more precise movements.
- Pivot Point: The pivot point determines the location around which transformations are performed. Blender provides various pivot point options like Median Point, Individual Origins, 3D Cursor, and more. You can change the pivot point by selecting the desired option from the Pivot Point menu in the header of the 3D viewport. This allows you to manipulate meshes with respect to different reference points and achieve specific transformations.
- Proportional Editing: Proportional editing allows you to manipulate a selected element while also affecting its surrounding vertices. By enabling the Proportional Editing option in the header of the 3D viewport and selecting a falloff type (such as linear, smooth, or random), you can create smooth and natural deformations. Adjusting the size of the proportional editing falloff zone controls the range of influence.
- Snapping: Blender offers snapping tools that allow you to align vertices, edges, and faces to specific locations or elements. Snapping can be useful for precise positioning, aligning, or merging of mesh components. You can enable snapping by clicking on the magnet icon in the header of the 3D viewport and choosing the desired snapping mode from the dropdown menu.
These techniques enable you to manipulate meshes in various ways, providing flexibility and control over your 3D models. By combining these methods and experimenting with different transformations, you can achieve the desired shapes and details in your meshes.
When manipulating meshes, it’s important to pay attention to the model’s topology and maintain good edge flow. Clean and well-structured topology allows for smoother deformations, better texturing, and easier modifications in the future.
Blender provides tools like the Loop Cut, Knife, and Merge tools to help you maintain good topology while manipulating meshes. These tools assist in adding or modifying geometry in a way that preserves the overall structure and flow of the mesh.
By mastering the art of manipulating meshes, you’ll have the ability to shape and sculpt your 3D models to perfection. Practice and experimentation will help you develop the skills and intuition required to bring your artistic visions to life in Blender.
When using Blender for 3D modeling, take the time to learn and understand the basic keyboard shortcuts. This will greatly improve your workflow and efficiency.
Modifying Meshes
Modifying meshes is a crucial step in the 3D modeling process, allowing you to refine and enhance your models. Whether you need to add details, smooth surfaces, or optimize the geometry, Blender provides a range of tools and techniques for modifying meshes effectively. In this section, we’ll explore some key methods of modifying meshes in Blender.
Here are common techniques for modifying meshes:
- Subdivision Surface: The Subdivision Surface modifier is an invaluable tool for creating smooth and detailed surfaces. It subdivides the mesh and adds more geometry, resulting in a smoother appearance. You can adjust the level of subdivision and other options to control the smoothness of the surface.
- Bevel: The Bevel tool is used to round or chamfer the edges of a mesh, giving it a more polished and realistic look. You can select the edges you want to bevel and then use the Bevel tool either through the toolbar or the shortcut Ctrl + B. Adjusting the bevel amount and the number of segments allows for precise control over the beveled edges.
- Extrusion and Inset: Extrusion and inset are versatile techniques to modify meshes by creating new geometry. Extrusion involves extending faces or edges to create depth or protrusions, while inset creates inset faces with different depths or borders. These techniques allow for the creation of complex details and variations in the mesh.
- Boolean Operations: Boolean operations are used to combine or cut through meshes using Boolean operators like Union, Difference, and Intersection. Blender provides the Boolean modifier and Boolean tools that allow you to create complex shapes by combining or subtracting multiple meshes. Boolean operations are particularly useful for creating intricate cutouts, holes, or custom shapes.
- Mesh Deformation: Blender provides numerous ways to deform meshes. The Mesh Deform modifier allows you to deform a mesh using another object as a cage. The Lattice modifier uses a lattice object to control the deformation of a mesh. Additionally, the Shrinkwrap modifier allows for precise mesh deformation based on the surface of another object. These techniques are useful for creating complex and controlled distortions.
- Retopology: Retopology is the process of recreating the topology of a high-resolution mesh to optimize it for animation or rendering. Blender offers tools like the Remesh modifier, Shrinkwrap modifier, and the Retopoflow add-on to help with the retopology process. By creating clean and efficient topology, you can improve the performance and appearance of your mesh.
When modifying meshes, it’s essential to consider topology and maintain good edge flow. Clean and organized topology allows for better deformation, texture mapping, and further modifications. Blender offers tools like the knife, loop cut, and merge tools to help you maintain good topology while making modifications.
Another important aspect to keep in mind when modifying meshes is the balance between complexity and performance. Adding excessive details or subdivisions can impact the performance of your scene. It’s crucial to strike a balance between the desired level of detail and maintaining a manageable mesh complexity.
By understanding and utilizing these techniques for modifying meshes, you’ll have the ability to refine and enhance your 3D models to meet your creative goals. Practice and experimentation will help you develop your skills and achieve your desired results in Blender.
Applying Materials and Textures
Materials and textures bring your 3D models to life by adding colors, patterns, and realistic surface properties. In Blender, you can apply materials and textures to your objects to enhance their visual appearance and make them more visually appealing and realistic. Let’s dive into the process of applying materials and textures in Blender.
Here are the key steps to applying materials and textures:
- Creating Materials: Materials define the visual properties of an object, such as its color, reflectivity, transparency, and more. To create a new material, you can go to the Materials tab in the Properties editor and click on the “New” button. Blender provides a wide range of material options, including diffuse, glossy, glass, emission, and more. You can adjust the material settings and properties to achieve the desired look.
- Assigning Materials: Once you have created the desired materials, you can assign them to your objects. In the Edit Mode or Object Mode, select the desired object or objects and go to the Materials tab in the Properties editor. You can then assign a material to the selected object by clicking the “Assign” button. This associates the material with the object, allowing you to modify its appearance.
- UV Unwrapping: To apply textures to your objects accurately, you need to perform UV unwrapping, which is the process of creating a 2D representation of the object’s surface. In the UV Editing workspace, you can mark seams on the object to indicate where the mesh should be split, and then unwrap it to create the UV layout. This layout acts as a guide for applying textures accurately.
- Texture Mapping: After UV unwrapping, you can apply textures to your objects. Blender supports various texture types, such as image textures, procedural textures, and normal maps. By adding these textures in the Textures tab of the Properties editor, you can control parameters like color, patterns, bumpiness, and more. You can also adjust the mapping coordinates to determine how the texture is applied to the object’s surface.
- Node-Based Shader Editor: Blender offers a powerful node-based shader editor called the Shader Editor. It allows you to create complex materials by connecting and manipulating different nodes. With this editor, you have fine control over materials and can create intricate effects, such as procedural patterns, realistic reflections, or layered materials.
When working with materials and textures, it’s important to consider factors like lighting, reflections, and shadows, as these can greatly affect the appearance of your objects. Experimenting with different lighting setups and adjusting the material properties can help you achieve the desired results.
Blender also provides libraries of pre-made materials and textures that you can download or use as a starting point for your own creations. These resources can help speed up your workflow and provide inspiration for building your materials library.
With the ability to create and apply materials and textures in Blender, you can add depth, realism, and visual interest to your 3D models. Practice and experimentation will help you refine your skills and achieve incredible results in your projects.
Read more: Who Invented 3D Modeling
Lighting and Rendering
Lighting and rendering are essential components of creating visually stunning and realistic 3D scenes in Blender. Proper lighting techniques combined with efficient rendering settings can elevate the overall quality and impact of your 3D models. Let’s explore the key aspects of lighting and rendering in Blender.
Here are the steps involved in lighting and rendering:
- Light Sources: Blender offers various types of light sources, including point lights, spotlights, area lights, and sun lamps. Each light source has its own properties and characteristics, such as intensity, color, falloff, and size. By positioning and adjusting these light sources, you can control the illumination and shadows in your scene.
- Lighting Techniques: Different lighting techniques can be used to achieve different moods and effects. Global Illumination (GI) techniques like ambient occlusion, indirect lighting, and environment lighting can accurately simulate real-world lighting scenarios. You can also use light paths, light groups, and light linking to control the visibility and interactions of lights and objects in your scenes.
- Environment Lighting: Blender allows you to simulate realistic environmental lighting by using HDR (High Dynamic Range) images. These images capture a broad range of lighting conditions and can be used as backgrounds or as light sources for illumination. By using HDR images, you can create stunning reflections, soft shadows, and atmospheric effects.
- Materials and Shader Setup: Properly setting up materials and shaders is crucial for realistic lighting. Materials should reflect light accurately, taking into account properties like specularity, roughness, and transparency. Blender’s node-based shader editor allows you to create complex material setups with realistic lighting interactions, such as subsurface scattering, Fresnel effects, or rough glossy reflections.
- Render Settings: Blender offers a wide range of options to fine-tune the rendering process. You can adjust settings like resolution, aspect ratio, samples for anti-aliasing, and render engines (such as Eevee or Cycles). Additionally, you can control the quality, speed, and optimization of the rendering process based on your specific needs and hardware limitations.
- Post-Processing: After rendering your scene, you can further enhance the final output through post-processing techniques. Blender provides a compositing editor where you can add effects like color correction, depth of field, motion blur, lens distortion, and more. This allows you to refine the visual impact of your render and achieve the desired aesthetic.
Understanding lighting and rendering techniques is crucial for creating realistic and visually striking 3D scenes. Experimenting with different lighting setups and rendering settings, studying real-world lighting scenarios, and observing light behavior in photography or cinematography can greatly improve your understanding and skills in this area.
In addition to technical aspects, artistic considerations like composition, mood, and storytelling play a significant role in lighting and rendering. Thinking about the desired atmosphere and conveying the intended emotions through lighting can elevate your final renders to a more captivating level.
By mastering the concepts and techniques of lighting and rendering in Blender, you have the power to bring your 3D models to life with realistic lighting effects and visually stunning renderings. Embrace the creative process and continue to refine your skills to achieve breathtaking results in your projects.
Animation Basics
Animation brings your 3D models to life by adding movement, creating dynamic scenes, and telling engaging stories. Blender offers a powerful animation toolset that allows you to create various types of animations, from simple object movements to complex character animations. Let’s explore the animation basics in Blender.
Here are the key elements and concepts of animation in Blender:
- Keyframes: Keyframes are the building blocks of animation. They define specific points in time where you set the position, rotation, scale, or other properties of an object. By placing keyframes at different frames, you create the illusion of motion and transformation.
- Timeline: The Timeline window in Blender displays the frames of your animation. You can scrub through the timeline, set keyframes, and adjust the timing of your animation. The timeline serves as a visual representation of the entire animation sequence.
- Animation Editors: Blender provides various animation editors, such as the Dope Sheet, Graph Editor, and the Action Editor. These editors allow you to refine and fine-tune your animation by manipulating keyframes, adjusting timing curves, and creating complex motion paths.
- Animation Curves: Animation curves determine the interpolation between keyframes, controlling the smoothness and timing of motion. Blender supports different types of curves, including linear, Bezier, and B-spline. You can manipulate and edit these curves in the Graph Editor to achieve specific timing and animation effects.
- Modifiers and Constraints: Blender offers powerful tools like modifiers and constraints to automate and control complex animations. Modifiers allow you to apply transformations or physics simulations to an object, while constraints offer ways to define relationships and behaviors between objects, such as parenting, inverse kinematics, or rigid body simulations.
- Character Animation: Blender’s animation tools are particularly suited for character animation. You can use armature objects to create skeletal systems and control the movements of characters using bones. By setting up inverse kinematics (IK), you can create more realistic and natural movements. Shape keys can be used for facial expressions and morph targets.
- Rendering Animation: Once your animation is complete, you can render it out as a video or a series of frames. Blender provides powerful rendering capabilities with options to adjust resolution, frame rate, and output format. You can also apply post-processing effects and compositing to enhance the final animation.
Starting with simple animations and gradually expanding your skills will help you master the art of animation in Blender. Practice bringing objects to life with basic movements and exploring the various animation editors and tools available. As you gain more experience, you can challenge yourself with more complex animations and explore advanced techniques.
Remember that animation is not just about technical execution but also about storytelling and evoking emotions. Think about the narrative and the intended impact of your animation as you design and create your sequences.
By understanding the animation basics in Blender and continuously refining your skills, you’ll have the ability to breathe life into your 3D models, create captivating visual stories, and fully unleash your creative potential.
Advanced Modeling Techniques
Once you have a good grasp of the basics of modeling in Blender, you can explore advanced techniques to take your 3D modeling skills to the next level. These techniques allow you to create intricate details, realistic surfaces, and complex models. Let’s dive into some of the advanced modeling techniques in Blender.
Here are some advanced modeling techniques you can explore:
- Retopology: Retopology is the process of recreating clean and optimized topology for a model. It involves creating a new mesh with more efficient edge loops and even distribution of vertices. This technique is valuable when working with high-poly meshes or when preparing models for animation or game engines. Blender provides tools like the Remesh modifier, the Shrinkwrap modifier, or the Retopoflow add-on to assist with the retopology process.
- Sculpting: Blender’s sculpting tools allow you to shape and refine organic models with high levels of detail. The sculpting brushes simulate real-world sculpting techniques, allowing you to add or subtract geometry, create intricate textures, and sculpt organic forms. Blender’s Dynamic Topology feature enables you to dynamically add or remove geometry as you sculpt, giving you greater creative freedom.
- Procedural Modeling: Procedural modeling involves using mathematical algorithms or functions to generate 3D geometry. Blender provides a range of procedural modeling tools, such as the built-in Add Curve: Extra Objects add-on, the Fracture modifier, or the Animation Nodes add-on. These tools enable you to create complex and intricate geometry procedurally, saving time and offering greater flexibility in your modeling process.
- Advanced Shading and Materials: Blender’s node-based shader editor allows for intricate and advanced material setups. By combining different nodes and textures, you can create realistic materials with complex surface properties and effects such as subsurface scattering, anisotropic reflections, or procedurally generated textures. Advanced shading techniques like advanced bump mapping or physically based rendering (PBR) can add greater realism and depth to your models.
- Hard Surface Modeling: Hard surface modeling involves creating models with precise and defined angles, edges, and geometric shapes. This technique is often used in architectural design, mechanical modeling, or sci-fi artwork. Blender provides tools like the Bevel modifier, the Boolean operators, and the Knife tool for precise control over edge beveling, shape cutting, and creating complex interlocking geometries.
- Scripting and Automation: Blender’s extensive Python scripting capabilities allow you to automate repetitive tasks and create custom tools and scripts to enhance your modeling workflow. By writing scripts or utilizing existing add-ons, you can create custom modeling tools, automate complex operations, or integrate Blender with external software or pipelines. Python scripting opens up a world of possibilities for advanced modeling workflows.
Exploring these advanced modeling techniques in Blender will push the boundaries of what you can create and expand your skill set. Experiment with different methods and continue to learn and refine your techniques through tutorials, online resources, and practice.
Remember that practice, patience, and persistence are essential when mastering advanced modeling techniques. With dedication and a willingness to push your creative boundaries, you will unlock the full potential of Blender as a powerful 3D modeling tool.
Useful Tips and Tricks
As you continue to explore and refine your skills in Blender, it’s helpful to have some handy tips and tricks up your sleeve to enhance your workflow and productivity. These tips can save you time, optimize your models, and improve your overall Blender experience. Let’s dive into some of the useful tips and tricks for working with Blender.
Here are some valuable tips and tricks for using Blender:
- Use Keyboard Shortcuts: Blender offers a wide range of keyboard shortcuts to perform various tasks quickly. Learning and utilizing these shortcuts can significantly speed up your workflow. Familiarize yourself with commonly used shortcuts for navigation, transformation, and editing. You can find a comprehensive list of Blender shortcuts in the preferences or online.
- Customize Your Workspace: Blender’s interface is highly customizable. Experiment with different layouts, editor arrangements, and panel configurations to create a workspace that suits your workflow and preferences. Save your custom layouts as workspaces for easy access in future projects.
- Utilize Add-ons: Take advantage of the vast library of add-ons available for Blender. Add-ons can extend Blender’s functionality, provide specialized tools, and enhance your productivity. Explore the add-ons repository and install the ones that align with your modeling needs and interests.
- Incremental Saves: Enable the Auto Save feature in Blender to automatically save your work at regular intervals. Additionally, get into the habit of manually saving your progress incrementally with version numbers or timestamps to avoid losing your work in case of unexpected crashes or accidents.
- Take Advantage of Snap and Grid Settings: Utilize Blender’s snap and grid settings to align, position, and snap objects precisely. Activate snapping options like vertex snap, edge snap, or face snap to easily align elements. Adjusting the grid settings and enabling grid snapping can help you create accurate and uniform layouts.
- Work with Proxies for Large Projects: If you’re working with complex or memory-intensive projects, consider using proxies. Proxies allow you to use low-resolution or simplified versions of objects during the modeling process to improve performance. Once the modeling is complete, you can switch back to the full-resolution models for rendering or final adjustments.
- Manage Your Scene with Layers and Collections: Use layers or collections to organize and manage your scene elements efficiently. Assign objects to different layers or collections based on their hierarchy, visibility, or functionality. This will help you keep a clean and well-structured scene, making it easier to navigate and work with complex projects.
- Learn from Others and Share Your Knowledge: Blender has a thriving community that provides tutorials, forums, and resources for you to learn from. Engage with the community, follow experienced artists, and share your own knowledge and creations. Participate in challenges, competitions, and collaborative projects to further hone your skills and gain exposure.
These tips and tricks will boost your productivity, efficiency, and creativity while working in Blender. Remember that practice is key to mastering these techniques and incorporating them into your workflow. Continuously explore new tools, techniques, and updates in Blender to stay up to date and expand your skill set.
Embrace the joy of learning and experimenting, and let these tips and tricks become integral parts of your Blender journey as you create amazing 3D models and bring your creative visions to life.
Read more: What Careers Use 3D Modeling
Conclusion
Congratulations! You have now gained a solid understanding of Blender and its capabilities for 3D modeling. From getting started with the software to exploring advanced techniques, you have embarked on a journey that will allow you to create stunning and realistic 3D models.
Throughout this guide, we covered the basics of Blender’s interface, navigation, and the essential tools for modeling. We delved into advanced topics such as procedural modeling, sculpting, and animation. We also explored the crucial aspects of lighting, rendering, and applying materials and textures to enhance the visual appeal of your models.
As you continue to hone your skills, remember that practice, experimentation, and continuous learning are key ingredients for success in the world of 3D modeling. Blender offers endless possibilities and a supportive community that will inspire and guide you throughout your journey.
Stay updated with the latest features and improvements in Blender, as development is continuous, and new tools and techniques are constantly being introduced. Engage with the Blender community, share your knowledge, and learn from others to further enrich your skills and creativity.
Whether you are pursuing a career in game development, animation, architectural visualization, or simply enjoying the art of 3D modeling, Blender provides the tools and flexibility to bring your ideas to life. Utilize the tips and tricks we discussed to optimize your workflow and make your modeling process more efficient.
Remember to approach your modeling projects with patience, attention to detail, and a keen eye for aesthetics. Strive for excellence in your craftsmanship, and always seek to improve and push the boundaries of your skills.
Now, it’s time to unleash your creativity and explore the unlimited possibilities that Blender offers. Embrace the challenges, enjoy the process, and create breathtaking 3D models that inspire and captivate. Happy modeling!
Frequently Asked Questions about How To Use Blender For 3D Modeling
Was this page helpful?
At Storables.com, we guarantee accurate and reliable information. Our content, validated by Expert Board Contributors, is crafted following stringent Editorial Policies. We're committed to providing you with well-researched, expert-backed insights for all your informational needs.

0 thoughts on “How To Use Blender For 3D Modeling”