Articles
Where To Buy Vinyl Siding Replacement Pieces
Modified: January 8, 2024
Looking for articles on where to buy vinyl siding replacement pieces? Find the best places to purchase high-quality vinyl siding articles for your home renovation project.
(Many of the links in this article redirect to a specific reviewed product. Your purchase of these products through affiliate links helps to generate commission for Storables.com, at no extra cost. Learn more)
Introduction: Why Vinyl Siding Replacement Pieces are necessary
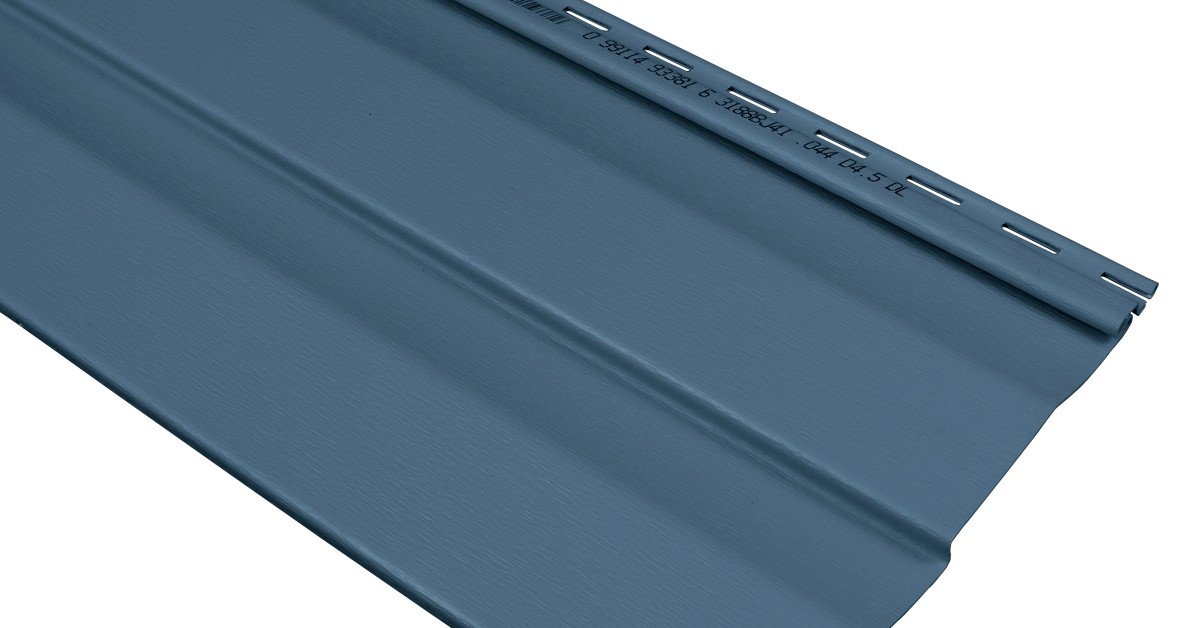
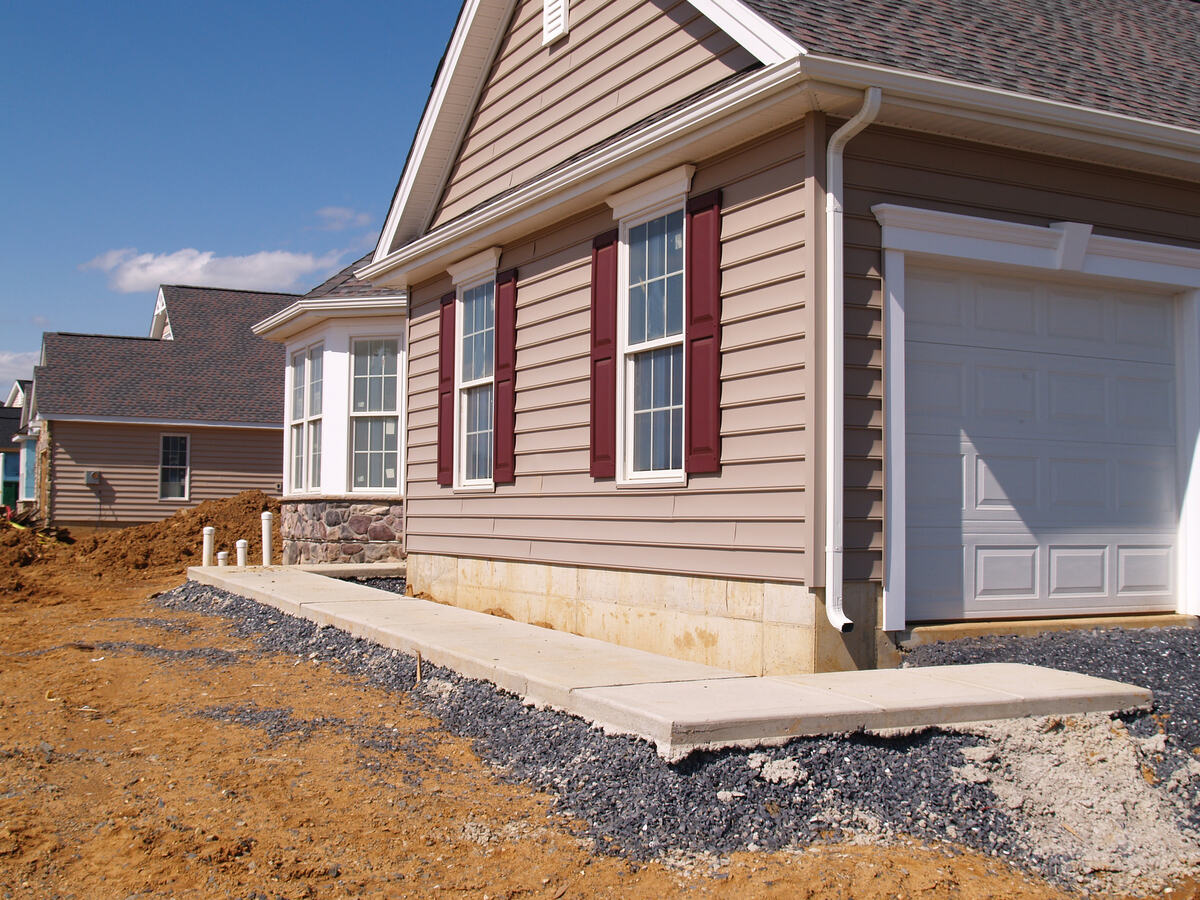
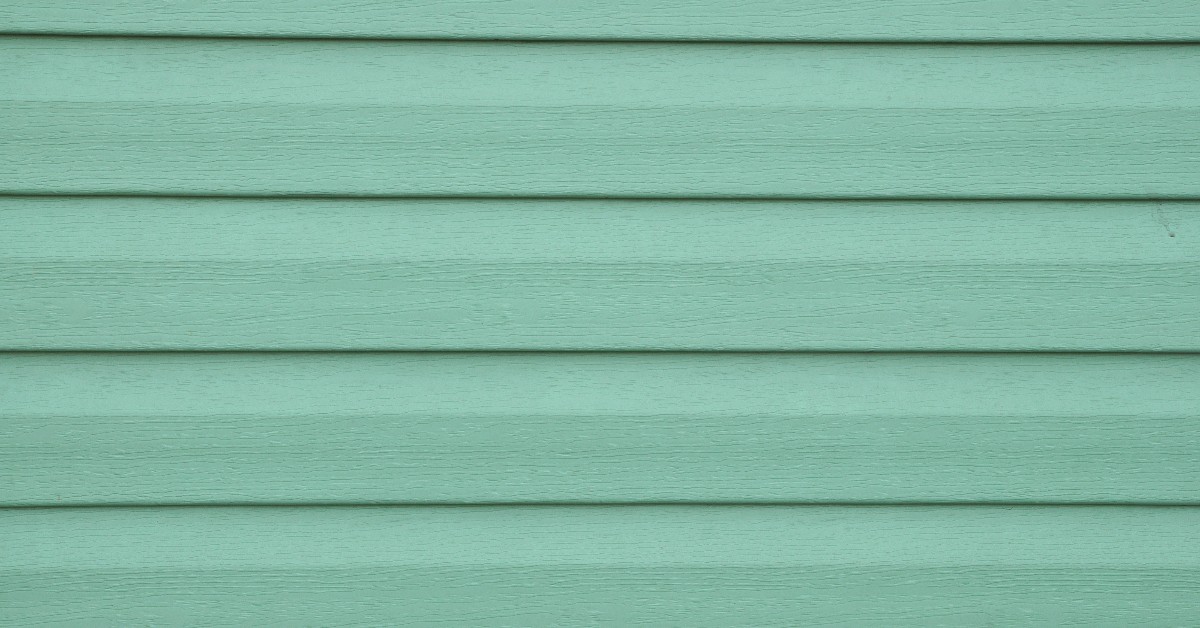
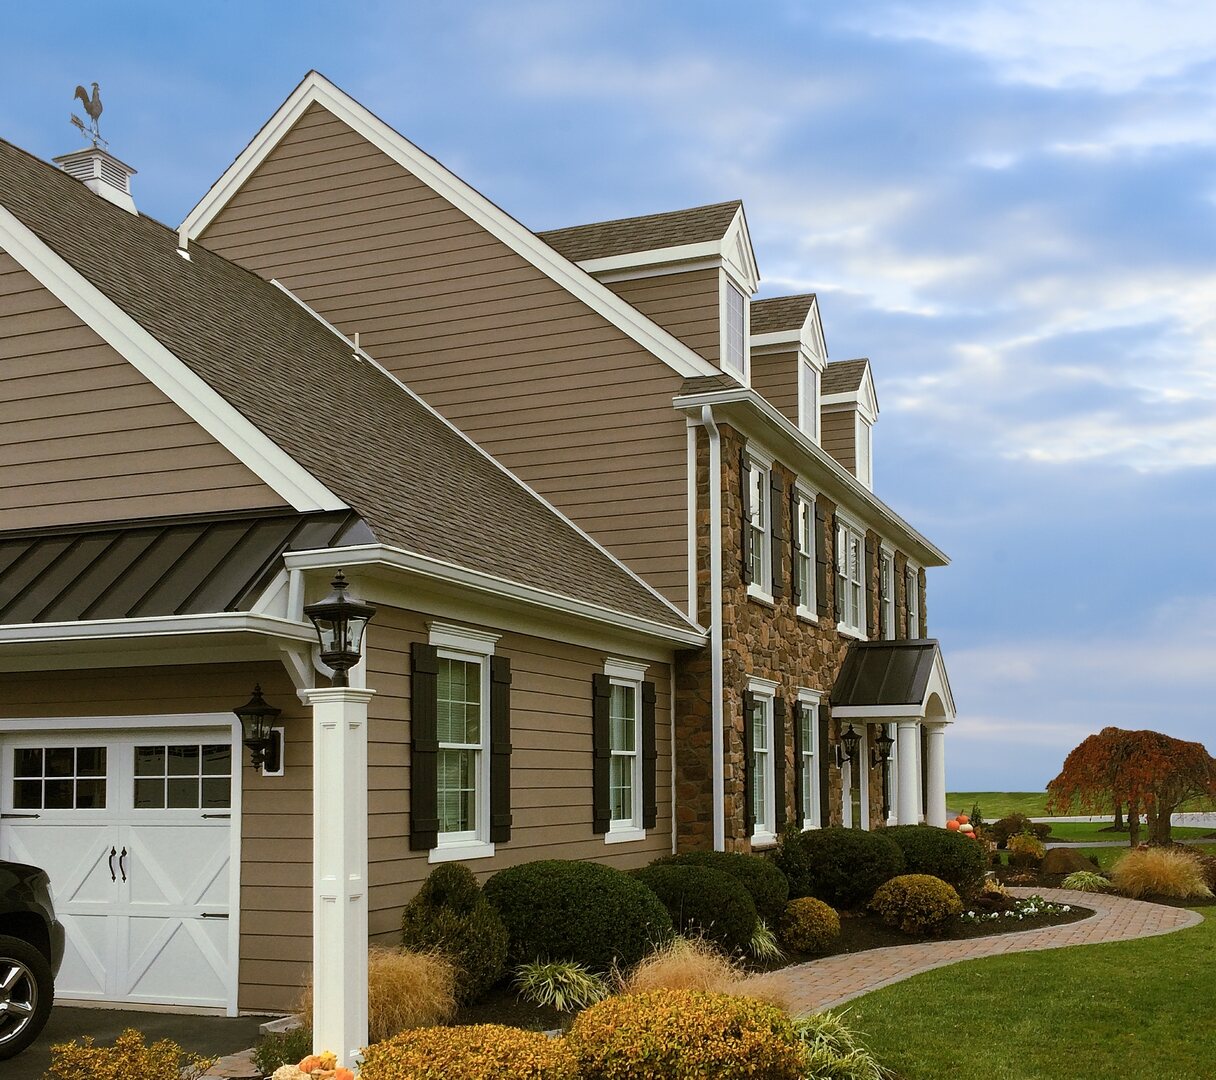
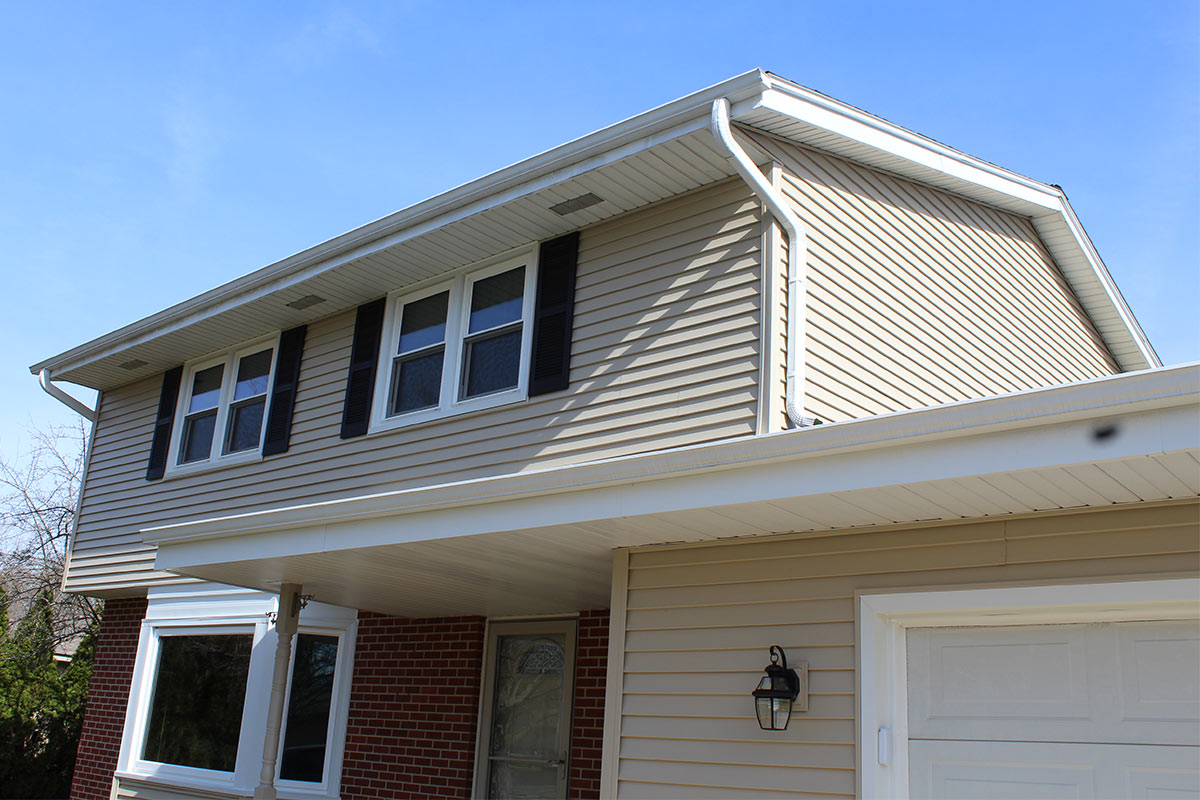
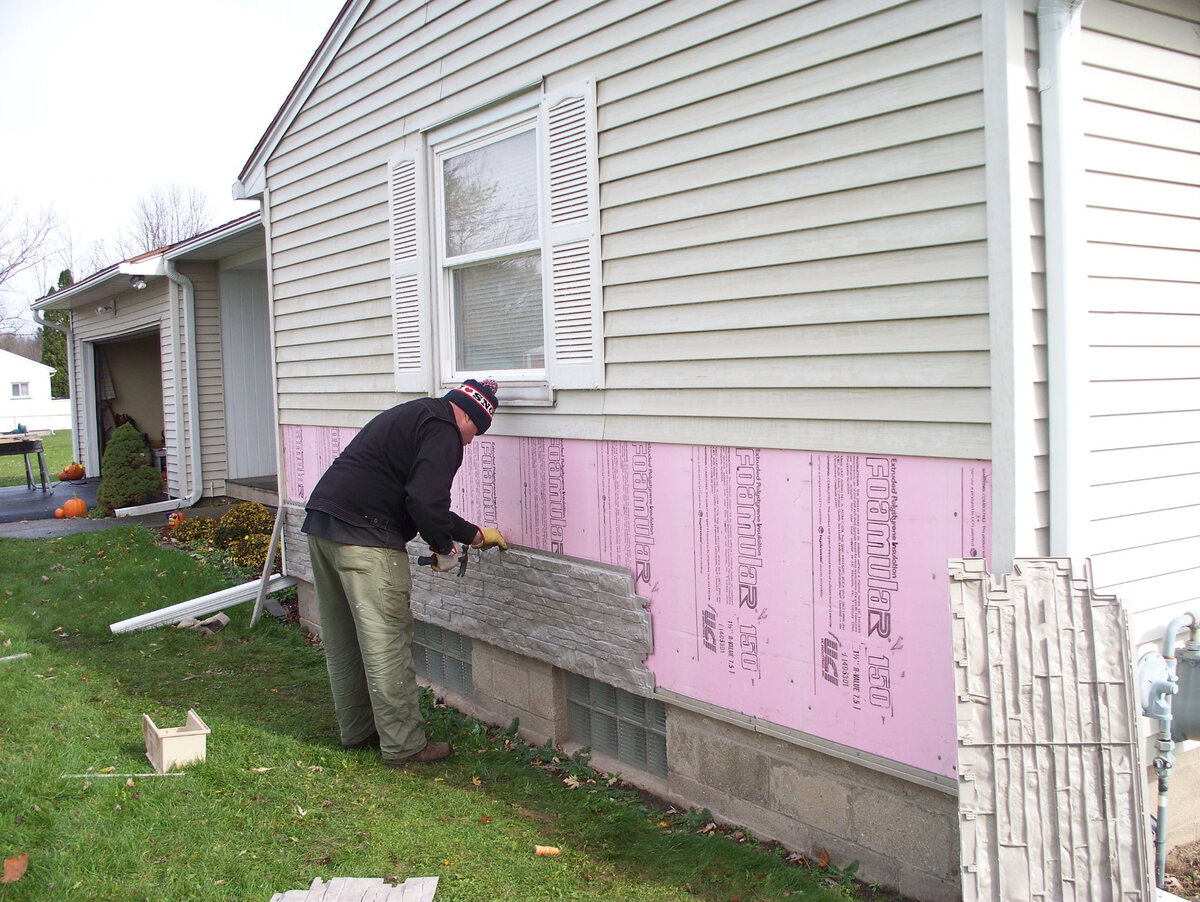
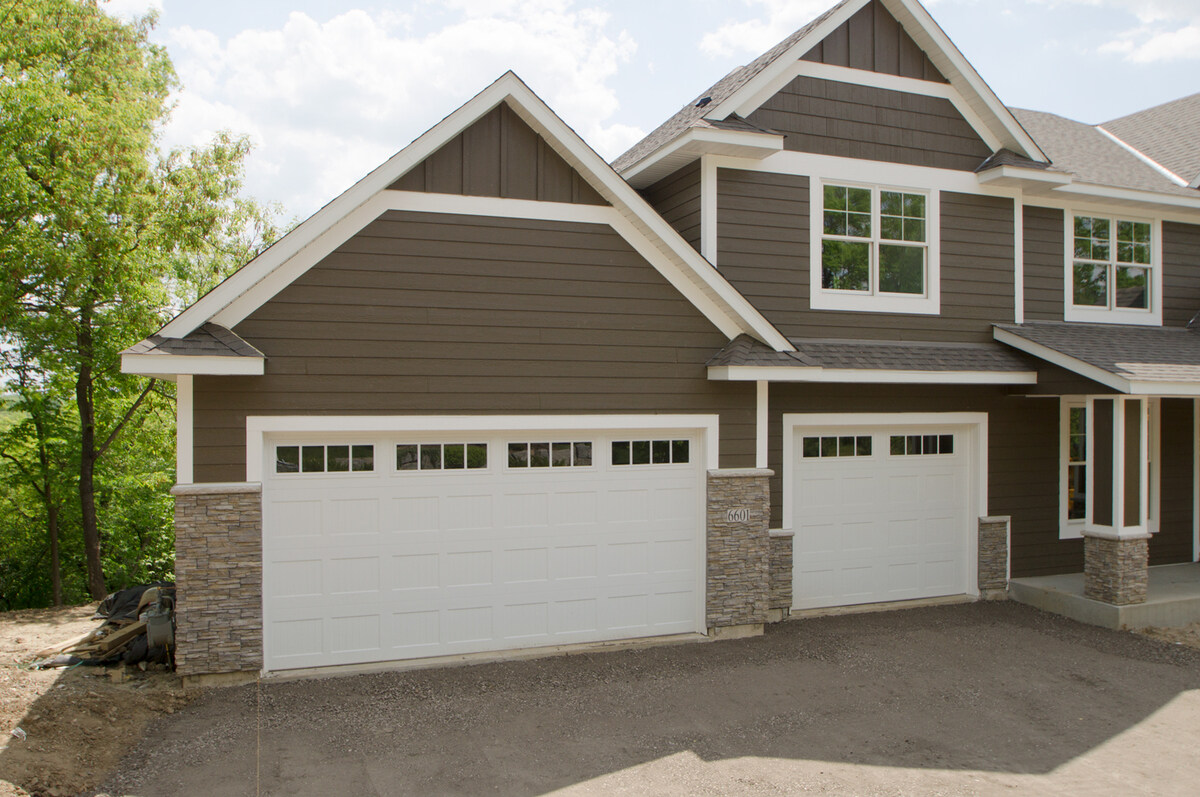
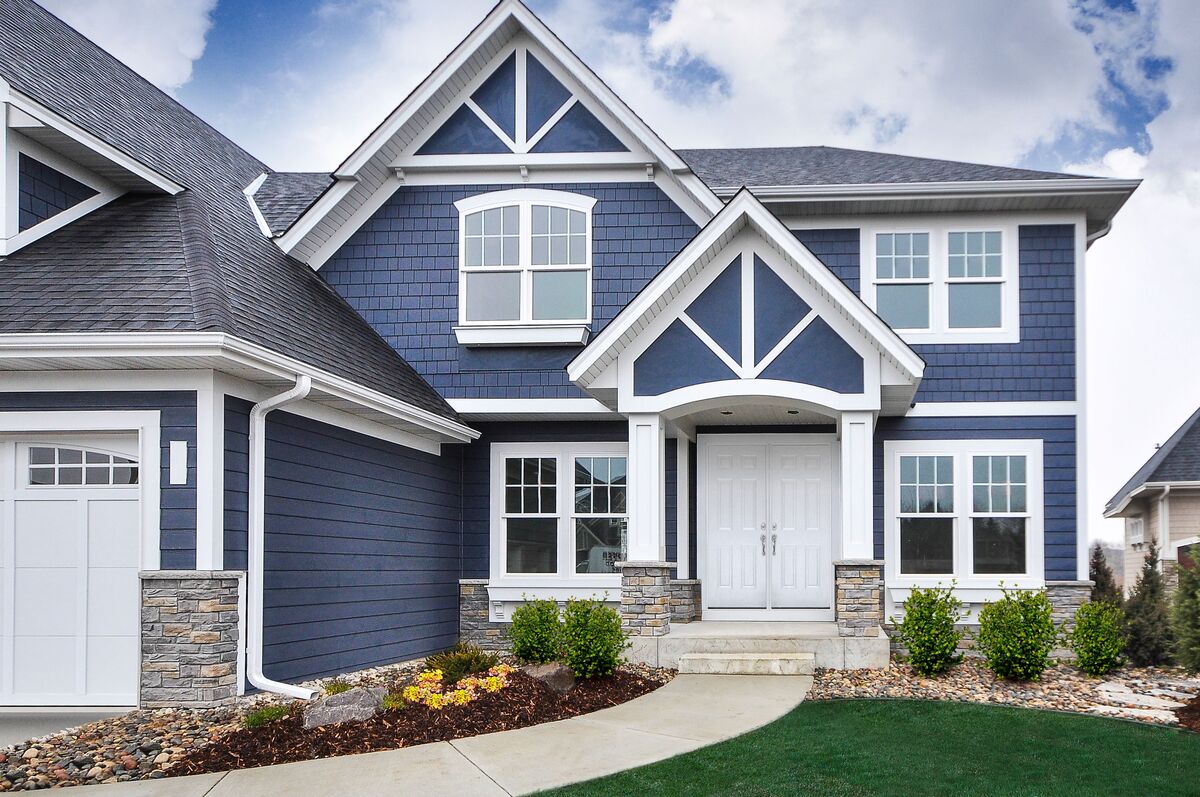
Vinyl siding has become a popular choice for homeowners due to its durability, low maintenance, and aesthetic appeal. However, over time, even the highest quality vinyl siding can become damaged or worn out. When this happens, it’s essential to have access to replacement pieces to ensure the integrity and beauty of your home’s exterior.
There are several reasons why vinyl siding replacement pieces are necessary. First and foremost, they allow you to maintain a consistent look throughout your home. When a portion of your siding is damaged or needs to be replaced, using the same style and color of vinyl siding ensures a seamless and uniform appearance, enhancing the curb appeal of your property.
Secondly, vinyl siding replacement pieces help preserve the structural integrity of your home. Damaged siding can lead to water infiltration, mold growth, and even structural damage if left untreated. By promptly replacing damaged sections, you can prevent further issues and protect the underlying structure of your home.
Additionally, replacing worn-out or damaged vinyl siding can improve energy efficiency. Over time, vinyl siding may become warped or develop gaps, allowing air to leak in and out of your home. This can result in higher energy bills as your HVAC system works harder to maintain a comfortable temperature. By replacing damaged sections, you can restore the insulation properties of your siding and prevent energy wastage.
Finally, vinyl siding replacement pieces offer convenience and cost savings. In the past, homeowners had to replace entire panels of siding, even if only a small section was damaged. This could be time-consuming, labor-intensive, and expensive. With replacement pieces readily available, you can address specific areas of concern without the need for extensive repairs or replacements.
Overall, having access to vinyl siding replacement pieces is essential for maintaining the beauty and functionality of your home’s exterior. Whether you’re dealing with storm damage, wear and tear, or simply want to refresh the look of your home, having the right replacement pieces on hand can make all the difference.
Key Takeaways:
- When purchasing vinyl siding replacement pieces, consider factors such as color, size, quality, and availability. Explore online retailers, home improvement stores, local suppliers, and contractor recommendations for a seamless and informed decision.
- Vinyl siding replacement pieces are essential for maintaining the beauty and integrity of your home’s exterior. Whether you prefer the convenience of online shopping or the hands-on approach of visiting stores, there are various options to suit your specific needs and preferences.
Read more: Where To Buy Alside Vinyl Siding
Factors to Consider before purchasing Vinyl Siding Replacement Pieces
When it comes to purchasing vinyl siding replacement pieces, there are several important factors to consider. Making an informed decision will ensure that you choose the right pieces that match your existing siding and meet your specific needs. Here are some factors you should keep in mind before making a purchase:
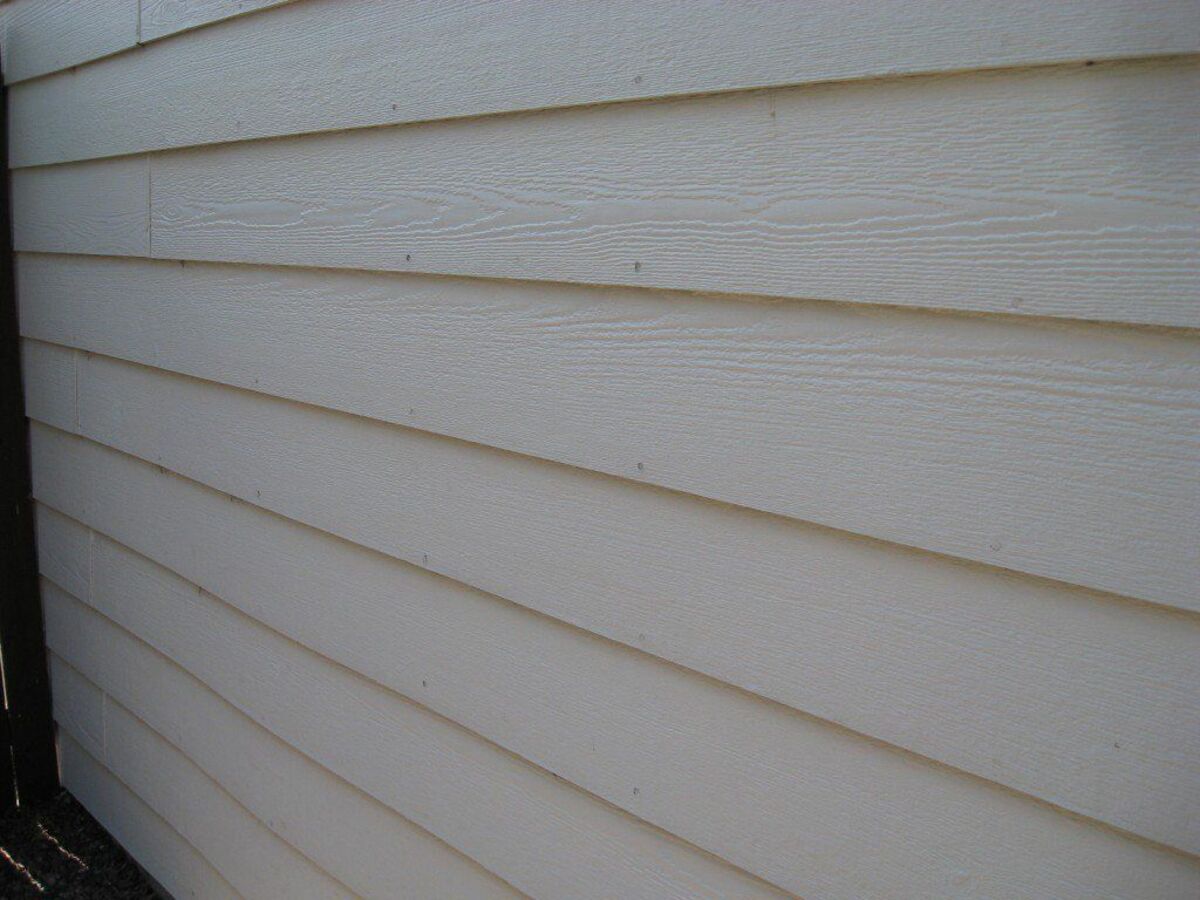
- Color and Style: One of the key considerations is finding replacement pieces that match the color and style of your existing siding. If possible, obtain a sample or bring a piece of your current siding to the store to compare and ensure a seamless match.
- Size and Shape: Vinyl siding comes in various sizes and shapes, so it’s crucial to select replacement pieces that are compatible with your existing siding profiles. Measure the dimensions of your current siding and look for matching sizes.
- Thickness and Quality: Check the thickness and quality of the replacement pieces. Opt for high-quality vinyl that is durable and resistant to cracking, warping, and fading. Thicker siding tends to offer better insulation and durability, so consider this when choosing replacement pieces.
- Manufacturer’s Warranty: Verify whether the replacement pieces come with a warranty from the manufacturer. A warranty can provide peace of mind and protection against manufacturing defects.
- Budget: Determine your budget for the replacement pieces. Prices can vary depending on the brand, quality, and quantity needed. It’s important to strike a balance between cost and quality to ensure you get reliable replacement pieces within your budget.
- Installation Method: Consider the installation method of the replacement pieces. Some may require specific tools or techniques, while others may be easier to install as a DIY project. If you’re uncertain about the installation process, consult a professional or seek guidance from the supplier.
- Availability: Confirm the availability of the replacement pieces before making a final decision. Check with multiple suppliers or retailers to ensure they have the specific pieces you need in stock.
- Compatibility: Lastly, ensure that the replacement pieces are compatible with your existing vinyl siding system. Double-check the specifications and consult with professionals if needed to ensure a proper fit.
By considering these factors, you can make an informed decision when purchasing vinyl siding replacement pieces. Taking the time to find the right pieces will ensure a seamless integration with your existing siding, maintain the aesthetic appeal of your home, and provide long-lasting durability.
Where to Buy Vinyl Siding Replacement Pieces Online
Shopping for vinyl siding replacement pieces online offers a convenient and wide-ranging selection. With just a few clicks, you can explore various retailers, compare prices, and find the perfect match for your home. Here are some options for buying vinyl siding replacement pieces online:
1. Online Retailers: Online marketplaces like Amazon, eBay, and Walmart have a vast inventory of vinyl siding replacement pieces. These platforms offer a wide selection from different brands, styles, and colors. Reading customer reviews and ratings can help you determine the quality and compatibility of the products.
2. Manufacturer Websites: Many vinyl siding manufacturers have their own websites where you can purchase replacement pieces directly. This ensures that you are getting authentic products that match your original siding. Check the website of the manufacturer of your existing siding for replacement options.
3. Specialty Siding Retailers: There are online retailers that specialize in siding and related products. These retailers often carry a wide range of vinyl siding replacement pieces to choose from. Examples include BuildDirect and The Home Depot’s online siding section.
4. Local Siding Suppliers: Reach out to local siding suppliers in your area. While they may not have an extensive online presence, they may be able to provide vinyl siding replacement pieces. Contact them via phone or email to inquire about their product offerings and availability.
Before making a purchase online, be sure to consider the following:
- Shipping Costs: Check for any potential shipping costs associated with the purchase. Depending on the size and weight of the replacement pieces, shipping fees can vary. Some retailers may offer free shipping promotions or discounts on larger orders.
- Return Policy: Review the return policy of the online retailer before finalizing your purchase. Ensure that you can return or exchange the replacement pieces if they do not meet your requirements or are damaged during transit.
- Customer Support: Look for online retailers that provide responsive customer support. In case you have questions or need assistance, a reliable customer support team can help address any concerns you may have.
When buying vinyl siding replacement pieces online, it’s important to compare prices, read customer reviews, and ensure the products meet your specific requirements. By doing so, you can find the right replacement pieces to refresh and maintain the beauty of your home’s exterior.
Online Retailers
When it comes to purchasing vinyl siding replacement pieces, online retailers offer a convenient and wide-ranging selection. Here is an overview of popular online retailers, along with the pros and cons of buying from them:
Overview of popular online retailers:
Amazon: As one of the largest online marketplaces, Amazon offers a wide selection of vinyl siding replacement pieces from various brands and sellers. It provides customer reviews and ratings to help you make an informed decision. Additionally, Amazon Prime members can take advantage of fast shipping and additional benefits.
eBay: eBay is known for its vast array of products, including vinyl siding replacement pieces. It connects buyers with sellers from around the world, allowing you to find unique items and potentially snag a good deal. However, it’s important to carefully review seller ratings and descriptions to ensure the quality and authenticity of the products.
The Home Depot: The Home Depot is a well-known home improvement retailer that offers an extensive online catalog, including a range of vinyl siding replacement pieces. It provides detailed product descriptions, customer reviews, and the option to check local availability for in-store pickup.
Lowe’s: Lowe’s is another major home improvement retailer that offers an online platform for purchasing vinyl siding replacement pieces. It provides a wide selection, competitive prices, and the ability to ship products directly to your doorstep or to a nearby store for convenient pickup.
Pros and cons of buying from online retailers:
Pros:
- Convenience: Online retailers allow you to browse and purchase replacement pieces from the comfort of your own home, at any time that suits you.
- Wide Selection: Online platforms offer a vast inventory of vinyl siding replacement pieces, giving you access to a variety of styles, colors, and brands.
- Customer Reviews: Online retailers often provide customer reviews and ratings, allowing you to gather insights and feedback on the quality and performance of the products.
- Competitive Prices: Online retailers frequently offer competitive pricing and may have promotions or discounts available, providing potential cost savings.
Cons:
- Shipping Costs: Depending on the retailer and the size of the replacement pieces, there may be shipping costs associated with your purchase.
- No Physical Inspection: When purchasing online, you cannot physically inspect or touch the replacement pieces before buying them, which may cause uncertainty regarding their quality.
- Delayed Delivery: Depending on your location and the retailer’s shipping policies, there may be a delay in receiving your replacement pieces.
Top online retailers for Vinyl Siding Replacement Pieces:
Considering the range of options available, some top online retailers for vinyl siding replacement pieces include Amazon, eBay, The Home Depot, and Lowe’s. These retailers offer a combination of convenience, extensive selection, and reliable customer reviews, making them popular choices for purchasing replacement pieces.
It’s important to compare prices, read customer reviews, and consider the pros and cons of each retailer before making a decision. By doing so, you can find the right online retailer for your vinyl siding replacement piece needs.
When looking to buy vinyl siding replacement pieces, consider visiting home improvement stores, contacting siding manufacturers, or searching online for suppliers that offer a variety of colors and styles to match your existing siding.
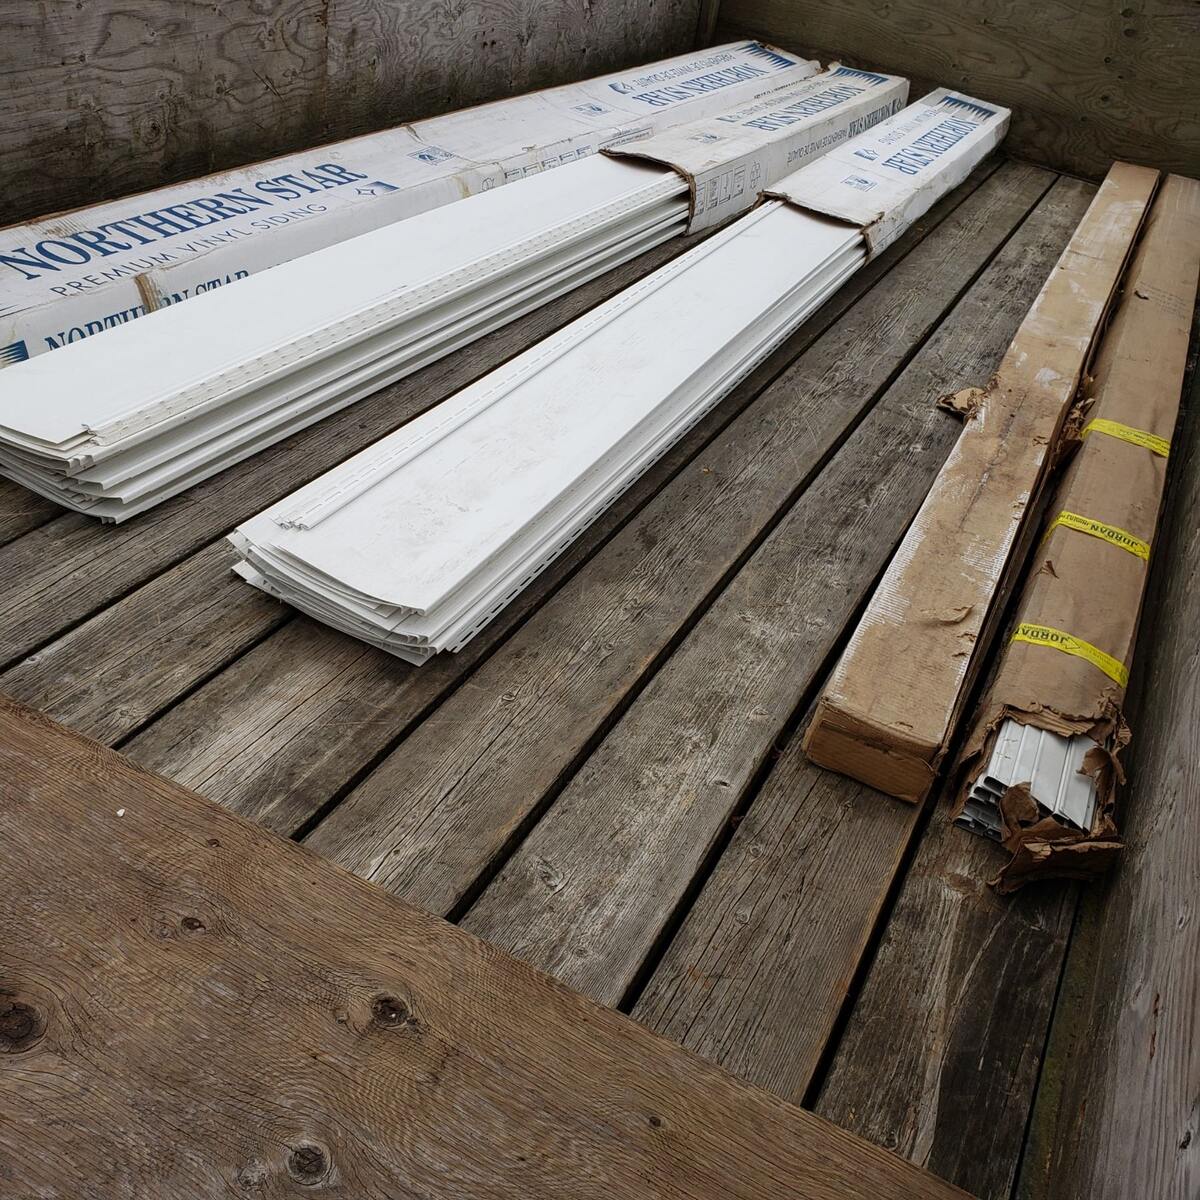
Home Improvement Stores
If you prefer a more hands-on approach when purchasing vinyl siding replacement pieces, home improvement stores are an excellent option. Here is an overview of major home improvement stores, along with the pros and cons of purchasing from them:
Overview of major home improvement stores:
The Home Depot: The Home Depot is one of the largest home improvement retailers in the world. They have a vast selection of vinyl siding replacement pieces available both in-store and online. With knowledgeable staff and detailed product information, The Home Depot is a go-to destination for many homeowners.
Lowe’s: Lowe’s is another well-known home improvement retailer that offers a wide range of vinyl siding replacement pieces. They provide a user-friendly shopping experience and often have in-store demonstrations and workshops for DIY enthusiasts.
Menards: Menards is a Midwest-based home improvement store chain known for its extensive selection and competitive prices. They carry vinyl siding replacement pieces from various brands and offer multiple options to suit different budgets and style preferences.
Pros and cons of purchasing from home improvement stores:
Pros:
- Physical Inspection: Home improvement stores allow you to physically examine the vinyl siding replacement pieces and assess their color, texture, and quality before making a purchase.
- Knowledgeable Staff: The staff at these stores are often trained and knowledgeable about their products. They can provide guidance and answer any questions you may have regarding the replacement pieces.
- Immediate Availability: Home improvement stores typically have replacement pieces in stock, allowing for immediate purchase and completion of your project without waiting for shipping.
- Additional Products and Services: Home improvement stores often offer additional services such as installation, cutting, and customization options for your vinyl siding replacement pieces.
Cons:
- Limited Selection: While home improvement stores carry a wide range of vinyl siding replacement pieces, their selection may not be as extensive as online retailers or specialty suppliers.
- Potential Crowds: Depending on the time and location, these stores can get crowded, which may require patience and additional time for your shopping experience.
- Less Price Transparency: In some cases, home improvement store prices may be higher compared to online retailers due to factors such as overhead costs associated with physical store operations.
Recommended home improvement stores for Vinyl Siding Replacement Pieces:
For vinyl siding replacement pieces, The Home Depot, Lowe’s, and Menards are highly recommended home improvement stores. These retailers provide a wide selection, knowledgeable staff, and additional services to help you find the right replacement pieces for your project.
It’s advisable to check their websites or call ahead to confirm the availability of the specific vinyl siding replacement pieces you require. Doing so will save you time and ensure you have a smooth and successful shopping experience at your chosen home improvement store.
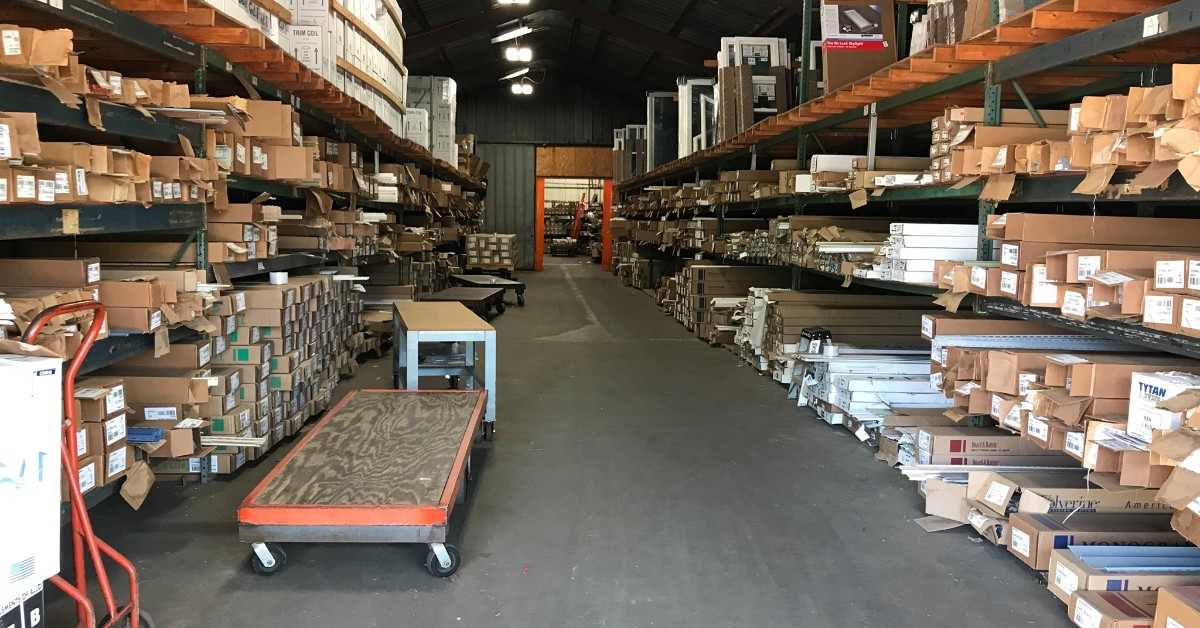
Local Siding Suppliers
When looking for vinyl siding replacement pieces, considering local siding suppliers can be advantageous. Here are the benefits of buying from local siding suppliers, the factors to consider when choosing them, and how to find reliable ones:
Benefits of buying from local siding suppliers:
- Expertise and Knowledge: Local siding suppliers often specialize in siding materials and have extensive knowledge of the products they carry. They can provide expert advice and guidance to help you find the right vinyl siding replacement pieces for your specific needs.
- Customization Options: Local suppliers may have the ability to customize vinyl siding replacement pieces to match your existing siding perfectly. This can include color matching, texture replication, and sizing adjustments.
- Convenience: Buying from a local supplier means you can easily visit their store or showroom to personally see and touch the replacement pieces. This allows you to assess their quality, color, and suitability before making a purchase.
- Supporting Local Businesses: By purchasing from local siding suppliers, you contribute to the growth of the local economy and support small businesses in your community.
Factors to consider when choosing local suppliers:
- Reputation and Reviews: Look for local suppliers with a good reputation and positive customer reviews. Ask for recommendations from friends, neighbors, or contractors who have previously interacted with them.
- Product Quality: Ensure that the local supplier offers high-quality vinyl siding replacement pieces that are durable, resistant to weather conditions, and have a long lifespan.
- Product Range: Check whether the supplier has a wide selection of replacement pieces in different styles, colors, and sizes. This ensures that you have multiple options to choose from.
- Customer Service: Consider the level of customer service provided by the local supplier. It’s important to work with professionals who are responsive, helpful, and willing to address any concerns or questions you may have.
- Pricing: Compare prices among different local suppliers to ensure that you are getting competitive rates for the vinyl siding replacement pieces. However, keep in mind that quality should not be compromised for the sake of a lower price.
How to find reliable local siding suppliers:
- Ask for Recommendations: Seek recommendations from friends, family, neighbors, or contractors who have previously worked with local siding suppliers. Their firsthand experiences can provide valuable insight into the reliability and quality of the suppliers.
- Online Research: Utilize online search engines and directories to find local siding suppliers in your area. Look for websites, social media pages, or online business listings that provide information about their products, services, and customer reviews.
- Visit Local Showrooms: Take the time to visit the showrooms or stores of potential local suppliers. This allows you to see their vinyl siding replacement pieces firsthand and evaluate the quality and range of their products.
- Consult Contractors: Contractors who specialize in siding installations often have established relationships with local suppliers. Seek recommendations from trusted contractors who can connect you with reliable local siding suppliers.
By considering these factors and following these steps, you can find reliable local siding suppliers to purchase vinyl siding replacement pieces from. Building a relationship with a local supplier can provide ongoing support and access to quality products for all your future siding needs.
Contractor Recommendations
If you’re looking for reliable sources of vinyl siding replacement pieces, consulting with contractors can be invaluable. Here’s why contractor recommendations are important, how to approach them for recommendations, and how to utilize their connections to source the replacement pieces you need:
Importance of consulting with contractors:
Contractors who specialize in siding installations have extensive experience working with various vinyl siding products, including replacement pieces. They have firsthand knowledge of the quality, compatibility, and durability of different brands and suppliers. Consulting with contractors can provide valuable insights and recommendations to help you find the right vinyl siding replacement pieces for your project.
How to approach contractors for recommendations:
- Research and Shortlist Contractors: Start by researching local contractors who specialize in siding installations and have a good reputation. Look for customer reviews, ratings, and examples of their past work. Create a shortlist of contractors you feel confident in contacting.
- Contact Contractors: Reach out to the contractors on your shortlist and express your interest in purchasing vinyl siding replacement pieces. Schedule a consultation where you can discuss your specific needs, ask questions, and seek their recommendations.
- Ask for Product Recommendations: During the consultation, ask the contractors for their recommendations regarding vinyl siding replacement pieces. They can provide guidance on brands, styles, colors, and suppliers based on their professional knowledge and experience.
- Understand Installation Compatibility: Contractors can also advise you on the compatibility of various replacement pieces with your existing siding and the installation process. They can help you find options that will seamlessly integrate with your current siding system.
Utilizing contractor connections to source Vinyl Siding Replacement Pieces:
Contractors often have established relationships with local suppliers, distributors, or manufacturers. You can utilize these connections to source high-quality vinyl siding replacement pieces. Here’s how:
- Ask for Supplier Recommendations: Contractors can recommend reliable local suppliers or wholesalers where you can find the specific replacement pieces you need. They may have firsthand experience working with these suppliers and can vouch for their quality and customer service.
- Request Assistance with Ordering: Contractors may be willing to help you with the ordering process, especially if they have a professional account with suppliers. They can guide you through the steps, ensure accurate measurements, and make sure you receive the correct vinyl siding replacement pieces.
- Bulk Purchasing: Contractors often purchase siding materials in bulk for their projects. They may be able to include your replacement pieces in their order, which can potentially provide cost savings or discounts due to the larger quantity.
By consulting with contractors, you can tap into their expertise, leverage their professional connections, and ensure that you find reliable sources for your vinyl siding replacement pieces. Building a relationship with a trusted contractor can provide ongoing support throughout your siding project and help you make informed decisions about your replacement needs.
Conclusion: Making an informed decision when purchasing Vinyl Siding Replacement Pieces
When it comes to purchasing vinyl siding replacement pieces, it’s important to make an informed decision that aligns with your specific needs and budget. By considering various factors and exploring different purchasing options, you can find the right replacement pieces to maintain the beauty and integrity of your home’s exterior. Here’s a recap of key points to help you in this process:
Firstly, recognize the necessity of vinyl siding replacement pieces. They help you maintain a consistent look, preserve the structural integrity of your home, improve energy efficiency, and offer convenience and cost savings.
Before purchasing, consider essential factors such as color and style, size and shape, thickness and quality, manufacturer’s warranty, budget, installation method, availability, and compatibility with your existing siding.
Next, explore where to buy vinyl siding replacement pieces online. Online retailers like Amazon, eBay, and The Home Depot offer convenience, a wide selection, customer reviews, and competitive pricing. Manufacturer websites and specialty siding retailers are also viable options.
Home improvement stores like The Home Depot, Lowe’s, and Menards provide the advantage of physical inspection, knowledgeable staff, immediate availability, and additional products and services.
Local siding suppliers offer the benefits of expertise, customization options, convenience, and the opportunity to support local businesses. Consider their reputation, product quality, range, customer service, and pricing when choosing them.
Contractor recommendations are vital as they provide industry expertise, product recommendations, guidance on installation compatibility, and access to their connections with reliable suppliers. Approach contractors, ask for their recommendations, and utilize their connections to source your vinyl siding replacement pieces.
In conclusion, by considering all of these factors and options, you can make an informed decision when purchasing vinyl siding replacement pieces. Whether you choose to browse online, visit home improvement stores, explore local suppliers, seek contractor recommendations, or a combination of these, take the time to gather information, compare options, and select the best option that meets your specific requirements. With the right vinyl siding replacement pieces, you can enhance the beauty and longevity of your home’s exterior, ensuring a welcoming and durable facade for years to come.
Frequently Asked Questions about Where To Buy Vinyl Siding Replacement Pieces
Was this page helpful?
At Storables.com, we guarantee accurate and reliable information. Our content, validated by Expert Board Contributors, is crafted following stringent Editorial Policies. We're committed to providing you with well-researched, expert-backed insights for all your informational needs.

0 thoughts on “Where To Buy Vinyl Siding Replacement Pieces”