Articles
How Do You Hook Up A Ring Doorbell
Modified: October 21, 2024
Learn how to hook up a Ring Doorbell with our informative articles. Find step-by-step guides and troubleshooting tips for setting up your home security.
(Many of the links in this article redirect to a specific reviewed product. Your purchase of these products through affiliate links helps to generate commission for Storables.com, at no extra cost. Learn more)
Introduction
Welcome to this comprehensive guide on how to hook up a Ring Doorbell! Installing a Ring Doorbell can provide you with added security and convenience for your home. Whether you’re a tech-savvy individual or new to the world of smart home devices, this article will walk you through the step-by-step process of connecting and setting up your Ring Doorbell.
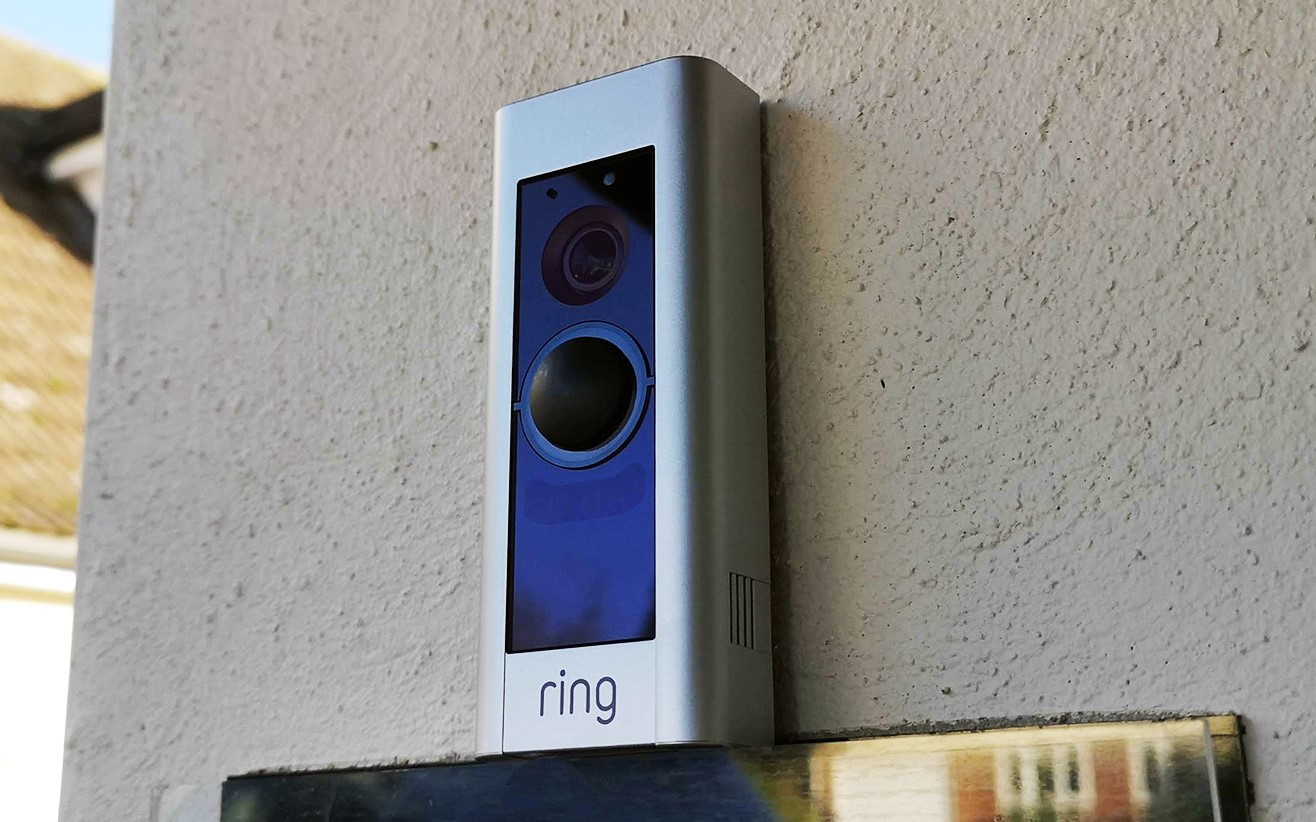
The Ring Doorbell is a wireless device that allows you to monitor and interact with anyone who approaches your front door. It has a built-in camera, two-way audio, and motion detection capabilities, making it an incredibly useful tool for home security. By following the instructions in this guide, you’ll be able to install and configure your Ring Doorbell easily.
Before we dive into the installation process, let’s quickly go over some benefits of having a Ring Doorbell:
- Increased security: With a Ring Doorbell, you can see and communicate with visitors even when you’re not at home. This added layer of security can help to deter potential intruders.
- Convenience: You can receive real-time alerts on your smartphone whenever someone rings the doorbell or when motion is detected. This means you don’t have to be near the door to know when someone is there.
- Video recording: The Ring Doorbell allows you to record and store videos of any activity that occurs near your front door. This can be helpful in providing evidence in case of a break-in or any other suspicious activity.
- Integration with other smart home devices: The Ring Doorbell can be integrated with other smart home devices, such as smart locks and security systems, allowing for seamless automation and control.
Now that you understand the benefits, let’s get started with the installation process. Don’t worry if you’re not tech-savvy – we’ll guide you through each step to ensure a successful setup.
Key Takeaways:
- Setting up a Ring Doorbell involves gathering tools, charging the device, downloading the Ring app, connecting to Wi-Fi, mounting securely, customizing settings, and troubleshooting. Enjoy added security and convenience with this comprehensive guide.
- By following the step-by-step process, you can confidently install and customize your Ring Doorbell, ensuring optimal functionality. Stay connected to your front door and enjoy peace of mind with this powerful home security feature.
Read more: How Do You Set Up Ring Doorbell
Step 1: Gather the necessary tools and materials
Before you begin installing your Ring Doorbell, it’s essential to gather all the necessary tools and materials. Having everything prepared will make the installation process go smoothly. Here’s what you’ll need:
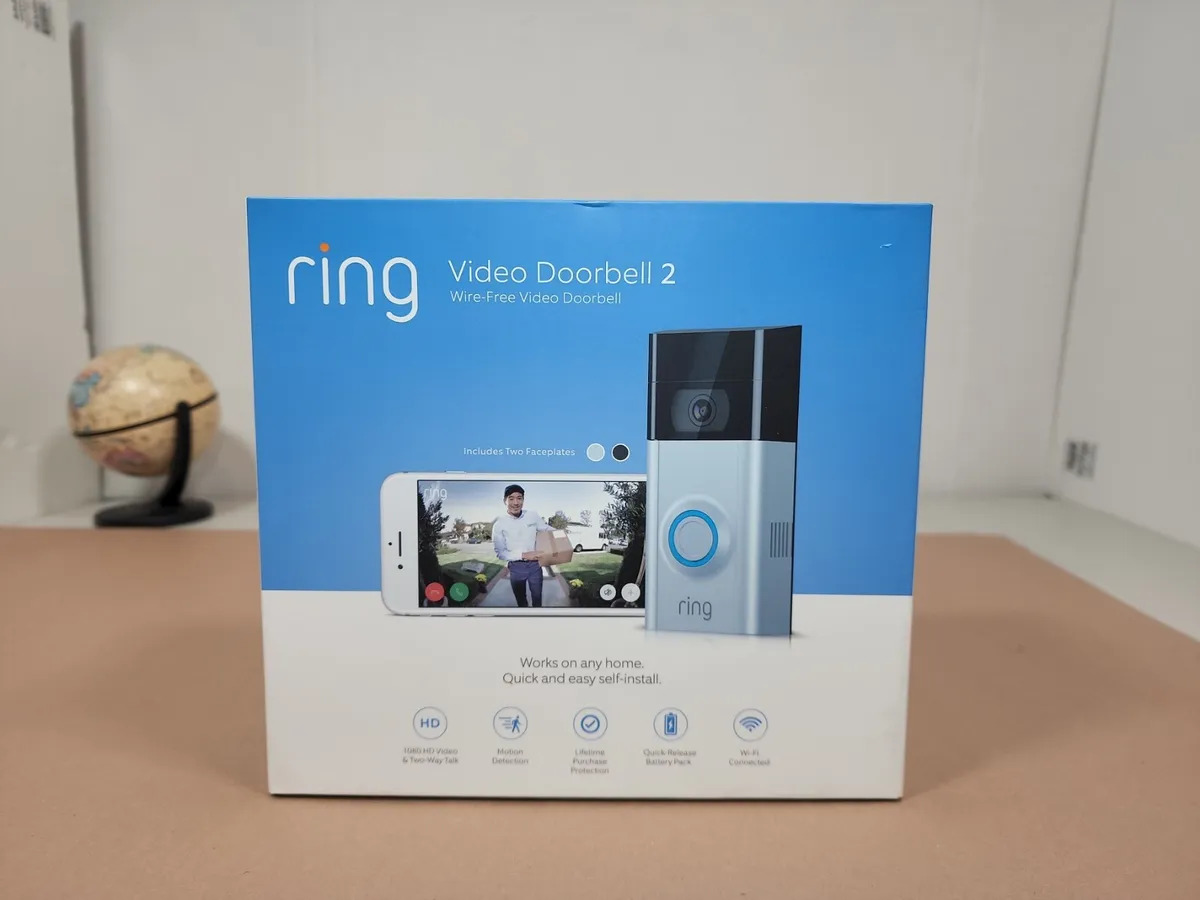
- Ring Doorbell: Make sure you have your Ring Doorbell device with you. If you haven’t purchased one yet, ensure you choose the model that suits your needs.
- Smartphone or tablet: You’ll need a smartphone or tablet to download and install the Ring app, which is essential for setting up and configuring the doorbell.
- Steady ladder or step stool: Since you’ll be mounting the doorbell near your front door, make sure you have a stable ladder or step stool to reach the installation point comfortably.
- Drill and screwdriver: Depending on the type of wall or surface where you’ll be mounting the doorbell, you may need a drill and screwdriver to secure it properly.
- Screws and wall anchors: If the mounting surface requires additional support, make sure you have screws and wall anchors that are suitable for the material (e.g., brick, wood, concrete).
- Level: To ensure that the doorbell is mounted evenly and straight, it’s helpful to have a level available. This tool will help you achieve a professional-looking installation.
- Charging cable and power source: If your Ring Doorbell model requires charging, have a charging cable and power source ready. This will ensure that the device has enough power during the setup process.
- Wi-Fi network details: To connect your Ring Doorbell to your home Wi-Fi network, you’ll need the network name (SSID) and password. Make sure you have these details on hand.
By gathering these tools and materials beforehand, you’ll have everything you need to complete the installation smoothly. Now that you’re prepared let’s move on to the next step: charging the Ring Doorbell.
Step 2: Charge the Ring Doorbell
Charging your Ring Doorbell is an important step before installation. Depending on the model you have, the doorbell may come with a built-in battery that needs charging or it may be hardwired to your existing doorbell wiring. Here’s how to charge your Ring Doorbell:
- If your Ring Doorbell has a removable battery:
- Insert the provided charging cable into the micro USB port on the back of the doorbell.
- Connect the other end of the cable to a power source, such as a wall outlet or a USB port on your computer.
- Allow the doorbell to charge until the battery reaches full capacity. This process may take a few hours.
- Once fully charged, disconnect the charging cable from the doorbell.
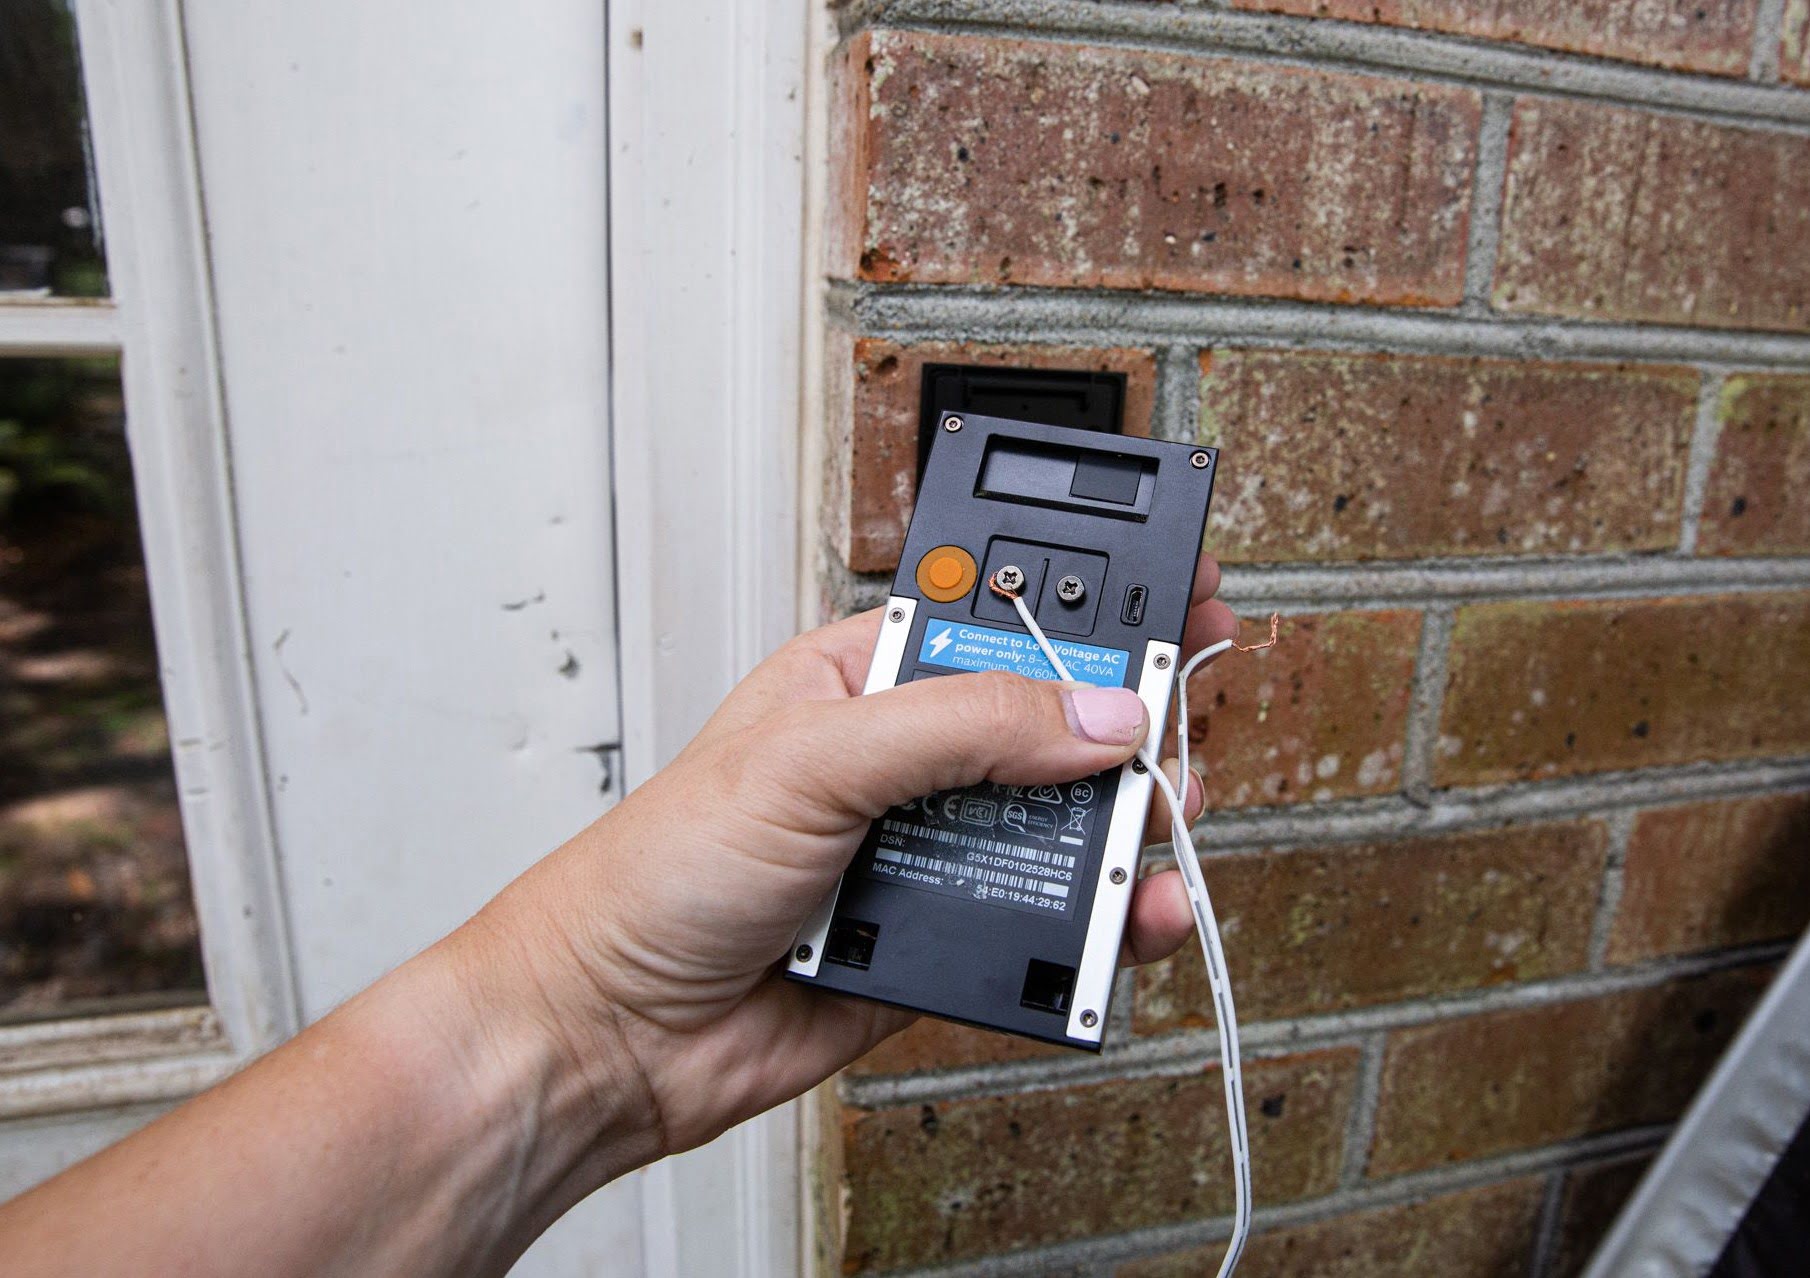
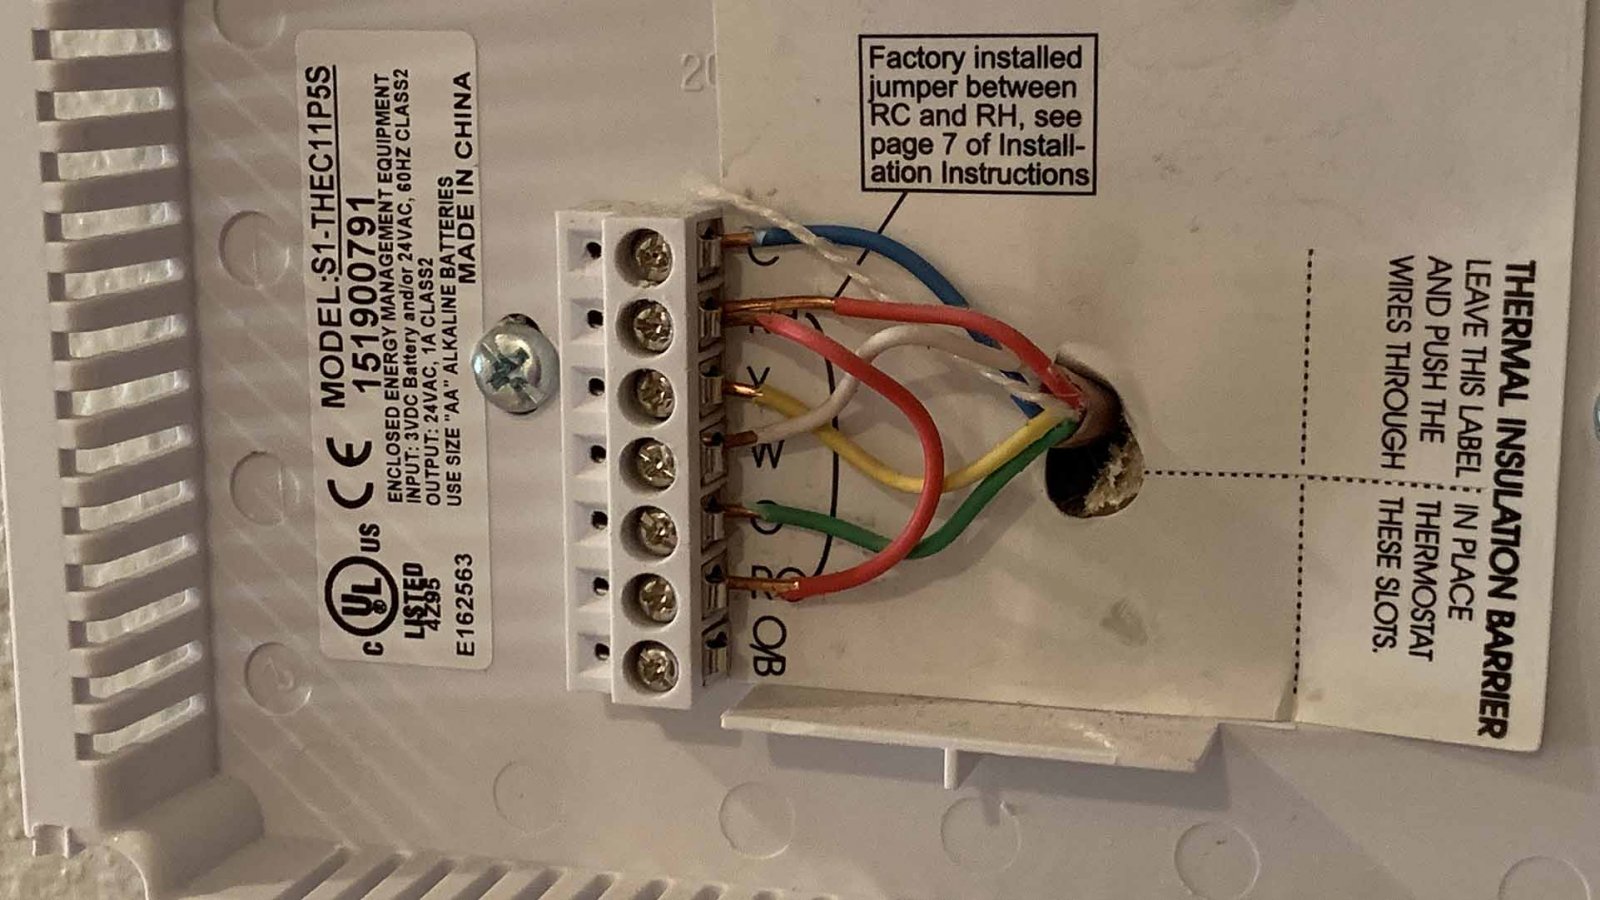
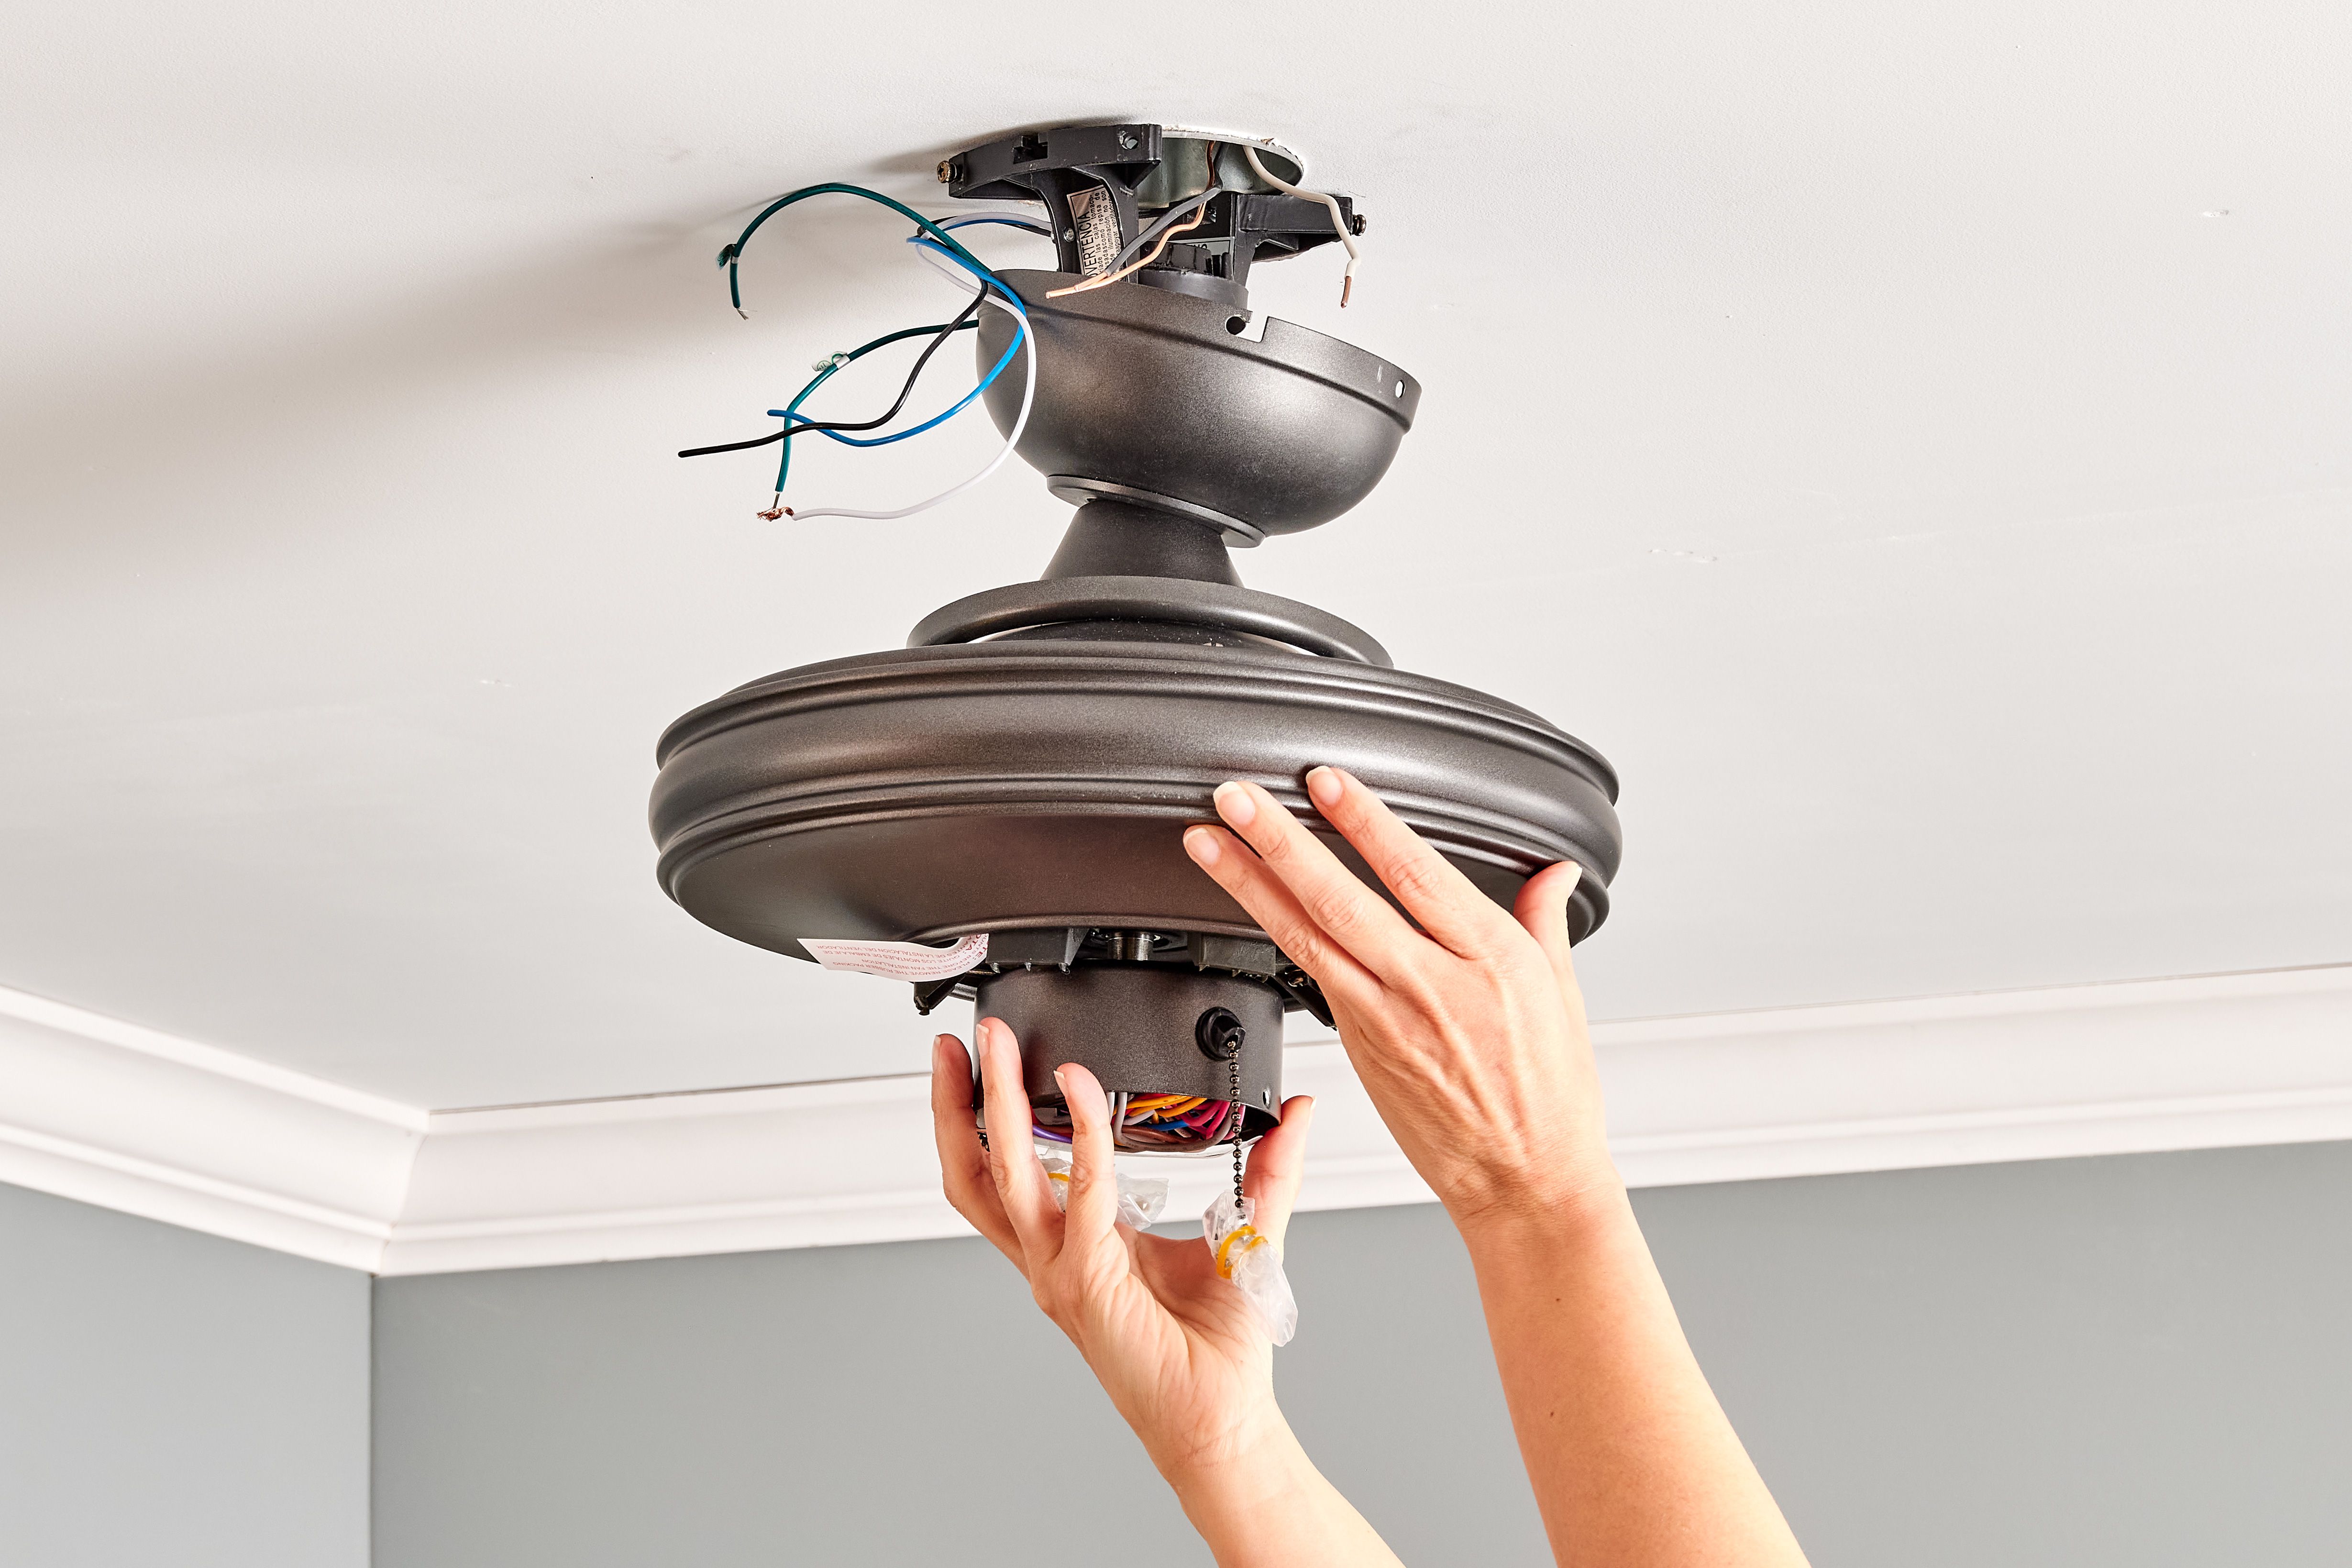
- If your Ring Doorbell is hardwired:
- Turn off the power to your existing doorbell at the circuit breaker.
- Remove your existing doorbell, taking note of how it was wired.
- Connect the two wires from your doorbell’s wiring to the terminals on the back of the Ring Doorbell.
- Secure the doorbell to the mounting bracket.
- Turn the power back on at the circuit breaker, and your Ring Doorbell will start receiving power.
It’s important to note that the specific charging method may vary depending on the model of your Ring Doorbell. Consult the user manual or the Ring website for detailed instructions specific to your device.
By ensuring that your Ring Doorbell is fully charged or properly connected to a power source, you’ll have enough power for the setup process and the continuous operation of your doorbell in the future. Once your doorbell is charged, it’s time to move on to the next step: downloading and installing the Ring app.
Step 3: Download and install the Ring app
To set up and configure your Ring Doorbell, you’ll need to download and install the Ring app on your smartphone or tablet. The Ring app is available for both iOS and Android devices. Follow these steps to download and install the app:
- On your smartphone or tablet, open the App Store (for iOS) or the Google Play Store (for Android).
- In the search bar, type “Ring” and tap on the official Ring app from Ring.com.
- Tap on the “Install” or “Get” button to download and install the app on your device.
- Once the installation is complete, open the Ring app from your device’s home screen.
After opening the Ring app, you’ll be prompted to create a new account or log in to an existing one. If you already have a Ring account, simply enter your login credentials. If you’re new to Ring, follow the on-screen instructions to create a new account.
Once you’ve logged in or created a new account, the app will guide you through the setup process. Make sure your smartphone or tablet is connected to the Wi-Fi network you want to use with your Ring Doorbell.
At this stage, the Ring app will automatically search for and detect your Ring Doorbell. Follow the on-screen prompts to complete the pairing process between your device and the doorbell. This usually involves scanning a QR code located on the back of the doorbell.
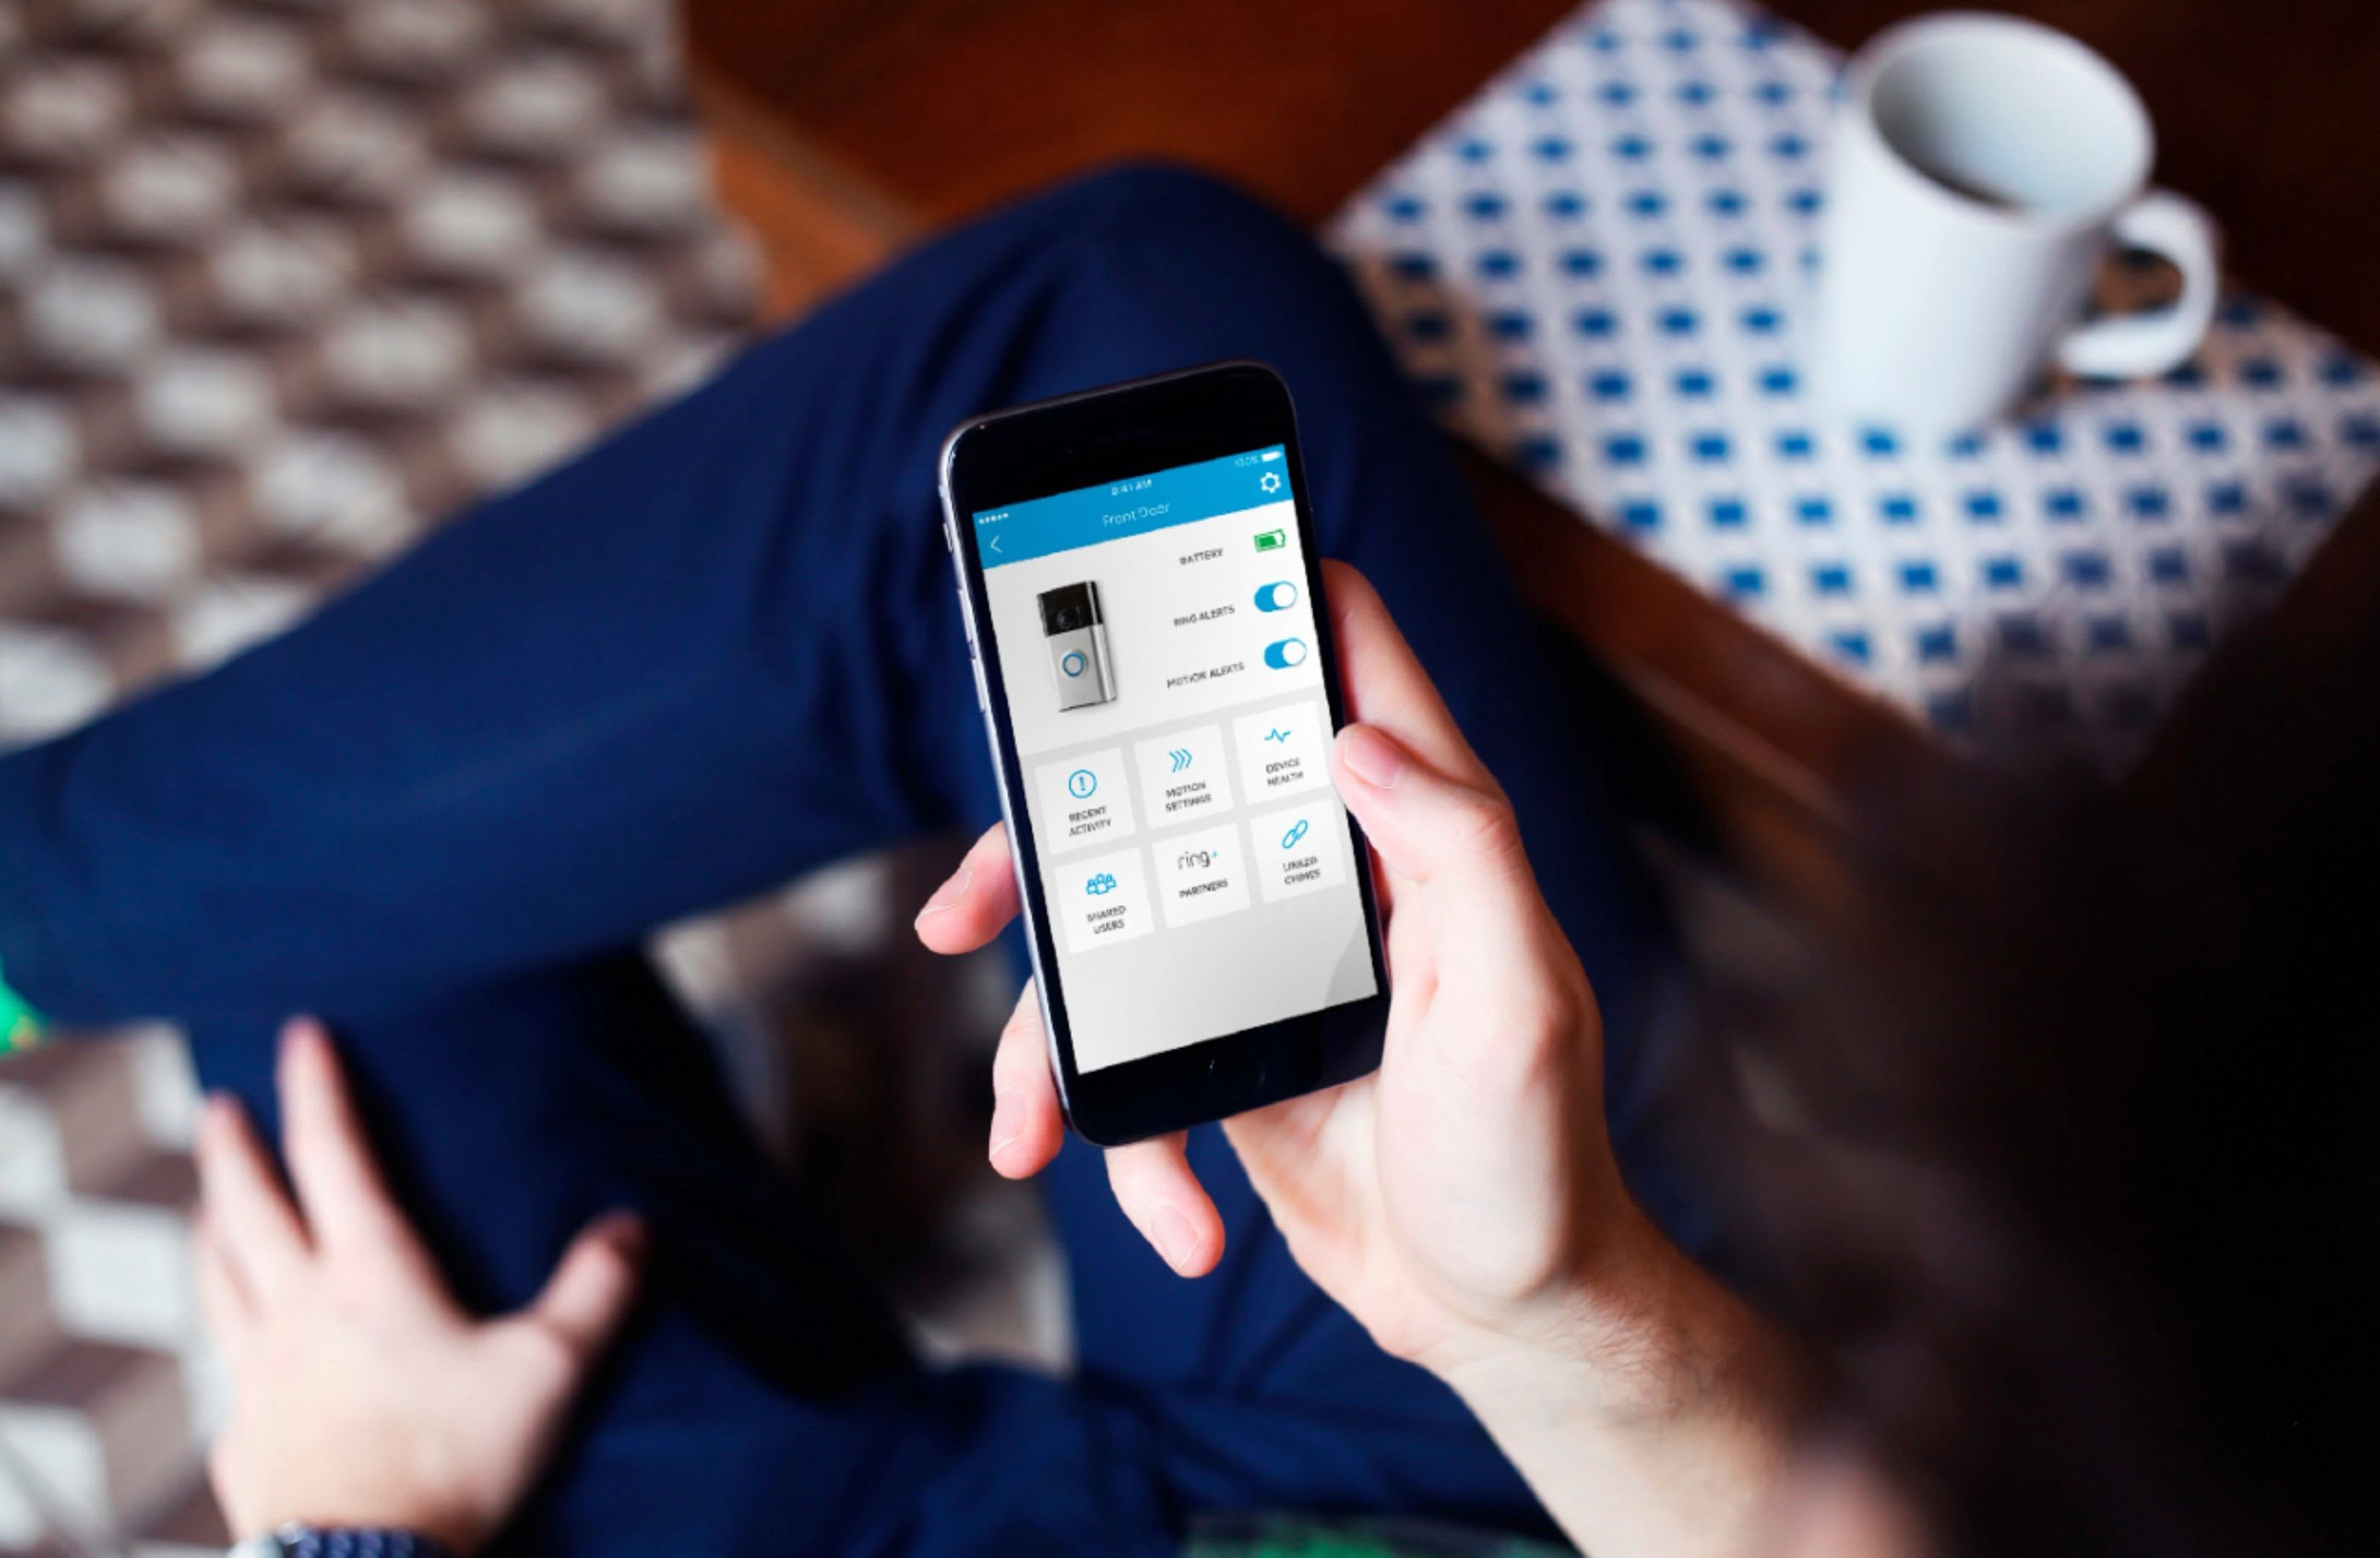
Once your Ring Doorbell is successfully paired with the app, you’ll be able to access its settings and customize various features. This includes adjusting motion detection sensitivity, setting up notifications, and managing your account preferences.
By downloading and installing the Ring app, you’ll have a user-friendly interface to control and monitor your Ring Doorbell. With the app installed and your doorbell paired, it’s time to proceed to the next step: connecting your Ring Doorbell to Wi-Fi.
Step 4: Connect the Ring Doorbell to Wi-Fi
Now that you have the Ring app installed on your smartphone or tablet, it’s time to connect your Ring Doorbell to your home Wi-Fi network. Follow these steps to establish a wireless connection:
- Open the Ring app on your device and log in to your account, if you haven’t done so already.
- In the app, tap on the “Set Up a Device” button, usually found on the home screen or in the settings menu.
- Select “Doorbells” as the device type you’re setting up.
- Choose your Ring Doorbell model from the list of available options.
- Follow the on-screen prompts to enter the necessary information, such as your location and doorbell’s name.
- When prompted, select the Wi-Fi network you want to connect your Ring Doorbell to. Enter the network password if required.
- Wait for the Ring Doorbell to connect to the Wi-Fi network. This process may take a few moments.
- Once the connection is established, you’ll see a confirmation message on the app.
It’s important to note that during the Wi-Fi setup process, make sure your smartphone or tablet stays within the range of your Wi-Fi network. A weak connection may cause issues during the setup.
By connecting your Ring Doorbell to your home Wi-Fi network, you’ll be able to access its live feed, receive notifications on your mobile device, and remotely interact with visitors. This wireless connection is a crucial step in fully utilizing the features of your Ring Doorbell.
Now that you’ve successfully connected your Ring Doorbell to Wi-Fi, it’s time to move on to the next step: mounting the doorbell at your desired location.
Read more: How To Hook Up A Doorbell
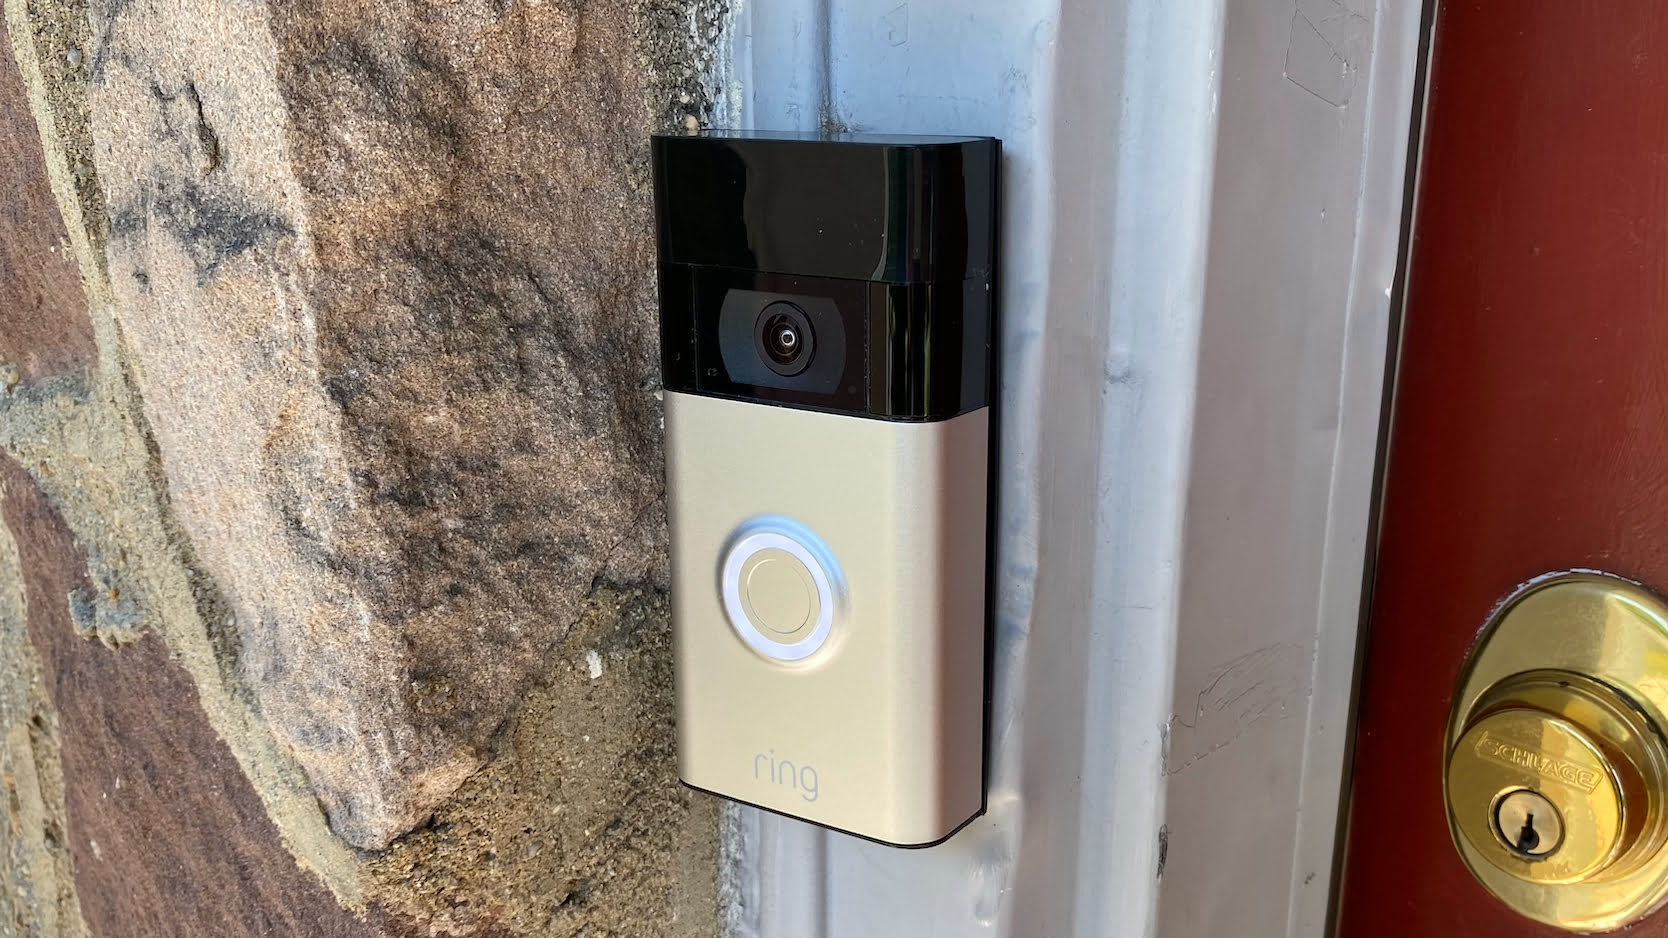
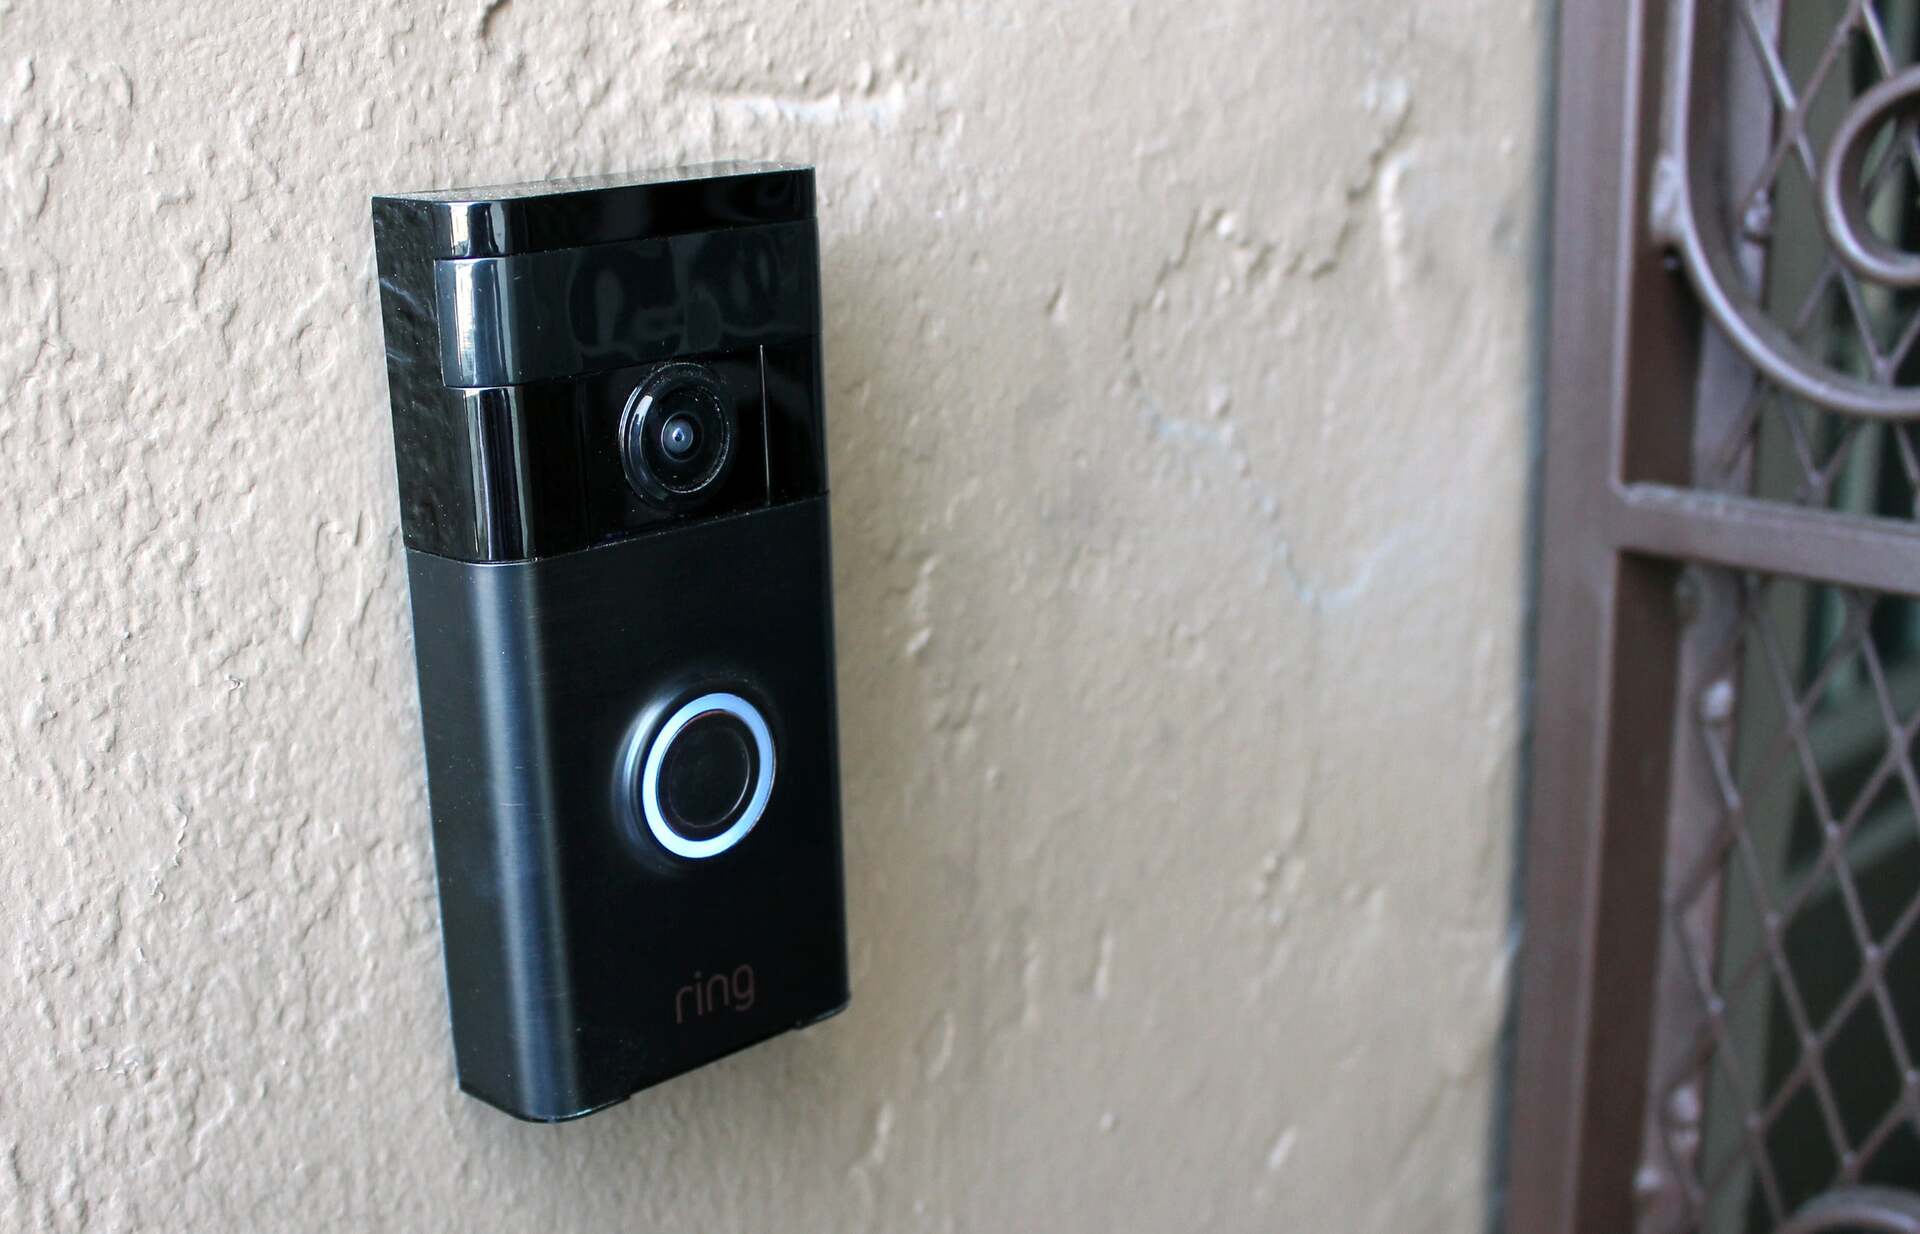
Step 5: Mount the Ring Doorbell
With your Ring Doorbell connected to Wi-Fi, it’s time to mount it at your desired location. Follow these steps to ensure a secure and stable installation:
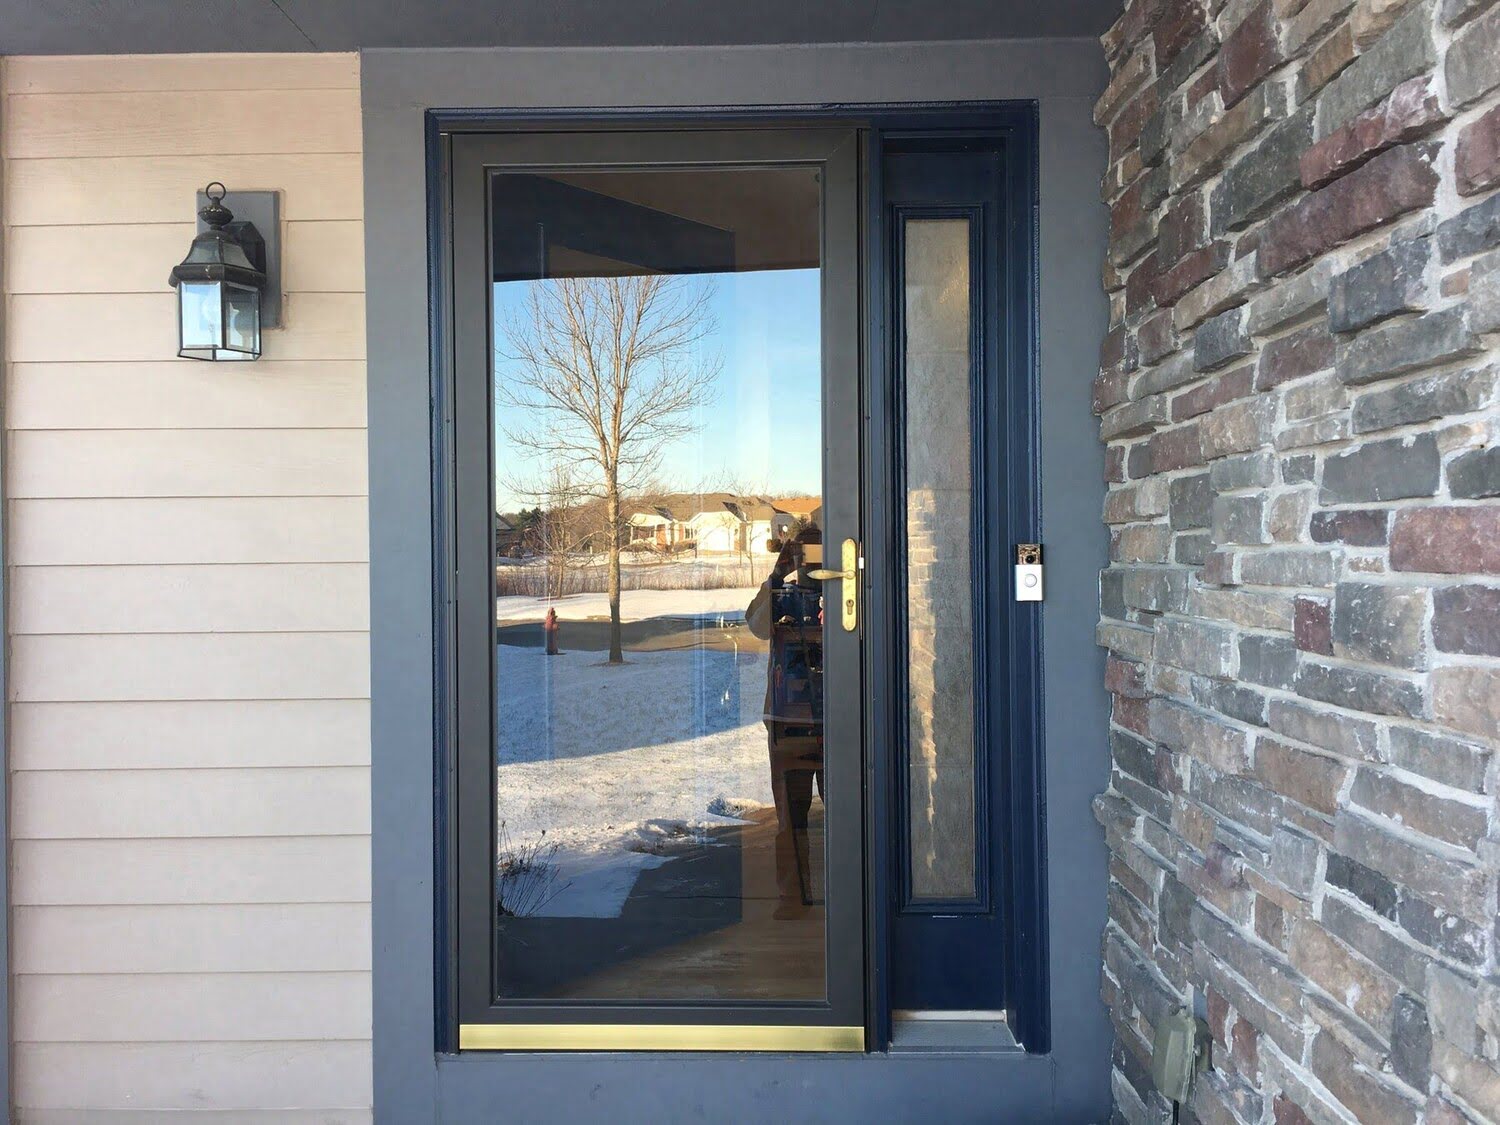
- Choose the optimal location for your Ring Doorbell. It should provide a clear view of your front door and any other areas you want to monitor.
- Hold your Ring Doorbell against the wall or door trim, making sure it’s level.
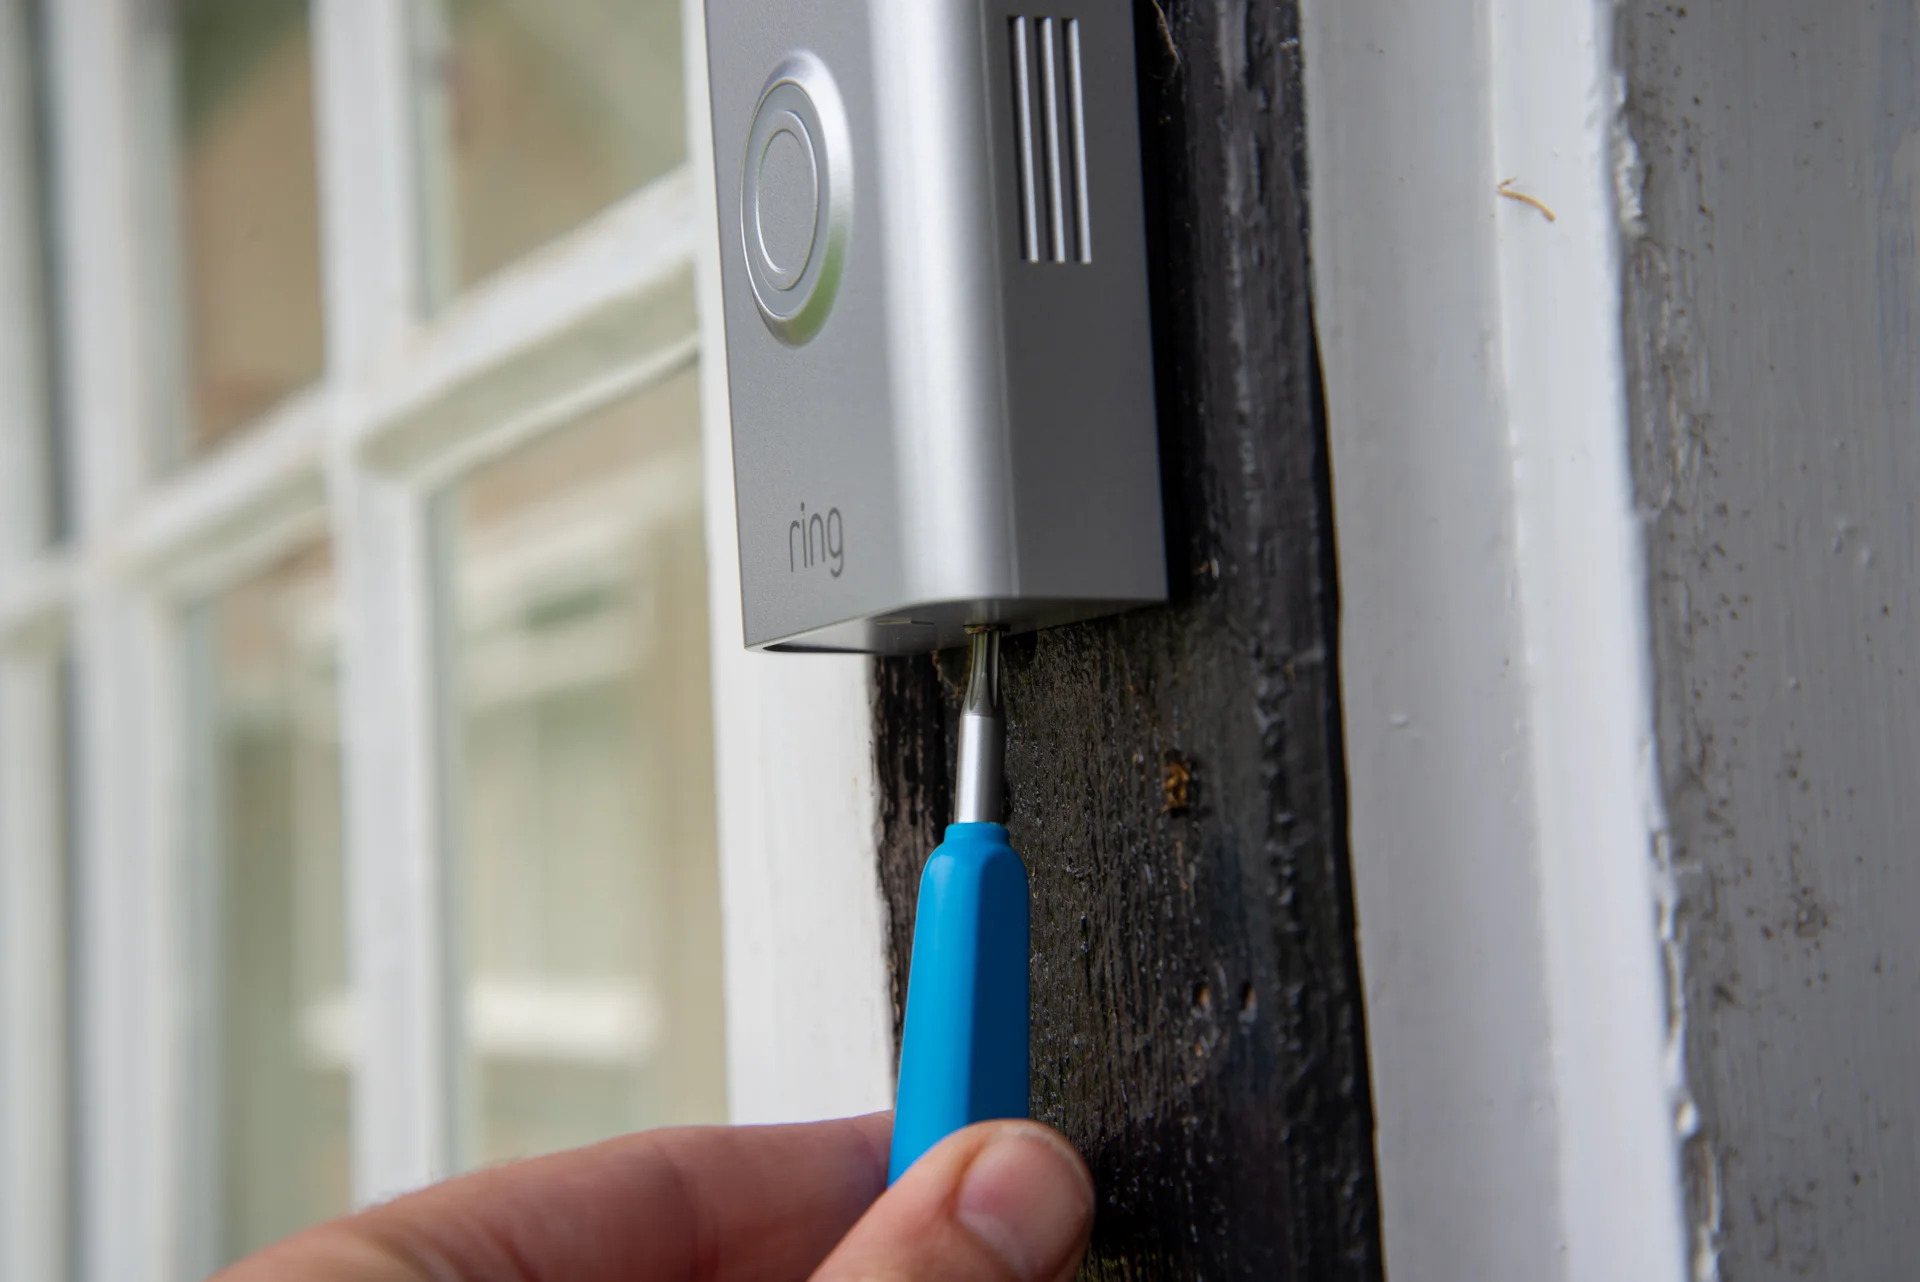
- Using a pencil or marker, mark the positions of the mounting holes on the wall or trim.
- Depending on your wall surface, use a drill to create pilot holes for the mounting screws. If necessary, use wall anchors to provide additional support.
- Align the holes on the back of the Ring Doorbell with the pilot holes on the wall.
- Securely attach the doorbell to the wall using the provided screws.
- Ensure that the doorbell is firmly mounted and level. Adjust if necessary.
When mounting your Ring Doorbell, consider these tips for optimal performance:
- Mount the doorbell at a height that allows for clear visibility without being too high or too low.
- Make sure there are no obstructions, such as plants or decorations, that could interfere with the doorbell’s view or motion detection.
- If possible, angle the doorbell slightly downward for a better view of visitors approaching your front door.
- Ensure that the location you choose has a strong Wi-Fi signal for uninterrupted connectivity.
Once your Ring Doorbell is securely mounted, give it a gentle tug to ensure it’s properly attached. A secure mounting will help to prevent the doorbell from falling or becoming loose over time.
With your Ring Doorbell mounted, it’s time to move on to the next step: setting up motion detection and notifications.
When hooking up a Ring doorbell, make sure to follow the installation instructions carefully, ensure a strong Wi-Fi connection, and use the provided tools for mounting.
Step 6: Set up motion detection and notifications
Setting up motion detection and notifications for your Ring Doorbell is crucial for staying aware of any activity or visitors near your front door. Follow these steps to customize your motion settings and receive notifications:
- Open the Ring app on your smartphone or tablet and log in to your account.
- Select your Ring Doorbell from the list of devices.
- Tap on “Device Settings” or a similar option to access the settings for your doorbell.
- Choose “Motion Settings” or a similar option to configure your motion detection preferences.
- Adjust the sensitivity of the motion detection to your preferences. Higher sensitivity levels may result in more frequent notifications, while lower sensitivity levels may cause fewer notifications.
- Specify the area you want to monitor for motion detection by drawing zones on the screen. This helps to minimize false alerts triggered by irrelevant movement.
- Enable or disable specific notifications based on your preferences. You can choose to receive alerts for motion detection, doorbell presses, or both.
- Customize your notification preferences, such as receiving push notifications, email alerts, or even integrating with other smart devices in your home.
It’s important to fine-tune your motion detection and notification settings to minimize unnecessary alerts while ensuring that you receive timely notifications for important events. Regularly review and adjust these settings based on your needs and the specific environment around your front door.
By setting up motion detection and notifications, you’ll be instantly notified whenever someone approaches your front door, allowing you to monitor and respond to any activity in real-time.
With motion detection and notifications configured, it’s time to move on to the next step: testing the functionality of your Ring Doorbell.
Step 7: Test the Ring Doorbell functionality
After setting up your Ring Doorbell, it’s important to test its functionality to ensure everything is working as expected. Follow these steps to perform a quick test of your doorbell:
- Stand in front of your Ring Doorbell and press the doorbell button to trigger a notification on your mobile device.
- Verify that you receive a notification on your smartphone or tablet, indicating that someone is at your door.
- Tap on the notification to open the Ring app and view the live video feed from your doorbell camera.
- Engage in a two-way conversation with the person at your door using the app’s audio feature. Make sure the audio quality is clear and understandable.
- Test the motion detection feature by walking in front of the doorbell and verifying that you receive notifications for detected motion.
- Check the recorded video footage in the Ring app to ensure that video recordings are saved properly and can be accessed.
- Verify that any additional features or integrations, such as smart home automation or linking with other devices, are functioning correctly.
Performing these tests will give you confidence that your Ring Doorbell is operating as intended. If you encounter any issues during the testing process, consult the troubleshooting section or the Ring support documentation for assistance.
Remember to periodically test your Ring Doorbell’s functionality to ensure that it continues to work optimally and that you stay aware of any activity near your front door.
With the functionality of your Ring Doorbell tested and verified, it’s time to move on to the next step: customizing additional settings to enhance your experience.
Step 8: Customize additional settings
Once you have tested the basic functionality of your Ring Doorbell, you can further enhance your experience by customizing additional settings. Here are some settings you can personalize to meet your specific needs:
- Video recording settings: Adjust the video recording settings to control the length and quality of your video recordings. You can choose between different video quality options and set the duration of each recorded video.
- Privacy settings: Customize your privacy settings to control when and where your Ring Doorbell records and detects motion. This allows you to fine-tune its sensitivity and make sure it respects your privacy.
- Sharing and access settings: Manage who has access to your Ring Doorbell and its video recordings. You can grant access to family members or authorize other individuals to view the camera feed or receive notifications.
- Ring Chime settings: If you have a Ring Chime or Ring Chime Pro, you can adjust the chime settings to select different tones or adjust the volume level.
- Integration with smart home devices: Explore the possibilities of integrating your Ring Doorbell with other smart home devices. This may include syncing it with smart locks, lights, or security systems for enhanced automation and convenience.
- Shared users and guest access: If you want to provide temporary or limited access to your Ring Doorbell, you can invite guests or shared users through the Ring app. This is useful if you’re going on vacation or have service professionals coming to your home.
By customizing these additional settings, you can tailor your Ring Doorbell experience to fit your specific preferences and needs. The Ring app provides a user-friendly interface to easily access and adjust these settings, allowing you to fully optimize your smart doorbell.
Now that you’ve customized the additional settings, it’s time to move on to the final step: troubleshooting common issues that may arise with your Ring Doorbell.
Read more: How Do You Reset A Ring Doorbell
Step 9: Troubleshooting common issues
While setting up and using your Ring Doorbell, you may encounter some common issues. Here are a few troubleshooting tips to help you resolve these issues:
- Wi-Fi connectivity problems: If your Ring Doorbell is having trouble connecting to your Wi-Fi network, ensure that you’re within range of the router and that your network signal is strong. You can also try resetting your Wi-Fi router or restarting your doorbell.
- Insufficient battery life: If your Ring Doorbell is battery-powered and you notice the battery draining quickly, make sure it’s charged adequately. Consider adjusting motion detection settings or reducing the number of alerts to conserve battery life.
- Video quality issues: If you’re experiencing poor video quality or lag, check your Wi-Fi signal strength. You can also adjust the video quality settings in the Ring app. If the issue persists, contact Ring support for further assistance.
- False motion alerts: If your Ring Doorbell is sending too many false motion alerts, adjust the motion sensitivity and motion detection zones. Ensure that there are no obstructions or moving objects triggering the alerts.
- Audio issues: If you’re having trouble hearing or communicating through the two-way audio feature, check the microphone and speaker settings in the Ring app. If the problem persists, ensure that there are no obstructions blocking the microphone or speaker.
- App-related problems: If you’re experiencing issues with the Ring app, such as crashes or connectivity problems, try reinstalling the app or updating to the latest version. If the issue persists, contact Ring support for further assistance.
If you encounter any issues beyond what’s mentioned above, refer to the Ring support documentation or reach out to their customer support for further assistance. They are equipped to help you troubleshoot and resolve any technical issues you may encounter.
By following these troubleshooting steps, you can address common issues and ensure that your Ring Doorbell continues to function smoothly, providing you with the security and convenience you need.
Now that you’re equipped with troubleshooting knowledge, you’re all set to enjoy the benefits of your Ring Doorbell with confidence and peace of mind!
Remember to periodically review and update your settings as needed, and stay up to date with any firmware or app updates released by Ring for the best experience.
With the troubleshooting steps covered, you’ve completed all the necessary steps to successfully hook up your Ring Doorbell. Congratulations!
Conclusion
Congratulations on successfully hooking up your Ring Doorbell! By following the steps outlined in this comprehensive guide, you have now set up a powerful security and convenience feature for your home. With its built-in camera, motion detection capabilities, and two-way audio, your Ring Doorbell will provide you with peace of mind and enhanced control over your front door.
Throughout the installation process, you learned how to gather the necessary tools and materials, charge the doorbell, download and install the Ring app, connect the doorbell to Wi-Fi, mount it securely, set up motion detection and notifications, customize additional settings, troubleshoot common issues, and ensure the doorbell’s functionality.
Remember to regularly test and maintain your Ring Doorbell to keep it functioning optimally and to adjust the settings to suit your specific needs. The Ring app provides you with a user-friendly interface to control and monitor your doorbell conveniently from your smartphone or tablet.
As you enjoy the benefits of your Ring Doorbell, take comfort in knowing that you now have an additional layer of security for your home. By receiving notifications, viewing live video feeds, and engaging in two-way conversations, you can stay connected to your front door even when you’re away.
In the event of any technical difficulties or questions, refer to the Ring support documentation or contact their customer support for assistance. They are dedicated to helping you make the most of your Ring Doorbell.
Thank you for choosing Ring and for investing in the safety and convenience of your home. Enjoy your Ring Doorbell and seize the peace of mind it brings!
Frequently Asked Questions about How Do You Hook Up A Ring Doorbell
Was this page helpful?
At Storables.com, we guarantee accurate and reliable information. Our content, validated by Expert Board Contributors, is crafted following stringent Editorial Policies. We're committed to providing you with well-researched, expert-backed insights for all your informational needs.


0 thoughts on “How Do You Hook Up A Ring Doorbell”