Articles
How Do You Charge A Ring Doorbell
Modified: March 1, 2024
Discover the best articles on how to charge a Ring Doorbell. Get step-by-step instructions and expert tips to ensure your device is always powered up efficiently.
(Many of the links in this article redirect to a specific reviewed product. Your purchase of these products through affiliate links helps to generate commission for Storables.com, at no extra cost. Learn more)
Introduction
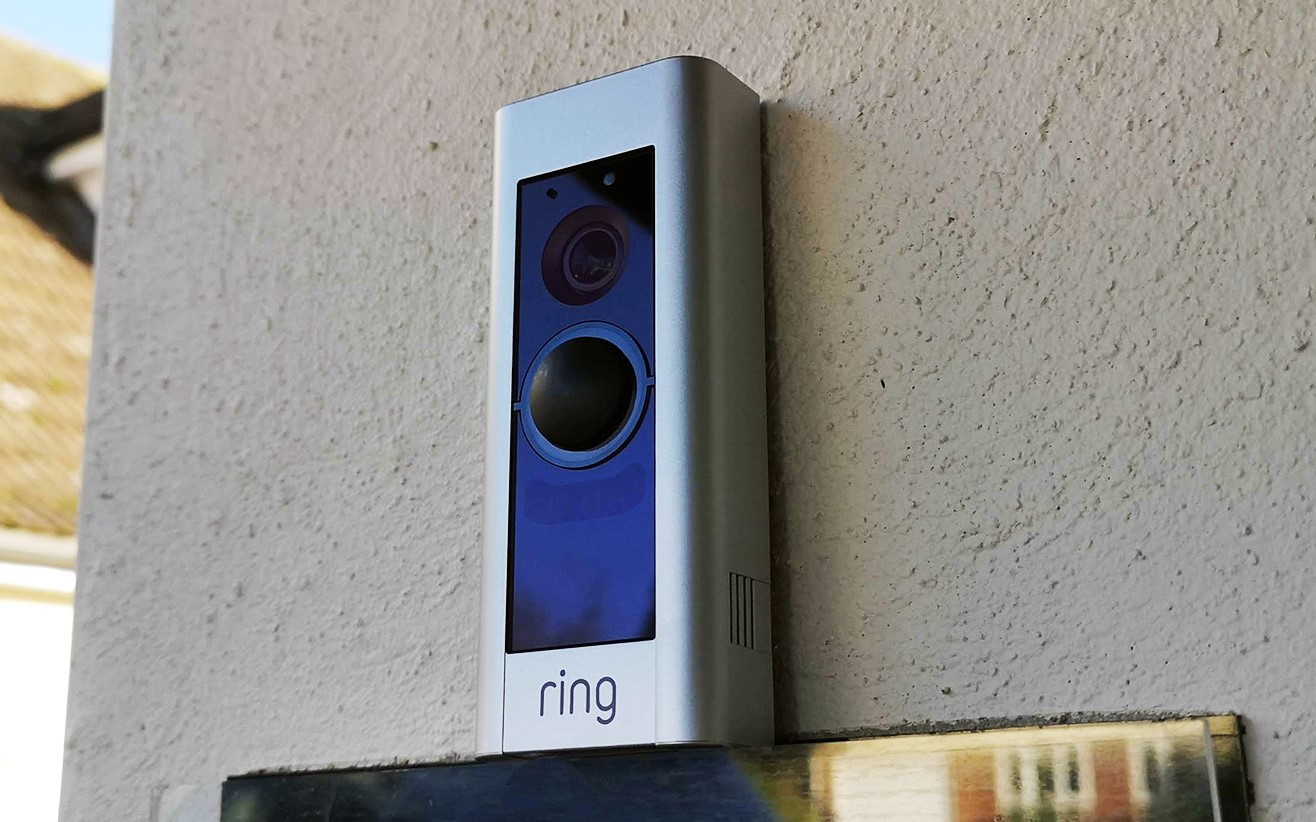
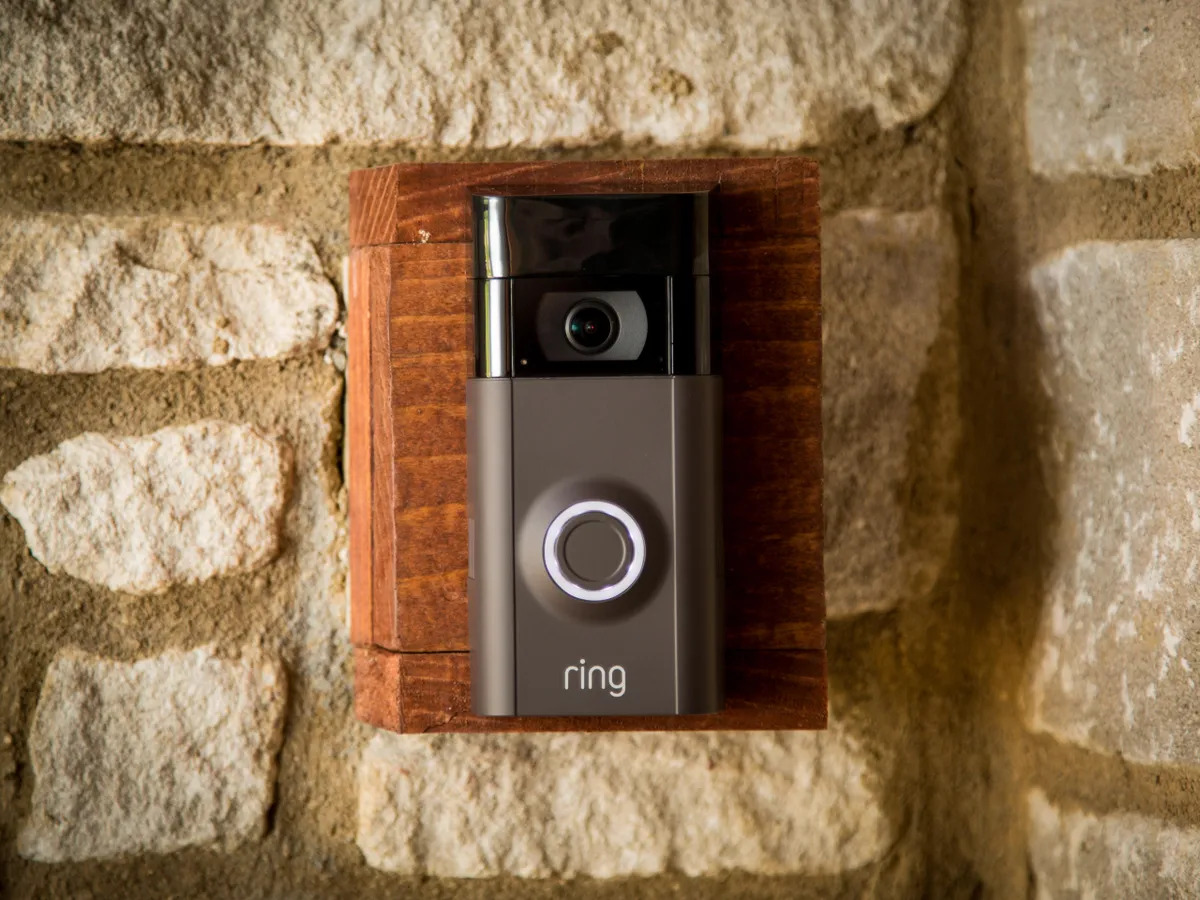
Ring Doorbell has gained immense popularity in recent years for its ability to enhance home security and provide homeowners with the convenience of monitoring their front door from anywhere. However, like any electronic device, the Ring Doorbell requires regular charging to ensure consistent functionality.
Knowing how to properly charge your Ring Doorbell is crucial to ensure uninterrupted surveillance and access to its various features. Whether you have just installed a new Ring Doorbell or need to recharge the battery, this article will guide you through the steps of charging your Ring Doorbell effectively and troubleshoot any potential charging issues.
Understanding how the Ring Doorbell charging system works and the necessary steps to charge it will make the process seamless and efficient. So without further ado, let’s dive into the details of charging your Ring Doorbell.
Key Takeaways:
- Charging your Ring Doorbell is a simple process involving gathering the necessary equipment, connecting the charging cable, and monitoring the charging status. Proper handling and troubleshooting can ensure uninterrupted functionality and optimal performance.
- Troubleshooting common charging issues, such as cable connections, power source verification, and temperature considerations, can help address charging-related challenges. Following manufacturer’s guidelines and seeking support when needed ensures a smooth charging experience.
Understanding Ring Doorbell Charging
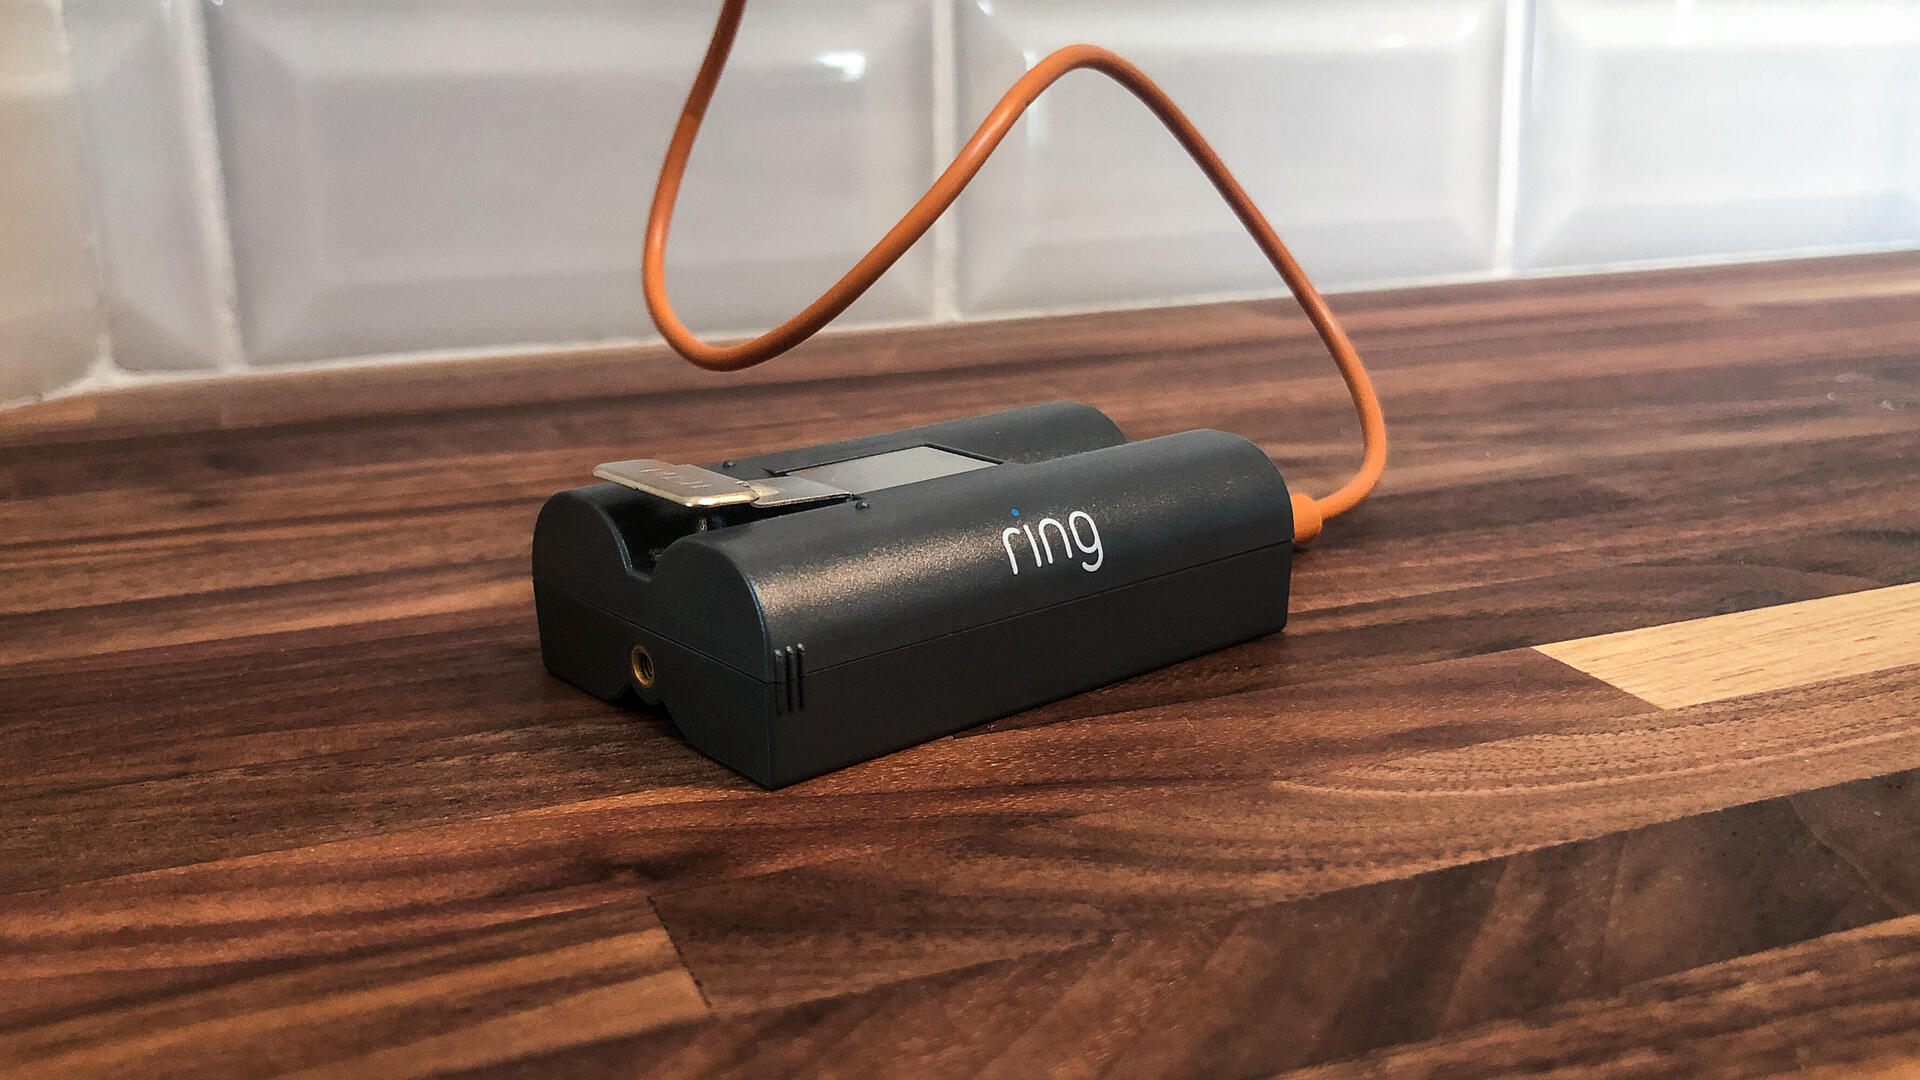
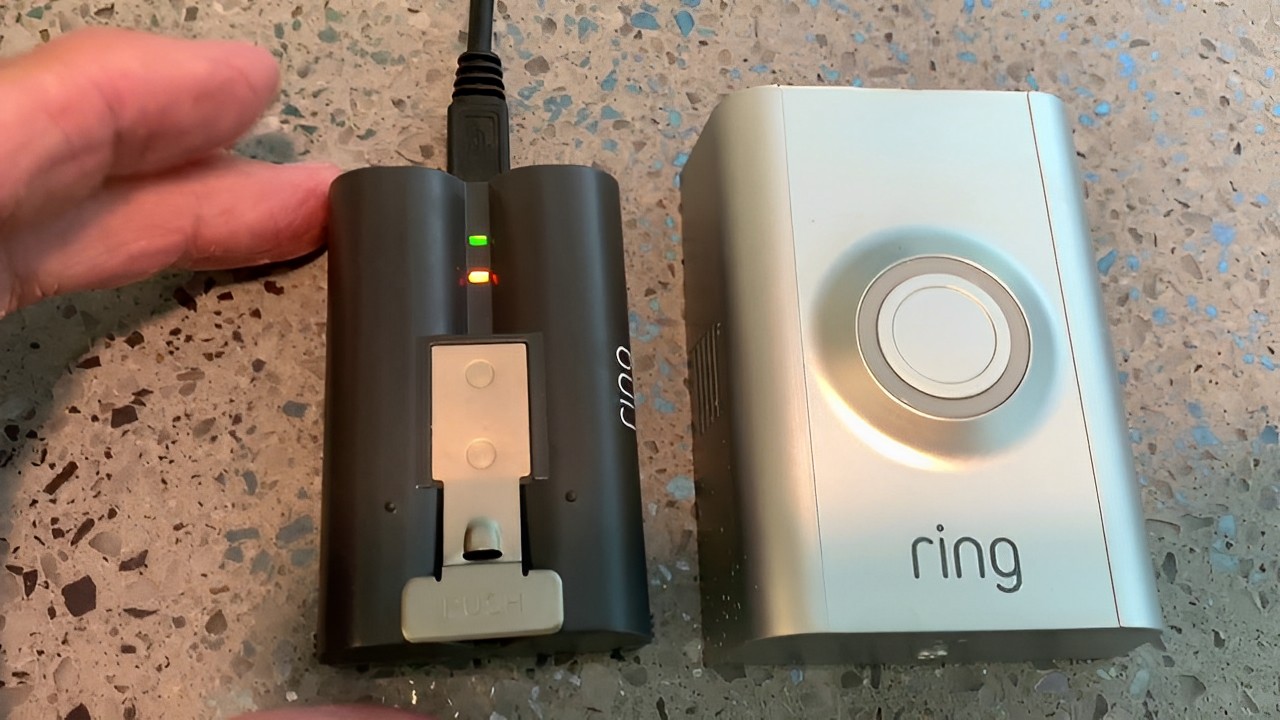
Before we jump into the steps of charging your Ring Doorbell, it’s important to have a basic understanding of how the charging system works. The Ring Doorbell is equipped with a rechargeable battery that powers the device and allows it to function wirelessly. This battery can be easily removed from the doorbell for charging purposes.
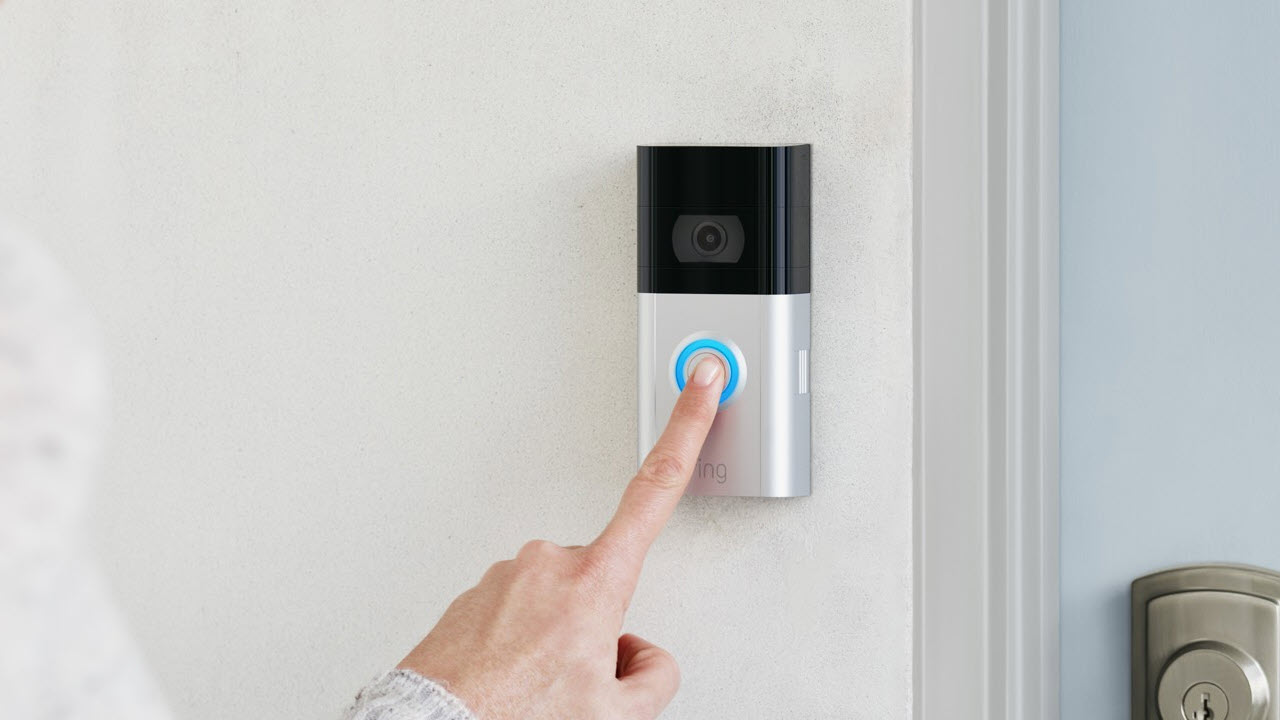
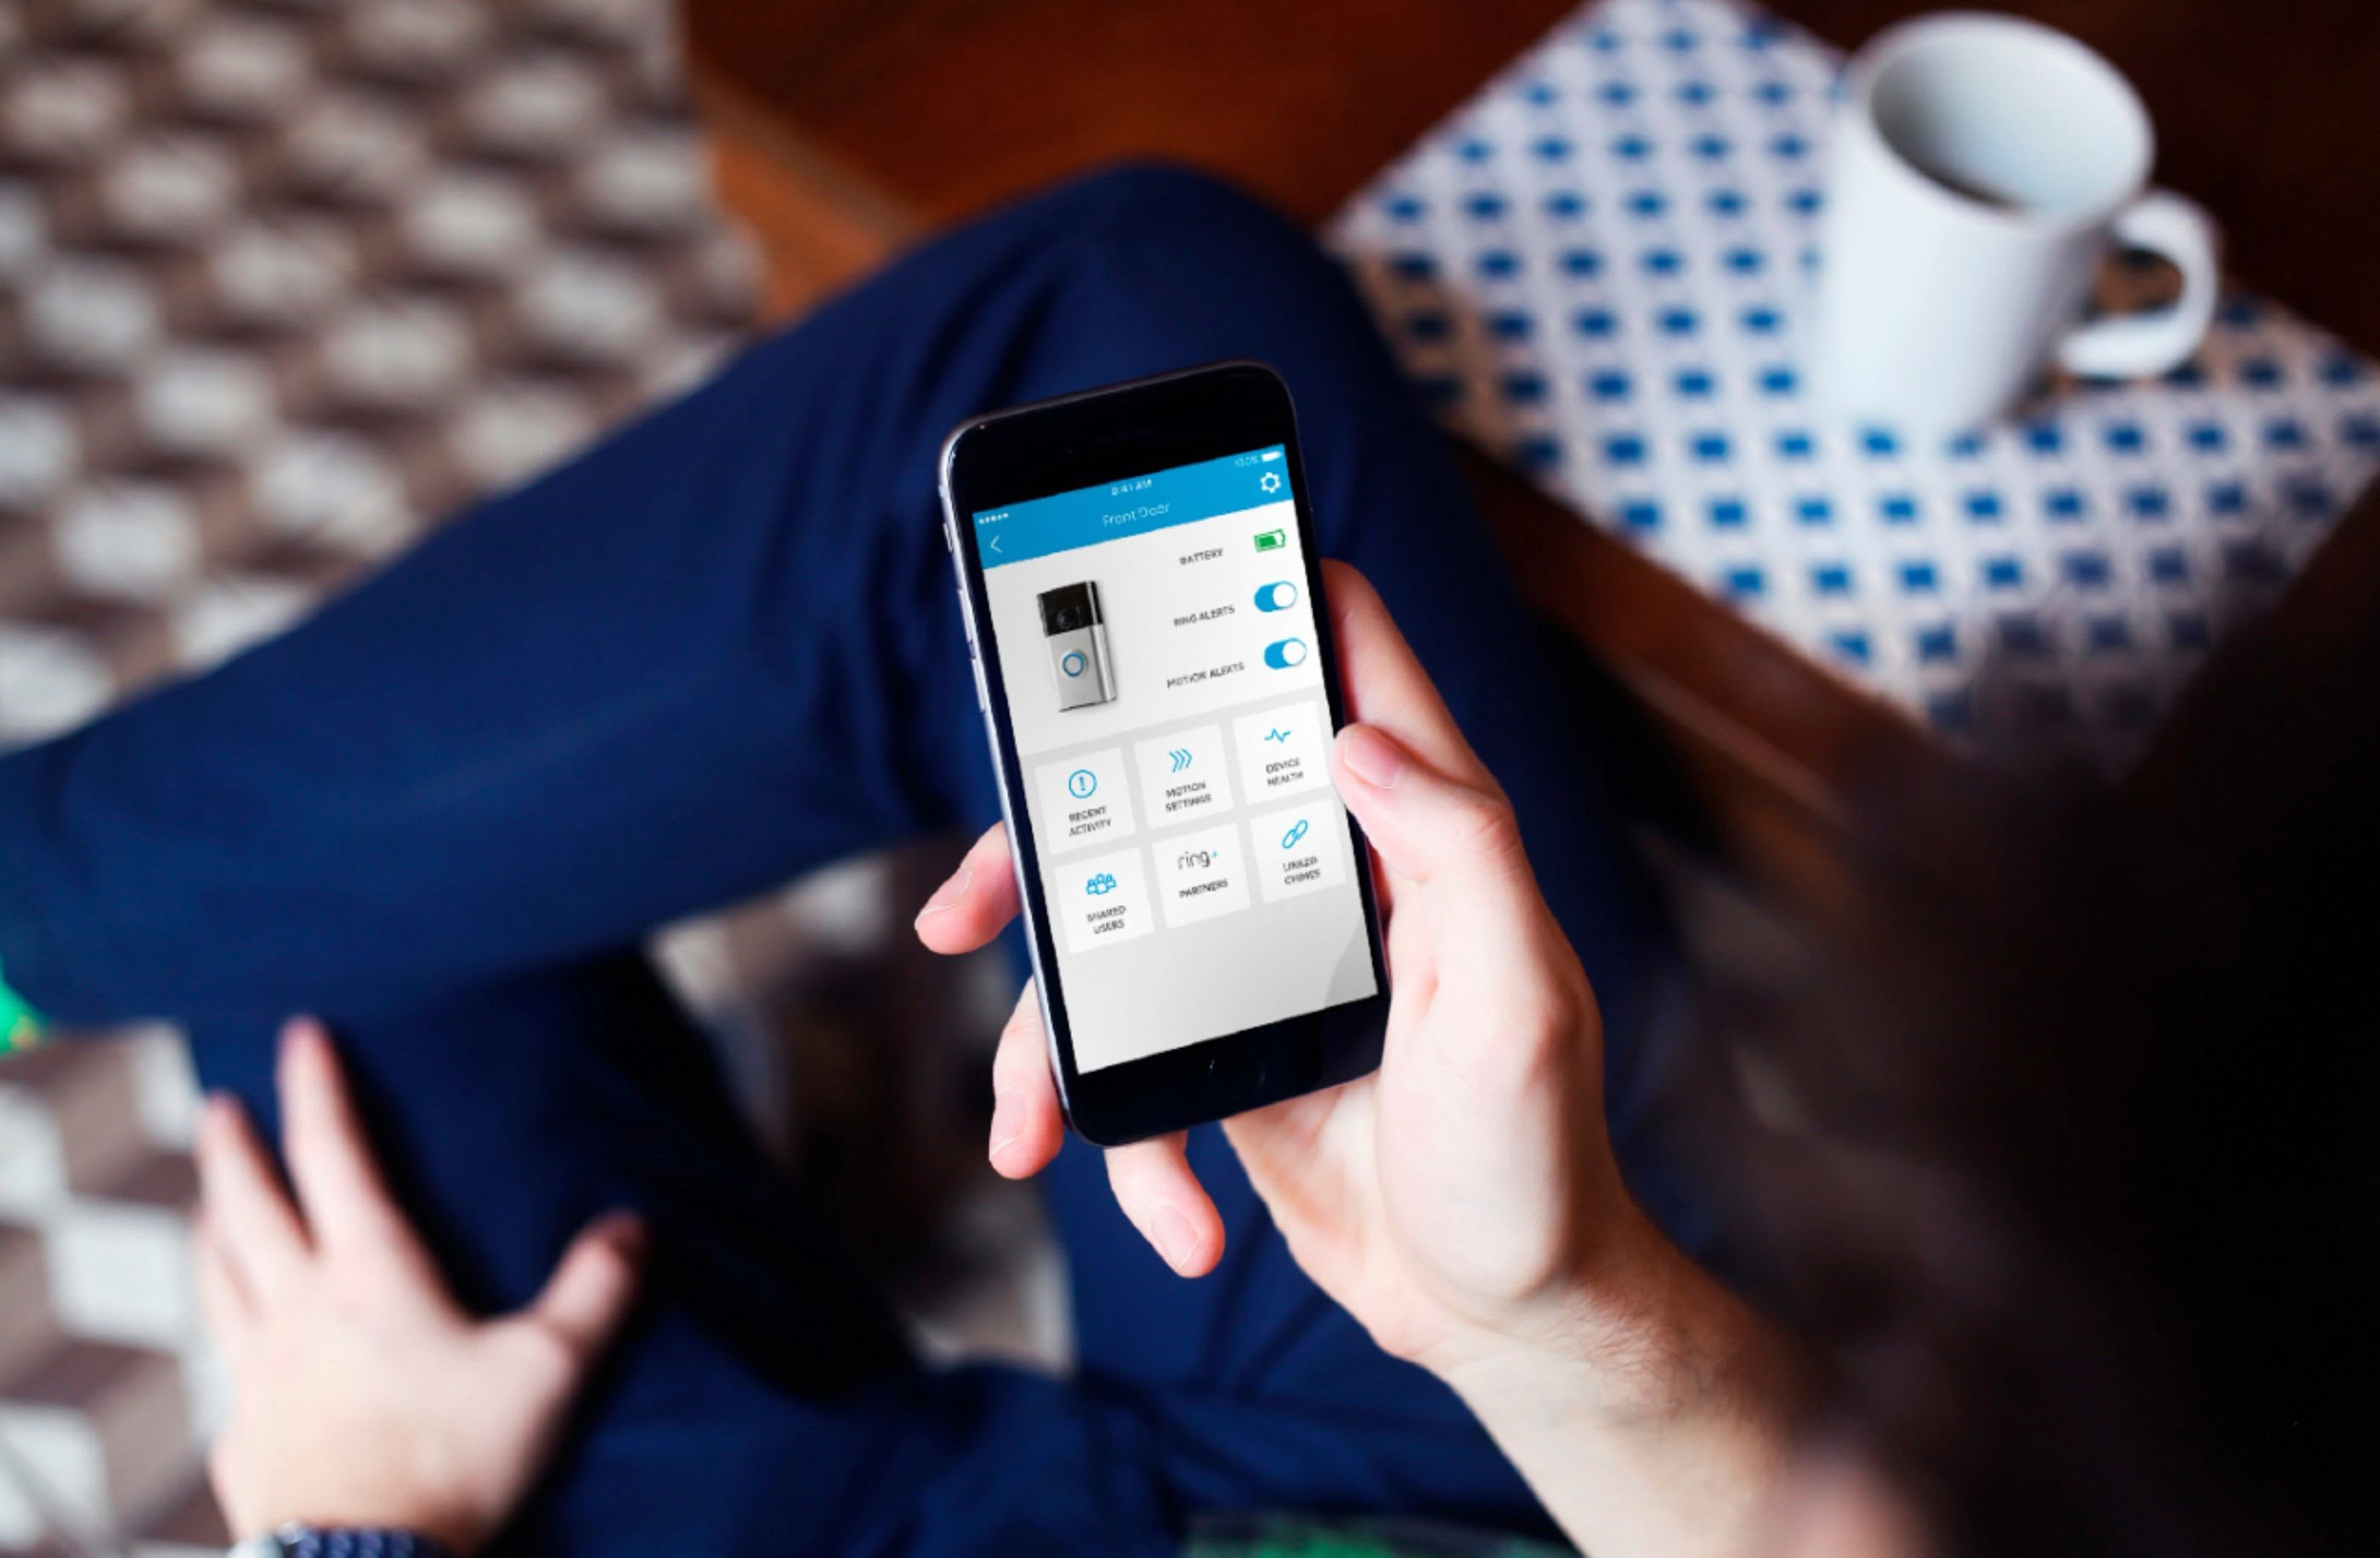
One of the great features of the Ring Doorbell is its ability to provide real-time notifications and video footage to your smartphone or tablet. However, this constant communication between the doorbell and your device can drain the battery over time. It is recommended to keep an eye on the battery level and charge it when needed to ensure optimal performance.
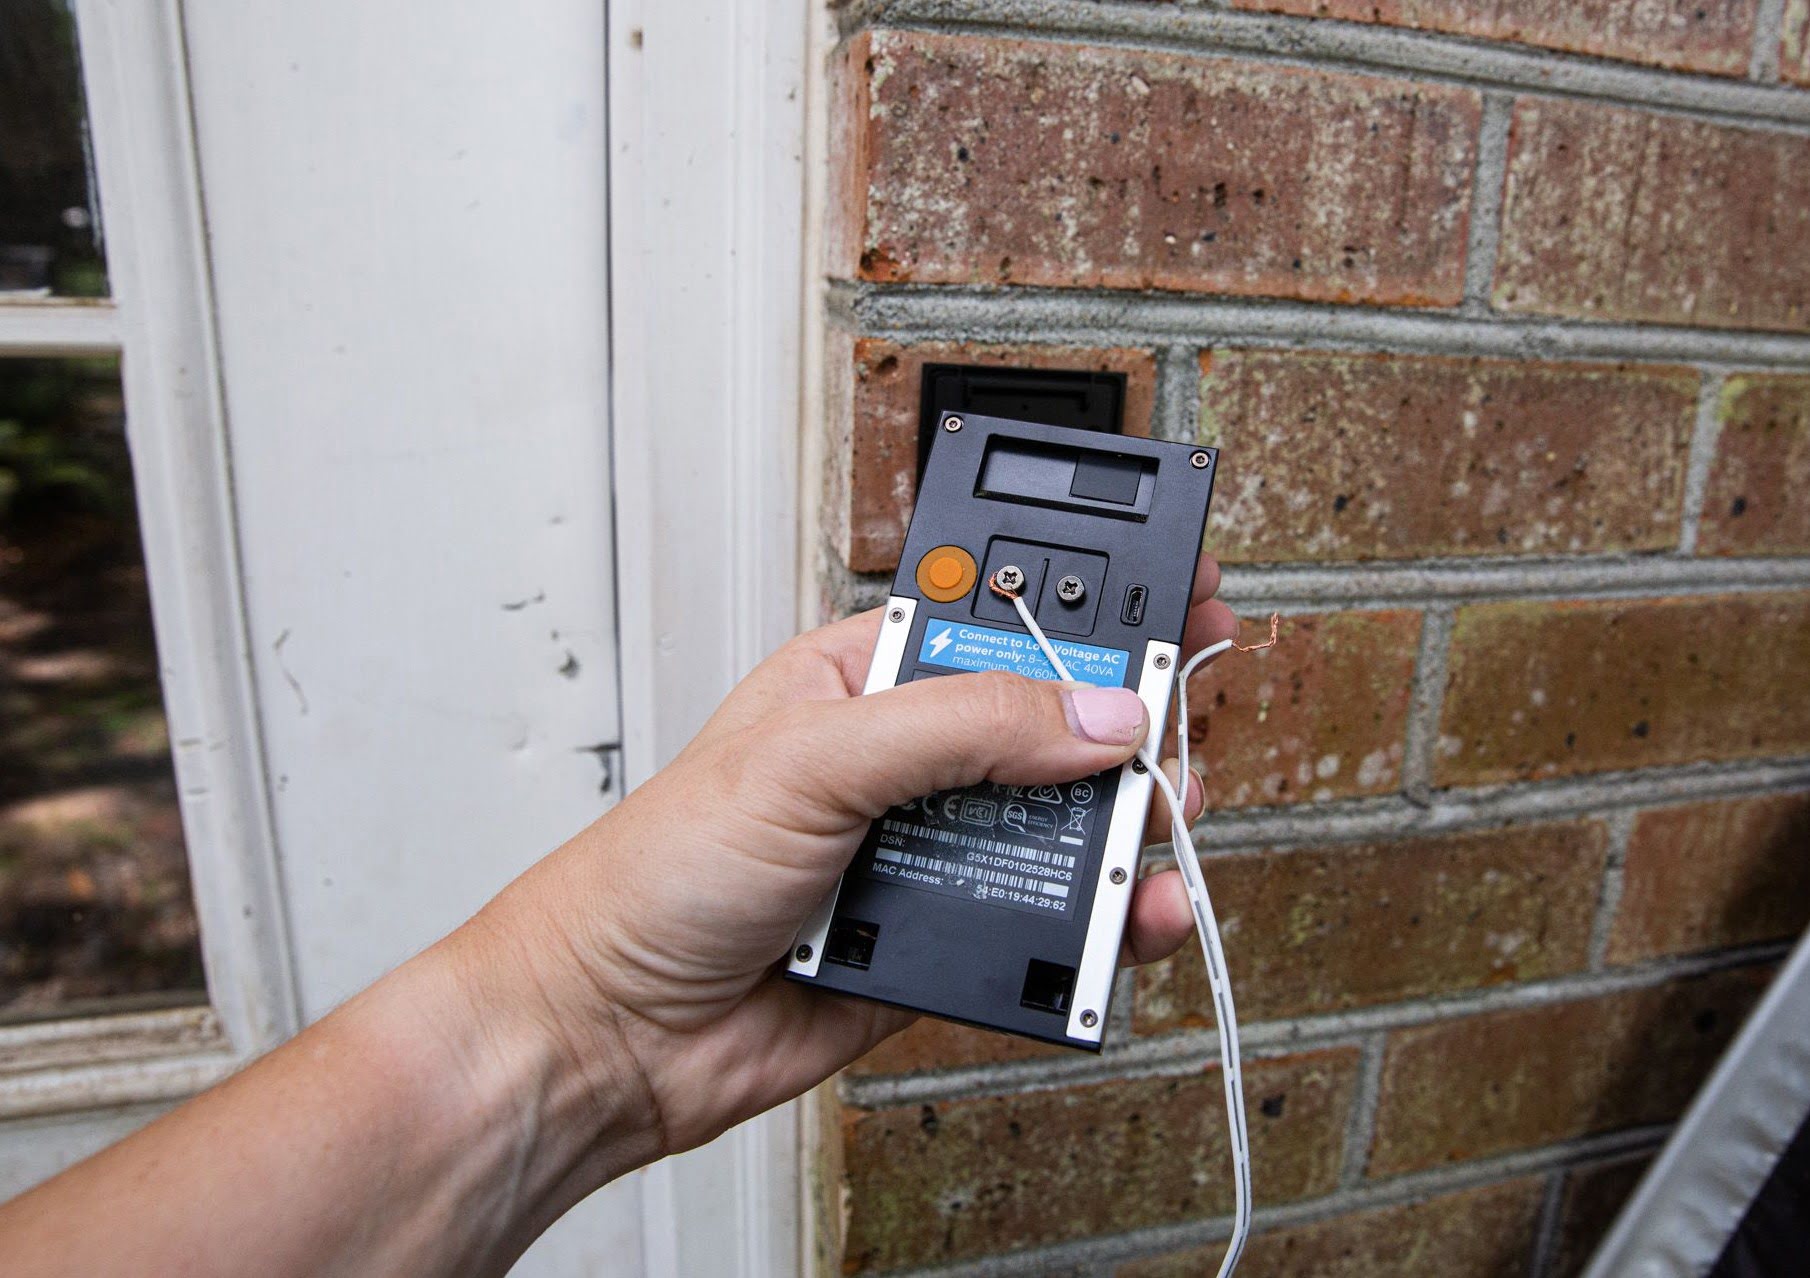
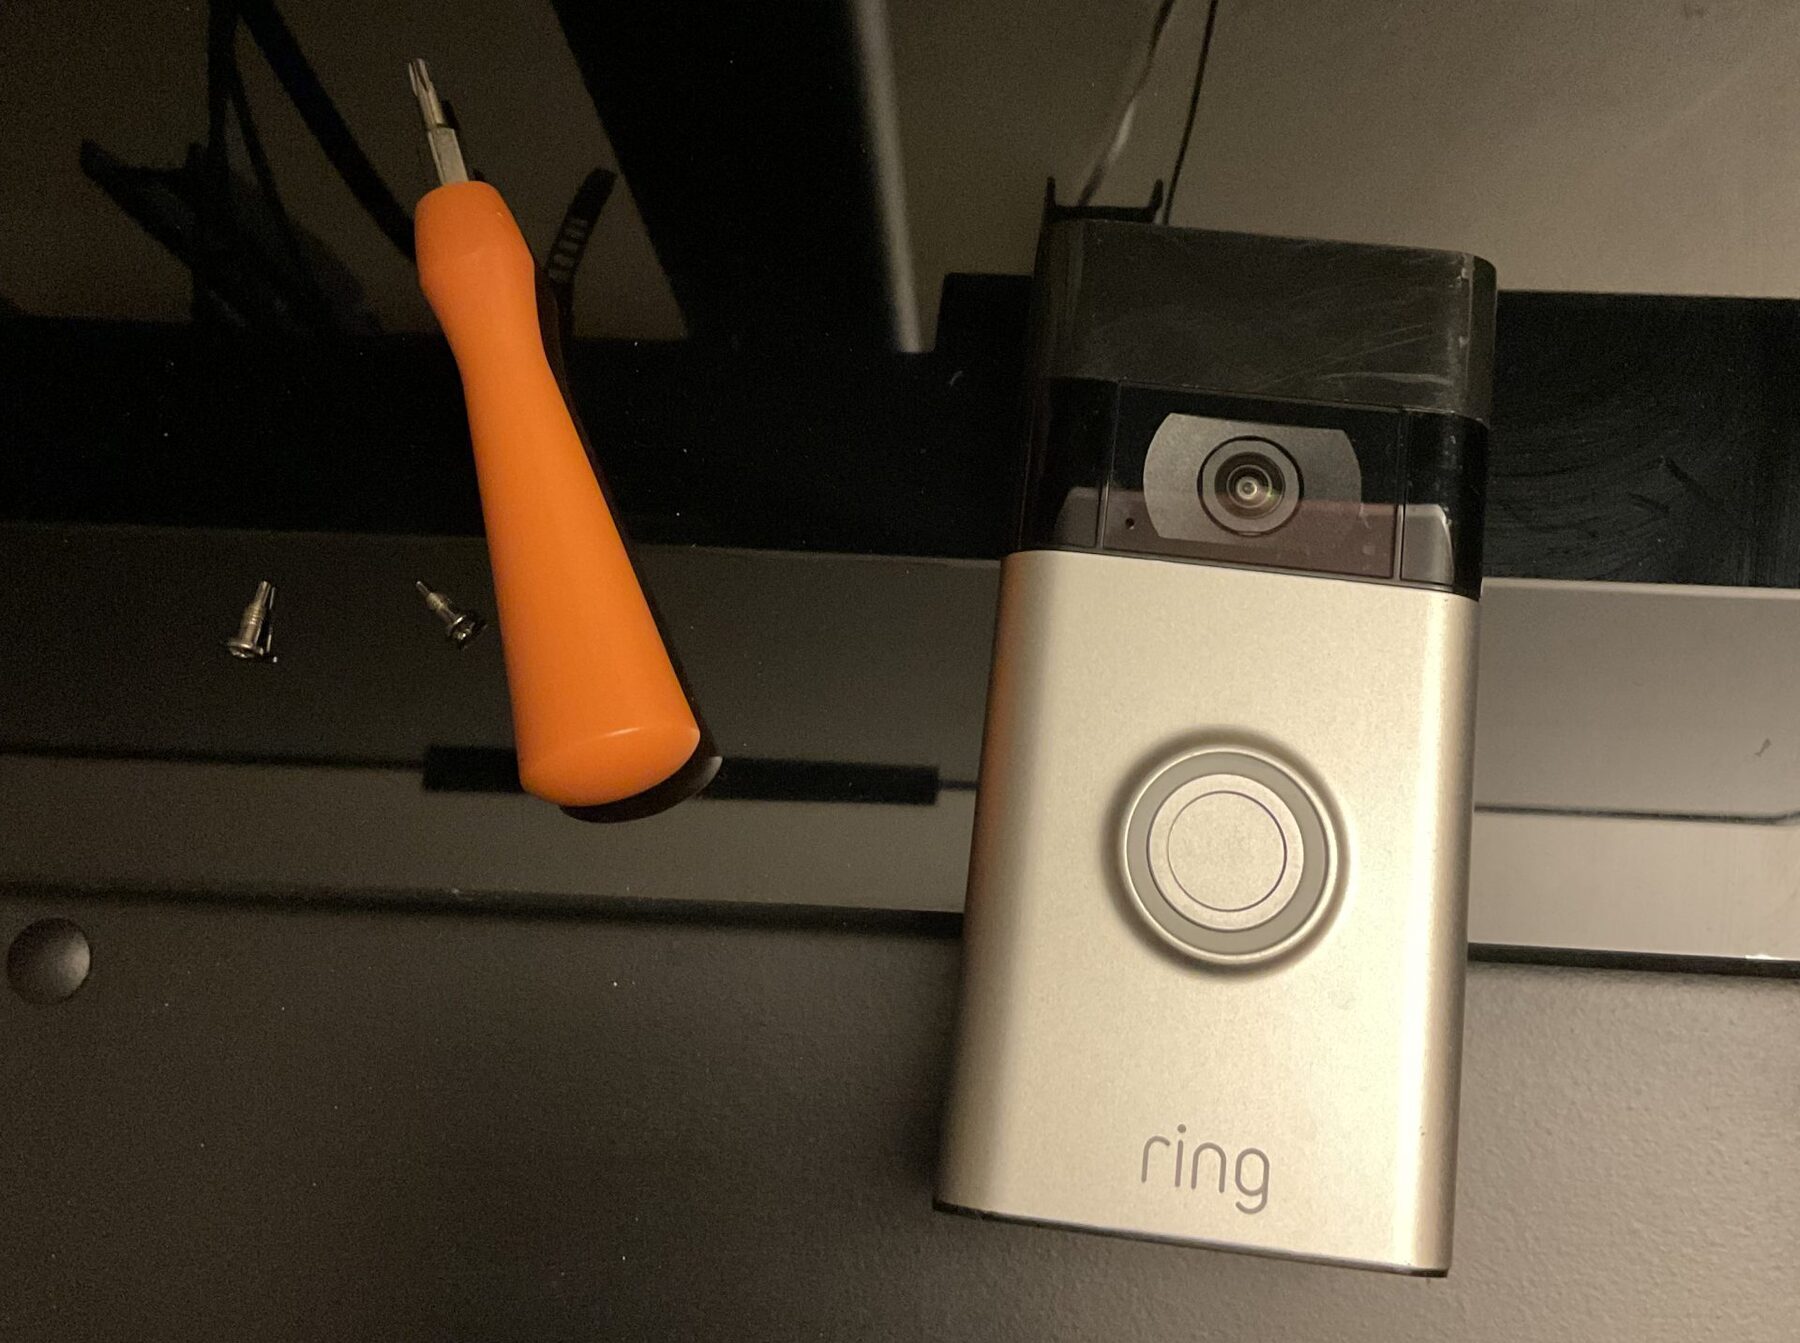
The charging port on the Ring Doorbell is located at the bottom of the device and is typically covered by a rubber flap. This flap helps protect the charging port from dust, water, and other external elements. When it’s time to charge the battery, simply lift the flap and connect the charging cable to the port.
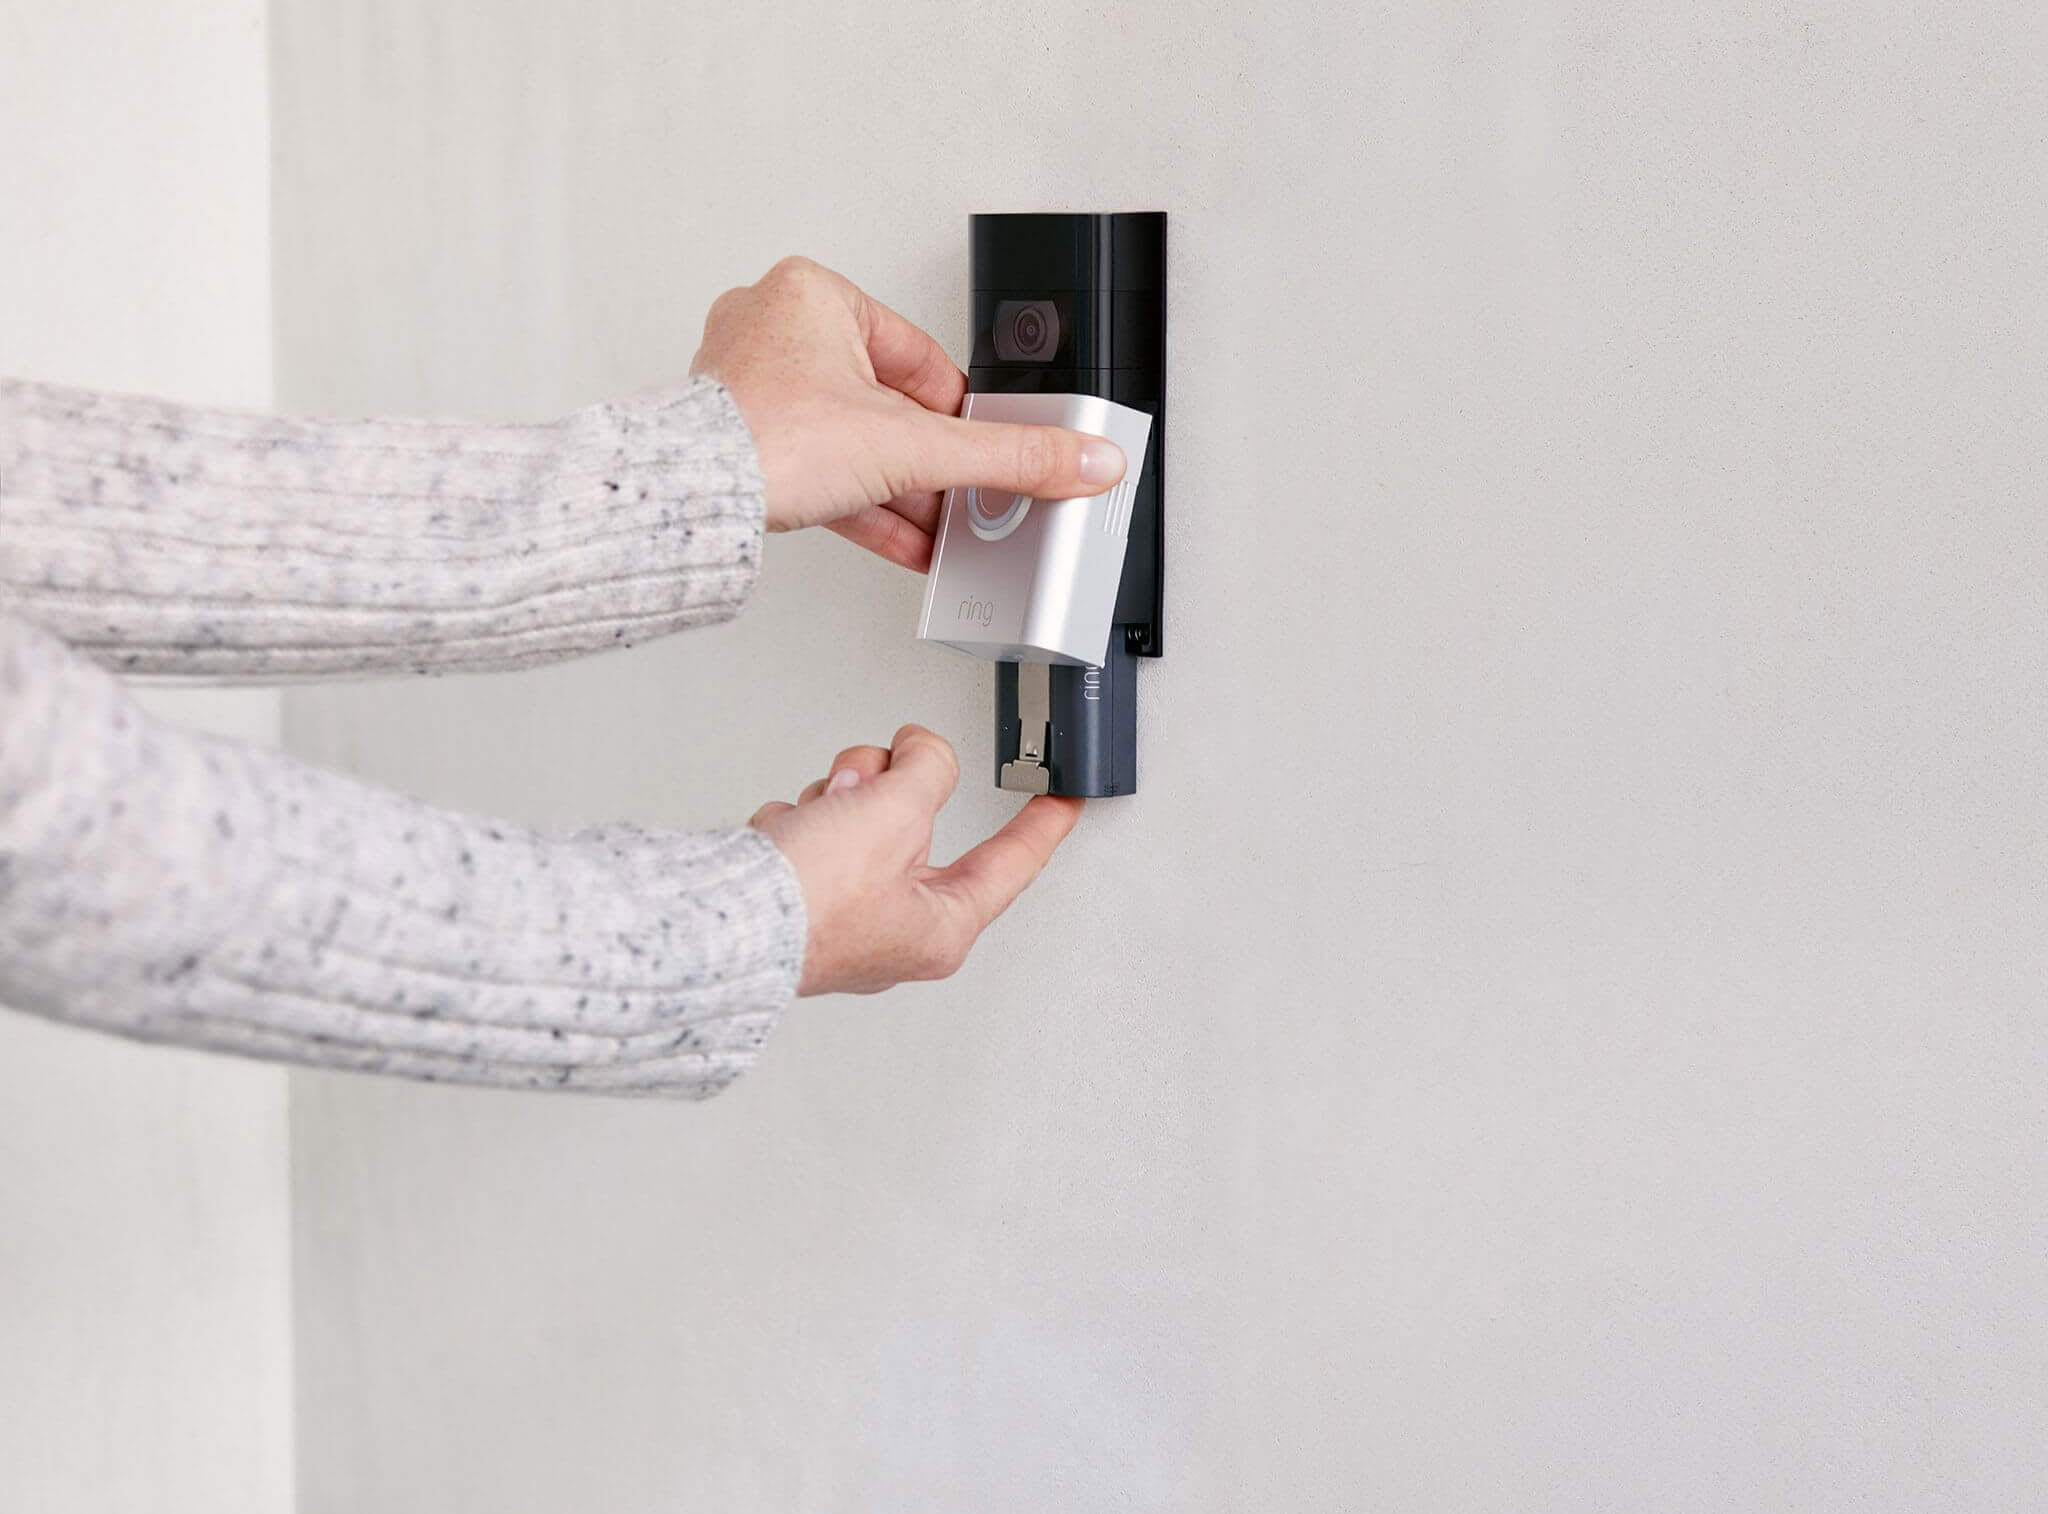
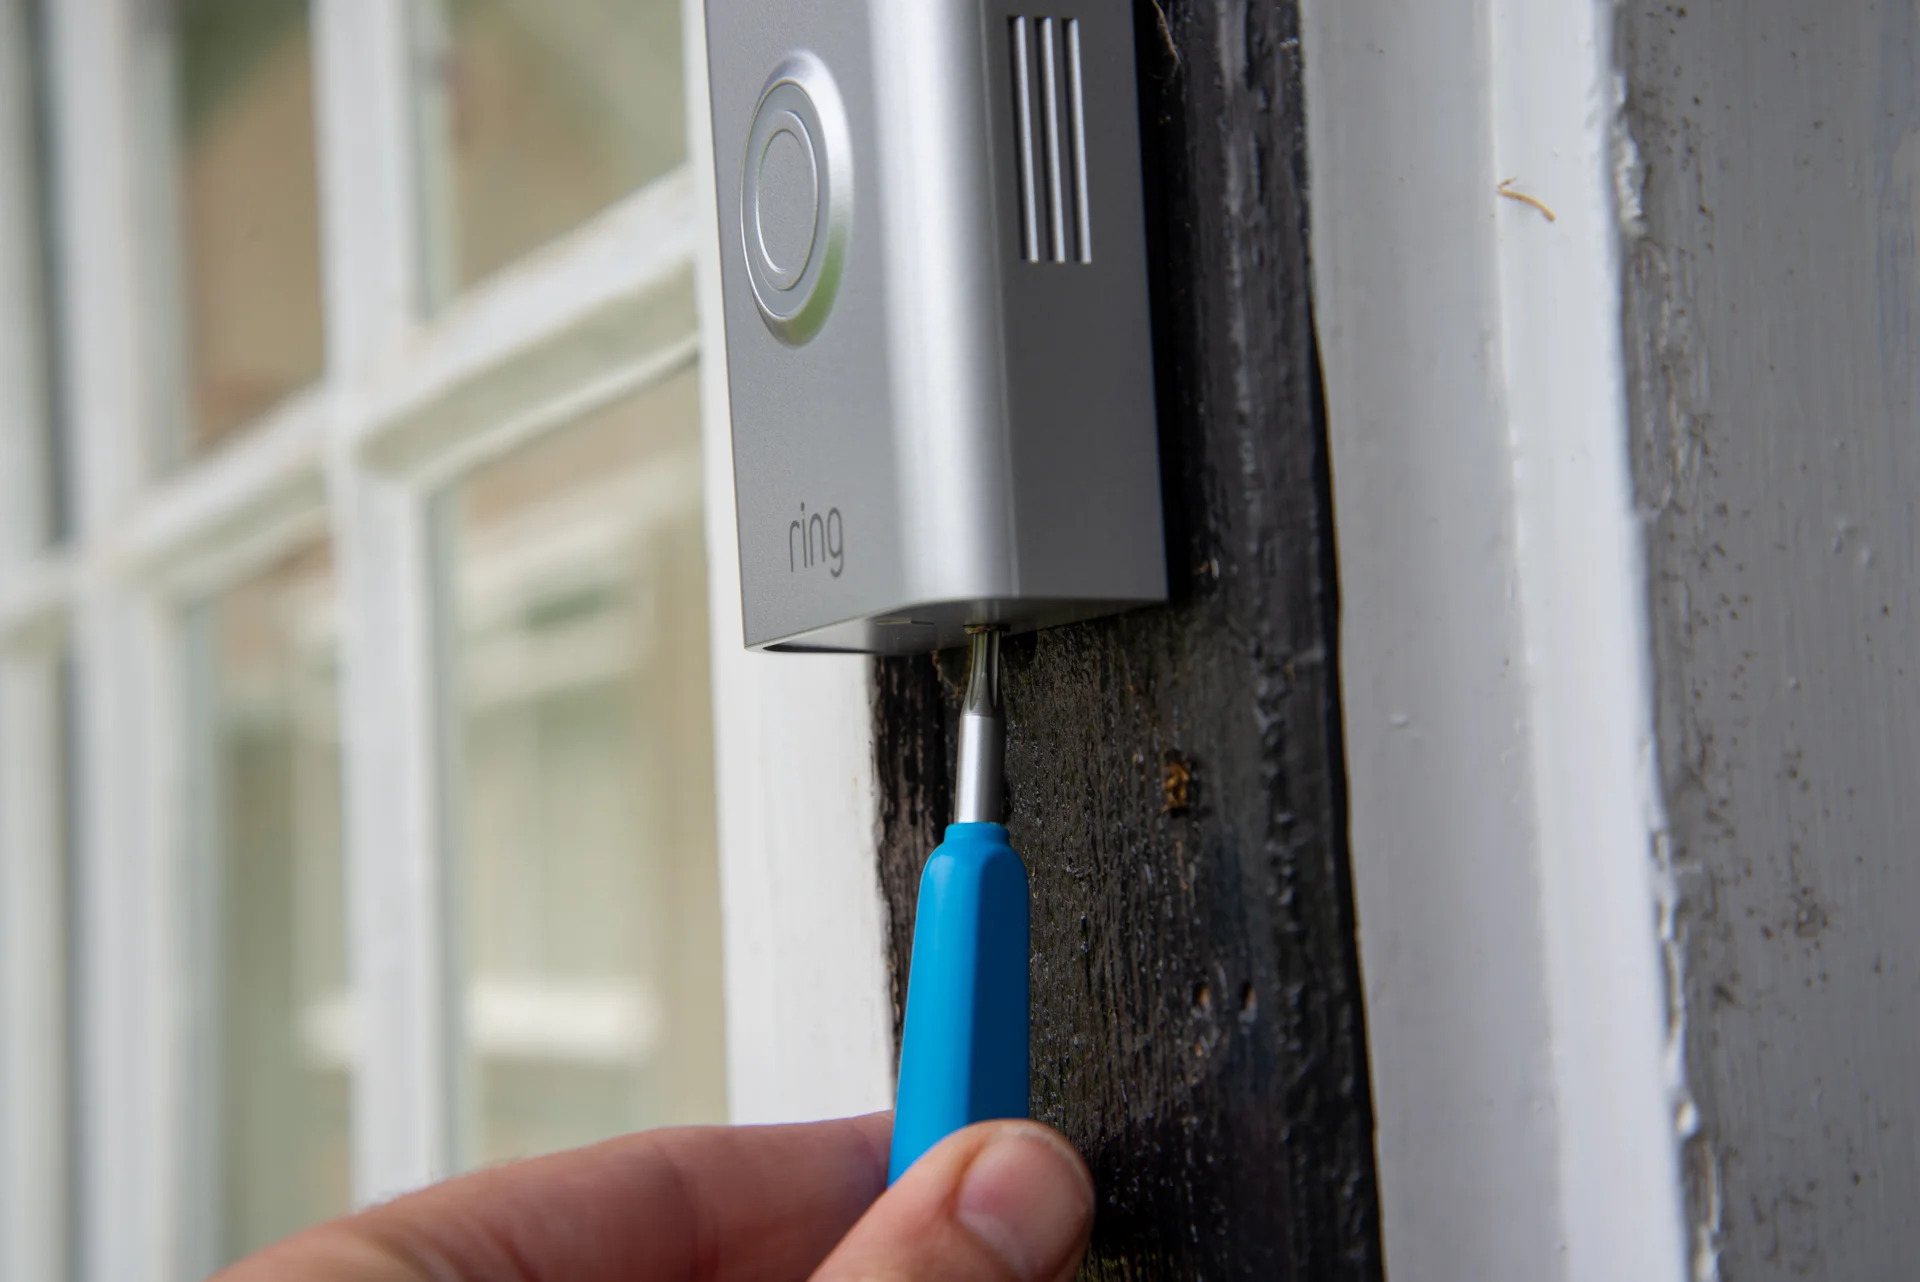
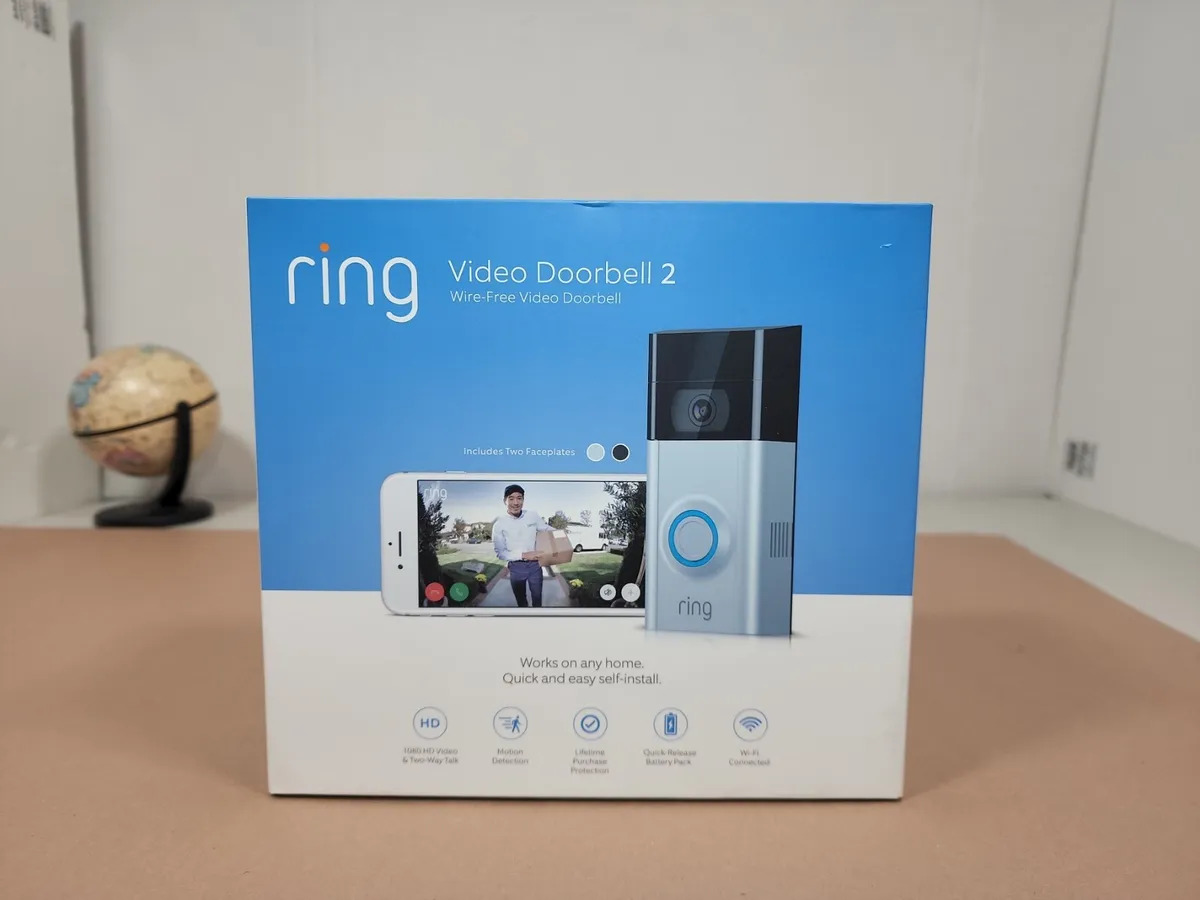
It’s worth noting that Ring Doorbell models may differ slightly in terms of their charging mechanisms. Some models come with removable batteries that can be charged separately, while others can be charged in place without removing the entire device. Regardless of the model you have, the charging process is relatively straightforward.
Now that we have a better understanding of how the Ring Doorbell charging works, let’s move on to the steps you need to follow to charge your Ring Doorbell effectively.
Steps to Charge a Ring Doorbell
Charging your Ring Doorbell is a simple process that can be completed in just a few steps. Here’s what you need to do:
- Step 1: Get the Charging Cable and Adapter
- Step 2: Connect the Charging Cable to the Doorbell
- Step 3: Plug in the Adapter to a Power Source
- Step 4: Monitor the Charging Status
The first step is to gather the necessary charging equipment. This includes the charging cable and the adapter. The charging cable usually comes with your Ring Doorbell and has a USB connector on one end and a proprietary connector on the other end that fits into the charging port of the device. The adapter is used to connect the charging cable to a power source.
Once you have the charging cable and adapter, locate the charging port on the bottom of your Ring Doorbell. Lift the rubber flap covering the port and insert the proprietary connector of the charging cable into the port. Make sure it is inserted securely to establish a proper connection.
Next, plug the USB connector of the charging cable into the adapter. Then, find a suitable power source, such as a wall outlet or a USB port on your computer, and plug the adapter into it. Ensure that the power source is functioning properly and providing adequate power for charging.
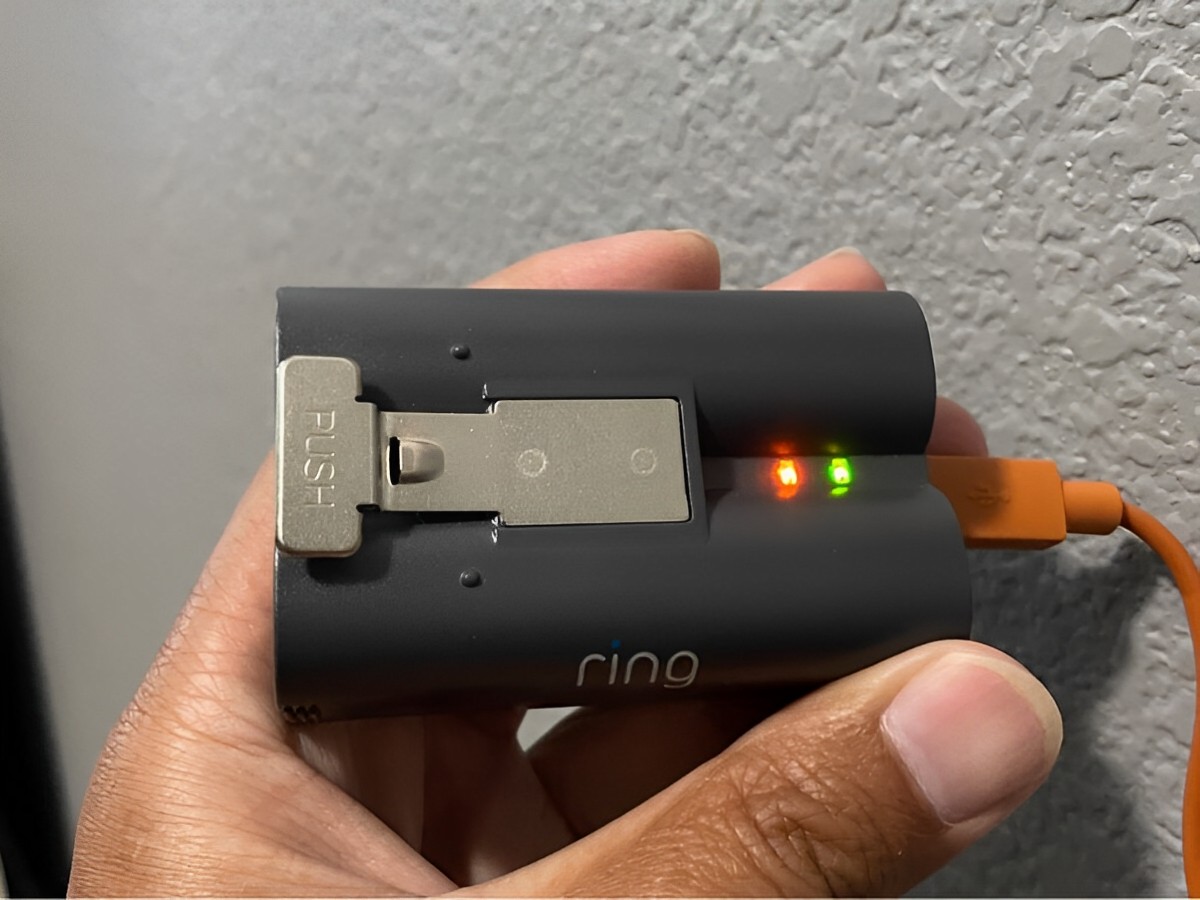
Once you have connected the charging cable to both your Ring Doorbell and the power source, the device will start charging. It is recommended to monitor the charging status to ensure that everything is functioning as expected. Most Ring Doorbell models have an indicator light that shows the charging progress. The light may change color or blink to indicate different charging stages.
It is important to note that the charging time may vary depending on the model of your Ring Doorbell and its battery capacity. On average, it takes a few hours to fully charge the device. During the charging process, it is advisable to leave your Ring Doorbell undisturbed to allow it to charge efficiently and maximize battery life.
Now that you know how to charge your Ring Doorbell, let’s explore some common charging issues and their troubleshooting solutions.
Step 1: Get the Charging Cable and Adapter
The first step in charging your Ring Doorbell is to gather the necessary charging equipment. This includes the charging cable and the adapter.
The charging cable is typically included with your Ring Doorbell and has a USB connector on one end and a proprietary connector on the other end that fits into the charging port of the device. The length of the cable may vary, but it is usually long enough to provide flexibility in choosing a suitable power source.
The adapter serves as the bridge between the charging cable and the power source. It is important to note that not all Ring Doorbell models come with an adapter. Some models rely on a USB power source such as a computer or a USB wall outlet. In these cases, you may need an additional USB wall adapter to connect the charging cable to a traditional AC power outlet.
If your Ring Doorbell model does include an adapter, ensure that it is the correct one for your region. Ring Doorbells are sold worldwide, and the power requirements may differ depending on the country or region. Using an incompatible adapter may result in improper charging or potential damage to the device.
Before connecting the charging cable and the adapter, inspect them for any visible damages. Check for frayed wires, bent pins, or other signs of wear and tear. Using a damaged cable or adapter can lead to poor charging performance or even pose a safety hazard.
Once you have confirmed that the charging cable and adapter are in good condition, proceed to the next step in the charging process.
Remember, having the correct charging cable and adapter is crucial for ensuring a smooth and efficient charging experience for your Ring Doorbell. So make sure you have these two essential components in hand before moving on to the next step.
Step 2: Connect the Charging Cable to the Doorbell
After gathering the necessary charging cable and adapter, the next step in charging your Ring Doorbell is to connect the charging cable to the device itself. This step is crucial in establishing a proper connection for efficient charging.
Locate the charging port on the bottom of your Ring Doorbell. The charging port is typically covered by a rubber flap to protect it from dust, water, and other external elements. Lift the rubber flap and expose the charging port.
Take the charging cable and identify the proprietary connector on one end. This connector is designed specifically to fit into the charging port of your Ring Doorbell. Insert the proprietary connector into the charging port, making sure it is inserted securely and properly aligned.
Gently push the connector into the port until you feel a slight resistance. Ensure that the connector is fully inserted into the port to establish a solid connection. A secure connection is important to ensure effective charging and prevent any interruptions during the charging process.
Once the charging cable is securely connected to the charging port, you can release the rubber flap to cover the port and protect it from external elements.
It is essential to handle the charging cable and the device with care during this step. Avoid using excessive force or applying undue pressure to the charging port. Rough handling can lead to port damage, which may affect the charging performance or even render the port unusable.
By successfully connecting the charging cable to your Ring Doorbell, you have completed the second step of the charging process. Now, let’s move on to the next step to ensure a proper power source for charging.
When charging a Ring doorbell, use the provided micro-USB cable to connect it to a power source. The device will indicate when it’s fully charged.
Read more: How Do You Reset A Ring Doorbell
Step 3: Plug in the Adapter to a Power Source
Now that you have connected the charging cable to your Ring Doorbell, it’s time to provide a power source for the charging process. This is accomplished by plugging in the adapter into a suitable power source.
First, take the USB end of the charging cable and connect it to the adapter. The USB connector typically fits securely into the adapter, ensuring a stable connection. Double-check that the connection is secure, as a loose connection may result in interrupted charging or slower charging speeds.
Next, find a suitable power source to plug the adapter into. The type of power source you can use may vary depending on your Ring Doorbell model and the specific charging cable and adapter configuration. Common power sources include:
- Wall outlets: This is the most common and convenient power source option. Simply plug the adapter into an available wall outlet.
- USB wall adapters: These adapters can convert a wall outlet into a USB charging port. If your Ring Doorbell requires a USB power source, you can use a USB wall adapter to plug the charging cable directly into the adapter.
- USB ports on computers or laptops: If you don’t have access to a wall outlet or USB wall adapter, you can use the USB ports on your computer or laptop as a power source. Simply plug the adapter into the USB port.
Ensure that the power source is functioning properly and capable of providing enough power for the charging process. Faulty power sources may lead to inadequate charging or even damage to your Ring Doorbell.
Once you have plugged in the adapter, make sure it is securely connected to the power source. Double-check the connection to prevent any accidental disconnection during the charging process.
Now that the charging cable is connected to both your Ring Doorbell and the power source, your device is ready to start charging. In the next step, we will discuss how to monitor the charging status and ensure a successful charging session.
Step 4: Monitor the Charging Status
After connecting your Ring Doorbell to the power source, it’s important to monitor the charging status to ensure a successful and efficient charging session. Monitoring the charging progress allows you to gauge the battery level and ensures that everything is functioning as expected.
Most Ring Doorbell models have an indicator light located on the device itself, which provides visual cues about the charging status. The indicator light may change color or blink to indicate different charging stages. Here’s what you should look for:
- Charging in Progress: When your Ring Doorbell is successfully connected to a power source and charging, the indicator light may emit a steady glow or pulse to indicate that charging is in progress.
- Charging Complete: Once the battery is fully charged, the indicator light may emit a solid light or turn a different color to signify that charging is complete. This indicates that your Ring Doorbell is ready for use.
It’s important to note that the exact behavior and color of the indicator light may vary depending on your Ring Doorbell model. For specific information about the charging status indicators for your device, refer to the user manual or support documentation.
During the charging process, it’s recommended to leave your Ring Doorbell undisturbed to allow for uninterrupted charging. Moving or disconnecting the device prematurely may interrupt the charging process and result in incomplete charging or reduced battery life.
If you notice any abnormalities in the charging status, such as the indicator light not illuminating or blinking in an unusual pattern, there may be an issue with the charging process. In such cases, it’s advisable to refer to the troubleshooting steps provided in the Ring Doorbell user manual or contact customer support for assistance.
By monitoring the charging status, you can ensure that your Ring Doorbell is charging properly and that the battery is being replenished for optimal performance. Once the charging session is complete and the battery is fully charged, you can disconnect the charging cable and enjoy the continued functionality of your Ring Doorbell.
Now that you’re aware of the steps involved in charging your Ring Doorbell, let’s explore some common charging issues and their troubleshooting solutions in the next section.
Troubleshooting Common Charging Issues
While charging your Ring Doorbell is usually a straightforward process, you may encounter some common issues along the way. Here are a few troubleshooting tips to help you address and resolve these issues:
- Charging Cable Connection: Ensure that the charging cable is securely connected to both your Ring Doorbell and the power source. A loose connection can result in slow or incomplete charging. Double-check the connections and reinsert the cable if necessary.
- Power Source: Verify that the power source you are using is functioning properly. Try plugging in another device to check if the power source provides adequate power. If not, try using a different power source to charge your Ring Doorbell.
- Adapter Compatibility: If you are using an adapter, confirm that it is compatible with your Ring Doorbell model and the power requirements of your region. Using an incompatible adapter can cause charging issues or damage to your device. Consult the user manual or contact customer support for guidance.
- Charging Port Cleaning: Over time, dust, dirt, or debris can accumulate in the charging port and hinder the charging process. Carefully inspect the charging port and clean it using a soft brush or compressed air to remove any obstructions.
- Battery Health: If your Ring Doorbell experiences rapid battery drain or struggles to hold a charge, it may be a sign of a degraded battery. In such cases, consider replacing the battery to restore optimal charging and performance.
- Firmware Updates: Ensure that your Ring Doorbell is running on the latest firmware version. Firmware updates often include bug fixes and performance improvements, which can address any charging issues you may be experiencing. Check for firmware updates in the Ring app or contact customer support for assistance.
- Temperature Considerations: Extreme temperatures can affect the charging performance of your Ring Doorbell. Avoid charging the device in direct sunlight or in extremely cold or hot environments. Optimal charging temperatures typically range between 32°F to 113°F (0°C to 45°C).
If you have tried these troubleshooting steps and are still experiencing charging issues, it may be necessary to contact Ring customer support for further assistance. They will be able to provide tailored guidance and solutions specific to your device and situation.
Remember, troubleshooting charging issues requires patience and careful observation. By following these tips and seeking appropriate support when needed, you can ensure a smooth charging experience for your Ring Doorbell.
Now that we have covered the troubleshooting of common charging issues, let’s wrap up the article.
Conclusion
Charging your Ring Doorbell is a crucial aspect of ensuring its continuous functionality and optimal performance. By following the steps outlined in this article, you can easily and effectively charge your Ring Doorbell, providing you with peace of mind and convenience.
Understanding the charging process, gathering the necessary equipment, connecting the charging cable, and monitoring the charging status are essential steps to successfully charge your Ring Doorbell. It is important to handle the charging cable and device with care, ensuring proper connections to avoid any damage or interruptions during the charging process.
In the event of any charging issues, troubleshooting steps can help identify and resolve common problems. Checking the cable and power source connections, cleaning the charging port, verifying adapter compatibility, and considering battery health are some of the troubleshooting tips that can address charging-related challenges.
Always remember to keep an eye on the charging status of your Ring Doorbell and make sure to follow the manufacturer’s guidelines and recommendations for optimal charging practices. Regularly updating the firmware and being mindful of temperature considerations can also contribute to maintaining the longevity and performance of your device.
If you encounter persistent or severe charging issues, reaching out to Ring customer support can provide you with further assistance and tailored solutions.
With proper charging techniques and troubleshooting strategies, you can ensure that your Ring Doorbell remains powered and ready to deliver its reliable home security and convenience features.
Now that you have a comprehensive understanding of how to charge your Ring Doorbell, you can confidently keep your device powered and enjoy the enhanced security and peace of mind it offers.
Frequently Asked Questions about How Do You Charge A Ring Doorbell
Was this page helpful?
At Storables.com, we guarantee accurate and reliable information. Our content, validated by Expert Board Contributors, is crafted following stringent Editorial Policies. We're committed to providing you with well-researched, expert-backed insights for all your informational needs.


0 thoughts on “How Do You Charge A Ring Doorbell”