Articles
How Do You Remove A Ring Doorbell
Modified: October 18, 2024
Learn how to remove a Ring Doorbell in this helpful article. Find step-by-step instructions and tips to safely uninstall your Ring Doorbell.
(Many of the links in this article redirect to a specific reviewed product. Your purchase of these products through affiliate links helps to generate commission for Storables.com, at no extra cost. Learn more)
Introduction
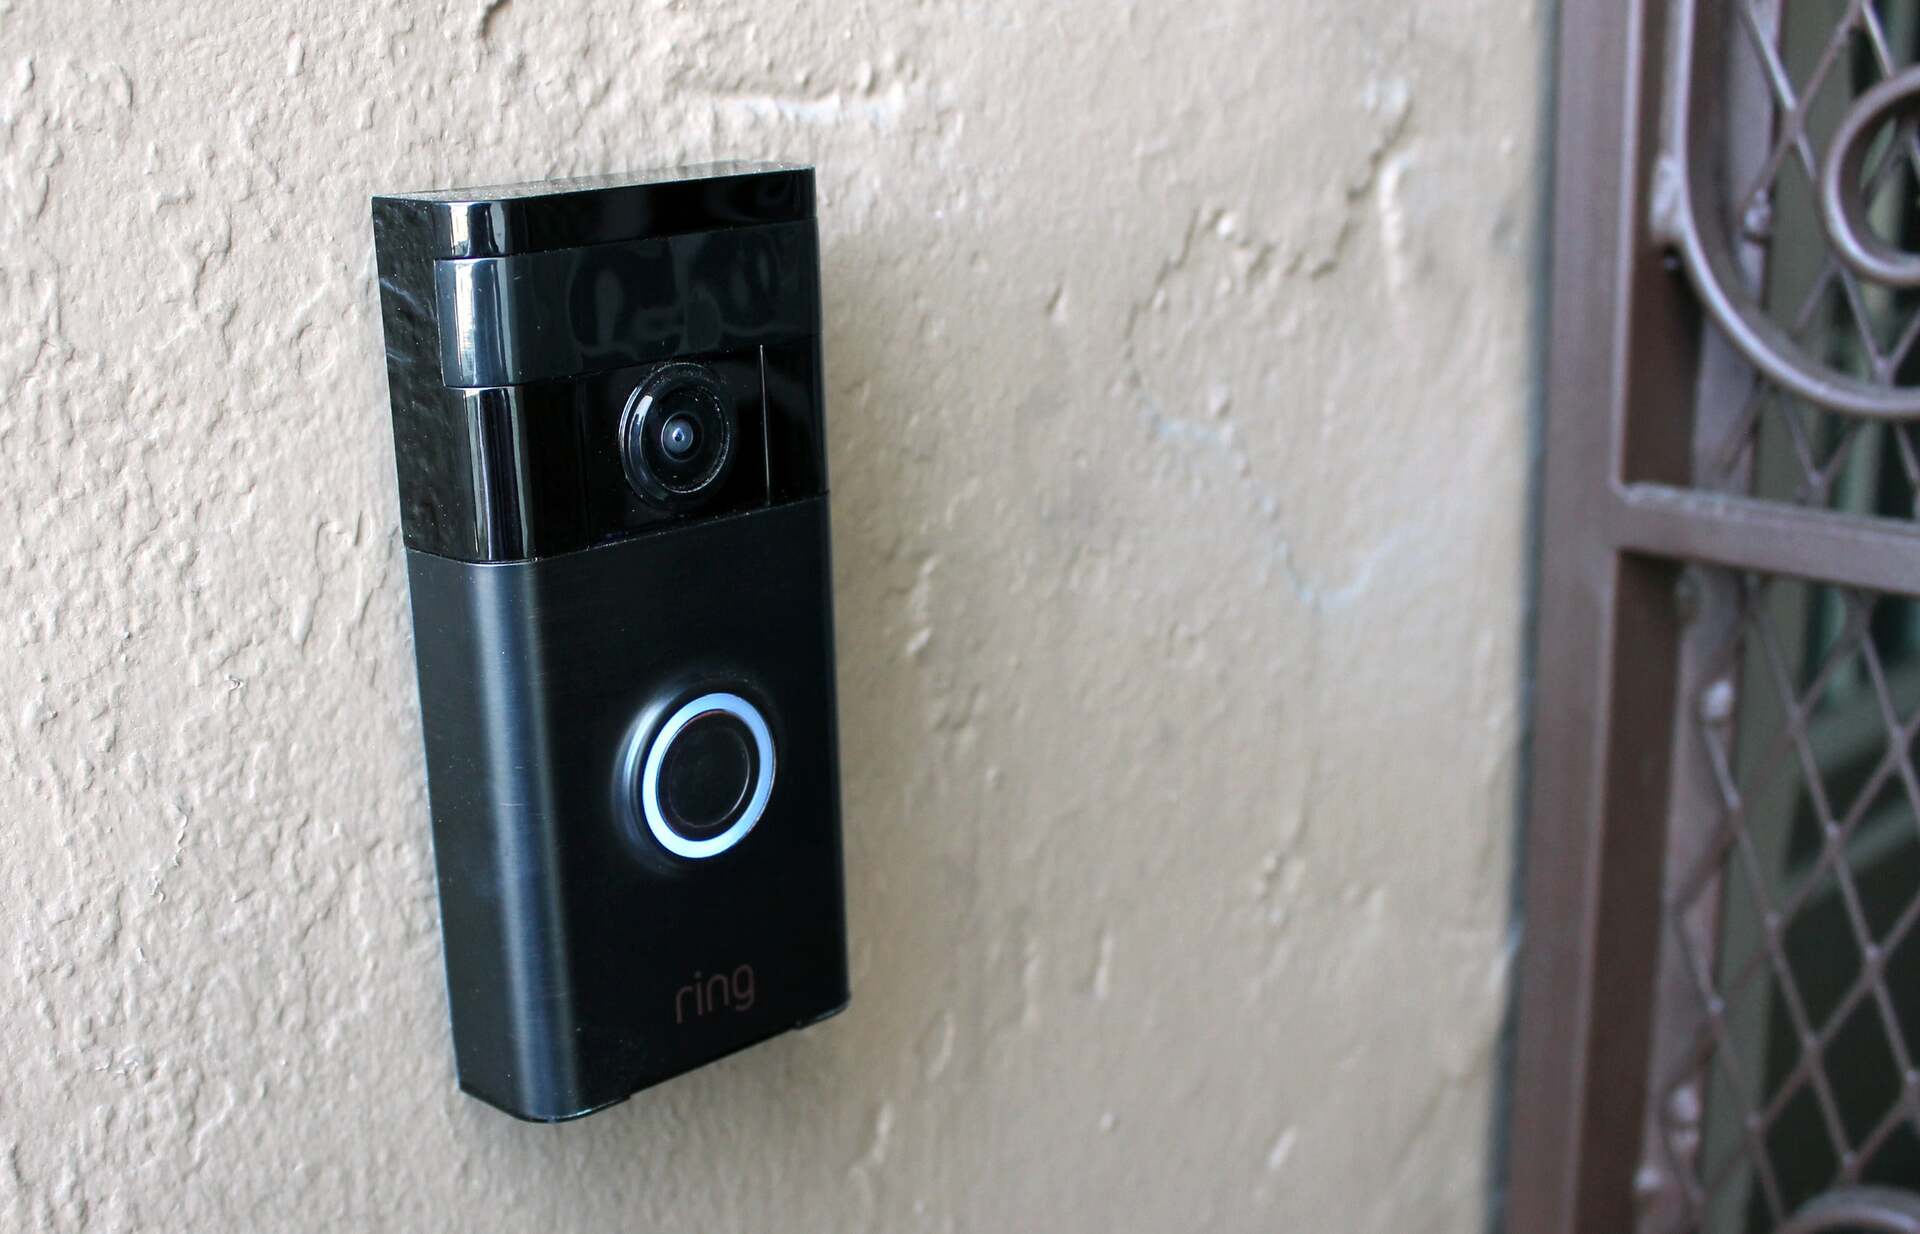
The Ring Doorbell has become a popular choice for homeowners looking to enhance the security and convenience of their homes. However, there may come a time when you need to remove the Ring Doorbell, whether it’s for maintenance, replacement, or simply because you’re moving to a new house. Removing a Ring Doorbell may seem like a daunting task, but with the right tools and a step-by-step approach, it can be done easily and safely.
In this article, we will guide you through the process of removing a Ring Doorbell. We will discuss the tools you need, the steps to disconnect the power supply, remove the faceplate, detach the mounting bracket, and disconnect the wires. We will also cover optional steps like patching up the wall and reinstalling the Doorbell. So, if you’re ready, let’s get started.
Key Takeaways:
- Removing a Ring Doorbell is a straightforward process that requires the right tools, careful disconnection of power, and gentle handling of components. Prioritize safety and consider patching up the wall for a seamless finish.
- Reinstalling a Ring Doorbell involves choosing a suitable location, securely attaching the mounting bracket, reconnecting the wires, and testing the functionality. Follow the user manual for specific instructions and troubleshooting tips.
Read more: How Do You Reset A Ring Doorbell
Step 1: Gathering the necessary tools
Before you begin the process of removing your Ring Doorbell, it’s essential to gather all the necessary tools. Having the right tools at hand will make the process much smoother and minimize the risk of damage to the Doorbell or your property. Here are the tools you’ll need:
- Screwdriver: You’ll need a screwdriver with the appropriate size and type of head that fits the screws on the Doorbell.
- Wire stripper: If you need to disconnect the wires, a wire stripper will come in handy to safely remove the insulation from the wires.
- Electrical tape: Electrical tape is useful for securing the wires and preventing any accidental contact or short circuit.
- Optional: Patching materials: If you plan to patch up the wall after removing the Doorbell, you may need spackle, sandpaper, and matching paint to restore the wall to its original condition.
Having these tools prepared will save you time and ensure that you have everything you need to successfully remove the Ring Doorbell. Now that you have your tools ready, let’s move on to the next step: disconnecting the power supply.
Step 2: Disconnecting the power supply
Before you start removing your Ring Doorbell, it’s crucial to disconnect the power supply to ensure your safety and prevent any electrical accidents. Follow these steps to disconnect the power supply:
- Locate the breaker: Identify the circuit breaker that controls the power supply to your Ring Doorbell. This will usually be labeled with the appropriate label or switch in your electrical panel.
- Switch off the breaker: Once you’ve located the breaker, switch it off to cut off power to the Doorbell. This step is crucial to avoid any electrical shocks or accidents during the removal process.
- Verify power cutoff: To ensure that the power is truly disconnected, test the Doorbell by pressing the button. If it doesn’t ring or light up, you can proceed to the next step.
By disconnecting the power supply, you’re taking the necessary precautionary measures to work safely around the Doorbell. This prevents any electrical mishaps and ensures your well-being. With the power safely disconnected, we can now move on to the next step: removing the faceplate.
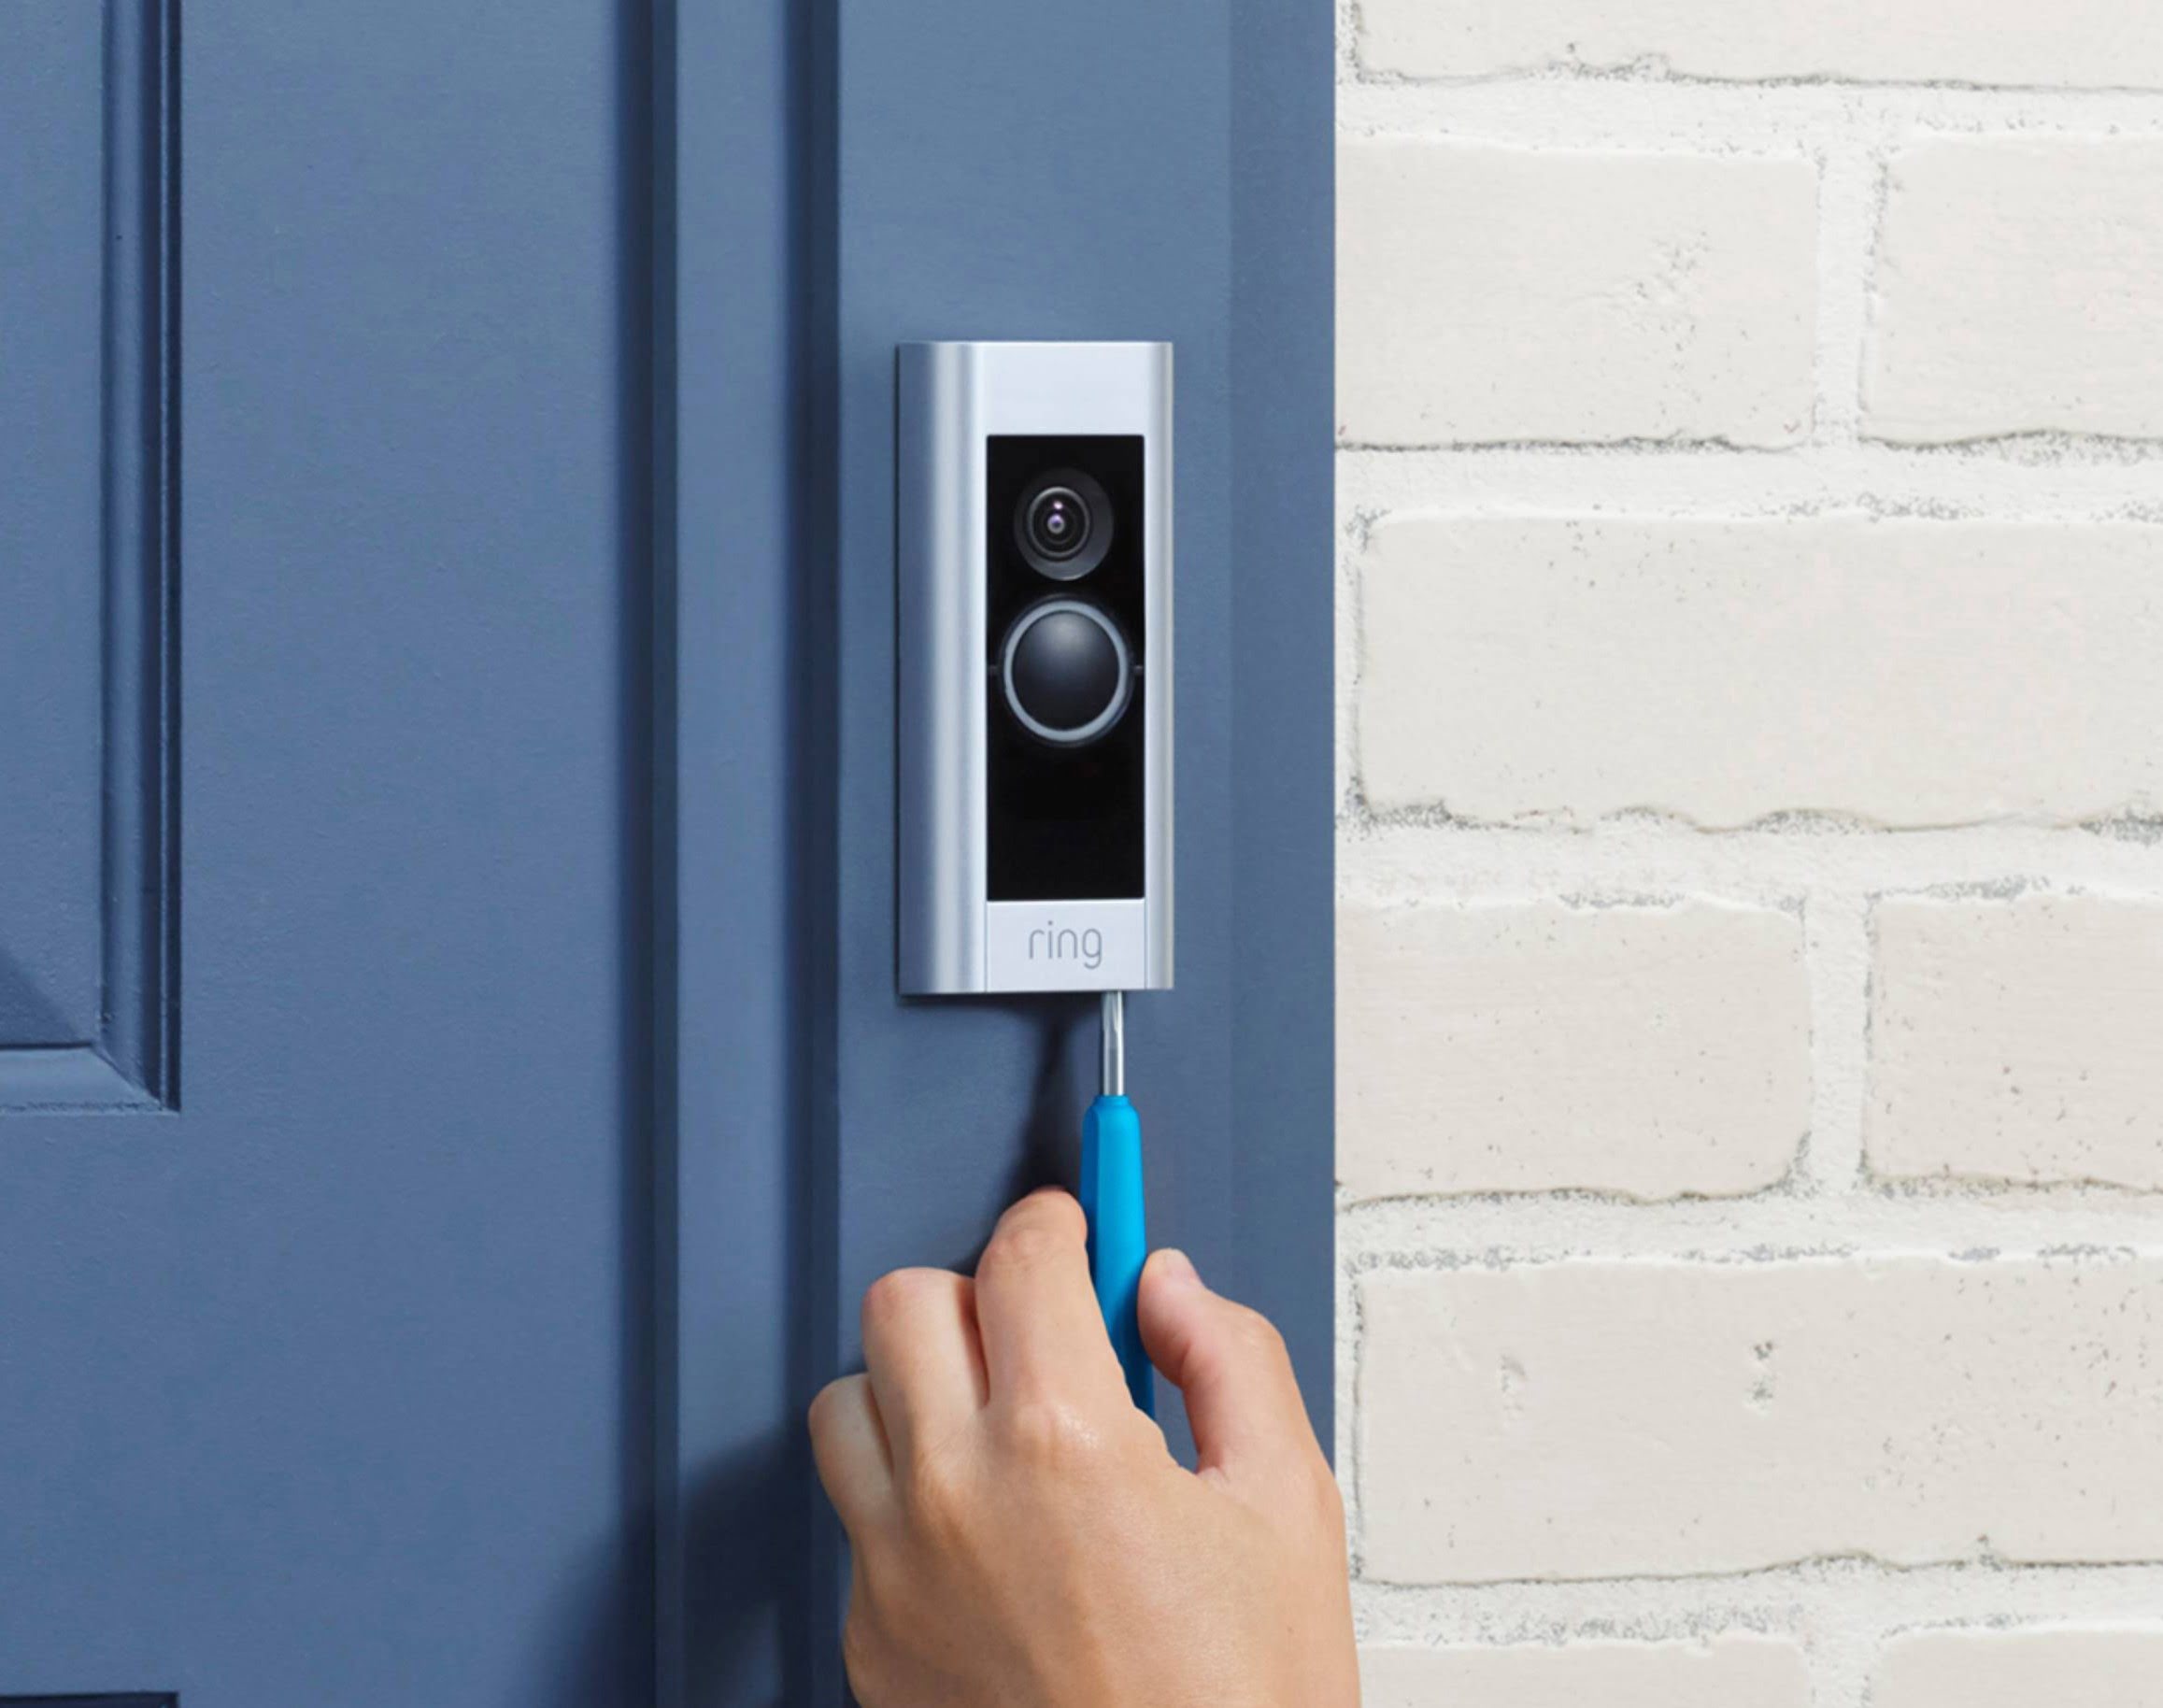
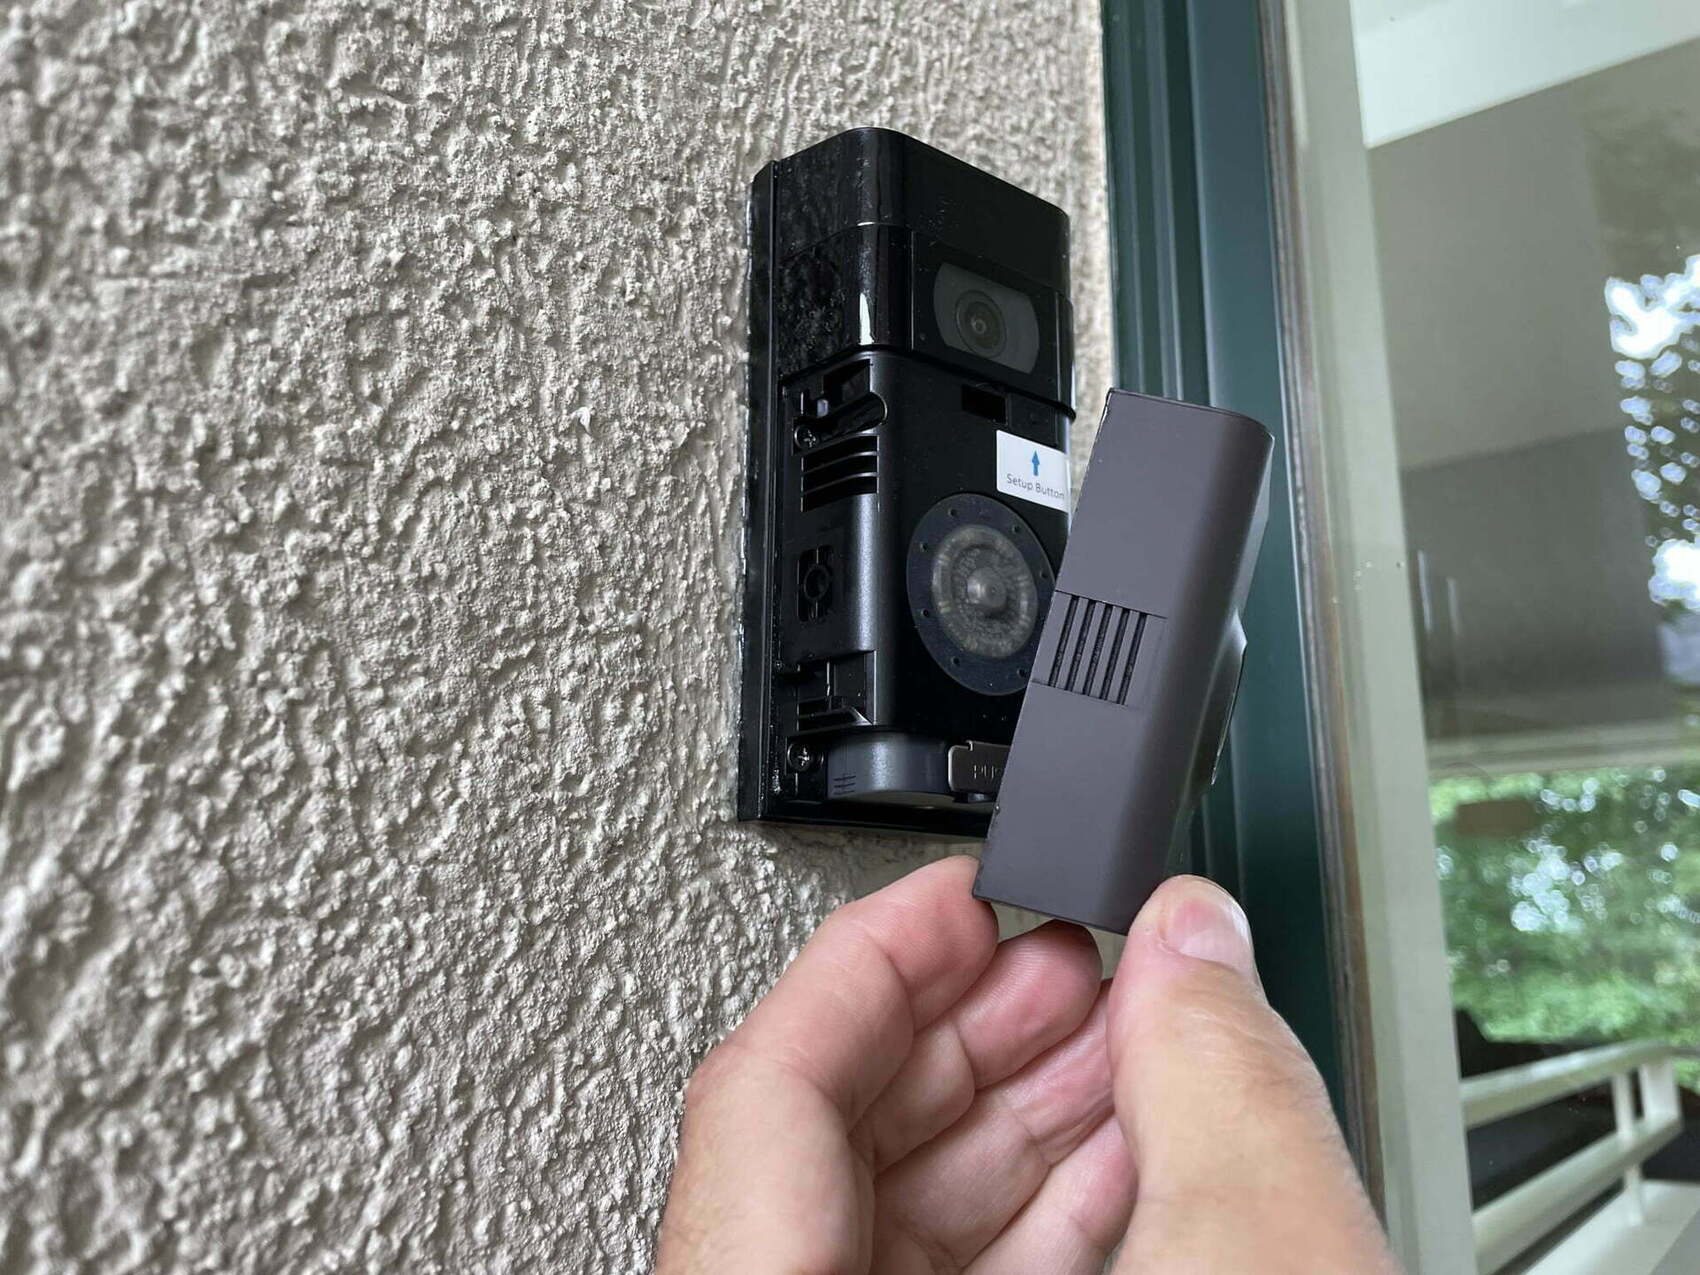
Step 3: Removing the faceplate
With the power supply disconnected, the next step in removing your Ring Doorbell is to remove the faceplate. Here’s how you can do it:
- Locate the faceplate: The faceplate is the front cover of the Doorbell, usually made of plastic. It is the part of the Doorbell that contains the camera and the Ring logo.
- Look for release tabs: On the sides or bottom of the faceplate, you may find small release tabs or screws that hold it in place. Look for these tabs or screws and take note of their positions.
- Release the faceplate: Depending on the model, you may need to press or lift the release tabs or use a screwdriver to loosen the screws. Gently pull or slide the faceplate away from the mounting bracket to detach it.
It’s important to be gentle and take your time when removing the faceplate to avoid any damage. If you encounter any resistance, check for any additional screws or tabs that may be securing it. Once the faceplate is removed, set it aside in a safe place.
Now that you have successfully removed the faceplate, it’s time to move on to the next step: detaching the mounting bracket.
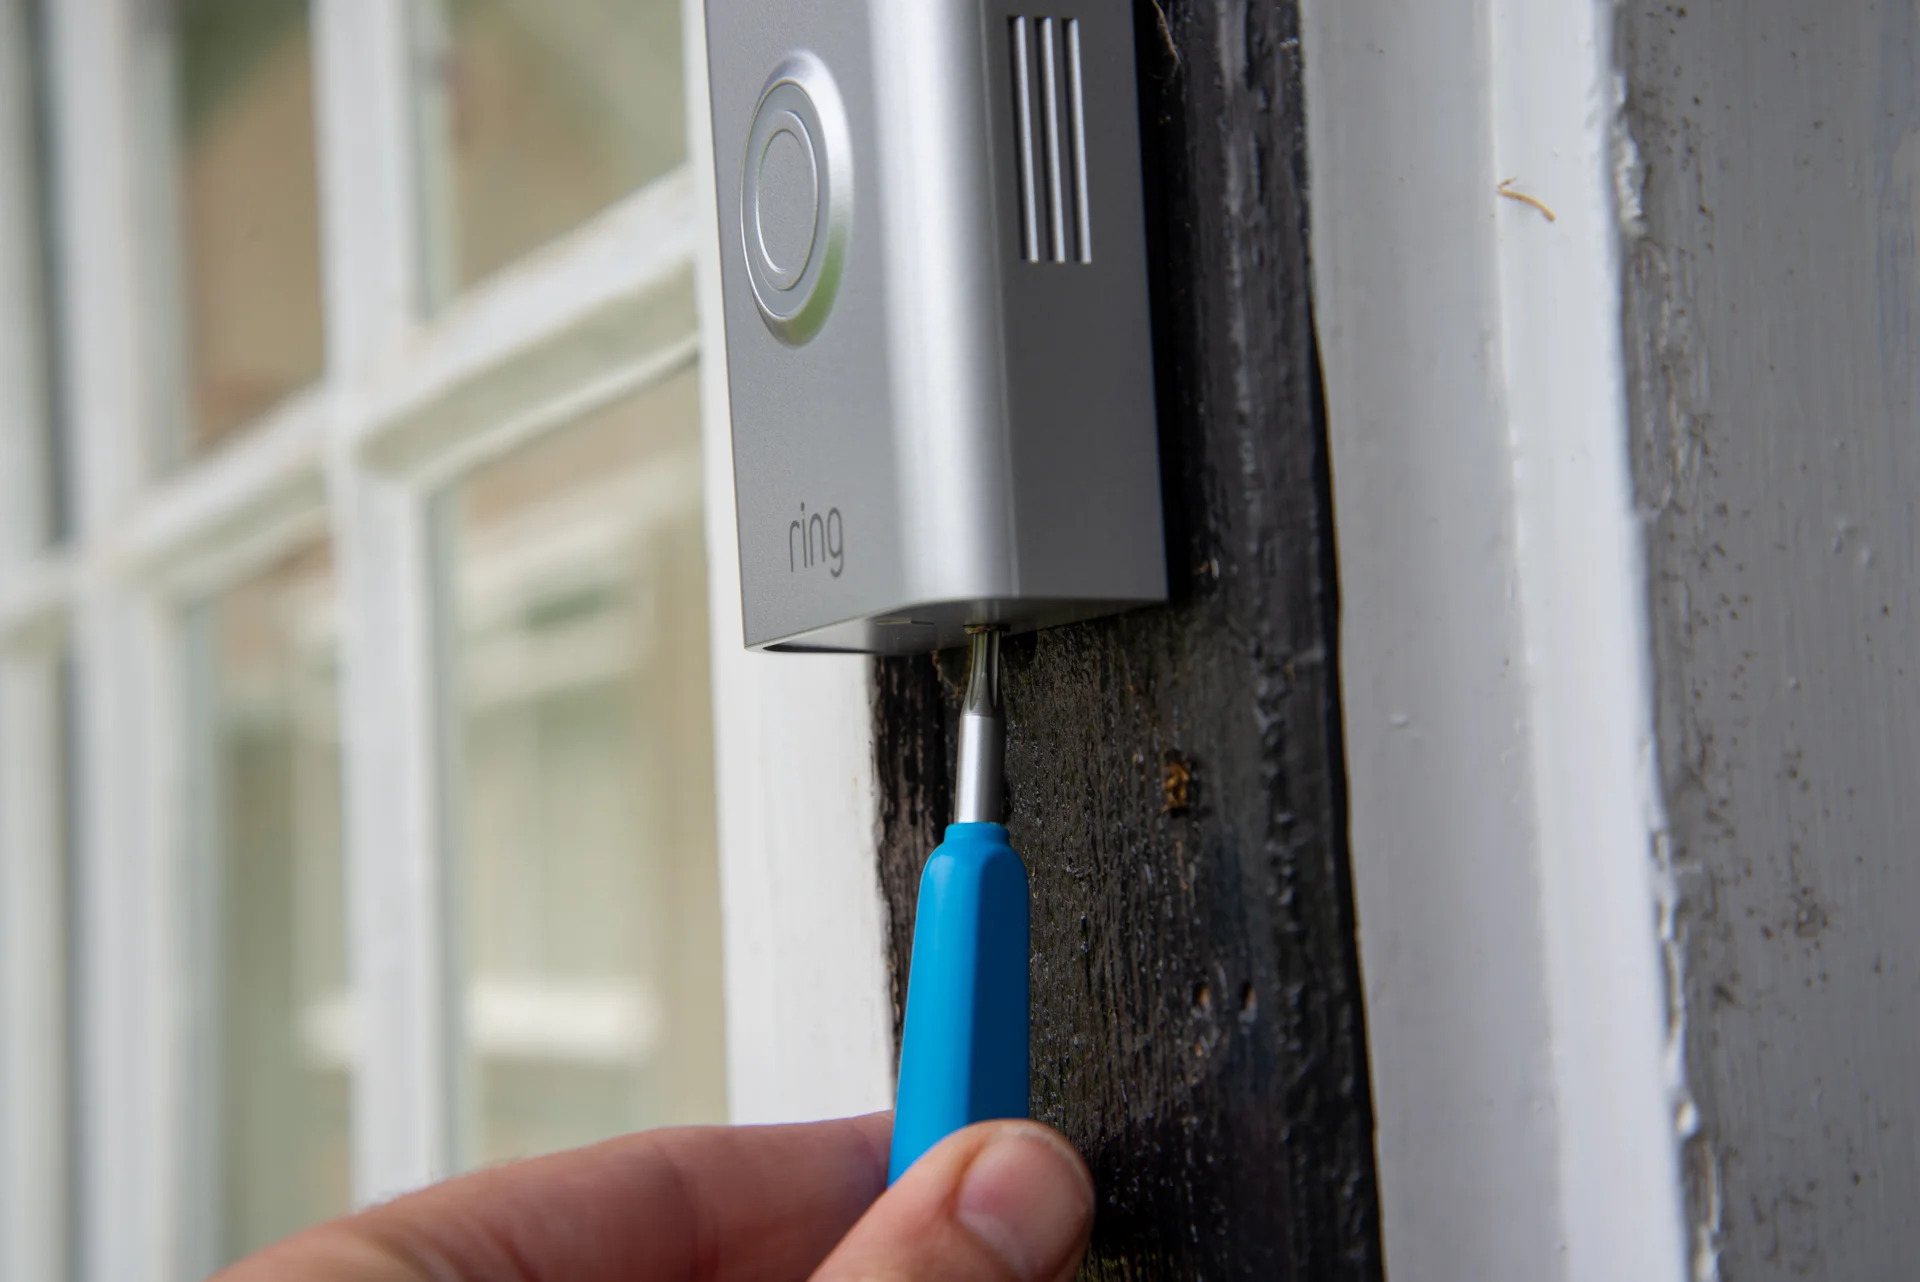
Step 4: Detaching the mounting bracket
Once you have removed the faceplate of your Ring Doorbell, the next step is to detach the mounting bracket from the wall. Here’s how you can do it:
- Inspect the mounting bracket: Take a close look at the mounting bracket, which is the part that attaches the Doorbell to the wall. Look for any screws or clips that secure it in place.
- Remove the screws or clips: If there are screws, use a screwdriver to loosen and remove them. If there are clips, press or squeeze them to release the mounting bracket.
- Gently detach the mounting bracket: Once the screws or clips are removed, you can carefully pull the mounting bracket away from the wall. Be cautious not to damage the wires or any other components.
It’s important to handle the mounting bracket with care and avoid exerting excessive force. If you encounter any difficulties or resistance, double-check if there are any hidden screws or additional clips that need to be removed.
With the mounting bracket detached, the next step is to disconnect the wires from the Doorbell. This will be covered in the next step, so let’s proceed to Step 5.
To remove a Ring doorbell, first, turn off the power supply. Then, use a screwdriver to remove the mounting screws and gently detach the doorbell from the mounting bracket. Be careful not to damage the wires during the process.
Read more: How Do You Hardwire A Ring Doorbell
Step 5: Disconnecting the wires
After detaching the mounting bracket, the next step is to disconnect the wires from your Ring Doorbell. Here’s a guide on how to do it:
- Identify the wires: Take a close look at the wires connected to your Doorbell. Usually, there will be two wires: one for power (usually red or black) and one for the doorbell chime (usually white or green).
- Prepare the wires: If necessary, strip off a small section of the wire’s insulation using a wire stripper. This will expose the copper wire for easier disconnection.
- Disconnect the wires: Carefully unscrew or release the wire connections from the terminals on the back of the Doorbell. Twist the wires gently to remove them from the terminals.
It’s essential to handle the wires with care to prevent any damage or accidental disconnection. If you encounter any difficulties, refer to the user manual for your specific Ring Doorbell model or seek professional assistance.
With the wires disconnected, you have successfully completed the necessary steps to remove the Ring Doorbell from its mounting location. However, if you plan on reinstalling the Doorbell or if the wall requires patching, you may want to continue following the optional steps outlined in the article.
In the next step, we will discuss how to remove the Doorbell itself from the mounting bracket. Let’s proceed to Step 6.
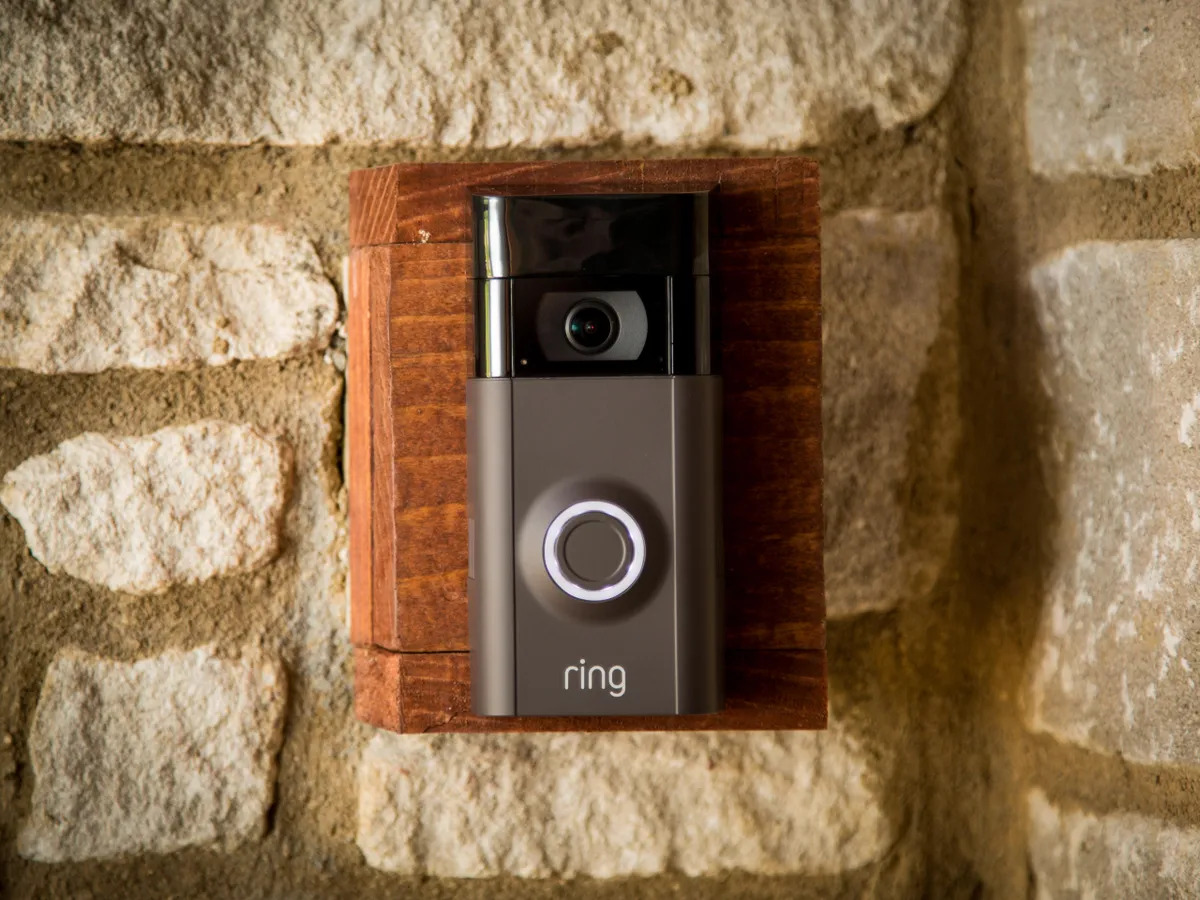
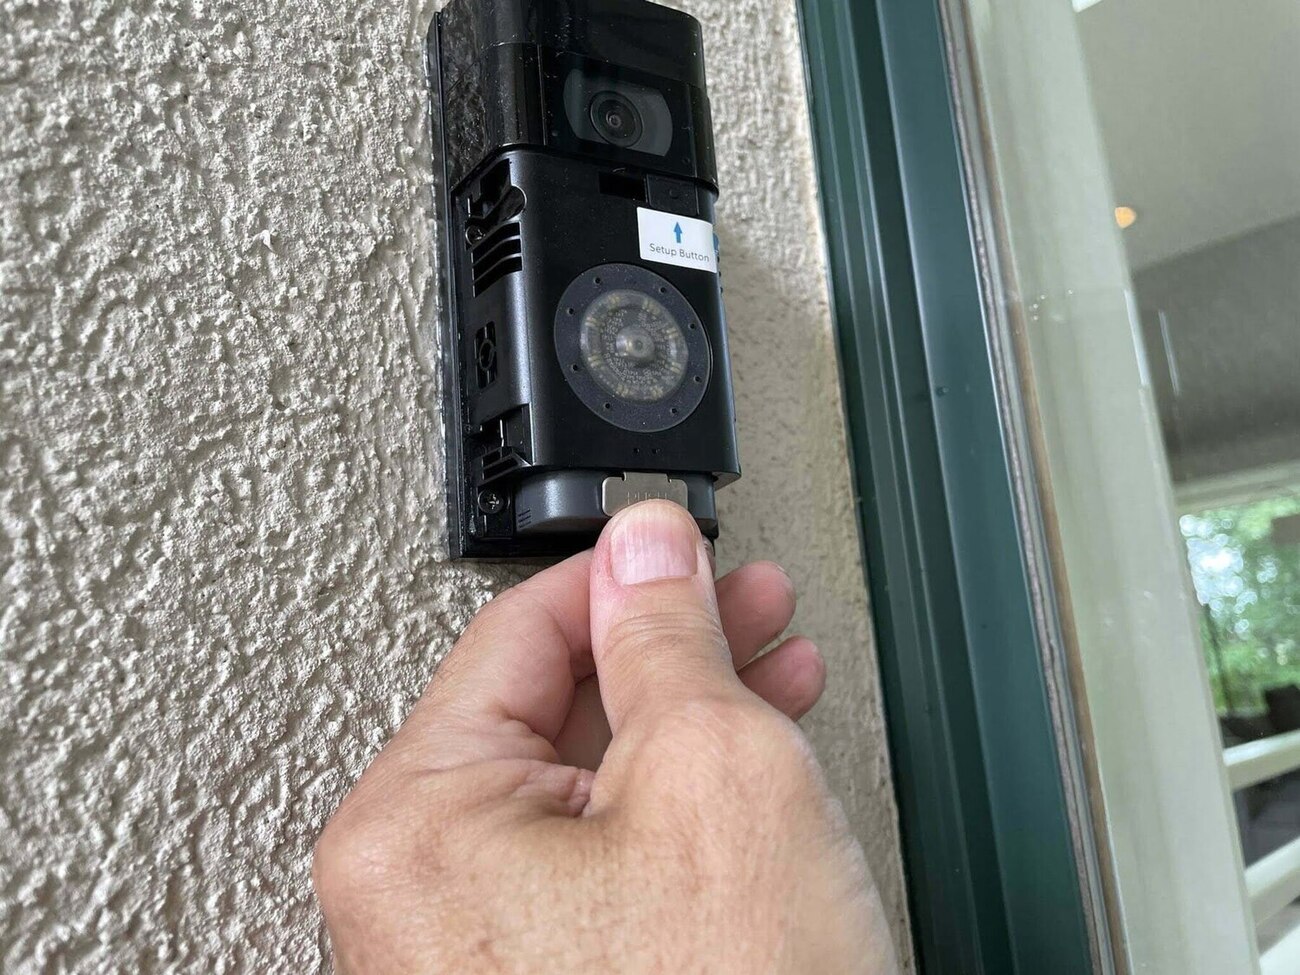
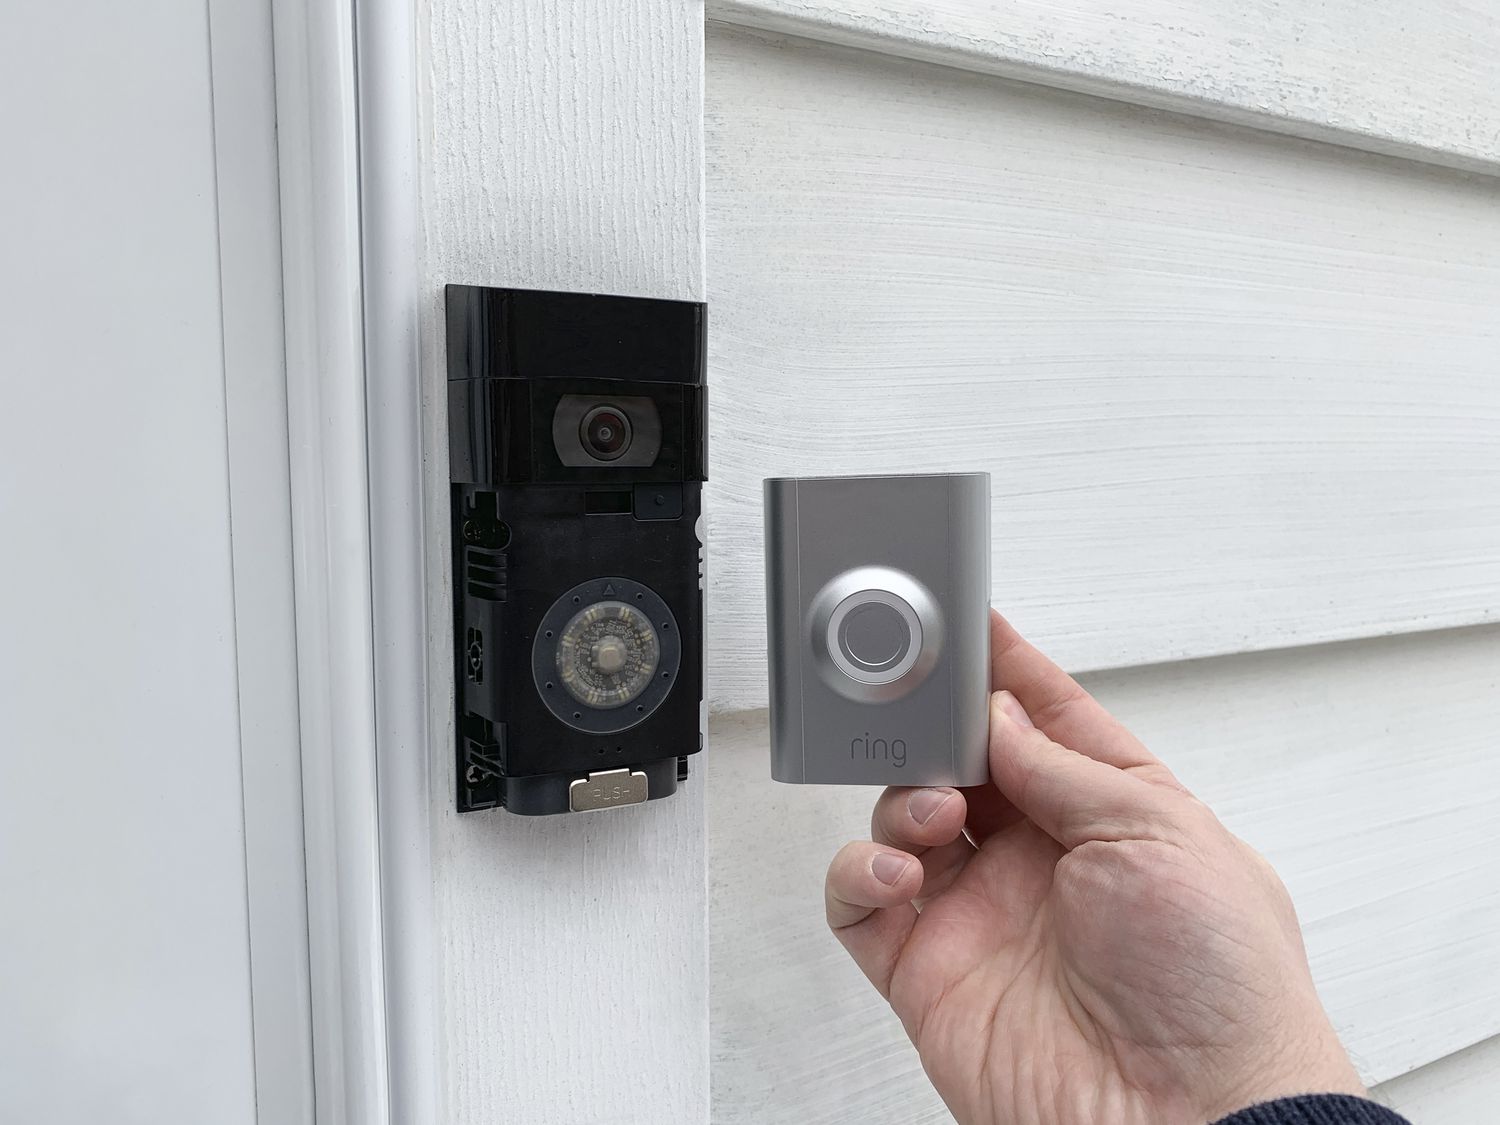
Step 6: Removing the Doorbell from the mounting bracket
Now that you have detached the mounting bracket and disconnected the wires, the next step is to remove the Ring Doorbell itself from the bracket. Follow these steps to complete the process:
- Inspect the Doorbell: Take a moment to examine your Ring Doorbell and the mounting bracket. Look for any tabs, buttons, or screws that may be securing the Doorbell to the bracket.
- Release the Doorbell: Depending on the model, you may need to press a release button or gently slide the Doorbell sideways to disengage it from the mounting bracket. Refer to the user manual if necessary.
- Detach the Doorbell: Once the Doorbell is released, carefully lift it off the mounting bracket. Hold the Doorbell firmly to prevent it from accidentally falling or being damaged.
It’s crucial to handle the Ring Doorbell with care, as it contains delicate electronic components. Avoid applying excessive force or dropping the Doorbell during the removal process.
With the Doorbell successfully removed from the mounting bracket, you have completed the main steps to remove the Ring Doorbell. However, depending on your specific circumstances, you may want to consider the optional steps of patching up the wall and reinstalling the Doorbell, which will be covered in the following steps.
Let’s move on to Step 7, which discusses the option of patching up the wall after removing the Doorbell.
Step 7: Patching up the wall (optional)
If you have decided to remove your Ring Doorbell permanently or if you want to restore the wall to its original condition after removing the Doorbell, you may want to consider patching up the wall. Here’s how you can do it:
- Gather the necessary materials: To patch up the wall, you will need spackle or joint compound, a putty knife, sandpaper, and matching paint.
- Prepare the surface: Clean the area around the mounting bracket to remove any dust or debris. Use a damp cloth or a mild cleaner if necessary.
- Apply the spackle or joint compound: Use the putty knife to apply a thin layer of spackle or joint compound over the holes or marks left by the mounting bracket. Smooth it out and let it dry according to the manufacturer’s instructions.
- Sand and smooth the patched area: Once the spackle or joint compound is completely dry, use sandpaper to gently sand the patched area until it is smooth and level with the surrounding wall.
- Paint the patched area: Finally, apply a coat of matching paint to the patched area to blend it seamlessly with the rest of the wall. Allow the paint to dry completely before moving on.
By patching up the wall, you can restore it to its original condition and create a seamless finish. This step is optional but recommended if you want to maintain the aesthetics of your wall, especially if you’re not planning to reinstall another Doorbell in the same location.
If you’re not interested in patching up the wall, you can skip to the concluding steps of this guide. Otherwise, let’s move on to Step 8, which covers the optional process of reinstalling the Doorbell.
Step 8: Reinstalling the Doorbell (optional)
If you have decided to reinstall your Ring Doorbell or if you’re moving to a new location and want to set it up again, you can follow these steps to reinstall the Doorbell:
- Prepare the mounting location: Choose a suitable location for mounting the Doorbell, ensuring it is within the Wi-Fi range and has a clear view of the desired area. Make sure the mounting surface is clean and free from dust or debris.
- Attach the mounting bracket: Using the appropriate screws or adhesive, attach the mounting bracket securely to the wall or door frame. Make sure the bracket is level and sturdy.
- Connect the wires: Reconnect the wires to the corresponding terminals on the back of the Doorbell. Ensure a secure connection by twisting the wires and tightening the terminal screws.
- Align and secure the Doorbell: Align the Doorbell with the mounting bracket and gently slide it into place. Depending on the model, you may need to press or slide the Doorbell to secure it to the bracket.
- Test the installation: Restore power to the Doorbell by flipping the circuit breaker switch back on. Test the Doorbell’s functionality by pressing the button to see if it rings and activates properly.
By following these steps, you can reinstall your Ring Doorbell and enjoy its security and convenience features once again. Remember to consult the user manual for your specific model for any additional instructions or troubleshooting tips.
With the Doorbell successfully reinstalled (if you chose to do so), you have completed the optional steps. Now it’s time to wrap up the process.
Read more: How Do You Hook Up A Ring Doorbell
Conclusion
Removing a Ring Doorbell may seem like a daunting task, but with the right tools and a systematic approach, it can be done easily and safely. In this guide, we have walked through the step-by-step process of removing a Ring Doorbell, from gathering the necessary tools to disconnecting the power supply, removing the faceplate, detaching the mounting bracket, and disconnecting the wires. We have also covered optional steps like patching up the wall and reinstalling the Doorbell.
Remember to always prioritize safety when working with electrical components. Disconnecting the power supply and using the appropriate tools will minimize the risk of accidents and ensure a smooth removal process. Take your time, be gentle, and double-check the user manual for your specific Ring Doorbell model if you encounter any difficulties or require further guidance.
Whether you are removing the Doorbell temporarily for maintenance or permanently, or if you are reinstalling it at a new location, following these steps will help you successfully complete the task. Consider patching up the wall if you want to restore it to its original condition or if you’re not planning to reinstall another Doorbell in the same location.
By removing and reinstalling your Ring Doorbell properly, you can maintain the security and convenience it provides for your home. Enjoy the peace of mind and enhanced functionality that your Ring Doorbell brings.
Remember, if you’re unsure or uncomfortable with any step of the process, it’s always recommended to seek assistance from a professional to ensure the job is done safely and correctly.
Frequently Asked Questions about How Do You Remove A Ring Doorbell
Was this page helpful?
At Storables.com, we guarantee accurate and reliable information. Our content, validated by Expert Board Contributors, is crafted following stringent Editorial Policies. We're committed to providing you with well-researched, expert-backed insights for all your informational needs.


0 thoughts on “How Do You Remove A Ring Doorbell”