Articles
How To Use Ryobi Laser Level
Modified: February 23, 2024
Learn how to use a Ryobi Laser Level with our informative articles. Enhance your DIY projects and achieve precise measurements with ease.
(Many of the links in this article redirect to a specific reviewed product. Your purchase of these products through affiliate links helps to generate commission for Storables.com, at no extra cost. Learn more)
Introduction
Welcome to our comprehensive guide on how to use the Ryobi Laser Level effectively. Whether you’re a seasoned professional or a DIY enthusiast, having a reliable and accurate laser level in your toolkit can greatly simplify projects such as hanging shelves, aligning tiles, or installing fixtures.
The Ryobi Laser Level is a popular choice among users due to its precision, durability, and user-friendly features. With its easy-to-use interface and reliable performance, this tool can significantly increase efficiency and accuracy in your projects.
In this article, we will provide you with an in-depth overview of the Ryobi Laser Level and guide you through the process of setting it up, calibrating it, and operating it effectively. Additionally, we will discuss common troubleshooting issues, offer tips and tricks for getting the most out of your laser level, and provide maintenance tips for ensuring its longevity.
Whether you are a professional contractor, a passionate DIYer, or simply someone looking to improve their precision in home improvement projects, this guide is designed to provide you with the knowledge and skills to make the most of your Ryobi Laser Level.
Key Takeaways:
- Proper setup and calibration of the Ryobi Laser Level are crucial for accurate and reliable measurements. Follow the user manual, choose the right mounting option, and perform calibration checks regularly to ensure optimal performance.
- Utilize the versatility of the Ryobi Laser Level by exploring different projection modes, using laser targets, and practicing proper maintenance. With attention to detail and regular care, you can maximize the tool’s accuracy and longevity.
Read more: How To Use Ryobi Multi Surface Laser Level
Overview of Ryobi Laser Level
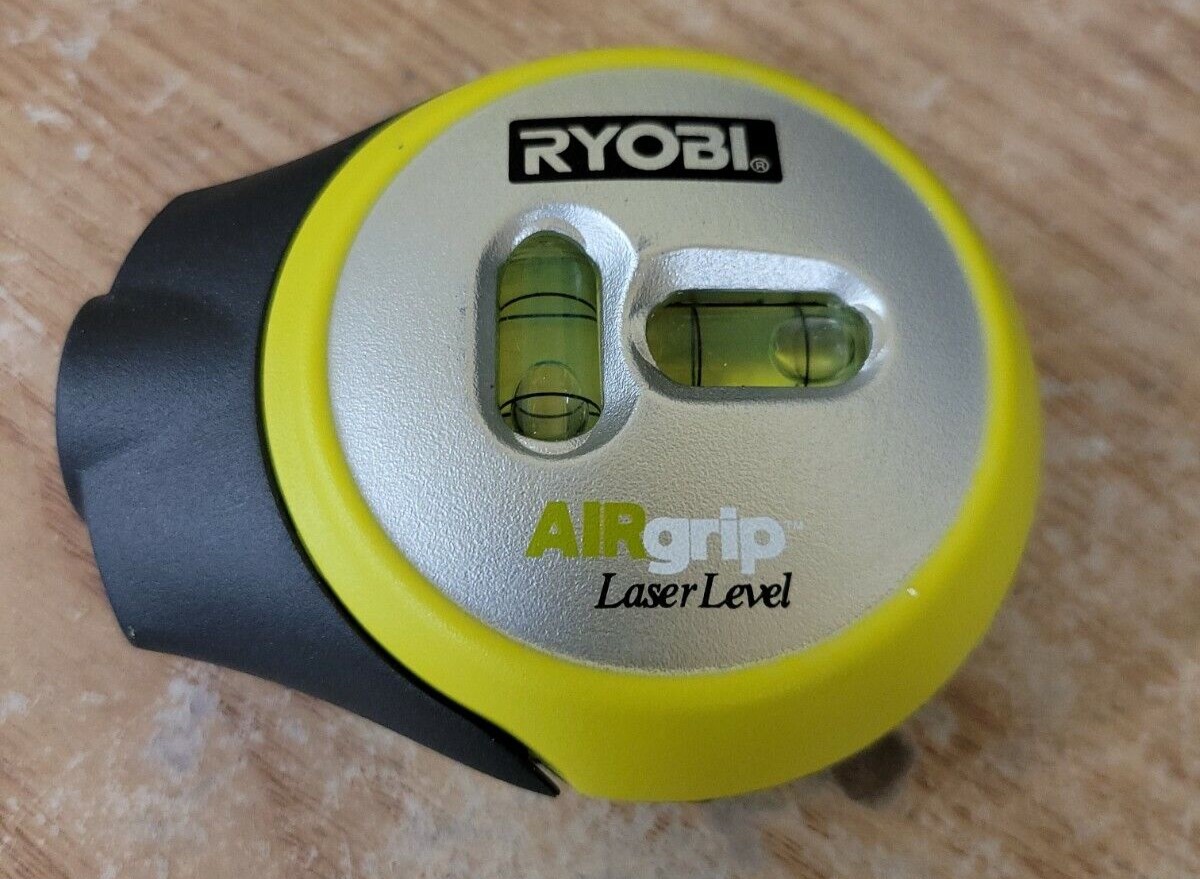
The Ryobi Laser Level is a versatile and highly functional tool that utilizes laser technology to provide accurate and reliable leveling and alignment. It is designed to simplify a wide range of construction, decoration, and installation tasks, making it an essential tool for professionals and DIY enthusiasts alike.
One of the standout features of the Ryobi Laser Level is its high level of accuracy. With precise laser beams, it ensures that your measurements and alignments are spot-on, saving you time and effort in getting the desired results. The laser level also offers both horizontal and vertical leveling options, allowing for a variety of applications.
The Ryobi Laser Level comes with a range of useful features to enhance usability. It typically includes a self-leveling mechanism, which automatically adjusts the laser beams to ensure they are perfectly level or plumb. This feature eliminates the need for manual adjustments and helps maintain consistent accuracy throughout the project.
Furthermore, the Ryobi Laser Level often features a variety of projection modes, such as single line, cross line, or even rotary mode. This allows you to choose the appropriate projection pattern based on the task at hand, whether it be straight lines for alignment or a cross pattern for perpendicularity.
The laser level is generally compact and lightweight, making it easy to handle and transport to different job sites. It often comes with a sturdy tripod or mounting bracket, providing stability and flexibility in positioning. Some models even offer additional connectivity options, allowing you to connect to smartphones or tablets for remote control and measurement recording.
Ryobi is a well-known and reputable brand in the power tool industry, known for producing high-quality and reliable products. The Ryobi Laser Level is no exception, offering durability, dependability, and a long lifespan. It is designed to withstand the rigors of construction environments and is built to last.
Overall, the Ryobi Laser Level is a valuable tool for anyone involved in construction, remodeling, or home improvement projects. Its precision, ease of use, and versatility make it a must-have addition to any tool collection, enabling you to achieve professional-level results with ease.
Getting Started with Ryobi Laser Level
Before using your Ryobi Laser Level, it’s important to familiarize yourself with the tool and ensure that you have all the necessary equipment at hand. Follow these steps to get started:
- Read the Manual: Start by reading the user manual provided with your Ryobi Laser Level. This will give you important information about the tool’s features, operating instructions, safety precautions, and maintenance guidelines. It’s crucial to understand these details before operating the laser level.
- Gather the Required Equipment: Make sure you have all the necessary accessories and equipment for using the Ryobi Laser Level. This typically includes the laser level itself, batteries or a power adapter, a tripod or mounting bracket, and any additional accessories that may have come with your specific model.
- Prepare the Work Area: Clear the work area of any obstacles or debris that may interfere with the laser level’s accuracy. Remove any objects that could obstruct the laser’s path, such as furniture, curtains, or plants. This will ensure unobstructed laser projection and accurate measurements.
- Ensure the Laser Level is Level: Before using the laser level, it’s important to check that it is properly calibrated and level. Most Ryobi Laser Levels feature a self-leveling mechanism, which automatically adjusts the laser beams to be perfectly level. However, it’s a good practice to manually check the levelness to ensure accurate results.
- Power On the Laser Level: Depending on the model, power on the laser level by inserting the batteries or connecting the power adapter. Ensure that the power source is properly connected and functioning.
- Mount the Laser Level: Attach the Ryobi Laser Level to the included tripod or mounting bracket. This will provide stability and flexibility in positioning the laser level for various applications. Make sure the laser level is securely attached to prevent any accidental movement during use.
Once you have completed these steps, you are now ready to start using your Ryobi Laser Level. Keep in mind that proper setup and calibration are crucial for accurate results, so it’s important to take the time to ensure everything is in order before proceeding with your project. Now, let’s move on to setting up the laser level for optimal performance.
Setting up the Laser Level
Properly setting up your Ryobi Laser Level is essential to ensure accurate and reliable measurements. Follow these steps to set up your laser level:
- Choose the Appropriate Mounting Option: Depending on the nature of your project, select the mounting option that best suits your needs. If you’re working on a flat surface, a tripod is often the most convenient option. If you need to mount the laser level on a wall or ceiling, use the included mounting bracket or a compatible bracket.
- Position the Tripod or Mounting Bracket: Place the tripod or mounting bracket in the desired location, keeping in mind the levelness and stability of the surface. Adjust the height and position of the tripod legs as needed to ensure a secure and level setup.
- Attach the Laser Level: Install the Ryobi Laser Level onto the tripod or mounting bracket according to the manufacturer’s instructions. Ensure that the laser level is securely attached to prevent any movement during operation.
- Level the Laser: Most Ryobi Laser Levels come with a self-leveling feature. Once the laser level is mounted, it will automatically level itself within a few seconds. However, it’s a good idea to double-check the levelness manually using the built-in bubble vials or a separate bubble level to ensure accurate results.
- Position the Laser Target: If your laser level includes a laser target, position it at the desired location where you will be making your measurements. This will aid in accurately aligning and measuring distances.
- Adjust the Projection Mode: Depending on your project requirements, select the appropriate projection mode on the laser level. This can be a single horizontal or vertical line, a crosshair pattern, or a rotary mode for 360-degree projection. Refer to the user manual for instructions on adjusting the projection mode.
- Power On and Test the Laser: Once everything is set up, power on the laser level and test the projection. Ensure that the laser beams are visible and aligned properly according to your desired measurements. If adjustments are needed, follow the manual’s instructions for fine-tuning the alignment.
By following these steps, you can properly set up your Ryobi Laser Level and ensure that it is ready for accurate and reliable measurements. Taking the time to set up the laser level correctly will save you time and effort throughout your project, as it will provide you with precise measurements and alignments.
Calibrating the Laser Level
Calibrating your Ryobi Laser Level is an important step to ensure its accuracy and reliability. Calibration adjusts the laser level’s internal components to compensate for any potential errors and deviations. Follow these steps to calibrate your laser level:
- Refer to the User Manual: The first step in calibrating your laser level is to refer to the user manual provided by Ryobi. It will contain specific instructions and guidelines for calibrating your particular model. Familiarize yourself with the manual’s instructions before proceeding.
- Find a Suitable Calibration Area: Look for a stable, level surface to perform the calibration. It’s crucial to choose a location where the laser level can be positioned securely and without any external disturbances.
- Place the Laser Level: Position the laser level on the chosen surface, ensuring that it is stable and level. Use the built-in bubble vials or a separate bubble level to confirm that the laser level is properly aligned. Make any necessary adjustments to achieve a level position.
- Power On the Laser: Turn on the laser level by inserting fresh batteries or connecting the power adapter as instructed by the user manual. Allow the laser level to stabilize and self-level if it has an automatic leveling feature.
- Perform Test Measurements: Use a reliable measuring tool, such as a tape measure, to perform test measurements both horizontally and vertically. Take multiple measurements at different distances and check for any discrepancies or deviations from the desired measurements.
- Adjust the Calibration Controls: If you notice any inconsistencies in the measurements, consult the user manual to locate the calibration controls on your laser level. These controls may be accessible through buttons or screws, depending on the model.
- Follow Calibration Instructions: Carefully follow the calibration instructions provided in the user manual. This often involves making minor adjustments to the laser level’s internal components to align the measurements accurately. Use the measurements taken in step 5 as a reference.
- Perform Repeated Test Measurements: After making the calibration adjustments, repeat the test measurements to check if the laser level now provides accurate and consistent results. Continue to fine-tune as needed until the measurements align with your expectations.
- Record Calibration Information: It’s advisable to keep a record of the calibration parameters for future reference. This will help you ensure the laser level’s accuracy in subsequent projects and make any necessary recalibration easier.
By following these steps and referring to the user manual, you can accurately calibrate your Ryobi Laser Level. Calibration is crucial in maintaining the tool’s accuracy and ensuring reliable measurements throughout your projects.
When using a Ryobi laser level, make sure to calibrate it on a flat, stable surface before use to ensure accurate measurements and leveling.
Operating the Laser Level
Operating the Ryobi Laser Level is a straightforward process once it is properly set up and calibrated. To make the most of this versatile tool, follow these operating steps:
- Power On the Laser Level: Turn on the laser level by pressing the power button or switch as indicated by the user manual. Ensure that the power source, whether it be batteries or a power adapter, is providing sufficient power.
- Select the Projection Mode: Depending on your project requirements, choose the appropriate projection mode on the laser level. This can include a single line, cross lines, or a rotary mode for 360-degree projection. Refer to the user manual for specific instructions on selecting the projection mode.
- Position the Laser Level: Place the laser level in the desired location, ensuring that it is stable and securely mounted. Adjust the tripod or mounting bracket as needed to achieve the desired position and angle for the laser projection.
- Fine-Tune the Projection: Use the leveling controls or adjustment knobs provided on the laser level to fine-tune the projection. Align the laser beam(s) with your desired reference points, such as a level line or target. Make small adjustments until the laser lines are precisely where you need them.
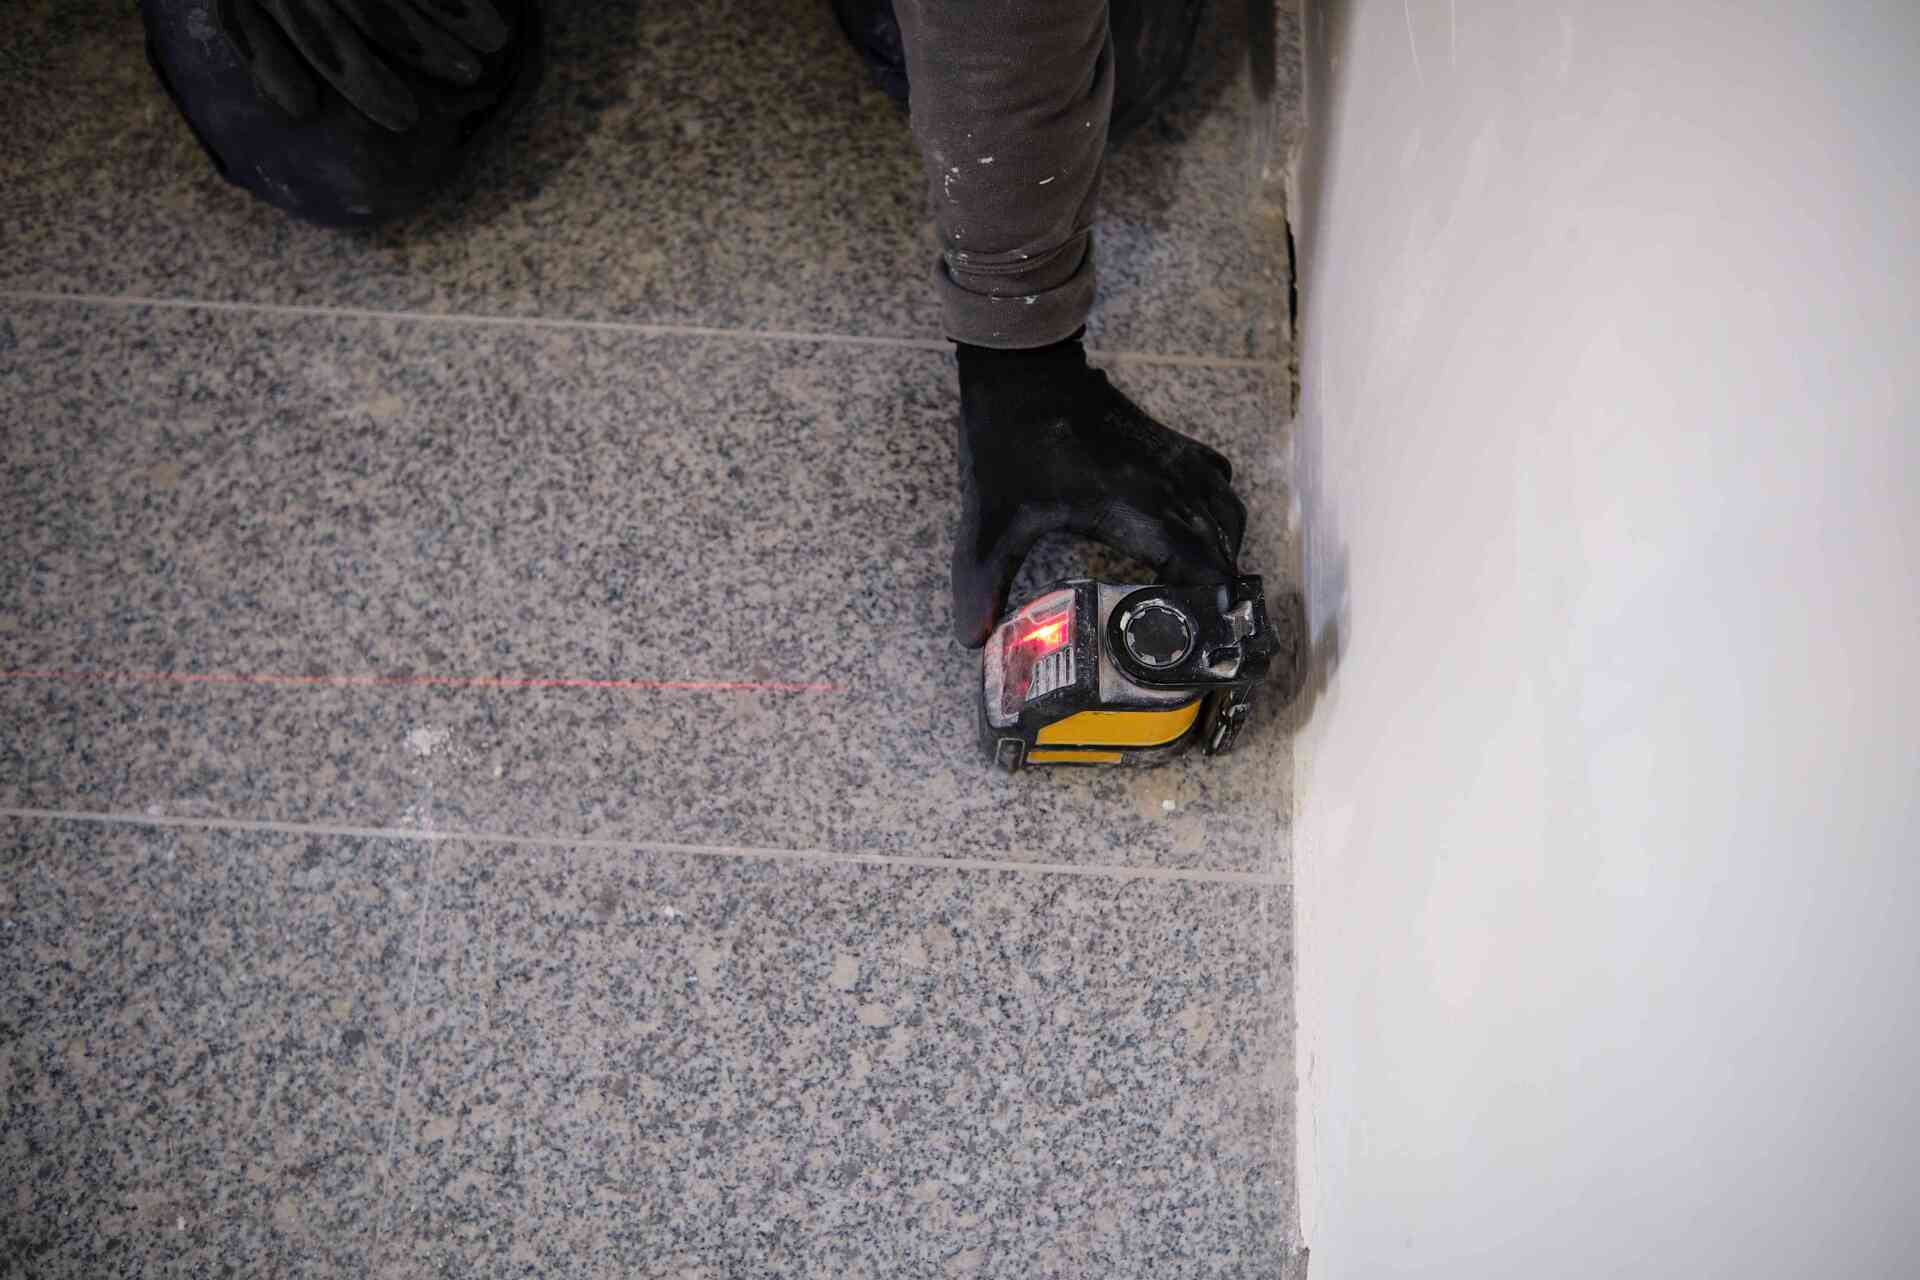
- Make Measurements and Alignments: With the laser lines projected, use them as a guide to make measurements and alignments. For example, if you’re hanging shelves, align the laser line with the desired height and use it as a reference for installing brackets. Use a tape measure or ruler to ensure accurate distances and alignments.
- Secure the Laser Level: Once you have completed the measurements and alignments, secure the laser level in place. Ensure that it remains stable and that the projection lines remain aligned. This will prevent accidental movement and maintain the accuracy of your measurements.
- Properly Store the Laser Level: After use, turn off the laser level and store it in a safe and dry place. Protect it from extreme temperatures, moisture, and any potential damage. This will help prolong the lifespan and reliability of your Ryobi Laser Level.
Remember to always prioritize safety when operating the laser level. Avoid looking directly into the laser beams and use caution when handling the tool. If using the laser outdoors, be mindful of potential interferences such as bright sunlight or other sources of strong light that may affect visibility.
By following these operating steps, you can effectively use your Ryobi Laser Level to achieve precise measurements, alignments, and projections in a variety of projects. Enjoy the convenience and accuracy this tool brings to your construction, decoration, or home improvement endeavors.
Troubleshooting Common Issues
While the Ryobi Laser Level is designed to be reliable and accurate, you may encounter some common issues during use. Here are troubleshooting tips for addressing these issues:
- Weak or Dim Laser Beams: If you notice that the laser beams appear weak or dim, first check the power source. Ensure that the batteries are fully charged or replace them if needed. If using a power adapter, confirm that it is functioning properly. Additionally, clean the laser lens using a soft, lint-free cloth to remove any debris or dirt that may be obstructing the laser beams.
- Inaccurate Readings: If the laser level is providing inconsistent or inaccurate measurements, start by checking the levelness of the tool. Ensure that it is properly calibrated and mounted securely. If needed, recalibrate the laser level using the steps outlined in the calibration section. It’s also possible that the surface you are working on is uneven or not suitable for precise measurements. Consider placing a leveling base or adjusting the position to achieve better accuracy.
- Self-Leveling Not Working: If the self-leveling feature is not functioning properly, ensure that the laser level is placed on a stable and level surface. If the surface is uneven or the tool is positioned at an extreme angle, the self-leveling mechanism may not work as expected. Double-check the leveling bubble vials and make manual adjustments to achieve levelness.
- Interference from Ambient Light: Excessive ambient light can affect the visibility of the laser beams. If you are working in a brightly lit environment, try adjusting the intensity of the laser beams if your laser level has that option. You can also use a laser target or a laser enhancement tool to improve visibility in challenging lighting conditions.
- Battery Life Issues: If you are experiencing shorter battery life than expected, first ensure that you are using high-quality batteries and that they are fully charged. Consider using rechargeable batteries to save on costs and reduce waste. If the battery drainage persists, it may indicate a power consumption issue with the laser level. Contact the manufacturer or refer to the user manual for further assistance.
- Malfunctioning Controls or Buttons: If you find that the controls or buttons on the laser level are not responding or behaving erratically, check for any debris or dirt that may be affecting their functionality. Clean the controls using a soft cloth and ensure proper contact. If the issue persists, contact the manufacturer for further troubleshooting or repair options.
If you encounter any other issues with your Ryobi Laser Level that are not addressed here, it is recommended to consult the user manual or reach out to the manufacturer’s customer support for assistance. They can provide specific troubleshooting instructions or guide you through any necessary repairs or replacements.
By troubleshooting common issues, you can maximize the performance and longevity of your Ryobi Laser Level, ensuring that it remains a reliable tool for your projects.
Tips and Tricks for Using Ryobi Laser Level
Mastering the use of your Ryobi Laser Level can greatly improve your efficiency and accuracy in a wide range of projects. Here are some tips and tricks to help you get the most out of your laser level:
- Choose the Appropriate Projection Mode: Take advantage of the different projection modes available on your Ryobi Laser Level. Use a single line for simple alignments, cross lines for perpendicular setups, and rotary mode for full-room leveling or layout tasks. Understanding the capabilities of each mode will enhance your project outcomes.
- Use Laser Targets: Laser targets can make it easier to see the laser beams in bright or distant conditions. Place the laser target at the desired location to help guide your measurements accurately. This is especially useful for outdoor applications or when working in well-lit areas.
- Make Use of the Pulse Mode: If your Ryobi Laser Level has a pulse mode, utilize it when working with a laser detector. This mode allows the laser beam to be detected at greater distances, making it ideal for outdoor or long-range measurements.
- Work in Dimly Lit Conditions: To enhance the visibility of the laser beams in dimly lit conditions, adjusting the brightness or intensity of the beams can be helpful. Use the controls provided on your laser level to adjust the beam brightness to a level that suits the environment and your needs.
- Utilize the Locking Mechanism: Some Ryobi Laser Level models come with a locking mechanism to secure the laser position during transportation or when not in use. Engage the locking mechanism to prevent accidental movements and maintain the laser level’s alignment.
- Create Reference Points: When working on complex projects or multiple measurements, create reference points by marking the laser lines onto surfaces or using removable adhesive tape. This will allow you to quickly refer back to the laser lines for consistent measurements and alignments.
- Pair with a Digital Leveling App: Some Ryobi Laser Levels can be connected to smartphone apps for additional features and convenience. These apps can provide measurements, remote control options, and even save project data for future reference. Explore the compatibility and functionality of your laser level with these apps.
- Use a Tripod for Stability: For accurate and stable measurements, use the tripod included with your Ryobi Laser Level. Positioning the laser level on a tripod allows for easy adjustments and ensures consistent alignment. It also frees up your hands, enabling you to make measurements or adjustments more easily.
- Regularly Check Calibration: Keep an eye on the calibration of your Ryobi Laser Level to ensure accurate measurements. Even with a self-leveling feature, occasional manual calibration or verification may be necessary. Perform calibration checks regularly, especially when starting a new project or if you suspect any deviation from accurate readings.
- Practice Proper Maintenance: Regularly clean the laser level and its components to maintain its performance. Wipe the lens and body with a soft, lint-free cloth to remove dust and debris. Store the laser level in a protective case or box when not in use to prevent damage, and avoid exposing it to extreme temperatures or moisture.
By implementing these tips and tricks, you can enhance your efficiency, accuracy, and overall experience when using your Ryobi Laser Level. With practice and familiarity, you’ll become a confident user capable of tackling a wide variety of projects with precision.
Maintenance and Care of the Laser Level
Proper maintenance and care of your Ryobi Laser Level will not only extend its lifespan but also ensure its optimal performance and accuracy. Follow these tips to keep your laser level in excellent condition:
- Clean the Laser Level Regularly: Dirt, dust, or debris on the lens can affect the visibility and accuracy of the laser beams. Use a soft, lint-free cloth to wipe the lens and the body of the laser level. Avoid using harsh chemicals or abrasive materials that may scratch or damage the surface.
- Store the Laser Level Properly: When not in use, store your Ryobi Laser Level in a dry and secure location. Ideally, use the provided protective case or box to safeguard it from potential damage. Avoid leaving the laser level exposed to extreme temperatures, moisture, or direct sunlight, as these can negatively impact its performance.
- Check the Battery Life: If your laser level is battery-powered, regularly check the battery level before starting a project. Replace the batteries promptly when they are running low to ensure consistent power and prevent any unexpected disruptions in the middle of your work.
- Inspect for Damage: Before each use, visually inspect the laser level for any signs of damage or wear. Check for cracks, dents, loose components, or any other abnormalities. If you notice any issues, refrain from using the laser level and contact the manufacturer for further assistance or repair recommendations.
- Handle the Laser Level with Care: Treat your Ryobi Laser Level with care to prevent accidental damage. Avoid dropping it or subjecting it to excessive force or impact. Be mindful of the tool’s fragile components, such as the lens, and handle it gently during use and transport.
- Perform Calibration Checks: Regularly perform calibration checks to ensure the laser level is providing accurate measurements. Follow the instructions provided in the user manual for proper calibration procedures. If you notice any inconsistencies in the readings, recalibrate the laser level accordingly or consult the manufacturer for further assistance.
- Maintain the Tripod: If your laser level includes a tripod, clean and inspect it regularly for any signs of damage. Ensure that the locking mechanisms are functioning properly and that the tripod legs extend and retract smoothly. Lubricate any moving parts, if necessary, according to the manufacturer’s recommendations.
- Keep the User Manual Handy: Always keep the user manual in a safe and accessible place. It provides valuable information on the laser level’s features, operating instructions, and maintenance guidelines. Refer to the manual whenever needed for troubleshooting, calibration, or any specific instructions related to your model.
- Seek Professional Service: If you encounter any major issues or complications with your Ryobi Laser Level that cannot be resolved through basic troubleshooting, it may be necessary to seek professional service. Contact the manufacturer’s support or a certified service center to address complex repairs or technical difficulties.
By following these maintenance and care tips, you can ensure that your Ryobi Laser Level remains in optimal condition, delivering accurate measurements and reliable performance project after project. Regular maintenance will help prolong its lifespan and make it a reliable tool in your toolkit.
Read more: How Ryobi Phone Laser Level Works
Conclusion
The Ryobi Laser Level is a versatile and valuable tool that simplifies leveling, alignment, and measurement tasks in a variety of projects. Its precision, ease of use, and durability make it a trusted choice for professionals and DIY enthusiasts alike.
In this comprehensive guide, we have covered various aspects of using a Ryobi Laser Level effectively. We started with an overview of the tool, highlighting its features, accuracy, and user-friendly design. We then discussed how to get started with the laser level, including gathering the necessary equipment and preparing the work area.
Next, we delved into the process of setting up and calibrating the laser level to ensure accurate measurements. We provided step-by-step instructions for properly positioning the laser level, adjusting the projection mode, and fine-tuning the laser beams.
Operating the laser level was the next topic, where we shared tips for selecting the appropriate projection mode, using laser targets, and working in different lighting conditions. We also emphasized the importance of securing the laser level and properly storing it after use.
Troubleshooting common issues was another important aspect covered in this guide. We provided solutions for addressing weak or dim laser beams, inaccurate readings, self-leveling problems, and more. Additionally, we shared tips and tricks to help you make the most of your Ryobi Laser Level, including utilizing different projection modes, creating reference points, and practicing proper maintenance.
Lastly, we offered guidance on maintaining and caring for your laser level, stressing the importance of regular cleaning, proper storage, battery maintenance, and calibration checks.
By following these guidelines and using the tips and tricks provided, you can enhance your experience with the Ryobi Laser Level and achieve precise measurements, alignments, and projections in your projects.
Remember to always refer to the user manual for specific instructions relevant to your laser level model. With practice, patience, and attention to detail, you will become proficient in using the Ryobi Laser Level, saving time and effort while achieving professional-level results.
Now it’s time to unleash the power of your Ryobi Laser Level and take your construction, remodeling, or home improvement projects to the next level!
Frequently Asked Questions about How To Use Ryobi Laser Level
Was this page helpful?
At Storables.com, we guarantee accurate and reliable information. Our content, validated by Expert Board Contributors, is crafted following stringent Editorial Policies. We're committed to providing you with well-researched, expert-backed insights for all your informational needs.


0 thoughts on “How To Use Ryobi Laser Level”