Home>Articles>How Does A Wall Laser Level Work To Hang Wall Border
Articles
How Does A Wall Laser Level Work To Hang Wall Border
Modified: October 20, 2024
Learn how a wall laser level works and find out how to use it to hang wall border. Read our informative articles now!
(Many of the links in this article redirect to a specific reviewed product. Your purchase of these products through affiliate links helps to generate commission for Storables.com, at no extra cost. Learn more)
Introduction
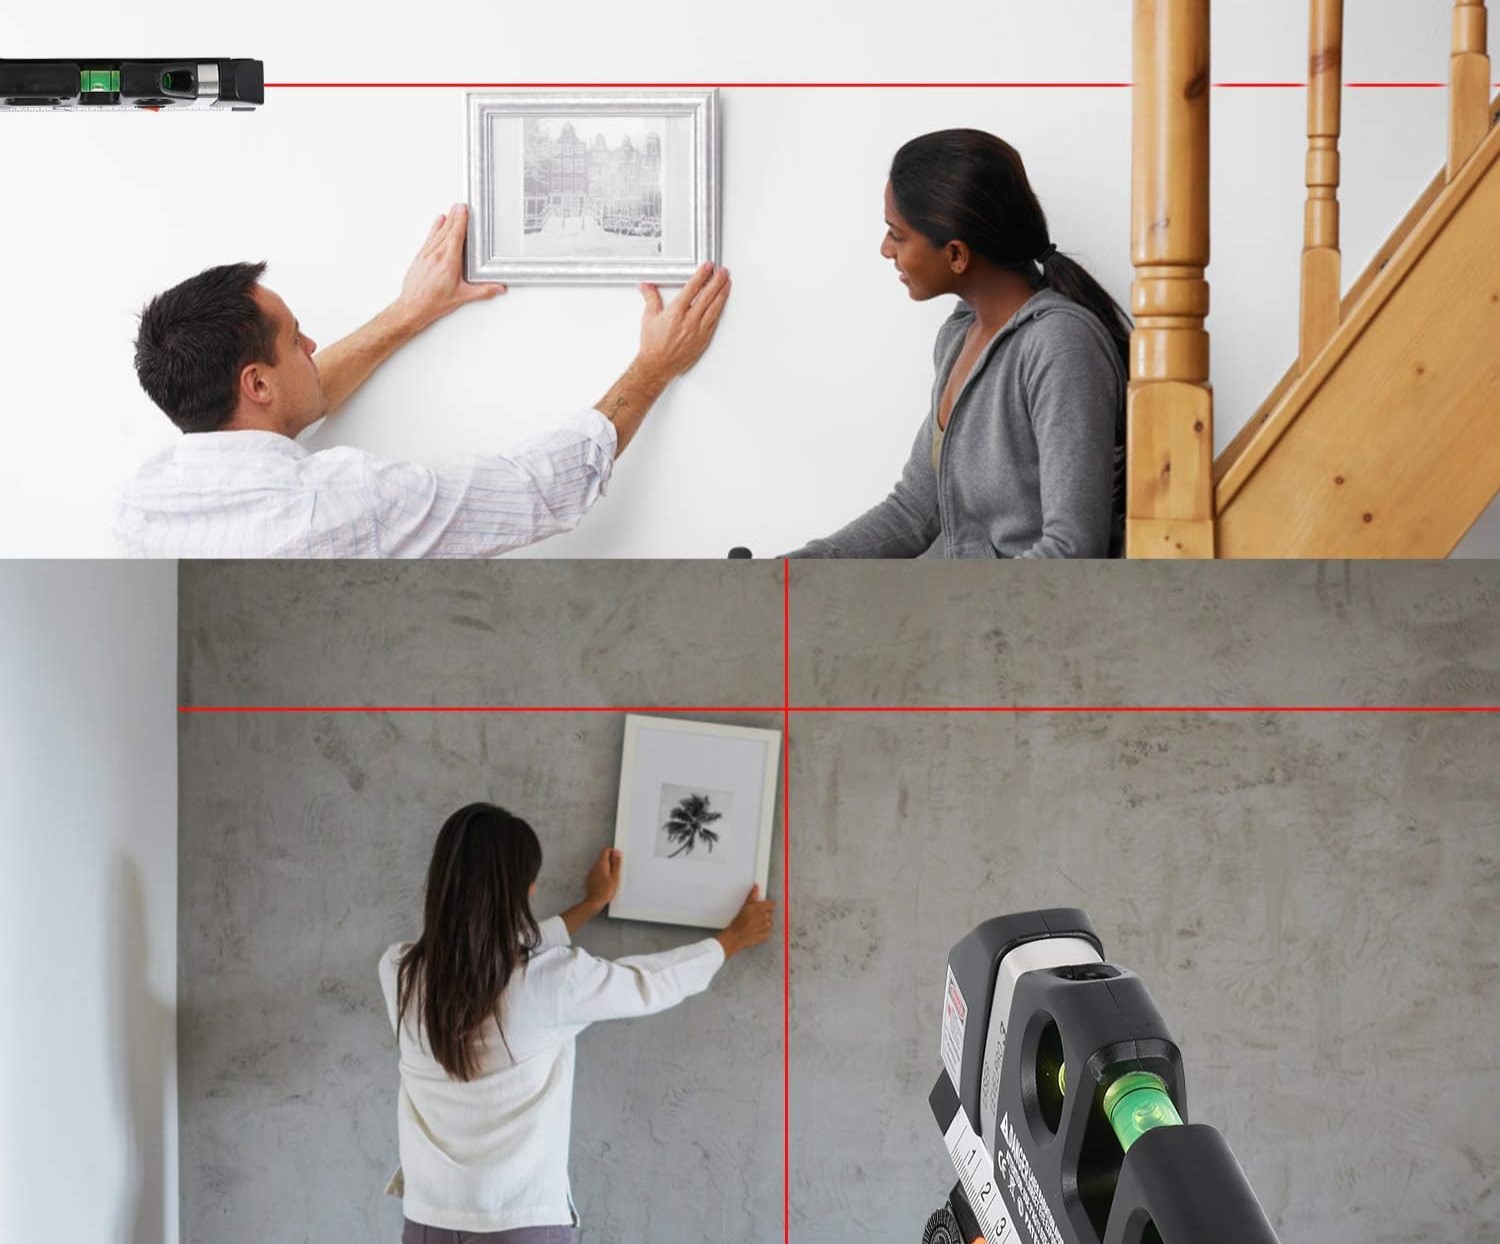
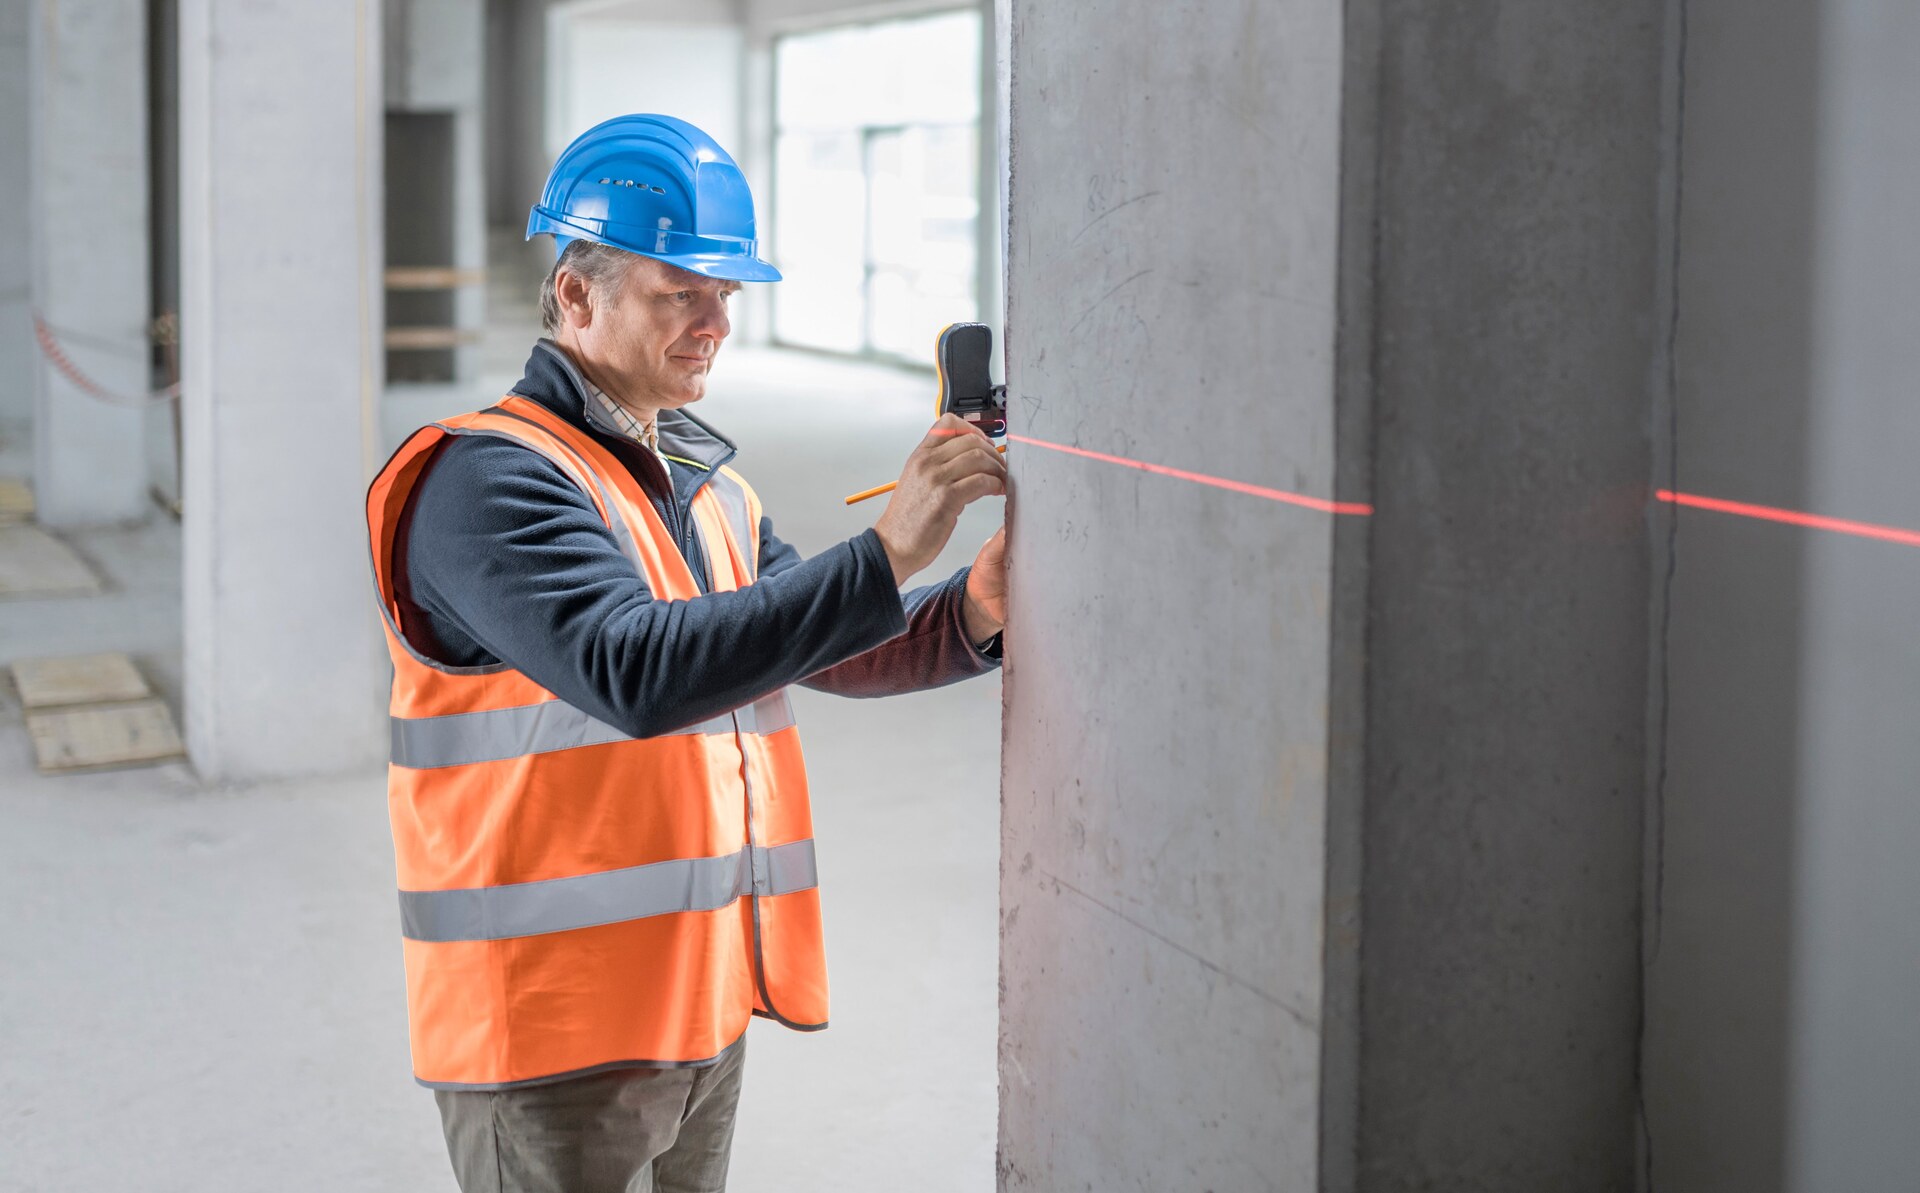
When it comes to hanging wallborder, precision and accuracy are key. A slight misalignment can throw off the entire look of a room. That’s where a wall laser level comes in. This innovative tool has revolutionized the way we hang wallborder, providing a convenient and efficient solution for achieving perfectly straight lines.
A wall laser level is a device that emits a laser beam onto a wall or surface, creating a reference line that ensures accurate positioning for hanging wallborder. This tool is an essential companion for both professional contractors and DIY enthusiasts, as it simplifies the task and eliminates the need for cumbersome measuring and marking.
In this article, we will explore the basic components and features of a wall laser level, delve into the inner workings of this handy device, and provide some tips on how to effectively use it to hang wallborder.
Key Takeaways:
- A wall laser level simplifies the alignment process for hanging wallborder, ensuring professional results with its visible reference line and self-leveling mechanisms. It’s an indispensable tool for both professionals and DIY enthusiasts.
- To maximize the effectiveness of a wall laser level, choose the right model, ensure proper calibration, prioritize safety, and practice using the tool. With its guidance, achieving precise and visually appealing wall installations becomes achievable.
Read more: How Does Laser Level Work
What is a Wall Laser Level?
A wall laser level is a specialized tool used for aligning and leveling wall surfaces. It consists of a laser emitter that projects a visible or invisible laser beam onto the wall, creating a horizontal or vertical reference line. This reference line serves as a guide for ensuring precise positioning when hanging wallborder or performing other tasks that require accuracy.
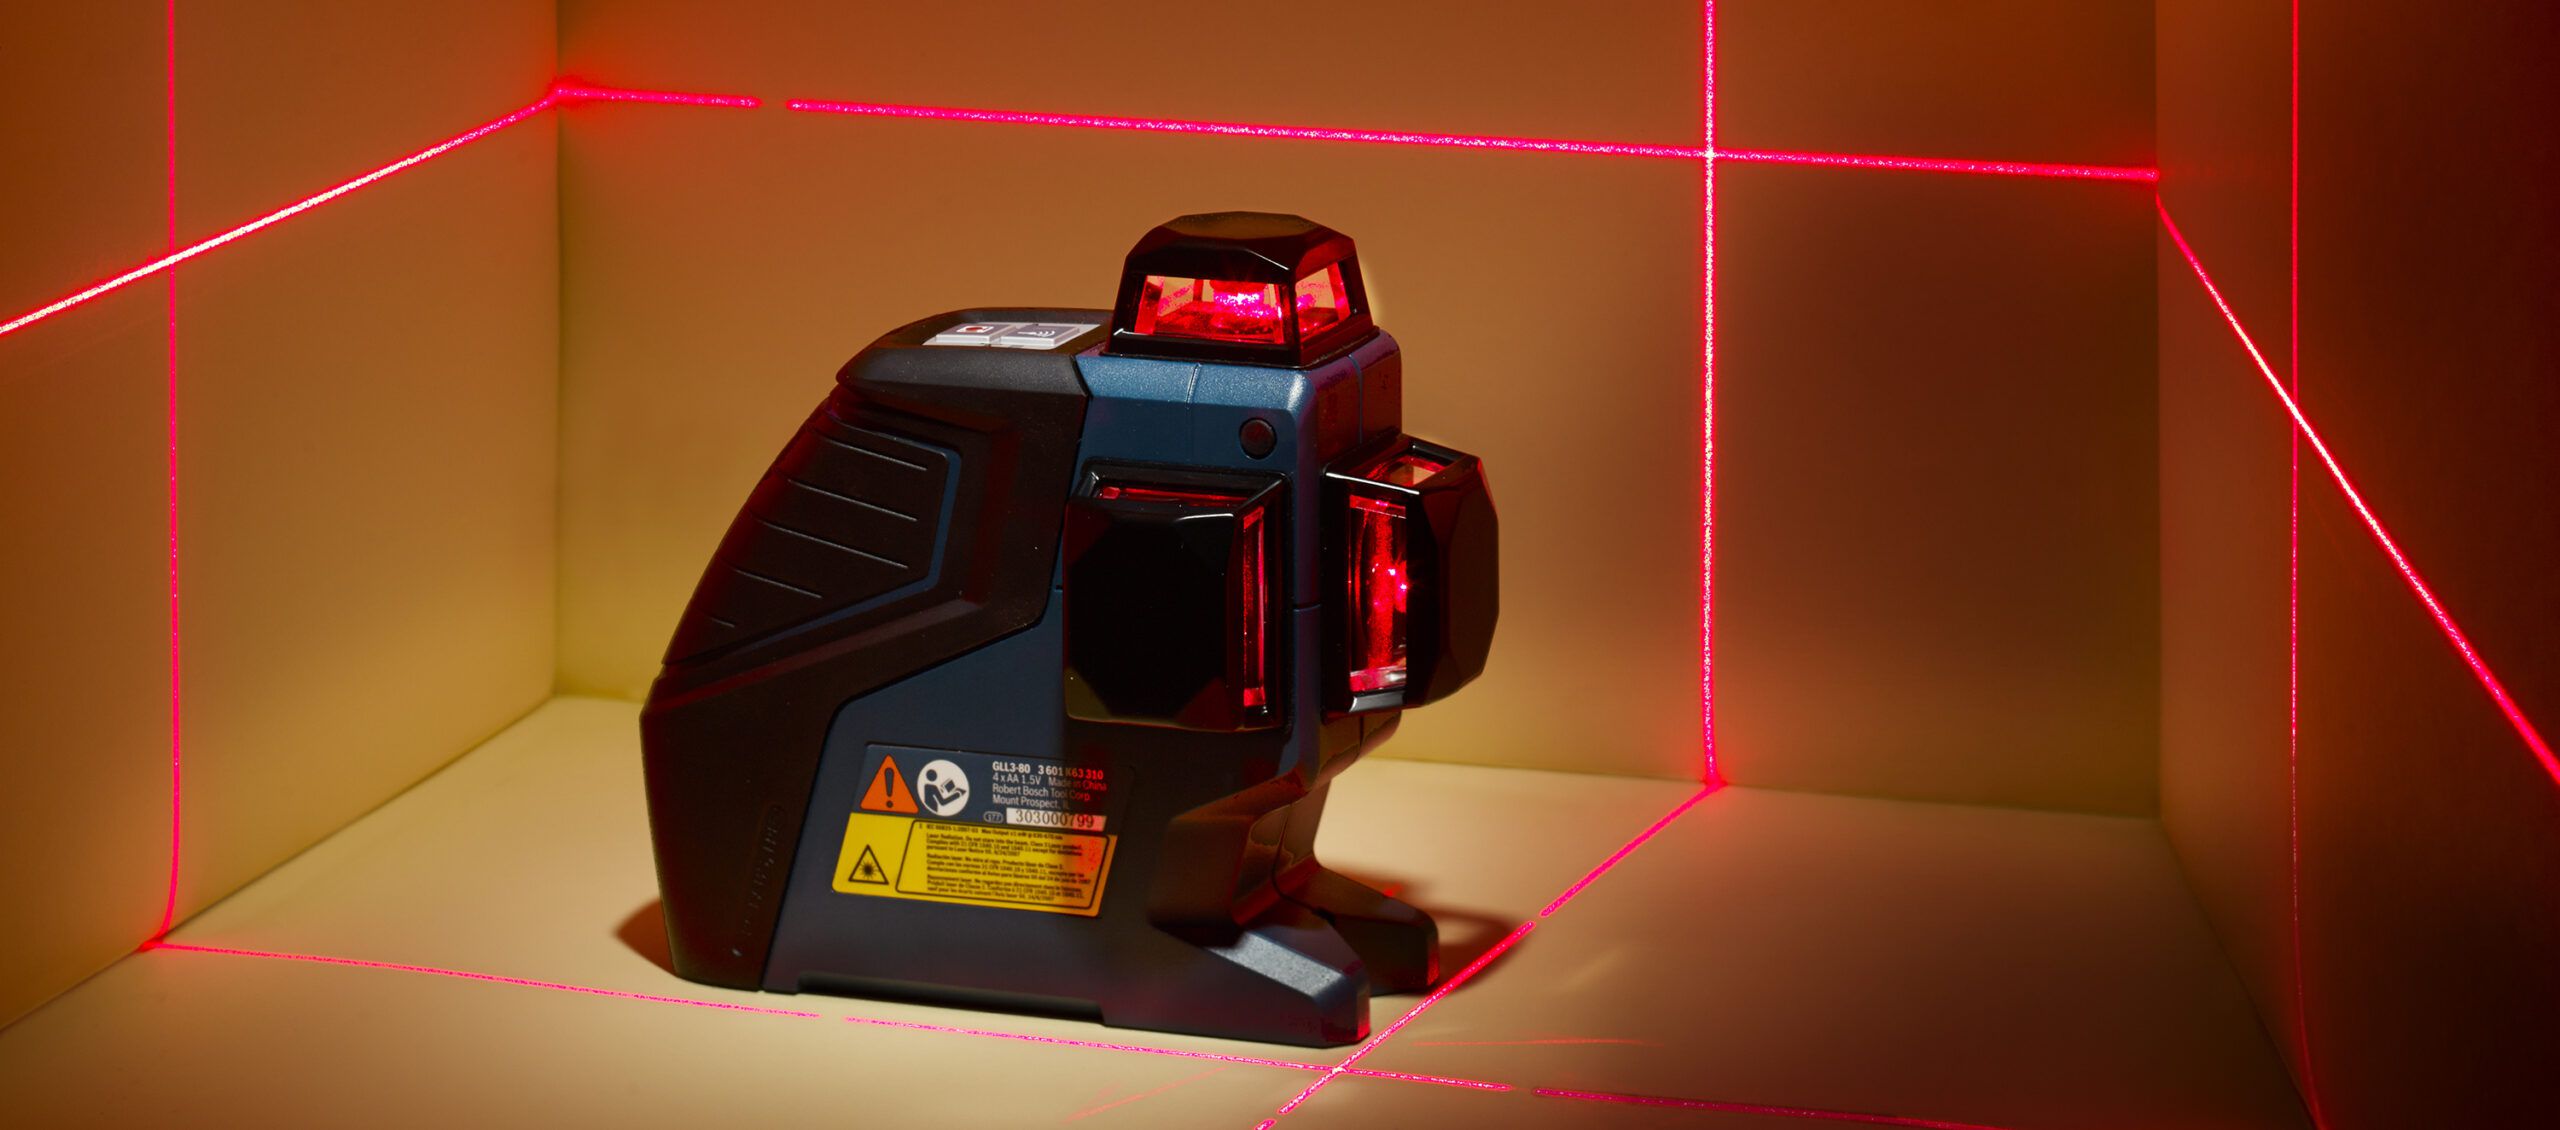
Wall laser levels come in various forms, including handheld devices, tripod-mounted units, and self-leveling models. Handheld laser levels are compact and portable, making them ideal for small-scale projects. Tripod-mounted laser levels offer more stability and can be adjusted to different heights for versatile use. Self-leveling laser levels automatically adjust the beam to maintain a perfectly level reference line, even on uneven surfaces.
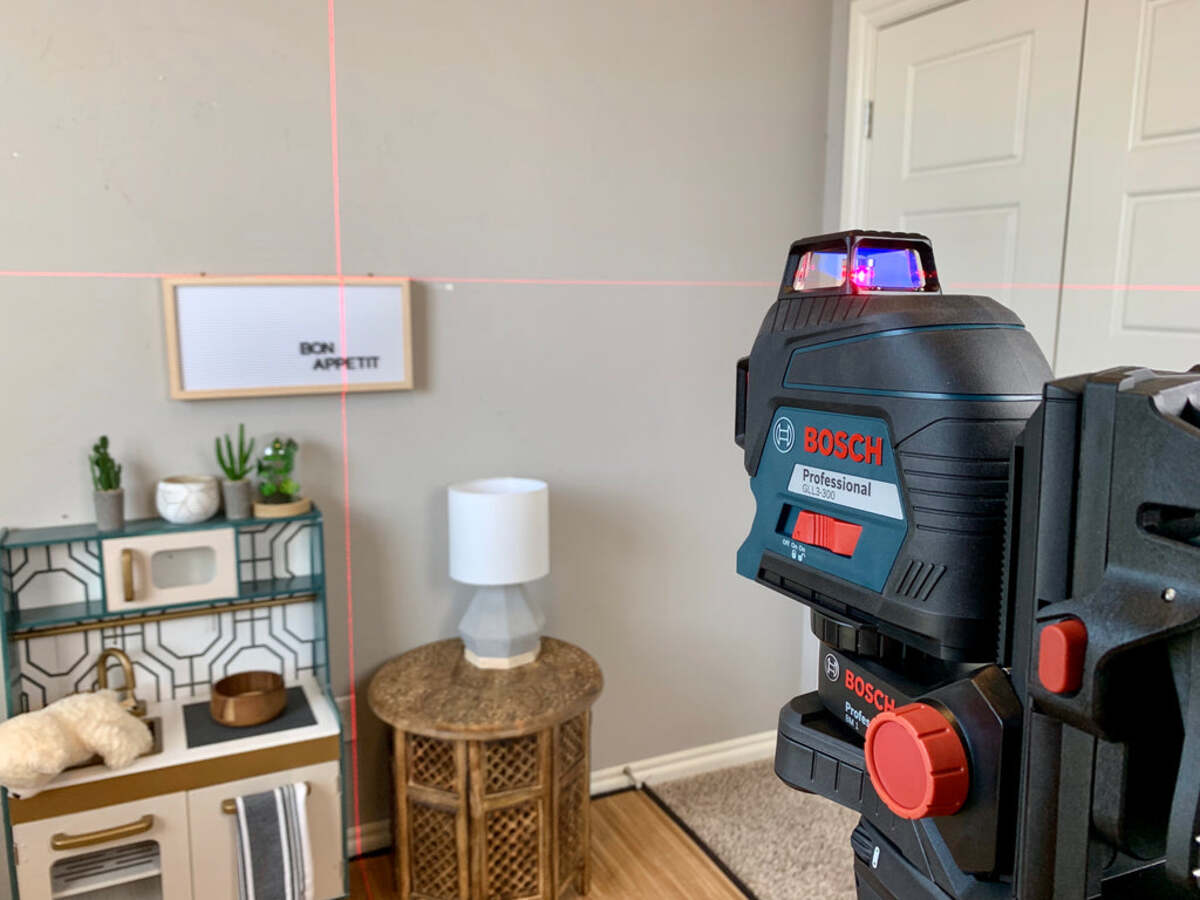
Most wall laser levels feature additional features such as multiple beam orientations (horizontal, vertical, and diagonal), beam rotation for creating level planes, and beam locking to maintain a steady reference line. Some advanced models also incorporate digital displays for precise measurements and Bluetooth connectivity for wireless control.
Compared to traditional bubble levels or string lines, a wall laser level provides enhanced accuracy and efficiency. It allows for faster setup and reduces the risk of human error. With a wall laser level, you can achieve perfect alignment and create professional-looking wall installations with ease.
Basic Components and Features
A wall laser level consists of several key components that work together to provide accurate leveling and alignment. Understanding these components and features is essential for effectively using a wall laser level.
Laser Emitter
The laser emitter is the heart of the wall laser level. It projects a highly focused laser beam onto the wall to create a visible or invisible reference line. The type of laser used can vary, including red lasers, green lasers, or even advanced lasers with multiple colors for improved visibility in different lighting conditions.
Bubble Vials
Most wall laser levels have built-in bubble vials, similar to traditional bubble levels. These vials help ensure that the device is positioned horizontally or vertically. They are especially useful when using a non-self-leveling laser level or when manually adjusting the level.
Read more: How Does An Electronic Laser Level Work?
Mounting Options
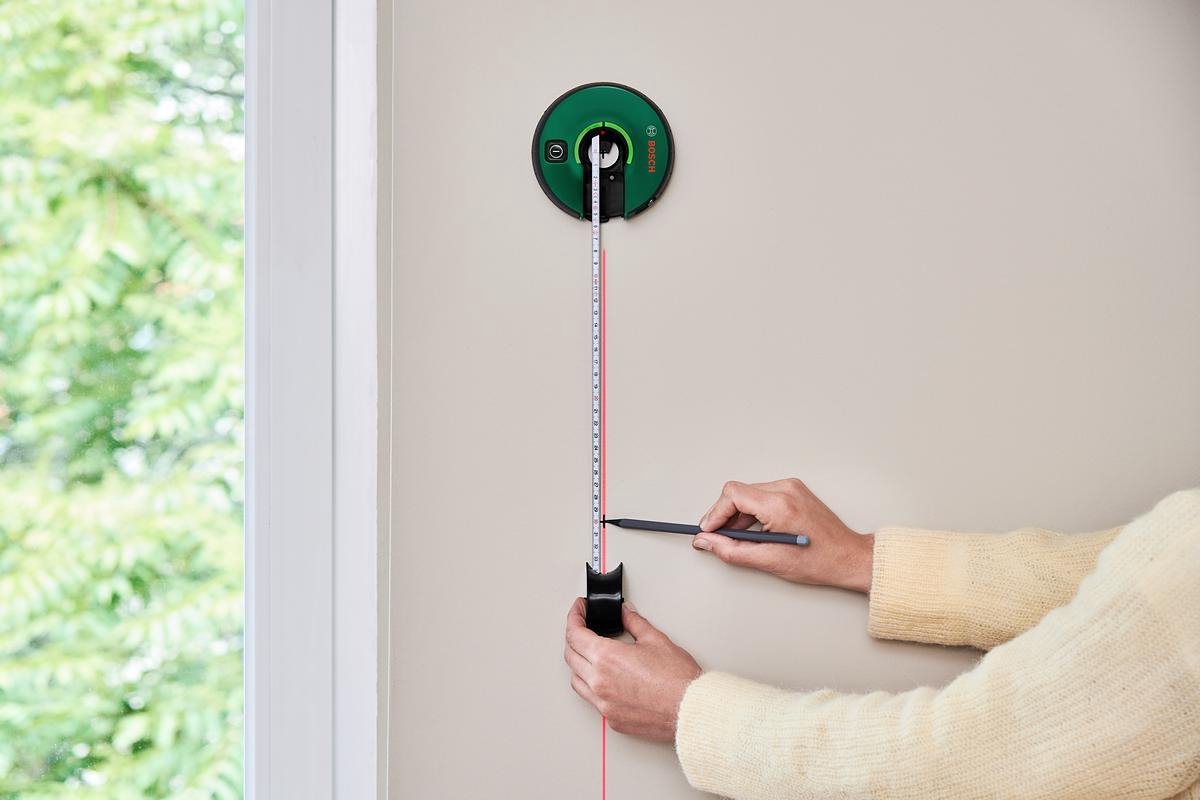
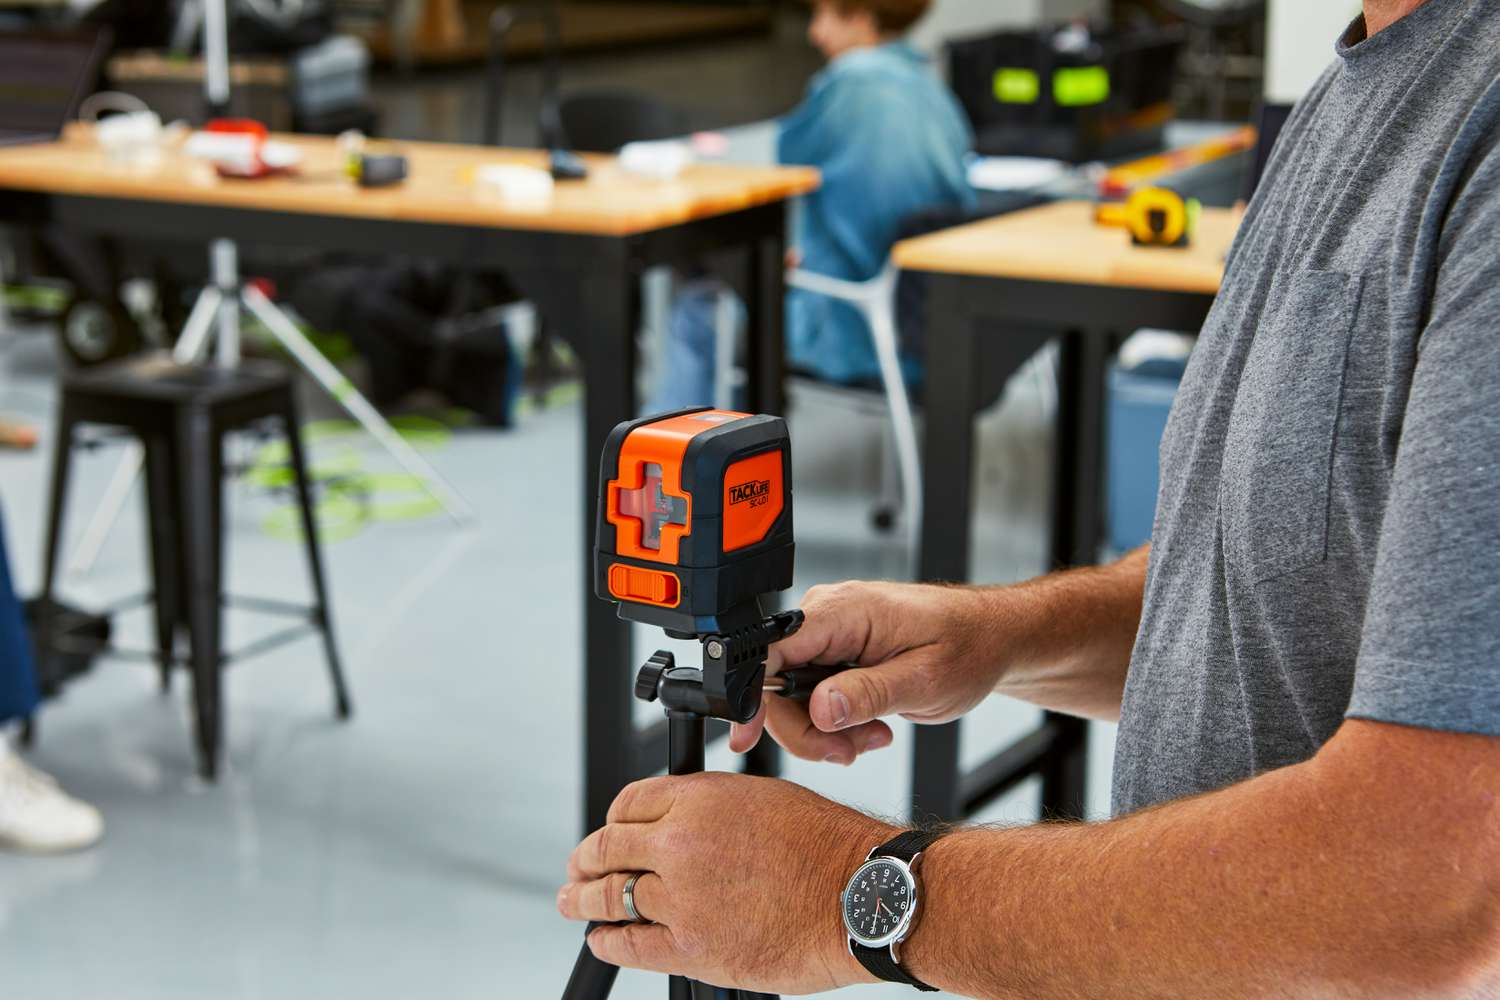
Wall laser levels can be mounted using different methods, depending on the model. Some come with built-in mounting brackets that allow you to attach the level directly to a wall or other surfaces. Others are compatible with tripods, providing stability and flexibility in positioning. The type of mounting option will depend on the specific needs of your project.
Self-Leveling Mechanism
Self-leveling wall laser levels are equipped with a specialized mechanism that automatically adjusts the laser beam to maintain a level reference line. This feature is extremely useful when working on uneven surfaces or when there is slight movement during the setup process. It saves time and ensures accurate alignment.
Additional Features
Advanced wall laser levels may have additional features and functionalities. Some models offer the ability to switch between horizontal and vertical beams, creating precise plumb lines. Others may have a pulse mode that enhances laser visibility for outdoor use or a digital display that provides precise measurements.
Understanding the basic components and features of a wall laser level is crucial for achieving accurate and professional results. Choosing a level with the right combination of features for your specific needs will ensure that your wall installations are perfectly aligned and visually appealing.
How Does a Wall Laser Level Work?
Understanding how a wall laser level works is key to using it effectively for accurate wall installations. While different models may have variations in functionality, the basic principles remain the same.
A wall laser level uses a laser emitter to create a reference line on the wall. The emitter emits a laser beam that is either visible or invisible, depending on the specific model. This beam is highly focused and travels in a straight line.
When the laser beam hits a wall, it creates a bright and clearly visible line. This line serves as a reference for alignment and leveling purposes. By using this laser-generated line, you can easily ensure that your wallborder is perfectly straight and even.
Self-leveling wall laser levels have built-in mechanisms that automatically adjust the laser beam to maintain a level reference line. These mechanisms use gravity and sensors to detect any slight discrepancies in the level and make precise adjustments accordingly.
Non-self-leveling wall laser levels require manual adjustment to ensure a level reference line. They feature bubble vials that allow you to visually determine if the level is positioned horizontally or vertically. Adjusting the level until the bubble is centered ensures that the reference line is accurate.
Wall laser levels can project the laser beam horizontally, vertically, or diagonally, depending on the orientation selected. This flexibility in beam orientation allows for various applications, such as aligning tiles, hanging shelves, or creating straight lines for painting.
It’s important to note that the accuracy of a wall laser level can be affected by factors such as distance, lighting conditions, and surface reflectivity. It is recommended to refer to the manufacturer’s guidelines for specific instructions on how to achieve optimal accuracy.
Overall, a wall laser level simplifies the process of aligning and leveling surfaces by providing a visible reference line. Whether you are a professional contractor or a DIY enthusiast, a wall laser level is an indispensable tool for achieving precise and professional wall installations.
Read more: How To Work A Water Level Or Laser Level
Aligning the Wall Laser Level
Properly aligning the wall laser level is crucial to ensure accurate and precise measurements. Follow these steps to align your wall laser level effectively:
1. Determine the Reference Point:
Identify the starting point or reference point on the wall where you want to create a level line. This could be the floor or an existing line on the wall that you want to extend.
2. Mount or Position the Laser Level:
Depending on the mounting style of your wall laser level, use the built-in bracket or attach it to a tripod. Make sure the level is securely mounted and positioned at a suitable height for your project.
3. Activate or Power on the Laser Level:
Turn on the laser level and ensure that the laser beam is emitting. Some models may have a switch or button to activate the laser, while others may turn on automatically when powered.
Read more: How To Use A Laser Level To Hang Doors
4. Adjust the Level:
If you are using a self-leveling wall laser level, it will automatically level itself by using its internal mechanisms. Wait for a few seconds until the laser beam stabilizes and aligns with the reference line.
For non-self-leveling laser levels, use the bubble vials to manually adjust the level. Rotate or tilt the laser level until the bubble vials indicate a level position in both horizontal and vertical orientations.
5. Fine-Tune the Alignment:
Once the laser level is approximately aligned, use the fine adjustment knobs or controls (if applicable) to make minor adjustments. These knobs allow you to fine-tune the laser beam to ensure it is perfectly aligned with the reference point.
6. Verify the Alignment:
Double-check the alignment by visually inspecting the laser line created by the level. Place a straight object, such as a ruler or board, against the laser line to ensure it is perfectly straight and level.
By following these steps, you can align your wall laser level accurately and confidently. Taking the time to properly align the level will result in precise measurements and ensure that your wall installations are straight and visually appealing.
Hanging Wallborder with a Wall Laser Level
A wall laser level is a fantastic tool for hanging wallborder with precision and ease. By following these steps, you can achieve perfectly straight and aligned wallborder installations:
Read more: How To Use Laser Level To Hang Pictures
1. Plan and Measure:
Before starting the installation process, plan where you want to hang the wallborder. Measure the wall’s dimensions and determine the desired height of the wallborder. Use a tape measure to ensure accurate measurements.
2. Mark the Starting Point:
Using a pencil or masking tape, mark the starting point of the wallborder installation. This will be the reference point for aligning the wall laser level.
3. Align the Wall Laser Level:
Position the wall laser level at the starting point and align it with the marked reference line. Make sure the laser beam projects along the line, ensuring a straight path for the wallborder installation.
4. Secure the Laser Level:
If you are using a tripod-mounted laser level, ensure the tripod is sturdy and secure. If your laser level has a built-in bracket, double-check that it is firmly attached to the wall.
Read more: How Ryobi Phone Laser Level Works
5. Trace the Laser Line:
Turn on the laser level and carefully trace the laser line onto the wall using a pencil or masking tape. This will serve as a guide for hanging the wallborder straight along the level line.
6. Apply Adhesive or Paste:
Following the manufacturer’s instructions, apply adhesive or paste to the back of the wallborder. Ensure complete and even coverage to prevent any areas from peeling or coming loose.
7. Hang the Wallborder:
Align the top edge of the wallborder with the traced laser line. Carefully press the wallborder against the wall, smoothing it out as you go. Use a wallpaper smoothing tool or a clean cloth to eliminate any air bubbles or wrinkles.
8. Repeat the Process:
Continue hanging the wallborder along the traced laser line until you reach the desired endpoint. Remember to align each piece with the laser line for a consistent and straight installation.
By utilizing a wall laser level, you can hang wallborder accurately and efficiently. The laser line provides a clear guide, ensuring that your wallborder is level and aligned perfectly. This method eliminates the need for tedious measuring and manual alignment, resulting in a professional and visually appealing wallborder installation.
Read more: What Does A Laser Level Torpedo
Tips for Using a Wall Laser Level
To maximize the effectiveness of your wall laser level and achieve optimal results, consider the following tips:
1. Choose the Right Laser Level:
Before purchasing or using a wall laser level, ensure that it meets your specific needs. Consider factors such as self-leveling capabilities, beam visibility, mounting options, and additional features that can enhance your projects.
2. Ensure Proper Calibration:
Calibrate your wall laser level according to the manufacturer’s instructions. This ensures accurate measurements and alignments. Regularly check and recalibrate the level to maintain its accuracy, especially if you notice any discrepancies in the laser line.
3. Use a Stable Mounting Surface:
Ensure that the wall surface or tripod where you mount the laser level is stable and secure. This prevents any unwanted movement or shifting during the installation process, which could compromise the accuracy of the laser line.
4. Check for Ambient Lighting Conditions:
Consider the lighting conditions of the area where you are working. In brightly lit spaces, a laser with higher power or a green laser may be more visible. In darker environments, a red laser may suffice. Adjust the laser level’s settings accordingly for optimal visibility.
5. Keep the Laser Level at Eye Level:
When aligning the laser level, position it at as close to eye level as possible. This allows for better visibility and alignment with the reference line. Avoid placing the laser level too high or too low, as it can be challenging to accurately align the laser beam.
6. Double-Check Alignment with a Level:
While the laser line creates a visual reference, it’s always a good idea to double-check the alignment using a traditional bubble level. Place the level against the laser line to verify that it is perfectly straight and level before proceeding with any installations.
7. Take Safety Precautions:
When working with a laser level, ensure that you adhere to safety guidelines. Avoid shining the laser beam directly into your eyes or others’ eyes. Always follow the manufacturer’s instructions and use caution to prevent any potential accidents or injuries.
8. Practice and Experiment:
Familiarize yourself with your wall laser level by practicing on different surfaces and projects. Experiment with different orientations, distances, and settings to understand how the laser level performs under various conditions. This will help you become more comfortable and proficient in using the tool.
By following these tips, you can effectively use a wall laser level to achieve accurate and precise results. Remember to always prioritize safety and read the manufacturer’s instructions to fully utilize the features and functionalities of your specific laser level model.
Conclusion
A wall laser level is an indispensable tool for anyone looking to hang wallborder or perform precise wall installations. By projecting a straight and level reference line, it simplifies the alignment process and ensures professional results.
Throughout this article, we have explored the basic components and features of a wall laser level. We have also delved into how it works, from the laser emission to the self-leveling mechanisms. Additionally, we have discussed the importance of proper alignment and provided step-by-step instructions for hanging wallborder using a wall laser level.
To optimize your experience with a wall laser level, we have shared valuable tips to consider, such as choosing the right laser level for your needs, ensuring proper calibration, and keeping the laser level at eye level for accurate alignment. We have also emphasized the importance of safety precautions and the value of practice and experimentation.
By incorporating a wall laser level into your projects, you can save time and effort while achieving impressive precision and accuracy. Whether you are a professional contractor or a DIY enthusiast, this tool will elevate the quality of your wall installations and ensure visually pleasing results.
So, go ahead and harness the power of a wall laser level to transform your wall decorating projects. With its guidance, you can confidently hang wallborder, align shelves, or create straight lines for painting, all with professional-level precision.
Invest in a reliable wall laser level and master its usage to elevate your wall installations to a whole new level of perfection.
Frequently Asked Questions about How Does A Wall Laser Level Work To Hang Wall Border
Was this page helpful?
At Storables.com, we guarantee accurate and reliable information. Our content, validated by Expert Board Contributors, is crafted following stringent Editorial Policies. We're committed to providing you with well-researched, expert-backed insights for all your informational needs.


0 thoughts on “How Does A Wall Laser Level Work To Hang Wall Border”