Articles
How Dry Should Wood Be For Woodworking?
Modified: January 18, 2024
Discover the ideal moisture content for woodworking with our informative articles. Ensure your wood is dry enough for successful projects.
(Many of the links in this article redirect to a specific reviewed product. Your purchase of these products through affiliate links helps to generate commission for Storables.com, at no extra cost. Learn more)
Introduction
Welcome to the fascinating world of woodworking! Whether you’re a seasoned craftsman or just starting out, understanding the importance of wood moisture content is crucial for successful and durable projects. The moisture content of wood plays a significant role in its stability, strength, and overall performance. In this article, we will delve into the intricacies of wood moisture content and explore why it is essential for woodworking.
Wood, being a natural material, contains moisture within its cell structure. This moisture content can vary depending on several factors, including the wood species, its environment, and the drying techniques used. As woodworkers, it is vital to understand these factors to ensure that the wood we are working with is at an optimal moisture content for our projects.
The moisture content of wood is typically expressed as a percentage of its oven-dry weight. Oven-dry wood refers to wood that has been heated in an oven until all the moisture has evaporated. The moisture in the wood cells exists in two forms – bound water, which is tightly held within the cell structure, and free water, which is present in the cell cavities and can be easily evaporated.
The moisture content of wood affects its dimensional stability. As wood absorbs or releases moisture, it expands or contracts accordingly. This movement can lead to warping, twisting, or cracking of the wood, which can be detrimental to your woodworking projects. Additionally, wood with a high moisture content is prone to decay, mold, and insect infestation – something you definitely don’t want in your beautiful creations!
Properly dried wood is not only more stable but also stronger. When wood is in its green or freshly cut state, it is generally weaker and more flexible compared to properly dried wood. The drying process strengthens the wood fibers, enhancing its overall strength and making it more suitable for woodworking applications.
Now that we understand the significance of wood moisture content, let’s dive into the ideal moisture content range that we should aim for in woodworking projects. Remember, achieving the right moisture content is the key to success in woodworking!
Key Takeaways:
- Properly dried wood with optimal moisture content is crucial for stable, strong, and durable woodworking projects, minimizing the risk of warping, cracking, and decay.
- Understanding wood moisture content, implementing proper drying techniques, and maintaining ideal storage conditions are essential for creating high-quality, long-lasting woodworking pieces.
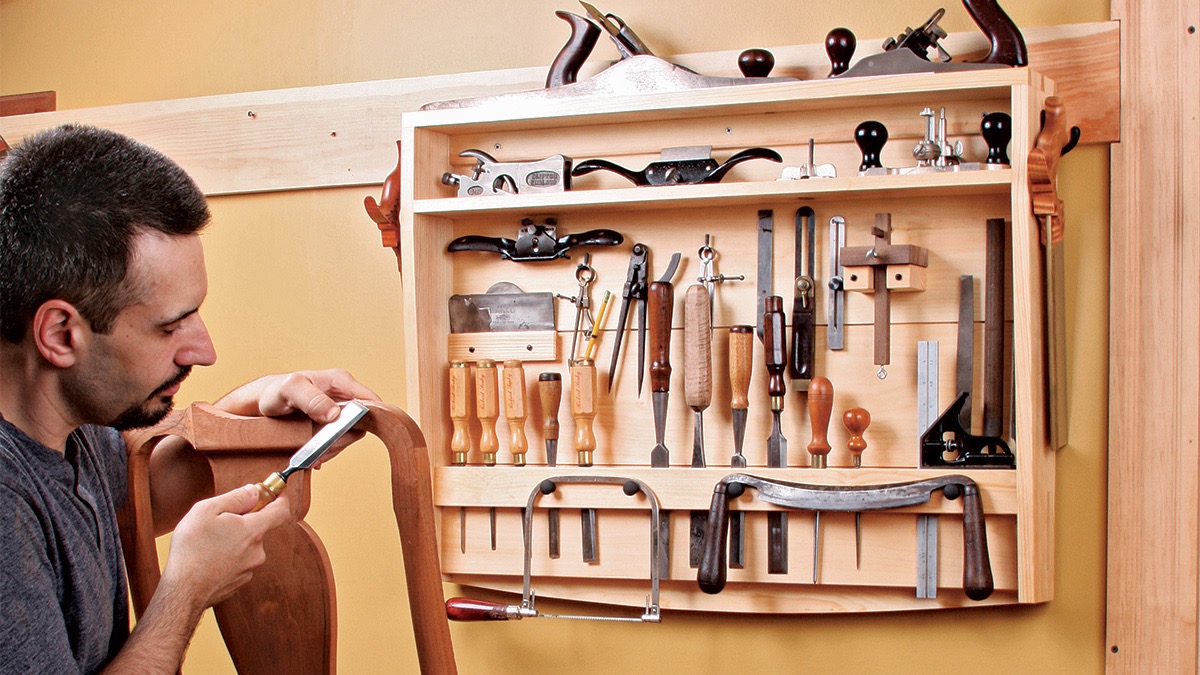
Read more: How To Inlay Wood With Hand Tools
Understanding Wood Moisture Content
Wood moisture content refers to the amount of water or moisture present within the wood material. It is a critical factor that woodworkers need to consider when selecting and preparing wood for their projects. Understanding wood moisture content involves knowing how water interacts with wood and the impact it has on the wood’s properties.
When wood is exposed to air, it will naturally try to reach an equilibrium moisture content (EMC) with its surrounding environment. The EMC is the point at which the wood neither gains nor loses moisture. The exact EMC can vary depending on factors such as temperature, humidity levels, and the specific wood species.
The moisture content of wood can vary widely, ranging from freshly felled green wood with moisture content over 100% to properly seasoned wood with moisture content below 15%. It is crucial to note that wood that has been kiln-dried or air-dried may still have a small amount of moisture, typically around 6-8%, as it continues to adjust to ambient conditions.
When wood has a high moisture content, it is considered “green” or “wet.” Green wood is generally heavier, softer, and less stable than dry wood. As the moisture content decreases, the wood becomes lighter, harder, and more stable. The drying process allows the wood fibers to strengthen and stabilize, ensuring a better outcome for woodworking projects.
Wood moisture content is influenced by various factors. The primary factors include the wood species, the relative humidity of the environment, and the drying techniques utilized. Each wood species has different characteristics, including its initial moisture content and how it responds to changes in environmental conditions. Some species may naturally have higher moisture contents, requiring careful drying and preparation.
The relative humidity of the environment plays a significant role in the moisture content of wood. Wood absorbs or loses moisture as it tries to reach equilibrium with the surrounding air. In high-humidity environments, wood absorbs moisture, leading to an increase in its moisture content. In low-humidity environments, wood loses moisture, causing its moisture content to decrease. Controlling the humidity levels in your workspace can help maintain consistent wood moisture content.
Drying techniques are essential in reducing wood moisture content to the desired range for woodworking. Kiln drying and air drying are two commonly used methods. Kiln drying involves placing wood in a chamber and using heat and airflow to accelerate the drying process. Air drying, on the other hand, relies on air circulation and natural evaporation over an extended period. Proper drying techniques ensure that the wood reaches the optimal moisture content for your woodworking projects.
Gaining a thorough understanding of wood moisture content is the foundation for successful woodworking. It allows you to select the right wood species, properly dry and prepare the wood, and ensure the stability and durability of your creations. In the next section, we will explore the ideal moisture content range for woodworking projects.
Importance of Wood Moisture Content in Woodworking
Wood moisture content plays a crucial role in the success of woodworking projects. It affects the stability, strength, and overall quality of the finished product. Understanding the importance of wood moisture content allows woodworkers to make informed choices in material selection, drying techniques, and project design.
One of the primary reasons why wood moisture content is important in woodworking is its impact on dimensional stability. Wood is hygroscopic, meaning it absorbs and releases moisture based on the surrounding environment. As wood absorbs moisture, it swells, and as it loses moisture, it shrinks. This movement can result in warping, twisting, or cracking of the wood if it is not properly dried or acclimated.
By ensuring that the wood used in your projects has the appropriate moisture content, you can minimize the risk of these issues. Wood with a higher moisture content will continue to adjust to its environment, potentially causing problems in the long term. On the other hand, using wood with a moisture content that is too low can lead to gaps or joints closing up as the wood acclimates to a higher moisture environment.
The strength and durability of woodworking projects are also influenced by wood moisture content. Wood that is too wet or green is weaker and more prone to bending, warping, or breaking under stress. Properly dried wood, with an optimal moisture content, is stronger and more stable, making it more suitable for load-bearing structures, such as furniture or cabinetry.
Wood moisture content also affects the workability of the material. Wood that is too wet can be difficult to cut, shape, or join. It may have a higher likelihood of tearout or splintering during machining operations. Conversely, wood that is too dry can become brittle and prone to cracking. Finding the right balance of moisture content allows for smoother and more precise woodworking processes.
Another critical aspect of wood moisture content is its impact on finishes and coatings. When wood has a high moisture content, applying finishes or coatings can be challenging. The excess moisture can prevent proper adhesion and drying of the finish, resulting in a less desirable appearance and reduced durability. Drying the wood to the appropriate moisture content ensures better results when applying stains, paints, or other finishes.
Overall, understanding and controlling wood moisture content is essential for achieving high-quality woodworking projects. It allows you to anticipate and mitigate potential issues related to dimensional stability, strength, workability, and finish application. In the next section, we will explore the ideal moisture content range for woodworking and how to measure it accurately.
Ideal Moisture Content for Woodworking
In woodworking, achieving the ideal moisture content of wood is crucial for the success and longevity of your projects. The ideal moisture content range ensures the stability, workability, and overall quality of the finished piece. While the specific moisture content can vary depending on the intended use of the wood and the environmental conditions, there are some general guidelines to follow.
For indoor woodworking projects, such as furniture or cabinetry, the ideal moisture content for wood typically falls between 6% and 8%. This range allows the wood to acclimate to the average relative humidity of the indoor environment, minimizing the risk of excessive expansion or contraction. It is important to note that this moisture content range should be achieved after proper drying and acclimation.
If you are working with exterior projects, such as decks or outdoor furniture, a slightly higher moisture content may be acceptable. Outdoor wood tends to have a moisture content of around 12% to 15% to account for the higher moisture exposure from rain, humidity, and changes in temperature. The higher moisture content helps the wood retain its strength and stability in these demanding conditions.
When selecting wood for your projects, it is essential to consider the specific wood species and its characteristics. Different wood species have varying moisture content properties, and some may naturally have higher moisture content than others. Researching and understanding the moisture content characteristics of the wood species you plan to use will help you make informed decisions and ensure a better outcome for your projects.
Measuring the moisture content of wood accurately is critical in achieving the desired range. Moisture meters are commonly used tools for this purpose. There are two main types of moisture meters: pin-type and pinless. Pin-type moisture meters penetrate the wood surface with small, sharp pins to measure the moisture content at various depths. Pinless moisture meters, on the other hand, use electromagnetic signals to measure moisture without damaging the wood surface.
When using a moisture meter, it is important to take readings from multiple locations and average them for a more reliable result. This helps account for any potential variation in moisture content within the wood piece. Additionally, it is advisable to measure both the surface moisture content and the core moisture content to ensure the wood is properly dried throughout.
Remember, achieving the ideal moisture content for your woodworking projects is a crucial step in ensuring their long-term stability and durability. By selecting the appropriate wood species, properly drying and acclimating the wood, and accurately measuring its moisture content, you can minimize the risk of issues such as warping, shrinking, or joint failure. Now that we have covered the ideal moisture content range, let’s explore how to measure wood moisture more accurately in the next section.
How to Measure Wood Moisture Content
Accurately measuring the moisture content of wood is essential to ensure that it falls within the desired range for woodworking projects. Measuring the moisture content allows you to determine if the wood is properly dried and ready for use. There are several methods and tools available for measuring wood moisture content, each with its own advantages and considerations.
One commonly used tool for measuring wood moisture content is a moisture meter. Moisture meters are available in two main types: pin-type and pinless. Pin-type moisture meters use small, sharp pins that penetrate the wood surface to measure the moisture content at specific depths. Pinless moisture meters, on the other hand, use electromagnetic signals to measure the moisture content without damaging the wood surface.
When using a pin-type moisture meter, it is important to insert the pins to the proper depth. The exact depth will depend on the specific meter and the thickness of the wood being measured. The pins should be inserted perpendicular to the wood grain, typically at equal intervals. Take multiple readings at different locations and average them for a more accurate result, as moisture content can vary within the wood piece.
Pinless moisture meters offer a non-destructive way to measure wood moisture content. These meters have a sensor pad that is placed directly on the wood surface, allowing for quick and easy measurements. When using a pinless moisture meter, it is important to ensure good contact between the sensor pad and the wood surface. Keep in mind that pinless moisture meters may not provide the same level of accuracy as pin-type meters, especially in dense or thick woods.
Regardless of the type of moisture meter used, it is crucial to calibrate the meter properly. Calibration ensures that the moisture meter is providing accurate readings. Follow the manufacturer’s instructions for calibration, which typically involve testing the meter on a known moisture content standard or reference material.
Another method for measuring wood moisture content is by using a moisture oven. This method involves weighing a small sample of wood and then heating it in an oven until all the moisture has evaporated. The sample is weighed again, and the moisture content is calculated based on the weight loss. While this method can provide accurate results, it requires more time and equipment compared to moisture meters.
When measuring wood moisture content, it is important to consider the moisture gradient within the wood. The surface moisture content may differ from the core moisture content, especially in larger or thicker pieces of wood. To get a more accurate representation of the overall moisture content, it is recommended to measure both the surface and core moisture levels.
By using moisture meters or other measurement methods correctly, woodworkers can confidently assess the moisture content of their wood and make informed decisions about its suitability for woodworking projects. Remember to follow the manufacturer’s instructions for the specific moisture measuring tool you are using to ensure accurate results.
Now that we have covered how to measure wood moisture content accurately, let’s explore some effective drying techniques to achieve the desired moisture content for your woodworking projects.
Wood should be dried to a moisture content of 6-8% for indoor woodworking projects. Use a moisture meter to ensure the wood is properly dried before starting your project.
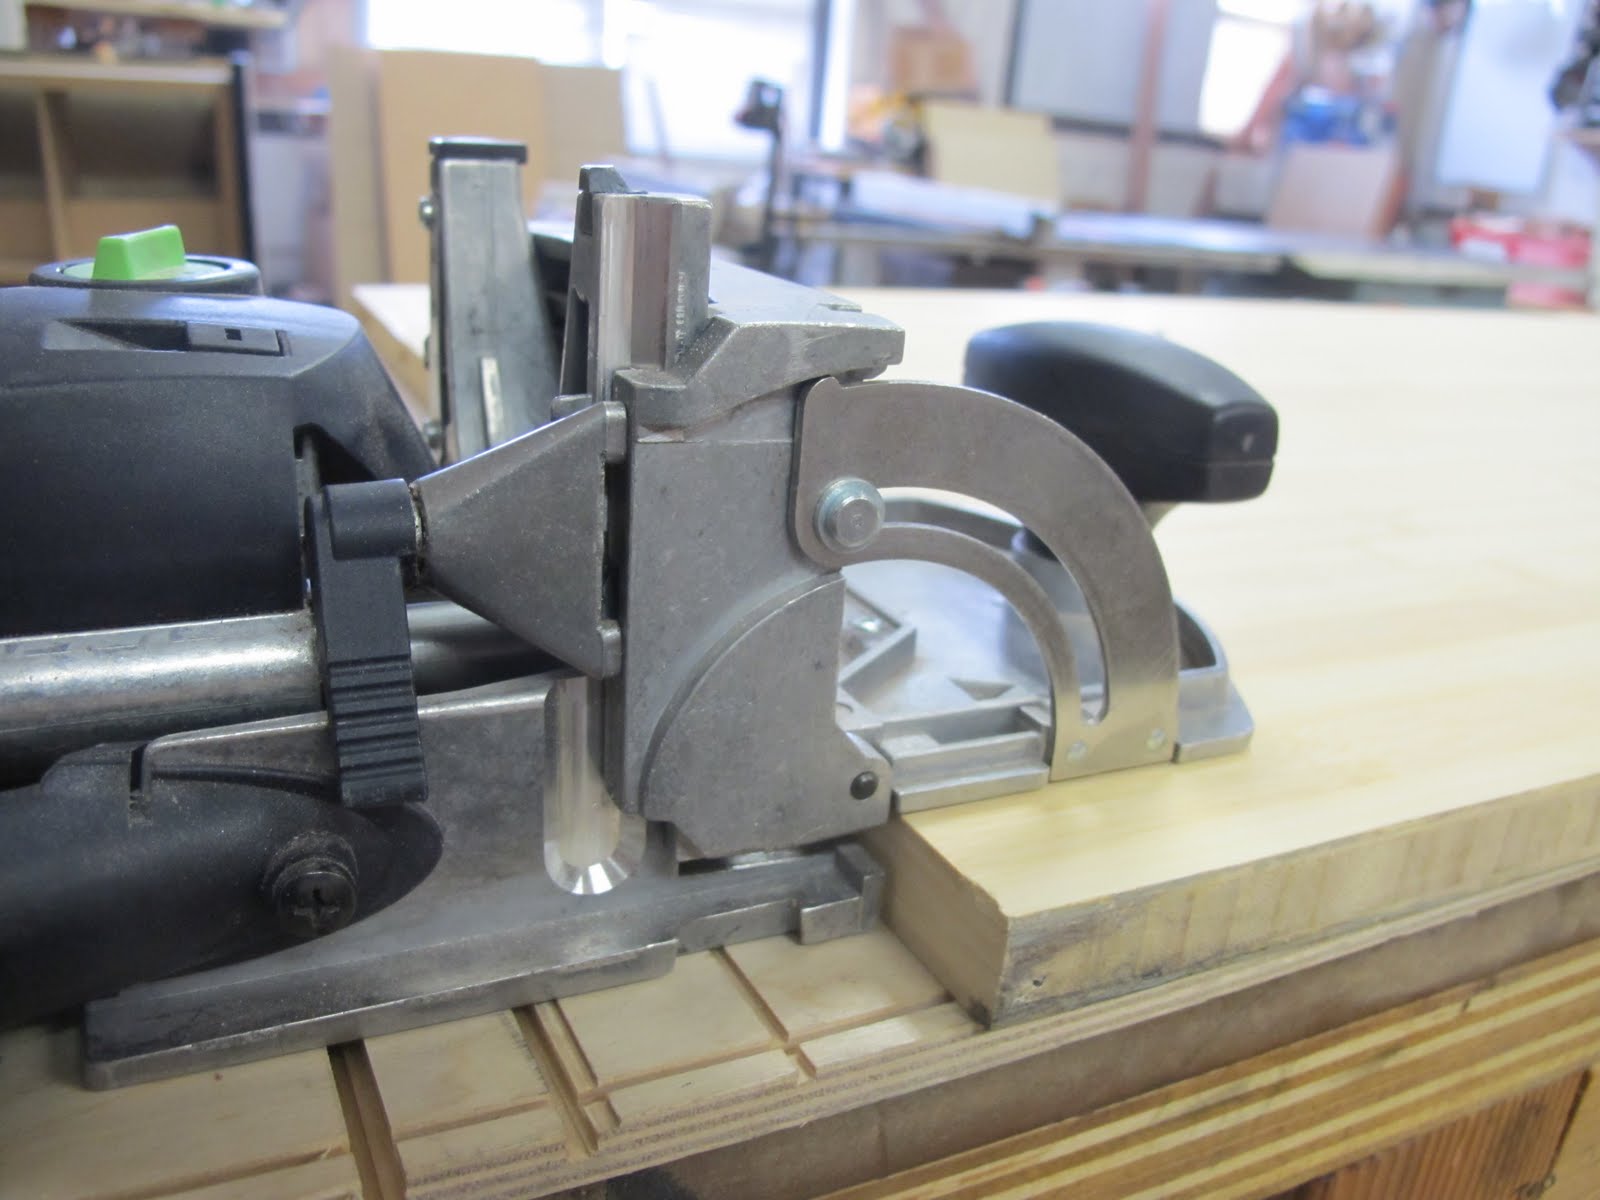
Read more: How To Join Wood Planks With Hand Tools
Drying Techniques for Wood
Drying wood to the appropriate moisture content is crucial for successful woodworking projects. Proper drying techniques ensure that the wood is stable, strong, and less prone to issues such as warping or cracking. There are different methods for drying wood, each with its own advantages and considerations.
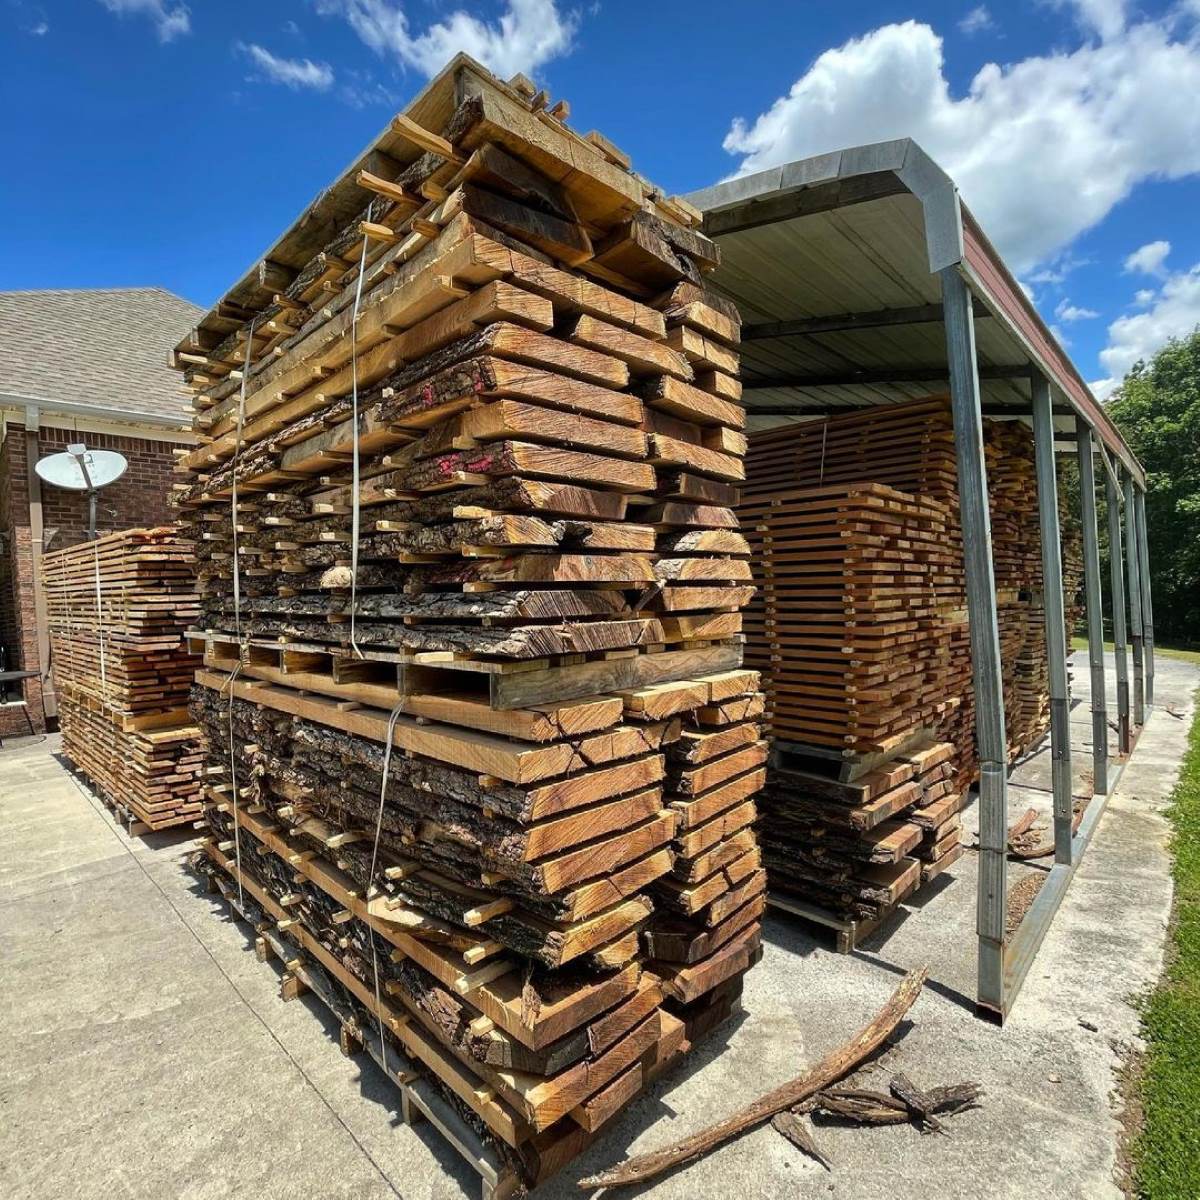
One common drying technique is air drying. Air drying involves stacking the wood in a well-ventilated area, such as a shed or covered outdoor space, and allowing it to dry naturally over time. Air drying is a cost-effective method and is suitable for smaller projects or when time is not a constraint. It is important to stack the wood in a way that allows air circulation and to protect the wood from direct exposure to rain or extreme weather conditions.
The duration of air drying can vary depending on several factors, such as wood species, thickness, and ambient conditions. On average, it can take several months to a year for wood to reach the desired moisture content through air drying. Regular monitoring of the wood’s moisture content using a moisture meter is recommended to determine when it is ready for use.
For faster drying, kiln drying is a more controlled and accelerated method. Kiln drying involves placing the wood in a specialized chamber where temperature, humidity, and airflow are carefully controlled. The kiln speeds up the drying process by removing moisture from the wood at a controlled rate. Kiln drying offers the advantage of shorter drying times compared to air drying and allows for more precise control over the moisture content.
There are two main types of kiln drying: conventional kiln drying and vacuum kiln drying. Conventional kiln drying uses heat and airflow to extract moisture from the wood. It is the most common method used by commercial sawmills and woodworking facilities. Vacuum kiln drying, on the other hand, combines heat and vacuum pressure to lower the boiling point of water, allowing for faster and more efficient drying. Vacuum kiln drying is often preferred for valuable or delicate wood species.
Regardless of the drying method used, it is crucial to monitor the wood’s moisture content during the drying process. Regular moisture content measurements using a moisture meter help determine when the wood has reached the desired moisture level and is ready for use in woodworking projects.
It’s important to note that improper drying can lead to problems such as internal stress, case hardening, or surface checking. Internal stress occurs when the outer layers of the wood dry faster than the inner layers, leading to internal tensions that can cause the wood to warp or twist. Case hardening happens when the outer surface of the wood dries and hardens, while the inner part retains moisture, resulting in internal stresses and potential cracking. Surface checking refers to small cracks that develop on the wood surface due to rapid moisture loss.
To minimize potential issues during the drying process, it is recommended to seal the ends of the wood with a wax or paint-like end sealer. Sealing the ends helps slow down moisture loss through the end grain and promotes more uniform drying. Additionally, ensuring proper airflow around the wood stack, protecting it from direct sunlight and extreme weather conditions, and maintaining a stable drying environment can help achieve optimal drying results.
By using appropriate drying techniques and closely monitoring the wood’s moisture content, woodworkers can ensure that the wood is properly dried and ready for use in their projects. Achieving the ideal moisture content is essential for producing high-quality, stable, and durable woodworking pieces.
Next, let’s explore some common mistakes to avoid when drying wood, to ensure a successful drying process.
Common Mistakes in Drying Wood
Drying wood to the proper moisture content is a critical step in woodworking. However, there are several common mistakes that woodworkers often make during the drying process. These mistakes can result in issues such as warping, cracking, or a higher risk of decay. By understanding and avoiding these mistakes, you can ensure a successful drying process and improve the quality of your woodworking projects.
1. Rushing the Drying Process: One of the most common mistakes is attempting to dry wood too quickly. Rapid drying can lead to uneven moisture content, internal stresses, and surface checking. It is important to allow sufficient time for the wood to dry naturally or in a controlled drying environment. Patience is key to achieving the desired moisture content without compromising the wood’s integrity.
2. Inadequate Air Circulation: Proper air circulation is essential for successful drying. Insufficient airflow around the wood stack can result in moisture buildup and hinder the drying process. Arrange the wood in the stack with enough space between boards and use spacers to promote airflow. Ensure that the drying area is well-ventilated to allow moisture to escape and prevent mold or fungal growth.
3. Neglecting the End Grain: The end grain is the most vulnerable part of the wood during drying. Neglecting to seal the end grain can result in excessive moisture loss and end up causing cracks or splits. Apply a proper end sealer to the cut ends of the wood to slow down moisture loss and promote more uniform drying.
4. Lack of Monitoring: Monitoring the wood’s moisture content during drying is crucial. Without regular measurements, it is challenging to determine when the wood has reached the desired moisture content. Use a reliable moisture meter to track the moisture levels at various points within the wood, both at the surface and the core, to ensure accuracy.
5. Incorrect Storage: Improper storage of drying wood can undo all your efforts. Protecting the wood from direct sunlight and extreme weather conditions is essential to prevent rapid moisture content changes. Store the wood in a covered, well-ventilated area or use tarps to shield it from rain. Proper storage helps maintain a stable drying environment and prevents moisture fluctuations.
6. Over-Drying or Under-Drying: Failing to achieve the appropriate moisture content for woodworking projects can lead to problems. Over-drying the wood can make it too brittle and prone to cracking, while under-drying can result in excessive movement and instability. Aim for the ideal moisture content range suitable for your specific woodworking project and wood species.
7. Not Acclimating Wood: Once the wood has reached the desired moisture content, acclimating it to its final environment is essential. This allows the wood to adjust to the humidity and temperature of the space where it will be used. Failure to acclimate the wood can lead to dimensional changes, compromising the fit and stability of your woodworking project.
Avoiding these common mistakes in drying wood will help you achieve optimal results in your projects. Proper drying techniques, patience, regular monitoring, and careful storage are key factors in ensuring that the wood retains its stability and quality. By paying attention to these details, you can minimize the risk of warping, cracking, or other issues and create beautiful, durable woodworking pieces.
Now that we have explored the common mistakes to avoid, let’s move on to discussing the importance of storing and maintaining the moisture content of wood.
Storing and Maintaining Wood Moisture Content
Storing and maintaining the moisture content of wood is crucial to preserve its stability and quality. Proper storage prevents excessive moisture fluctuations and helps maintain the desired moisture content for woodworking projects. By following some essential guidelines, you can ensure that your wood remains in optimal condition for future use.
When storing wood, it is important to keep it in a controlled environment. This means selecting a space that maintains consistent temperature and humidity levels. Extreme changes in temperature or humidity can affect the moisture content of the wood, leading to warping, cracking, or other issues. Aim for a relative humidity range between 40% and 60% and a temperature range of 60°F to 75°F (15°C to 24°C) for optimal wood storage.
Proper air circulation is essential in wood storage. Make sure the wood is stacked with enough space between the boards to promote airflow. This allows any trapped moisture to evaporate and helps prevent the growth of mold or fungi. Avoid stacking wood directly on the floor or against walls to ensure adequate ventilation.
Protecting the wood from direct sunlight is vital to prevent rapid moisture content changes. Sun exposure can cause uneven drying and lead to color fading or discoloration. Store the wood in a covered area or use opaque covers to shield it from the sun’s rays. Be mindful of the potential for condensation if using plastic covers, as this can introduce moisture into the wood.
Regular monitoring of the moisture content is important even during storage. Wood can still absorb or release moisture based on the surrounding environment. Use a moisture meter to check the wood periodically, especially if the storage area has different humidity levels compared to where the wood was dried. If necessary, make adjustments to the storage conditions to maintain the desired moisture content.
If the wood’s moisture content starts to deviate from the desired range, there are steps you can take to recondition it. For wood that has become too dry, you can increase the moisture content by placing it in a more humid environment for a period of time. This can be done by storing the wood in a room with a higher humidity level or by using a humidifier. Conversely, if the wood becomes too moist, you can try moving it to a drier area or using a dehumidifier to reduce the humidity.
It is also important to note that even properly stored wood can experience slight changes in moisture content due to seasonal variations. This is normal and expected. Acclimating the wood to its final environment before starting a project will help it adjust to the humidity and temperature of the space, reducing the risk of dimensional changes once the project is completed.
By following these guidelines and maintaining proper storage conditions, you can ensure that your wood retains its ideal moisture content for woodworking projects. Storing wood in a controlled environment, promoting airflow, protecting it from sunlight, and monitoring its moisture content will help preserve its stability and quality, ensuring successful and durable woodworking projects.
Now that we’ve explored the importance of storing and maintaining wood moisture content, let’s summarize what we’ve learned.
Conclusion
Understanding wood moisture content is crucial for woodworking success. The moisture content of wood affects its dimensional stability, strength, workability, and overall quality. By achieving the ideal moisture content, woodworkers can minimize the risk of warping, cracking, and other issues that can compromise the integrity of their projects.
Wood moisture content can be measured using moisture meters or through other methods such as moisture ovens. Regular monitoring of the wood’s moisture content helps ensure that it falls within the desired range for woodworking. Proper drying techniques, such as air drying or kiln drying, are essential for achieving the optimal moisture content. Rushing the drying process and inadequate air circulation can result in uneven drying and moisture-related problems down the line.
Common mistakes in drying wood include not properly monitoring the moisture content, neglecting the end grain, and over-drying or under-drying the wood. These mistakes can lead to issues such as warping, checking, or decreased wood stability. By avoiding these mistakes and following proper drying techniques, woodworkers can ensure that their wood is stable and ready for use in their projects.
Storing and maintaining wood moisture content is equally important. Proper storage in a controlled environment with adequate airflow helps prevent moisture fluctuations and reduces the risk of mold or fungal growth. Regular monitoring of the wood’s moisture content during storage allows for adjustments to maintain the desired moisture level. Acclimating the wood to its final environment before starting a project ensures that it adapts to the humidity and temperature conditions, minimizing dimensional changes.
In conclusion, understanding wood moisture content and implementing proper drying, storage, and maintenance techniques are essential for successful woodworking projects. By achieving the ideal moisture content, woodworkers can create stable, durable, and high-quality pieces that will withstand the test of time. Remember, patience, attention to detail, and regular monitoring are key to achieving optimal results. With these considerations in mind, you can confidently embark on your woodworking journey and create beautiful masterpieces.
Frequently Asked Questions about How Dry Should Wood Be For Woodworking?
Was this page helpful?
At Storables.com, we guarantee accurate and reliable information. Our content, validated by Expert Board Contributors, is crafted following stringent Editorial Policies. We're committed to providing you with well-researched, expert-backed insights for all your informational needs.


0 thoughts on “How Dry Should Wood Be For Woodworking?”