Articles
How Much Should I Charge To Paint A Ceiling
Modified: January 18, 2024
Discover expert advice and tips on how to price your ceiling painting project in this helpful articles. Set the right price and maximize your profit.
(Many of the links in this article redirect to a specific reviewed product. Your purchase of these products through affiliate links helps to generate commission for Storables.com, at no extra cost. Learn more)
Introduction
When it comes to home improvement projects, painting the ceiling can have a significant impact on the overall aesthetic appeal of a room. Whether you’re refreshing a tired and dull ceiling or trying to give a new space a finishing touch, it’s essential to consider the cost involved in the process.
Determining the right price for painting a ceiling can be a challenging task. There are various factors to consider, such as the type of ceiling, the condition it’s in, and the materials and tools needed for the job. The ultimate goal is to find a balance between offering a fair price to clients and ensuring a reasonable profit margin for your painting services.
In this article, we’ll explore the factors you need to consider before pricing a ceiling painting job. We’ll also discuss the different types of ceilings, the surface preparation required, materials and tools needed, time and labor involved, and additional costs that may arise during the project. Finally, we’ll provide some pricing guidelines to help you determine a reasonable charge for painting a ceiling.
By the end of this article, you’ll have a clear understanding of how to calculate the cost for painting a ceiling and be better equipped to provide accurate quotes to your clients.
Key Takeaways:
- Pricing ceiling painting services involves considering factors like ceiling size, condition, labor, and materials. Transparency, competitive rates, and quality work are essential for attracting clients and maintaining profitability.
- Proper surface preparation, high-quality materials, and attention to detail are crucial for achieving a professional finish. Flexibility in pricing and clear communication with clients are key to successful ceiling painting services.
Read more: How Much Should I Charge For Woodworking
Factors to Consider Before Pricing
Before determining how much to charge for painting a ceiling, it’s important to consider several factors that can impact the overall cost of the project. Here are some key factors you should take into account:
- Size of the Ceiling: The size of the ceiling plays a significant role in determining the cost. Larger ceilings will require more paint and take longer to complete, resulting in higher labor costs.
- Condition of the Ceiling: The condition of the ceiling can affect the amount of preparation work needed. Ceilings with cracks, stains, or previous layers of paint may require more time and effort to prepare, which can increase the overall price.
- Height of the Ceiling: Ceilings that are higher than average can pose challenges and require specialized equipment or additional labor. Working at heights also comes with certain safety risks, which may need to be factored into the pricing.
- Complexity of the Ceiling: Ceilings with intricate designs, moldings, or textured surfaces can require more time and skill to paint. The complexity of the ceiling can also impact the type of paint and tools needed.
- Geographical Location: The cost of living and labor rates vary depending on the location. Prices may be higher in metropolitan areas compared to smaller towns or rural areas. It’s crucial to consider local market rates when determining your pricing.
- Competition: Take into account the pricing strategies of your competitors in your area. Charging significantly more or less than others in the industry can impact your ability to secure clients. Research the market to find a competitive and fair price.
By carefully evaluating these factors, you can set a reasonable price for your ceiling painting services that reflects the specific requirements of each project. Keep in mind that it’s essential to strike a balance between providing a fair price to your clients and ensuring you cover your expenses and make a reasonable profit.
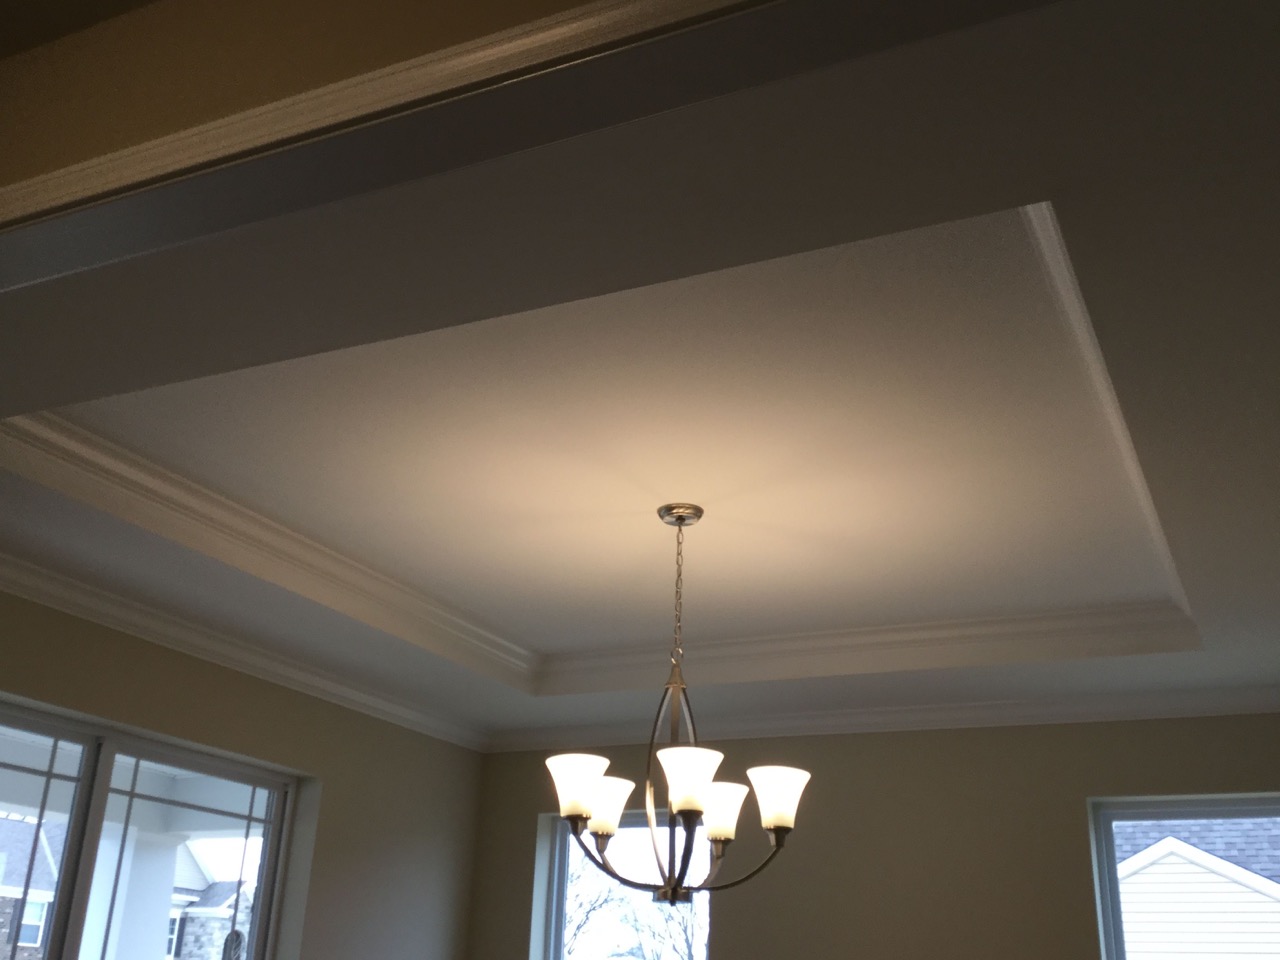
Types of Ceilings
Before you can determine the cost of painting a ceiling, it’s important to understand the different types of ceilings that exist. Each type has its own characteristics and may require different techniques or materials. Here are some common types of ceilings you may encounter:
- Smooth Ceilings: Smooth ceilings are the most common type found in residential and commercial buildings. They have a flat and even surface, making them relatively easy to paint. The cost of painting a smooth ceiling will depend on its size, height, and condition.
- Textured Ceilings: Textured ceilings, such as popcorn or stucco ceilings, have a textured surface created with various materials. Painting textured ceilings can be more time-consuming and challenging compared to smooth ceilings. It requires careful attention to ensure even coverage and may require extra preparation, such as repairing cracks or removing loose texture.
- Vaulted Ceilings: Vaulted ceilings are characterized by their high and sloping design, adding architectural interest to a space. Painting vaulted ceilings can be more labor-intensive due to their height and irregular angles. Specialized equipment, such as scaffolding or extension poles, may be necessary to reach high ceilings safely.
- Coffered Ceilings: Coffered ceilings feature recessed panels or decorative patterns, adding a touch of elegance to a room. Painting coffered ceilings requires careful attention to detail and may involve multiple colors or intricate designs. The complexity of the coffered ceiling can impact the overall cost of painting.
- Exposed Beam Ceilings: Exposed beam ceilings showcase the structural support beams of a building. Painting these ceilings can involve additional time and effort as the beams need to be carefully coated while avoiding any damage to the surrounding areas.
Each type of ceiling presents its own challenges and considerations when it comes to painting. It’s important to assess the specific characteristics of the ceiling before determining the pricing to ensure you provide an accurate quote to your clients.
Surface Preparation
Proper surface preparation is crucial for achieving a smooth and long-lasting paint finish on a ceiling. Before diving into the painting process, several steps need to be taken to ensure the surface is ready. Here are the essential surface preparation steps for painting a ceiling:
- Clean the Surface: Remove any dust, dirt, or grease from the ceiling using a vacuum cleaner or a soft cloth. This will help the paint adhere better to the surface.
- Repair Damaged Areas: Inspect the ceiling for any cracks, holes, or water damage. Fill in the gaps with spackling compound, and sand the patched areas once dry. Repairing these imperfections will create a smooth surface for painting.
- Sand the Surface: If the ceiling has a previously painted surface, lightly sand it to create a better bonding surface for the new paint. This step also helps to smooth out any rough spots or imperfections.
- Remove Peeling Paint: If there is any peeling or flaking paint on the ceiling, it needs to be scraped off carefully. Using a putty knife, gently scrape away the loose paint, and sand the area to ensure a smooth surface.
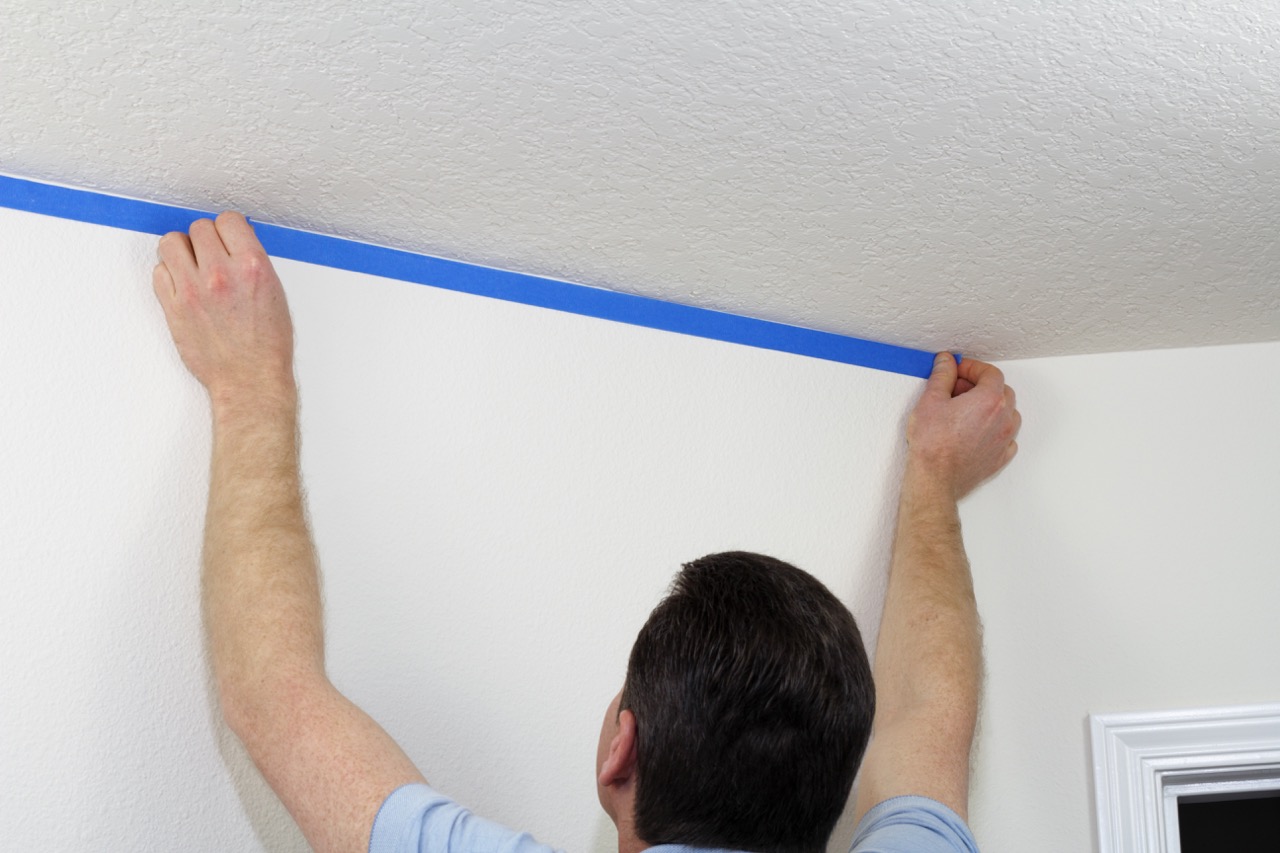
- Protect the Surrounding Areas: Cover the floors, furniture, and other items in the room with plastic sheets or drop cloths to prevent paint splatters and spills from causing any damage.
- Prime the Ceiling: Applying a primer is essential for enhancing the adhesion of the paint and ensuring consistent coverage. Use a stain-blocking primer if there are any water stains or discoloration on the ceiling.
By taking the time to properly prepare the ceiling surface, you’ll create a solid foundation for the paint and minimize the chances of issues like peeling or uneven coverage. It’s worth noting that the surface preparation process can vary depending on the condition of the ceiling and the type of surface you’re working with. Assess the specific requirements of the project and allocate the necessary time and materials for surface preparation to ensure a professional and flawless paint job.
Materials and Tools Needed
Painting a ceiling requires the use of specific materials and tools to ensure a successful and efficient project. Here is a list of the essential items you will need:
- Paint: Choose a high-quality interior paint suitable for ceilings. The type of paint will depend on the surface and its condition. Consider factors such as coverage, durability, and drying time when selecting the paint.
- Primer: A primer is necessary to enhance adhesion and provide an even base for the paint. Opt for a primer suitable for the specific type of ceiling and any existing issues, such as stains or discoloration.
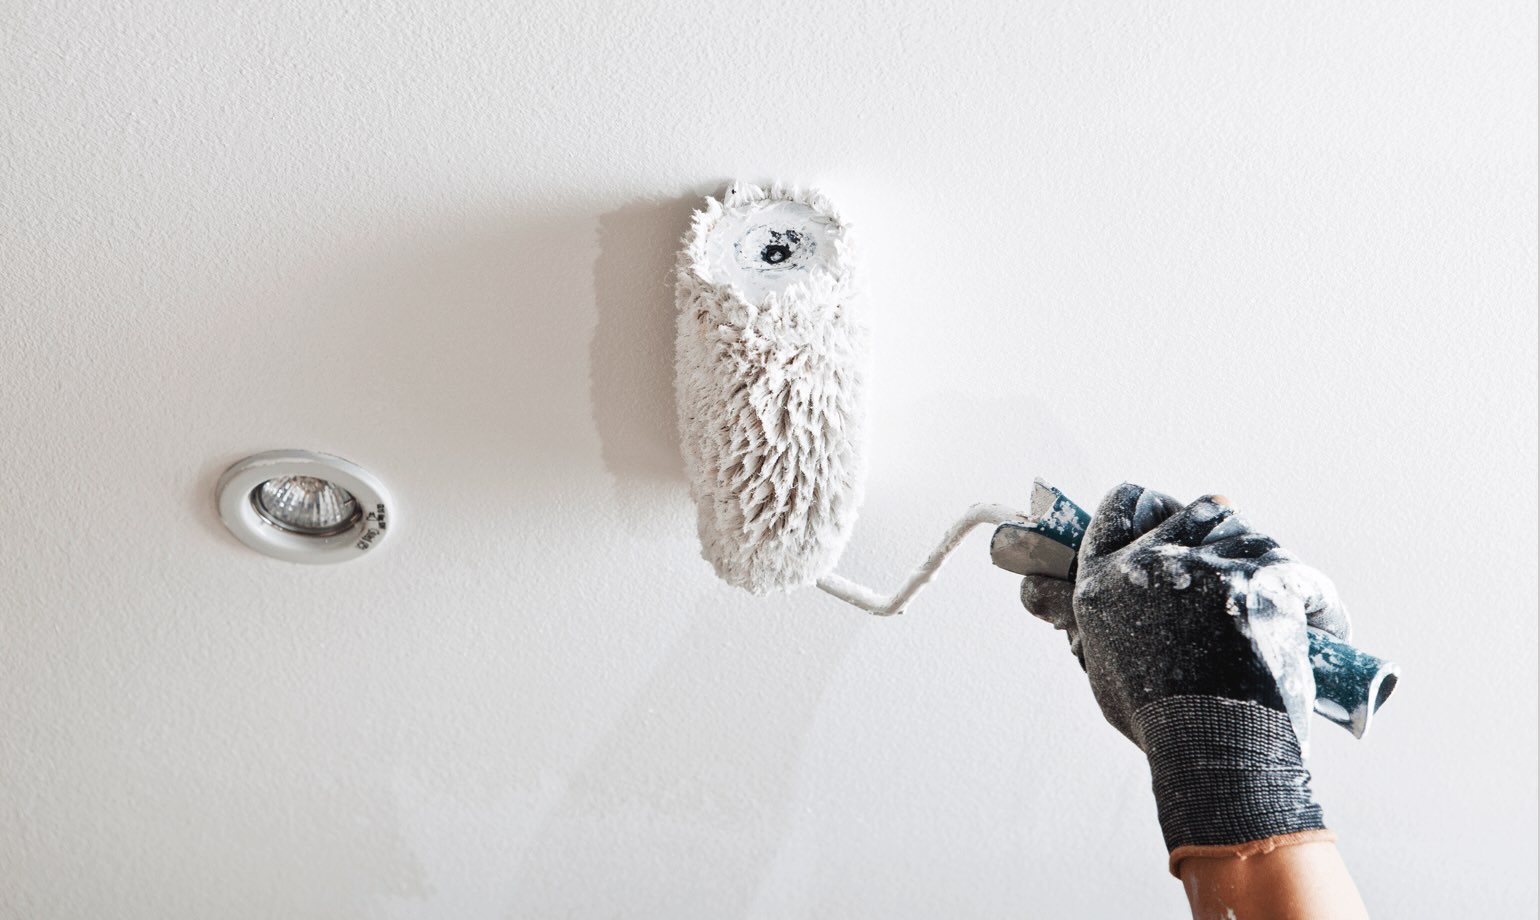
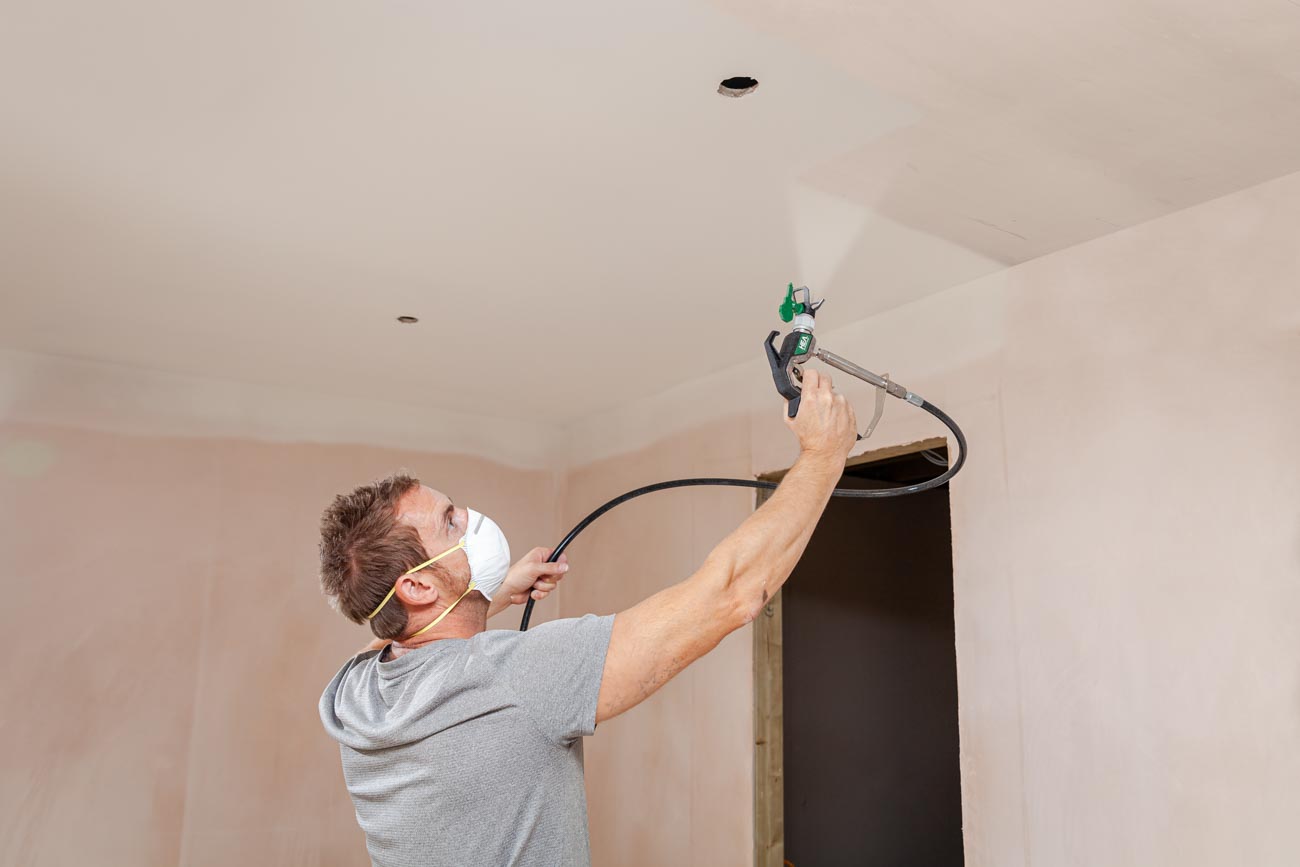
- Paint Rollers: Use a roller with a long handle and a nap length suitable for the texture of the ceiling. A roller with an extension pole will be helpful for reaching high or vaulted ceilings.
- Paint Brushes: Have a selection of high-quality paint brushes in different sizes, including larger brushes for cutting in the edges and smaller brushes for detail work.
- Paint Trays: Use paint trays to hold and distribute the paint when using a roller. Opt for trays with disposable liners for easier cleanup.
- Drop Cloths or Plastic Sheets: Protect the surrounding areas by covering them with drop cloths or plastic sheets. This will prevent accidental paint drips or spills from damaging floors, furniture, or other belongings.
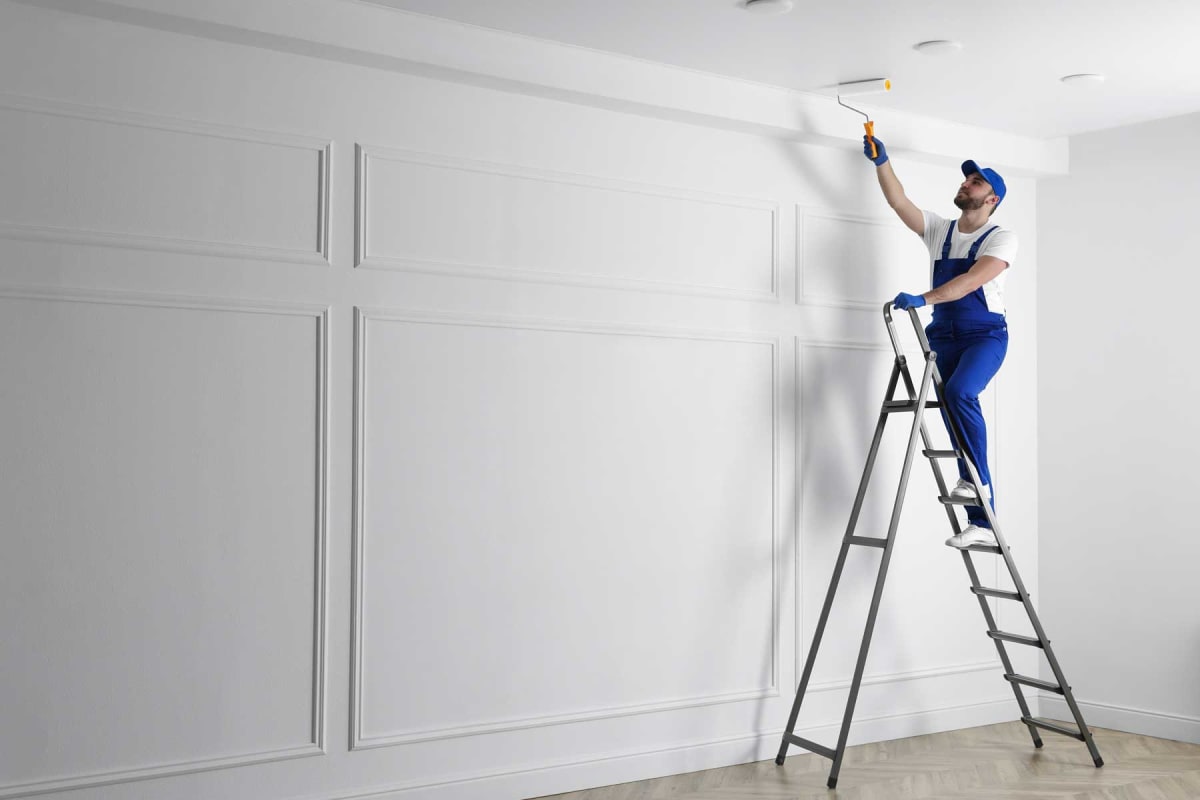
- Ladder or Scaffolding: Depending on the height of the ceiling, you may need a ladder or scaffolding to safely access and paint the higher areas. Ensure the ladder or scaffolding is sturdy and stable.
- Sandpaper: Have a variety of grits of sandpaper available for surface preparation, smoothing out imperfections, and preparing the prime surfaces.
- Spackling Compound: Spackling compound is necessary for filling in any cracks or holes on the ceiling’s surface. Have a putty knife on hand for easy application.
- Painter’s Tape: Use painter’s tape to mask off edges and protect areas where you don’t want paint to reach, such as trim, baseboards, or adjacent walls.
- Paint Trays and Liners: Use paint trays and disposable liners for easy cleanup and efficient paint distribution.
- Paint Stirrers and Mixing Sticks: These tools are essential for thoroughly mixing the paint and achieving a consistent color throughout the project.
Having the right materials and tools on hand will not only ensure a smoother painting process but also help you achieve professional results. Invest in high-quality products and tools to make the job easier and more efficient, and don’t forget to prioritize safety by using appropriate ladder or scaffolding equipment.
Consider the size of the ceiling, the type of paint and any necessary prep work. A common rate is $1 to $2 per square foot for a basic job. Adjust based on complexity and your expertise.
Read more: What Color Should I Paint The Ceiling
Time and Labor
The time and labor required for painting a ceiling can vary depending on several factors, including the size of the ceiling, its condition, the complexity of the surface, and the number of coats needed. Here are some considerations to keep in mind when estimating the time and labor required for a ceiling painting project:
- Ceiling Size: The size of the ceiling is a significant factor in determining the time and labor involved. Larger ceilings will require more time for painting and may require additional manpower to ensure a timely completion.
- Surface Preparation: The amount of time needed for surface preparation will depend on the condition of the ceiling. Ceilings with cracks, stains, or previous layers of paint may require more time for spackling, sanding, and repairing before the painting process can begin.
- Number of Coats: Depending on the paint color and the desired finish, multiple coats of paint may be required. Each coat will add to the overall time and labor involved in the project.
- Complexity of the Ceiling: Ceilings with intricate designs, textured surfaces, or coffered ceilings may require additional time and attention to detail. Painting around intricate elements or dealing with textured surfaces can be time-consuming but necessary for a professional finish.
- Accessibility: The accessibility of the ceiling can also impact the time and labor required. Ceilings that are higher or difficult to reach may necessitate the use of scaffolding or additional equipment, and this can add to the overall time and labor involved.
- Number of Painters: The number of painters on the project will affect the labor required. More painters can help expedite the process, especially for larger ceilings, but it will also impact the cost as additional labor needs to be considered.
It’s important to allocate enough time for each stage of the project, including surface preparation, priming, painting, and drying. Rushing through any of these steps can lead to poor results. Consider these factors when providing estimates to clients, ensuring you account for necessary labor and provide a realistic timeline for the completion of the ceiling painting project.
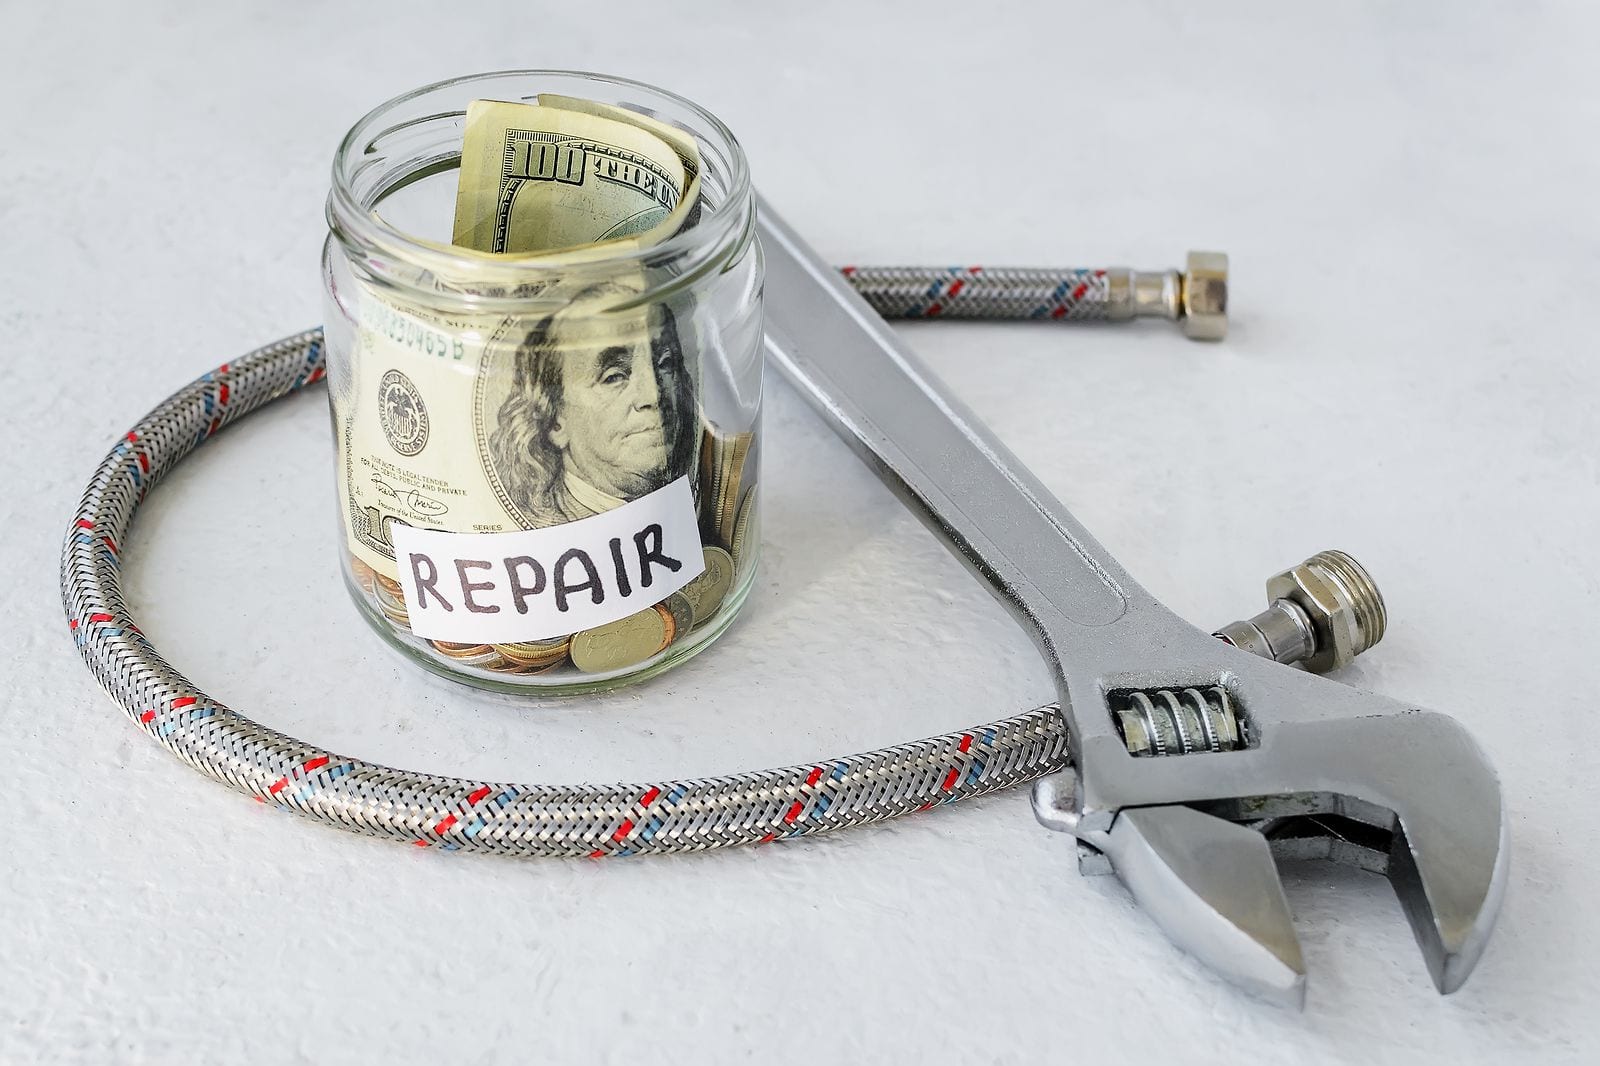
Additional Costs
When pricing a ceiling painting project, it’s important to consider potential additional costs that may arise. These costs can vary depending on the specific circumstances of the project. Here are some common additional costs to keep in mind:
- Mold or Mildew Remediation: If the ceiling has mold or mildew issues, it’s essential to address them before painting. Mold or mildew remediation may require specialized cleaning products or the assistance of a professional, which can add to the overall cost.
- Repairing Water Damaged Areas: Water damage can cause significant issues with ceilings. If there are water stains or structural damage, additional repairs may be necessary, such as fixing leaks, replacing damaged drywall, or addressing plumbing issues. These repairs will add to the overall project cost.
- Asbestos Abatement: In older buildings, ceilings may contain asbestos, a hazardous material. If the ceiling contains asbestos, special procedures and professional abatement services are required, which can increase the total project cost significantly.
- Color Changes or Custom Designs: If the client wants to change the color of the ceiling or add custom designs, additional costs for different paint colors or specialty products will need to be factored in.
- Travel Expenses: If the project is located at a significant distance from your usual work area, travel expenses such as transportation and accommodation may need to be considered and added to the project cost.
- Overhead Costs: It’s important to consider the overhead costs of running a painting business, such as insurance, licensing fees, advertising, and equipment maintenance.
Be sure to communicate clearly with your client about any potential additional costs that may arise during the project. This will help ensure transparency and avoid any surprises or disputes later on. By accounting for these additional costs, you can provide your clients with an accurate and comprehensive quote for the ceiling painting project.
Pricing Guidelines
Setting the right price for your ceiling painting services is crucial to attract clients and ensure profitability. While there is no one-size-fits-all approach to pricing, here are some guidelines to consider when determining the cost for painting a ceiling:
- Calculate Material Costs: Estimate the amount of paint, primer, and other materials needed for the project. Consider the quality of the materials and factor in their cost when determining the pricing.
- Assess Labor Time and Costs: Calculate the labor hours required for the project, including surface preparation, priming, painting, and cleanup. Consider the skills and experience of your team and ensure you factor in fair wages for the labor involved.
- Consider Overhead Expenses: Take into account the overhead costs of running your painting business, such as insurance, equipment depreciation, licensing fees, and advertising. These costs should be incorporated into your pricing strategy to ensure profitability.
- Research Market Rates: Research the local market and analyze the pricing strategies of your competitors. Understanding the average rates in your area will help you position your pricing competitively while still taking into account the quality of your work and the value you provide to clients.
- Factor in Profit Margin: Don’t forget to factor in a reasonable profit margin that reflects the expertise and quality of your work. Your pricing should ensure that you can cover your expenses and generate a profit for your business.
- Offer Options: Consider offering different pricing packages or options, such as additional services (e.g., mold remediation) or discounts for larger projects. This can help cater to different client needs while maintaining profitability.
- Communicate Clearly: Clearly communicate your pricing structure to clients, ensuring transparency and avoiding any surprises. Provide detailed quotes that break down the costs involved, including materials, labor, and any additional expenses.
Remember, pricing is not set in stone, and it may need to be adjusted based on the specific requirements of each project. Be flexible and willing to negotiate with clients while ensuring that your pricing allows you to maintain a sustainable and profitable business.
By following these pricing guidelines, you can ensure that your ceiling painting services are priced accurately, fairly, and competitively, ultimately helping you attract clients and grow your business.
Conclusion
Pricing ceiling painting services requires careful consideration of various factors, including the size and condition of the ceiling, the type of surface, the labor and time involved, and any additional costs that may arise. By taking into account these factors and following the pricing guidelines, you can ensure that your quotes are accurate, competitive, and reflective of the value you provide to clients.
Remember, transparency and communication are key when discussing pricing with clients. Clearly outline the breakdown of costs, including materials, labor, and any additional expenses, to provide a comprehensive quote. Be open to negotiating and offering different pricing options to meet the needs and budget of each client.
Additionally, always strive for quality and professionalism in your ceiling painting services. Proper surface preparation, the use of high-quality materials, and attention to detail will ensure a professional finish that exceeds client expectations. Delivering exceptional results will not only enhance your reputation but also justify the pricing for your services.
Lastly, regularly review and adjust your pricing strategy as needed. Market rates, competition, and the costs of running your business may change over time. Stay informed and make necessary adjustments to remain competitive while ensuring your business remains profitable.
By understanding the factors that influence pricing and following the guidelines discussed in this article, you can confidently and accurately determine the cost of painting a ceiling. Providing fair pricing to clients while maintaining profitability will lead to satisfied customers and a thriving painting business.
Frequently Asked Questions about How Much Should I Charge To Paint A Ceiling
Was this page helpful?
At Storables.com, we guarantee accurate and reliable information. Our content, validated by Expert Board Contributors, is crafted following stringent Editorial Policies. We're committed to providing you with well-researched, expert-backed insights for all your informational needs.


0 thoughts on “How Much Should I Charge To Paint A Ceiling”