Articles
How To Repair Plaster Ceiling Cracks
Modified: October 20, 2024
Looking for articles on how to repair plaster ceiling cracks? Find expert tips and step-by-step guides to fix and restore your plaster ceiling.
(Many of the links in this article redirect to a specific reviewed product. Your purchase of these products through affiliate links helps to generate commission for Storables.com, at no extra cost. Learn more)
Introduction
Welcome to our comprehensive guide on how to repair plaster ceiling cracks. Plaster ceilings can add a touch of elegance and charm to any home, but over time, they can develop cracks and imperfections due to natural settling, temperature changes, or structural issues. These cracks not only diminish the aesthetic appeal of your ceiling but can also be a sign of underlying problems that need to be addressed.
In this article, we will walk you through the step-by-step process of repairing plaster ceiling cracks, from assessing the damage to the final touch of paint. Whether you’re a seasoned DIY enthusiast or a novice looking to tackle your first home repair project, our guide will provide you with the knowledge and tips you need to achieve professional-looking results.
Before we dive into the repair process, it’s crucial to understand that plaster ceiling repair can be a time-consuming and messy task. It requires patience, attention to detail, and the right tools and materials. However, by following the techniques outlined in this guide, you can restore your ceiling to its former glory and save money on professional repairs.
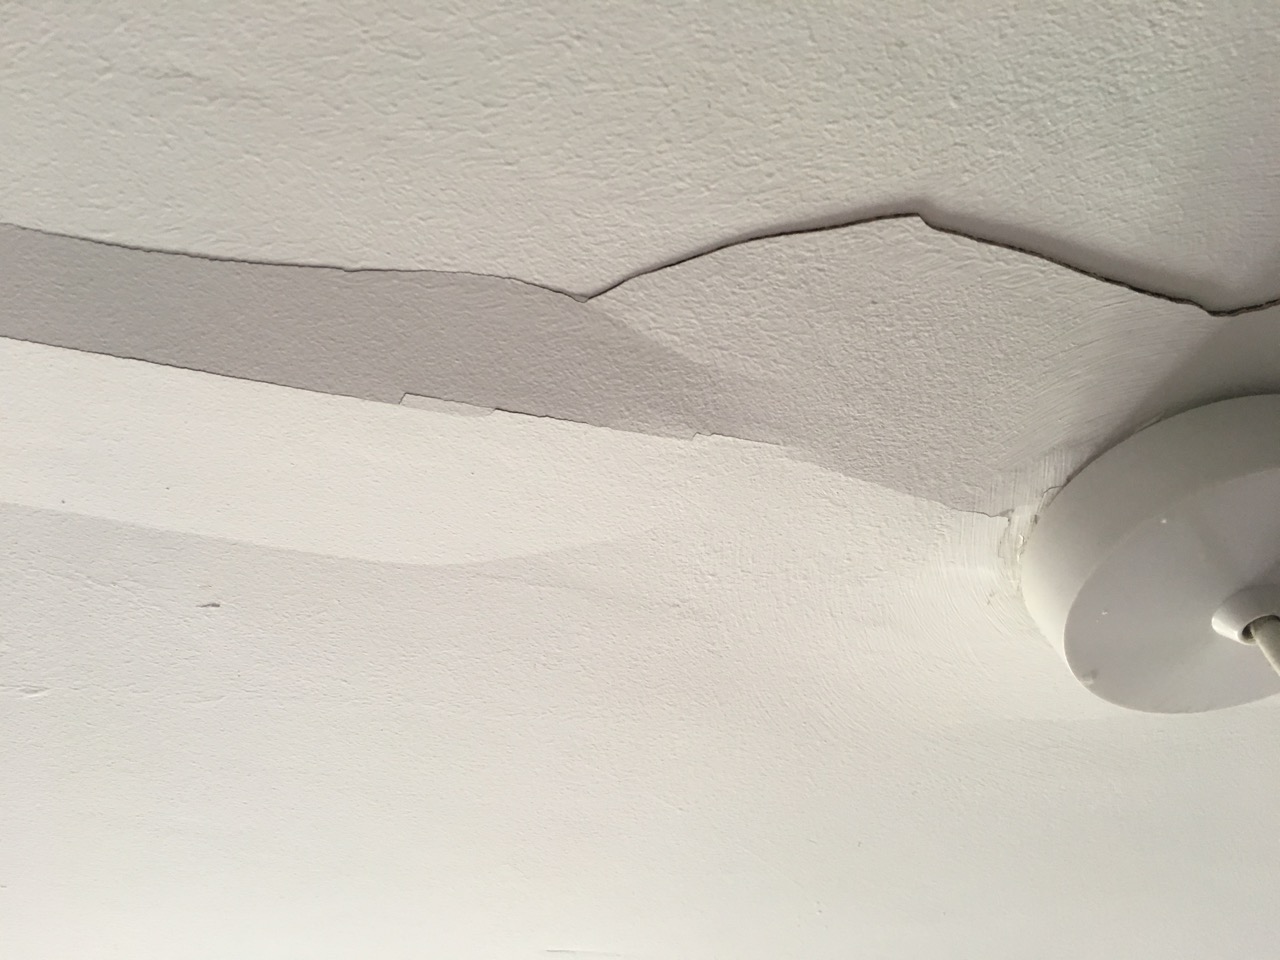
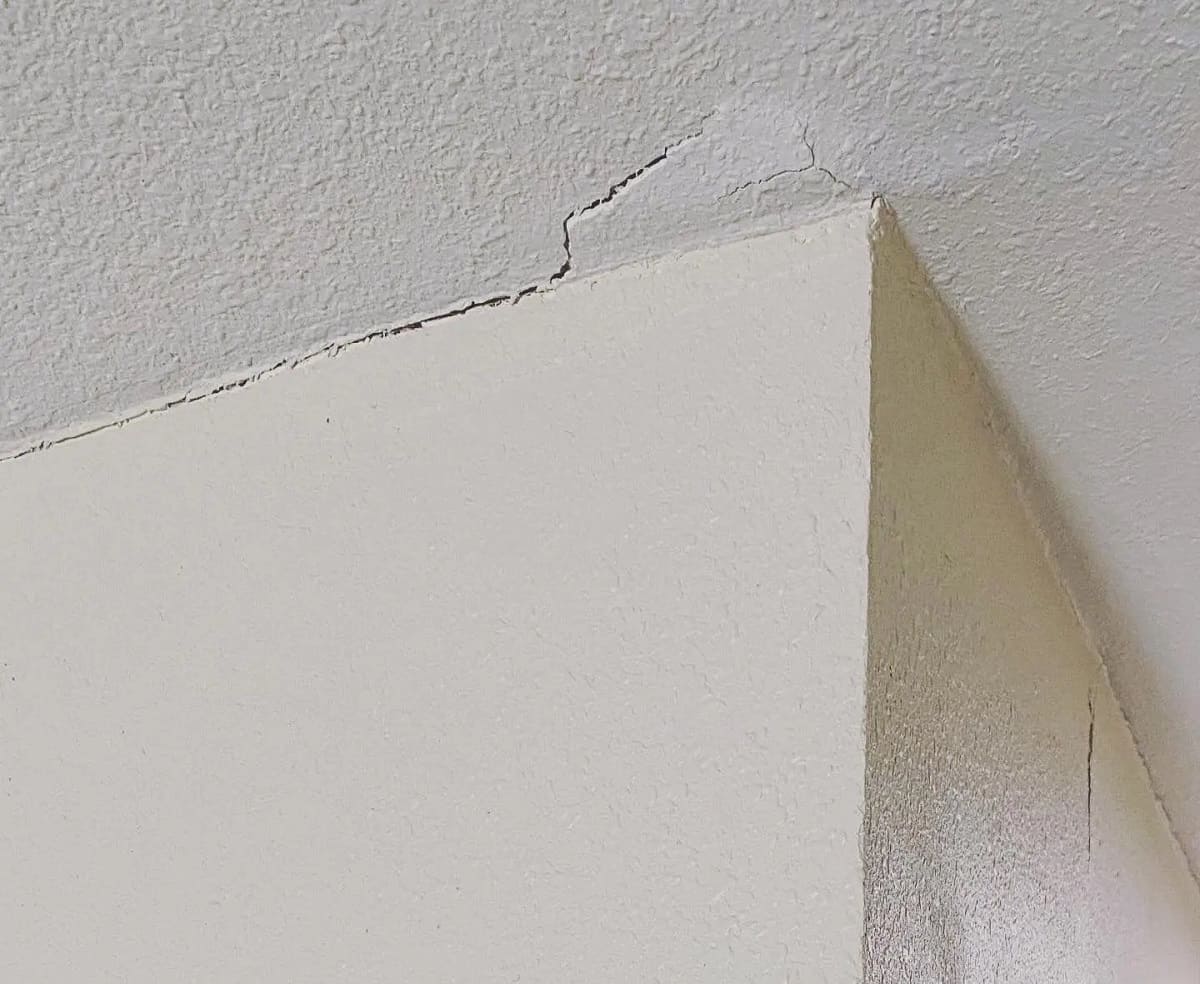
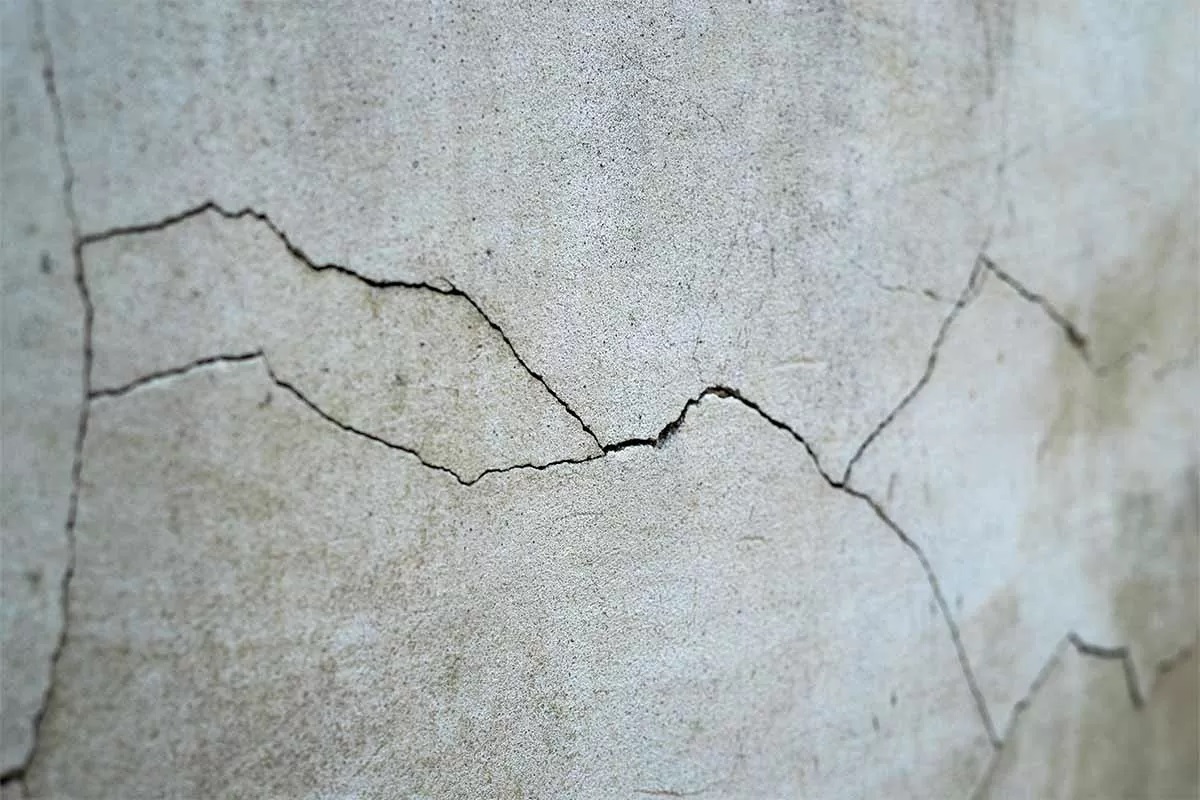
Before starting any repair work, it’s essential to assess the extent of the damage. Some cracks may be superficial and merely cosmetic, while others might indicate more significant structural issues. Take the time to thoroughly inspect your ceiling and make note of any cracks, their size, and location. This initial assessment will help you determine the appropriate repair methods and materials.
Once you’ve assessed the damage, it’s time to prepare the area for repair. This involves protecting surrounding surfaces, removing loose debris, and creating a clean workspace. Proper preparation is crucial for achieving a seamless repair and avoiding further damage to your ceiling.
Next, we’ll guide you through the process of applying the patching material. This step involves filling the cracks and smoothing out the surface to create a seamless finish. We’ll provide you with tips on choosing the right patching material and techniques to achieve optimal results.
After the patching material has dried, it’s time to sand and smooth the surface. This step is essential to ensure a flush and even finish and to blend the repaired section with the rest of the ceiling. We’ll guide you through the sanding process and share tips to achieve a professional-looking result.
Once the surface is smooth and free of imperfections, it’s time to prime and paint the ceiling. We’ll provide you with insights on selecting the right primer and paint, as well as tips on achieving a flawless finish. A fresh coat of paint will not only enhance the aesthetic appeal of your ceiling but also protect it from further damage.
Finally, we’ll wrap up with some additional tips and precautions to keep in mind during the repair process. These tips will help you avoid common mistakes and ensure a successful and long-lasting repair.
To conclude, repairing plaster ceiling cracks can be a challenging task, but with the right knowledge and tools, you can restore the beauty of your ceiling and prevent further damage. So, let’s get started on this DIY journey and bring back the charm to your home!
Key Takeaways:
- Assess the damage thoroughly before repairing plaster ceiling cracks to determine the severity and appropriate repair methods. This ensures a successful and long-lasting restoration of your ceiling’s beauty.
- Proper preparation, application of patching material, and meticulous sanding and painting are crucial for achieving a professional-looking result when repairing plaster ceiling cracks. Patience and attention to detail are key!
Read more: How To Repair A Plaster Ceiling
Assessing the Damage
Before you begin the repair process, it’s crucial to assess the damage to your plaster ceiling. This step will help you understand the severity of the cracks and determine the appropriate repair methods. Here’s how you can assess the damage:
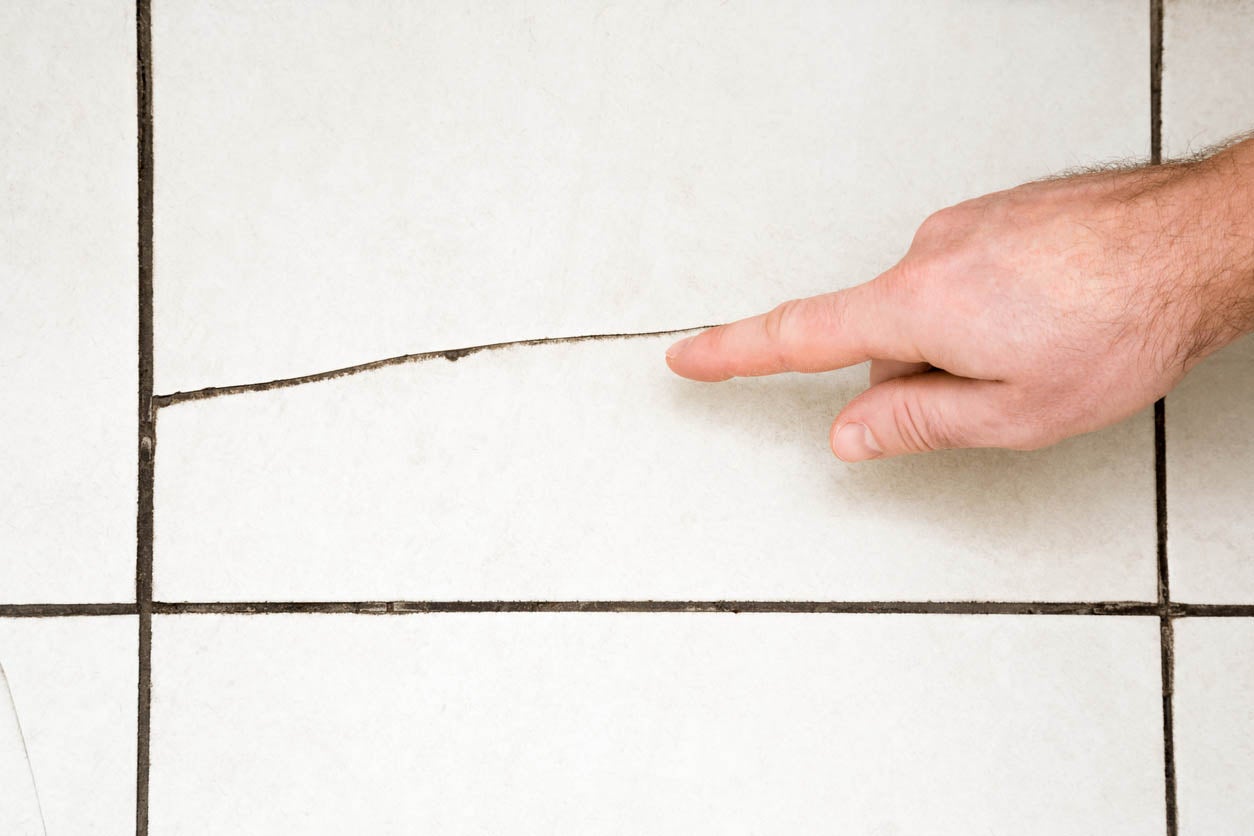
- Start by inspecting the entire ceiling and identifying any visible cracks. Pay attention to their length, width, and depth.
- Use a flashlight to examine the cracks closely. Look for any signs of movement or separation, which might indicate underlying structural issues.
- Take note of the location of the cracks. Are they concentrated in one area or spread throughout the ceiling?
- Measure the length and width of each crack using a measuring tape. This information will be useful in determining the amount of patching material you’ll need.
- Check the edges of the cracks. Are they rough or jagged? Smooth edges are usually an indication of superficial cracks, while rough edges may indicate more extensive damage.
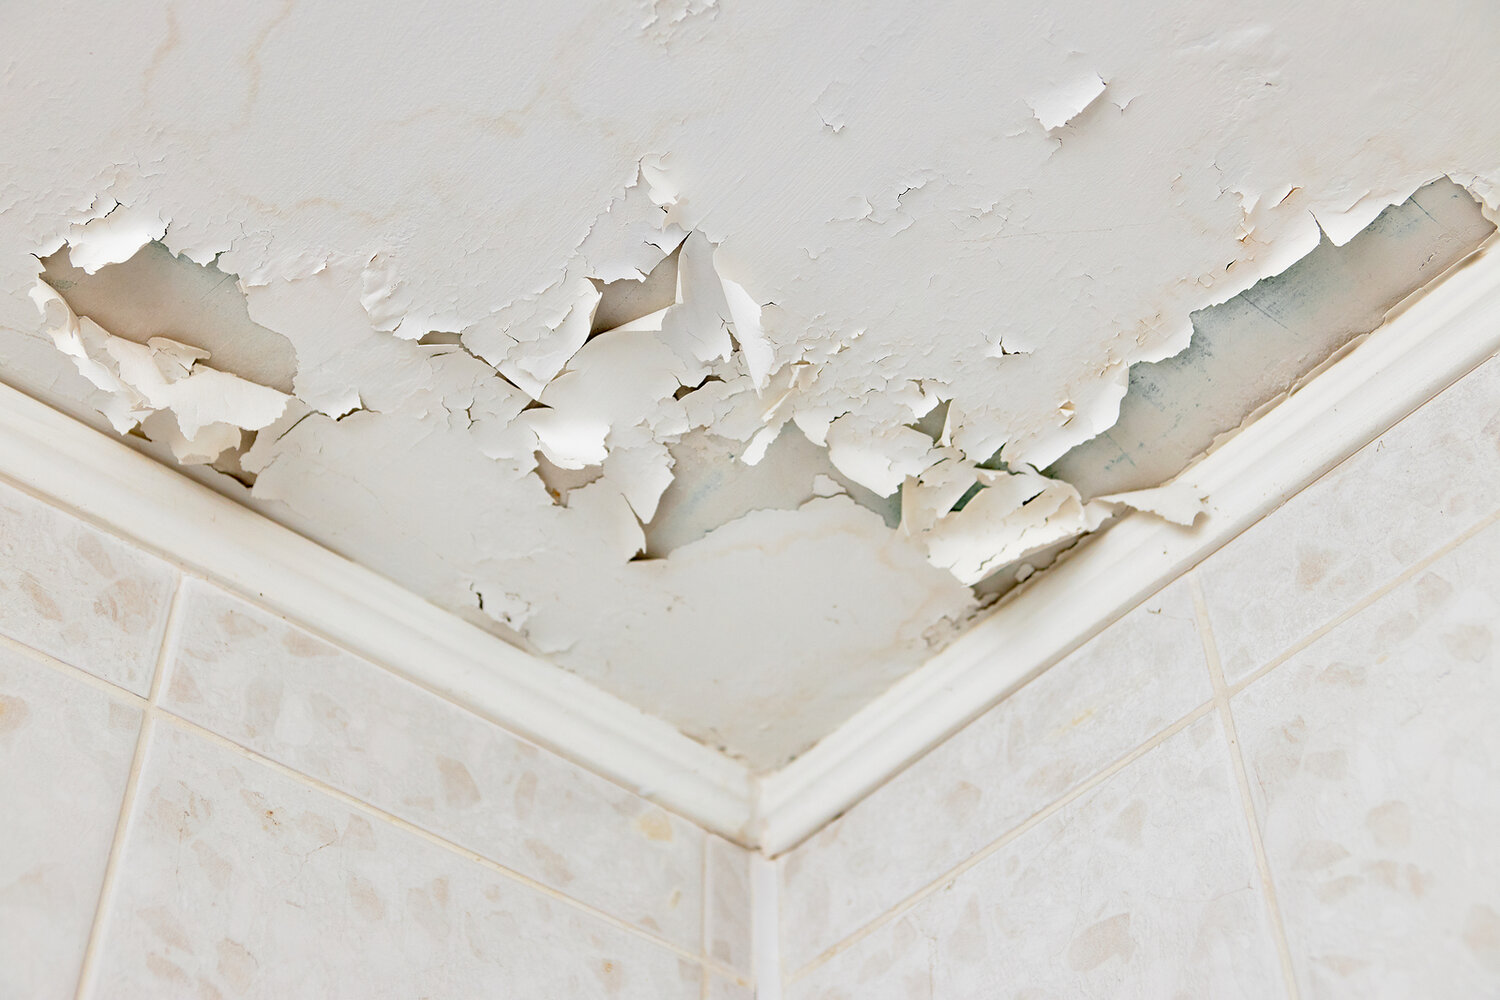
- Inspect the surrounding areas of the cracks for any signs of water damage or discoloration. Water-related issues could be causing the cracks and will need to be addressed.
- Take pictures of the cracks as visual documentation. This will help you track the progress of your repairs and serve as a reference if you need to seek professional help.
Once you’ve completed the assessment, you should have a better understanding of the nature and extent of the damage to your plaster ceiling. Depending on the severity of the cracks, you can determine if it’s a minor repair that you can handle on your own or if it requires the expertise of a professional.
Remember, if you notice any significant structural issues, such as sagging or bowing ceilings, or if you’re unsure about the extent of the damage, it’s always wise to seek professional advice. They will have the expertise and tools to properly assess the situation and provide the appropriate solutions.
By conducting a thorough assessment of the damage, you can proceed confidently with the repair process, ensuring that you address the underlying issues and restore your plaster ceiling to its former glory. So take the time to inspect and evaluate the cracks before moving on to the next step.
Preparing the Area
Before you can begin repairing the plaster ceiling cracks, it’s essential to properly prepare the area. This step will help protect surrounding surfaces, create a clean workspace, and ensure a successful repair. Here’s what you need to do to prepare the area:
- Remove any furniture or objects from the area directly below the damaged section of the ceiling. This will prevent them from getting in the way and protect them from any potential debris during the repair process.
- Cover the remaining furniture and flooring in the room with drop cloths or plastic sheets. This will protect them from dust, debris, and any accidental spills during the repair process.
- Put on safety goggles, gloves, and a dust mask to protect yourself from dust and debris. It’s important to prioritize your safety during the repair process.
- Use a soft-bristle brush or a vacuum cleaner with a brush attachment to remove any loose debris, dust, or cobwebs from the ceiling and surrounding areas. This will help create a clean surface for the repair work.
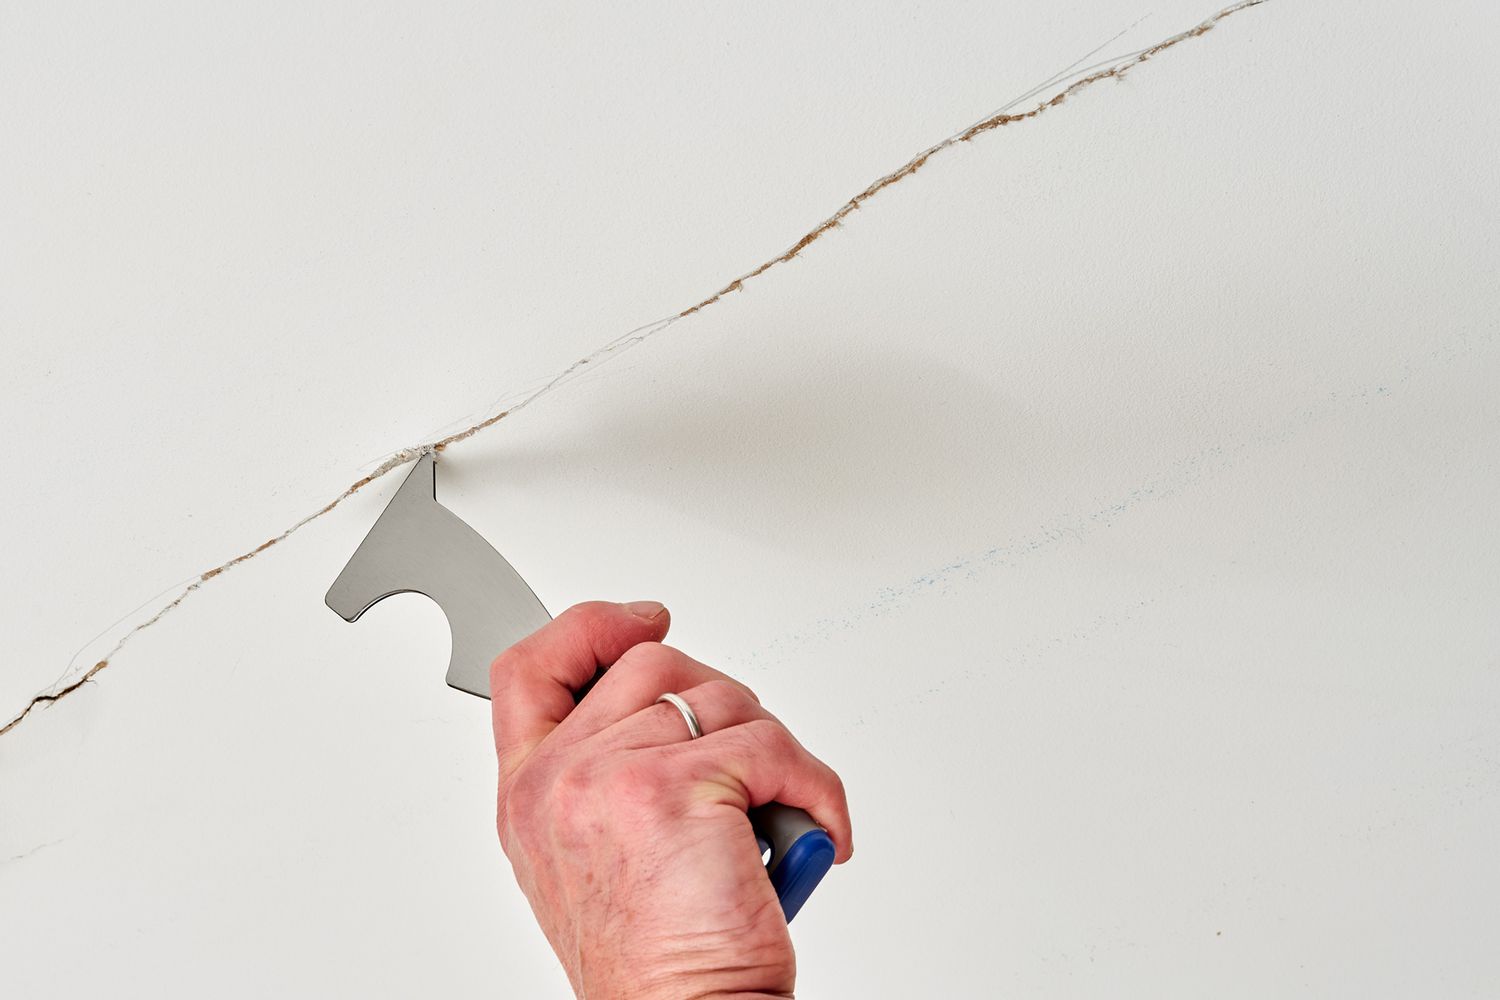
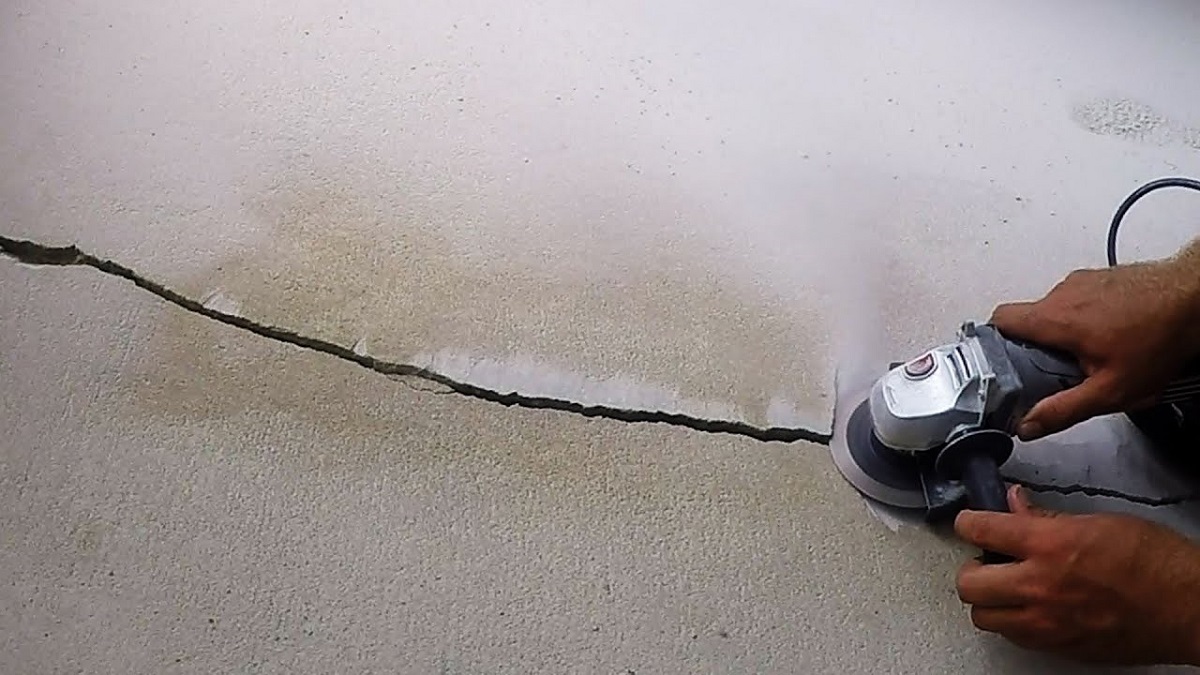
- Next, use a putty knife or scraper to gently scrape away any loose or flaking plaster around the cracks. Be careful not to apply too much pressure and avoid damaging the surrounding plaster.
- If there are any large cracks or gaps, you may need to widen them slightly to create a V-shaped groove. This will provide a better surface for the patching material to adhere to. Use the putty knife to carefully widen the cracks, removing any loose material in the process.
- Once you have prepared the area, use a damp cloth or sponge to wipe down the surface of the ceiling. This will remove any remaining dust or debris and ensure a clean and smooth surface for the repair.
- Finally, use painter’s tape to mask off any adjacent areas, such as walls or crown molding, that you want to protect from the patching material or paint. This will help you achieve clean and precise edges during the repair process.
Properly preparing the area ensures that you have a clean and well-protected workspace for repairing the plaster ceiling cracks. It minimizes the risk of damage to surrounding surfaces and helps you achieve a professional and seamless repair. Take the time to prepare the area before moving on to applying the patching material for the best results.
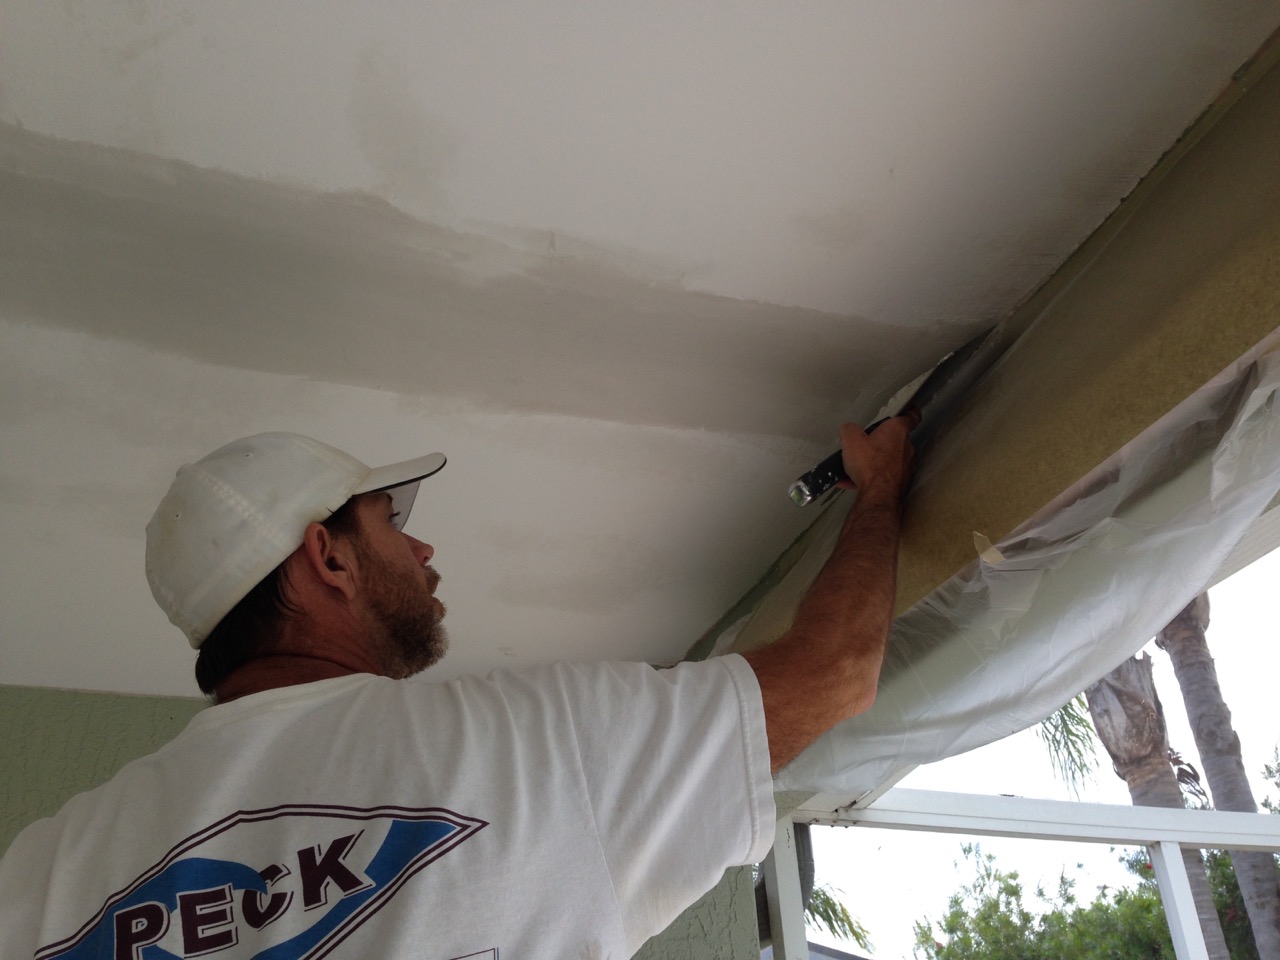
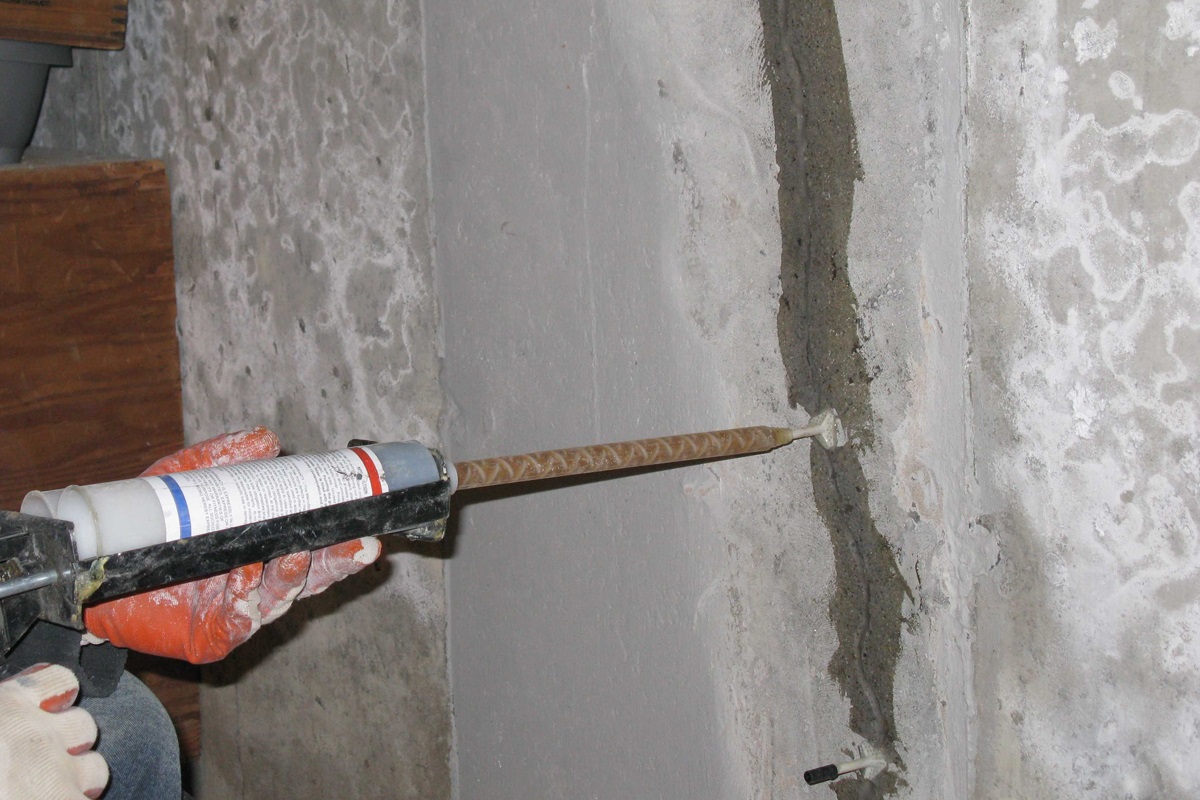
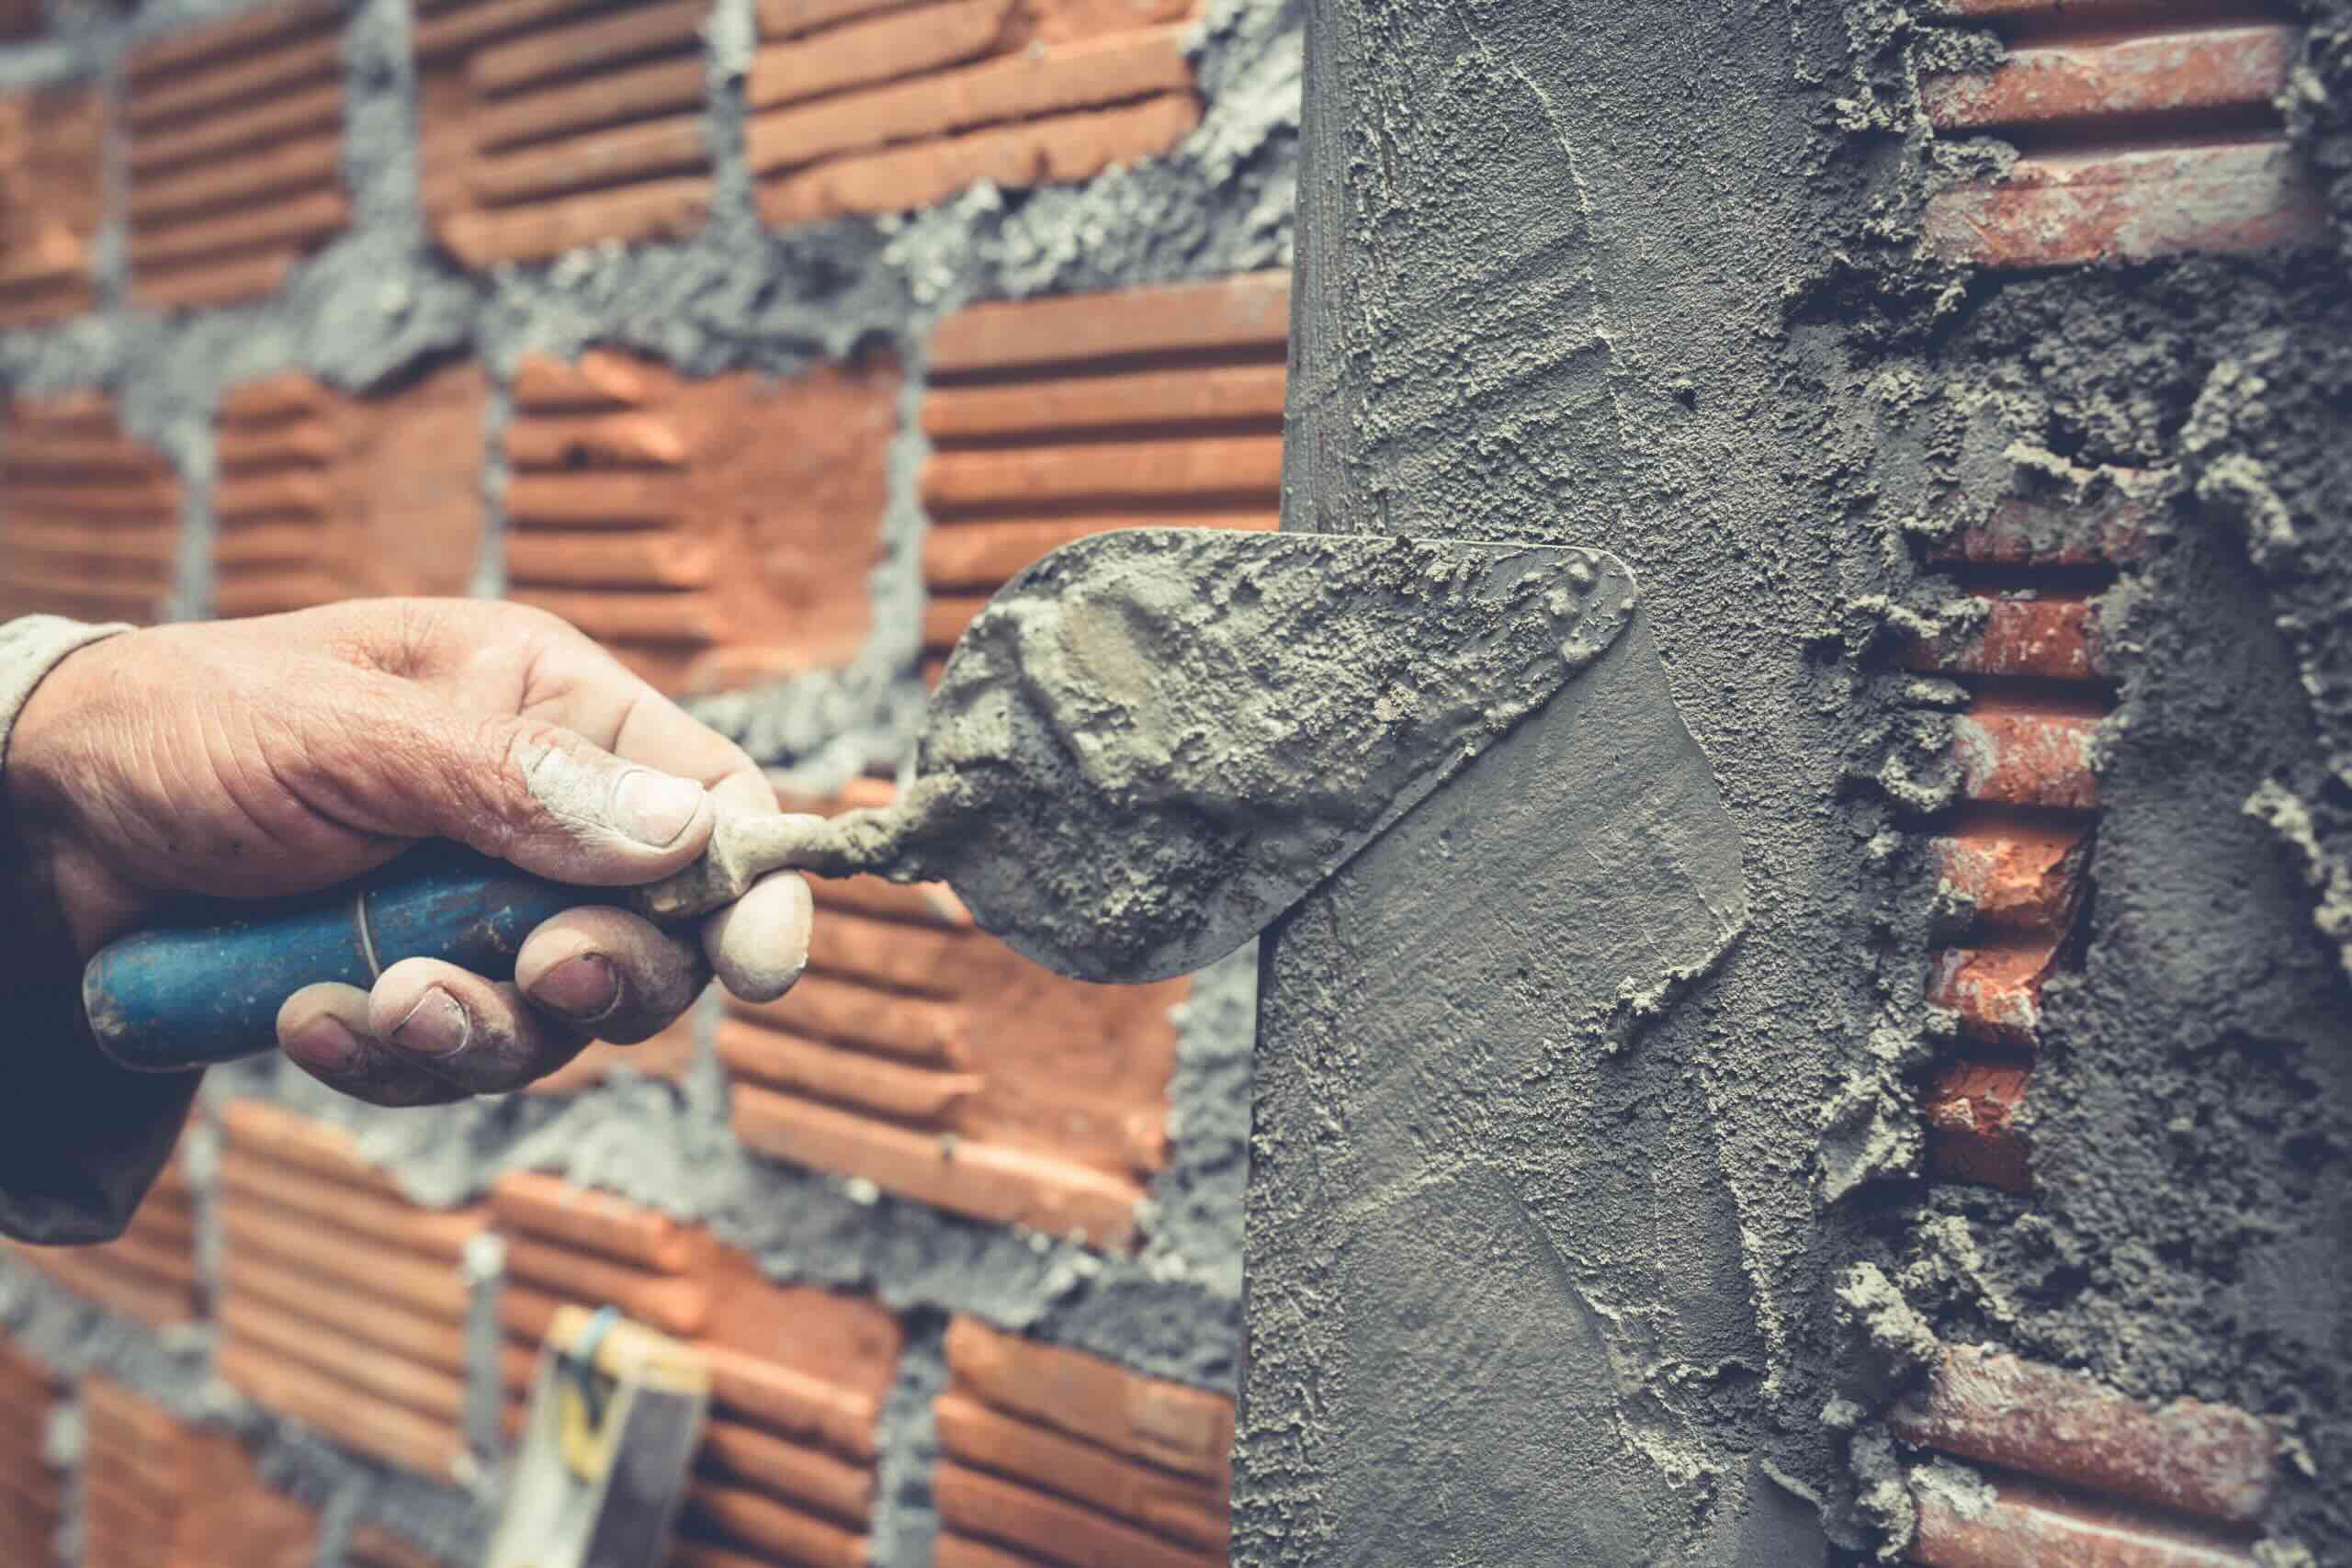
Applying the Patching Material
Now that you have assessed the damage and prepared the area, it’s time to apply the patching material to repair the plaster ceiling cracks. The patching material will help fill in the cracks and create a smooth, seamless surface. Here’s a step-by-step guide on how to apply the patching material:
- Start by preparing the patching material according to the manufacturer’s instructions. This may involve mixing the material with water or a bonding agent to achieve the right consistency.
- Using a putty knife or a trowel, apply a small amount of the patching material to the tip of the knife.
- Place the knife at a slight angle and push the material into the crack, filling it completely. Apply enough pressure to ensure that the material adheres well to the surface.
- Continue working along the crack, filling it with the patching material until it is flush with the surrounding plaster. If the crack is deep, you may need to apply the material in layers, allowing each layer to dry before applying the next.
- Smooth the surface of the patching material with the putty knife or a trowel, making sure it is level with the rest of the ceiling. Feather the edges to blend the patch with the surrounding plaster for a seamless finish.
- Repeat this process for each crack, taking care to apply the patching material evenly and smoothly. If needed, use a damp cloth or sponge to clean up any excess material before it dries.
- Allow the patching material to dry completely according to the manufacturer’s instructions. This may take several hours or overnight.
It’s important to note that the drying time can vary depending on the type of patching material used and the temperature and humidity in the room. Be patient and avoid disturbing the patched areas while they are drying.
Once the patching material has dried, inspect the repaired areas for any imperfections or unevenness. If necessary, lightly sand the surface with fine-grit sandpaper to achieve a smooth finish. Use a damp cloth to wipe away any dust before proceeding.
By following these steps, you can effectively apply the patching material and fill in the plaster ceiling cracks. The key is to take your time, work methodically, and ensure that the patched areas are level and seamless. Once the patching material is dry, you can move on to the next step of sanding and smoothing the surface.
Apply a layer of joint compound over the crack, then embed a piece of mesh drywall tape into the compound. Smooth out the tape and let it dry before sanding and painting.
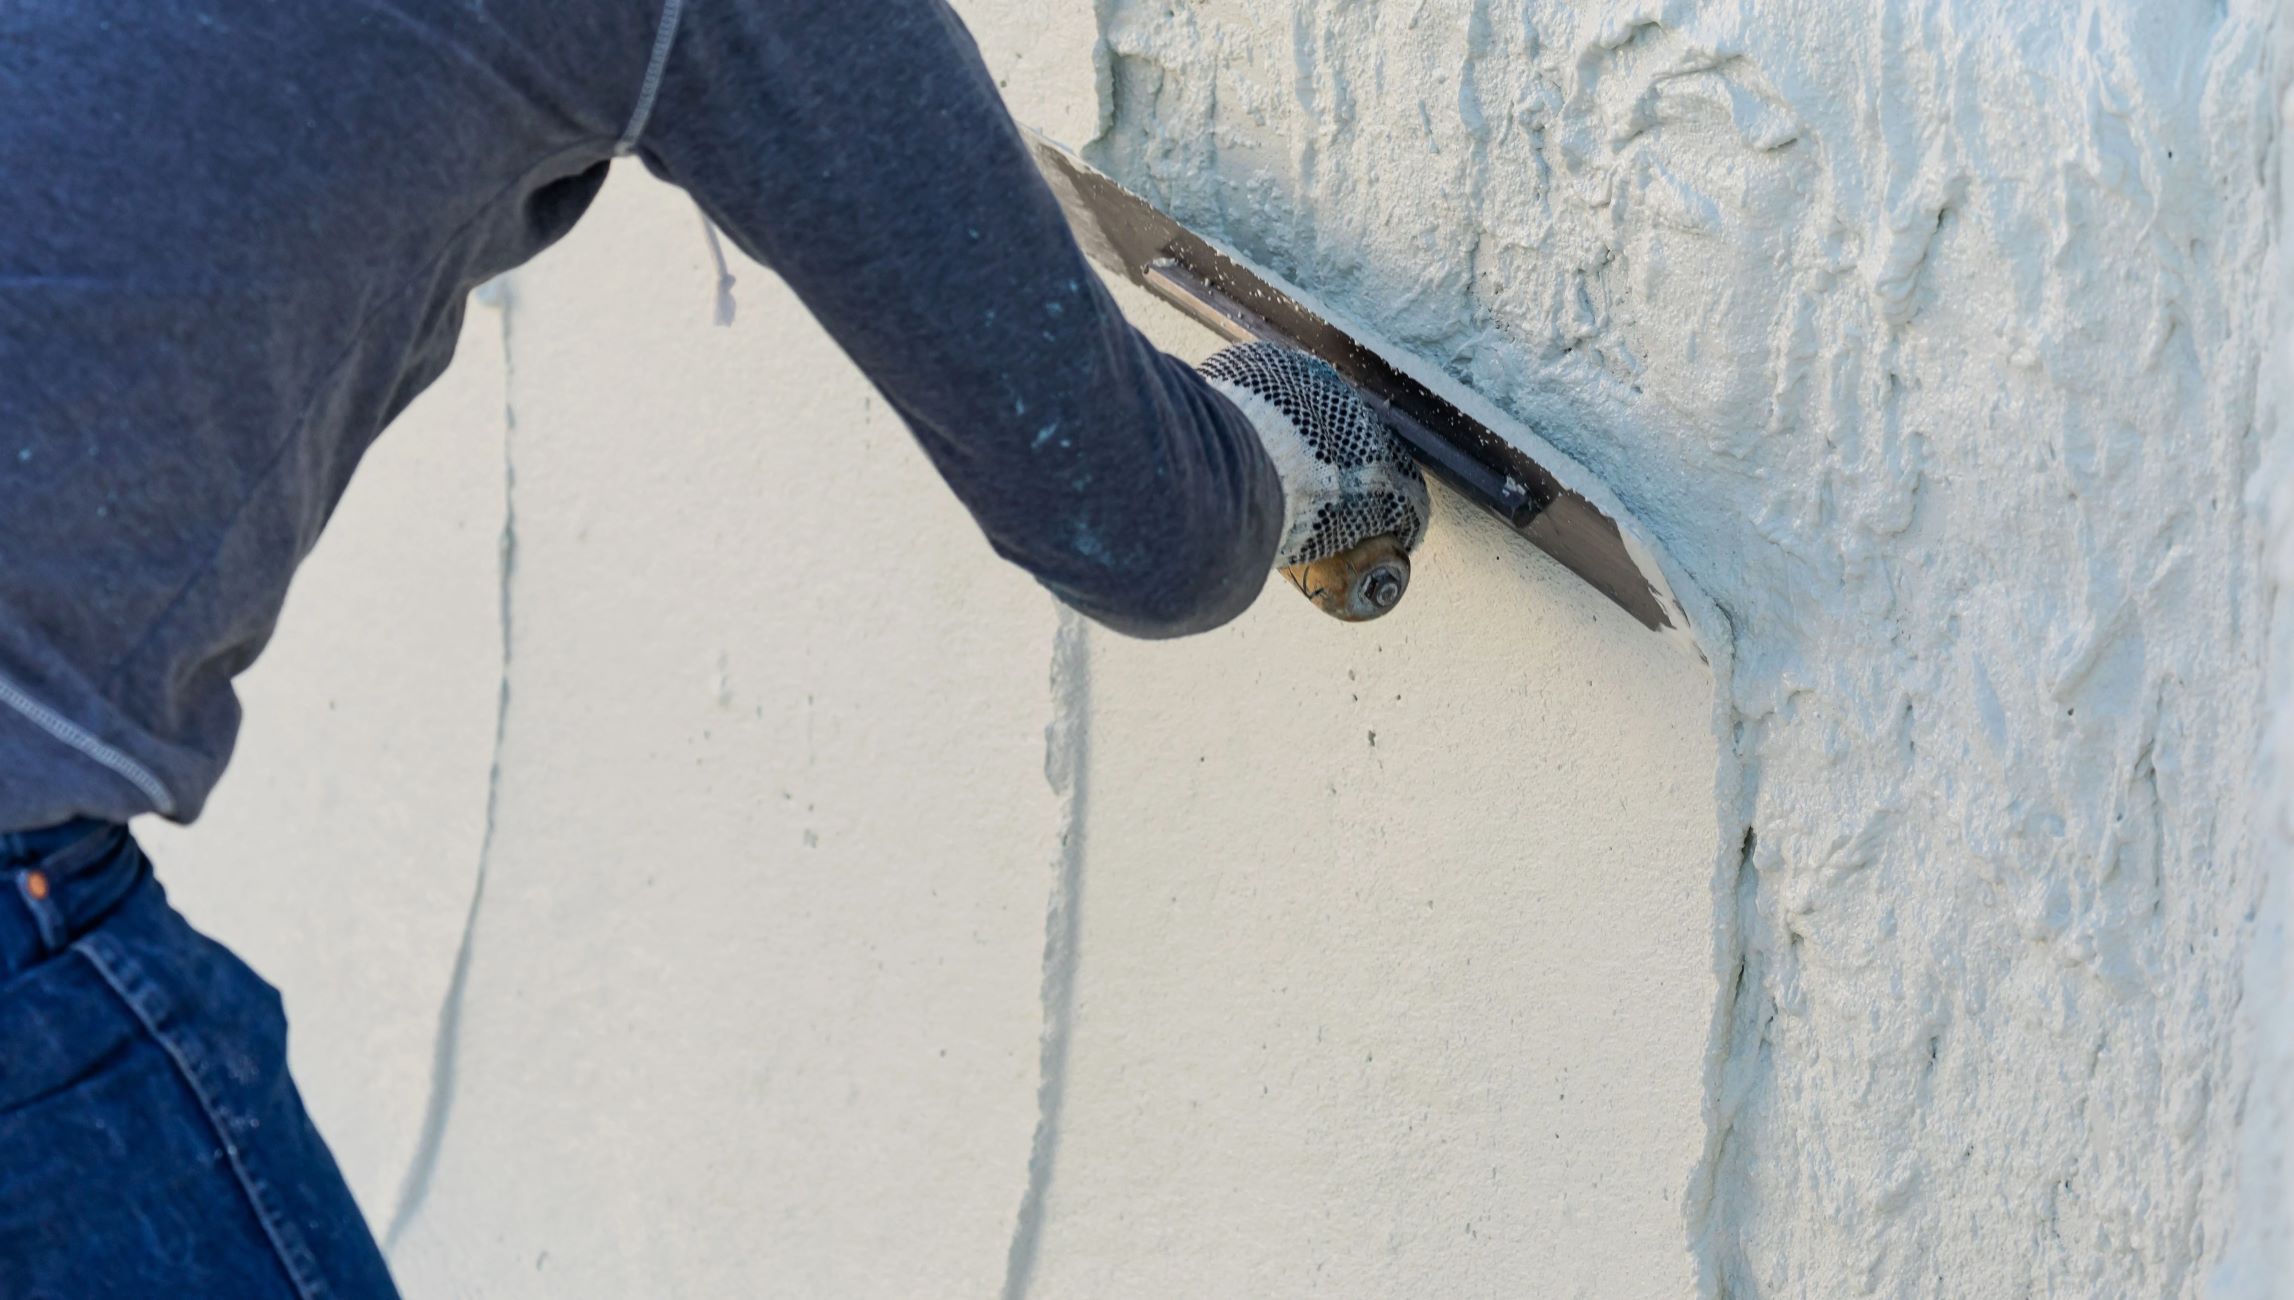
Sanding and Smoothing the Surface
After applying the patching material to repair the plaster ceiling cracks, the next step is to sand and smooth the surface. Sanding helps ensure that the repaired areas blend seamlessly with the rest of the ceiling and creates a smooth finish for painting. Follow these steps to sand and smooth the surface:
- Start by selecting a fine-grit sandpaper, such as 120-grit or higher. This will allow you to gently sand the repaired areas without causing further damage.
- Use a sanding block or wrap the sandpaper around a small piece of wood to create a flat, even surface. This will help you maintain control and apply even pressure during sanding.
- Begin sanding the repaired areas in a circular motion, gradually expanding the sanding to the surrounding plaster. This will help blend the patched areas with the rest of the ceiling.
- Continue sanding until the repaired areas are smooth and level with the surrounding plaster. Be careful not to over-sand or apply too much pressure, as this can damage the surface.
- Wipe away any dust or debris with a damp cloth or sponge. This will give you a clear view of the surface and help you identify any remaining imperfections.
- If necessary, repeat the sanding process to address any unevenness or roughness. Remember to wipe away the dust before proceeding.
- Once you are satisfied with the smoothness of the surface, use a damp cloth to clean the entire ceiling. This will remove any lingering dust or debris and prepare the surface for priming and painting.
It’s important to note that sanding can create a significant amount of dust. To minimize the spread of dust, consider using a sanding attachment with a vacuum cleaner or working near an open window with a fan to provide ventilation. Additionally, wearing a dust mask and safety goggles is essential to protect yourself during the sanding process.
By following these steps, you can effectively sand and smooth the surface of your plaster ceiling, ensuring that the repaired areas seamlessly blend with the rest of the ceiling. Remember, achieving a smooth surface is crucial for a professional-looking finish when it comes to priming and painting the ceiling.
Read more: How To Plaster A Ceiling: An Expert Guide
Priming and Painting the Ceiling
After repairing the plaster ceiling cracks and sanding the surface, the next step is to prime and paint the ceiling. Priming prepares the surface for painting by providing better adhesion and coverage, while painting adds the final touch of color and protection. Follow these steps to prime and paint your ceiling:
- Start by selecting a high-quality primer suitable for plaster surfaces. Look for a primer specifically designed to seal and bond with plaster, as this will ensure optimal results.
- Use a roller or a paintbrush to apply the primer to the entire ceiling surface. Start at one corner and work your way across the ceiling, applying an even coat of primer. Use a brush to reach any corners or edges that the roller cannot cover.
- Allow the primer to dry according to the manufacturer’s instructions. This typically takes a few hours, but it’s best to wait overnight to ensure the primer is fully dry and ready for painting.
- Once the primer is dry, it’s time to paint the ceiling. Choose a high-quality latex-based paint that is suitable for ceilings. Consider the desired color and finish for your ceiling and purchase the appropriate paint.
- Stir the paint thoroughly before use to ensure the color is evenly distributed. Pour the paint into a paint tray to make it easier to work with.
- Using a roller, start painting the ceiling by applying an even coat of paint in a W or M motion. Work in small sections, overlapping each stroke to ensure uniform coverage. Use a brush to cut in around edges and corners.
- Allow the first coat of paint to dry completely. Depending on the type of paint and the room’s temperature and humidity, this could take a few hours.
- If necessary, apply a second coat of paint for a more durable and vibrant finish. Follow the same painting technique, ensuring even coverage and allowing the paint to dry between coats.
- Once the final coat of paint is dry, inspect the ceiling for any touch-ups or imperfections. Use a small brush to fix any missed spots or uneven areas.
When painting the ceiling, remember to protect the surrounding areas with drop cloths or plastic sheets to prevent paint splatters. It’s also important to ensure proper ventilation in the room by opening windows or using fans.
By following these steps, you can successfully prime and paint your plaster ceiling, enhancing its appearance and providing protection against future damage. A freshly painted ceiling will add a polished finish to your space and restore its beauty.
Final Tips and Precautions
As you approach the final stages of repairing and painting your plaster ceiling, it’s important to keep in mind some final tips and precautions to ensure a successful and long-lasting result. Here are some key considerations:
- Always follow the manufacturer’s instructions for any patching materials, primers, and paints that you use. This will help you achieve optimal results and ensure the longevity of your repair work.
- Take breaks as needed, especially during sanding and painting, to prevent fatigue and maintain focus. It’s important to approach the project with patience and attention to detail.
- If you encounter any significant structural issues or extensive damage during the repair process, it’s best to consult a professional for further assessment and assistance. They will have the expertise to address more complex issues.
- Keep the repaired areas dry during the drying process. Excess moisture can affect the integrity of the patching material and compromise the repair work. If necessary, use dehumidifiers or fans to expedite the drying process.
- When painting the ceiling, consider using an extension pole with the roller to make the process more comfortable and efficient. This will help you cover larger areas without straining yourself.
- Ensure proper ventilation in the room while painting and priming. Open windows or use fans to allow fresh air circulation and aid in the drying process.
- Consider using low or no VOC (volatile organic compounds) paints to minimize harmful fumes and promote better indoor air quality.
- After completing the repair and painting, regularly inspect and maintain your plaster ceiling. Look out for any signs of new cracks or damage and address them promptly to prevent further issues.
Remember, repairing and painting plaster ceiling cracks requires patience, attention to detail, and proper preparation. By following these final tips and precautions, you can achieve a successful and long-lasting repair that enhances the beauty of your space.
Now that you have the knowledge and guidance to repair your plaster ceiling cracks, it’s time to put your skills into practice. With the right tools, materials, and techniques, you can transform your ceiling and restore it to its former glory. Happy repairing!
Conclusion
Repairing plaster ceiling cracks can seem like a daunting task, but with the right knowledge and approach, you can achieve professional-looking results. By following the step-by-step process outlined in this guide, you can restore the beauty of your ceiling and prevent further damage.
From assessing the damage to priming and painting, each stage of the repair process plays a vital role in creating a seamless and long-lasting result. Taking the time to assess the cracks, properly prepare the area, apply the patching material, and sand and smooth the surface will lay the foundation for a successful repair.
When it comes to priming and painting, selecting high-quality materials and following proper techniques is key. The right primer will ensure excellent adhesion, while choosing the perfect paint will bring vibrancy and protection to your ceiling.
Throughout the repair process, it’s crucial to prioritize safety and pay attention to details. Protecting yourself with safety goggles, gloves, and a dust mask, as well as properly ventilating the room, will contribute to a safe and comfortable working environment.
By following the final tips and precautions, you can further enhance your repair work and ensure its longevity. Regularly inspecting and maintaining your plaster ceiling will help you catch and address any potential issues before they escalate.
Remember, repairing plaster ceiling cracks is a labor-intensive task that requires patience and attention to detail. Don’t rush through the process and take breaks as needed to maintain focus and avoid fatigue. By dedicating the time and effort, you can achieve a beautifully restored ceiling that adds charm and elegance to your home.
Now that you have a comprehensive understanding of the repair process, it’s time to roll up your sleeves and transform your plaster ceiling. Embrace the journey of DIY home improvement, and enjoy the satisfaction of repairing and revitalizing your space.
Frequently Asked Questions about How To Repair Plaster Ceiling Cracks
Was this page helpful?
At Storables.com, we guarantee accurate and reliable information. Our content, validated by Expert Board Contributors, is crafted following stringent Editorial Policies. We're committed to providing you with well-researched, expert-backed insights for all your informational needs.


0 thoughts on “How To Repair Plaster Ceiling Cracks”