Articles
How To Paint A Bathroom Ceiling
Modified: October 19, 2024
Learn how to paint a bathroom ceiling with our step-by-step articles. Transform your space with tips and techniques for a professional finish.
(Many of the links in this article redirect to a specific reviewed product. Your purchase of these products through affiliate links helps to generate commission for Storables.com, at no extra cost. Learn more)
Introduction
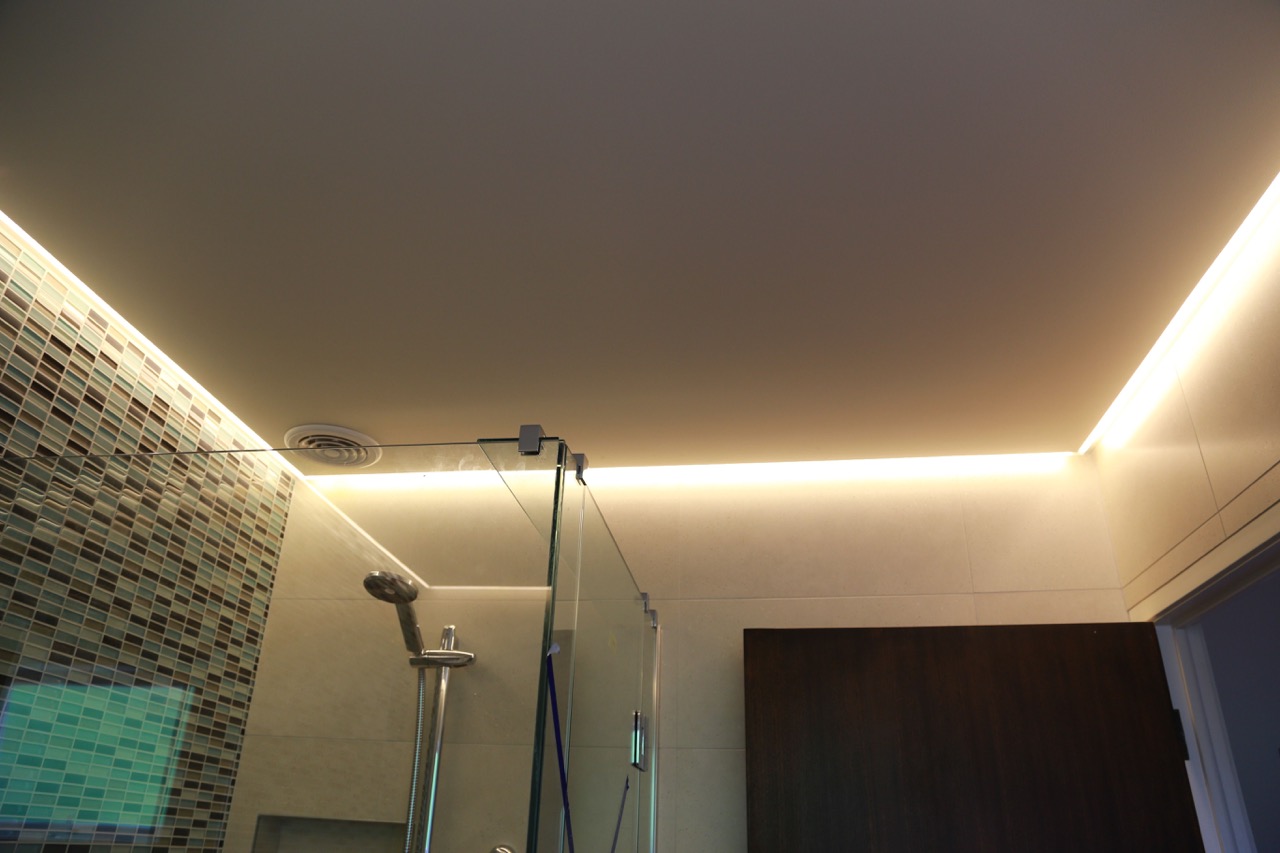
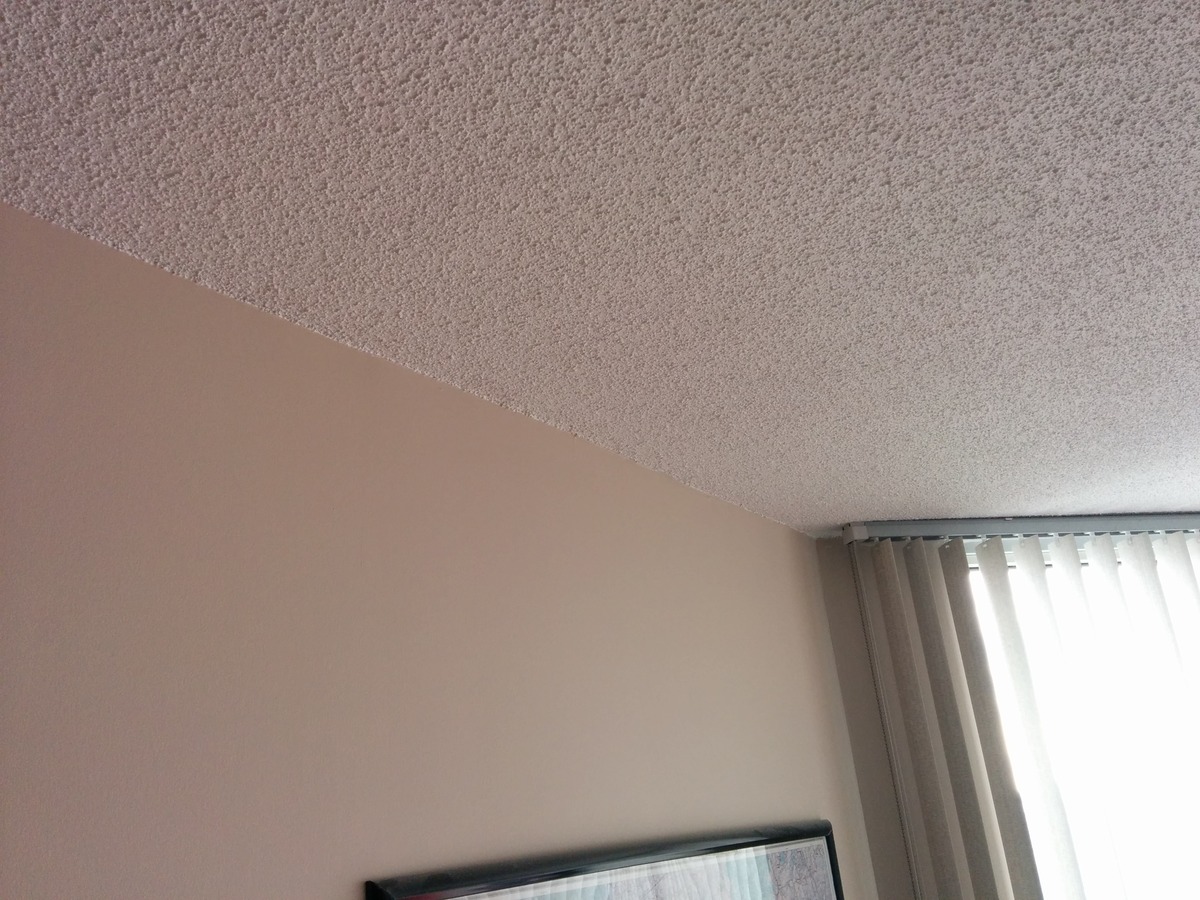
Painting a bathroom ceiling can be an essential part of home maintenance or a simple way to refresh the look of your bathroom. Whether you want to cover up stains or mold, or you simply desire to achieve a new aesthetic, this guide will provide you with step-by-step instructions on how to paint a bathroom ceiling.
Before diving into the process, it’s important to gather the necessary materials and tools. This will ensure a smooth and efficient painting experience while obtaining professional-looking results. So, let’s get started!
Key Takeaways:
- Proper preparation, including cleaning, repairing, and priming, is essential for a flawless bathroom ceiling paint job. Protect the area, choose the right paint, and apply it with care for professional-looking results.
- Allow the paint to dry fully, remove protective coverings with care, and inspect for any touch-ups to achieve a polished and lasting finish. Enjoy the process and revel in the sense of accomplishment!
Read more: How To Paint A Ceiling Fan
Materials Needed
To successfully paint a bathroom ceiling, you will need the following materials:
- Paint – Choose a high-quality, moisture-resistant paint that is specifically designed for ceilings.
- Primer – Opt for a stain-blocking primer if your ceiling has stains or discoloration.
- Paint roller – Select a roller with a medium or long nap, depending on the texture of your ceiling. A roller extension pole will also come in handy for reaching high areas.
- Paintbrush – Have a small brush on hand for cutting in around corners and edges.
- Paint tray – Use a disposable or washable paint tray to hold the paint while you work.
- Drop cloths or plastic sheets – Cover the entire bathroom floor and any fixtures with drop cloths or plastic sheets to protect them from paint splatters.
- Painter’s tape – Apply painter’s tape along the edges of the walls, trim, and any fixtures to prevent paint from getting on them.
- Sanding block – If necessary, use a sanding block to smooth out any rough or uneven areas on the ceiling.
- Protective glasses and gloves – Wear protective glasses and gloves to shield yourself from paint splatters and chemicals.
- Ladder – Have a sturdy and stable ladder available to reach high areas of the ceiling.
- Clean cloths or sponges – Keep some clean cloths or sponges nearby for any spills or messes.
Gathering these materials before you start the painting process will ensure that you have everything you need within reach, saving you time and preventing unnecessary disruptions during the project.
Step 1: Preparation
Before you begin painting your bathroom ceiling, it’s essential to prepare the space properly. This will help you achieve the best results and minimize the chances of any mishaps or damage. Follow these steps to ensure a smooth and successful painting process:
- Clean the ceiling: Start by removing any dust, dirt, or debris from the ceiling. Use a broom, dust mop, or vacuum cleaner with a brush attachment to gently sweep or suck up any loose particles. You can also wipe the ceiling with a damp cloth to remove any stubborn dirt or stains.
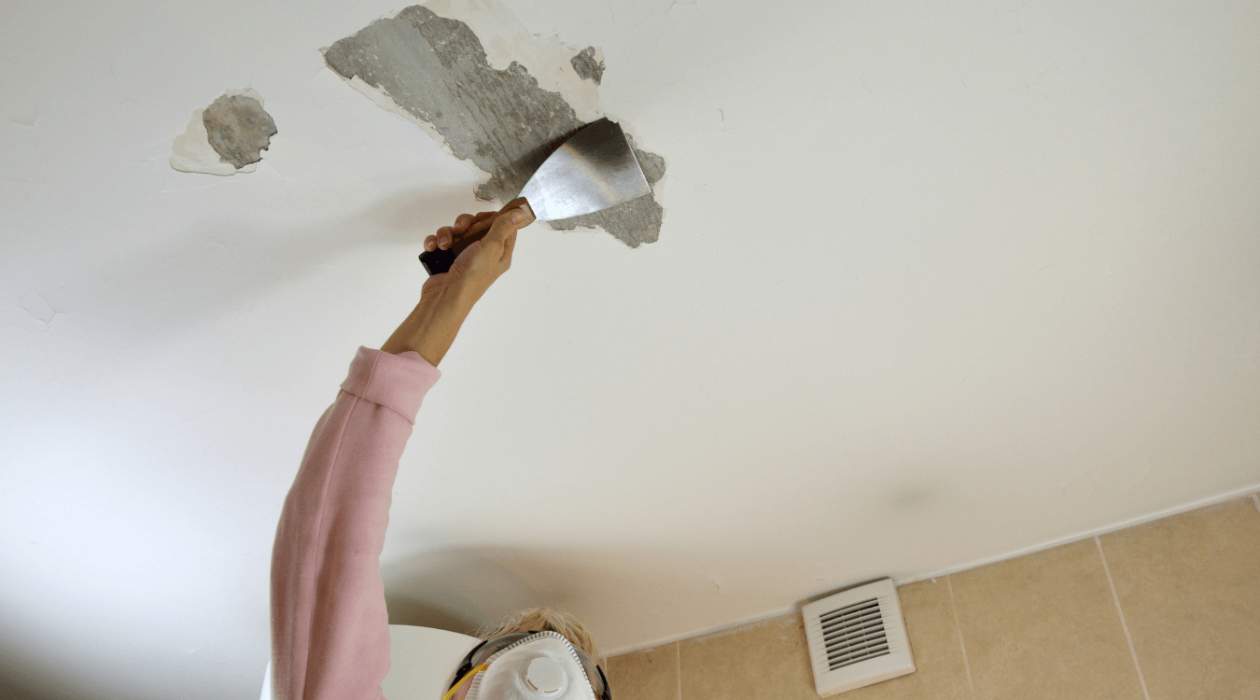
- Repair any damage: Inspect the ceiling for any cracks, holes, or imperfections. Use a spackling compound or patching putty to fill in any gaps or damaged areas. Smooth out the compound with a putty knife and allow it to dry according to the manufacturer’s instructions.
- Sand the surface: If there are any rough or uneven spots on the ceiling, lightly sand them with a sanding block. This will create a smooth and even surface for the paint to adhere to. Be sure to wipe away any dust or debris with a clean cloth after sanding.
- Remove fixtures (optional): If possible, remove any light fixtures, vent covers, or other accessories that are attached to the ceiling. This will make it easier to paint and ensure a seamless finish. If removing these fixtures isn’t possible, use painter’s tape to cover them and protect them from paint.
By properly preparing the bathroom ceiling, you’ll create a clean and smooth canvas for the paint application. This will result in a professional-looking finish and prolong the lifespan of your painted ceiling.
Step 2: Choosing the Right Paint
When it comes to painting a bathroom ceiling, choosing the right paint is crucial for the longevity and appearance of the finish. Bathrooms are exposed to high levels of moisture and humidity, so selecting a paint that is specifically designed for these environments is essential. Follow these guidelines to ensure you choose the right paint for your bathroom ceiling:
- Look for moisture and mildew resistance: Opt for a paint that has moisture-resistant properties to prevent peeling, cracking, or bubbling. Additionally, choose a paint that is formulated to resist mildew growth, as bathrooms are prone to this issue.
- Consider sheen levels: Different paint sheens have different levels of reflectivity and durability. For bathroom ceilings, it’s advisable to choose a paint with a satin or semi-gloss sheen. These finishes are easier to clean and resistant to moisture compared to flat or matte finishes.
- Check VOC levels: Volatile Organic Compounds (VOCs) are chemicals that can be released into the air during and after painting, potentially causing health issues. Look for paints that have low VOC levels or are labeled as low odor to minimize any potential health risks.
- Consider color and lighting: Take into account the color scheme of your bathroom and the available lighting. Lighter colors can make a small bathroom feel more spacious, while darker colors can add depth and drama. Consider the amount of natural and artificial light in the space to ensure the paint color looks its best.
By following these guidelines and selecting a paint specifically designed for bathrooms, you can ensure a long-lasting and visually pleasing finish that can withstand the unique conditions of your bathroom. Take your time to research and choose paint that fits your needs and preferences.
Step 3: Gather the Necessary Tools
Before you begin the painting process, it’s important to gather all the necessary tools. Having the right tools on hand will not only make the job easier but also ensure a smoother and more efficient painting experience. Here are the essential tools you’ll need to paint a bathroom ceiling:
- Paint roller: A paint roller with a medium or long nap is ideal for covering large areas of the ceiling quickly. Choose a roller that is compatible with the texture of your ceiling. If your ceiling has a smooth finish, opt for a roller with a shorter nap. If your ceiling has a textured surface, go for a roller with a longer nap to reach into the crevices.
- Paintbrush: A small, angled paintbrush is necessary for cutting in around corners and edges of the ceiling. Choose a brush with synthetic bristles that are designed for use with latex paint.
- Paint tray: Use a paint tray to hold the paint while you work. Look for a sturdy and stable tray that is large enough to accommodate your roller and brush.
- Paint tray liners: To make cleanup easier, consider using paint tray liners. These disposable plastic liners fit inside the paint tray and can be easily discarded after use.
- Roller extension pole: If your ceiling is high or difficult to reach, a roller extension pole is a must-have tool. This allows you to paint the ceiling without needing to use a ladder and provides better control over the roller.
- Painter’s tape: Use painter’s tape to protect walls, trim, and fixtures from paint drips and splatters. Apply the tape securely and make sure it adheres tightly to the surfaces.
- Drop cloths or plastic sheets: Cover the entire bathroom floor and any fixtures with drop cloths or plastic sheets to protect them from paint splatters and spills.
- Sanding block: If there are any rough or uneven spots on the ceiling, use a sanding block to smooth them out before painting. This will create a more even surface and ensure better paint adhesion.
- Ladder or step stool: Depending on the height of your ceiling, you may need a ladder or step stool to reach the higher areas. Make sure the ladder or stool is stable and secure before climbing on it.
- Clean cloths or sponges: Keep some clean cloths or sponges nearby to quickly wipe up any paint drips or spills.
Gathering all the necessary tools before starting the painting process will save you time and ensure you have everything you need within reach. This will make the painting process more efficient and help you achieve professional-looking results.
Read more: How To Paint A Basement Ceiling
Step 4: Protecting the Area
Before you start painting your bathroom ceiling, it’s crucial to protect the surrounding area. Paint drips and splatters can easily stain floors, fixtures, and walls if not properly guarded against. Taking the time to protect the area will save you from the hassle of cleaning up afterwards. Follow these steps to effectively protect the area:
- Cover the floor: Use drop cloths or plastic sheets to cover the entire bathroom floor. Secure them in place with tape or heavy objects to prevent them from moving during the painting process. Make sure the entire floor is completely covered, even if you don’t think paint will reach certain areas.
- Protect fixtures and furniture: Cover any bathroom fixtures, such as sinks, toilets, and cabinets, with plastic sheets or drop cloths. Use painter’s tape to secure the sheets in place. If possible, move furniture out of the bathroom to provide more space and protection.
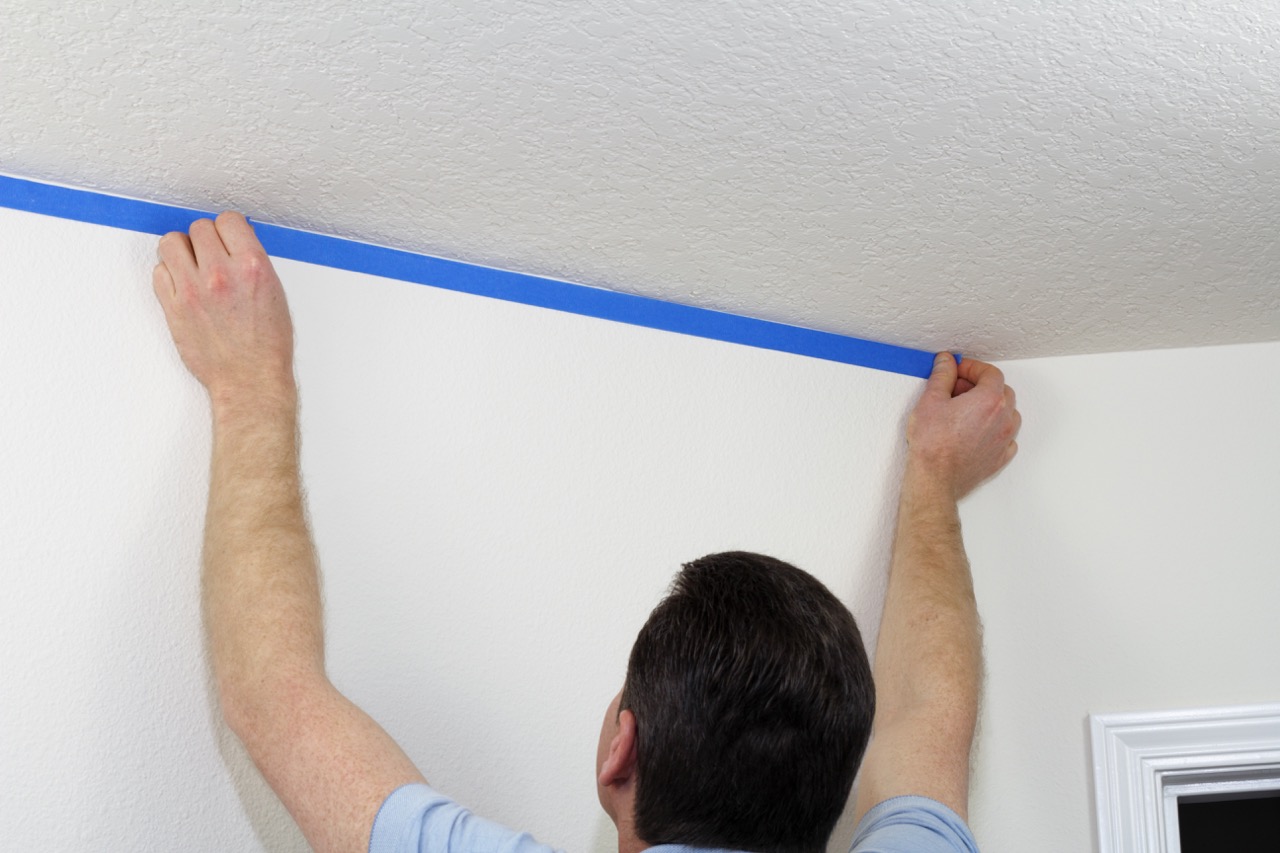
- Apply painter’s tape: Use painter’s tape to protect the edges of the walls, trim, and any fixtures that cannot be covered. Apply the tape carefully, ensuring proper adhesion and alignment. This will create a clean and crisp edge between the ceiling and the walls.
- Seal gaps and cracks: Inspect the areas where the ceiling meets the walls, and use painter’s tape or caulk to seal any gaps or cracks. This will prevent paint from bleeding through and ensure a neat and professional finish.
- Protect yourself: Don’t forget to protect yourself during the painting process. Wear old clothes or a painting smock, as well as gloves, to prevent paint from getting on your skin. Use safety goggles to protect your eyes from accidental splatters.
By taking the time to protect the surrounding area, you can prevent unnecessary damage and make the cleanup process much easier. You’ll be able to fully concentrate on painting the ceiling without worrying about accidental spills or stains.
Use a high-quality, mold-resistant paint specifically designed for bathrooms to prevent peeling and mildew. Make sure to properly prep and prime the ceiling before painting for best results.
Step 5: Prepping the Ceiling
Properly prepping the bathroom ceiling before painting is vital to ensure a smooth and long-lasting finish. This step involves cleaning the surface, repairing any imperfections, and priming if necessary. Follow these steps to prep your ceiling before painting:
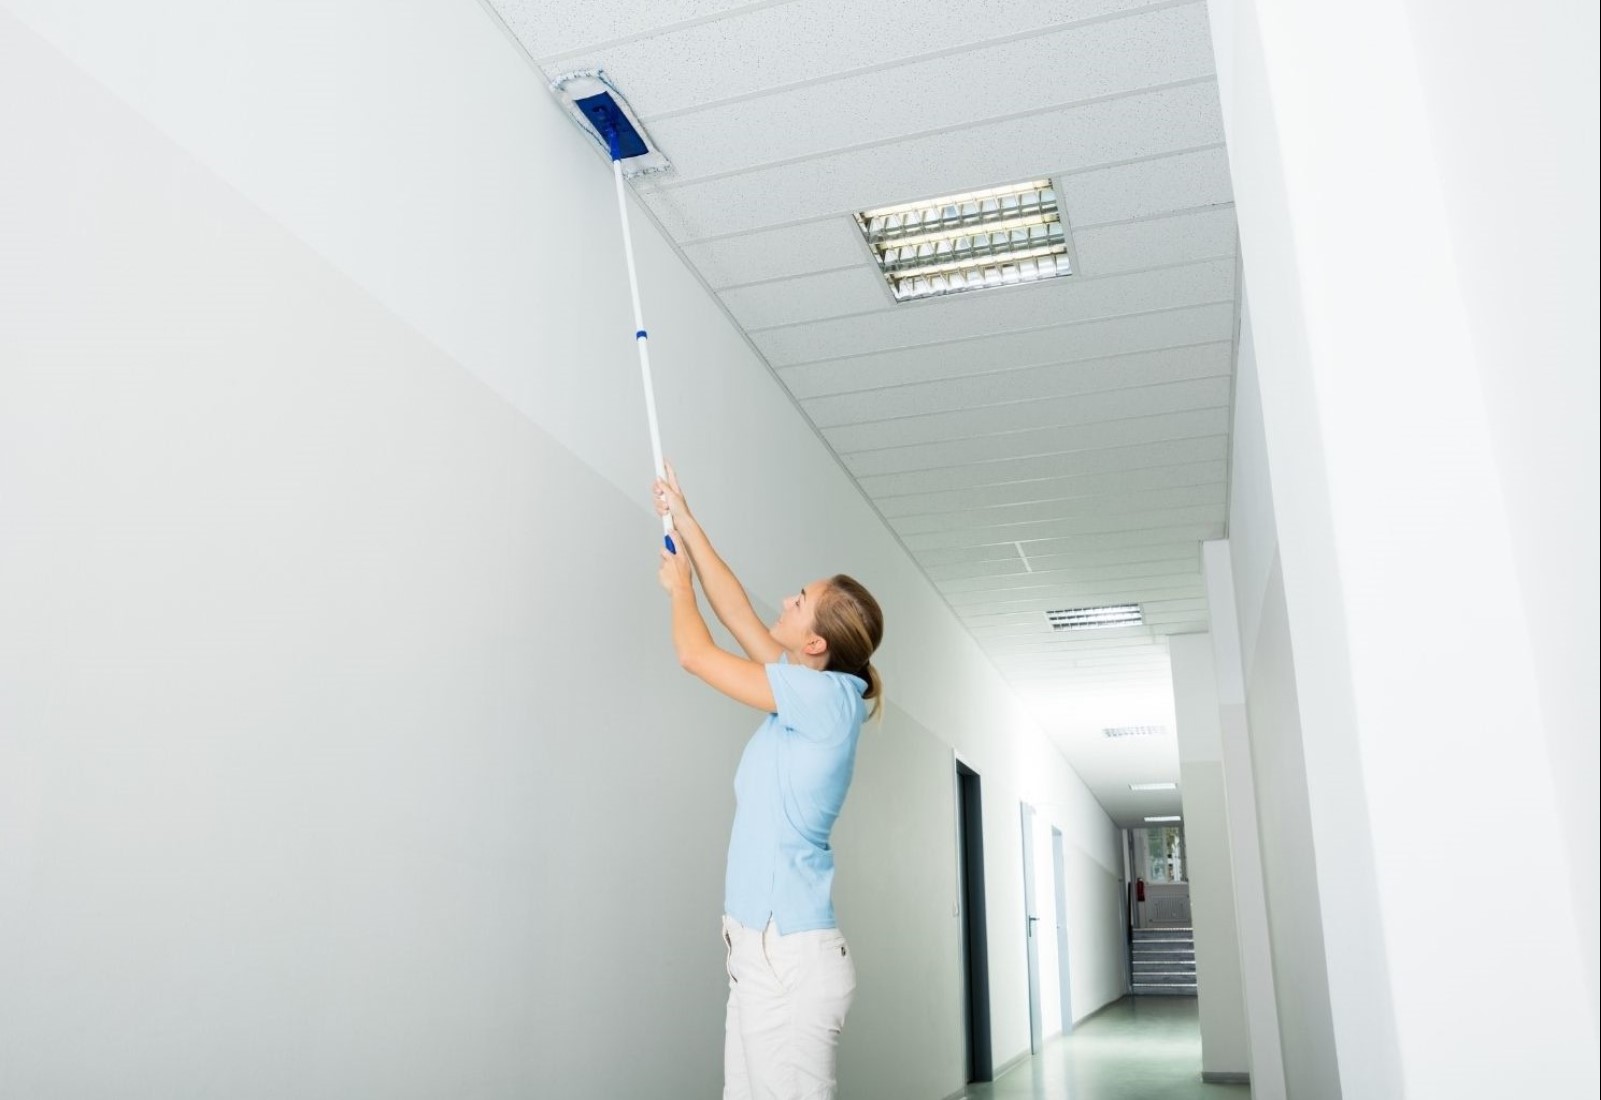
- Clean the ceiling: Start by removing any dust, dirt, or grease from the ceiling. Use a broom, dust mop, or vacuum cleaner with a brush attachment to gently sweep or suck up any loose particles. Pay extra attention to areas near exhaust fans or vents, as they can accumulate dirt and grime over time.
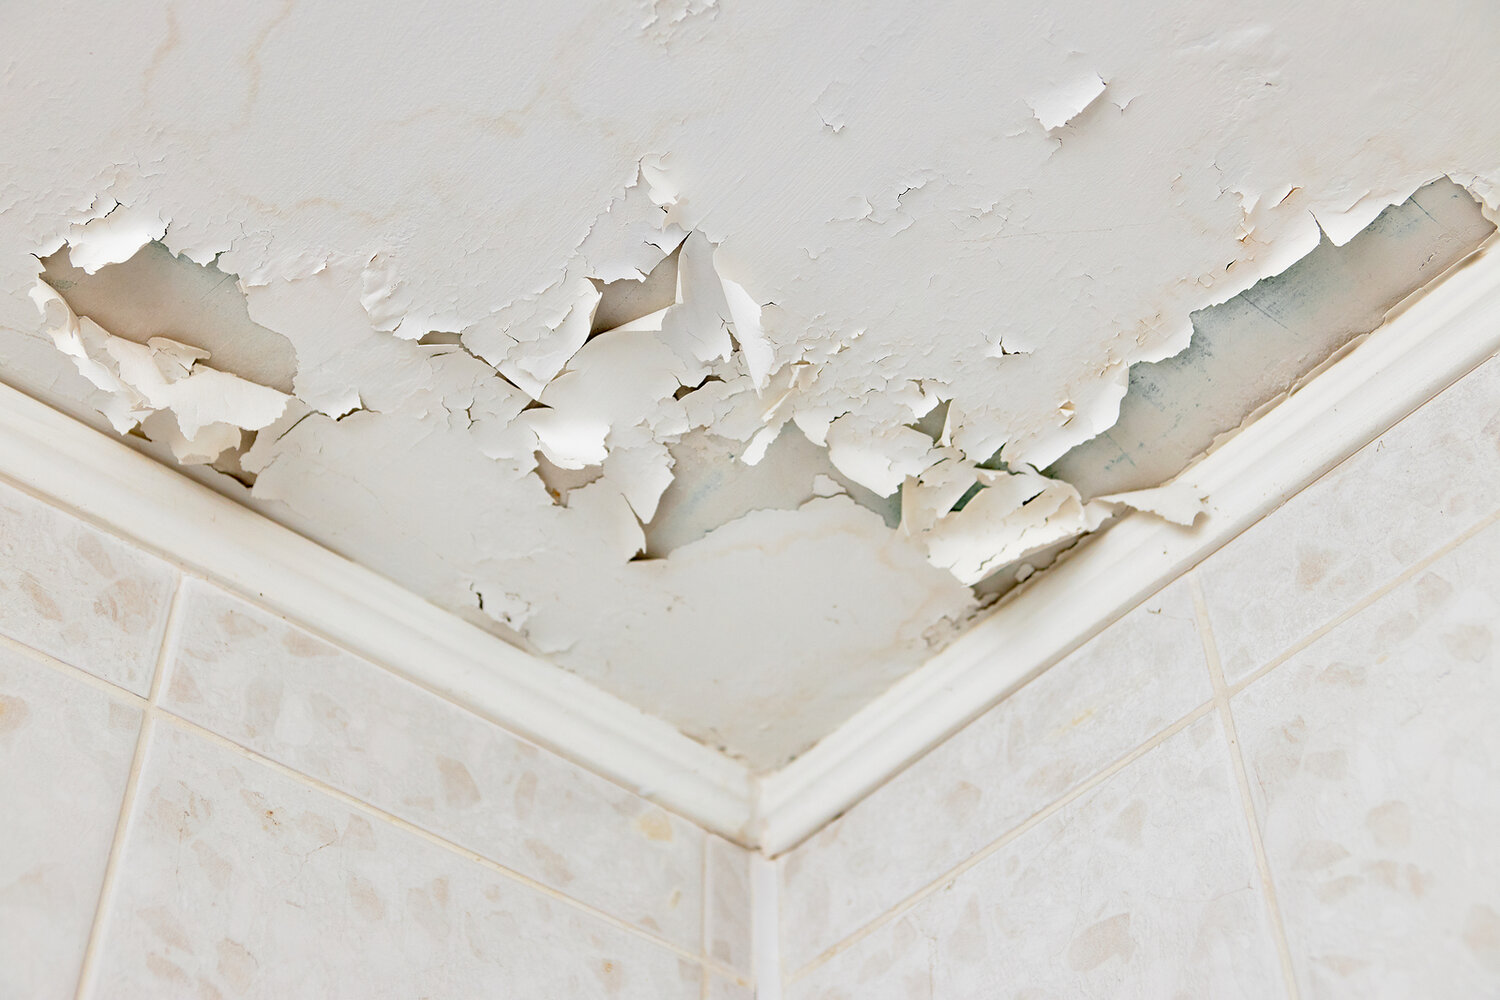
- Remove stains or mold: If your ceiling has stains or mold, it’s important to address these issues before painting. Use a mild detergent and warm water to clean the stains. If the stains persist, you may need to use a stain-blocking primer or a product specifically designed to remove stains. For mold, follow appropriate mold removal procedures and ensure the area is completely dry before proceeding.
- Repair any damage: Inspect the ceiling for cracks, holes, or other imperfections. If you find any, use a spackling compound or patching putty to fill them in. Apply the compound with a putty knife, making sure to smooth it out as much as possible. Allow the compound to dry according to the manufacturer’s instructions and then lightly sand the repaired areas for a smooth finish.
- Sand the surface: If your ceiling has a textured finish and you want to achieve a smoother appearance, you may choose to lightly sand the surface. Use a sanding block or sandpaper to gently sand the ceiling, working in circular motions. Be careful not to apply too much pressure or sand too aggressively, as this can damage the surface. Once you’re done sanding, wipe away any dust with a clean cloth.
Prepping the ceiling ensures that the paint will adhere properly and that any existing imperfections are addressed. Taking the time to prepare the surface will result in a professional-looking finish and increase the longevity of your newly painted bathroom ceiling.
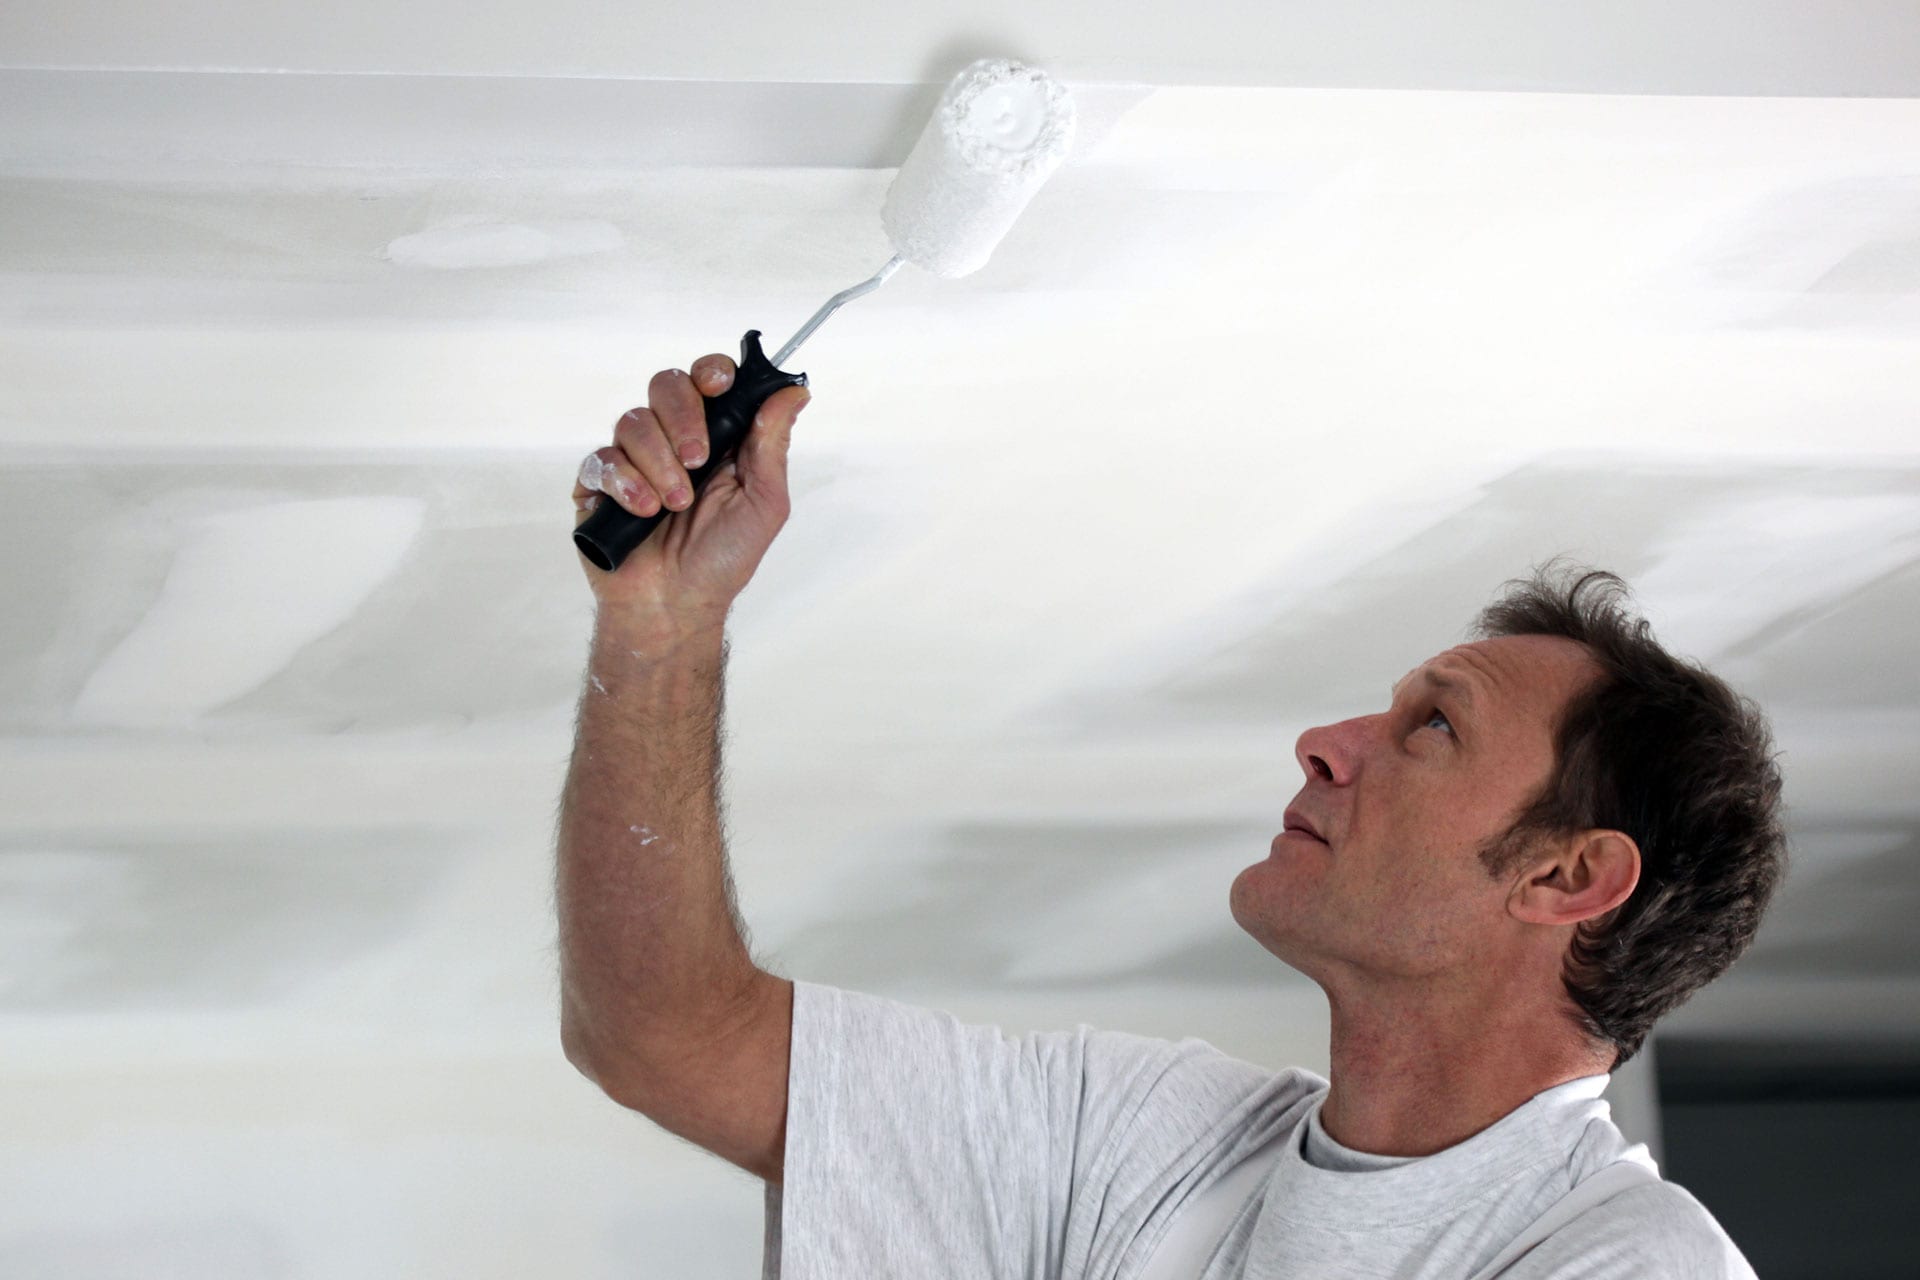
Step 6: Applying the Primer
Applying a primer to the bathroom ceiling is an important step that helps to improve paint adhesion, cover stains, and create a uniform surface. Priming is especially crucial if you are painting over a surface with stains, discoloration, or if you are making a significant color change. Follow these steps to apply the primer effectively:
- Prepare the primer: Start by thoroughly stirring the primer to ensure that it is well mixed. If the primer needs thinning according to the manufacturer’s instructions, make sure to do so before proceeding.
- Protect the surrounding area: Use painter’s tape and plastic sheets to cover any nearby walls, fixtures, or furniture to protect them from primer splatters or spills.
- Cut in the edges: Use a small paintbrush to carefully cut in around the edges of the ceiling, including corners and areas near the walls. This will create a smooth transition between the ceiling and the wall.
- Apply the primer with a roller: Pour the primer into a paint tray and load a paint roller with a medium or long nap. Roll the roller into the tray to evenly distribute the primer on the roller cover.
- Start painting: Begin by rolling the primer onto the ceiling, working in small sections at a time. Use smooth, overlapping strokes and apply even pressure. Roll the roller in one direction to avoid creating unnecessary streaks or marks.
- Continue painting: Work your way across the ceiling, overlapping each section slightly with the previous one to ensure even coverage. If necessary, reload the roller with primer as needed.
- Allow the primer to dry: Follow the manufacturer’s instructions for the recommended drying time of the primer. It is important to allow the primer to dry completely before applying the paint.
- Inspect for any missed areas: After the primer has dried, carefully inspect the ceiling for any areas that may have been missed or require additional touch-ups. If needed, apply a second coat of primer to these areas.
Applying a primer to your bathroom ceiling ensures that the paint will adhere properly, provide better coverage, and help to prevent stains or discoloration from bleeding through. Taking the time to apply a primer will result in a more professional and long-lasting paint finish.
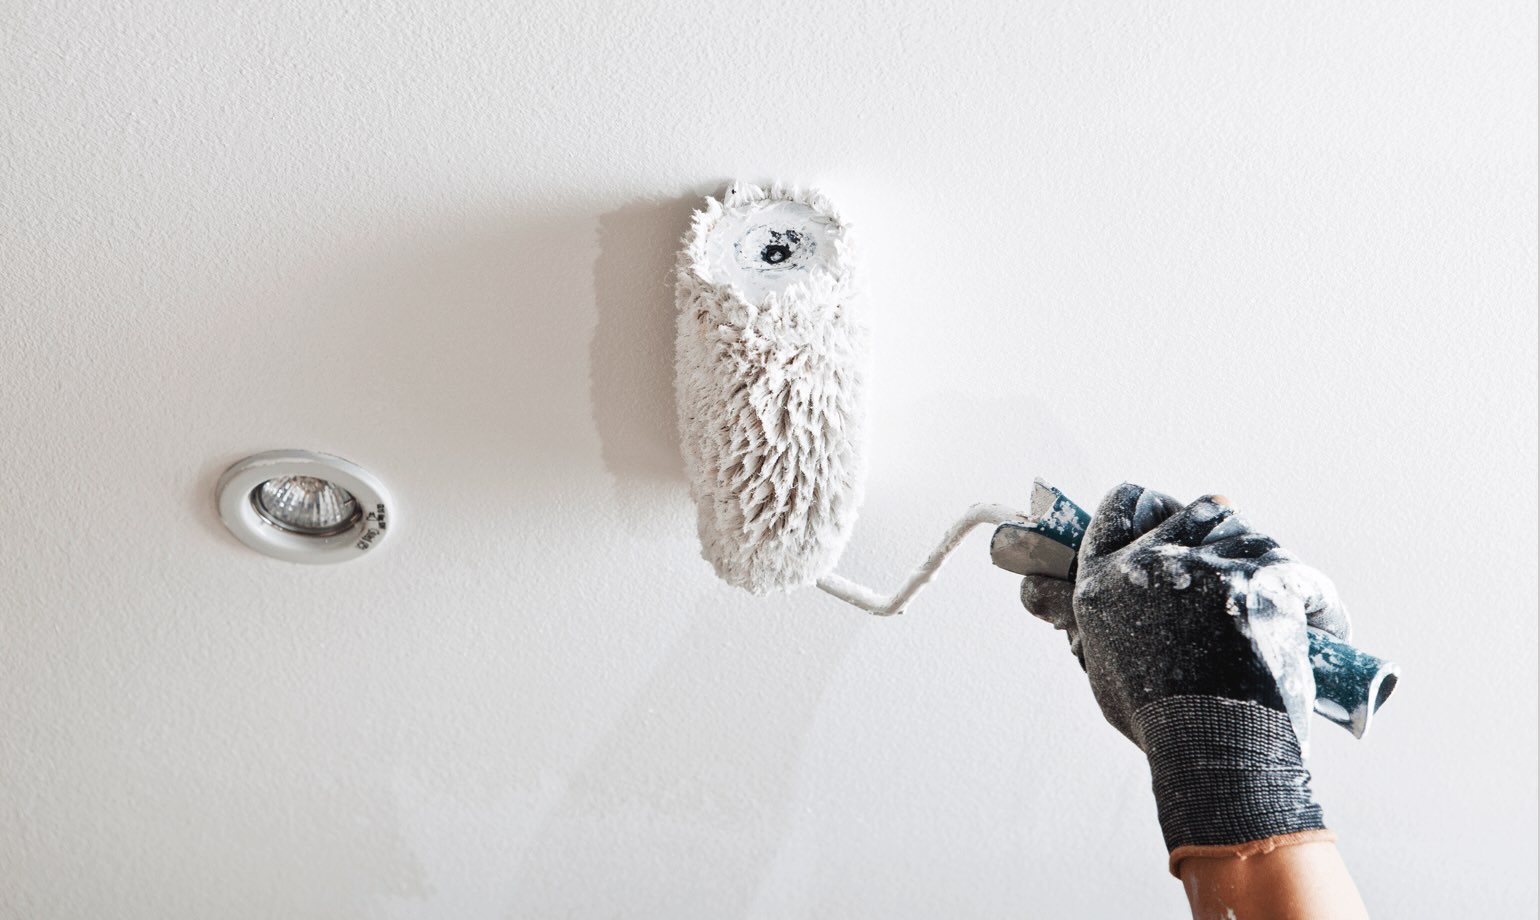
Step 7: Painting the Ceiling
Now that you’ve prepped the bathroom ceiling and applied the primer, it’s time to start painting! This step will give your bathroom a refreshed and polished look. Follow these steps to achieve a smooth and even paint finish:
- Prepare the paint: Stir the paint thoroughly to ensure it is well mixed. Pour the paint into a paint tray and use a roller to evenly distribute the paint on the roller cover.
- Cut in the edges: Start by cutting in around the edges of the ceiling using a small paintbrush. Carefully paint along the areas near the walls, corners, and fixtures, creating a clean and precise edge.
- Start painting: Dip a roller into the paint tray and roll it back and forth to evenly distribute the paint. Begin painting the ceiling in small sections, working in a W or M pattern to ensure even coverage.
- Apply even pressure: Apply consistent and even pressure with the roller to avoid leaving streaks or marks on the ceiling. Avoid pressing too hard, as it can cause paint splatters.
- Overlap each section: As you paint, slightly overlap each painted section with the previous one to achieve a seamless appearance. This will blend the sections together and ensure even color distribution.
- Work in natural light: Take advantage of natural light by opening any windows or doors in the bathroom. This will help you identify any missed spots or uneven coverage while painting.
- Ensure even drying: Allow the first coat of paint to dry completely, following the recommended drying time provided by the paint manufacturer. If necessary or desired, apply a second coat of paint for a more solid and vibrant finish.
By following these steps and employing proper painting techniques, you can achieve a beautiful and professional-looking paint finish on your bathroom ceiling. Take your time and be mindful of even coverage and smooth application to achieve the best results.
Read more: How To Paint A Tray Ceiling
Step 8: Letting the Paint Dry
After you have finished painting the bathroom ceiling, it’s crucial to allow the paint to dry fully before moving on to the next steps. Proper drying time will ensure that the paint sets and adheres properly, resulting in a long-lasting and flawless finish. Follow these guidelines for letting the paint dry:
- Follow the manufacturer’s instructions: Different paint brands and types may have varying drying times. It’s important to read and follow the specific instructions provided on the paint can. The manufacturer’s guidelines will inform you of the recommended drying time.
- Avoid excessive moisture: During the drying process, ensure that the bathroom has good ventilation to allow for air circulation. Avoid using the shower or bath, as the increased humidity can interfere with the drying process and lead to uneven drying or potential damage.
- Be patient: It’s essential to be patient and allow sufficient drying time. Rushing the process can result in smudges, streaks, or blemishes on the paint surface. The recommended drying time can range from a few hours to a few days, depending on the type of paint and environmental conditions.
- Check for touch-dryness: After the initial drying time has passed, you can check if the paint is touch-dry. Gently touch a small inconspicuous area of the ceiling to see if the paint feels dry to the touch. If it feels tacky or sticky, give it more time to dry.
- Consider humidity and temperature: Humidity and temperature can affect the drying process. If it’s particularly humid, it may take longer for the paint to dry. Similarly, cold temperatures can slow down the drying time. Ensure that the bathroom is adequately heated or cooled to support the drying process.
- Perform any necessary touch-ups: Once the paint is completely dry, inspect the ceiling for any areas that may require touch-ups or additional coats. Address any imperfections such as missed spots, uneven coverage, or visible brushstrokes. Perform touch-ups carefully to maintain a seamless finish.
By allowing the paint to dry thoroughly, you’ll ensure a beautiful, durable, and lasting finish on your bathroom ceiling. Take your time, follow the recommended drying guidelines, and avoid rushing the process to achieve the best results.
Step 9: Removing the Protective Coverings
Once the paint on your bathroom ceiling is completely dry and you are satisfied with the results, it’s time to remove the protective coverings you used to shield the surrounding area. Carefully follow these steps to remove the coverings without causing any damage or mess:
- Inspect the painted ceiling: Before removing the protective coverings, examine the ceiling to ensure that the paint has fully dried and there are no imperfections or areas that require additional touch-ups.
- Clean your tools: If you plan to reuse the paint tray, roller, or paintbrush, clean them thoroughly according to the manufacturer’s instructions. Use warm water and mild soap to remove any residual paint and allow them to dry completely.
- Remove the drop cloths or plastic sheets: Start by carefully folding or rolling up the drop cloths or plastic sheets from the bathroom floor. Be cautious not to spill any paint residue or debris while removing them. Dispose of them properly or store them for future use.
- Take off the painter’s tape: Begin removing the painter’s tape from the walls, trim, and fixtures. Pull the tape off slowly and at a 45-degree angle to prevent any potential damage to the freshly painted surfaces. If you notice any areas where the paint is peeling along with the tape, use a sharp utility knife to carefully cut along the edge of the tape before peeling it off.
- Inspect for any touch-ups: As you remove the protective coverings, examine the areas where the tape was applied to ensure that the paint lines are crisp and clean. If necessary, perform any touch-ups to achieve a seamless transition between the ceiling and the walls.
- Clean up any mess: Dispose of any paint cans, empty containers, or discarded materials properly. Clean the surrounding area, including walls, fixtures, and floors, to ensure they are free from any paint splatters or debris.
After removing the protective coverings and completing the necessary clean-up, step back and admire your newly painted bathroom ceiling. Taking care during the removal process will help maintain the integrity of the painted surface and ensure a neat and professional finish.
Conclusion
Painting a bathroom ceiling can be a rewarding and satisfying home improvement project. It not only enhances the aesthetic appeal of your bathroom but also protects the ceiling from moisture and adds value to your space. By following the step-by-step guide outlined in this article, you can successfully paint your bathroom ceiling with professional-looking results.
From gathering the necessary materials and prepping the area to choosing the right paint and applying it with care, each step is crucial in achieving a flawless finish. Proper preparation, including cleaning the ceiling, repairing any damage, and applying a primer, ensures better adhesion and improves the lifespan of the paint.
Remember to protect the surrounding area to prevent accidental splatters and spills. Use painter’s tape, drop cloths, and plastic sheets to safeguard walls, fixtures, and floors. Taking the time to prep and protect the area will save you from unnecessary clean-up later.
When it comes to painting the ceiling, using the right tools and techniques is essential. Cut-in carefully around edges and corners, and use a roller for even coverage. Consider multiple coats if needed, allowing enough drying time between each coat.
Lastly, removing the protective coverings and cleaning up the area properly ensures a polished and finished look. Inspect the painted surface for any touch-ups or imperfections and make necessary adjustments to achieve a seamless transition.
With patience, attention to detail, and the right materials, you can transform your bathroom ceiling into a stunning focal point. Enjoy the process, and revel in the sense of accomplishment that comes with a beautifully painted bathroom ceiling.
Frequently Asked Questions about How To Paint A Bathroom Ceiling
Was this page helpful?
At Storables.com, we guarantee accurate and reliable information. Our content, validated by Expert Board Contributors, is crafted following stringent Editorial Policies. We're committed to providing you with well-researched, expert-backed insights for all your informational needs.


0 thoughts on “How To Paint A Bathroom Ceiling”