Articles
How Much Paint Is Required For A Ceiling
Modified: October 20, 2024
Find out how much paint you will need for your ceiling in our informative articles. Get expert tips and advice for your painting project.
(Many of the links in this article redirect to a specific reviewed product. Your purchase of these products through affiliate links helps to generate commission for Storables.com, at no extra cost. Learn more)
Introduction
Welcome to our comprehensive guide on how to determine the amount of paint needed for a ceiling. Painting a ceiling can transform the entire look and feel of a room, but it can also be a daunting task if you’re unsure about how much paint to purchase. Fortunately, with a few simple steps, you can accurately calculate the amount of paint needed for your ceiling project.
The first step in this process is determining the area of your ceiling. By knowing the area, you will be able to calculate the amount of paint required to cover the entire surface. Additionally, it’s important to choose the right type of paint for your specific ceiling needs. Different types of paint, such as flat, eggshell, or satin, have their own characteristics and levels of coverage.
Once you have the necessary information, you can proceed to calculate the amount of paint needed. However, it’s important to consider certain factors that can affect paint coverage, such as the texture of the ceiling, the condition of the surface, and the number of coats required. By taking these aspects into account, you can avoid purchasing more paint than necessary.
Finally, to ensure a successful painting project, we will provide you with some handy tips for painting a ceiling. These tips will help you achieve professional-quality results and make the process as smooth as possible.
So, whether you’re a homeowner looking to give your ceilings a fresh coat of paint or a professional painter seeking accurate measurements, read on to discover our step-by-step guide on determining the amount of paint needed for your ceiling.
Key Takeaways:
- Accurately measure your ceiling area and choose the right paint type to ensure you purchase the correct amount of paint without wasting or running out. Consider factors like texture, surface condition, and color for precise estimates.
- Follow expert tips for a successful ceiling painting project, including proper room preparation, using the right tools, applying multiple thin coats, and allowing for proper drying time. Patience and attention to detail are key!
Read more: How To Paint A Ceiling Fan
Determining the Ceiling Area
Before you can calculate the amount of paint needed for your ceiling, you must first determine the area of the surface you’ll be painting. This step is crucial as it serves as the foundation for all subsequent calculations.
To measure the ceiling area, you’ll need a tape measure, a pencil, and a piece of paper or a note-taking app on your phone. Follow these steps:
- Clear the room: Remove any furniture or objects that might obstruct your measurements. It’s important to have a clear and unobstructed view of the entire ceiling surface.
- Measure the width and length: Begin by measuring the width of the ceiling from one side to the other. Note down this measurement. Next, measure the length of the ceiling from one end to the other and record this measurement as well. Make sure to measure in the same unit of length, whether it’s inches, feet, or meters.
- Multiply the width and length: Take the width measurement and multiply it by the length measurement to obtain the total area in square units (inches, feet, or meters squared).
For example, if the width of your ceiling is 10 feet and the length is 12 feet, the total area would be 120 square feet (10 feet x 12 feet = 120 square feet).
If your ceiling has multiple sections, such as a sloped ceiling or a coffered ceiling, repeat the measurement process for each section and calculate their individual areas. Finally, add up the areas of all sections to get the total ceiling area.
Once you have determined the ceiling area, you can move on to the next step of choosing the right type of paint.
Choosing the Right Type of Paint
When it comes to painting your ceiling, selecting the right type of paint is essential for achieving the desired outcome. Different types of paint have varying levels of coverage, sheen, and durability, so it’s important to choose one that suits your specific needs.
The most commonly used types of paint for ceilings are flat, eggshell, and satin. Here’s a breakdown of each:
- Flat paint: Flat or matte paint is a popular choice for ceilings due to its ability to hide imperfections and provide a smooth, uniform appearance. It has a non-reflective finish, which helps to reduce glare. However, it is less durable and less resistant to stains and moisture compared to other finishes. Flat paint is suitable for ceilings in bedrooms, living rooms, and other low-traffic areas.
- Eggshell paint: Eggshell paint has a slight sheen that gives a soft, velvety appearance. It offers better durability and resistance to stains and moisture compared to flat paint. Eggshell is a versatile option that works well in most rooms of the house, including bedrooms, living rooms, dining rooms, and hallways.
- Satin paint: Satin paint has a higher sheen level than eggshell and provides a subtle gloss finish. It offers even greater durability and washability, making it suitable for high-traffic areas such as kitchens, bathrooms, and hallways. Satin paint is also a good choice if you want a slightly more reflective finish on your ceiling.
When selecting the type of paint, consider factors such as the purpose of the room, your personal preference for sheen, and the amount of traffic the ceiling is likely to experience. It’s also a good idea to check the manufacturer’s recommendations for the specific paint you are considering, as they may provide further guidance based on the intended use.
Now that you have an understanding of the different types of paint available, you can move on to the next step, which is calculating the amount of paint needed for your ceiling.
Calculating the Amount of Paint Needed
Once you have determined the area of your ceiling and chosen the type of paint you will be using, it’s time to calculate the amount of paint needed for your project. This step is crucial to ensure that you have enough paint to cover the entire surface without running out or buying excess.
To calculate the amount of paint needed, you’ll need to know the coverage rate of the paint you’re using. This is typically indicated on the paint can, expressed in square feet per gallon (sq ft/gal) or square meters per liter (sq m/L). Follow these steps:
- Convert the ceiling area to the same unit of measurement as the coverage rate. If your ceiling area is in square feet and the paint coverage rate is in square meters per liter, convert the square footage to square meters or vice versa.
- Divide the converted ceiling area by the coverage rate. This will give you an estimate of the amount of paint needed.
- Round up the result to the nearest whole number or consider purchasing an extra gallon or liter for touch-ups and any potential waste.
For example, if the coverage rate of your chosen paint is 300 sq ft/gal and your ceiling area is 500 square feet, the calculation would be as follows:
- Convert the ceiling area to square feet (if it’s in a different unit): 500 square feet.
- Divide the converted ceiling area by the coverage rate: 500 sq ft ÷ 300 sq ft/gal = 1.67 gallons.
- Round up to the nearest whole number or consider purchasing 2 gallons of paint.
It’s important to note that these calculations provide an estimate and may vary depending on factors such as the texture of the ceiling, the condition of the surface, and the number of coats needed. It’s always better to have a bit more paint than not enough to ensure complete coverage.
Now that you know how to calculate the amount of paint needed, let’s explore some factors that can affect paint coverage.
When calculating how much paint you need for a ceiling, measure the length and width of the ceiling and multiply them together to get the square footage. Then, divide that number by the coverage area listed on the paint can to determine how many cans you need.
Factors Affecting Paint Coverage
While calculating the amount of paint needed for your ceiling, it’s important to consider certain factors that can affect the actual paint coverage. These factors can impact the estimates and determine if you need to adjust your calculations accordingly. Understanding these factors will help you avoid potential pitfalls and ensure a successful painting project.
Here are some key factors to keep in mind:
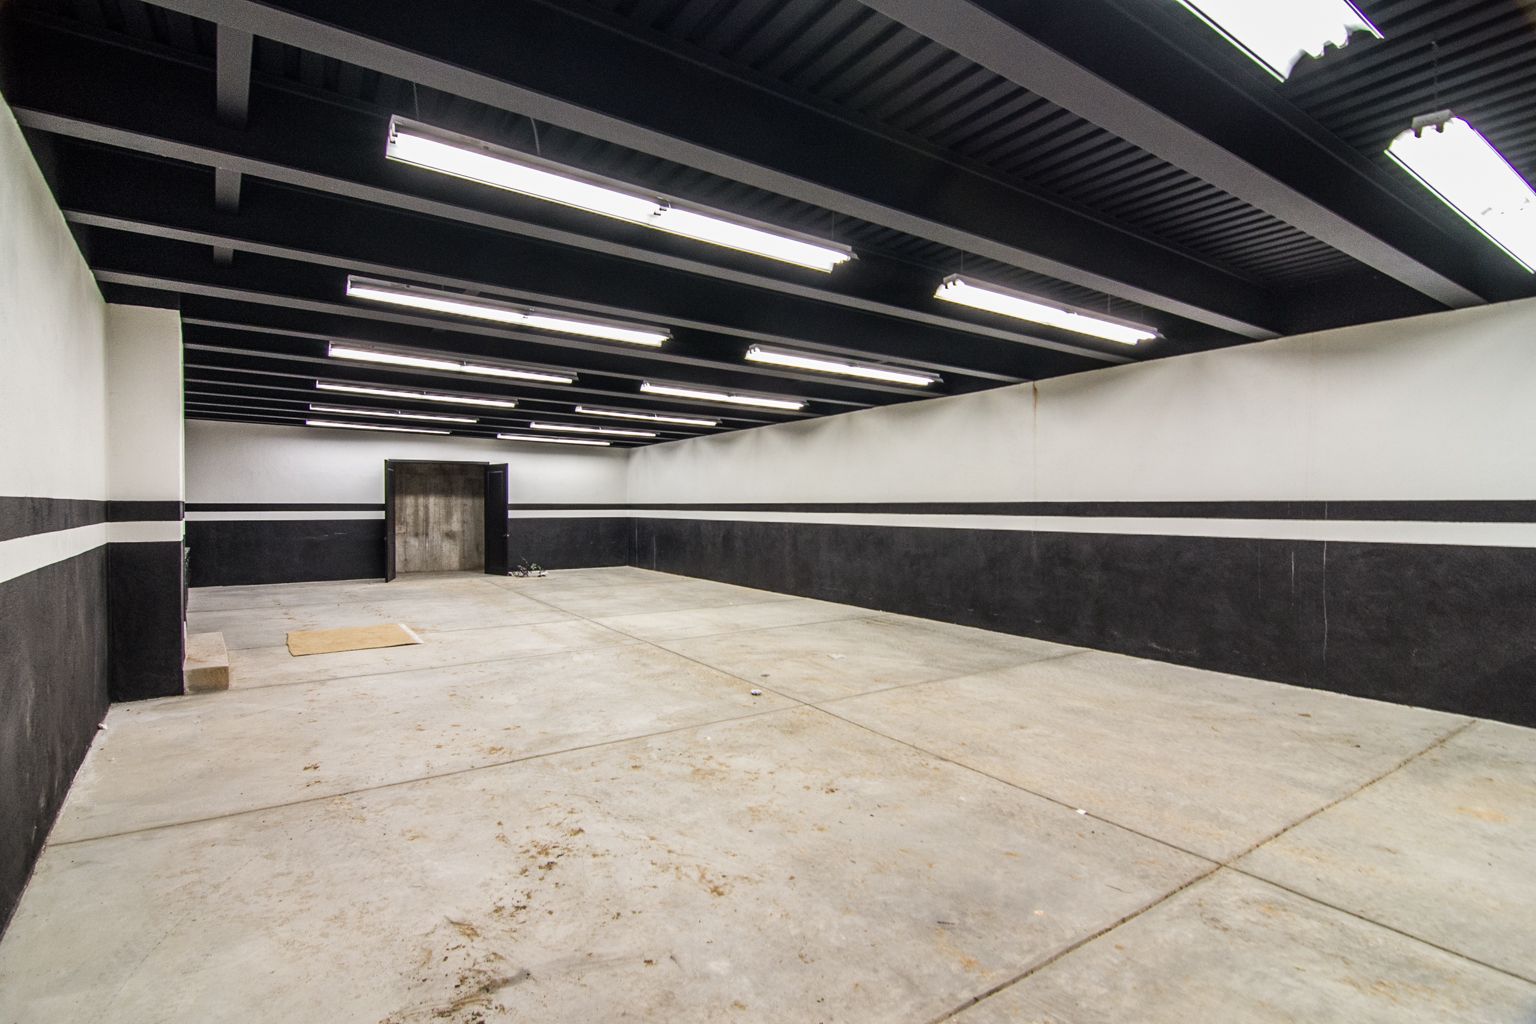
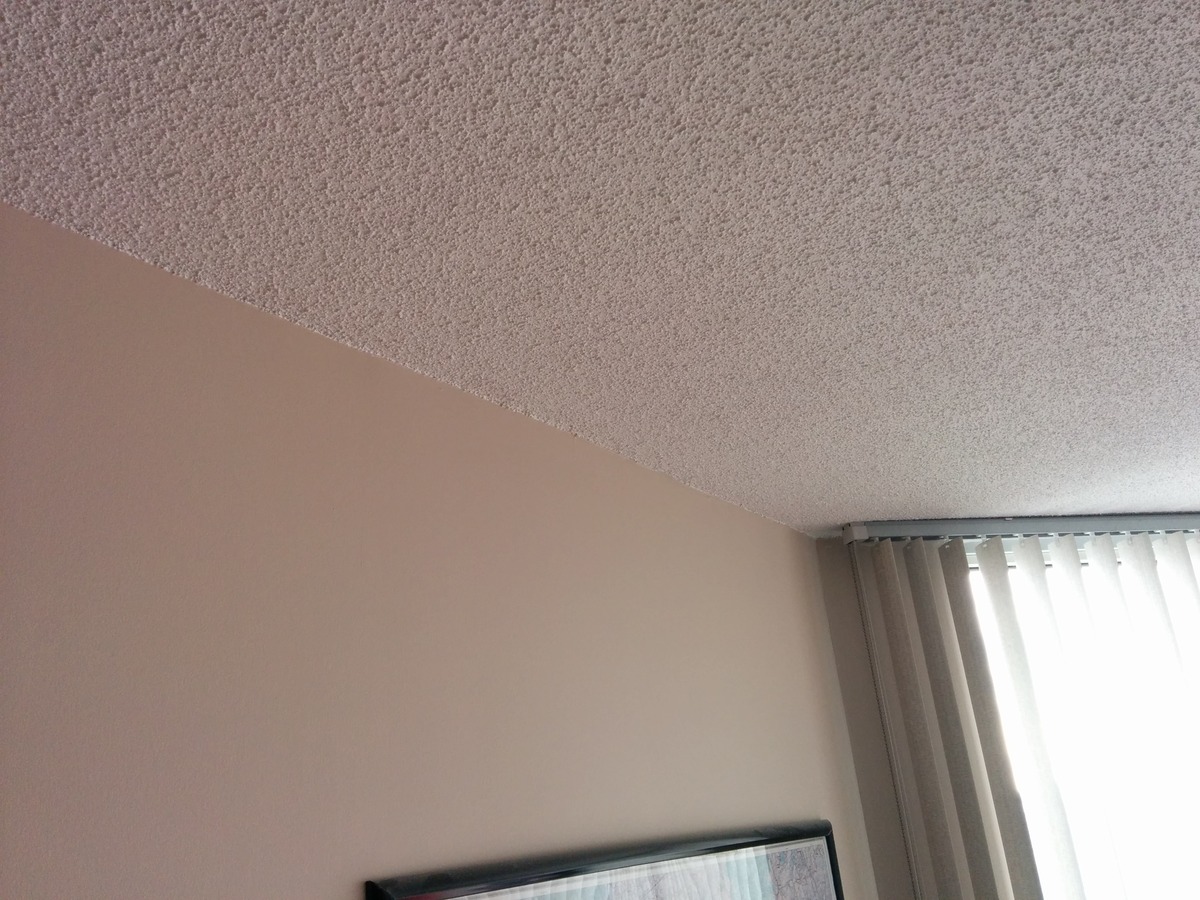
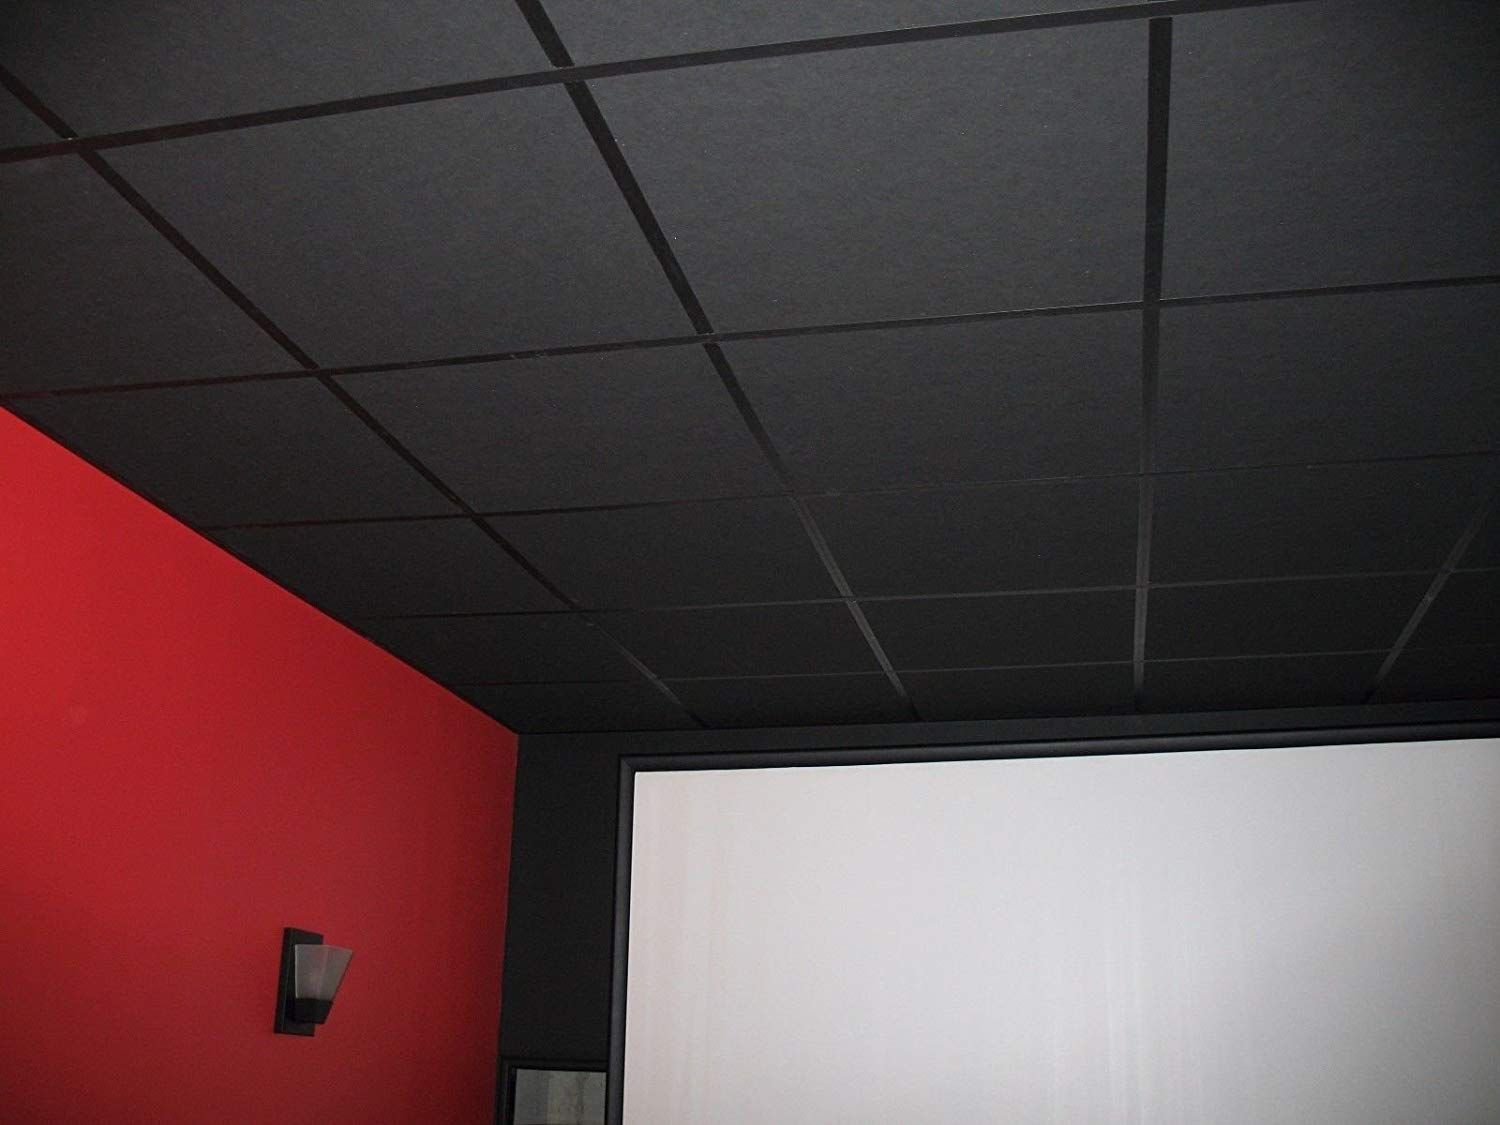
- Texture of the Ceiling: The texture of your ceiling can significantly impact paint coverage. Smooth ceilings typically require less paint compared to textured ceilings, such as those with popcorn or stucco finishes. The nooks and crannies of textured surfaces tend to absorb more paint, resulting in higher consumption.
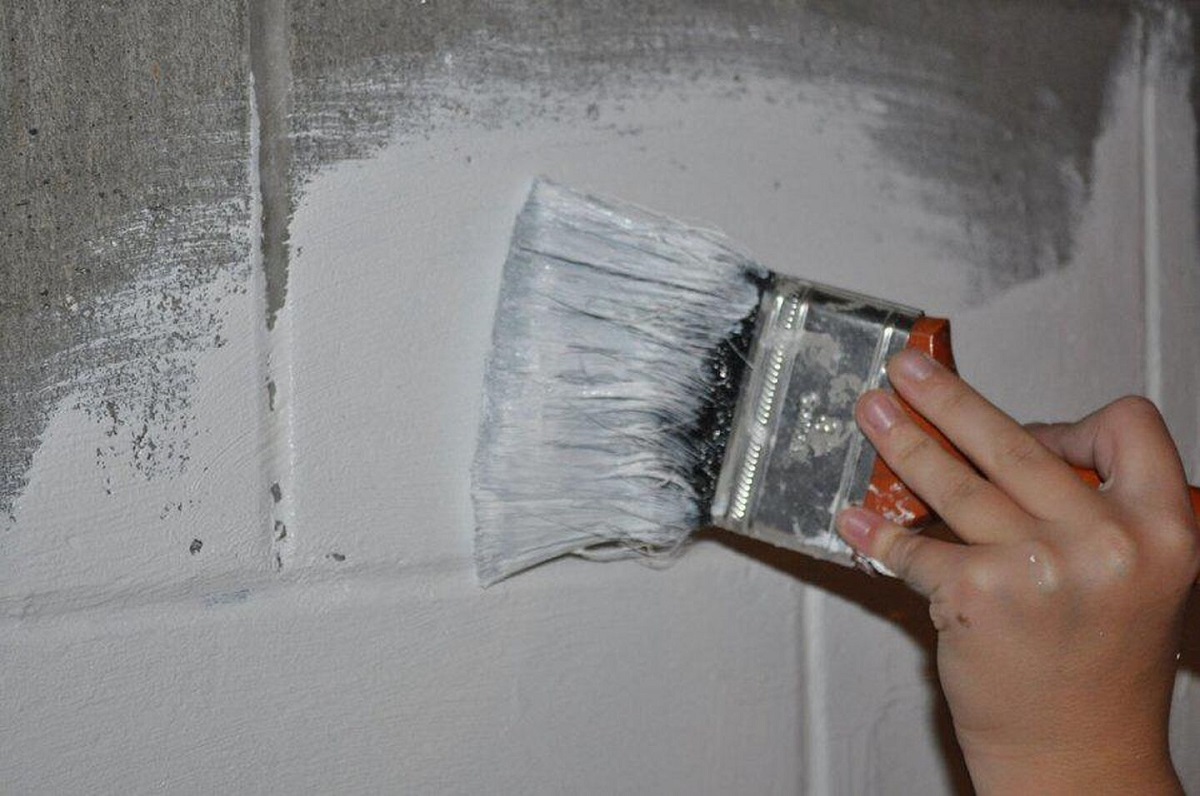
- Surface Condition: The condition of your ceiling surface can affect how well the paint adheres and how much is required to achieve an even finish. If your ceiling has stains, discoloration, or previous paint layers that are peeling or flaking, it may require additional coats or surface preparation, which can increase paint usage.
- Color and Opacity: The color and opacity of the paint you choose can also impact coverage. Darker colors and more opaque paints tend to require additional coats to achieve full coverage. Lighter colors and more translucent paints may need fewer coats. Keep this in mind when selecting your paint, as it can affect the amount of paint needed.
- Number of Coats: Speaking of coats, it’s essential to consider how many coats of paint you will be applying to your ceiling. If you plan to apply multiple coats, you may need more paint than initially calculated. Additionally, if you are covering a previously dark or bold-colored ceiling with a lighter shade, multiple coats may be necessary for complete coverage.
By taking these factors into account, you can make more accurate estimates of the paint needed and avoid underestimating or overestimating the amount required. It’s always better to have a bit more paint than run out during the project.
Now that we have covered the factors affecting paint coverage, let’s move on to some helpful tips for painting your ceiling.
Read more: How To Paint A Basement Ceiling
Tips for Painting the Ceiling
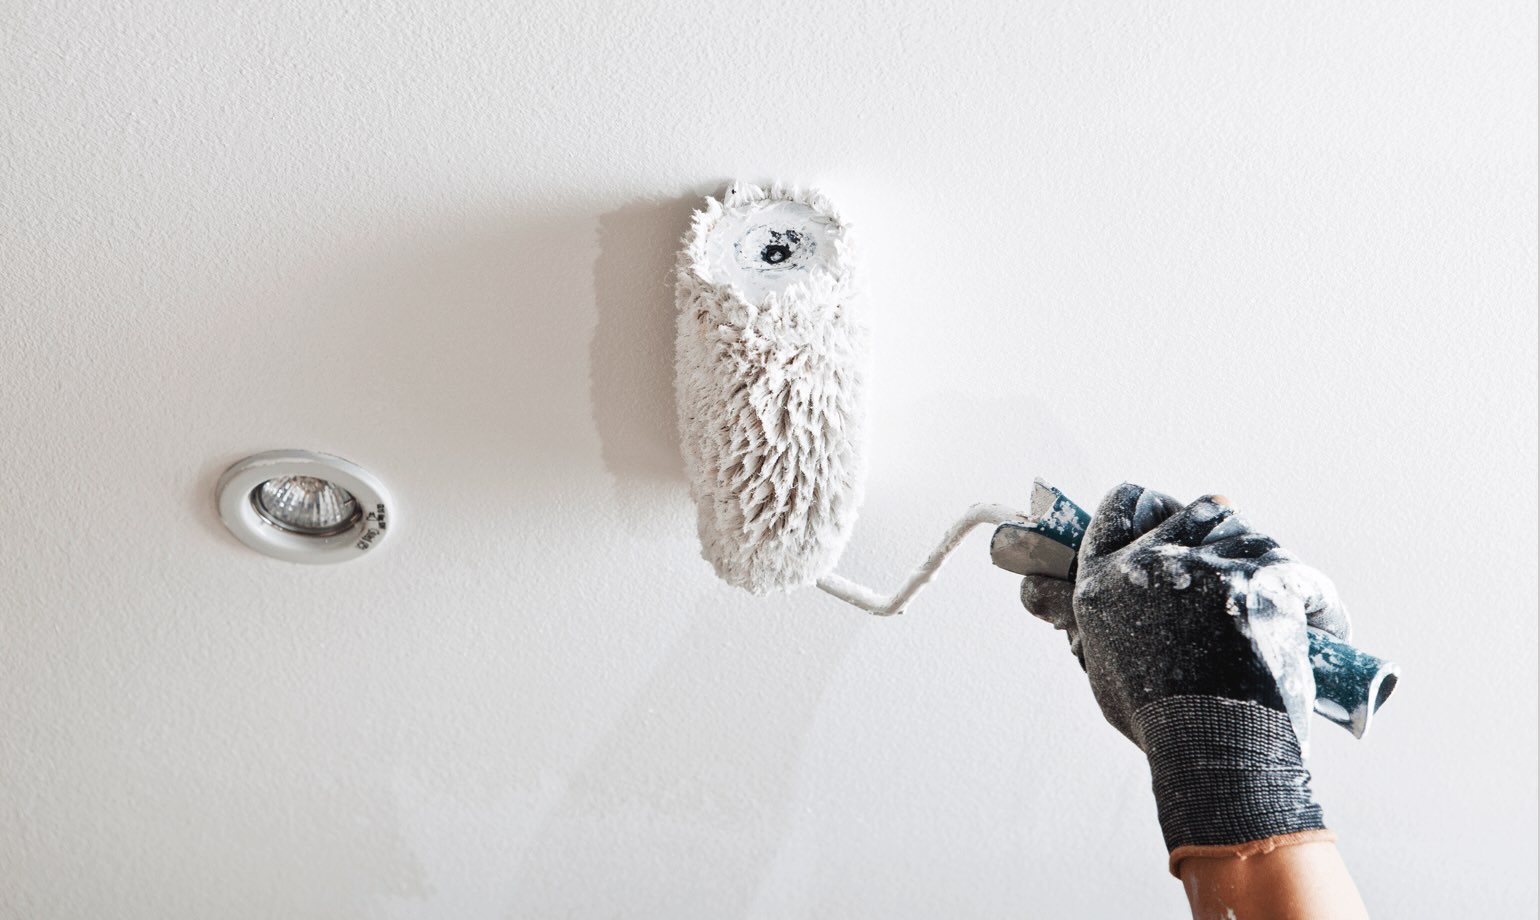
Painting a ceiling can be a challenging task, but with the right tips and techniques, you can achieve excellent results. Follow these helpful tips to ensure a smooth and successful ceiling painting project:
- Prepare the room: Before you start painting, clear the room of furniture and cover the floor and any remaining items with plastic sheets or drop cloths to protect them from paint splatters.
- Use a sturdy ladder or scaffold: Make sure you have a stable and secure platform to work from. Use a ladder or scaffold that is tall enough to reach the ceiling without straining or overstretching.
- Apply a primer: If your ceiling has stains, discoloration, or is being painted with a significantly different color, it’s a good idea to apply a primer before the paint. The primer will create a smooth and even base, ensuring better paint adhesion and coverage.
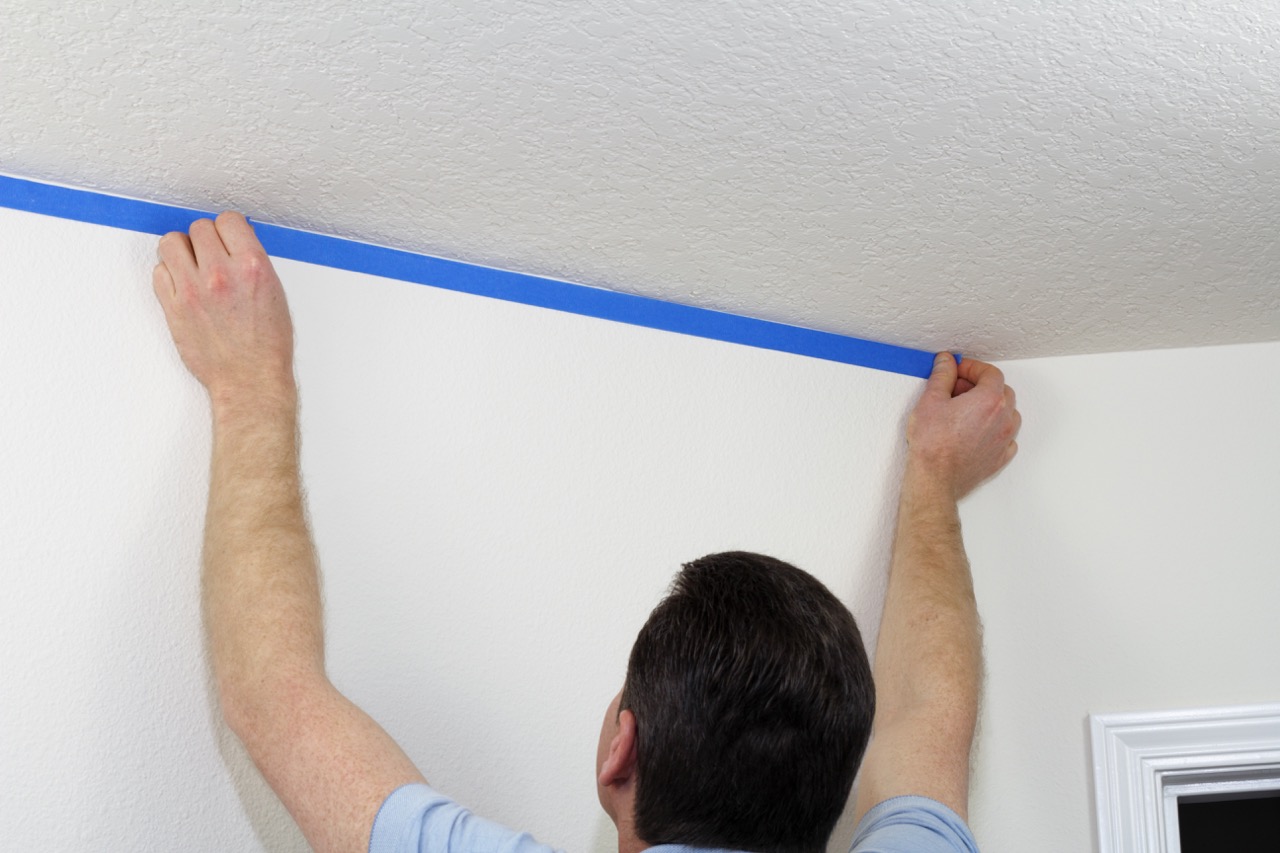
- Start from the edges: Begin by cutting in the edges of the ceiling with a brush to create clean lines where the ceiling meets the walls. This will make it easier to fill in the larger areas with a roller later on.
- Use a roller with an extension pole: To quickly and efficiently cover the larger surface area of the ceiling, use a roller with an extension pole. This will save you from constantly moving the ladder and help achieve a more even and consistent finish.
- Work in small sections: Divide the ceiling into manageable sections and work on one section at a time. Apply the paint in smooth, overlapping strokes to ensure even coverage.
- Apply multiple thin coats: Rather than trying to cover the entire ceiling in one thick coat, it’s better to apply multiple thin coats. This will help prevent drips and ensure a smoother finish.
- Allow proper drying time: Follow the manufacturer’s instructions regarding the drying time between coats. Allow each coat to dry completely before applying the next to avoid any smudging or damage to the previous layer.
- Inspect and touch up: Once you have finished painting the ceiling, take the time to inspect it for any missed spots or uneven areas. Touch up these areas as needed to achieve a flawless result.
- Clean up properly: After completing the painting process, make sure to clean your paint brushes, rollers, and any other tools used. Dispose of any leftover paint following the proper guidelines for your area.
By following these tips, you can make your ceiling painting project much more manageable and achieve professional-looking results. Remember to take your time, pay attention to detail, and enjoy the process.
With the completion of these tips, you should now have the knowledge and confidence to tackle your ceiling painting project successfully!
Conclusion
Congratulations! You have reached the end of our comprehensive guide on determining the amount of paint needed for a ceiling. We hope that this article has provided you with valuable insights and practical tips for your painting project.
By accurately measuring the ceiling area, choosing the right type of paint, and calculating the amount needed, you can ensure that you have enough paint to cover the entire surface without wasting or running out. Taking into account factors like the texture of the ceiling, surface condition, color and opacity, and the number of coats required, you will be better prepared to estimate the paint consumption accurately.
Additionally, we provided some helpful tips to make your ceiling painting endeavor more successful. From preparing the room and using the right tools to working in small sections and applying multiple thin coats, these tips will assist you in achieving a professional-looking finish with minimal hassle.
Remember, painting a ceiling requires patience, attention to detail, and proper planning. Don’t rush the process and take breaks when needed. It’s better to spend a little extra time ensuring a high-quality result rather than rushing through and compromising the overall outcome.
If you have any specific questions or face unique challenges during your ceiling painting project, don’t hesitate to consult with experts or seek advice from professionals in the field. They can provide guidance tailored to your individual needs and circumstances.
We hope that this guide has empowered you with the knowledge and confidence to tackle your ceiling painting project with ease. With some careful planning and the right techniques, you can transform your ceiling, breathing new life into your space and creating a fresh and inviting atmosphere.
Good luck with your painting project, and may your newly painted ceiling bring beauty and joy to your home or space!
Frequently Asked Questions about How Much Paint Is Required For A Ceiling
Was this page helpful?
At Storables.com, we guarantee accurate and reliable information. Our content, validated by Expert Board Contributors, is crafted following stringent Editorial Policies. We're committed to providing you with well-researched, expert-backed insights for all your informational needs.


0 thoughts on “How Much Paint Is Required For A Ceiling”