Articles
How To Paint A Tray Ceiling
Modified: May 6, 2024
Learn how to paint a tray ceiling with our informative articles. Find tips, techniques, and step-by-step instructions to achieve a professional look.
(Many of the links in this article redirect to a specific reviewed product. Your purchase of these products through affiliate links helps to generate commission for Storables.com, at no extra cost. Learn more)
Introduction
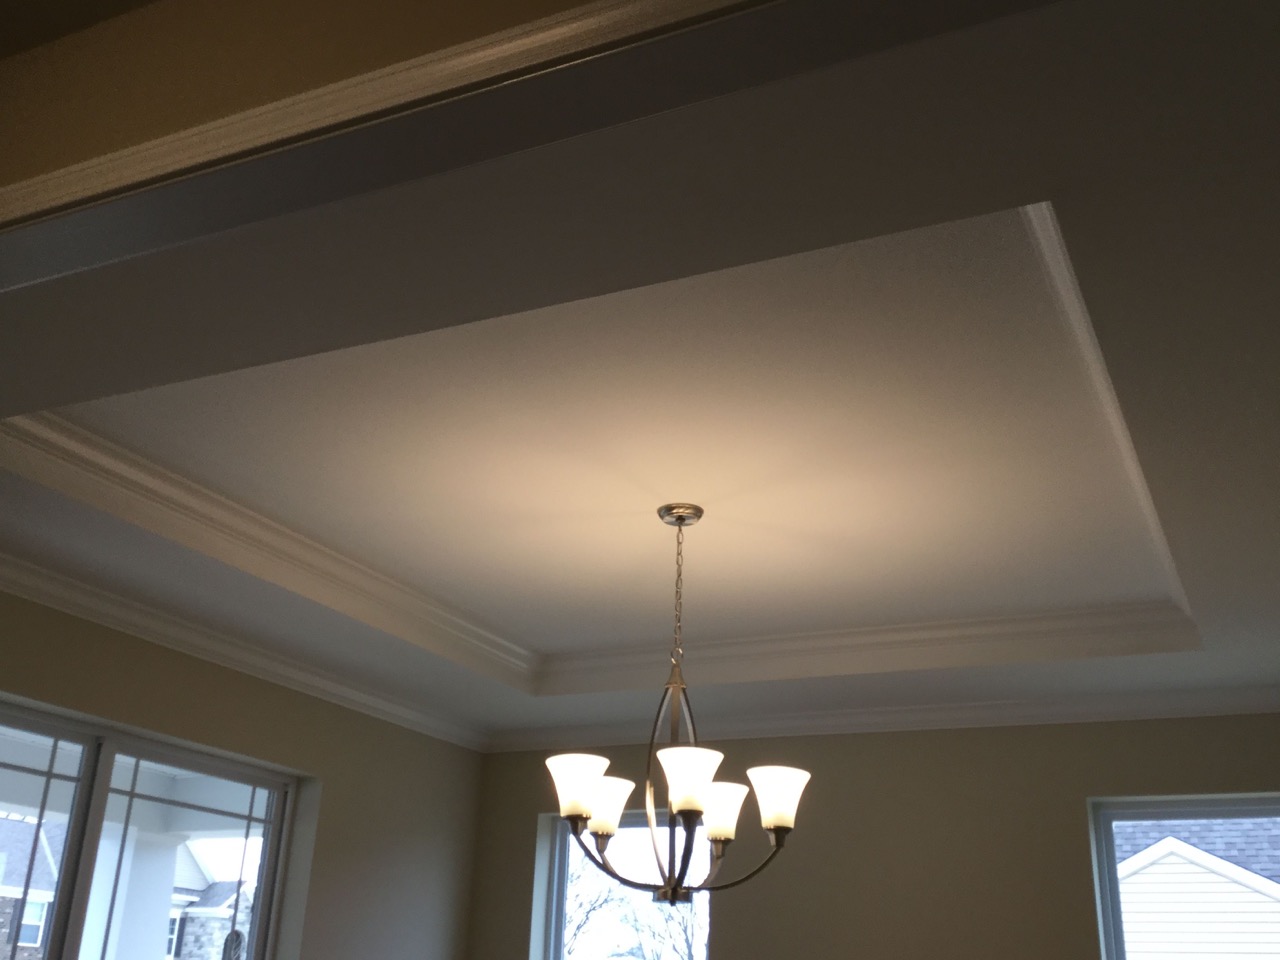
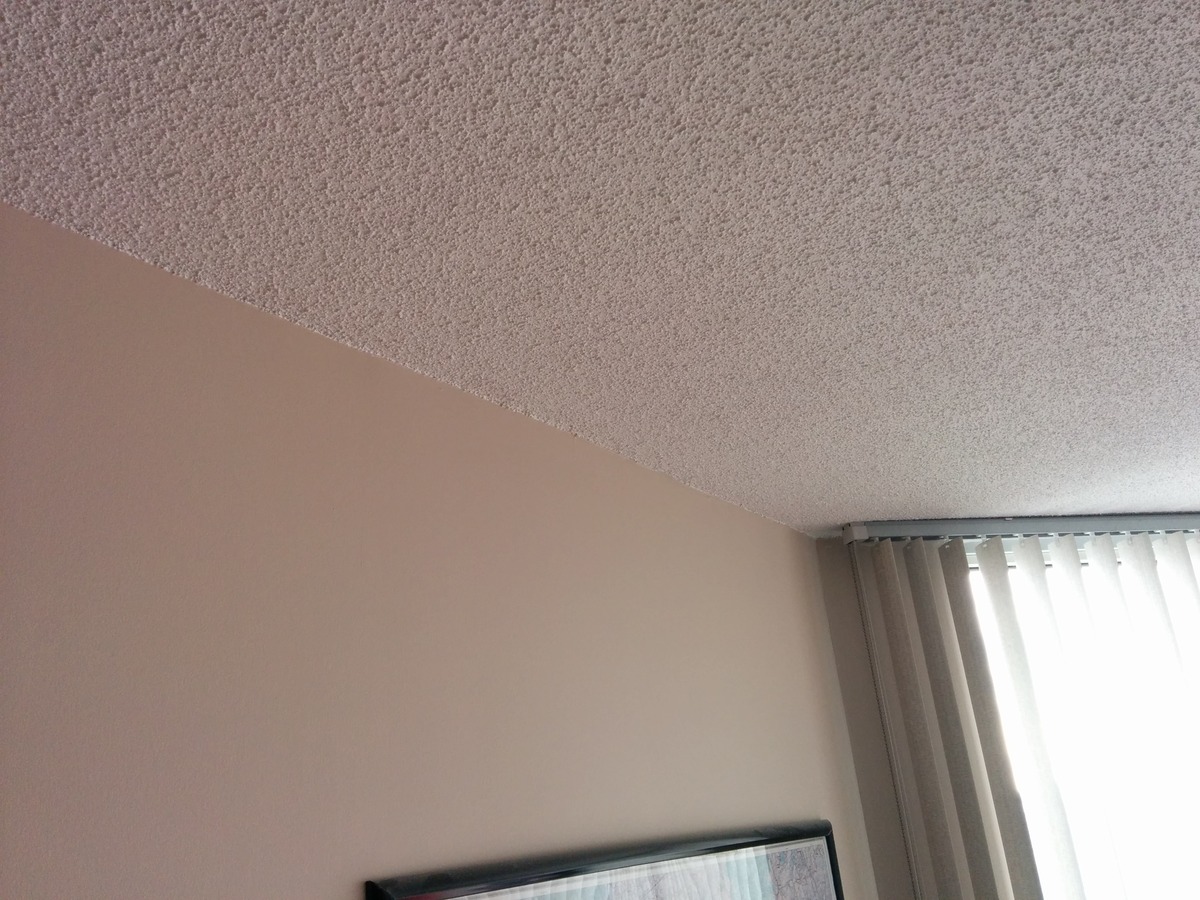
Welcome to the world of tray ceilings! If you’re looking to add elegance and character to your space, painting your tray ceiling is a great way to achieve just that. Tray ceilings, also known as recessed ceilings or inverted ceilings, are a popular architectural feature that adds depth and visual interest to a room. By painting a tray ceiling, you can highlight its unique design and create a stunning focal point.
In this article, we will guide you through each step of the process, from gathering the necessary tools and materials to achieving a professional-looking finish. Whether you’re a seasoned DIY enthusiast or a novice looking to tackle a new project, this article will equip you with all the knowledge you need to successfully paint your tray ceiling.
Before we dive into the details, it’s important to note that painting a tray ceiling can be a bit more challenging than painting a regular ceiling. The varied angles and recessed areas require extra attention and care. However, with the right preparation and techniques, you’ll be able to transform your tray ceiling into a stunning feature that enhances the overall aesthetics of your space.
So, let’s get started! Grab your paintbrushes, put on your creative hat, and let’s turn your tray ceiling into a masterpiece.
Key Takeaways:
- Transform your space with elegance and character by painting your tray ceiling. Follow our step-by-step guide to achieve a professional finish and create a stunning focal point in your room.
- Choosing the right paint colors, meticulous preparation, and attention to detail are crucial for successfully painting a tray ceiling. Enjoy the process and admire the transformation it brings to your space.
Read more: How To Make A Tray Ceiling
Step 1: Gather the necessary tools and materials
Before you begin painting your tray ceiling, it’s essential to gather all the necessary tools and materials. Having everything at hand will ensure a smooth and efficient painting process. Here’s a list of what you’ll need:
- Drop cloths or plastic sheeting to protect the floor and furniture
- Painter’s tape to mask off areas you don’t want to paint
- Ladder or step stool, depending on the height of your ceiling
- Sandpaper or sanding block to smooth rough surfaces
- Tack cloth or a damp cloth to clean the surface
- Primer to prep the tray ceiling for paint
- Paint trays and roller covers
- Paintbrushes in various sizes
- Paint in your chosen colors (base color and accent color)
- Extension pole for the roller, if needed
- Paint stirrer to mix the paint thoroughly
- Dust mask and safety goggles for protection
Make sure to check if you have any of these items already or need to purchase them. Having everything ready beforehand will save you from unnecessary trips to the store and keep the painting process uninterrupted.
Once you’ve gathered all the tools and materials, it’s time to move on to the next step: preparing the room and protecting the surrounding areas.
Step 2: Prepare the room and protect surrounding areas
Preparing the room and protecting the surrounding areas is essential to ensure a clean and hassle-free painting process. Follow these steps to get your space ready:
- Clear the room: Remove any furniture, decor, or light fixtures that may be in the way. This will give you ample space to work and prevent any accidental damage to your belongings.
- Cover the floor and furniture: Use drop cloths or plastic sheeting to protect the floor and furniture from paint splatter and spills. Secure the coverings with tape to keep them in place.
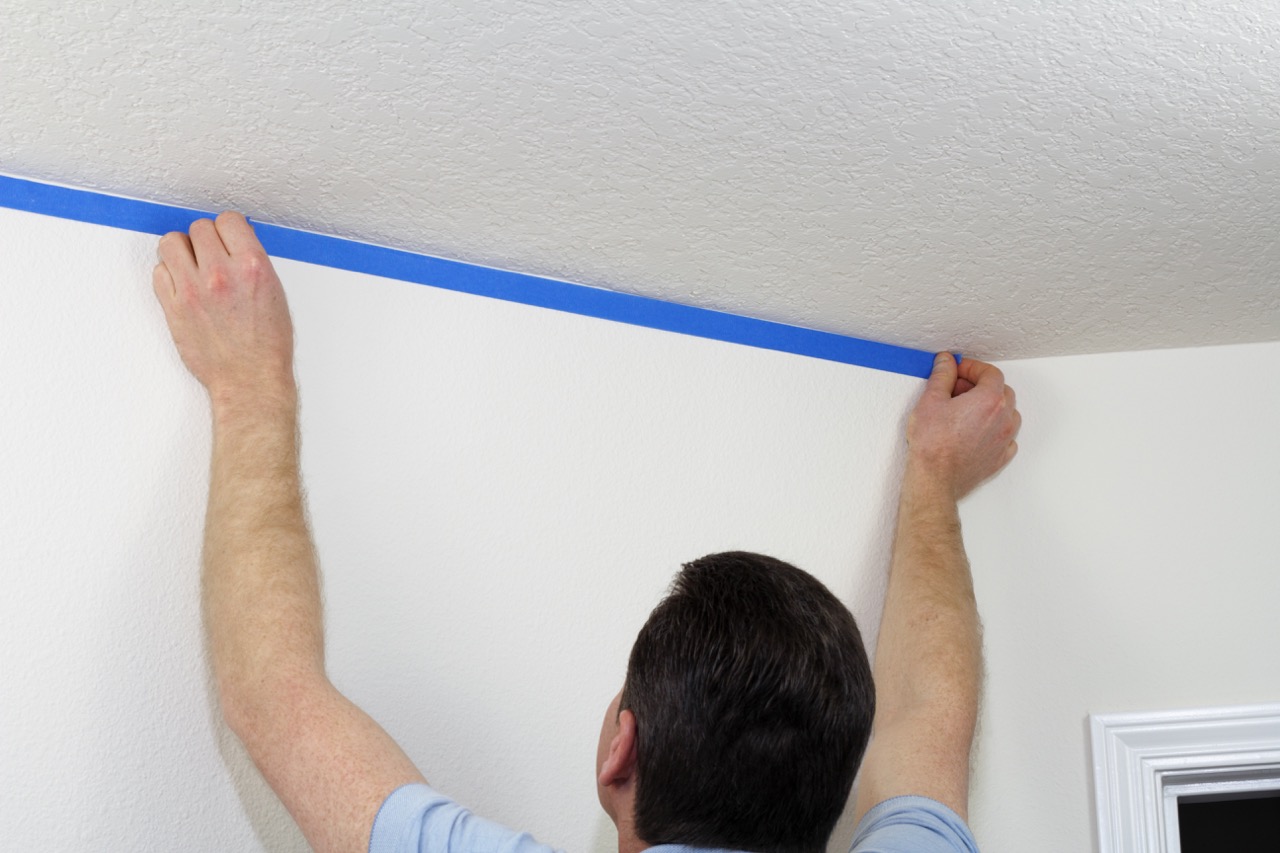
- Mask off edges: Apply painter’s tape along the edges of the walls, crown molding, and any other areas you want to keep paint-free. Make sure the tape is securely adhered to create clean, sharp lines.
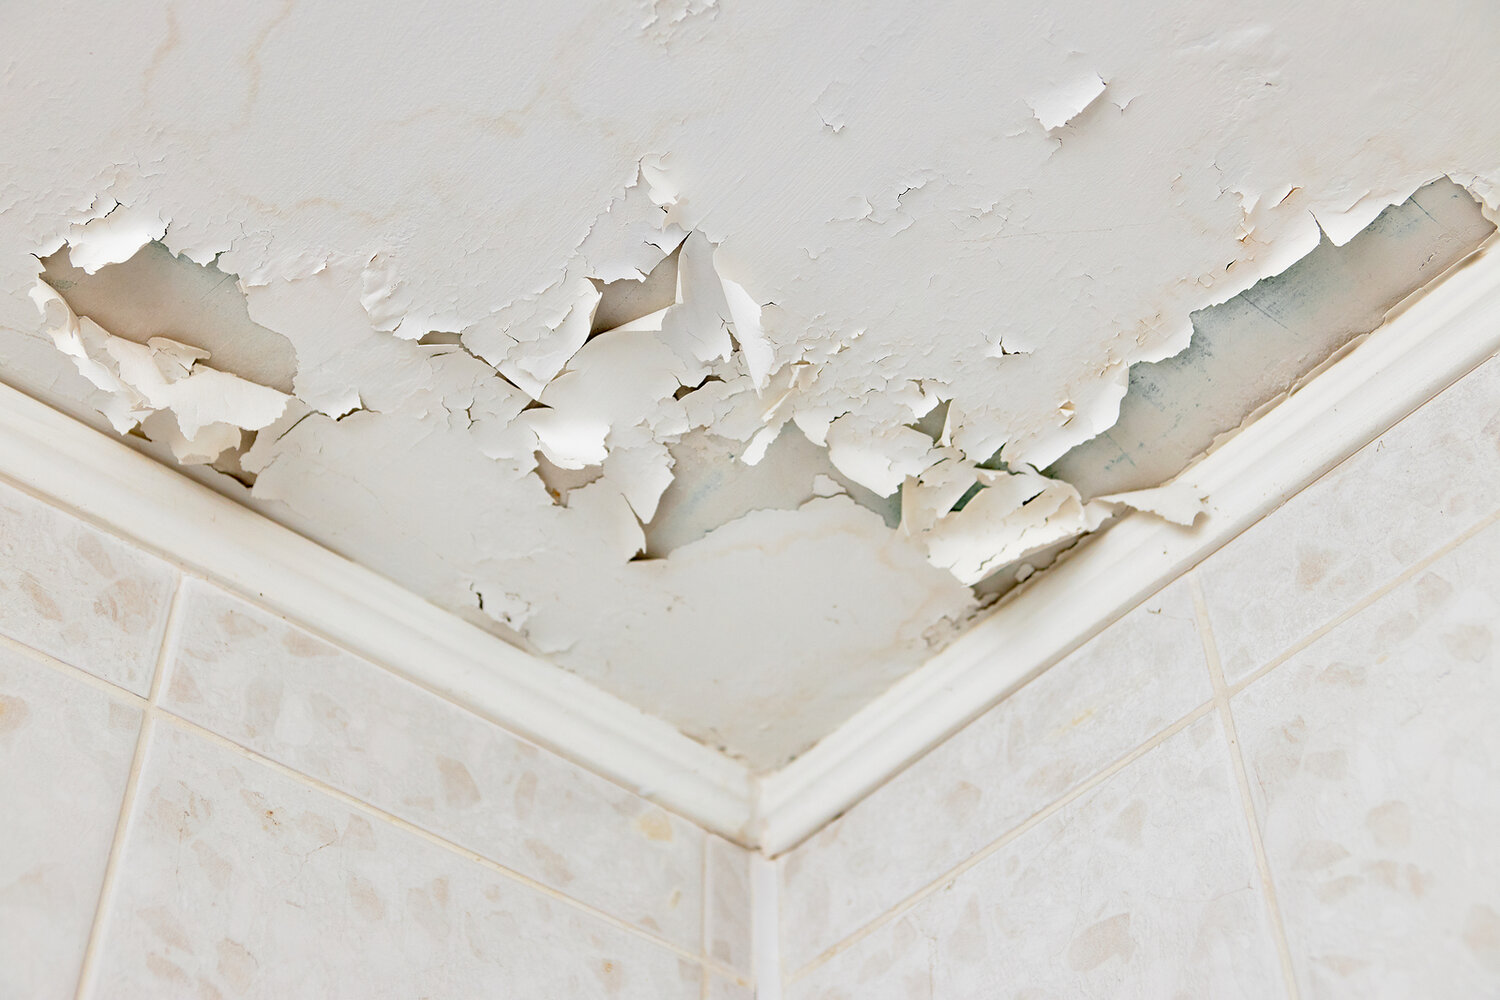
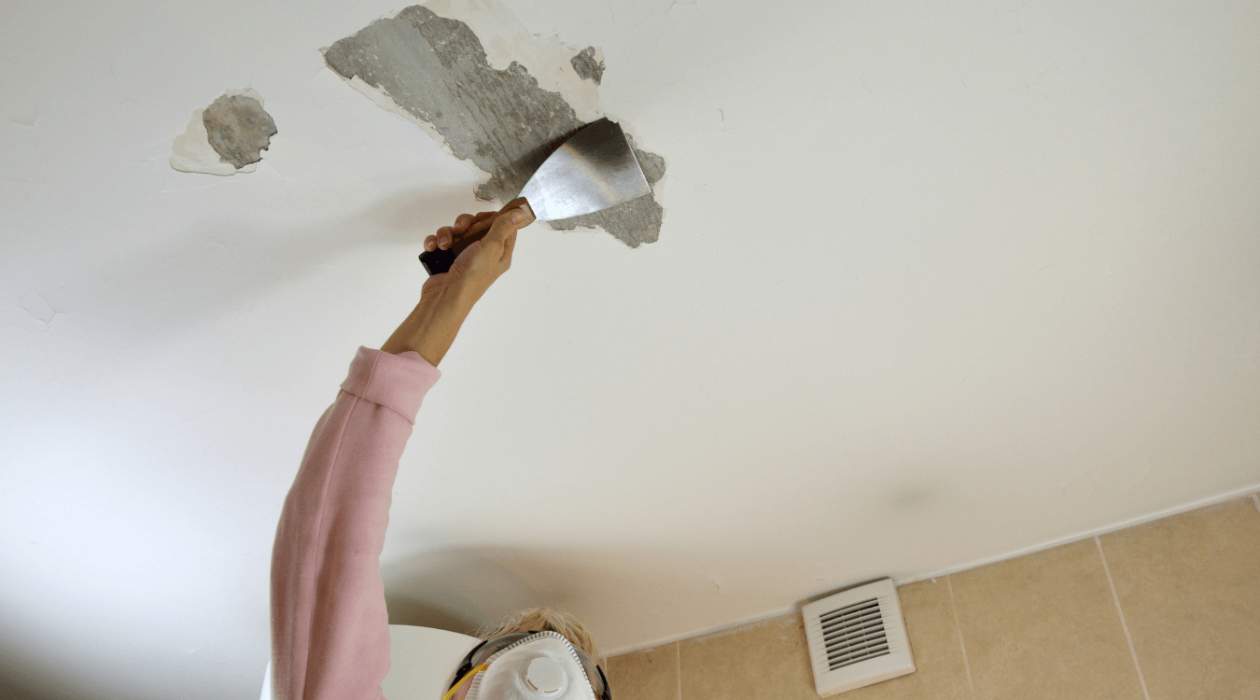
- Repair any imperfections: Inspect the tray ceiling for any cracks, holes, or dents. Use spackling compound or caulk to fill in these imperfections and smooth them out. Allow adequate drying time before moving on to the next step.
- Protect light fixtures: If there are any recessed lights or chandeliers hanging from the tray ceiling, cover them with plastic bags or wrap them with plastic wrap. This will prevent them from getting paint on them.
By taking the time to prepare the room and protect the surrounding areas, you’ll minimize the risk of mess and damage. It’s important to invest effort in this step to ensure a seamless painting process and a beautifully finished tray ceiling.
Now that you have a clean and protected working environment, you’re ready to move on to the next step: cleaning and priming the tray ceiling.
Step 3: Clean and prime the tray ceiling
Before you can start painting your tray ceiling, it’s crucial to clean the surface and apply a coat of primer. This step ensures that the paint adheres properly and provides a smooth and even finish. Follow these steps to clean and prime your tray ceiling:
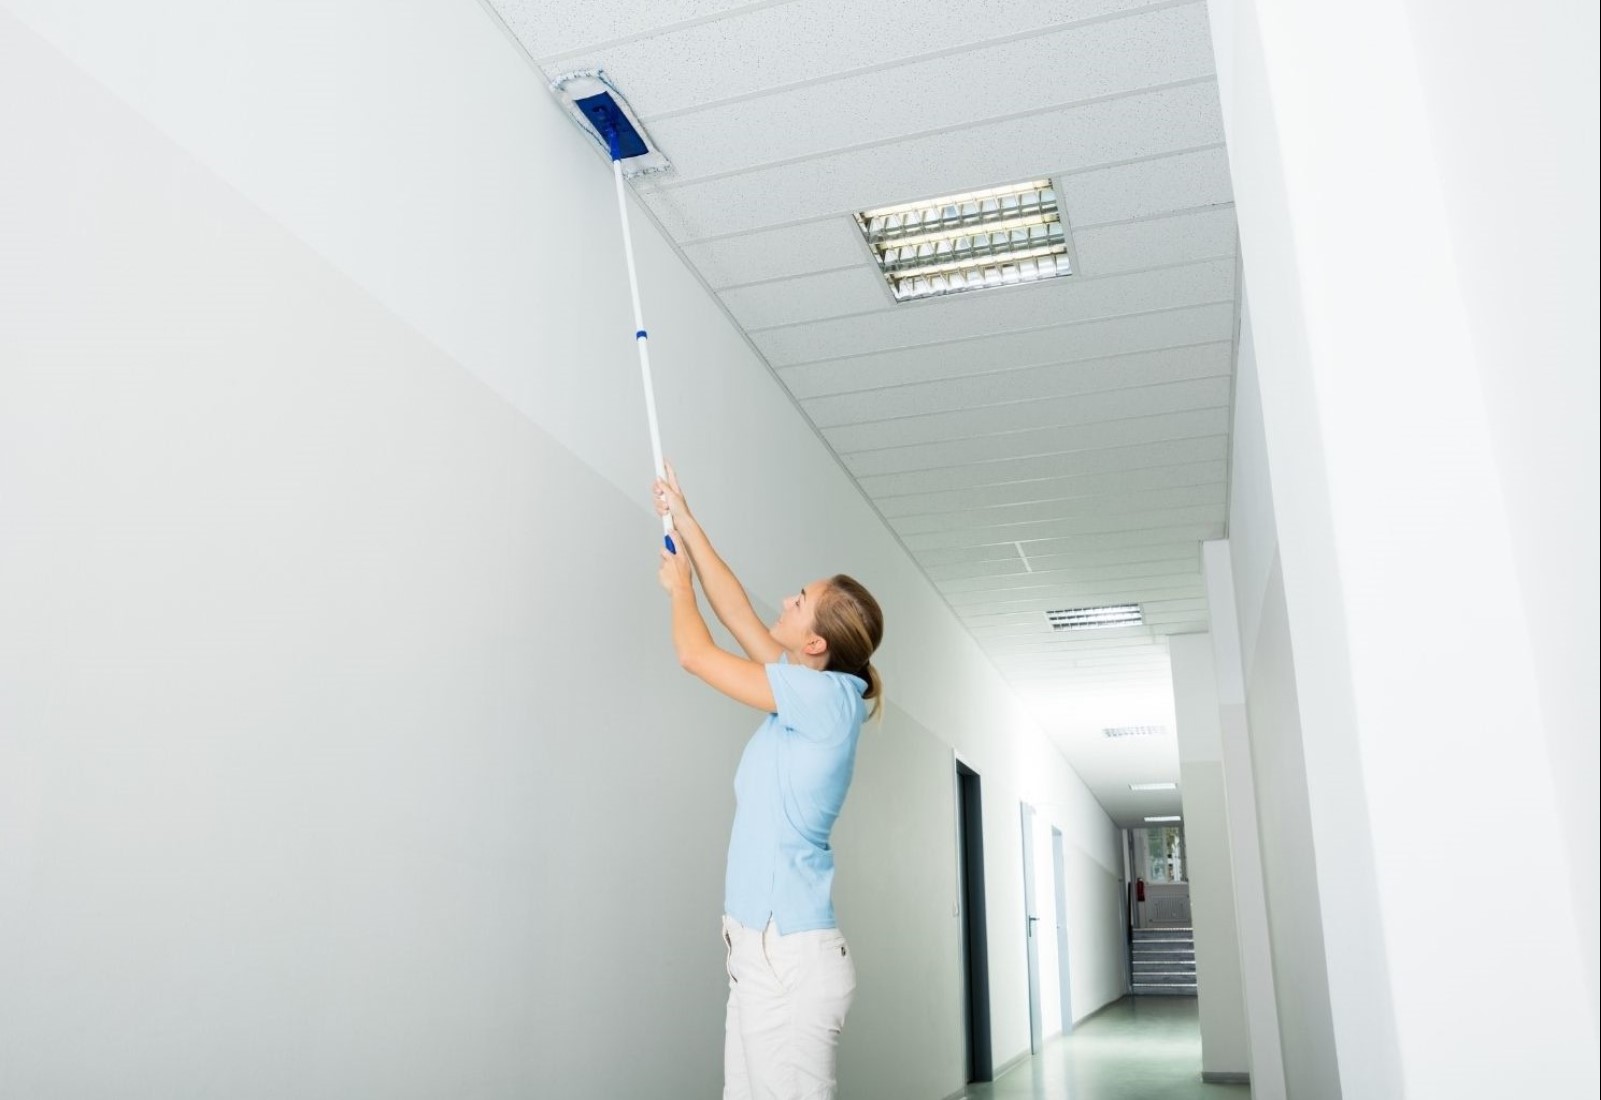
- Dust the ceiling: Use a soft-bristle brush or a feather duster to remove any dust or cobwebs from the tray ceiling. It’s essential to start with a clean surface to achieve a professional-looking result.
- Wipe down the ceiling: Dampen a clean cloth or a tack cloth with water and gently wipe the surface of the tray ceiling to remove any remaining dust or dirt. Make sure the cloth is not dripping wet.
- Repair any stains or discoloration: If there are any stains or discoloration on the tray ceiling, use a stain-blocking primer to cover them. Apply the primer with a brush or roller, following the manufacturer’s instructions. Allow the primer to dry completely.
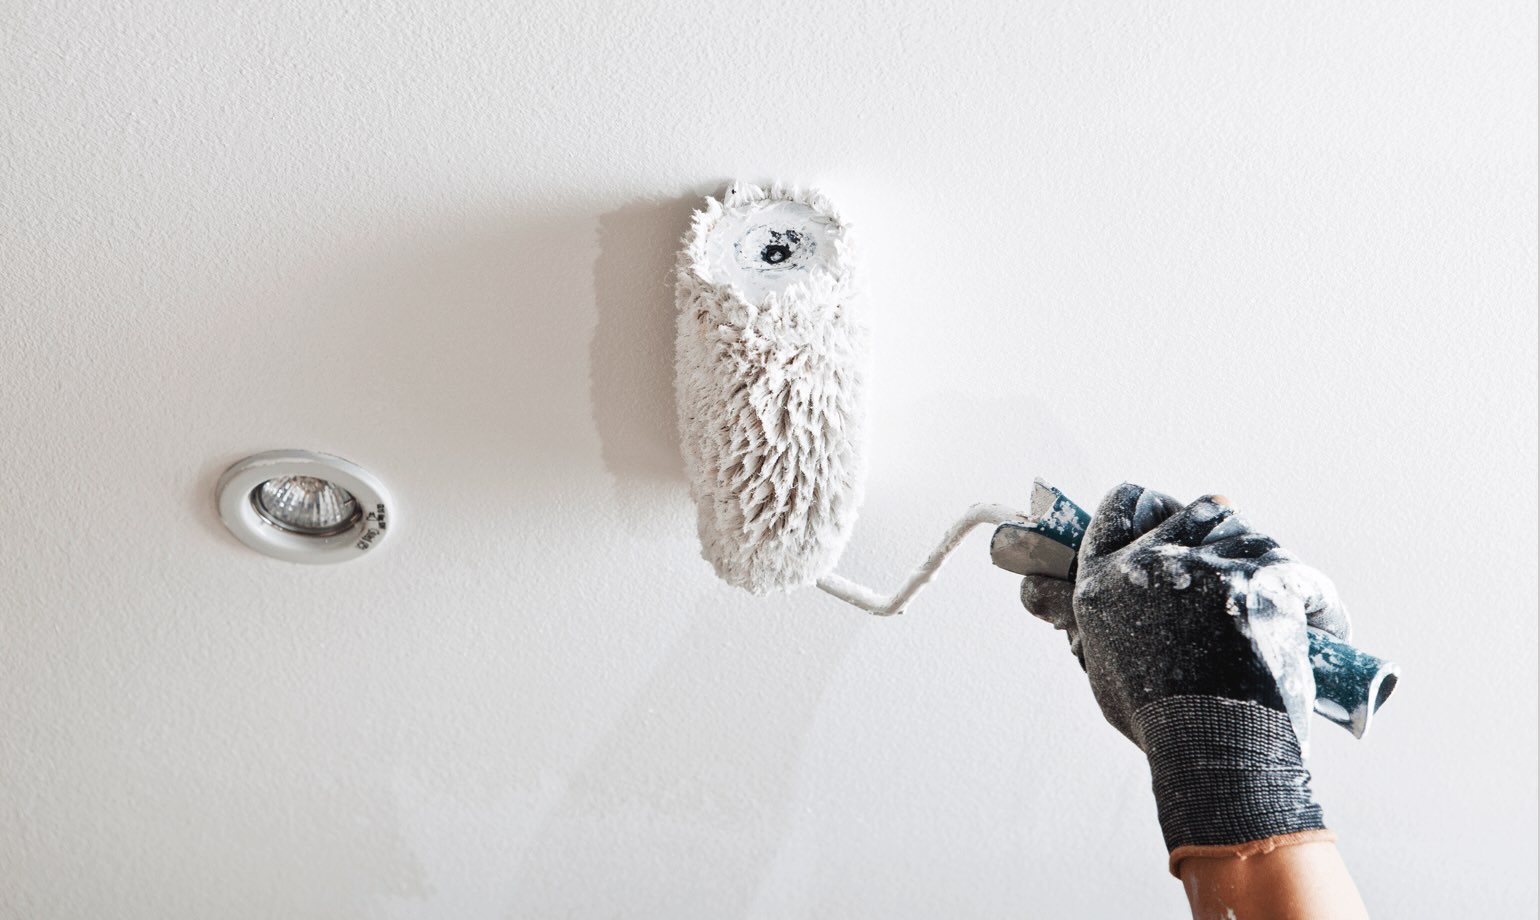
- Apply a coat of primer: Using a paint roller or a brush, apply a coat of primer to the entire tray ceiling. Make sure to cover all the recessed areas and edges. The primer helps to create a smooth and even surface and improves the adhesion of the paint. Allow the primer to dry according to the manufacturer’s instructions.
- Sand the primer: After the primer has dried, lightly sand the surface with fine-grit sandpaper or a sanding block. This step helps to remove any imperfections and gives the surface a slightly rough texture, which aids in paint adhesion. Wipe away the sanding dust with a damp cloth.
By cleaning and priming your tray ceiling, you’re setting the foundation for a flawless paint job. The primer not only helps the paint to adhere better but also ensures that the final color appears true and vibrant.
With the tray ceiling cleaned and primed, you’re now ready to move on to the exciting part – choosing the paint colors for your tray ceiling!
Step 4: Choose the paint colors
Choosing the right paint colors for your tray ceiling is crucial as it sets the tone and ambiance of the room. The colors you select should complement the overall decor and style of the space. Here are a few tips to help you pick the perfect paint colors:
- Consider the room’s theme: Take into account the theme and mood you want to create in the room. If you’re aiming for a serene and calm atmosphere, opt for soft and neutral colors. For a bold and dramatic effect, go for vibrant or contrasting hues.
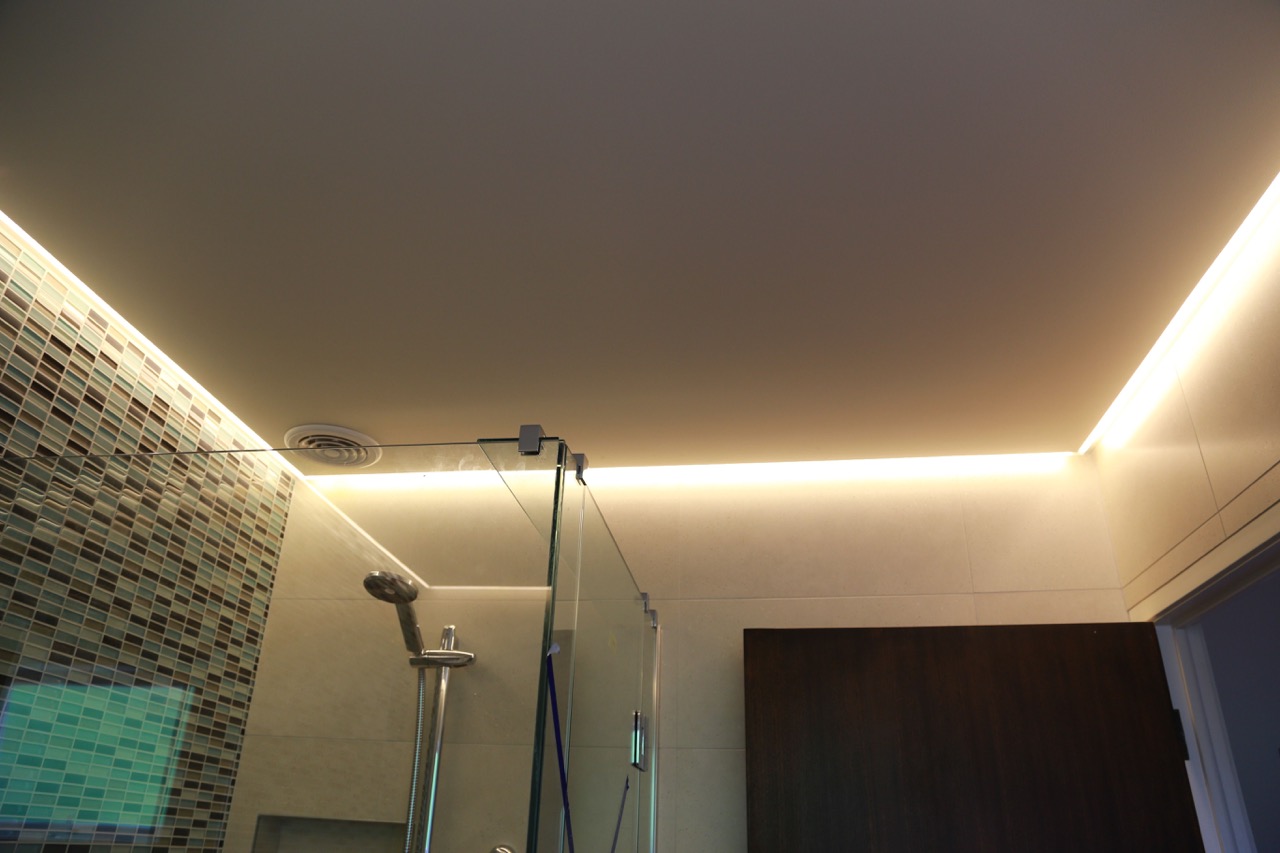
- Take lighting into account: Remember that the lighting in the room can greatly impact how the paint colors appear. Consider the natural and artificial lighting sources in the space when selecting your colors. Test paint swatches against the tray ceiling in different lighting conditions to ensure you’re happy with the results.
- Coordinate with the walls and decor: The paint colors for the tray ceiling should harmonize with the overall color scheme of the room. Take into consideration the color of the walls, furniture, and other elements in the space. You can choose to either match the tray ceiling color with the walls or create contrast for a visually striking effect.
- Experiment with variations: Don’t be afraid to try different shades and tones of the same color to add depth and dimension to your tray ceiling. Consider using a lighter shade for the base color and a slightly darker or complementary shade for the accent color. This will enhance the architectural details of the tray ceiling.
- Consider the ceiling height: If the room has low ceilings, opt for lighter and brighter colors to create an illusion of height and space. For rooms with high ceilings, darker colors can add warmth and a cozy feel to the space.
Once you’ve taken these factors into consideration, visit a paint store and gather color samples or swatches of your chosen colors. Bring them back to your space and hold them against the tray ceiling to see how they look in the room’s lighting conditions.
Choosing the right paint colors may take some time and experimentation, but it’s worth the effort to create a tray ceiling that enhances the overall aesthetics of your space. With your colors selected, it’s time to move on to the next step: painting the base color on the tray ceiling.
Read also: 15 Incredible Paint Tray For 2025
Step 5: Paint the base color on the tray ceiling
Now that you have chosen the perfect base color for your tray ceiling, it’s time to start painting! Follow these steps to apply the base color:
- Prepare the paint: Open your chosen base color paint can and stir it thoroughly with a paint stirrer. This ensures that the color is consistent throughout.
- Cut-in the edges: Using a brush, start by cutting in the edges of the tray ceiling, painting a clean line along the perimeter where the ceiling meets the walls or crown molding. This technique helps to create precise lines and avoid accidentally painting onto areas you want to keep paint-free.
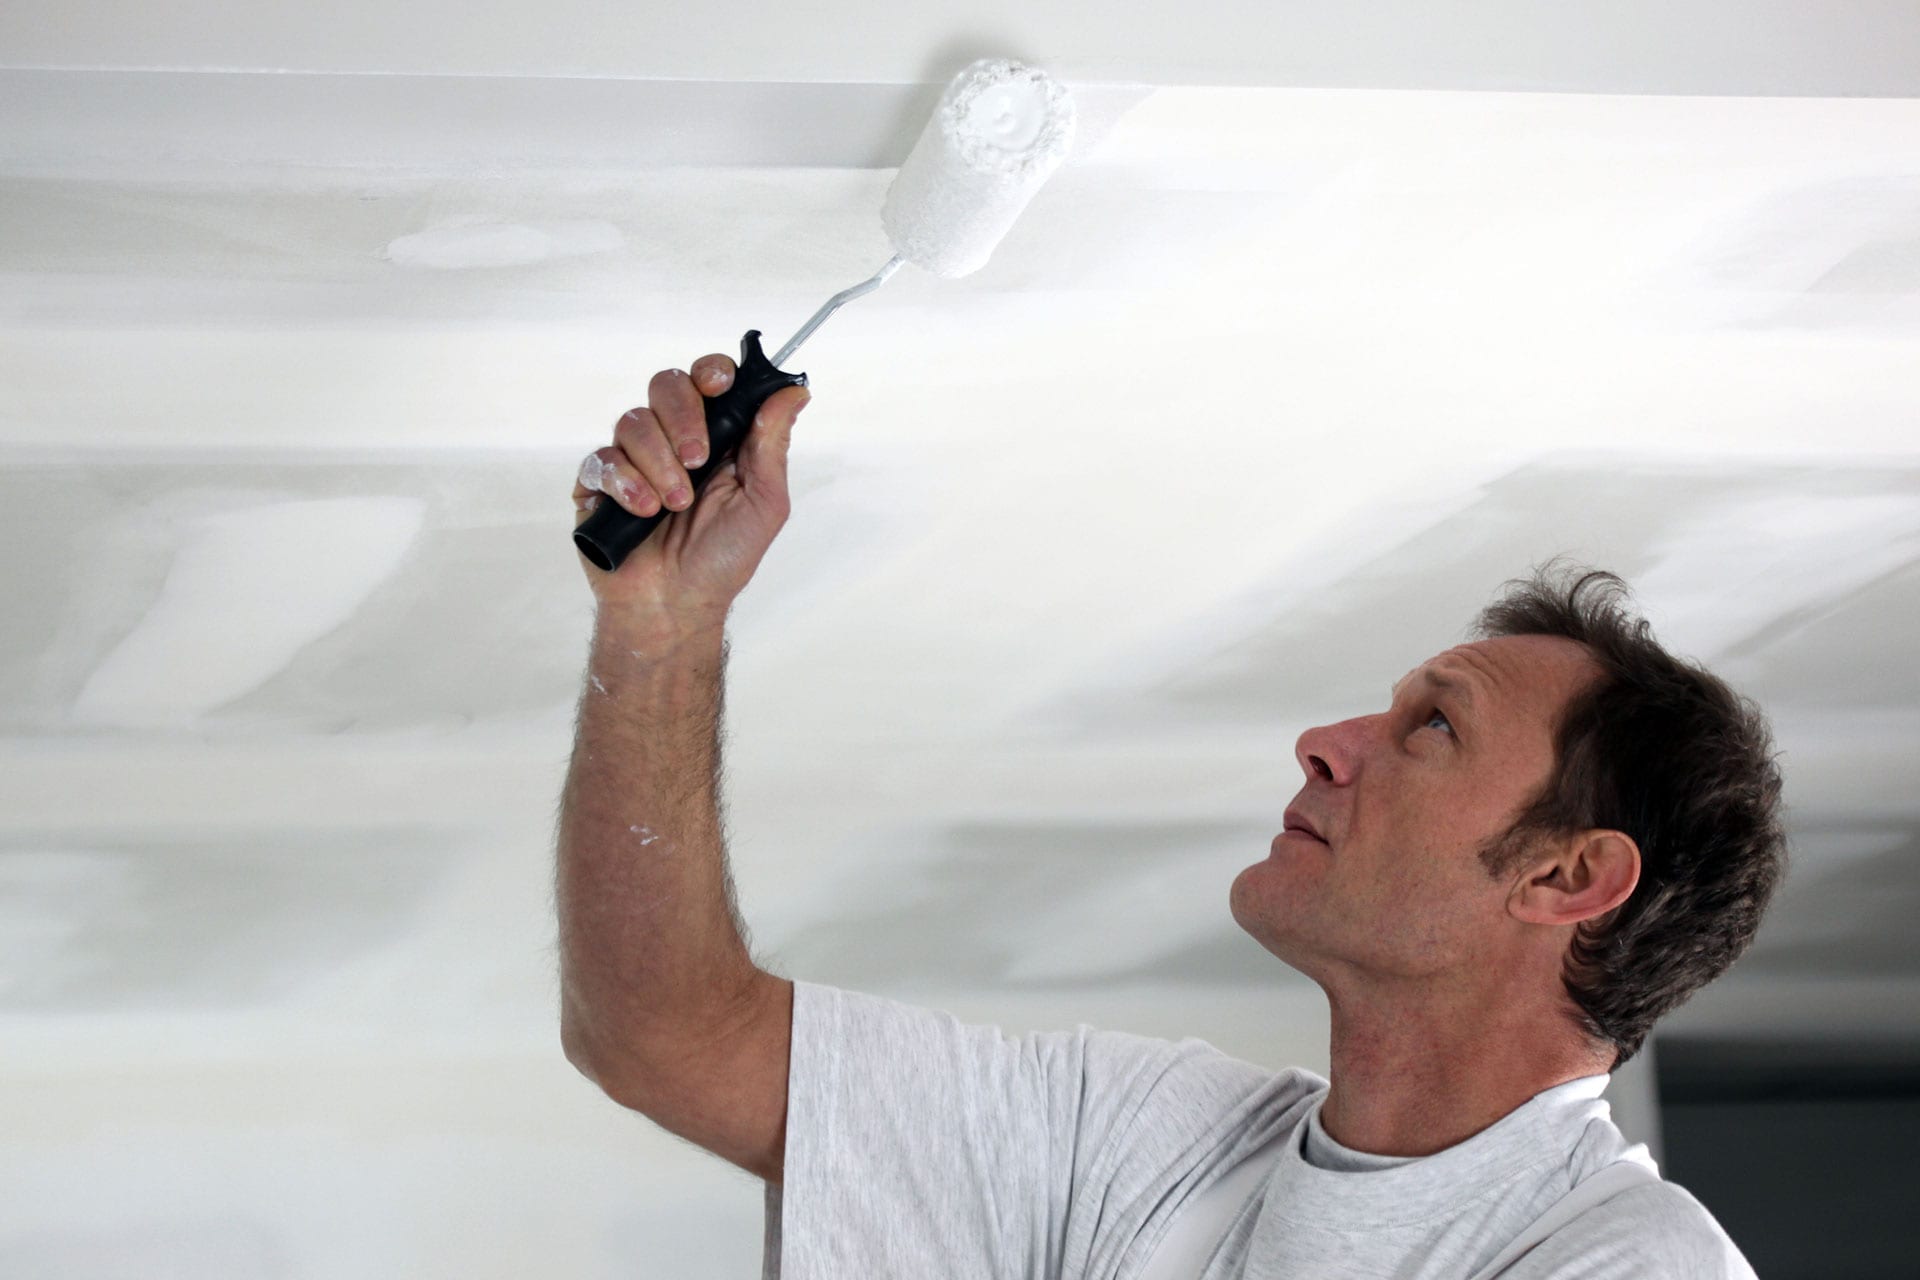
- Roll the paint onto the tray ceiling: Pour some paint into a paint tray and load a roller with the base color. Start rolling the paint onto the tray ceiling in a smooth, overlapping motion. Work in small sections, making sure to cover the recessed areas and edges of the tray ceiling.
- Smooth out any lines or drips: After rolling the paint, use a paintbrush or a roller brush to smooth out any visible lines or drips. This will ensure a seamless and even finish.
- Allow the paint to dry: Follow the manufacturer’s instructions regarding the drying time for your chosen paint. Make sure to provide adequate ventilation in the room to help the paint dry properly.
- Inspect for coverage: Once the paint has dried, inspect the tray ceiling for any uneven spots or areas that may require touch-ups. If necessary, apply an additional coat of the base color, following the same steps.
Remember to work systematically and maintain a consistent paint application throughout the tray ceiling. Take breaks if needed, but try to complete each section before the paint dries to avoid overlapping or visible lines.
With the base color applied, you can now move on to the next step: painting the trim or molding in your tray ceiling.
When painting a tray ceiling, start by using a high-quality paint roller with an extension pole to reach the ceiling easily. Work in small sections and use a ladder for any hard-to-reach areas.
Step 6: Paint the trim or molding
Painting the trim or molding of your tray ceiling is an important step in achieving a polished and cohesive look. Follow these steps to paint the trim or molding:
- Prepare the trim: Clean the trim or molding to remove any dust or debris. Use a damp cloth or a mild cleaning solution if necessary. Make sure the surface is dry before painting.
- Protect the surrounding areas: Cover the walls and ceiling with painter’s tape to prevent any accidental paint splatters or smudges.
- Choose the paint color: Select a paint color for the trim or molding that complements the base color of your tray ceiling. Consider using a neutral or contrasting color to create an appealing contrast.
- Apply painter’s tape: Place painter’s tape along the edges of the tray ceiling where it meets the trim or molding. This will ensure clean lines and prevent any paint from overlapping onto the tray ceiling.
- Paint the trim: Using a brush or a small roller, apply the paint to the trim or molding. Start from the top and work your way down, using smooth and even strokes. Pay attention to any intricate details or crevices in the trim, ensuring that they are well-covered.
- Smooth out drips or lines: After applying the paint, use a brush or a roller brush to smooth out any drips or visible lines. This will result in a professional-looking finish.
- Allow the paint to dry: Follow the manufacturer’s instructions regarding the drying time for the paint. It’s important to allow the paint to dry completely before removing the painter’s tape.
- Inspect and touch-up if needed: Once the paint has dried, inspect the trim or molding for any uneven spots or areas that may require touch-ups. Apply additional coats if necessary to achieve the desired coverage and finish.
Painting the trim or molding adds the finishing touch to your tray ceiling, enhancing its beauty and creating a seamless transition between the tray ceiling and the surrounding walls. With the trim painted, you are ready to move on to the next step: painting the accent color on the tray ceiling.
Step 7: Paint the accent color on the tray ceiling
Adding an accent color to your tray ceiling can create a striking and visually appealing focal point in the room. Follow these steps to paint the accent color on the tray ceiling:
- Prepare the paint: Open the can of your chosen accent color and stir it thoroughly to ensure an even consistency.
- Cut-in the edges: Use a brush to carefully cut-in along the edges of the recessed areas of the tray ceiling, as well as where the tray ceiling meets the walls or crown molding. This will create clean lines and prevent any unintentional paint overlap.
- Roll the paint: Pour some of the accent color paint into a paint tray and load a roller with the paint. Begin rolling the accent color onto the tray ceiling, working in sections. Make sure to cover the recessed areas and edges of the tray ceiling.
- Blend the colors: While the accent color is still wet, use a dry brush or a small roller brush to gently blend the base color and the accent color at the edges. This creates a smooth transition between the two colors for a seamless look.
- Check for consistency: Step back and inspect the tray ceiling for consistency in color application. Make sure there are no visible lines, drips, or unevenness. Touch up any areas that may require additional paint.
- Allow the paint to dry: Follow the manufacturer’s instructions regarding the drying time for the accent color paint. Proper drying time is important to ensure a durable and long-lasting finish.
Painting the accent color on your tray ceiling adds depth and dimension, elevating the overall design of the room. It brings attention to the architectural details and creates a visually stunning feature. Take your time with this step to ensure that the accent color is applied evenly and precisely.
With the accent color painted, you’re almost done! The next step involves applying additional coats if needed to achieve the desired intensity and coverage.
Step 8: Apply additional coats if necessary
Applying additional coats of paint may be necessary to achieve the desired intensity of color and evenness of coverage on your tray ceiling. Follow these steps to apply additional coats:
- Assess the coverage: Once the paint has dried, evaluate the tray ceiling to determine if any areas require additional coats. Look for unevenness, streaks, or spots that may not have been fully covered.
- Sand and clean the surface: If needed, lightly sand any rough areas or imperfections on the tray ceiling. This will create a smooth surface for the additional coats of paint. Wipe away any dust with a damp cloth.
- Repeat the painting process: Following the same painting process as before, apply an additional coat of paint to the tray ceiling. This includes cutting in the edges, rolling the paint, and blending the colors if necessary. Take care to maintain consistency in application and achieve an even finish.
- Allow the paint to dry: Let the additional coats of paint dry fully according to the manufacturer’s instructions. It’s important to give each coat enough time to dry to avoid smudging or disrupting the paint layers.
- Inspect for consistency: After the paint has dried, inspect the tray ceiling for any remaining unevenness or areas that may require touch-ups. If needed, repeat the process of applying additional coats until the desired effect is achieved. Take your time to ensure a seamless and professional outcome.
Remember that applying additional coats may extend the time required for the painting process, but it is crucial for achieving a high-quality finish. Take breaks between coats and allow the paint to dry properly to avoid any smudging or mishaps.
With any additional coats applied, it’s time to move on to the final step: removing the protective coverings and cleaning up.
Read more: How To Paint A Ceiling Fan
Step 9: Remove the protective coverings and clean up
As you near the completion of your tray ceiling painting project, it’s essential to properly remove the protective coverings and tidy up the space. Follow these steps to wrap up the painting process:
- Remove painter’s tape: Carefully peel off the painter’s tape from the edges of the tray ceiling, taking care not to damage the freshly painted surfaces. Slowly and steadily remove the tape at a 45-degree angle to ensure clean lines.
- Uncover the floor and furniture: Gently remove the drop cloths or plastic sheeting from the floor and furniture, being cautious not to spread any paint residue or dust. Fold them up neatly for future use or dispose of them properly.
- Clean the brushes, rollers, and trays: Thoroughly clean your paintbrushes, rollers, and trays with warm soapy water or in accordance with the manufacturer’s instructions. Rinse them until the water runs clear. For oil-based paints, you may need to use a specific solvent for cleaning.
- Dispose of waste properly: Dispose of any used paint containers, rags, or other waste materials in accordance with local regulations. Adhere to proper disposal guidelines to minimize environmental impact.
- Inspect and touch up if necessary: Take a final look at your tray ceiling to ensure that everything is to your satisfaction. If you spot any imperfections or areas that require touch-ups, address them promptly.
Congratulations! You’ve successfully completed the process of painting your tray ceiling. Take a step back and admire the transformation you’ve achieved. Your tray ceiling now serves as a stunning focal point, adding depth and elegance to the room.
Remember to allow the paint to fully cure before placing furniture back in the room or making any other changes to the space. This ensures that the paint has hardened and is less susceptible to damage.
Now, it’s time to sit back, relax, and enjoy your newly painted tray ceiling. Bask in the sense of accomplishment that comes with completing a DIY project.
Thank you for following along with our step-by-step guide, and we hope you found it helpful. Happy painting!
Conclusion
Painting a tray ceiling can completely transform the look and feel of a room, adding depth, character, and visual interest. By following the steps outlined in this guide, you can successfully paint your tray ceiling and achieve a professional and polished finish.
We started by gathering the necessary tools and materials, preparing the room, and protecting the surrounding areas. Then, we cleaned and primed the tray ceiling, ensuring a smooth and even surface for the paint. Next, we discussed how to choose the perfect paint colors for your tray ceiling, considering factors such as the room’s theme, lighting, and coordination with the walls and decor.
We then proceeded to paint the base color on the tray ceiling, paying attention to cutting in the edges and creating a seamless finish. The next step involved painting the trim or molding to create a cohesive look. Following that, we added an accent color to the tray ceiling, enhancing its architectural details and creating a stunning focal point in the room.
If needed, we applied additional coats to achieve the desired intensity and coverage. Finally, we completed the process by removing the protective coverings, cleaning up, and inspecting the tray ceiling for any touch-ups or imperfections.
Painting a tray ceiling requires time, patience, and attention to detail. Remember to take breaks when needed and allow each coat of paint to dry properly. A well-painted tray ceiling can elevate the aesthetics of a room and create a sense of elegance and sophistication.
We hope this guide has helped you navigate the process of painting your tray ceiling successfully. Remember to enjoy the journey and appreciate the transformation you’ve accomplished. Your newly painted tray ceiling will surely be a conversation starter and a point of admiration in your space.
Thank you for joining us in this painting adventure, and we wish you the best of luck as you embark on creating a stunning tray ceiling that enhances your home’s ambiance and beauty.
Ready to tackle more projects around your house? If you enjoyed learning how to paint a tray ceiling, you'll love our comprehensive guide on DIY home projects. It's packed with useful tips that will help you handle repairs and enhancements with confidence. Whether you're looking to update a room or overhaul your backyard, this guide has everything you need to start and finish projects successfully.
Frequently Asked Questions about How To Paint A Tray Ceiling
Was this page helpful?
At Storables.com, we guarantee accurate and reliable information. Our content, validated by Expert Board Contributors, is crafted following stringent Editorial Policies. We're committed to providing you with well-researched, expert-backed insights for all your informational needs.


0 thoughts on “How To Paint A Tray Ceiling”