
Articles
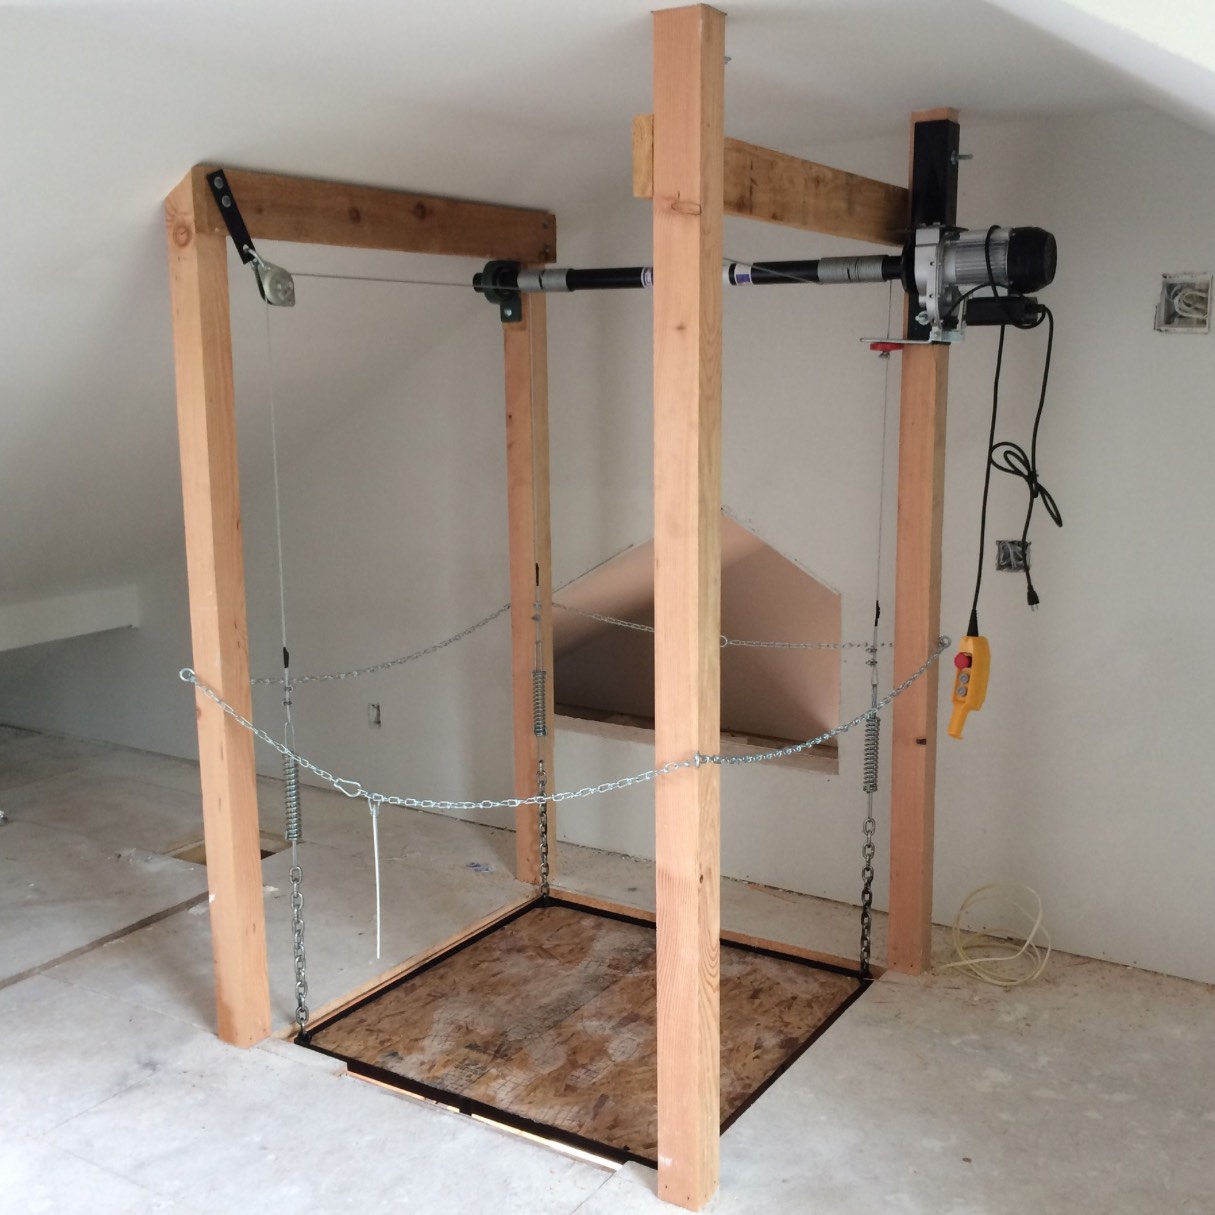
How To Build Stairs To Attic
Modified: December 7, 2023
Learn how to build stairs to your attic with our helpful articles. Find step-by-step instructions and tips for a successful project.
(Many of the links in this article redirect to a specific reviewed product. Your purchase of these products through affiliate links helps to generate commission for Storables.com, at no extra cost. Learn more)
Introduction
Are you in need of extra storage space or looking to convert your attic into a usable living area? Building stairs to your attic can be a great solution. Not only do they provide easy access to your attic, but they can also add value to your home. However, constructing stairs may seem like a daunting task if you have never attempted it before. Don’t worry! In this article, we will guide you through the steps of building stairs to your attic, making it a manageable and rewarding project. So, let’s dive in!
Key Takeaways:
- Building stairs to your attic is a manageable and rewarding project that adds value to your home. Accurate measurements, careful planning, and attention to detail are crucial for safety and functionality.
- From designing the staircase to adding finishing touches, prioritize safety and compliance with building codes. Seek professional guidance if needed, and enjoy the accessibility and functionality of your new attic stairs.
Read more: How To Build Pull Down Attic Stairs
Step 1: Measure the Space
Before you start building your stairs, it’s crucial to accurately measure the space where the stairs will be installed. This step is essential to ensure that your stairs will fit properly and be safe to use. Here’s what you need to do:
- Begin by measuring the height of your attic floor to the lower floor. This will determine the overall height of your stairs.
- Next, measure the width and depth of the area where the stairs will be installed. This will help you determine the optimal size of your staircase.
- Take note of any obstacles or obstructions in the area, such as air ducts or electrical wires, which may need to be relocated or adjusted to accommodate the stairs.
- Consider the building codes and regulations in your area. These often dictate specific requirements for the width, rise, and run of stairs. Make sure to adhere to these regulations to ensure the safety and legality of your staircase.
By carefully measuring the space and taking note of any potential obstacles, you will have a solid foundation to move forward with your staircase construction. This step is crucial to ensure that your stairs fit perfectly and meet safety regulations, providing a secure and functional access point to your attic.
Step 2: Gather Materials and Tools
Once you have measured the space and have a clear understanding of the size and requirements for your stairs, it’s time to gather the necessary materials and tools. Here’s what you’ll need:
- Stringers: These are the angled boards that support the stairs. You will need enough stringers to accommodate the width and height of your staircase.
- Treads: The horizontal boards on which you actually step. These can be made of wood, metal, or other materials.
- Risers: The vertical pieces that are attached between each tread, providing support and safety.
- Handrails: These are essential for safety and should be installed on at least one side of the staircase.
- Screws or nails: Choose the appropriate fasteners for your chosen materials.
- Measuring tape: A reliable measuring tape is crucial for accurate measurements.
- Saw: Depending on the material, you may need a circular saw, jigsaw, or handsaw.
- Drill: A drill will be necessary for creating pilot holes and attaching the various components together.
- Level: This tool is essential for ensuring that your stairs are even and safe to use.
- Pencil: Use a pencil to mark measurements and make any necessary adjustments.
Make sure to gather all the necessary materials and tools before starting the construction process. Having everything ready will help streamline the process and prevent delays. It’s also a good idea to double-check your materials list to ensure you haven’t missed anything. Now that you have everything prepared, you’re ready to move on to the next steps.
Step 3: Design the Staircase
Designing your staircase is a crucial step in the process. A well-designed staircase not only enhances the aesthetic appeal of your home but also ensures safety and functionality. Here are the key aspects to consider when designing your staircase:
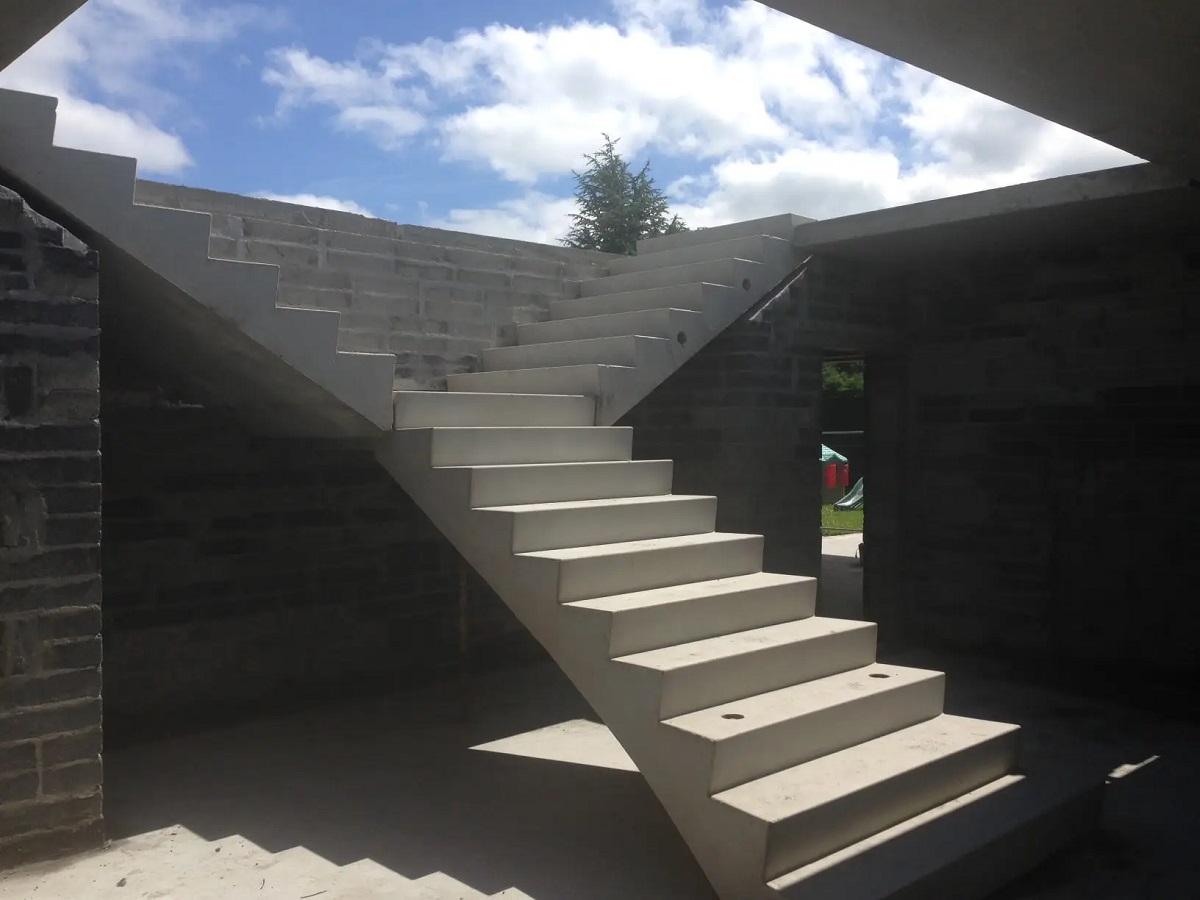
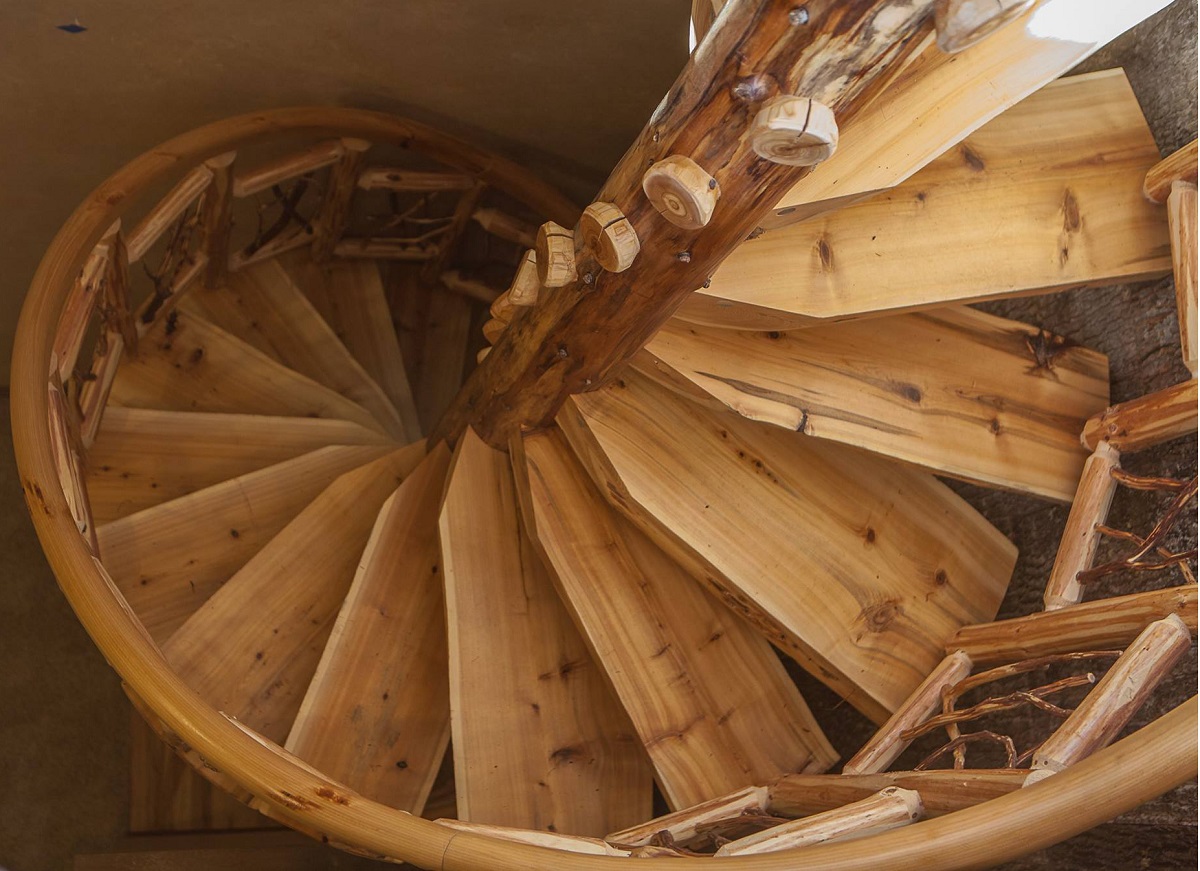
- Staircase Style: Determine the style of stairs that aligns with your overall design vision. Popular options include straight stairs, L-shaped stairs, U-shaped stairs, and spiral stairs.
- Layout: Based on the available space and the design of your home, decide on the placement and orientation of the staircase.
- Dimensions: Calculate the rise (the vertical height) and run (the horizontal depth) of each step. Aim for a comfortable rise and run ratio to ensure ease of use and safety.
- Handrails: Determine the type of handrail you want to incorporate, such as a wall-mounted handrail or a handrail attached to balusters.
- Materials: Select the materials for your stairs and components. Wood is a popular choice for its durability and classic appeal, but you can also consider metal, glass, or a combination of materials for a modern look.
- Code Compliance: Familiarize yourself with the building codes and regulations in your area. Ensure that your staircase design meets all safety requirements.
Take the time to sketch out your staircase design, incorporating all the necessary dimensions and details. This will serve as a roadmap for the construction process and help you visualize the final result. If you are unsure about the design, consult with a professional for guidance and expertise. With a well-thought-out design, you can proceed to the next steps with confidence and clarity.
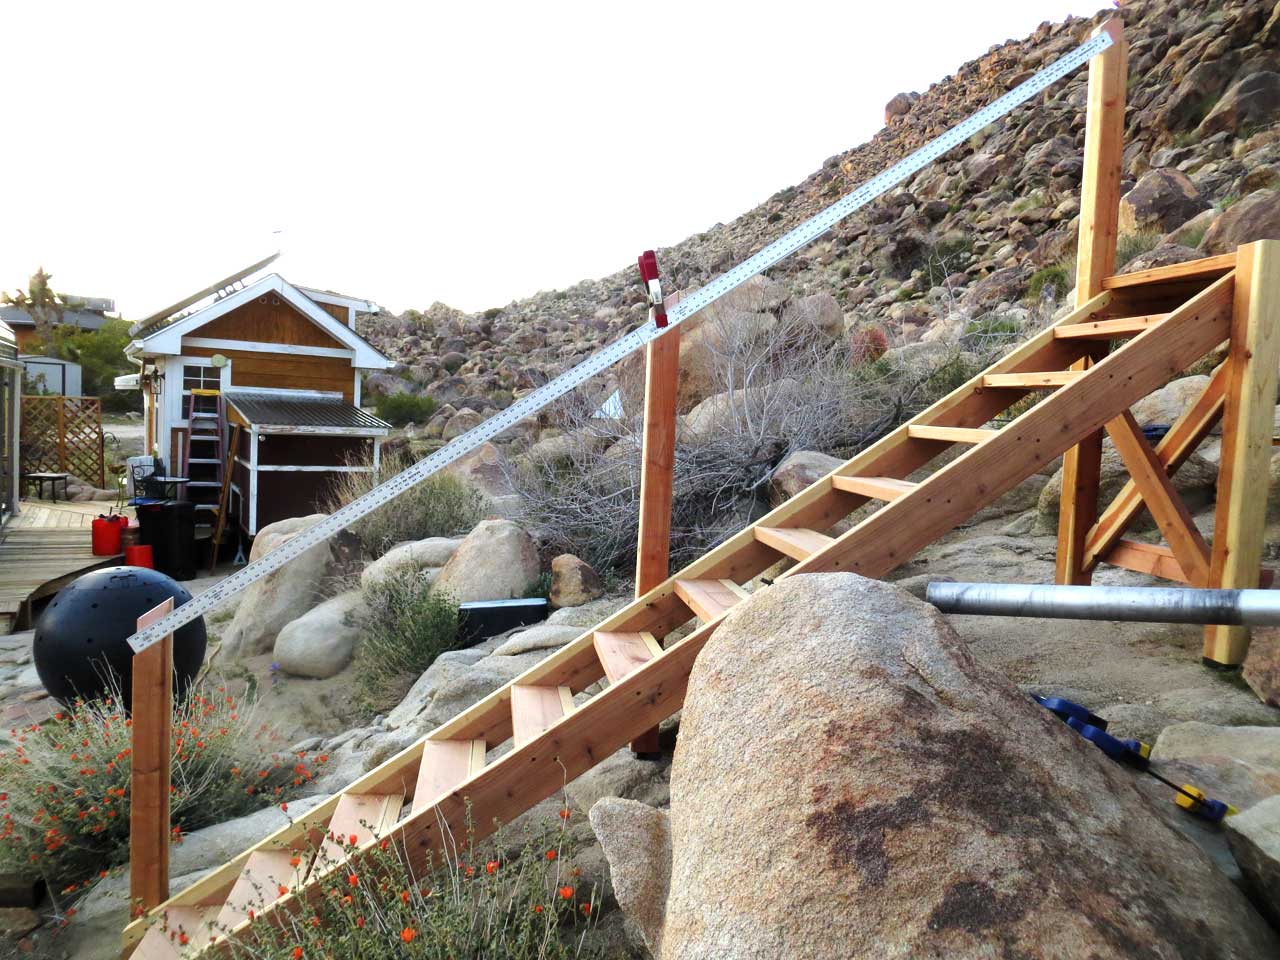
Step 4: Cut the Stringers
Stringers are the angled boards that provide support for the stairs. Cutting the stringers correctly is crucial to ensure the stability and safety of your staircase. Here’s how to do it:
- Measure and Mark: Use a measuring tape to determine the height and width of each step. Mark these measurements on the stringer boards.
- Cut the Top and Bottom: Using a circular saw or handsaw, carefully cut the top and bottom ends of the stringers based on your measured marks.
- Mark the Steps: Starting from the bottom, mark the location of each step on the stringer boards. Use a square to ensure the steps are level and evenly spaced.
- Cut the Steps: With the measurements marked, use a circular saw or handsaw to cut along the marked lines, creating the steps of the staircase.
- Test Fit: Once the steps are cut, carefully place the stringers in the designated area to check for proper fit. Make any necessary adjustments to ensure a snug fit against the floor and support structures.
It’s important to take your time and pay close attention to the accuracy of your measurements and cuts. Mistakes in cutting the stringers may compromise the stability of the entire staircase. If you’re unsure about cutting the stringers yourself, you can consider purchasing pre-cut stringers or consult with a professional for assistance. By ensuring the stringers are cut correctly, you’re on your way to building a secure and functional staircase.
When building stairs to the attic, make sure to measure the height and width of the space accurately to ensure the stairs fit properly. Use a sturdy and durable material for the stairs to ensure safety and longevity.
Read more: How To Add Stairs To Attic
Step 5: Install the Stringers
With the stringers cut and ready, it’s time to install them in place. The stringers will provide the structural support for your staircase. Follow these steps to install the stringers properly:
- Position the Stringers: Place the stringers in the desired location, ensuring they are aligned and level. Use a level to double-check their positioning.
- Secure the Stringers: Attach the stringers to the upper and lower levels using brackets, screws, or nails. Make sure to follow the manufacturer’s instructions and consider the specific requirements of your chosen materials.
- Check for Stability: After securing the stringers, give them a gentle shake to ensure they are secure and stable. If there is any wobbling or movement, reinforce the attachments and supports as necessary.
During the stringer installation process, it’s vital to ensure accurate alignment and secure attachment. This will guarantee the safety and durability of your staircase. If you’re unsure about the installation process, it’s always a good idea to seek advice from professionals or consult online resources for detailed instructions and tips specific to your staircase design. Once the stringers are securely in place, you can move on to the next step of the construction process.
Step 6: Attach Risers and Treads
Now that the stringers are securely installed, it’s time to add the risers and treads to complete the steps of your staircase. Here’s how to attach them:
- Align the Risers: Start at the bottom of the staircase and align the risers with the marked locations on the stringers. Use a level to ensure they are straight and level.
- Secure the Risers: Attach the risers to the stringers using screws or nails. Make sure to drive the fasteners securely into place, ensuring a solid connection between the risers and stringers.
- Add the Treads: Place the treads on top of the installed risers, making sure they are positioned securely. Use screws or nails to attach the treads to the stringers or run a bead of construction adhesive on the stringers to provide additional stability.
- Repeat the Process: Continue the process of attaching risers and treads, working your way up the staircase until all the steps are complete.
During this step, it’s important to ensure that the risers are aligned correctly and securely attached. The treads should also be level and firmly connected to the stringers to ensure the stability and safety of the staircase. Take your time and double-check your measurements and connections to avoid any potential issues. Once all the risers and treads are in place, your staircase will start to take shape, bringing you closer to a fully functional attic access point.
Step 7: Install Handrails
Handrails are an essential safety feature of any staircase. They provide support and stability while ascending or descending the stairs. Installing handrails is a crucial step in completing your attic staircase. Here’s how to do it:
- Determine Placement: Decide on the placement of the handrail, considering factors such as the height of the staircase and the comfort of the users.
- Mark the Placement: Use a pencil or chalk to mark the locations where the handrail brackets will be attached. Make sure to mark both the top and bottom of the stairs.
- Attach the Brackets: Using screws or nails, securely attach the handrail brackets to the marked locations. Make sure the brackets are level and provide a firm anchoring point for the handrail.
- Add the Handrail: Slide the handrail onto the brackets, ensuring a snug fit. Secure the handrail to the brackets using screws or other appropriate fasteners.
- Test for Stability: Give the handrail a gentle tug to ensure it is securely attached to the brackets and provides reliable support. Make any necessary adjustments or reinforcements if needed.
Installing handrails is an essential safety measure, especially when dealing with stairs leading to the attic. Handrails offer additional support and stability, giving users confidence while navigating the staircase. Ensure the handrail is securely attached and sturdy to provide optimal support for users of all ages and abilities. Once the handrails are securely in place, your staircase will not only be functional but also compliant with safety standards.
Step 8: Finishing Touches
With the main construction of your attic staircase complete, it’s time to focus on the finishing touches to make your staircase visually appealing and functional. Here are some final touches you can consider:
- Sanding and Painting: Sand down any rough edges and surfaces of the staircase components to create a smooth finish. Apply a coat of paint or stain to enhance the appearance and protect the wood or other materials.
- Non-Slip Surface: Consider adding a non-slip surface to the treads to improve safety and traction, especially if the attic staircase will be frequently used.
- Decorative Details: Add decorative elements such as balusters, newel posts, or trim to enhance the aesthetics of your staircase. Choose designs that match the style of your home.
- Lighting: Install lighting fixtures along the staircase to ensure visibility, especially in low-light areas. Consider options like wall sconces or recessed lighting.
- Carpet or Runner: If desired, you can add a carpet or runner to the stairs for both visual appeal and added comfort underfoot.
These finishing touches will not only add a polished look to your attic staircase but also improve the overall functionality and safety. Take the time to carefully consider each detail and select options that best suit your personal preferences and the design of your home. Remember to prioritize safety above all when making these final additions.
Read more: How Much To Install Attic Stairs
Conclusion
Congratulations! You have successfully completed the process of building stairs to your attic. By following the steps outlined in this article, you have created a functional and safe access point to your attic space. Building stairs to your attic not only provides convenient storage or living space but also adds value to your home. Remember, safety should always be a top priority when undertaking any construction project, so make sure to adhere to building codes and regulations in your area.
Throughout the process, accurate measurements, careful planning, and attention to detail were key. From measuring the space and gathering materials to cutting the stringers, attaching risers and treads, installing handrails, and adding the finishing touches, each step contributed to the final result. Take pride in your accomplishment and enjoy the accessibility and functionality that your new attic stairs provide.
If you have any doubts or concerns during the construction process, do not hesitate to consult with professionals or seek guidance from reputable sources. Proper planning and execution will not only ensure the safety of your staircase but also save you time and resources in the long run.
Remember, building stairs to your attic may seem like a daunting task, but with the right knowledge, tools, and careful execution, it can be a fulfilling and rewarding project. So go ahead and enjoy your newly built attic stairs and all the possibilities that they bring to your home.
Frequently Asked Questions about How To Build Stairs To Attic
Was this page helpful?
At Storables.com, we guarantee accurate and reliable information. Our content, validated by Expert Board Contributors, is crafted following stringent Editorial Policies. We're committed to providing you with well-researched, expert-backed insights for all your informational needs.


0 thoughts on “How To Build Stairs To Attic”