Articles
How To Make Bread In Kitchenaid Mixer
Modified: August 25, 2024
Learn how to make bread in a Kitchenaid mixer with our step-by-step articles. Enjoy homemade bread with the help of your Kitchenaid!
(Many of the links in this article redirect to a specific reviewed product. Your purchase of these products through affiliate links helps to generate commission for Storables.com, at no extra cost. Learn more)
Introduction
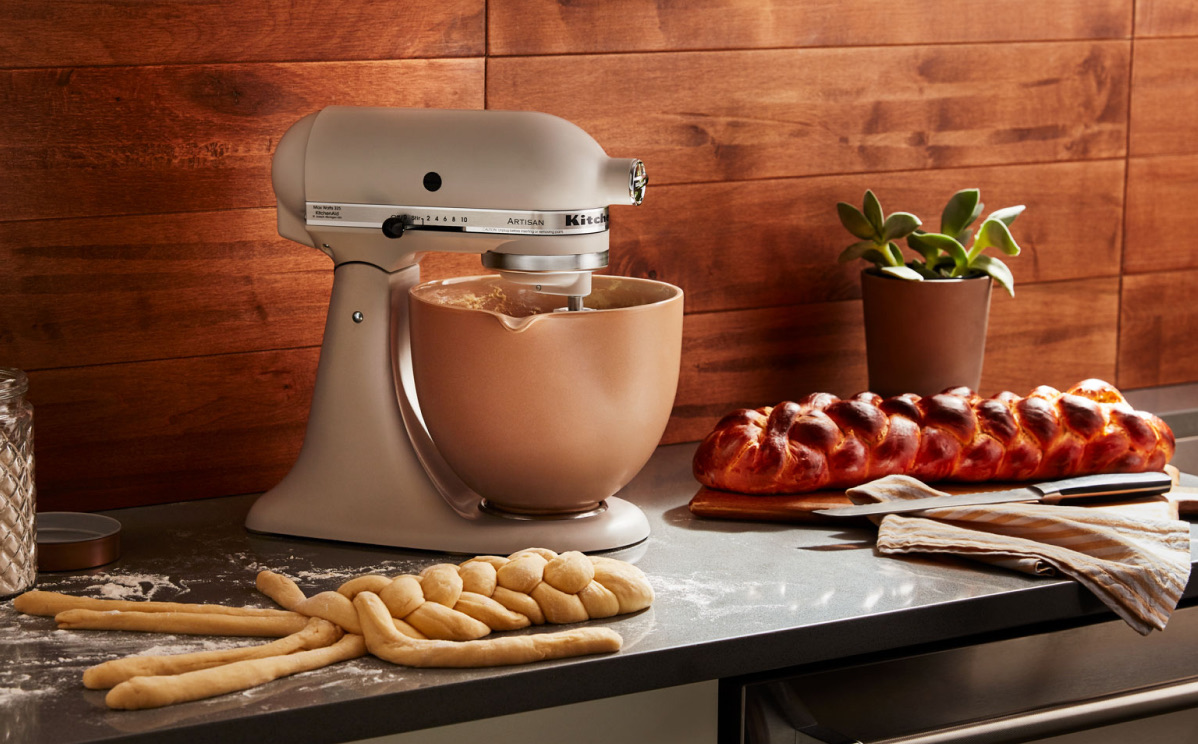
Welcome to the world of homemade bread! There’s something incredibly satisfying about baking your own loaf of bread from scratch. The process of mixing ingredients, kneading the dough, and watching it rise is a true labor of love. And with the help of a Kitchenaid mixer, you can make the whole experience even easier and more efficient.
Using a Kitchenaid mixer to make bread not only saves you time and effort, but it also ensures consistent and reliable results. The powerful motor and various attachments of the Kitchenaid mixer can handle the tough task of kneading the dough, allowing you to achieve the perfect texture and rise every time.
In this article, we will guide you through the steps of making bread using a Kitchenaid mixer. From gathering the necessary equipment and ingredients to the final cooling and storing process, we will cover it all. So, let’s roll up our sleeves and get started on baking some delicious homemade bread!
Key Takeaways:
- Using a Kitchenaid mixer to make bread not only saves time and effort, but also ensures consistent and reliable results. The powerful motor and various attachments handle tough tasks, making the bread-making process easier and more efficient.
- Properly cooling and storing freshly baked bread is essential for maintaining its texture and flavor. From allowing it to cool completely before slicing to avoiding plastic bags for storage, these steps ensure your homemade bread stays delicious for days to come.
Read more: Kitchenaid Mixer What To Make
Equipment Needed
Before you embark on your bread-making journey, it’s important to gather all the necessary equipment. Here’s a list of what you’ll need to make bread using a Kitchenaid mixer:
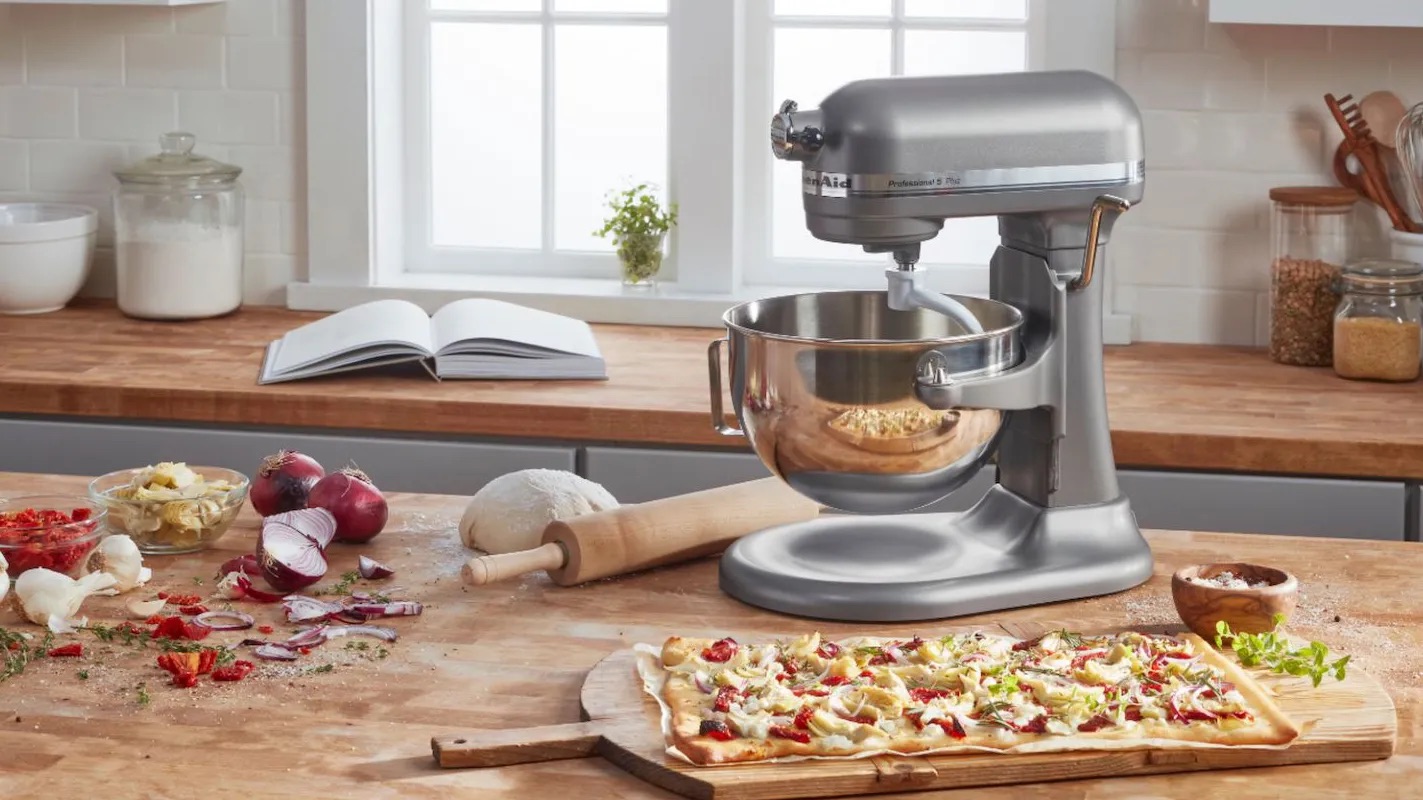
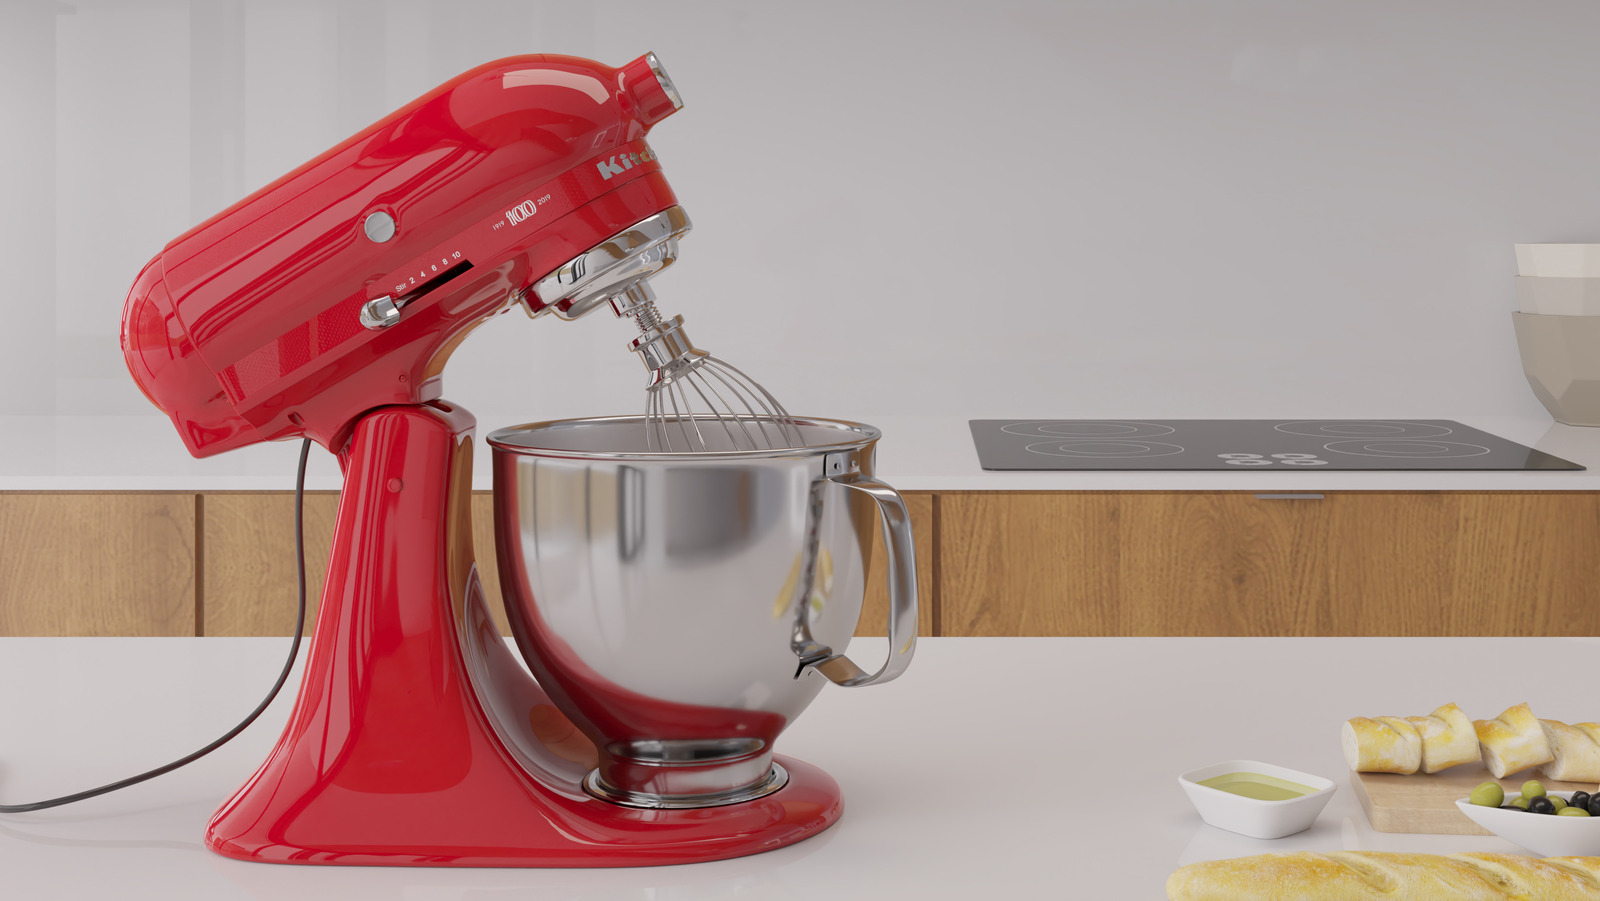
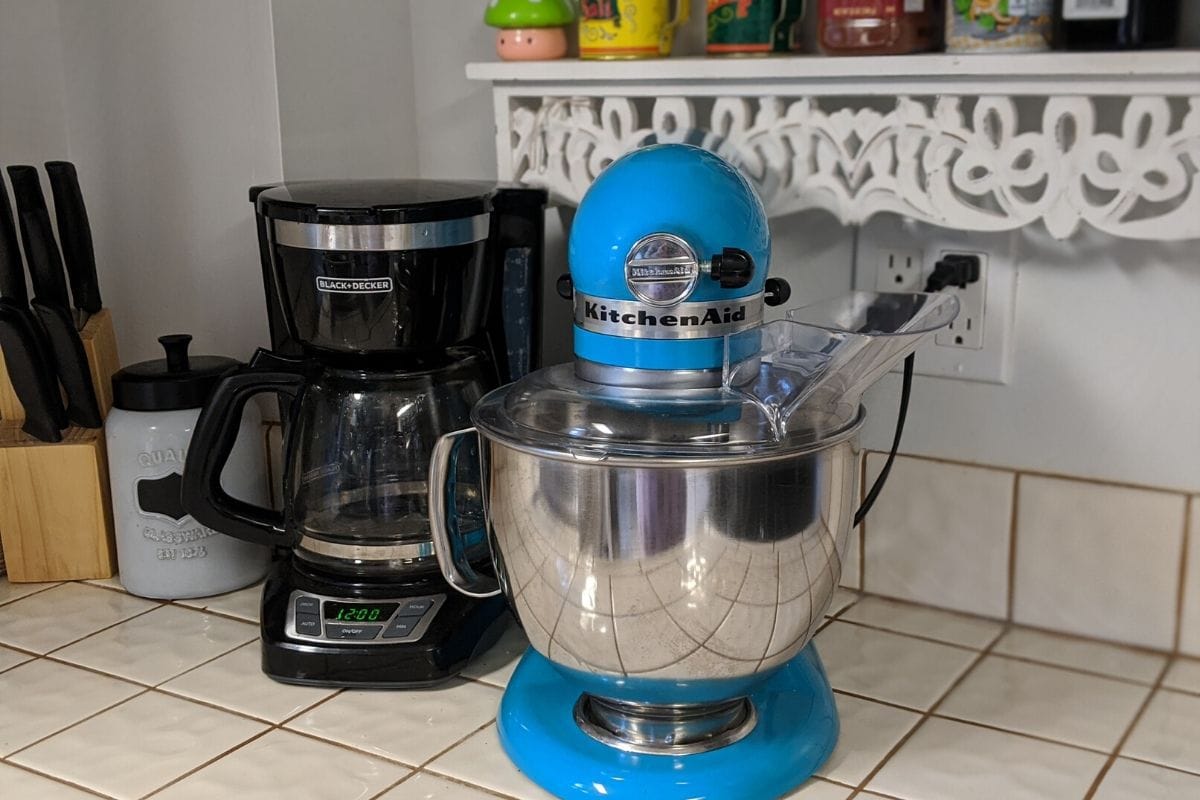
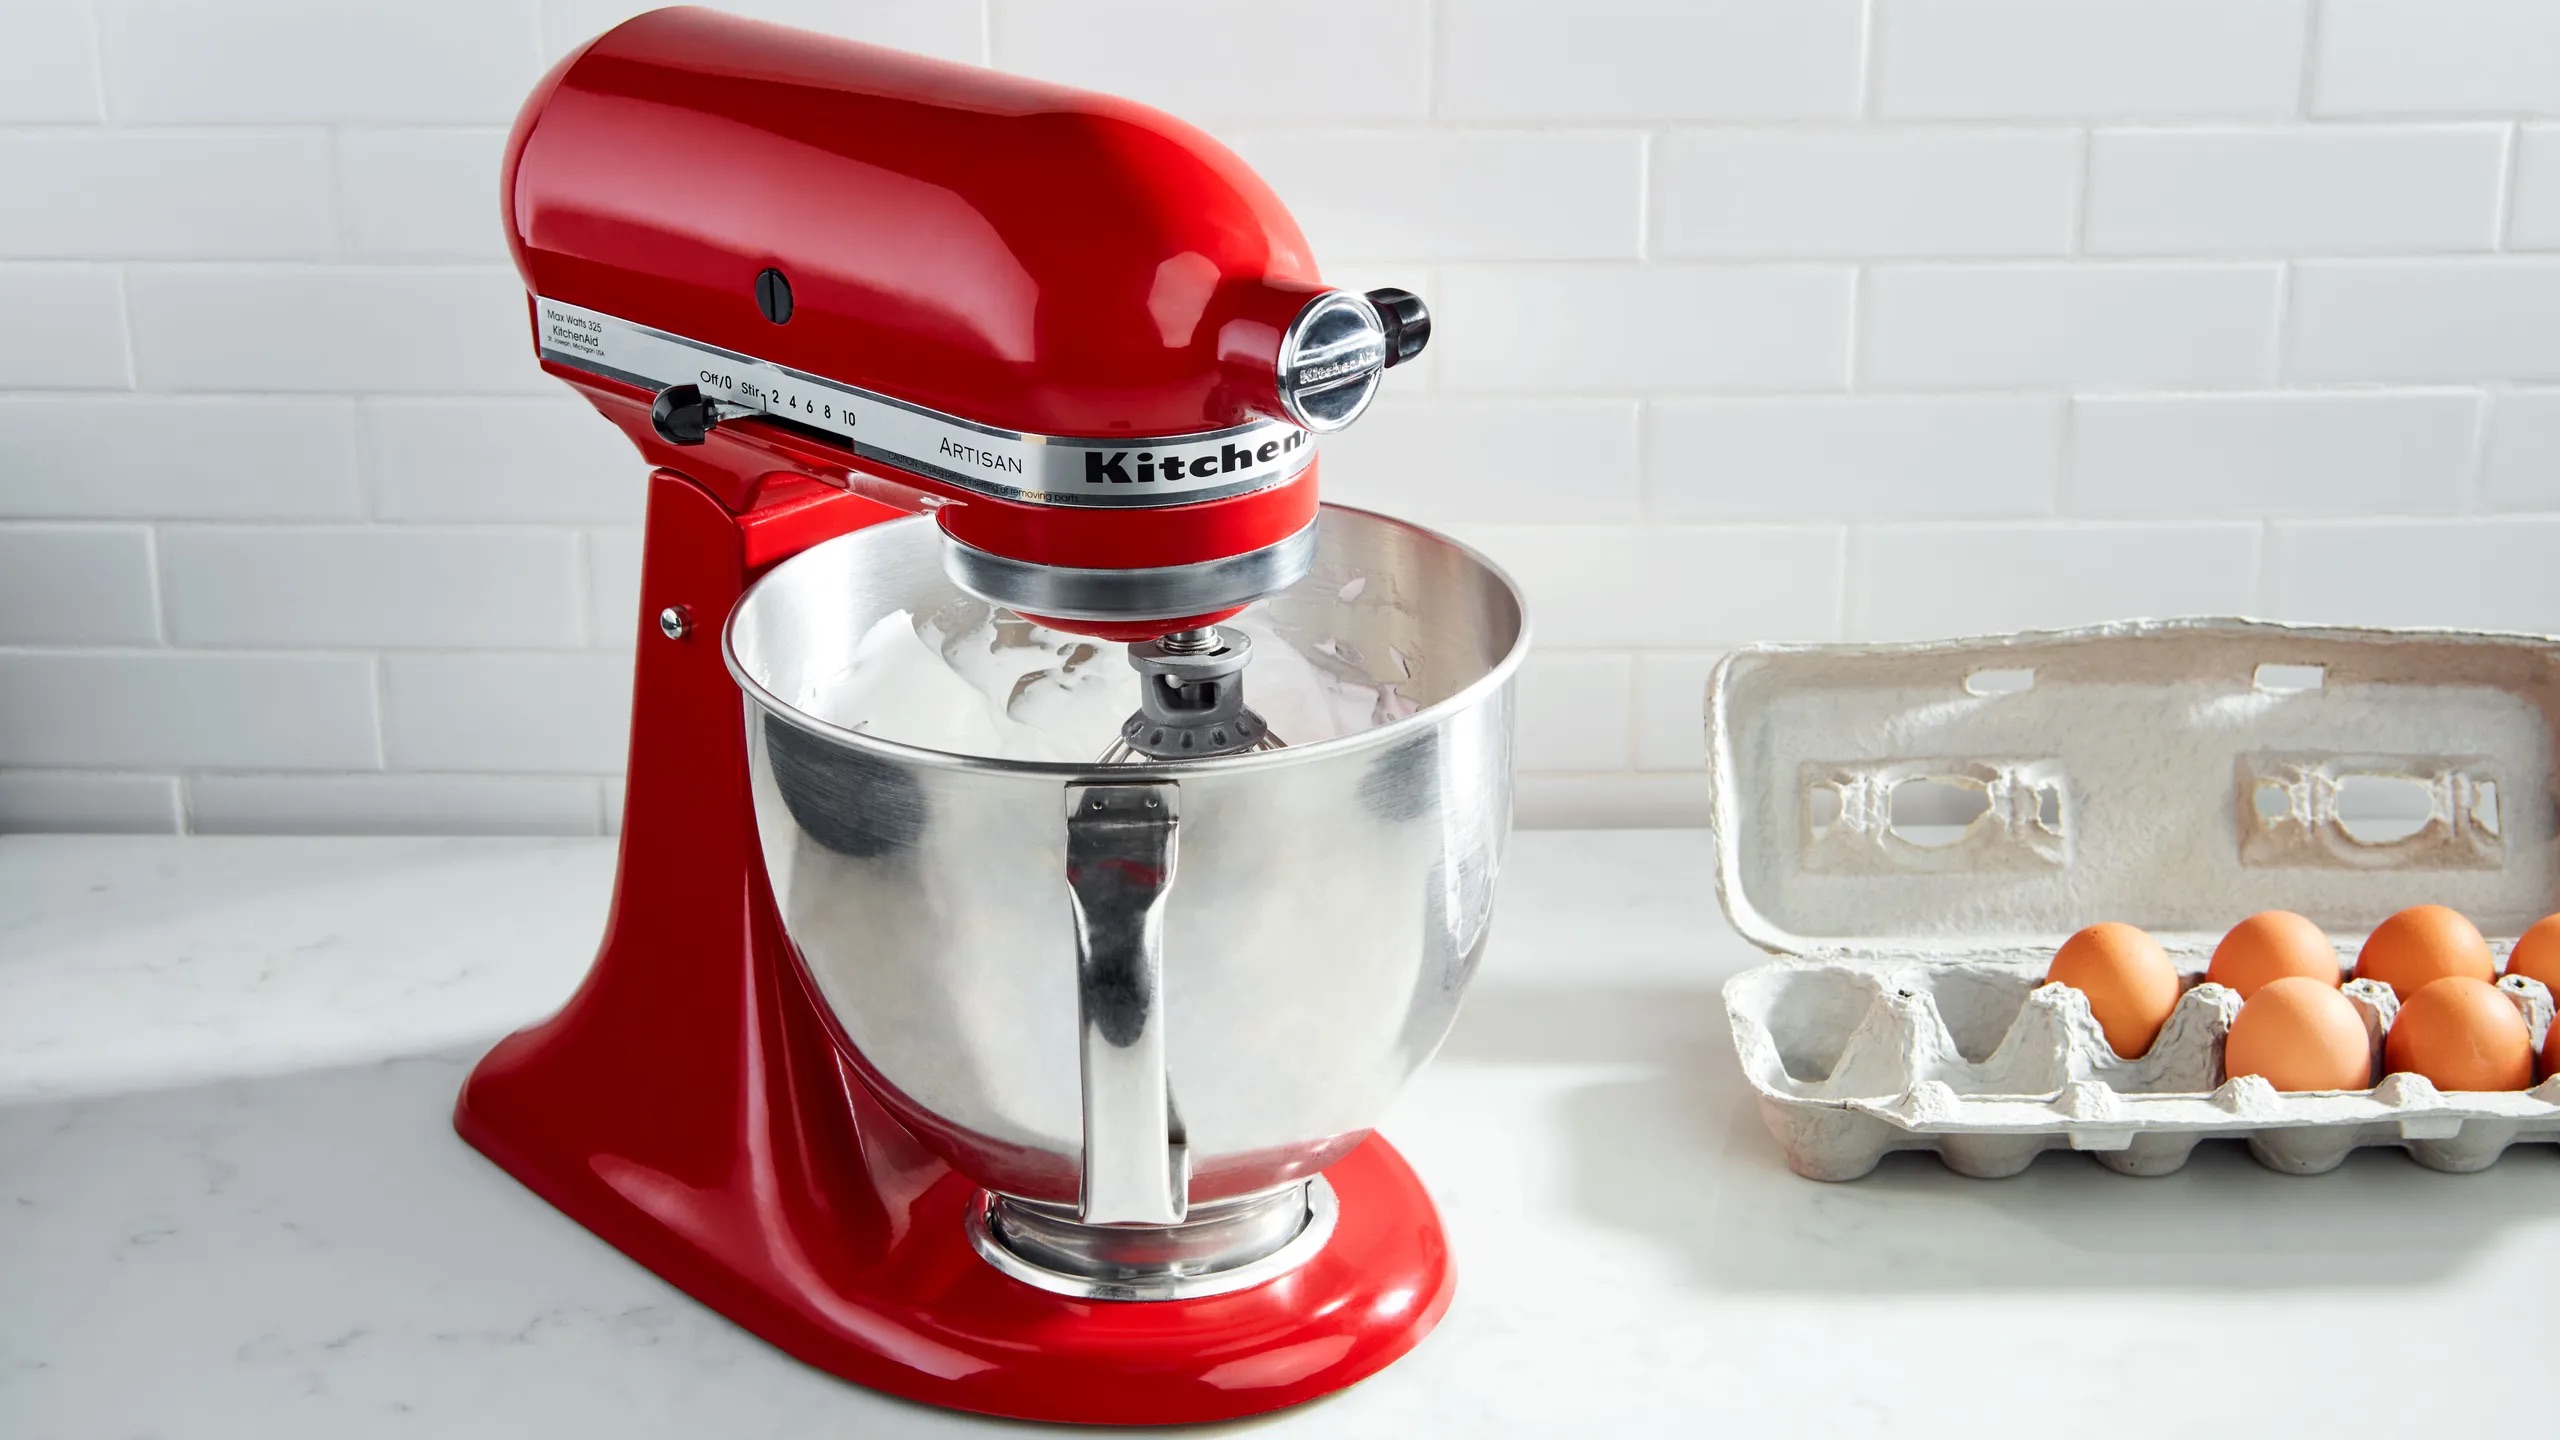
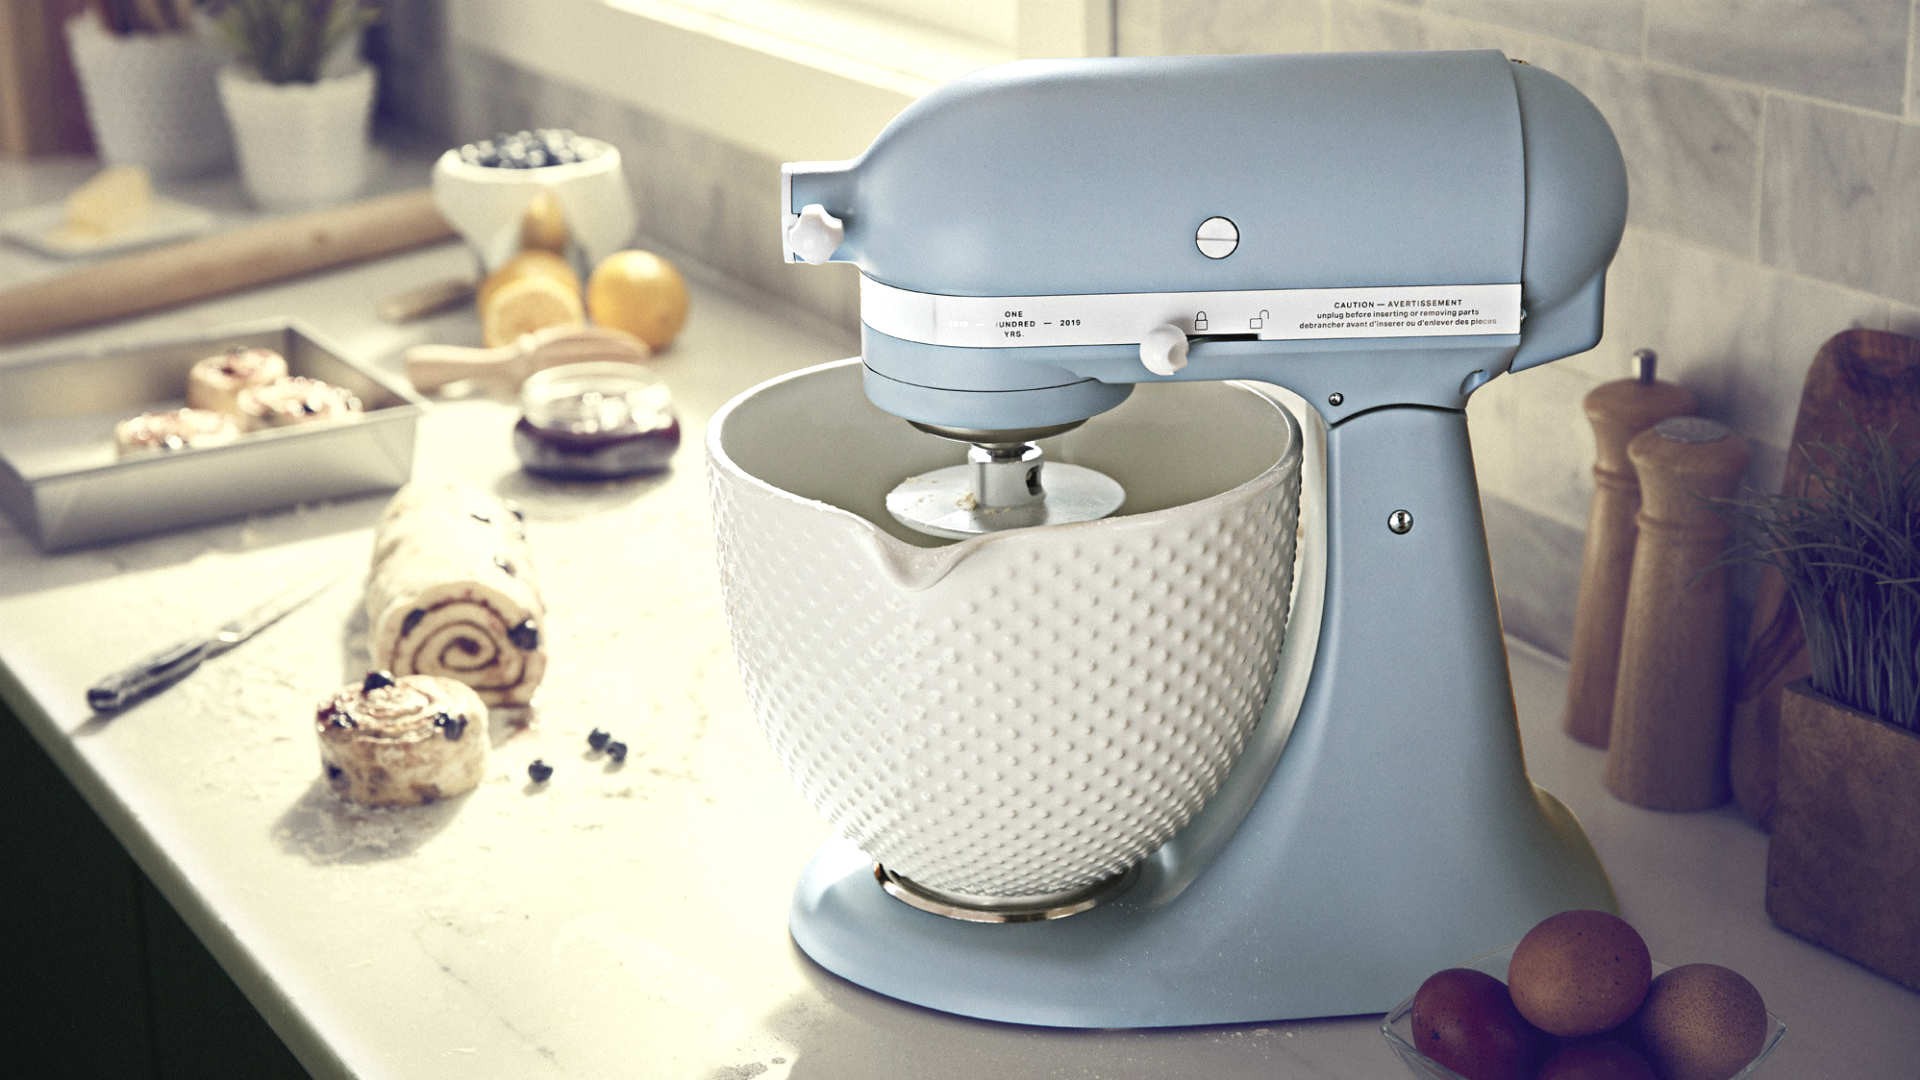
- Kitchenaid mixer: This sturdy and powerful stand mixer will be the heart of your bread-making operation. Make sure you have all the necessary attachments, including the dough hook.
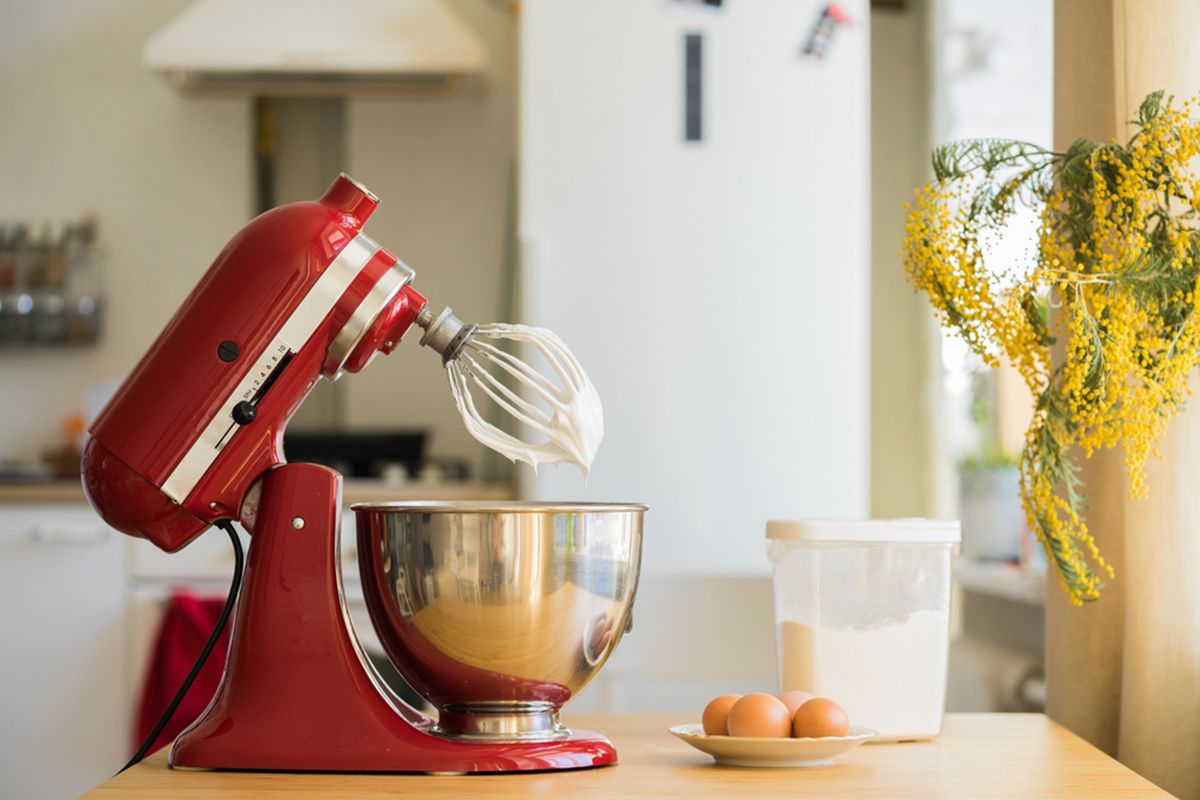
- Bowl: The Kitchenaid mixer typically comes with a stainless steel mixing bowl, but you can also use a glass or ceramic bowl.
- Measuring cups and spoons: Accurate measurements are crucial in bread-making, so make sure you have a set of measuring cups and spoons.
- Thermometer: A thermometer is essential for checking the temperature of the water, especially when using yeast.
- Baking pans or bread loaf pans: Depending on the type of bread you’re making, you’ll need either baking pans or bread loaf pans to shape and bake the dough.
- Parchment paper or silicone baking mats: These items will prevent the bread from sticking to the pans and make cleanup easier.
- Cooling rack: A cooling rack is necessary to allow your freshly baked bread to cool evenly and avoid it becoming soggy on the bottom.
- Sharp knife or bread lame: You’ll need a sharp knife or a bread lame to score the dough before baking. This creates a beautiful pattern on the crust and allows the bread to expand properly.
Once you have gathered all the necessary equipment, it’s time to move on to the ingredients needed to make your delicious homemade bread!
Ingredients
To make tasty and homemade bread using a Kitchenaid mixer, you’ll need a few staple ingredients. Here’s what you’ll need to prepare your dough:
- Flour: The main ingredient in bread-making is flour. You can use all-purpose flour or bread flour for a chewier texture.
- Yeast: Yeast is what gives bread its rise. You can use active dry yeast or instant yeast, depending on the recipe.
- Water: Water is necessary to activate the yeast. Make sure the water is warm, but not too hot, to aid in the fermentation process.
- Salt: Salt enhances the flavor of the bread and helps to control the fermentation process of the yeast.
- Sugar or honey: A small amount of sugar or honey provides nourishment for the yeast and helps with the fermentation process.
- Oil or butter: Adding oil or butter to the dough helps to keep the bread moist and tender.
- Optional ingredients: Depending on the type of bread you’re making, you can also add various optional ingredients such as herbs, spices, cheese, nuts, or dried fruits to enhance the flavor of your bread.
Once you have gathered all these ingredients, you’re ready to move on to the next steps of mixing and kneading the dough using your Kitchenaid mixer.
Mixing the Dough
Now that you have all your ingredients ready, it’s time to mix the dough using your Kitchenaid mixer. Follow these steps:
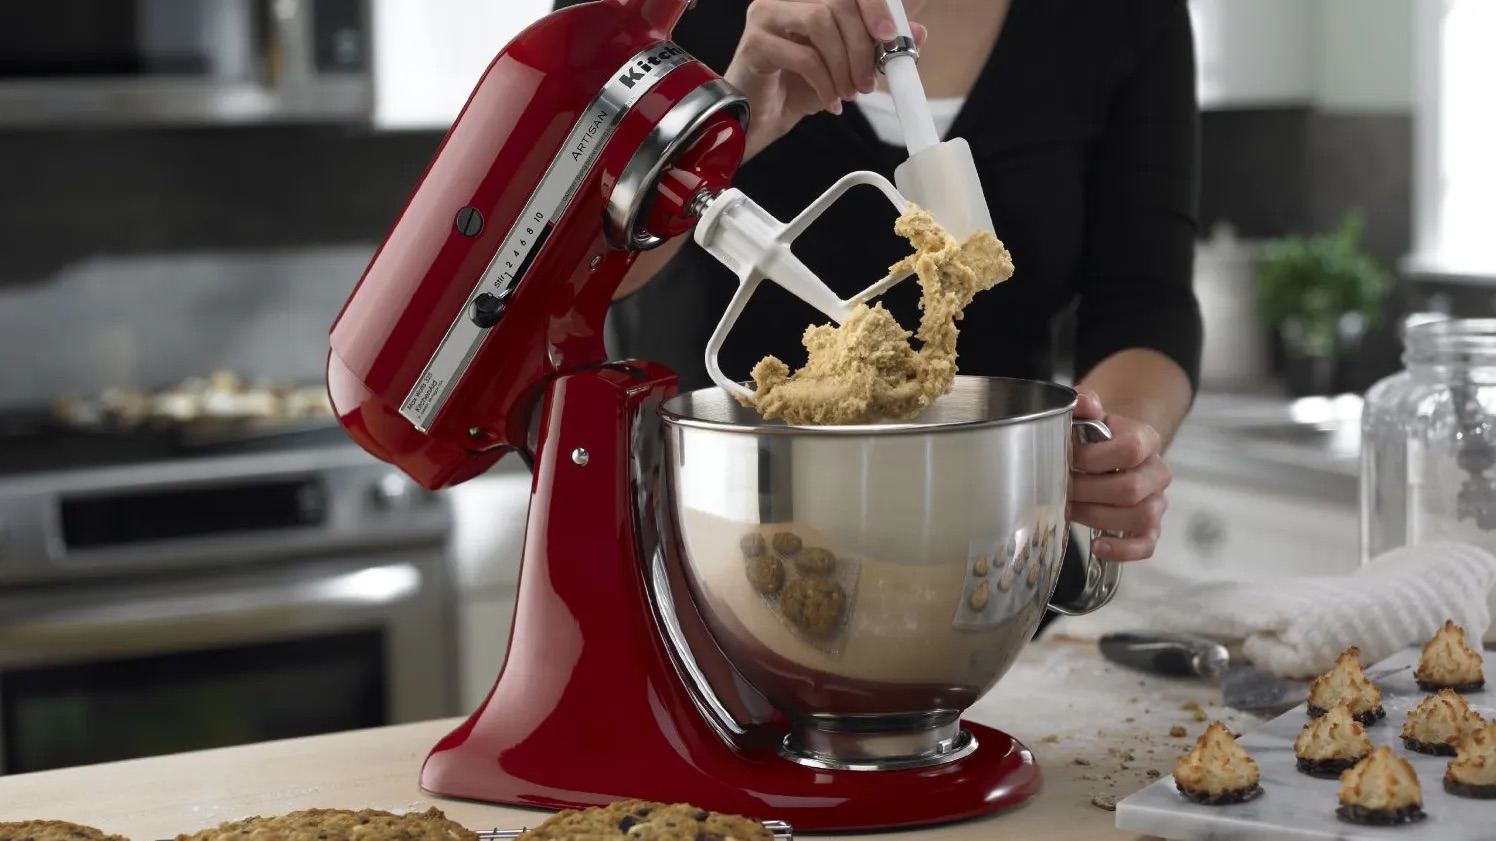
- Attach the dough hook to your Kitchenaid mixer.
- In the mixing bowl, combine the flour, yeast, salt, and sugar or honey. Give it a quick stir to evenly distribute the dry ingredients.
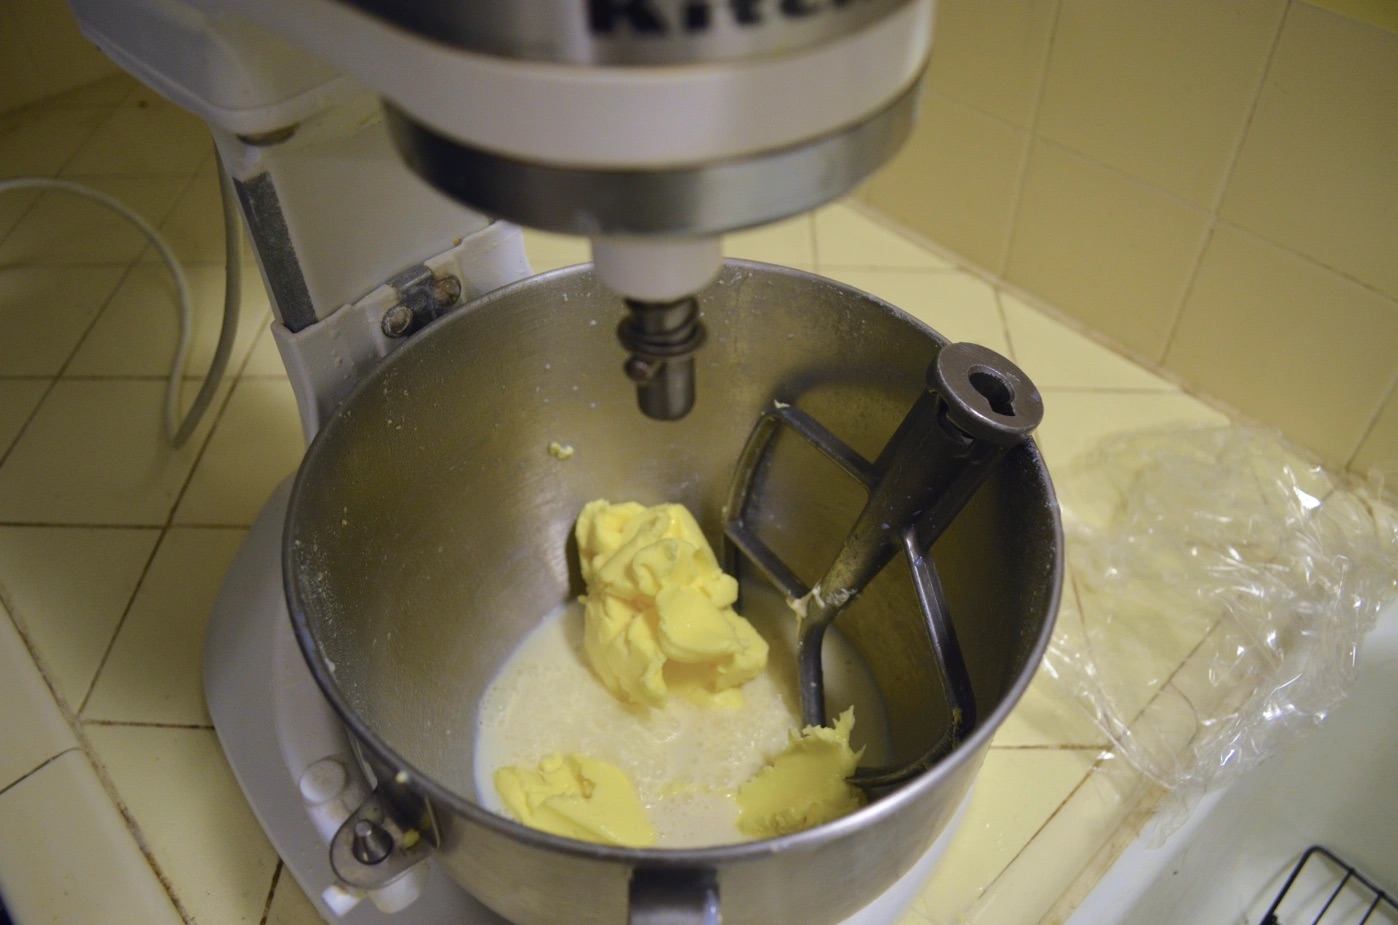
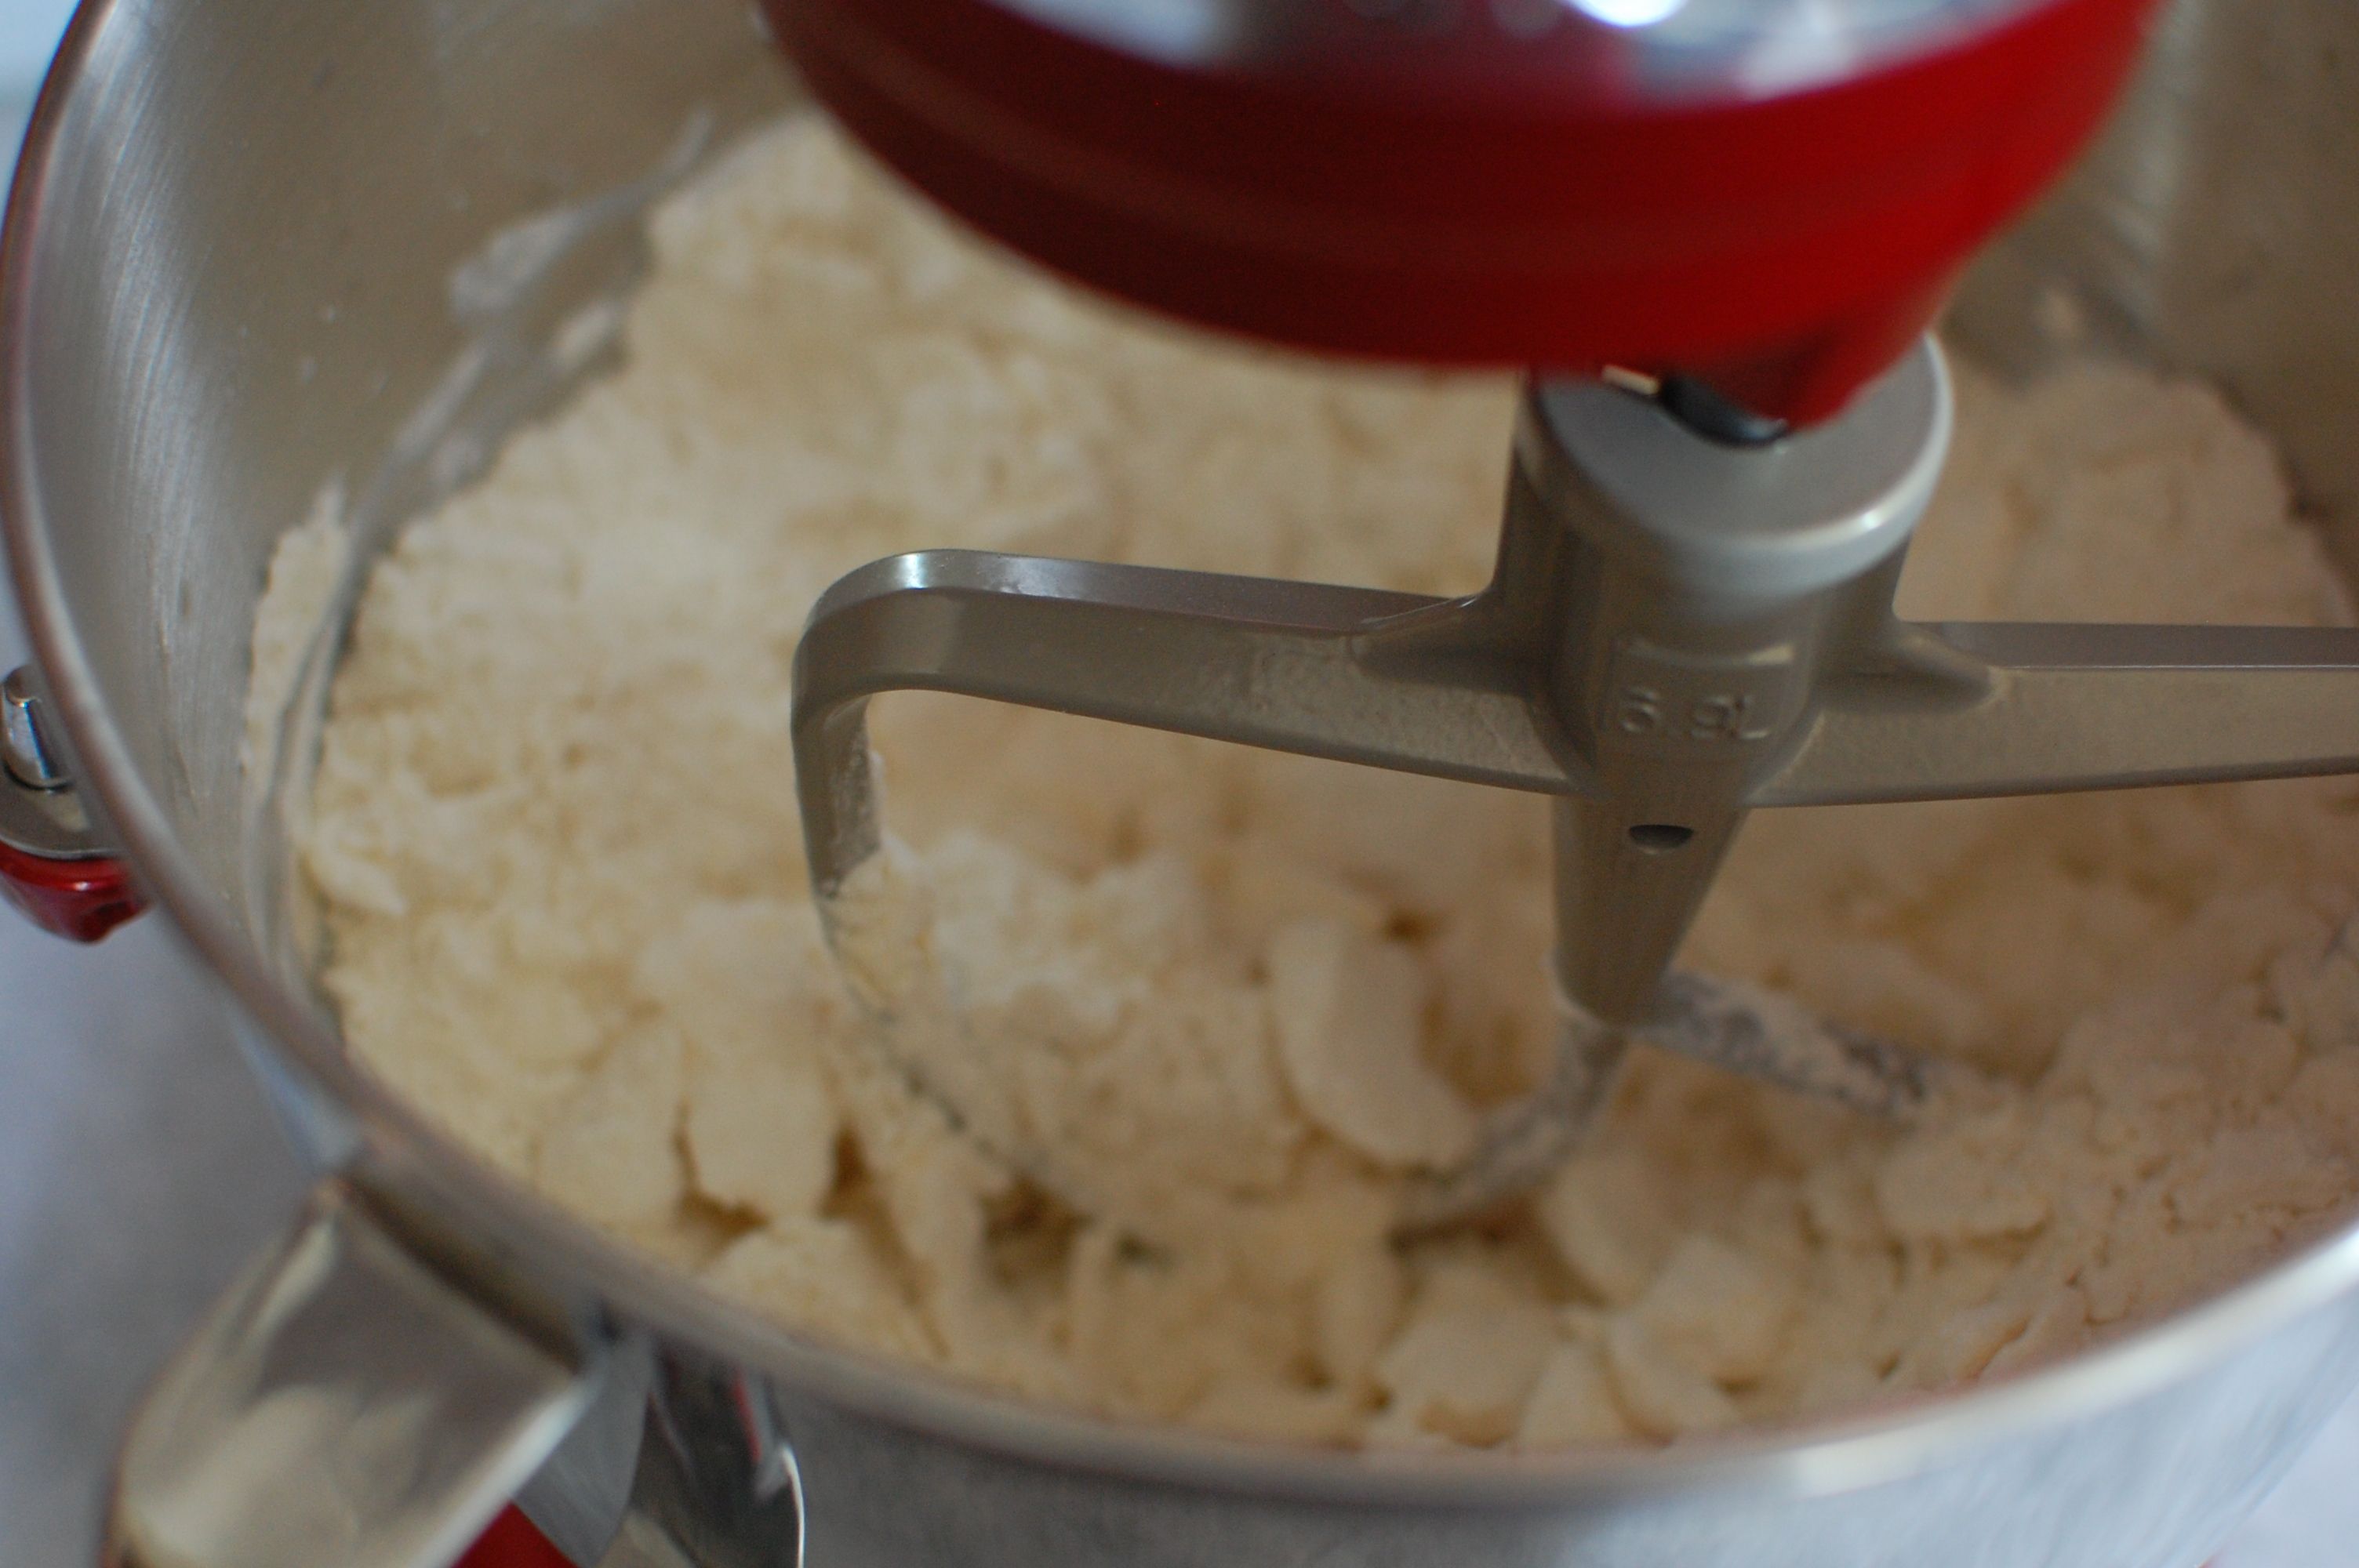
- Start the mixer at low speed to gradually incorporate the dry ingredients. Once they are combined, slowly add in the warm water and oil or butter.
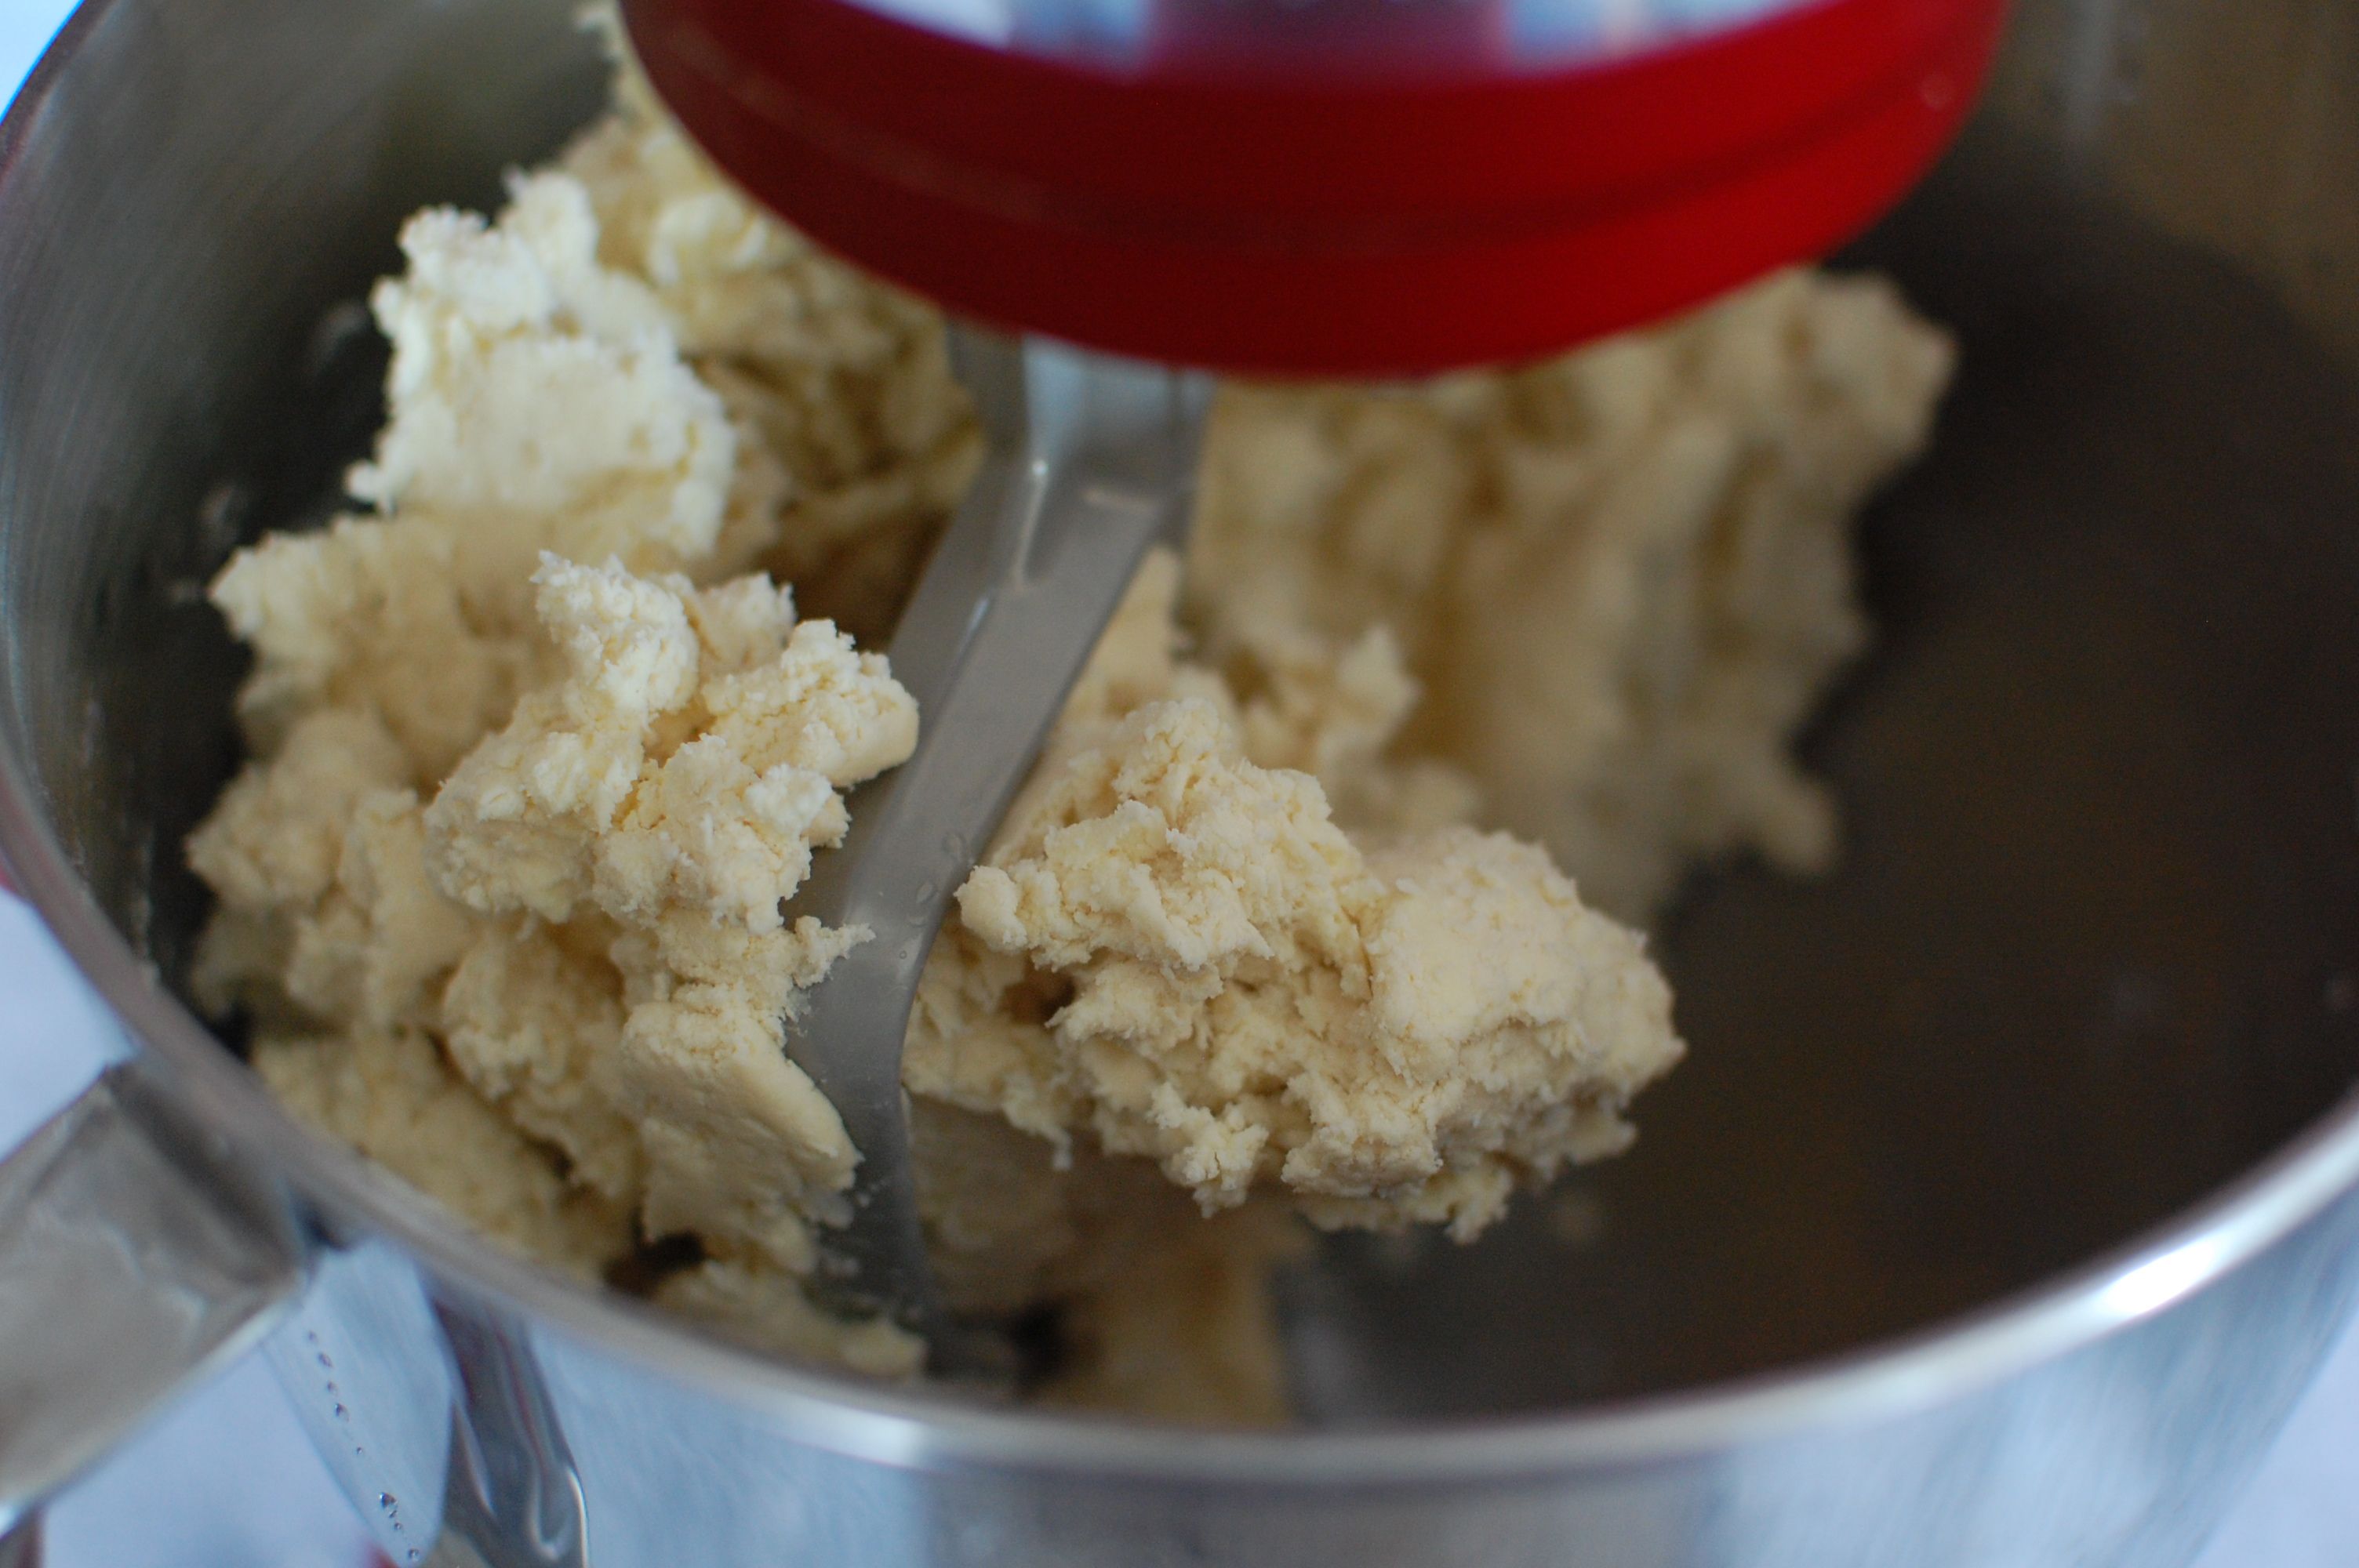
- Increase the speed to medium and let the mixer knead the dough for around 5-7 minutes. The dough should come together into a smooth and elastic ball and pull away from the sides of the bowl.
- If the dough seems too sticky, you can add a little more flour, one tablespoon at a time. If it’s too dry, you can add more water, also one tablespoon at a time.
- Once the dough has been mixed and is the right consistency, remove it from the mixer and transfer it to a clean, lightly floured surface.
- Knead the dough by hand for a few minutes to further develop the gluten. This step helps to ensure a good rise and structure for your bread.
- Form the dough into a smooth ball and place it back into the mixing bowl. Cover the bowl with a clean kitchen towel or plastic wrap.
Now that you have successfully mixed the dough, it’s time to move on to the next step: kneading.
Kneading the Dough
Kneading is a crucial step in bread-making as it helps to develop the gluten in the dough, giving it structure and elasticity. Here’s how to knead the dough using your Kitchenaid mixer:
- Place the mixing bowl with the dough back onto the Kitchenaid mixer.
- Attach the dough hook and set the mixer to medium-low speed.
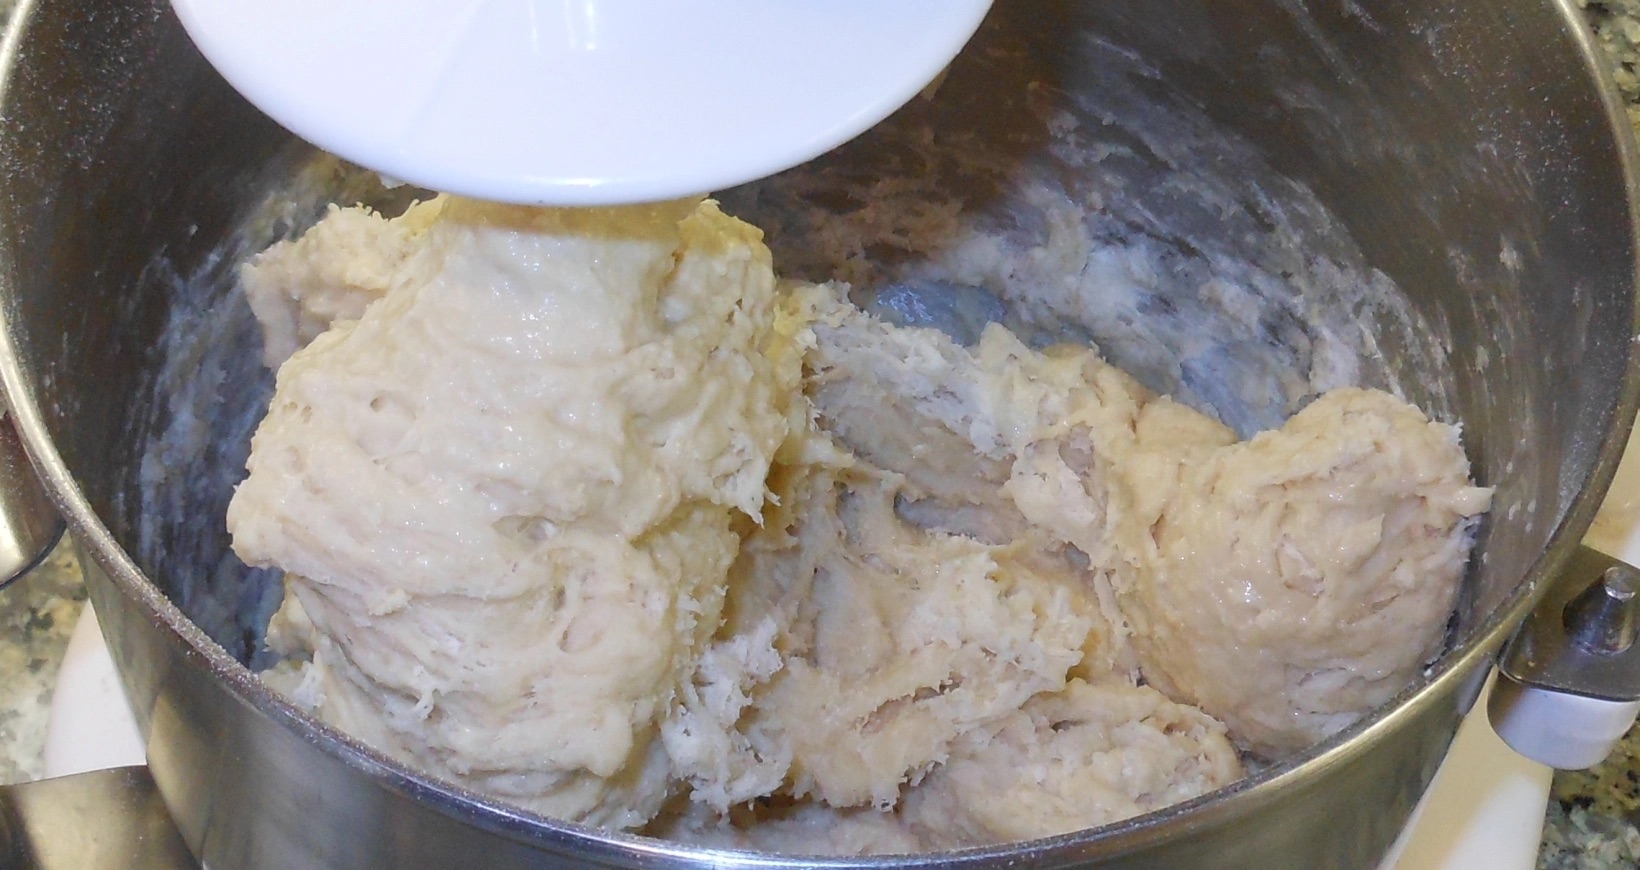
- Let the mixer knead the dough for about 8-10 minutes. You should see the dough become more elastic and stretchy as the gluten develops.
- If the dough seems too sticky or too dry, adjust by adding a little flour or water, respectively.
- You can also knead the dough by hand on a lightly floured surface if you prefer a more hands-on approach.
- Knead the dough by folding it in half, pushing it away with the heel of your hand, and then rotating it a quarter turn. Repeat this process until the dough is smooth and elastic.
- Once the dough is well-kneaded, shape it into a smooth ball and place it back into the mixing bowl.
- Cover the bowl with a clean kitchen towel or plastic wrap and let the dough rise until it has doubled in size. This process is called proofing, and it usually takes about 1-2 hours, depending on the temperature and humidity of your kitchen.
Congratulations! You have successfully kneaded the dough using your Kitchenaid mixer. Now, it’s time to move on to the next step: proofing the dough.
When making bread in a Kitchenaid mixer, use the dough hook attachment and mix on low speed to avoid overworking the dough, which can result in a tough texture.
Proofing the Dough
Proofing is an important step in bread-making that allows the yeast to ferment and the dough to rise. To properly proof the dough using your Kitchenaid mixer, follow these steps:
- Leave the dough in the mixing bowl or transfer it to a separate bowl greased with oil.
- Cover the bowl with a clean kitchen towel or plastic wrap to create a warm and humid environment for the dough.
- Place the bowl in a draft-free area of your kitchen, such as inside an oven with the light turned on or on a countertop away from any cold drafts.
- Let the dough rise until it has doubled in size. This process usually takes around 1-2 hours, but it can vary depending on the temperature and humidity of your kitchen.
- During the proofing process, avoid disturbing or poking the dough, as this can deflate it and hinder the rise.
- To check if the dough is properly proofed, gently press your finger into the dough. If the indentation remains and doesn’t spring back, it is ready to move on to the next step.
Proofing is an essential step as it allows the dough to develop its flavors and textures. Once your dough has doubled in size, it’s time to move on to the next step: shaping the bread.
Shaping the Bread
Shaping the bread is the step where you give your dough its final form before baking. Here’s how to shape your bread after it has properly proofed:
- Gently transfer the proofed dough onto a clean, lightly floured surface.
- Punch down the dough to release any air bubbles that may have formed during the proofing process.
- Divide the dough if you are making multiple loaves or rolls.
- To shape a loaf of bread, flatten the dough gently and then fold it in thirds, like folding a letter. Starting from one end, tightly roll the dough into a log shape.
- For bread rolls, divide the dough into smaller portions and gently shape each portion into a ball by tucking the edges underneath.
- For specialty breads, such as braided or twisted loaves, follow the specific shaping instructions for the recipe you are using.
- Transfer the shaped dough onto a parchment paper-lined baking sheet or into greased bread loaf pans.
- Cover the shaped dough with a kitchen towel or plastic wrap and let it proof for the second time, also known as the final rise. This usually takes about 30 minutes to 1 hour.
Shaping the bread not only gives it an appealing appearance but also helps to create a better structure and texture. Once your bread has completed the final rise, it’s time to move on to the exciting part: baking!
Baking the Bread
Now that your bread has been shaped and undergone the final rise, it’s time to bake it to perfection. Follow these steps to ensure a successful baking process:
- Preheat your oven to the recommended temperature for your bread recipe. Typically, bread is baked at a high temperature, around 425°F (218°C), to get a nice crust and proper inside texture.
- If using bread loaf pans, place them on a baking sheet to prevent the bottoms from getting too dark during baking. If baking free-form loaves or rolls, you can place them directly on the baking sheet.
- If desired, you can score the top of the bread with a sharp knife or bread lame. This allows the bread to expand properly while baking and gives it a beautiful pattern on the crust.
- Place the baking sheet with the bread into the preheated oven and bake for the time indicated in your recipe. The baking time will vary depending on the size and type of bread you’re making.
- Halfway through the baking process, you can rotate the baking sheet to ensure even browning.
- The bread is done when it has a golden brown crust and sounds hollow when tapped on the bottom. You can also use a thermometer to check the internal temperature of the bread, which should be around 190-200°F (88-93°C).
- Once fully baked, remove the bread from the oven and transfer it to a cooling rack. This allows the bread to cool evenly and prevents the bottom from becoming soggy.
Enjoy the aroma that fills your kitchen as your freshly baked bread is cooling, but resist the temptation to slice into it right away. It’s important to allow the bread to cool completely before slicing to ensure the best texture.
Now that you have successfully baked your bread, it’s time to move on to the final step: cooling and storing.
Cooling and Storing
After all the hard work of mixing, kneading, shaping, and baking, it’s important to properly cool and store your freshly baked bread. Follow these steps to ensure your bread stays fresh and delicious:
- Once you remove the bread from the oven, transfer it to a cooling rack. This allows air to circulate around the bread and prevents condensation from forming, which can make the crust soggy.
- Allow the bread to cool completely before slicing. This usually takes about 1-2 hours, depending on the size of the loaf.
- Resist the temptation to slice into the warm bread, as it can cause the interior to become gummy and compact.
- Once the bread has cooled, you can slice it into desired thickness.
- It’s best to store your bread in a bread box or a paper bag to maintain its texture. Avoid using a plastic bag, as it can trap moisture and make the crust soft.
- For longer storage, you can freeze the bread. Make sure it is completely cooled before wrapping it tightly in plastic wrap or aluminum foil. The frozen bread can be thawed at room temperature or reheated in the oven for a few minutes.
- Freshly baked bread is best consumed within the first few days for optimal flavor and texture. After this time, it may become stale.
With these guidelines for cooling and storing your bread, you can enjoy the fruits of your labor for days to come. Now, sit back, relax, and savor the deliciousness of your homemade bread!
Frequently Asked Questions about How To Make Bread In Kitchenaid Mixer
Was this page helpful?
At Storables.com, we guarantee accurate and reliable information. Our content, validated by Expert Board Contributors, is crafted following stringent Editorial Policies. We're committed to providing you with well-researched, expert-backed insights for all your informational needs.


0 thoughts on “How To Make Bread In Kitchenaid Mixer”