Articles
How To Attach Insulation To Ceiling
Modified: October 31, 2024
Learn how to attach insulation to your ceiling with our informative articles. Get helpful tips and step-by-step instructions for a successful installation.
(Many of the links in this article redirect to a specific reviewed product. Your purchase of these products through affiliate links helps to generate commission for Storables.com, at no extra cost. Learn more)
Introduction
Attaching insulation to a ceiling is a crucial step towards creating a comfortable and energy-efficient living space. Whether you are insulating a home, office, or any other type of building, properly insulating the ceiling can help regulate the temperature, reduce energy costs, and enhance soundproofing.
In this comprehensive guide, we will walk you through the process of how to attach insulation to a ceiling. We will cover the materials needed, the steps to follow, and important safety precautions to take along the way.
Before we dive into the process, let’s briefly discuss the importance of ceiling insulation. A well-insulated ceiling acts as a barrier, preventing the transfer of heat between the living space and the attic or exterior. It helps to maintain a comfortable indoor temperature by reducing heat gain during hot weather and heat loss during cold weather.
Additionally, proper ceiling insulation can significantly reduce energy consumption and lower utility bills. By minimizing the need for heating and cooling systems to work harder, insulation not only saves money but also reduces the overall carbon footprint.
Furthermore, attaching insulation to the ceiling can improve soundproofing by reducing noise transmission between floors and rooms. This can be particularly beneficial in homes or commercial spaces where privacy and noise reduction are important considerations.
Now that we understand the importance of ceiling insulation, let’s move on to the materials needed for the insulation attachment process.
Key Takeaways:
- Properly attaching insulation to your ceiling is essential for regulating temperature, reducing energy costs, and enhancing soundproofing. Follow the steps outlined to create a comfortable and energy-efficient living or working space.
- Prioritize safety, choose the right insulation type, and seal any gaps or cracks to ensure a successful insulation attachment. Enjoy the benefits of improved energy efficiency, temperature regulation, and soundproofing in your well-insulated space.
Read more: How To Attach A Ceiling Light
Materials Needed
Before you begin attaching insulation to your ceiling, gather the following materials:
- Insulation material: Choose the appropriate type of insulation for your ceiling. Common options include fiberglass batts, mineral wool, cellulose, or foam boards. The specific material you choose will depend on factors such as the climate, desired R-value, and budget.
- Measuring tape: Use a measuring tape to determine the dimensions of the ceiling space accurately. This will help you cut the insulation to the correct size.
- Utility knife or insulation cutter: These tools are essential for cutting the insulation material to fit the ceiling dimensions accurately.
- Staple gun: A staple gun will be used to secure the insulation in place. Make sure it is in good working condition and loaded with the appropriate staples.
- Safety goggles and gloves: Protect your eyes and hands while handling insulation materials.
- Ladder or scaffolding: Depending on the height of the ceiling, you may need a ladder or scaffolding to access the installation area safely.
- Sealant: You will need a sealant to fill any gaps or cracks between the insulation panels or between the ceiling and walls. Choose a sealant appropriate for the insulation type and the material of your ceiling.
- Duct tape: This will be used to seal joints or seams between insulation panels, ensuring a tight and secure fit.
It is essential to gather all the necessary materials before starting the insulation installation process. This will help ensure a smooth and efficient workflow.
Step 1: Prepare the Ceiling
Before you can attach insulation to your ceiling, it is important to properly prepare the surface. Follow these steps:
- Clean the ceiling: Remove any debris, dust, or loose particles from the ceiling surface. Use a broom or vacuum cleaner to thoroughly clean the area. This will ensure better adhesion of the insulation material.
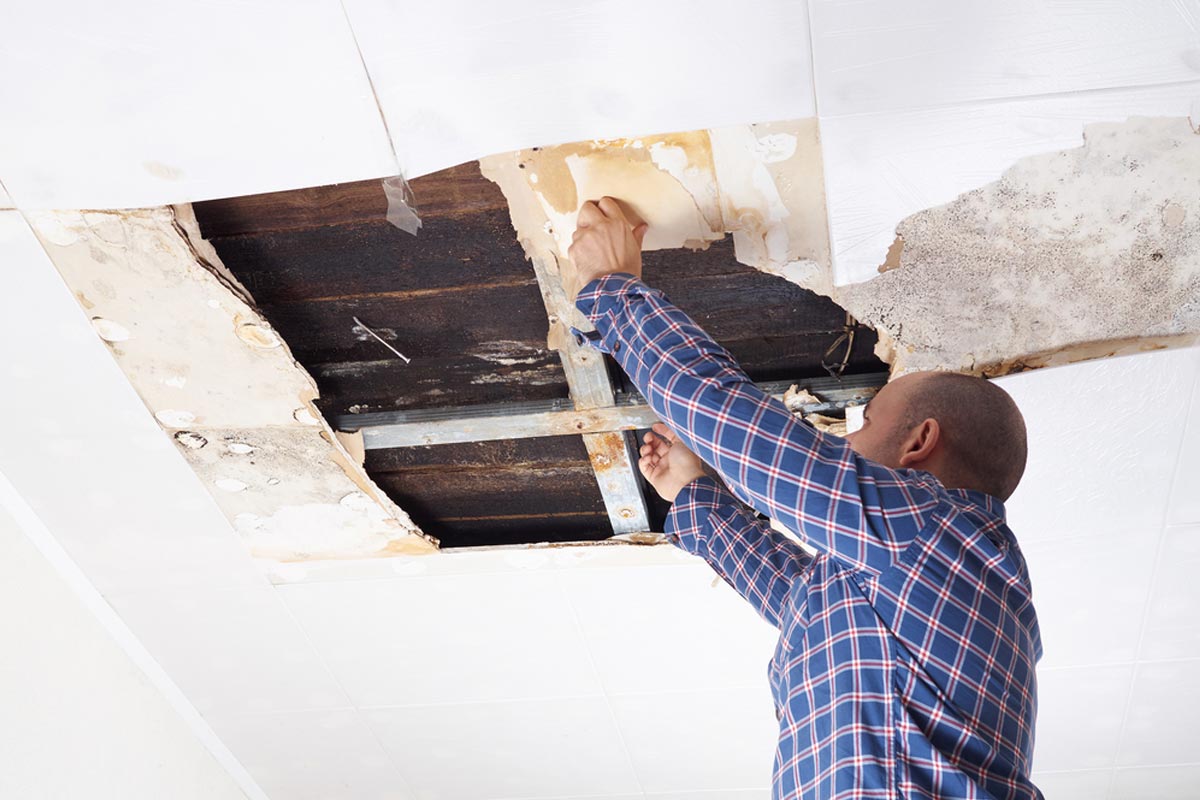
- Inspect for any damage: Check the ceiling for any signs of damage, such as cracks, water leaks, or mold. Repair any issues before proceeding with the insulation attachment. This will help maintain the integrity of the insulation and ensure optimal performance.
- Seal air leaks: Before installing insulation, it is important to seal any air leaks in the ceiling. Pay close attention to areas around light fixtures, vents, and electrical outlets. Use weatherstripping or caulk to fill any gaps or cracks where air can escape.
- Protect fixtures and wiring: If there are lighting fixtures or electrical wiring in the ceiling, ensure they are properly protected during the installation process. Use plastic sheeting or insulation baffles to cover these areas and prevent insulation from coming into direct contact with them.
- Create a clear workspace: Clear the area where you will be working to ensure a safe and clutter-free environment. Remove any furniture, decorations, or obstacles that may hinder the installation process.
By properly preparing the ceiling, you are setting the foundation for a successful insulation attachment. Taking the time to clean, inspect, and seal the ceiling will maximize the efficiency and effectiveness of the insulation installation.
Step 2: Choose the Insulation Type
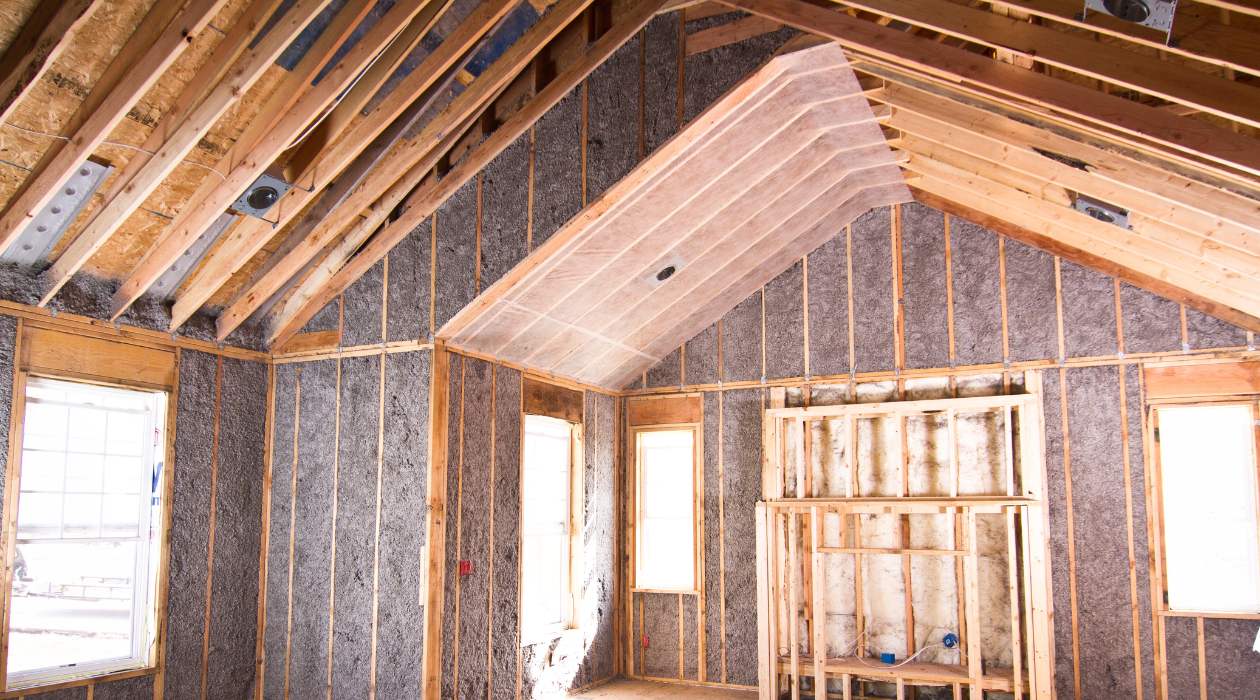
Choosing the right insulation type for your ceiling is crucial for optimal performance and energy efficiency. Here are some common options to consider:
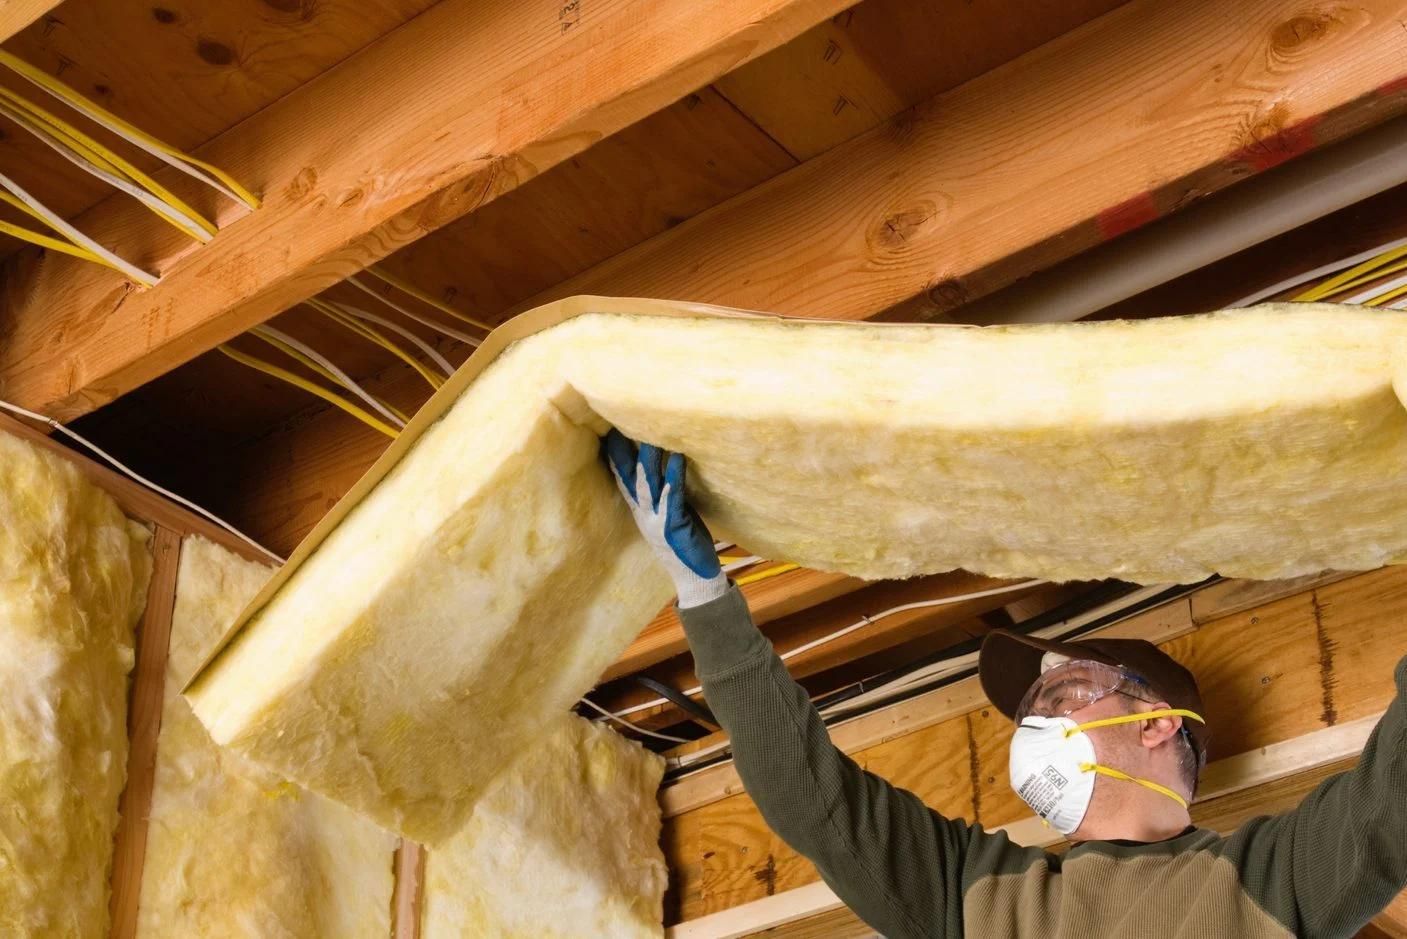
- Fiberglass batts: Fiberglass batts are one of the most commonly used insulation materials. They come in pre-cut panels and are relatively easy to install. Fiberglass batts provide good thermal insulation and are suitable for most ceiling applications.
- Mineral wool: Mineral wool insulation is made from rock or slag fibers. It offers excellent fire resistance and soundproofing capabilities. Mineral wool is a good choice for ceilings where fire safety and noise reduction are important factors.
- Cellulose: Cellulose insulation is made from recycled paper or plant fibers. It is a popular choice for its eco-friendly properties. Cellulose insulation can be blown into the ceiling cavity or installed as loose-fill. It provides good thermal and sound insulation.
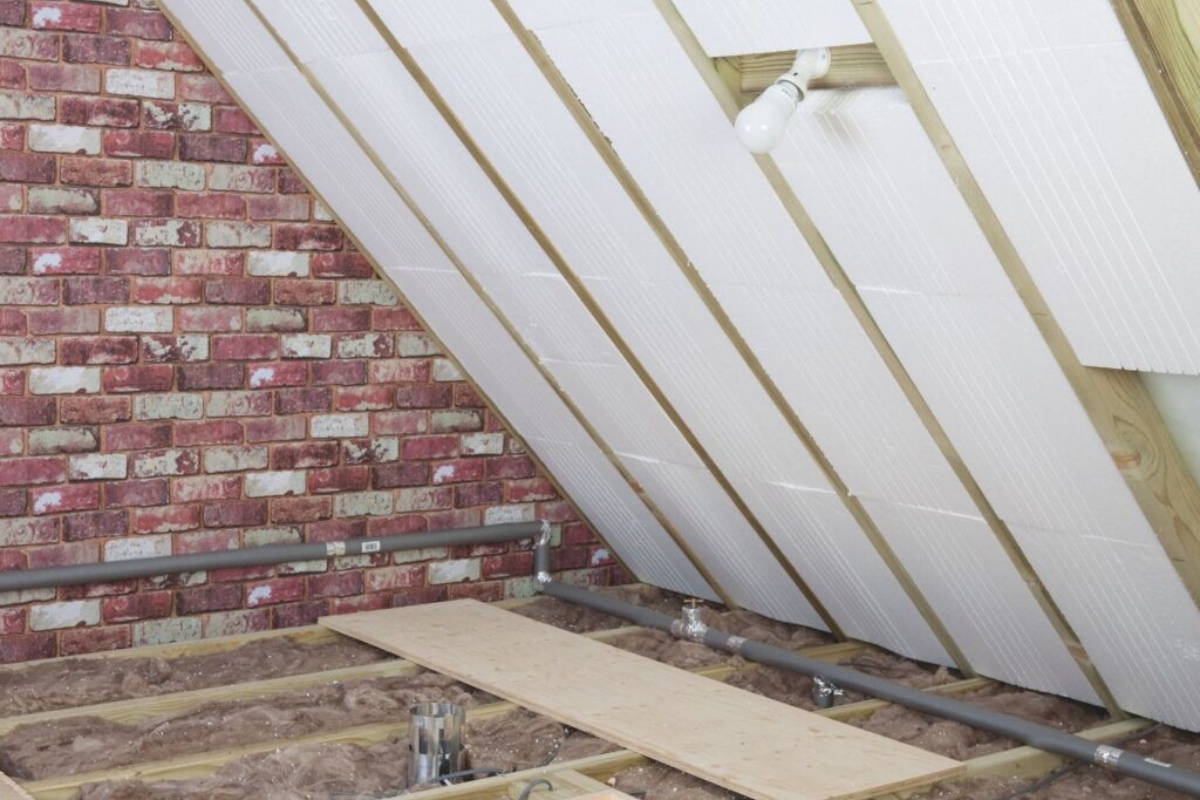
- Foam boards: Foam boards, such as expanded polystyrene (EPS) or extruded polystyrene (XPS), offer excellent thermal insulation properties. They are rigid and lightweight, making them easy to handle and install. Foam boards are a good choice for ceilings with limited cavity space.
When choosing the insulation type, consider factors such as the climate in your area, desired R-value, budget, and any specific requirements or regulations. It is also important to ensure that the insulation material is compatible with your ceiling structure and any applicable building codes.
Consult with a professional or insulation supplier to determine the most suitable insulation type for your specific needs. They can provide guidance based on the unique characteristics of your ceiling and help you make an informed decision.
Once you have selected the insulation type, move on to the next step to learn how to measure and cut the insulation material.
Step 3: Measure and Cut the Insulation
Properly measuring and cutting the insulation material is essential to ensure a precise fit and maximum coverage. Follow these steps:
- Measure the ceiling: Use a measuring tape to determine the dimensions of the ceiling area that needs to be insulated. Measure the length and width, taking into account any obstructions such as beams or vents. Record these measurements for reference.
- Transfer measurements to the insulation: Transfer the measurements onto the insulation material using a marker or pencil. Make sure to leave a small gap (about 1 inch) around the edges to allow for a snug fit.
- Cut the insulation: Using a sharp utility knife or insulation cutter, carefully cut the insulation along the marked lines. Take your time and make smooth, straight cuts. If you are using fiberglass batts, fold or bend them along the cut line to break them cleanly.
- Trim any excess: If you have any excess insulation, trim it off to ensure a neat and flush fit. Use a straight edge and a utility knife for precise trimming, ensuring that the insulation fits snugly into the ceiling cavity.
- Repeat for each section: If your ceiling requires multiple sections of insulation, repeat the measuring and cutting process for each section. Take care to accurately measure and cut each piece to ensure a seamless coverage.
When cutting the insulation, be cautious and wear appropriate protective gear, such as gloves and a mask, to prevent any irritation or exposure to fibers or particles.
Once you have measured and cut the insulation to the correct size, you are ready to move on to the next step: attaching the insulation to the ceiling.
Use adhesive or insulation hangers to attach insulation to the ceiling. Adhesive can be sprayed or rolled on, while hangers can be installed to hold the insulation in place.
Read more: How To Attach A Chandelier To The Ceiling
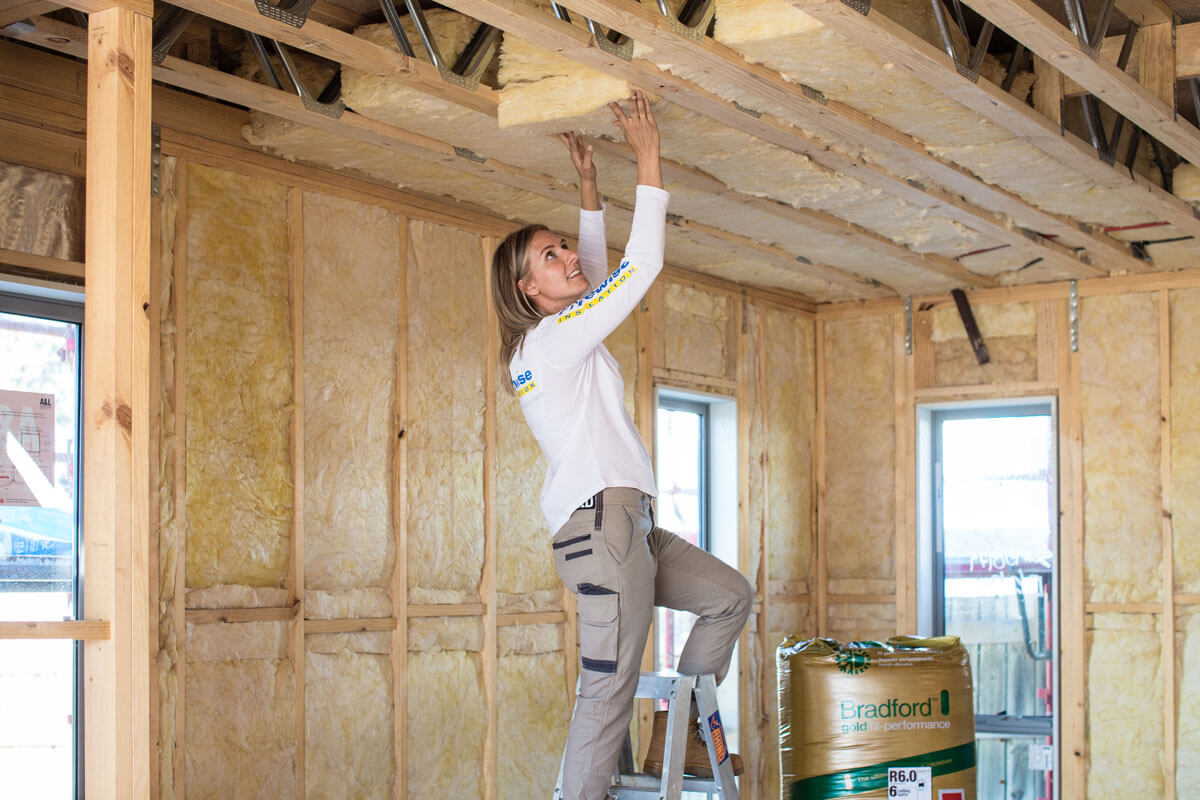
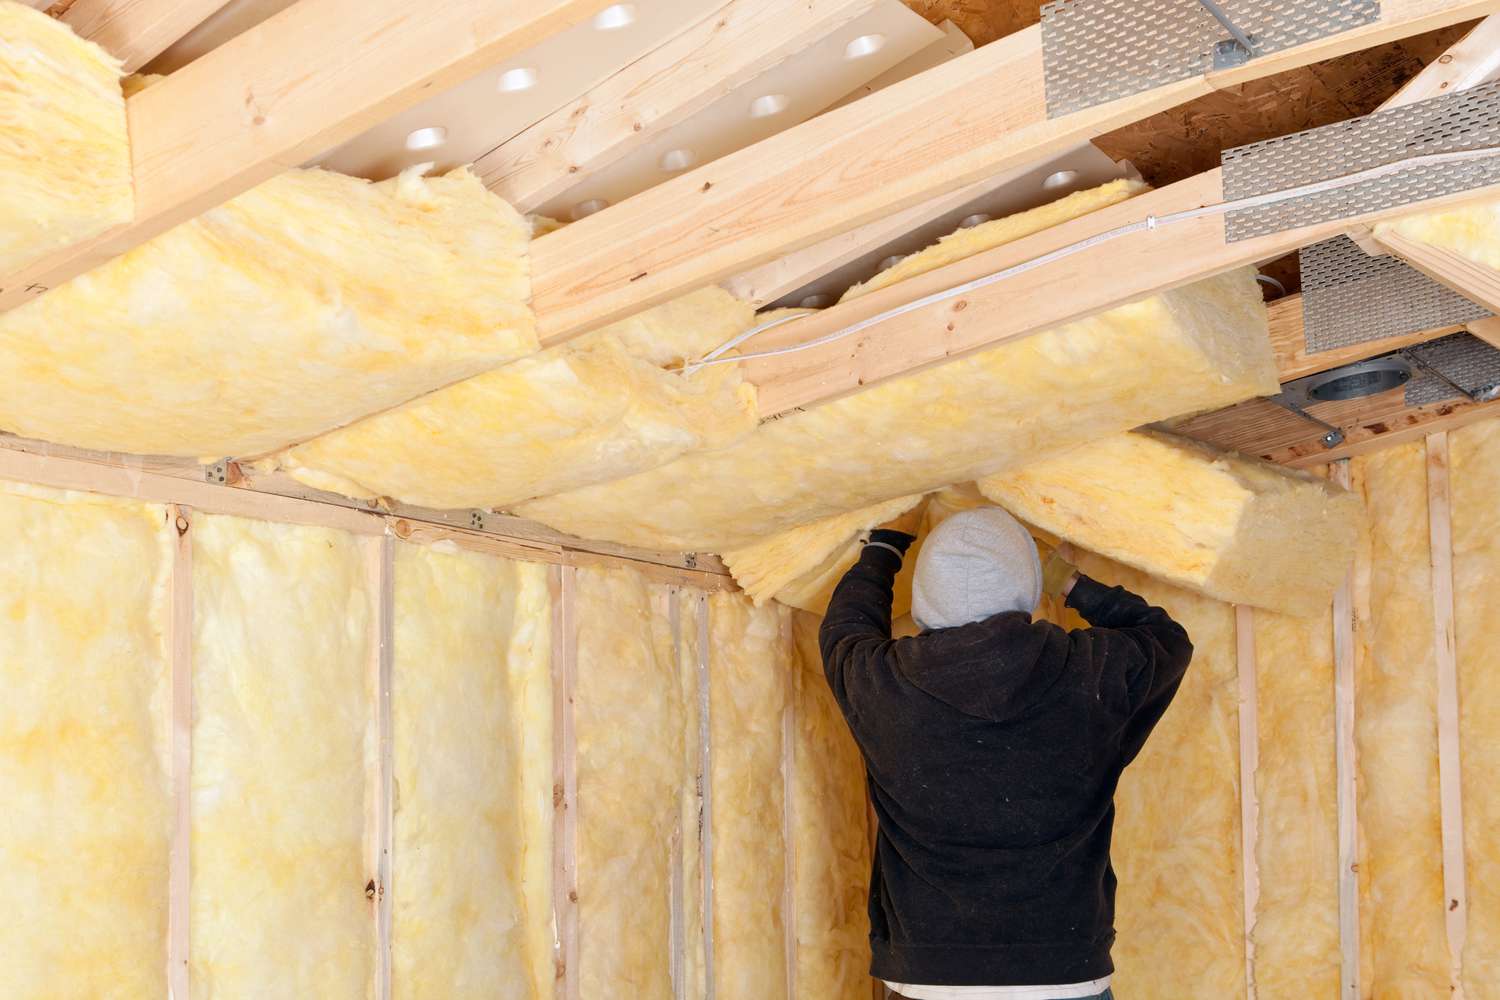
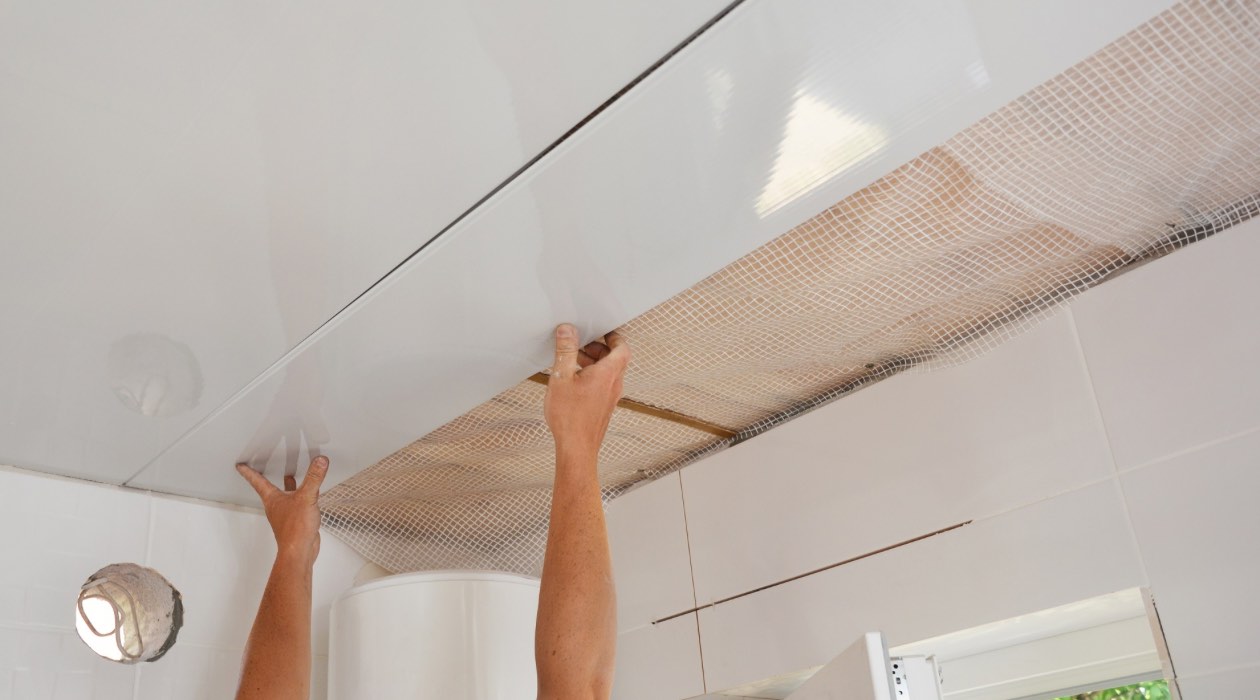
Step 4: Attach the Insulation to the Ceiling
Now that you have properly measured and cut the insulation, it’s time to attach it to the ceiling. Follow these steps:
- Start from one corner: Begin attaching the insulation at one corner of the ceiling. Position the cut piece against the ceiling, making sure it fits securely into the cavity without any gaps or overlaps.
- Use a staple gun: Take a staple gun loaded with appropriate staples and secure the insulation to the ceiling. Place the staples every 6 to 8 inches along the edges and in the center of the piece. This will help keep the insulation in place.
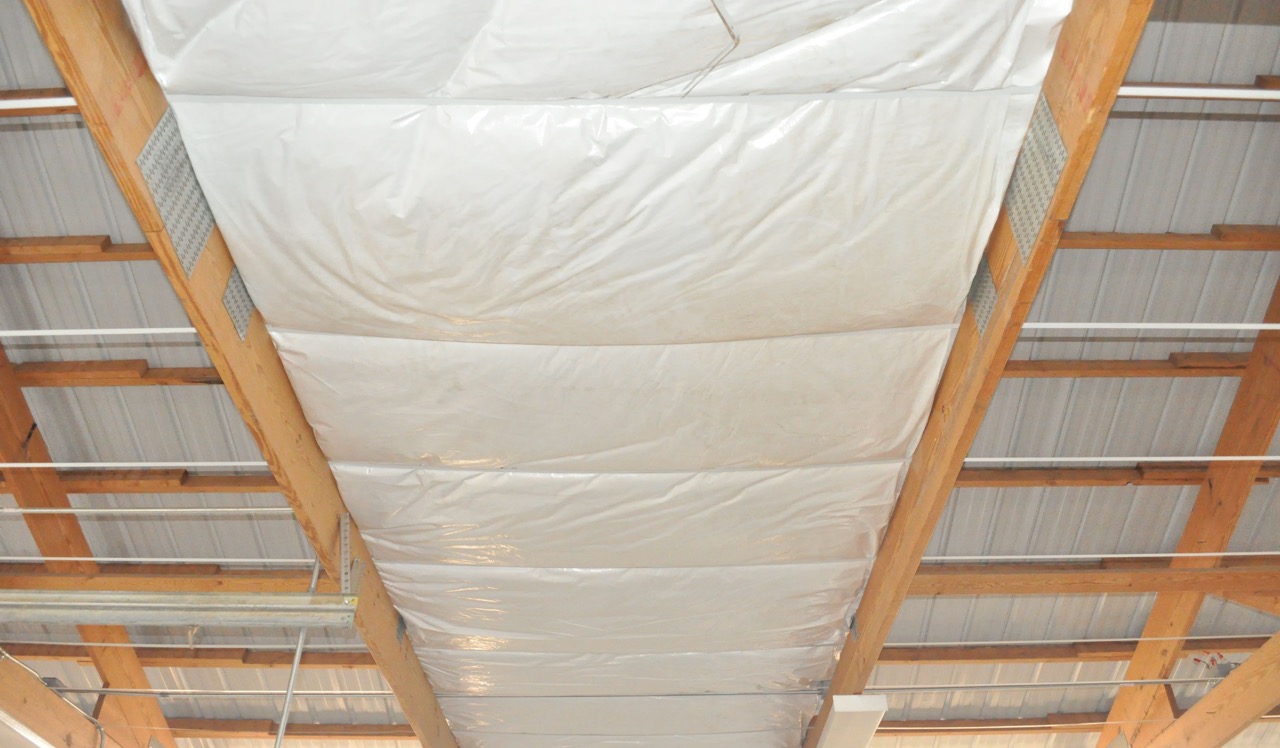
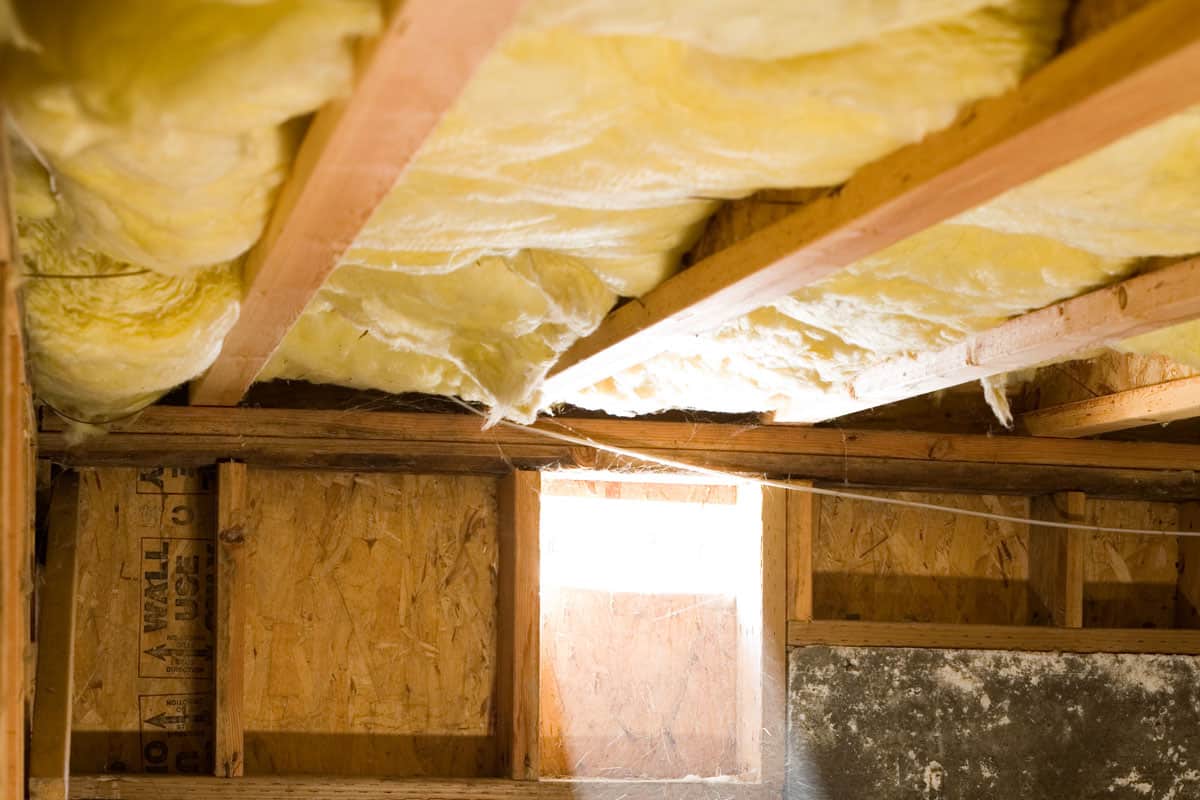
- Overlap the pieces: If you have multiple sections of insulation, partially overlap each new piece with the previous one. This ensures better coverage and prevents thermal bridging. Secure the overlapped area with additional staples.
- Continue across the ceiling: Work your way across the ceiling, attaching and stapling each section of insulation. Take care to maintain a consistent and tight fit throughout the installation process.
- Trim around fixtures or openings: When you come across light fixtures, vents, or other openings in the ceiling, carefully trim the insulation to fit around them. Make precise cuts to ensure a proper fit without covering or obstructing any fixtures.
It is important to note that while attaching the insulation, avoid compressing it too much. Compression can reduce its effectiveness and compromise its insulation capabilities. Ensure that the insulation material remains fluffy and properly fills the cavities.
By following these steps and properly attaching the insulation to your ceiling, you are taking a significant step towards a more energy-efficient and comfortable living space.
Note: Depending on the type of insulation you are using, there may be specific manufacturer instructions or guidelines. Be sure to follow those for the best results.
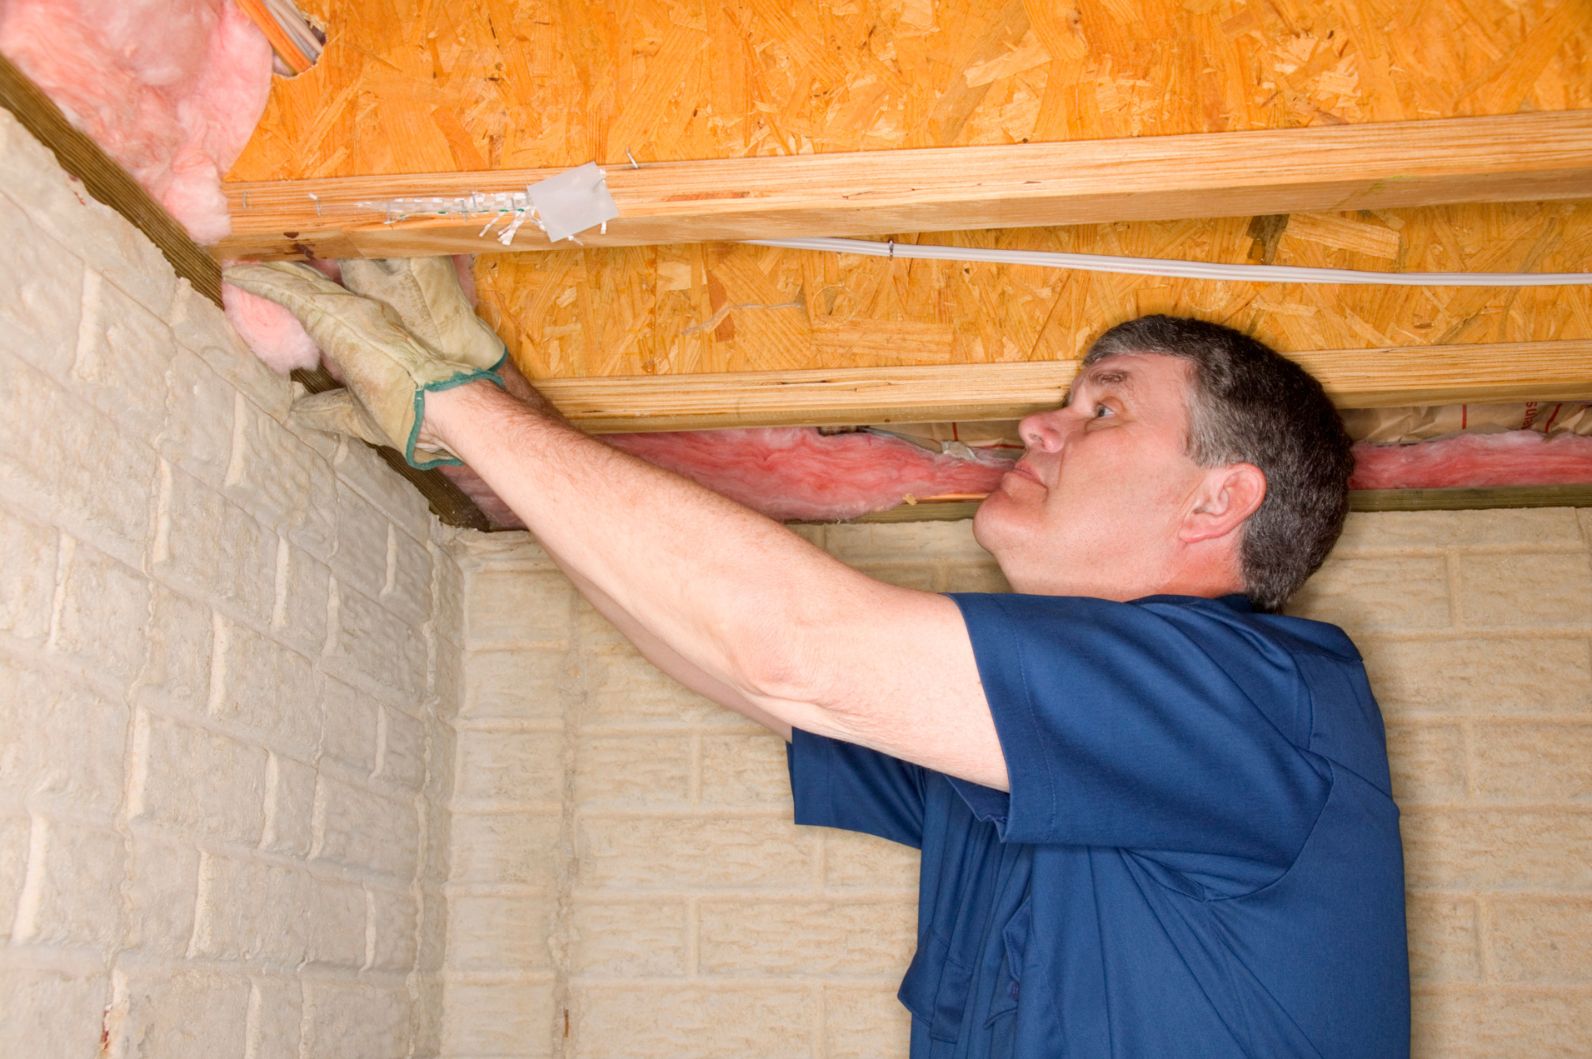
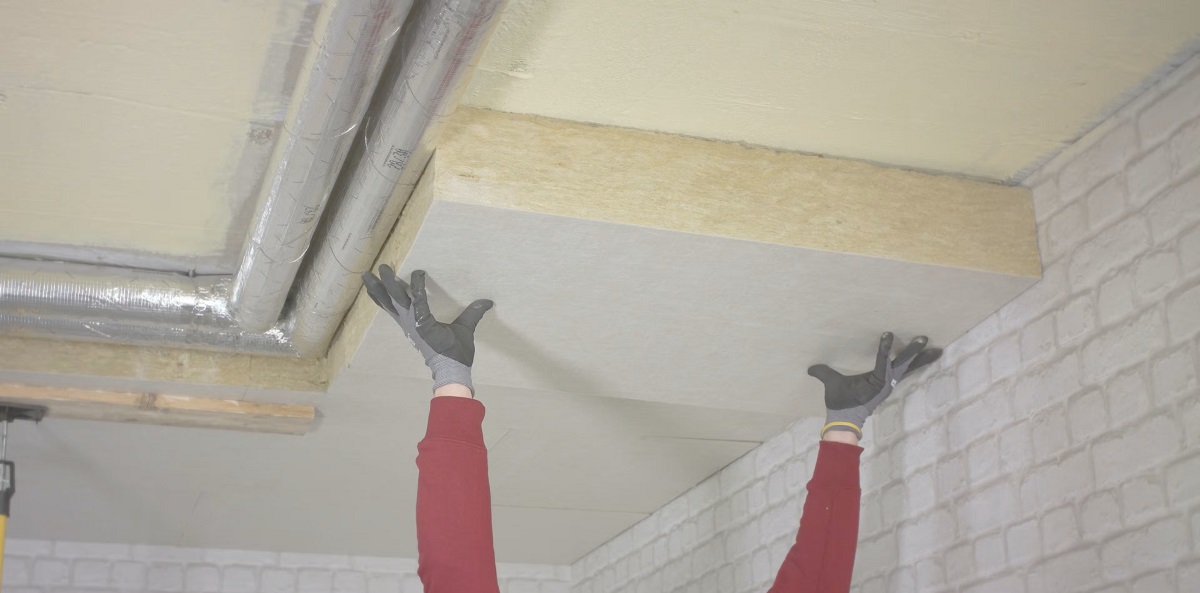
Step 5: Secure the Insulation in Place
After attaching the insulation to the ceiling, it is important to secure it in place to prevent any sagging or shifting. Follow these steps to ensure the insulation remains securely in position:
- Inspect for any loose areas: Once the insulation is attached, carefully inspect the ceiling to identify any loose or unsecured areas. If you notice any sections that are not properly held in place, use additional staples or insulation supports to secure them.
- Use insulation supports: Depending on the insulation type and ceiling configuration, you may need to use insulation supports or hangers to keep the insulation in position. These metal or plastic supports can be installed at regular intervals to hold the insulation securely against the ceiling.
- Avoid covering vents or fixtures: As you secure the insulation, be mindful not to cover any vents, light fixtures, or other important fixtures in the ceiling. Ensure that the insulation is properly trimmed or adjusted to allow proper airflow and access to these elements.
- Double-check the coverage: Take a final look at the insulation coverage to ensure that there are no gaps or areas left uninsulated. Pay attention to corners, edges, and hard-to-reach places. Add additional insulation if needed to achieve full coverage.
- Inspect for air leaks: While securing the insulation, be on the lookout for any gaps or cracks that may cause air leakage. Use a sealant, such as caulk or foam spray, to fill in any openings and create an airtight seal. This will enhance the insulation’s effectiveness.
By securing the insulation in place, you ensure that it maintains its intended performance and provides optimal thermal and sound insulation benefits.
Note: Follow the insulation manufacturer’s recommendations and guidelines for securing the specific type of insulation you are using.
Step 6: Seal any Gaps or Cracks
Sealing any gaps or cracks in the ceiling is an important step to prevent air leakage and maximize the energy efficiency of your insulation. Follow these steps to effectively seal any gaps or cracks:
- Inspect the ceiling: Thoroughly examine the ceiling for any visible gaps, cracks, or openings. Pay close attention to areas where different sections of insulation meet, as well as corners, edges, and around fixtures.
- Use a sealant: Choose a suitable sealant based on the type of insulation and the material of your ceiling. Common sealants include caulk, foam, or weatherstripping. Apply the sealant generously to fill in any gaps or cracks.
- Seal joints and seams: If you are using multiple sections of insulation, ensure that the joints and seams are properly sealed. Apply a strip of duct tape or use a recommended insulation tape to cover and secure the seams. This will provide a tight seal and prevent heat or air leakage.
- Inspect for missed areas: After sealing, inspect the ceiling once again to ensure that all gaps and cracks have been properly addressed. Look for any remaining areas that may require additional sealant or tape.
- Allow time for the sealant to dry: Follow the manufacturer’s instructions regarding drying time for the sealant. Avoid disturbing the sealed areas until the sealant has completely dried to ensure a successful seal.
By sealing the gaps and cracks in your ceiling, you are preventing air infiltration, reducing heat loss or gain, and optimizing the energy efficiency of your insulation. This step is crucial in creating an airtight and well-insulated space.
Note: Different types of insulation and ceilings may require specific types of sealants. Always refer to the manufacturer’s instructions and recommendations for the best results.
Step 7: Safety Precautions
While attaching insulation to your ceiling, it’s important to prioritize safety. Follow these safety precautions to ensure a secure and protected environment:
- Wear protective gear: Before starting the insulation installation, make sure to wear appropriate protective gear. This may include safety goggles, gloves, a mask, and long-sleeved clothing. These items will protect you from potential irritation or exposure to insulation fibers.
- Work in a well-ventilated area: Insulation materials may release fumes or particles during the installation process. Ensure that the area is well-ventilated to minimize the inhalation of any airborne particles. Open windows or use fans to improve airflow if needed.
- Use a stable platform: If you require a ladder or scaffolding to access the ceiling, ensure that it is stable and secure. Set it up on a flat and level surface, and follow proper ladder safety guidelines to prevent accidents or falls.
- Handle insulation with care: Be cautious when handling the insulation material, as some types may cause skin irritation or itching. Follow the manufacturer’s instructions for safe handling and disposal of any leftover or excess insulation.
- Avoid electrical hazards: When working around electrical fixtures or wiring, be mindful of the potential hazards. Ensure that electricity is turned off in the areas where you are installing insulation and take precautions to avoid contact with live wires.
- Work with a partner if necessary: If the insulation installation requires lifting heavy materials or working in challenging positions, it is advisable to have a partner to assist you. This will help prevent strains, falls, or injuries.
- Follow local building codes: Ensure that your insulation installation complies with local building codes and regulations. Familiarize yourself with any specific requirements or guidelines for your area to ensure a safe and compliant installation.
Prioritizing safety throughout the process is essential to protect yourself and create a secure environment. By following these safety precautions, you can install insulation effectively and minimize the risk of accidents or hazards.
Now that you have completed all the necessary steps, your ceiling insulation is properly attached and secured. Enjoy the energy efficiency, improved comfort, and soundproofing benefits of your well-insulated space.
Read more: How To Attach Insulation To Metal Studs
Conclusion
Attaching insulation to your ceiling is a crucial step towards creating a comfortable and energy-efficient living or working environment. By following the steps outlined in this guide, you can successfully install insulation and reap its numerous benefits.
We started by emphasizing the importance of ceiling insulation, including its role in regulating temperature, reducing energy costs, and enhancing soundproofing. We then highlighted the materials you will need, such as the insulation itself, measuring tools, a staple gun, safety gear, and sealant.
We walked you through each step of the process, starting with preparing the ceiling by cleaning, inspecting for damage, and sealing any air leaks. We then discussed the significance of choosing the right insulation type based on factors like climate, desired R-value, and budget.
Next, we guided you on how to accurately measure and cut the insulation material to ensure a proper fit. We also provided instructions on attaching the insulation using a staple gun and overlapping the pieces as needed.
To further secure the insulation, we advised you to inspect for any loose areas and use insulation supports or hangers to hold it in place. We emphasized the importance of sealing any gaps or cracks in the ceiling to prevent energy leakage.
Lastly, we emphasized the importance of safety precautions throughout the installation process. Wearing protective gear, working in a well-ventilated area, and following proper ladder safety are essential to minimize any risks or accidents.
By following these steps, you can effectively attach insulation to your ceiling and enjoy the benefits of improved energy efficiency, temperature regulation, and soundproofing. Not only will this create a more comfortable space, but it will also lead to cost savings and a reduced environmental impact.
Remember to check local building codes and regulations before starting your insulation project to ensure compliance. If you are uncertain or faced with more complex situations, it is always wise to consult with a professional insulation contractor.
With proper insulation in place, you can enhance the overall quality and comfort of your living or working space. So, go ahead and embark on the journey to a more energy-efficient and cozy environment by attaching insulation to your ceiling.
Now that you've mastered attaching insulation to your ceiling, why not tackle those exterior walls next? Our detailed guide on how to install insulation on exterior walls the right way provides clear, easy-to-follow steps ensuring your home is cozy and energy-efficient. Don't miss out on these practical insights and techniques that can save you money on energy bills and increase your comfort at home.
Frequently Asked Questions about How To Attach Insulation To Ceiling
Was this page helpful?
At Storables.com, we guarantee accurate and reliable information. Our content, validated by Expert Board Contributors, is crafted following stringent Editorial Policies. We're committed to providing you with well-researched, expert-backed insights for all your informational needs.


0 thoughts on “How To Attach Insulation To Ceiling”