
Furniture
How To Attach A Chandelier To The Ceiling
Modified: August 17, 2024
Learn the step-by-step process of attaching a chandelier to your ceiling and create a stunning focal point for your furniture. Perfect guide for DIY enthusiasts!
(Many of the links in this article redirect to a specific reviewed product. Your purchase of these products through affiliate links helps to generate commission for Storables.com, at no extra cost. Learn more)
Introduction
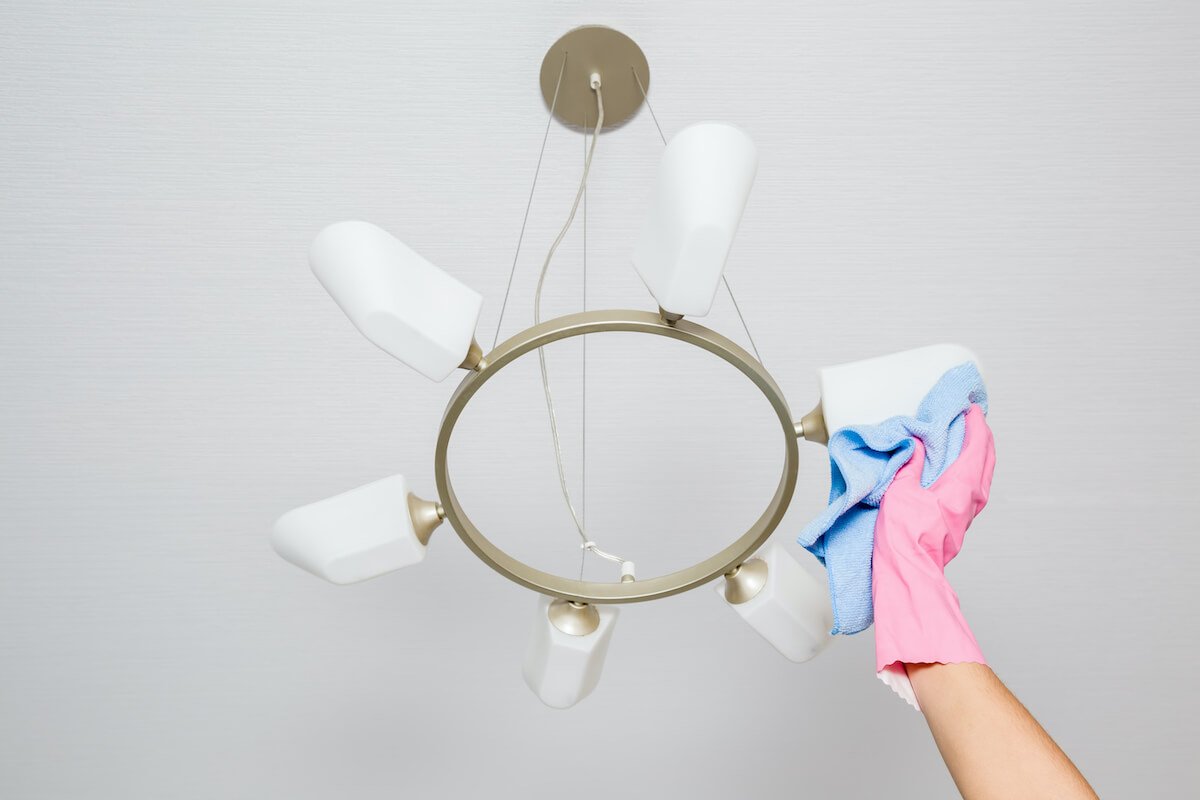
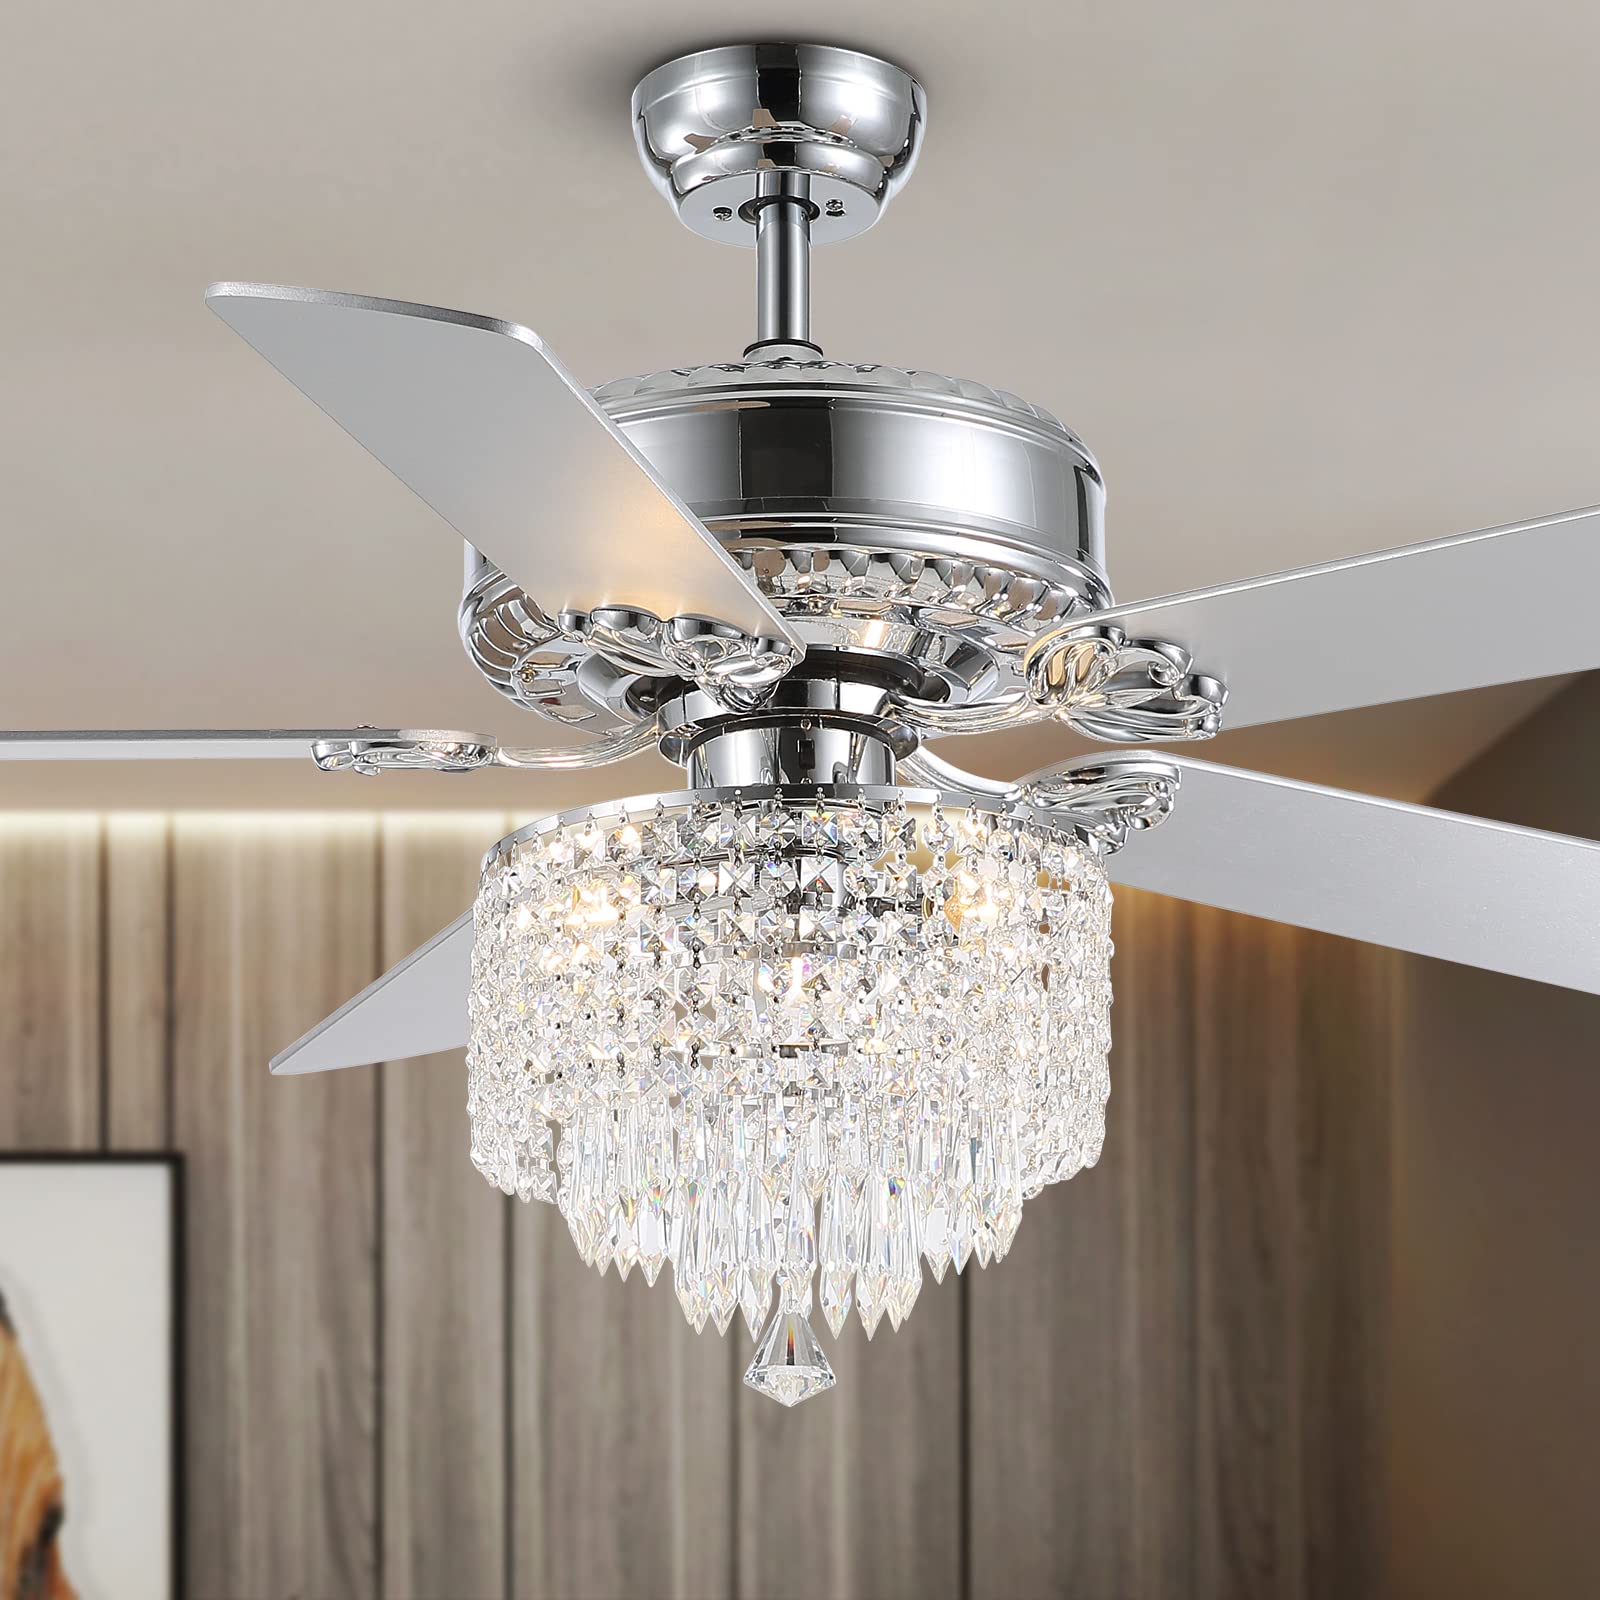
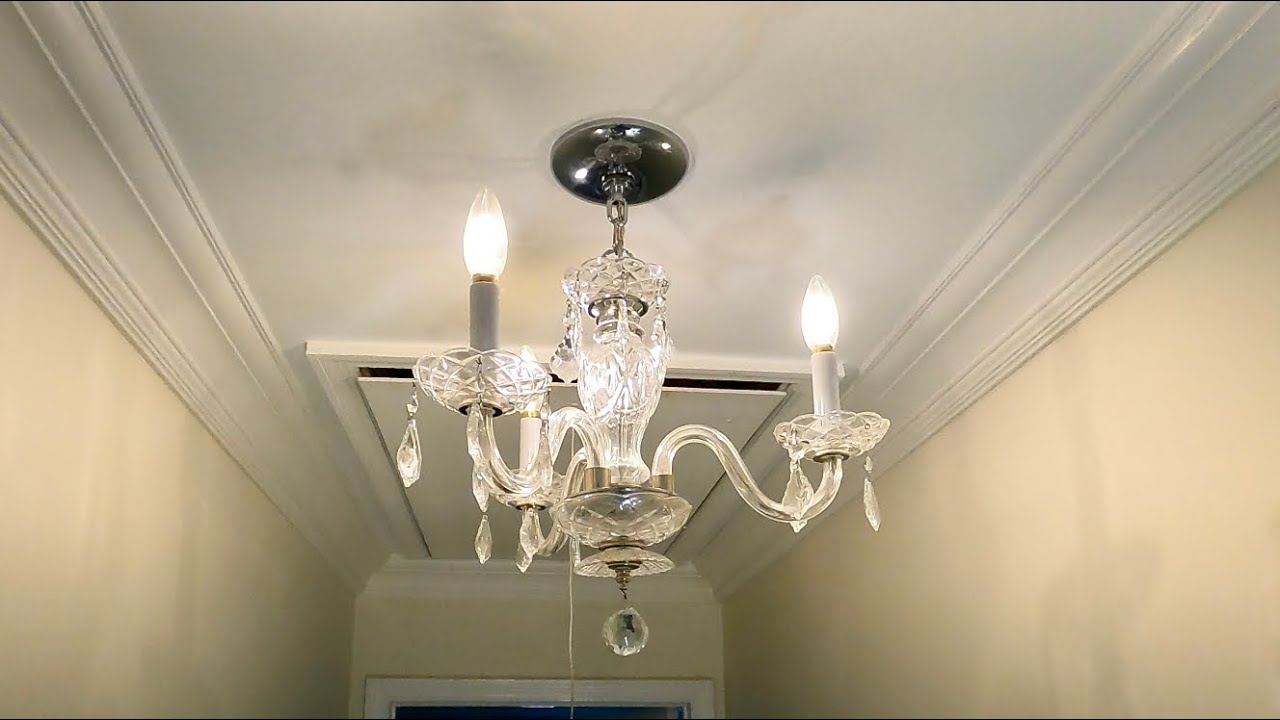
Welcome to the world of chandeliers! These dazzling light fixtures not only provide a beautiful focal point in any room but also add a touch of elegance and sophistication to your space. However, installing a chandelier can seem like a daunting task, especially if you’re not familiar with electrical work. But fear not! With the right tools, materials, and a little know-how, you can easily attach a chandelier to your ceiling and transform your space.
In this step-by-step guide, we’ll walk you through the process of safely and effectively installing a chandelier. From gathering the necessary tools and materials to connecting the electrical wires and hanging the chandelier, we’ll cover it all. So, let’s get started and bring some glamour into your home!
Before we dive in, it’s important to note that if you’re not comfortable working with electrical wiring or if you’re unsure about any part of the installation process, it’s always best to consult a professional electrician. Safety should be your top priority when undertaking any electrical project.
Now that we have that covered, let’s gather our tools and materials and get ready to dazzle!
Key Takeaways:
- Safely and effectively install a chandelier by gathering the right tools, turning off the power supply, determining the hanging height, and following step-by-step instructions for connecting electrical wires and hanging the chandelier.
- Ensure a secure and visually pleasing chandelier installation by installing a ceiling junction box, attaching the mounting bracket, securing the chandelier, and testing its functionality after restoring power.
Step 1: Gather the necessary tools and materials
Before you begin installing your chandelier, it’s important to have all the necessary tools and materials on hand. This will ensure a smooth installation process and prevent any unnecessary trips to the hardware store. Here’s a list of what you’ll need:
- Tape Measure: To measure the height and clearance of the chandelier.
- Ladder or Step Stool: Depending on the height of your ceiling, you may need a ladder or step stool to reach the installation area.
- Screwdriver: Both a flathead and a Phillips screwdriver may be required, depending on the type of screws used.
- Wire Cutter/Stripper: To trim and strip the electrical wires.
- Wire Nuts: Used to connect and secure the electrical wires.
- Electrical Tape: To insulate and protect the electrical connections.
- Ceiling Junction Box: A junction box will provide a secure mounting point for your chandelier.
- Mounting Bracket: This bracket will hold the weight of the chandelier and secure it to the ceiling.
- Screws and Anchors: These will be used to attach the mounting bracket to the ceiling.
- Chandelier: Of course, you’ll need the chandelier itself, complete with all its components.
Make sure to check the instructions provided with your chandelier as there may be additional tools or materials specific to your model.
With all your tools and materials ready, you’ll be well-prepared to tackle the installation process. But before we move on, remember to turn off the power supply to the area where you’ll be working. This will ensure your safety as you handle electrical components.
Now that we have everything we need, let’s move on to the next step: turning off the power supply.
Step 2: Turn off the power supply
Before you begin any electrical work, it’s crucial to turn off the power supply to the area where you’ll be working. This step will help prevent any accidents or electric shock while installing your chandelier. Follow these steps to safely turn off the power:
- Identify the correct circuit: Locate the electrical circuit breaker box in your home. It is usually found in the basement, garage, or utility room.
- Locate the correct breaker switch: Look for the breaker switch that corresponds to the room or area where you’ll be installing the chandelier. This may be labeled with a room name or number.
- Switch off the breaker: Flip the switch to the “OFF” position to cut off the power supply to that particular circuit. To be extra cautious, you can also tape the switch with electrical tape to prevent anyone from accidentally turning it back on while you work.
- Verify the power is off: Before proceeding, it’s essential to double-check that the power is indeed turned off. You can use a non-contact voltage tester to confirm that there is no electrical current running through the wires.
Taking the time to properly turn off the power supply is a critical safety step that should not be skipped. It ensures that you won’t accidentally come into contact with live wires, reducing the risk of electric shock.
Now that the power is off, you can proceed with confidence to the next step: determining the hanging height of your chandelier.
Step 3: Determine the hanging height
The hanging height of your chandelier plays a crucial role in both functionality and aesthetics. Finding the right height will ensure that the chandelier is properly positioned and enhances the overall look of the room. Here’s how you can determine the ideal hanging height:
- Consider the room’s function: Think about the purpose of the room where the chandelier will be installed. For dining rooms or entryways, a lower hanging height is often preferred to create a focal point and make a statement. In living rooms or bedrooms, a higher placement may be more suitable for even lighting distribution.
- Measure the ceiling height: Use a tape measure to determine the height of the ceiling from the floor. This measurement will serve as a starting point for determining the height of your chandelier.
- Calculate the hanging height: As a general guideline, chandeliers should be hung with a clearance of 30 to 36 inches from the tabletop or floor below. Start by subtracting this clearance height from your ceiling height measurement.
- Adjust based on chandelier size: Consider the size of your chandelier when determining the final hanging height. If you have a large chandelier or a room with higher ceilings, you may need to adjust the hanging height to maintain proper proportions and visual balance.
- Consider the chandelier shape: Certain chandelier shapes may require specific hanging heights. For example, if you have a chandelier with a long vertical drop, you may need to allow for additional clearance below.
- Adjust based on personal preference: Ultimately, the hanging height of your chandelier should align with your personal preference and the overall design aesthetic of the room. Trust your eye and make adjustments as needed to achieve the desired look.
By considering the room’s function, measuring the ceiling height, calculating the hanging height, adjusting for chandelier size and shape, and factoring in personal preference, you’ll be able to determine the perfect hanging height for your chandelier.
With the hanging height in mind, we can now move on to the next step: installing the ceiling junction box.
Step 4: Install the ceiling junction box
The next step in attaching your chandelier is to install a ceiling junction box. This box will provide a secure and stable mounting point for your chandelier. Follow these steps to install the junction box:
- Choose the appropriate junction box: Select a junction box that is rated to support the weight of your chandelier. Consider the size and weight of your chandelier when choosing the box.
- Locate the installation spot: Position the junction box in the desired location on the ceiling, making sure it aligns with the hanging height and positioning you determined earlier.
- Trace and cut an opening: Use a pencil to trace the outline of the junction box on the ceiling. With a drywall saw or a keyhole saw, carefully cut out the traced opening.
- Insert the junction box: Place the junction box into the opening, ensuring that it fits securely and flush against the ceiling.
- Secure the junction box: Use screws or nails to secure the junction box to the ceiling. Make sure it is firmly anchored and able to support the weight of the chandelier.
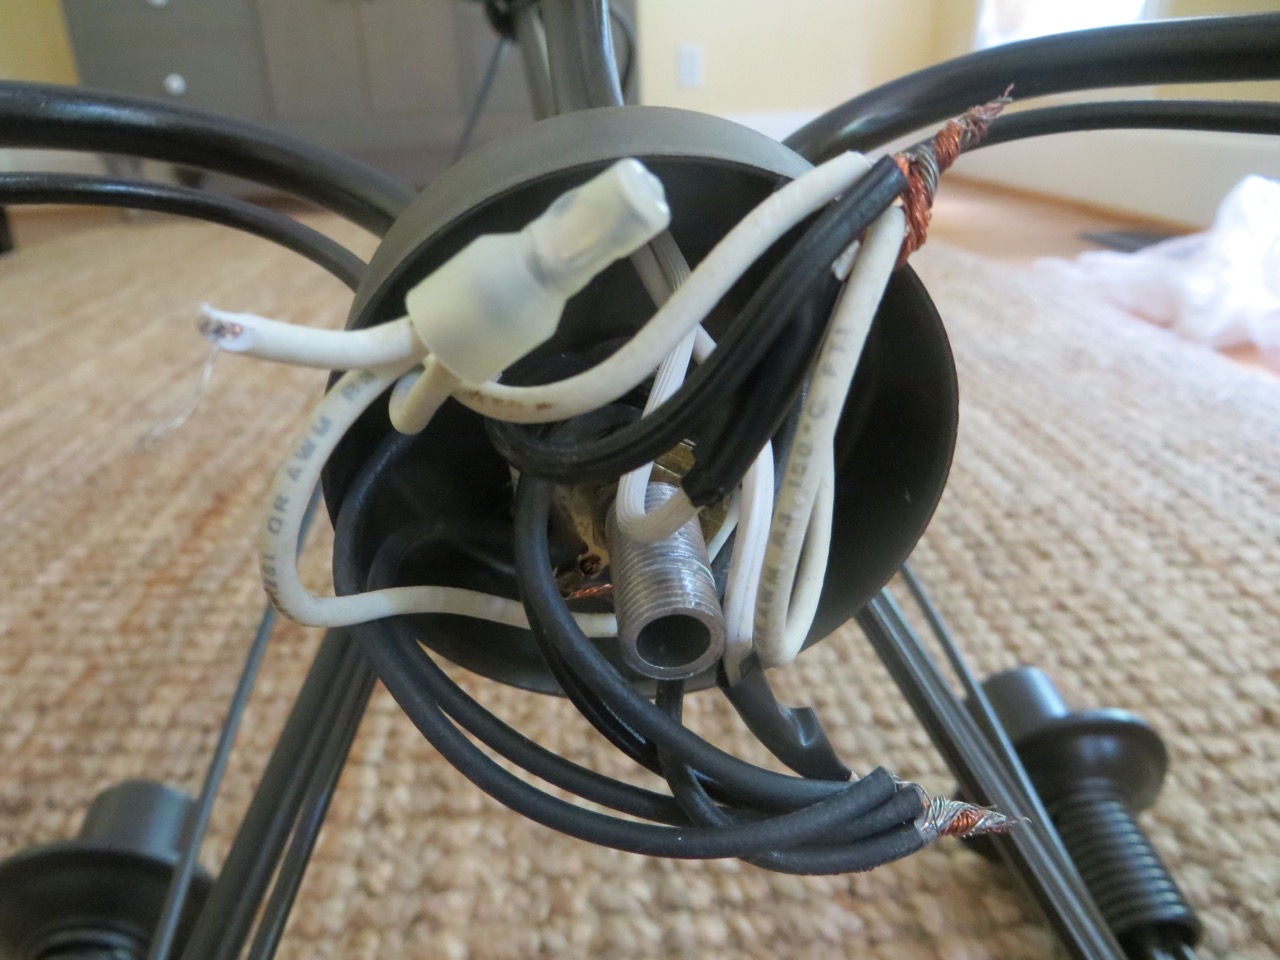
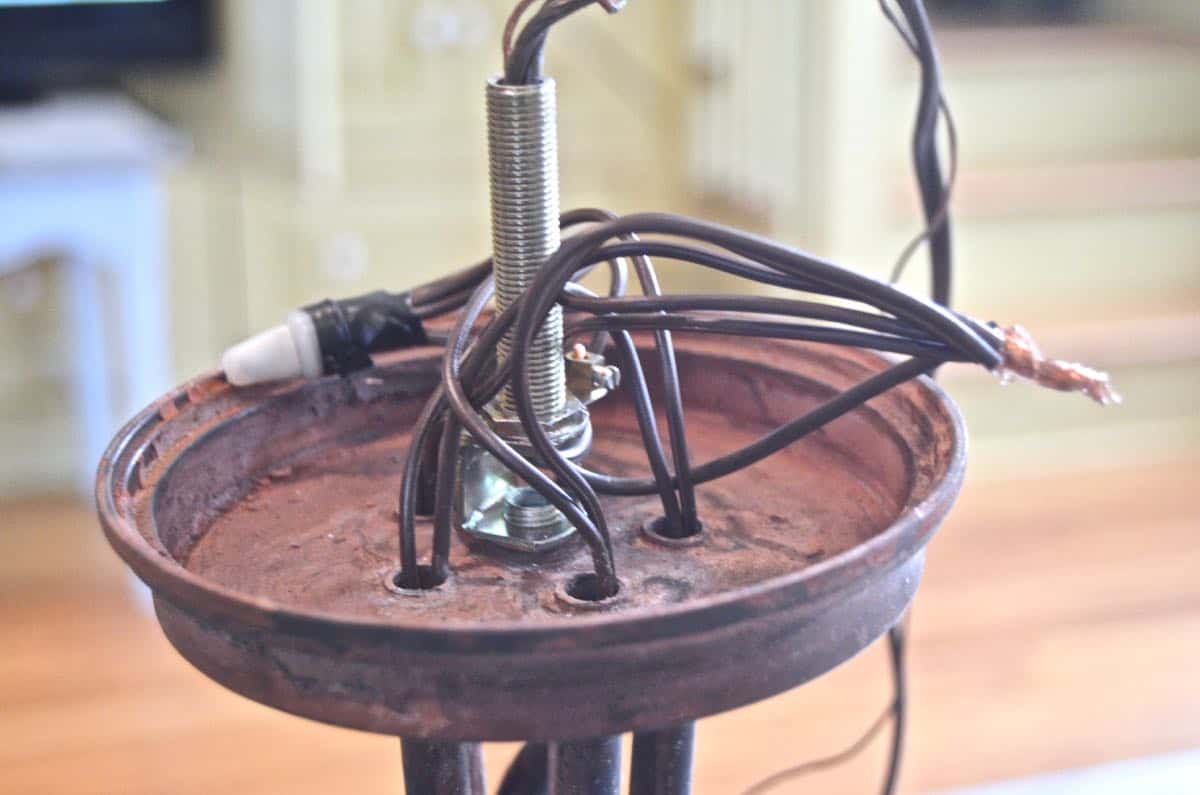
- Connect the electrical wiring: In the junction box, you will find a set of electrical wires. Follow the manufacturer’s instructions to properly connect your chandelier wires to the electrical supply wires.
- Secure the wiring: Using wire nuts, connect the corresponding wires together, ensuring a tight and secure connection. Wrap the connected wires with electrical tape for added protection.
- Inspect and test: Before moving on to the next step, ensure that all connections are secure and properly insulated. Restore power to the circuit and test the chandelier to ensure it is functioning correctly.
Properly installing the ceiling junction box is crucial for the stability and safety of your chandelier. Take your time to ensure that the box is securely mounted and the electrical connections are properly made.
Now that the junction box is installed, we can move on to attaching the mounting bracket in the next step.
Read more: How To Attach Insulation To Ceiling
Step 5: Attach the mounting bracket
With the ceiling junction box securely in place, it’s time to attach the mounting bracket. The mounting bracket will provide the necessary support for your chandelier and ensure it stays properly attached to the ceiling. Here’s how to attach the mounting bracket:
- Check the compatibility: Ensure that the mounting bracket is compatible with your chandelier and can support its weight. Refer to the instructions provided with your chandelier for guidance.
- Align the bracket holes: Position the mounting bracket against the ceiling junction box, aligning the screw holes of the bracket with the mounting holes on the junction box.
- Secure the bracket: Insert screws through the bracket holes and into the mounting holes of the junction box. Use a screwdriver to tighten the screws, ensuring that the bracket is securely attached to the box.
- Double-check the stability: Give the bracket a gentle tug to confirm that it is firmly fixed and can support the weight of the chandelier. If needed, tighten the screws further until the bracket feels stable and secure.
Attaching the mounting bracket is a crucial step in ensuring the stability and safety of your chandelier. Take your time to align and secure the bracket properly to avoid any issues later on when hanging the chandelier.
Now that the mounting bracket is securely in place, we can move on to the next step: connecting the electrical wires of the chandelier.
When attaching a chandelier to the ceiling, make sure to use a sturdy ceiling box rated for the weight of the chandelier. Follow the manufacturer’s instructions carefully and consider hiring a professional if you are unsure about the installation process.
Step 6: Connect the electrical wires
Now that the mounting bracket is securely attached, it’s time to connect the electrical wires of your chandelier. This step involves matching and safely securing the chandelier’s wires with the corresponding supply wires in the junction box. Follow these steps:
- Prepare the chandelier wires: Strip the insulation off the ends of the chandelier wires using a wire stripper, exposing about half an inch of bare wire.
- Identify the supply wires: In the junction box, you’ll find two sets of wires – one coming from the electrical supply and one going to the chandelier. The supply wires are usually black (hot), white (neutral), and green or bare (ground).
- Match the wires: Match the corresponding wires of the chandelier to the supply wires. Connect the black chandelier wire to the black supply wire, the white chandelier wire to the white supply wire, and the green/bare chandelier wire to the green/bare supply wire.
- Secure the connections: Twist the matching wires together clockwise, ensuring a tight and secure connection. Once twisted, screw a wire nut over each connection to fully secure and insulate them.
- Wrap with electrical tape: Further protect the wire connections by wrapping each wire nut and the exposed part of the wires with electrical tape. This will help prevent any accidental disconnection or exposure.
- Tuck the wires: Carefully tuck the connected wires into the junction box, ensuring they are not pinched or interfering with any moving parts of the chandelier.
It’s essential to pay attention to the proper color coding and secure connection of the electrical wires to ensure the safe and effective operation of your chandelier. If you’re unsure about anything or not comfortable working with electrical wiring, it’s recommended to seek the assistance of a professional electrician.
Now that the electrical wires are properly connected, we can move on to the exciting part: hanging the chandelier!
Step 7: Hang the chandelier
With the electrical wires connected and everything in place, it’s time to hang your chandelier! This step requires careful handling and attention to detail to ensure the chandelier is safely and securely attached. Follow these steps:
- Enlist a helper: Chandeliers can be heavy and cumbersome to handle, so it’s helpful to have a second person assist you with this step.
- Position the chandelier: Carefully lift the chandelier and position it below the mounting bracket. Align the mounting holes on the chandelier with the screws or hooks on the mounting bracket.
- Insert the screws or hooks: Once the chandelier is properly aligned, insert the screws or hooks through the mounting holes and into the corresponding holes in the mounting bracket.
- Tighten the fasteners: Use a screwdriver or wrench to securely tighten the screws or hooks, ensuring that the chandelier is firmly attached to the mounting bracket.
While hanging the chandelier, take care not to put excessive pressure on the electrical wires. Avoid over-tightening the screws, as it may damage the chandelier or the mounting bracket. If your chandelier has additional decorative elements or crystals, be extra cautious when handling to prevent any breakage or damage.
Once the chandelier is hung, step back and visually inspect its position. Ensure that it hangs straight and is at the desired height. If adjustments are needed, carefully reposition the chandelier before tightening the fasteners again.
Now that your chandelier is securely hung, we can move on to the next step: securing the chandelier and adjusting its height.
Step 8: Secure the chandelier and adjust the height
Now that your chandelier is hung, it’s time to secure it in place and make any necessary height adjustments. This step will ensure that your chandelier stays securely attached to the ceiling and is positioned at the perfect height for your space. Follow these steps:
- Ensure stability: Once the chandelier is hung, gently shake it to check for any excessive movement or wobbling. If it feels unstable, double-check the tightness of the screws or hooks and make any necessary adjustments.
- Tighten mounting screws: Carefully inspect the screws or hooks that secure the chandelier to the mounting bracket. Use a screwdriver or wrench to tighten them as needed, ensuring a snug fit.
- Adjust the height: If you need to adjust the hanging height of the chandelier, follow the provided method for your specific model. Some chandeliers have adjustable chains or rods that allow you to raise or lower the height. Loosen the necessary components, make the adjustment, and then tighten them again once you’ve reached the desired height.
- Check for balance: Step back and visually inspect the chandelier to make sure it hangs evenly and is balanced. Adjust the height or make slight repositioning if needed to achieve a visually pleasing and symmetrical appearance.
Remember to exercise caution when making any adjustments to the chandelier. Avoid putting excessive pressure on delicate elements or crystals, and never exceed the recommended weight limits or limitations specified by the manufacturer.
Once you are satisfied with the stability, height, and balance of your chandelier, we are ready to move on to the final step: restoring power and testing the chandelier.
Read more: How To Attach A Ceiling Light
Step 9: Restore power and test the chandelier
Now that your chandelier is securely installed, it’s time to restore power and test its functionality. This final step will ensure that everything is in proper working order and that you can enjoy the beautiful illumination provided by your chandelier. Follow these steps:
- Double-check the electrical connections: Before restoring power, visually inspect the electrical connections to ensure that all wires are securely connected with wire nuts and covered with electrical tape.
- Turn on the power supply: Return to the electrical circuit breaker box and flip the corresponding breaker switch to the “ON” position to restore power to the chandelier’s circuit.
- Test the chandelier: Use the switches or controls on the chandelier to turn on the lights. Observe if all the lights are functioning properly and if there are any flickers or issues. Test any dimming or control features if applicable.
- Check for any loose elements: While the chandelier is illuminated, visually inspect it for any loose elements or components. Check that crystals or decorative elements are secured, and tighten any loose screws or connectors if necessary.
- Ensure proper operation: Walk around the room and observe the chandelier from different angles. Ensure that the light is evenly distributed and that there are no strange noises or vibrations. If you notice any issues, double-check the connections and seek professional assistance if needed.
By following these steps, you can rest assured knowing that your chandelier is safely installed and functioning properly. Take a moment to bask in the elegance and beauty that your chandelier brings to your space.
Now, sit back and enjoy the stunning glow of your newly installed chandelier! Should you ever need to make adjustments or perform maintenance in the future, refer back to this guide for guidance.
Congratulations on successfully attaching your chandelier to the ceiling!
Conclusion
Attaching a chandelier to the ceiling can be a rewarding and transformative project. With the right tools, materials, and a systematic approach, you can successfully install a chandelier that not only adds a touch of elegance to your space but also illuminates it with a captivating glow.
In this comprehensive guide, we’ve walked you through the step-by-step process of attaching a chandelier to the ceiling. From gathering the necessary tools and materials to turning off the power supply, determining the hanging height, installing the ceiling junction box, attaching the mounting bracket, connecting the electrical wires, hanging the chandelier, securing it, and adjusting the height—all the crucial steps have been covered.
Throughout the installation process, it’s important to prioritize safety. Always turn off the power supply before working with electrical components and, if unsure, consult a professional electrician. Overlooking safety measures can lead to accidents and electrical hazards.
By carefully following each step in this guide and paying attention to details, you can achieve a secure and visually pleasing installation. Take your time to ensure the connections are secure, the chandelier is balanced, and the height is adjusted to your liking. Once everything is in place, restore power and test the chandelier to ensure its functionality.
Now, step back and admire the stunning beauty of your newly installed chandelier. Whether it graces your dining room, living room, foyer, or bedroom, your chandelier will become a captivating centerpiece that enhances the overall aesthetics and ambiance of your space.
Remember, if you ever need to make adjustments or perform maintenance, refer back to this guide for assistance. And for future chandelier installations or other electrical projects, apply the knowledge and skills you’ve gained from this experience.
Enjoy the ambiance, charm, and enchantment that your chandelier brings to your home. Happy decorating!
Frequently Asked Questions about How To Attach A Chandelier To The Ceiling
Was this page helpful?
At Storables.com, we guarantee accurate and reliable information. Our content, validated by Expert Board Contributors, is crafted following stringent Editorial Policies. We're committed to providing you with well-researched, expert-backed insights for all your informational needs.


0 thoughts on “How To Attach A Chandelier To The Ceiling”