Articles
How To Insulate A Garage Ceiling
Modified: December 7, 2023
Learn the step-by-step process of insulating your garage ceiling with our informative articles. Create a comfortable and energy-efficient space.
(Many of the links in this article redirect to a specific reviewed product. Your purchase of these products through affiliate links helps to generate commission for Storables.com, at no extra cost. Learn more)
Introduction
Welcome to our comprehensive guide on how to insulate a garage ceiling. If you’re tired of your garage being too cold in the winter and too hot in the summer, insulating the ceiling can make a significant difference. Insulation helps regulate the temperature, reduces energy costs, and provides a more comfortable space for various activities.
Before diving into the insulation process, it’s essential to assess your garage ceiling to determine the best insulation method. Factors such as the garage’s size, existing insulation (if any), and your budget will influence your decision. Whether you’re using your garage as a workshop, storage space, or even converting it into a living area, insulating the ceiling will enhance its functionality.
In this guide, we’ll walk you through the step-by-step process of insulating your garage ceiling. From gathering the necessary materials and tools to installing and securing the insulation, we’ll cover it all to ensure a successful project.
So, if you’re ready to transform your garage into a more temperate and comfortable space, let’s dive into the details and get started with insulating your garage ceiling.
Key Takeaways:
- Properly insulating your garage ceiling can enhance comfort, regulate temperature, and reduce energy costs. Assess, prepare, and install insulation to create a more functional and energy-efficient space.
- By sealing gaps, adding finishing touches, and following the step-by-step process, you can successfully insulate your garage ceiling. Enjoy the benefits of a well-insulated garage for various activities.
Read more: What Insulation For Garage Ceiling
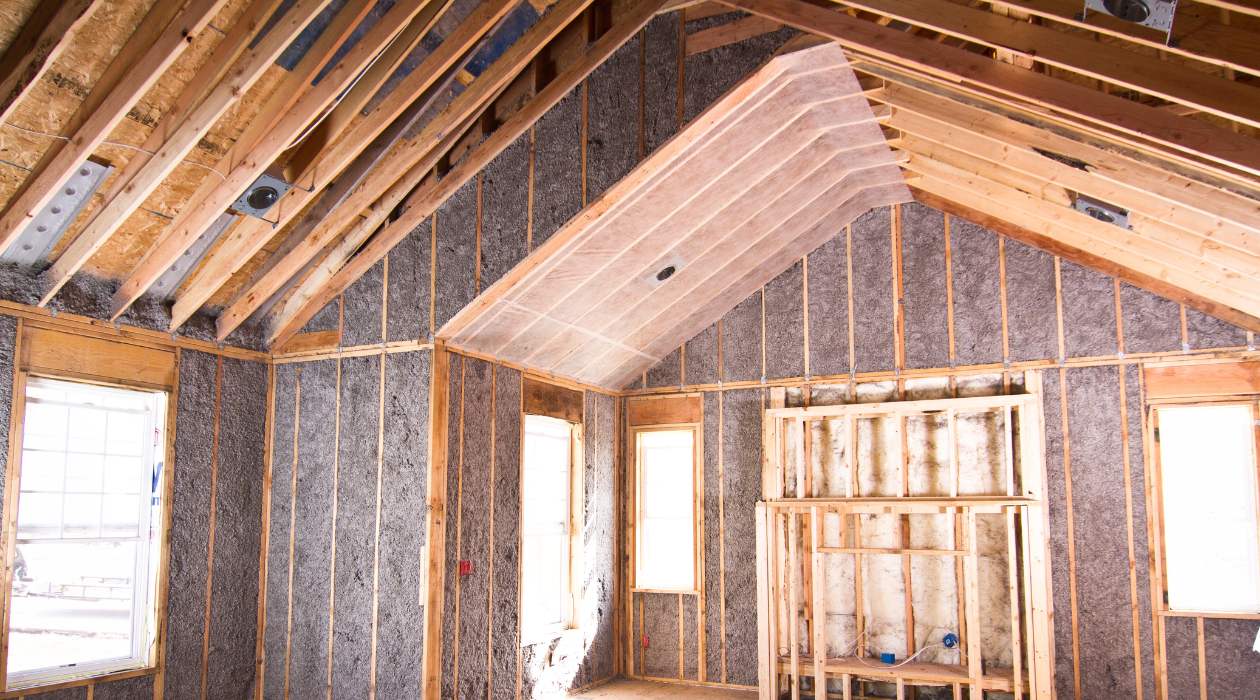
Step 1: Assessing the Garage Ceiling
Before you begin the insulation process, it’s crucial to assess your garage ceiling and determine the most effective insulation approach. Here are a few factors to consider during the assessment:
- Garage Size: Measure the dimensions of your garage to determine the amount of insulation needed. This will help you estimate the quantity of insulation material required.
- Existing Insulation: If there is already insulation in place, assess its condition and effectiveness. Determine whether it needs to be replaced or if you can add more insulation on top of it.
- Climate: Consider the climate in your area. If you live in an area with extreme temperatures, you may need higher insulation R-values to ensure optimal thermal performance.
- Budget: Determine your budget for the project. This will help you choose the most cost-effective insulation material and method.
Assessing these factors will guide you in making informed decisions about the type of insulation material, R-values, and installation method that will work best for your garage ceiling.
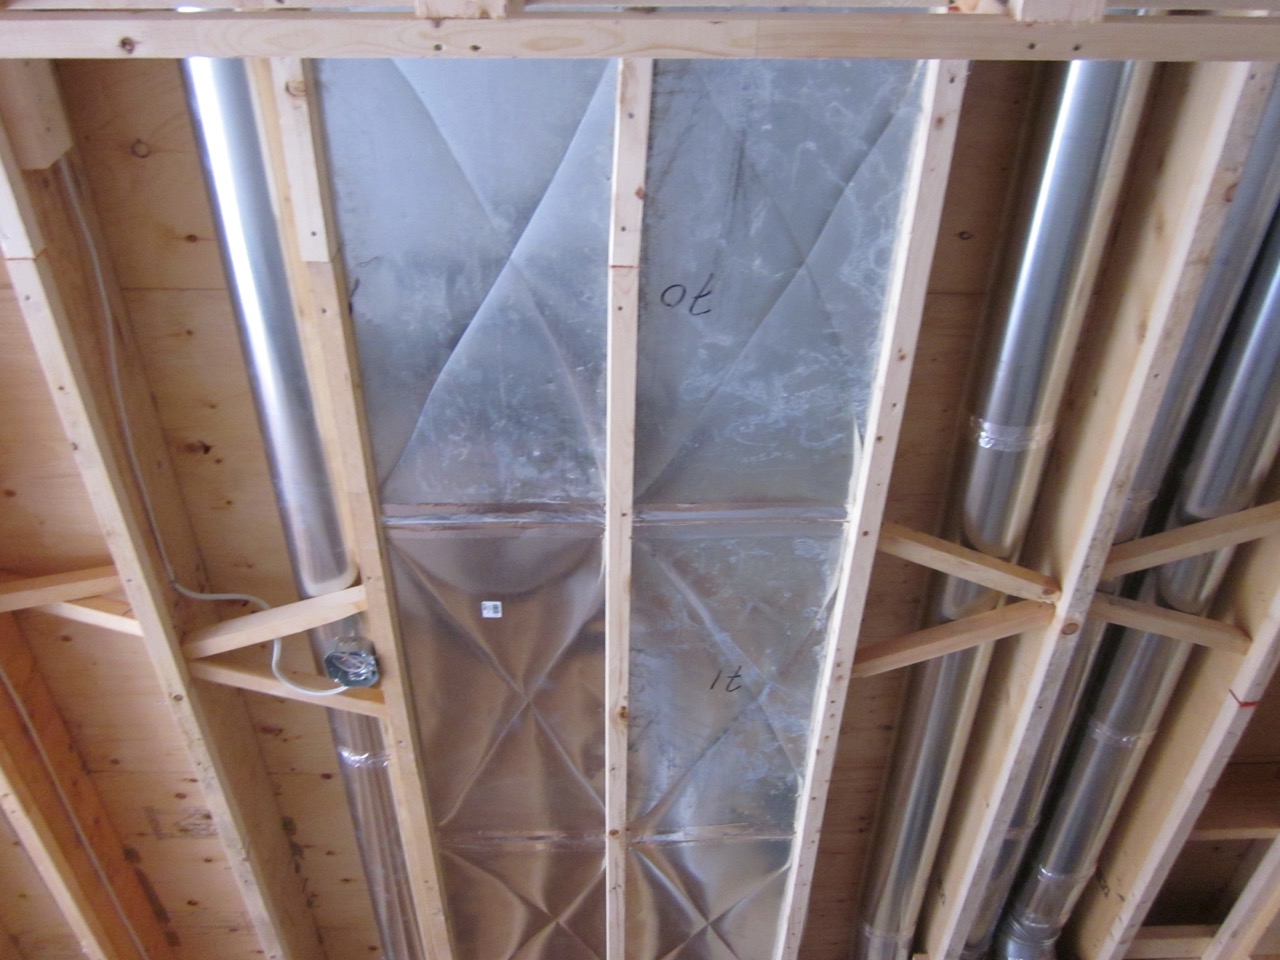
Additionally, take note of any potential obstructions in the ceiling, such as electrical wiring, lighting fixtures, or ventilation ducts. You’ll need to work around these obstructions during the insulation process to ensure a proper fit and avoid any safety hazards.
Once you’ve thoroughly assessed your garage ceiling and considered these factors, you’ll be ready to move on to the next step: gathering the materials and tools.
Step 2: Gathering the Materials and Tools
Now that you’ve assessed your garage ceiling, it’s time to gather the necessary materials and tools for the insulation project. Here’s a list of what you’ll need:
Materials:
- Insulation material (such as fiberglass batts, foam boards, or blown-in insulation)
- Vapor barrier (if required, based on your climate)
- Foil tape or insulation fasteners
- Utility knife or insulation cutter
- Measuring tape
- Safety goggles
- Protective gloves
Tools:
- Ladder or scaffolding (if necessary)
- Staple gun or insulation fastening tool
- Hammer
- Screwdriver
- Utility knife
- Caulking gun and caulk
- Measuring tape
When selecting insulation materials, consider the R-value recommendations for your region. The R-value represents the insulation’s thermal resistance, indicating its effectiveness in preventing heat flow. Choose insulation material with an appropriate R-value to ensure optimal energy efficiency in your garage.
If you’re unsure about the best insulation material and R-value for your specific needs, consult with a professional or your local home improvement store for guidance.
It’s important to gather all the necessary materials and tools before starting the insulation process. This ensures a smooth and efficient workflow and minimizes disruptions. Once you have everything ready, you can move on to the next step: preparing the garage ceiling for insulation.
Step 3: Preparing the Garage Ceiling
Before you start installing the insulation, it’s crucial to properly prepare the garage ceiling. Follow these steps to ensure a smooth and successful insulation project:
- Clean the Ceiling: Remove any debris, dust, or cobwebs from the ceiling using a broom or vacuum cleaner. A clean surface will allow the insulation to adhere properly.
- Identify and Seal Air Leaks: Inspect the ceiling for any gaps or cracks that could allow air to seep through. These leaks can compromise the effectiveness of your insulation. Use caulk or sealant to seal any gaps around electrical boxes, vents, or other openings in the ceiling.
- Check for Moisture Issues: Look for signs of moisture or water damage on the ceiling. If you spot any issues, address them before proceeding with the insulation. Fix any leaks or water infiltration problems to prevent future damage to the insulation.
- Install a Vapor Barrier (if necessary): Depending on your climate and local building codes, you may need to install a vapor barrier. This barrier helps to prevent moisture from passing through the insulation and causing damage. If a vapor barrier is required, follow the manufacturer’s instructions to properly install it.
By thoroughly preparing your garage ceiling, you create a clean and well-sealed surface for the insulation. This ensures that the insulation will provide maximum thermal performance and energy efficiency.
Once you have completed the preparation step, you’re ready to move on to the next exciting step: installing the insulation!
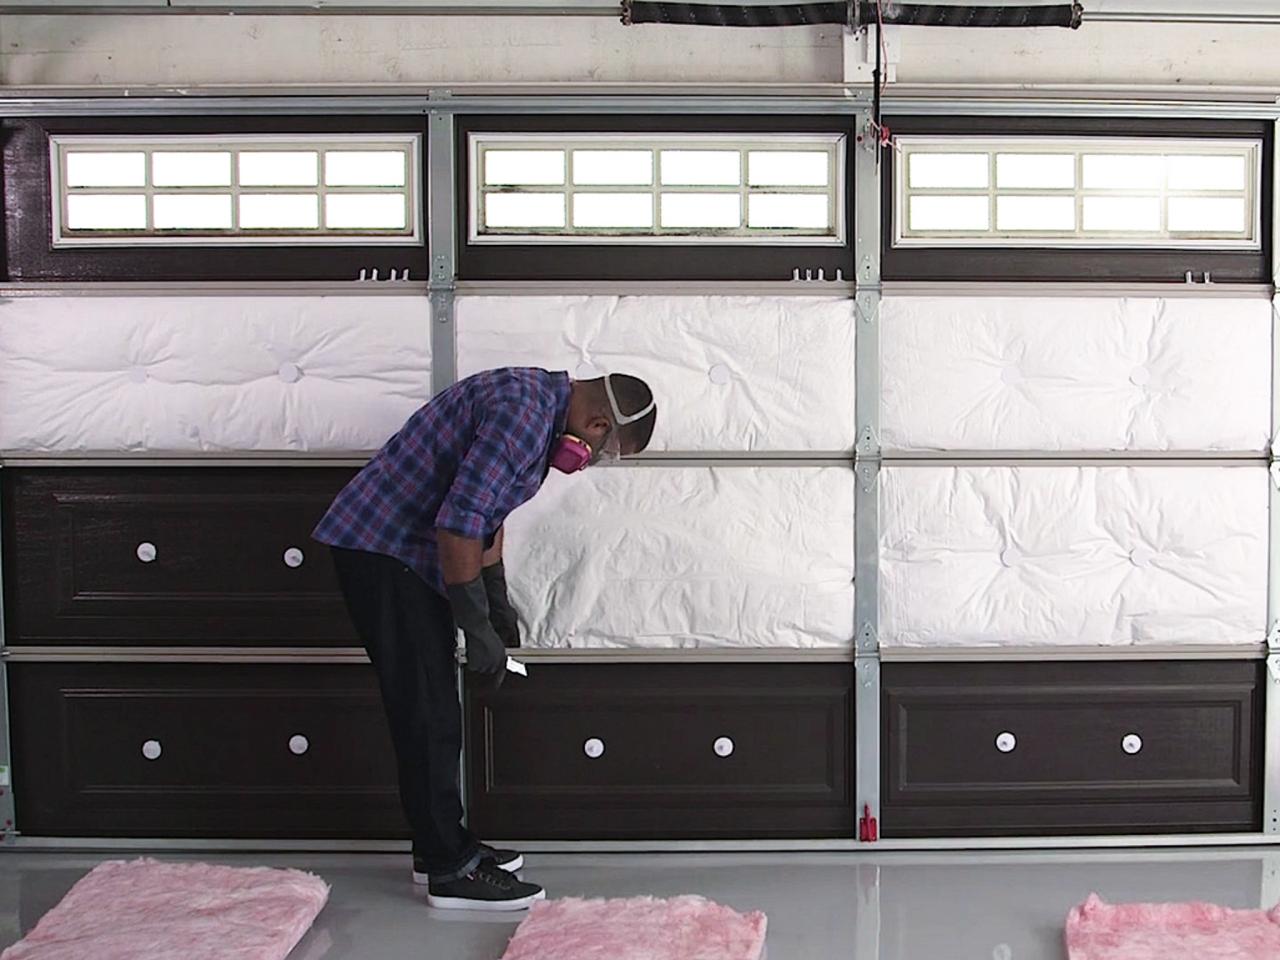
Step 4: Installing the Insulation
With your garage ceiling prepared, it’s time to start installing the insulation. Follow these steps to ensure a proper installation:
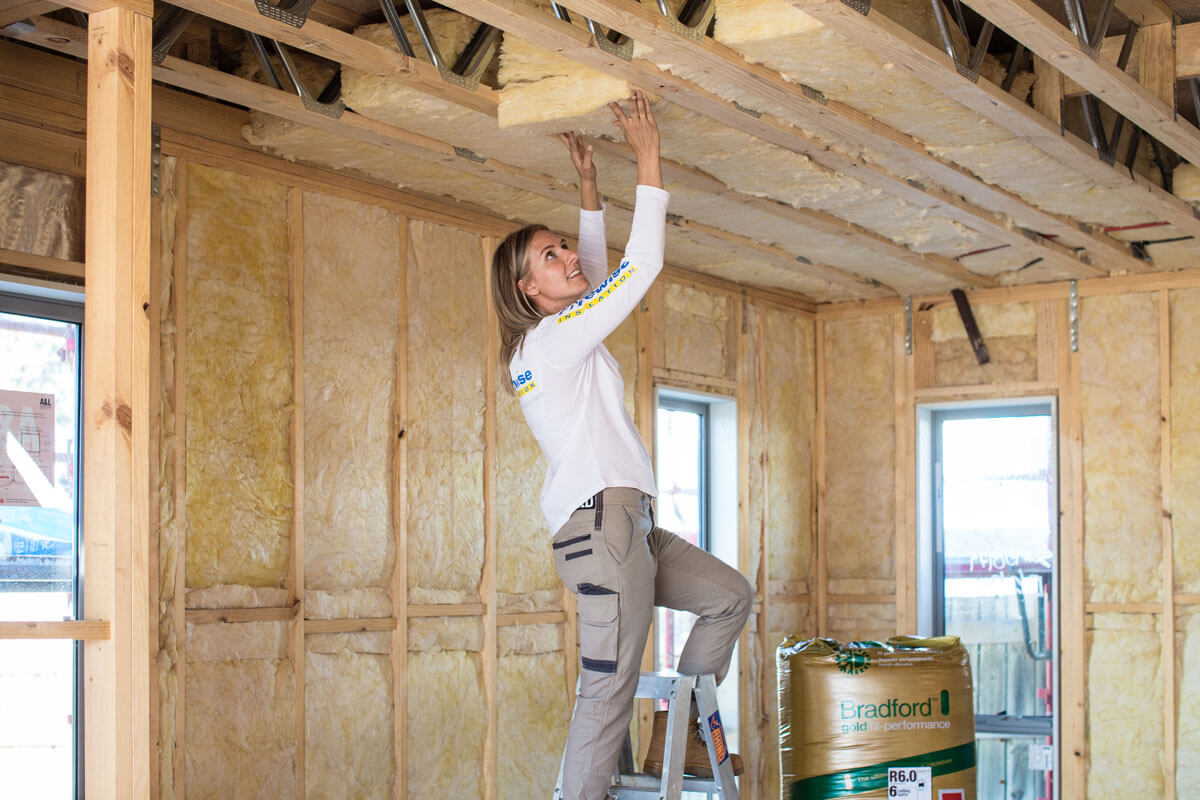
- Measure and Cut: Measure the distance between the ceiling joists or rafters. Use a utility knife or insulation cutter to cut the insulation material to the appropriate width and length. Be sure to leave some extra insulation to tuck into the sides later.
- Fitting the Insulation: Carefully fit the insulation batts or foam boards into the spaces between the ceiling joists or rafters. Push them up firmly against the sheathing or drywall. Make sure there are no gaps or spaces left that could compromise the insulation’s effectiveness.
- Secure the Insulation: Use foil tape or insulation fasteners to secure the insulation in place. You can staple or use an insulation fastening tool to attach the batts or boards to the joists or rafters. This step ensures that the insulation remains in place and does not sag or shift over time.
- Fill Any Gaps: If you have any gaps or spaces left between the insulation batts, use smaller pieces of insulation to fill them. Trim the insulation to fit the gap snugly and secure it in place.
During the installation process, be cautious when working around electrical wires or other obstructions. It’s important not to compress or cover electrical components with insulation, as this can pose a safety hazard.
Remember to wear safety goggles and gloves to protect yourself during the installation. Fiberglass insulation, in particular, can cause irritation and itching when it comes into contact with your skin. Take the necessary precautions to avoid any discomfort.
Once the insulation is properly installed, proceed to the next step: securing the insulation.
Consider using rigid foam insulation boards to insulate your garage ceiling. They are easy to install, provide good thermal resistance, and can help reduce heat loss and noise transmission.
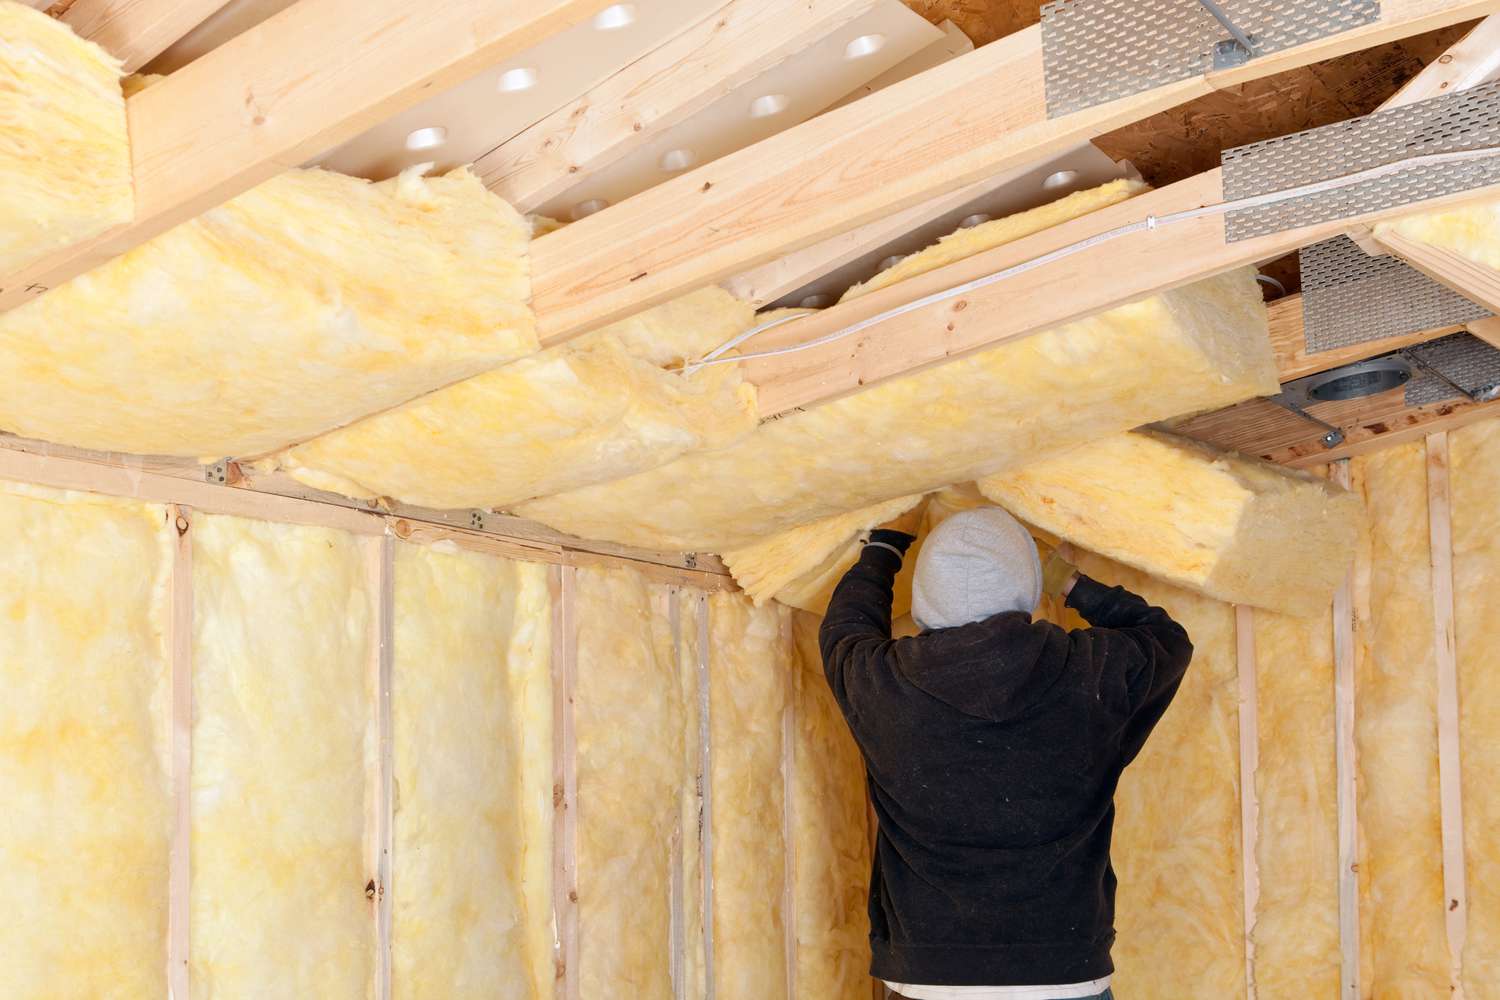
Step 5: Securing the Insulation
After installing the insulation, it’s important to properly secure it in place to ensure long-lasting effectiveness. Here are the steps to secure the insulation:
- Inspect the Installation: Take a closer look at the installed insulation to ensure it is evenly distributed and properly fitted. Check for any gaps or loose areas that may require adjustment.
- Use Insulation Fasteners: If you haven’t already, use insulation fasteners to secure the insulation to the joists or rafters. Insulation fasteners help hold the insulation in place and prevent it from sagging or shifting over time.
- Staple or Tape the Seams: If you used fiberglass batts, staple the paper or foil facing to the joists along the seams. This helps to ensure a tight seal and prevent air leakage. If you used foam boards, use foil tape to seal the seams and create a continuous barrier.
- Pay Attention to Electrical Fixtures: When working around light fixtures or electrical outlets, avoid covering them with insulation. Leave a gap around these fixtures to ensure proper ventilation and prevent potential fire hazards.
By securing the insulation properly, you ensure that it remains in place and performs at its best. This step also helps maintain the integrity of your insulation system over time.
Once the insulation is securely in place, you’re ready for the final step: sealing and adding finishing touches to enhance the insulation’s effectiveness.
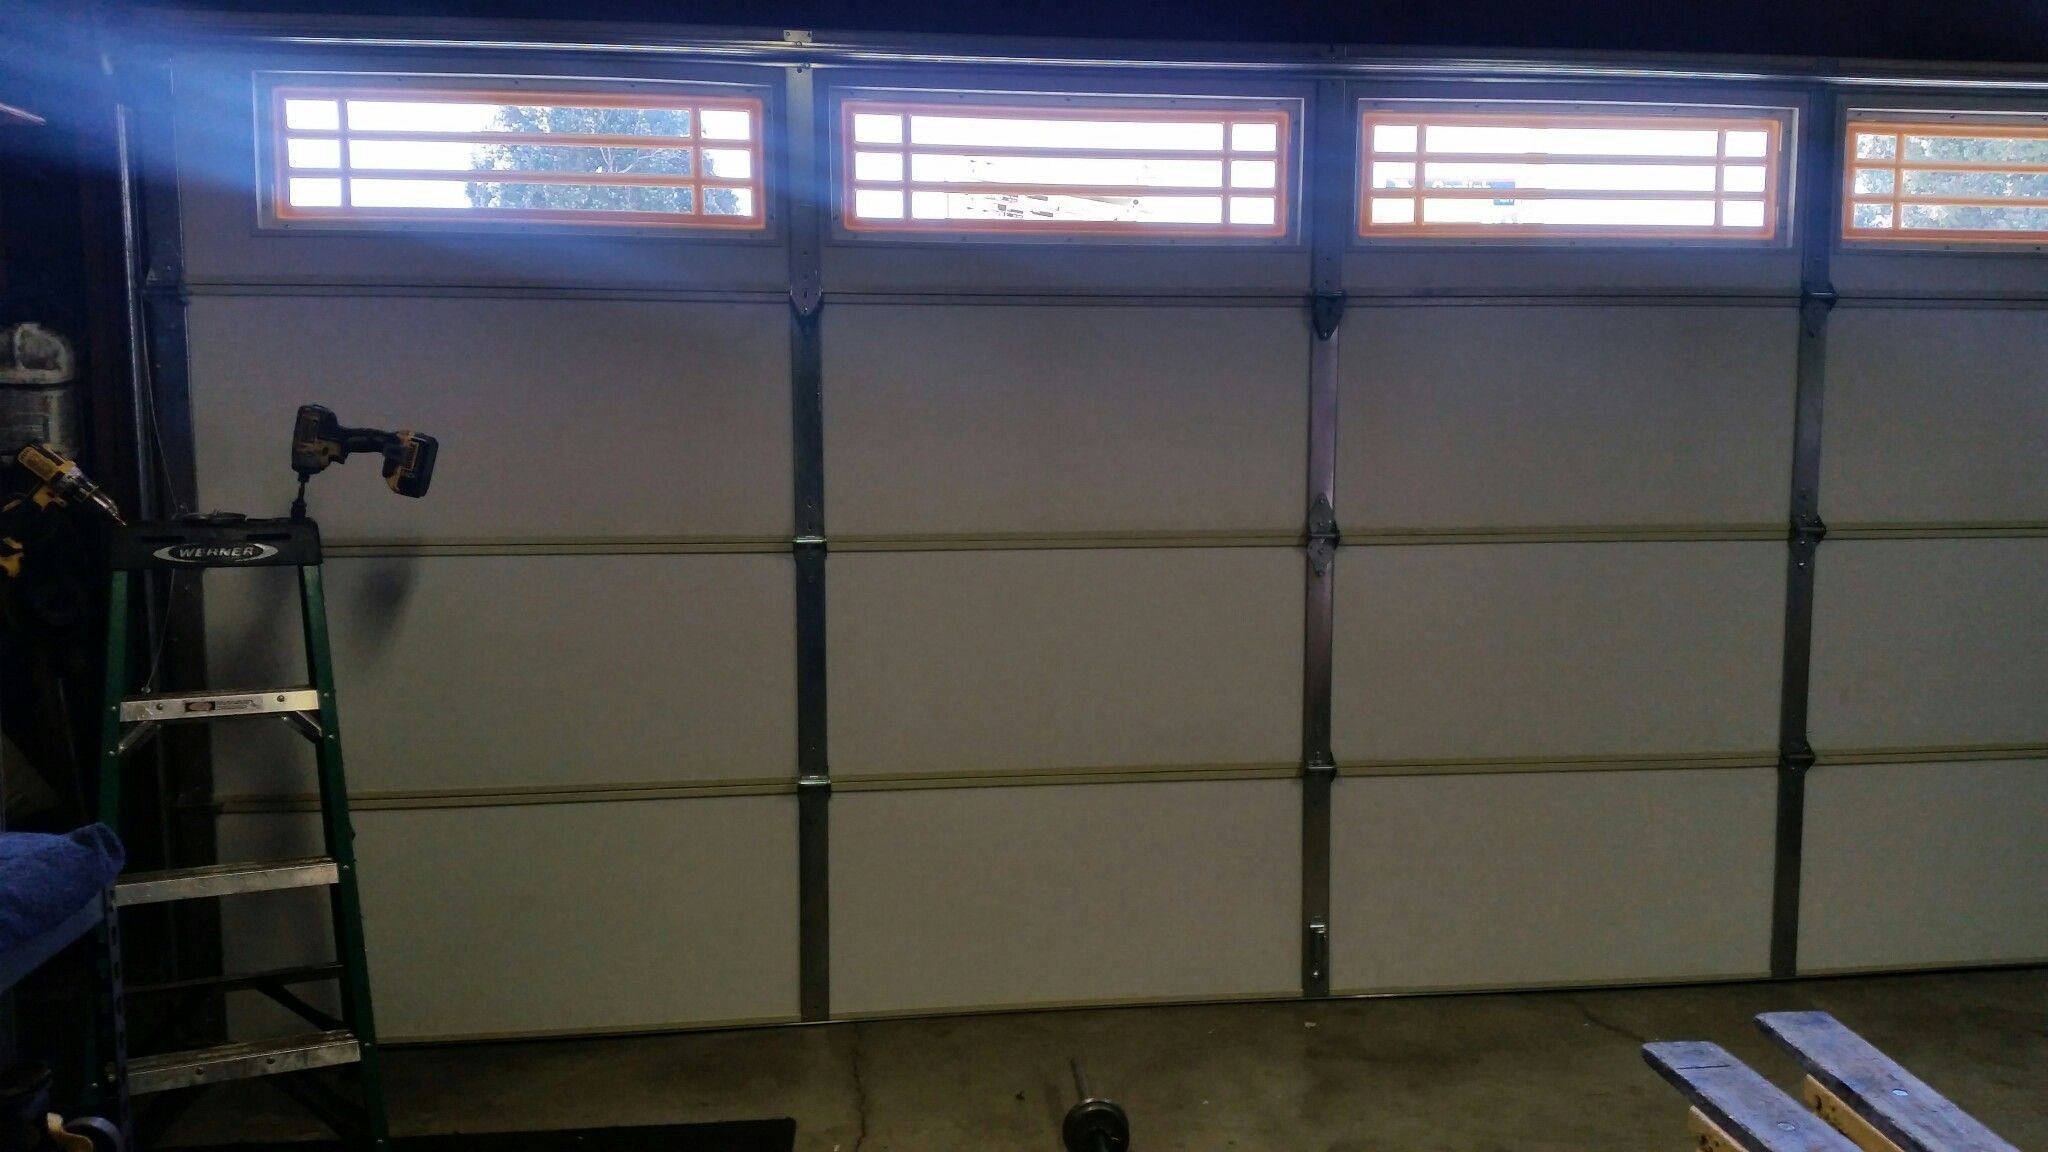
Step 6: Sealing and Finishing Touches
Now that the insulation is installed and secured, it’s time to seal any gaps and add finishing touches to improve the overall effectiveness of your garage ceiling insulation. Follow these steps:
- Seal Air Leaks: Inspect the insulation installation for any gaps or openings that may allow air to leak through. Use caulk or sealant to seal these gaps, paying close attention to areas around electrical boxes, pipes, and vents. Properly sealing the insulation helps maintain the temperature control within your garage.
- Install Weatherstripping: If your garage has a door leading to the main house or the outdoors, consider installing weatherstripping to create a tight seal. This will prevent drafts and further improve energy efficiency.
- Add Insulating Covers: If you have recessed light fixtures in your garage ceiling, consider adding insulating covers or housings to prevent heat loss through these fixtures. These covers help maintain the insulation effectiveness while ensuring safety.
- Inspect the Vapor Barrier: If you installed a vapor barrier during the insulation process, inspect it for any tears or damage. Repair or replace it as needed to maintain its effectiveness in preventing moisture intrusion.
Remember to consult your local building codes and regulations regarding insulation requirements and vapor barrier installations specific to your area. Compliance with these guidelines ensures that your insulation project meets safety standards.
By properly sealing gaps and adding finishing touches, you can maximize the efficiency of your insulation and create a more energy-efficient garage space.
Congratulations! You have successfully completed the process of insulating your garage ceiling. Enjoy the benefits of a well-insulated garage, including better temperature regulation, energy savings, and enhanced comfort.
Remember to clean up any debris and properly dispose of any waste materials from the insulation process. Now you can fully utilize your garage space without worrying about extreme temperature fluctuations.
Thank you for following our guide on how to insulate a garage ceiling. We hope this comprehensive step-by-step process has been helpful to you. If you have any further questions or need additional assistance, don’t hesitate to reach out. Happy insulating!
Read more: How To Insulate Garage Floor
Conclusion
Insulating your garage ceiling is a smart investment that can greatly improve the comfort and energy efficiency of your garage space. By following the steps outlined in this guide, you can successfully insulate your garage ceiling and enjoy the benefits for years to come.
Starting with an assessment of your garage ceiling, you gained an understanding of the size, existing insulation, climate, and budget considerations. Gathering the right materials and tools ensured a smooth insulation process.
Preparing the garage ceiling by cleaning, sealing air leaks, and addressing any moisture issues created a solid foundation for the insulation to perform optimally. Then, with proper measurement and fitting, you installed the insulation, securing it in place to prevent shifting or sagging over time.
The next step involved thoroughly inspecting and sealing any gaps or seams to prevent air leakage and enhance the overall effectiveness of the insulation. Adding finishing touches such as weatherstripping, insulating covers for light fixtures, and carefully inspecting the vapor barrier provided the final touches for a well-sealed and energy-efficient garage ceiling.
Remember, proper insulation not only helps regulate the temperature in your garage but also reduces energy costs. It creates a more comfortable environment for various activities, whether you’re using your garage as a workshop, storage space, or even converting it into a living area.
By following this comprehensive guide and paying attention to the specific needs of your garage, you have taken an essential step towards creating a more functional and energy-efficient space.
Thank you for joining us on this journey to insulate your garage ceiling. We hope you found this guide informative and helpful. If you have any further questions or need additional guidance, feel free to reach out. Happy insulating!
Frequently Asked Questions about How To Insulate A Garage Ceiling
Was this page helpful?
At Storables.com, we guarantee accurate and reliable information. Our content, validated by Expert Board Contributors, is crafted following stringent Editorial Policies. We're committed to providing you with well-researched, expert-backed insights for all your informational needs.


0 thoughts on “How To Insulate A Garage Ceiling”