
Articles
How To Install Insulation In The Ceiling
Modified: May 6, 2024
Learn how to install insulation in your ceiling with these step-by-step articles. Ensure a comfortable and energy-efficient home.
(Many of the links in this article redirect to a specific reviewed product. Your purchase of these products through affiliate links helps to generate commission for Storables.com, at no extra cost. Learn more)
Introduction
Installing insulation in the ceiling is an important step in improving energy efficiency and maintaining a comfortable living space. It helps to regulate temperature, reduce noise, and lower energy costs. Whether you are insulating a new construction or upgrading an existing ceiling, this guide will walk you through the steps to install insulation effectively.
Before you begin, it is essential to gather the necessary tools and materials. You will need insulation batts or rolls, a utility knife, a measuring tape, a staple gun, a ladder or scaffolding, safety goggles, a face mask, and gloves. Ensure that you have these items readily available before starting the installation process.
Measuring and calculating the required amount of insulation is the next crucial step. It is essential to determine the square footage of the ceiling and the desired R-value. The R-value is a measure of the insulation’s thermal resistance, and the higher the R-value, the greater the insulation’s effectiveness. Consult local building codes or an energy specialist to determine the appropriate R-value for your location.
Preparing the ceiling for installation involves checking for any moisture or mold issues and addressing them before proceeding. It is also crucial to seal any air leaks or gaps in the ceiling to maximize the insulation’s efficiency. Use caulking or foam sealant to seal any cracks or openings.
Now, let’s delve into the step-by-step process of installing insulation in the ceiling. Get ready to transform your home into a more energy-efficient and comfortable space!
Key Takeaways:
- Properly insulating your ceiling can lead to increased energy efficiency, improved comfort, noise reduction, lower utility costs, and environmental benefits. It’s a worthwhile investment for a more sustainable and comfortable living space.
- Before installing insulation, gather the necessary tools and materials, measure and calculate the required amount of insulation, and prepare the ceiling for installation. Following a systematic approach ensures a successful and effective insulation installation process.
Step 1: Gather the necessary tools and materials
Before you start the insulation installation process, it’s essential to collect all the tools and materials you’ll need. Having everything on hand will streamline the process and prevent unnecessary interruptions. Here’s a list of the tools and materials required for installing insulation in the ceiling:
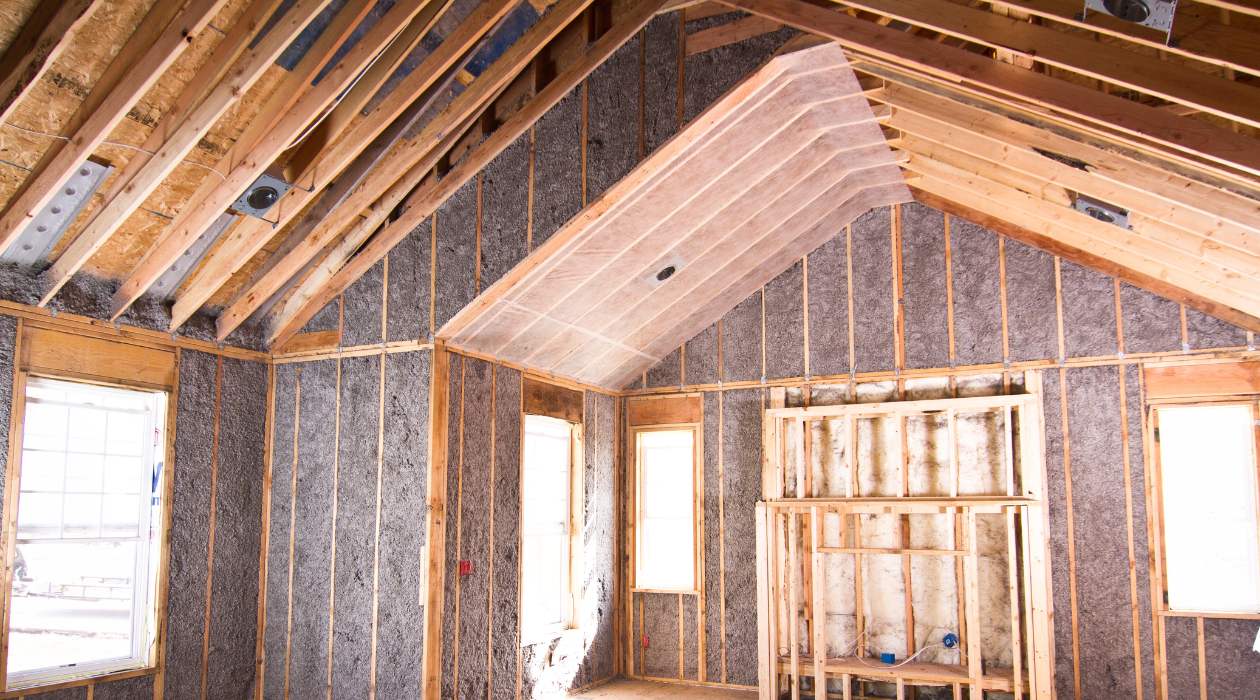
- Insulation batts or rolls: Choose the type of insulation that suits your needs and budget. Common options include fiberglass, mineral wool, and cellulose.
- Utility knife: A sharp utility knife will come in handy for cutting and trimming the insulation.
- Measuring tape: Accurate measurements are crucial for calculating the amount of insulation you’ll need.
- Staple gun: You’ll use a staple gun to secure the insulation to the ceiling joists or rafter beams.
- Ladder or scaffolding: Depending on the height of the ceiling, you may need a ladder or scaffolding to reach the installation area safely.
- Safety goggles: Protect your eyes from any debris or insulation particles by wearing safety goggles.
- Face mask: Insulation materials can release small particles into the air during installation, so wearing a face mask is essential to prevent inhaling them.
- Gloves: Insulation materials can be irritating to the skin, so wear gloves to protect your hands during the installation process.
Make sure you have all these tools and materials before starting the installation. Double-check each item to avoid any delays or missing equipment during the process. With everything prepared, you’ll be ready to move on to the next step.
Step 2: Measure and calculate the required amount of insulation
Accurate measurements are crucial for calculating the amount of insulation you’ll need for your ceiling. By determining the square footage of the ceiling and the desired R-value, you can ensure that you have enough insulation to effectively insulate the space.
Here’s a step-by-step guide on how to measure and calculate the required amount of insulation:
- Measure the length and width of the ceiling: Use a measuring tape to determine the dimensions of the ceiling. For irregularly shaped ceilings, break it down into rectangular sections and measure each section separately.
- Calculate the area: Multiply the length and width measurements to calculate the square footage of each section. If you have multiple sections, add the square footage of each section together to get the total square footage.
- Determine the desired R-value: The R-value determines the insulation’s effectiveness in resisting heat flow. Check local building codes or consult an energy specialist to determine the recommended R-value for your location.
- Use an insulation calculator: Online insulation calculators can help you determine the amount of insulation needed based on the square footage and desired R-value. Simply enter the measurements and R-value, and the calculator will provide an estimate of the required insulation quantity.
- Consider extra insulation: It’s always a good idea to have some extra insulation on hand to fill in gaps or to replace damaged sections. Add a small buffer to your calculated amount to make sure you have enough insulation for the job.
By accurately measuring and calculating the required amount of insulation, you can ensure that you purchase the right quantity and avoid any delays or shortages during the installation process. Remember, it’s better to have a little extra insulation than to run out midway through the project. With the calculations complete, you’re ready to move on to preparing the ceiling for installation in the next step.
Step 3: Prepare the ceiling for installation
Before you begin installing insulation in the ceiling, it’s crucial to prepare the area properly. This step involves addressing any moisture or mold issues and sealing any air leaks or gaps in the ceiling to maximize the effectiveness of the insulation.
Here’s a step-by-step guide on how to prepare the ceiling for insulation installation:
- Check for moisture or mold issues: Inspect the ceiling for any signs of moisture or mold. If you notice any water stains, discoloration, or a musty odor, it’s crucial to address these issues before proceeding with the insulation installation. Fix any leaks or ventilation problems and allow the ceiling to dry completely.
- Seal air leaks and gaps: Insulation performs best when the area is airtight. Inspect the ceiling for any cracks, gaps, or openings that could allow air to escape or enter the space. Use caulking or foam sealant to seal these areas, ensuring a tight seal.
- Consider adding a vapor barrier: In certain climates or situations, it may be necessary to install a vapor barrier to prevent moisture from entering the ceiling and causing issues. Consult local building codes or an energy specialist to determine if a vapor barrier is necessary for your location.
- Remove any obstructions: Before installing insulation, clear the ceiling area of any obstructions such as wires, pipes, or ductwork. This ensures a smooth installation process and allows the insulation to lay flat against the ceiling.
By properly preparing the ceiling, you create an optimal environment for insulation installation. Addressing moisture issues, sealing air leaks, and removing obstructions ensures that the insulation can perform at its best. With the ceiling prepared, you’re now ready to move on to the next step: installing insulation in the first section of the ceiling.
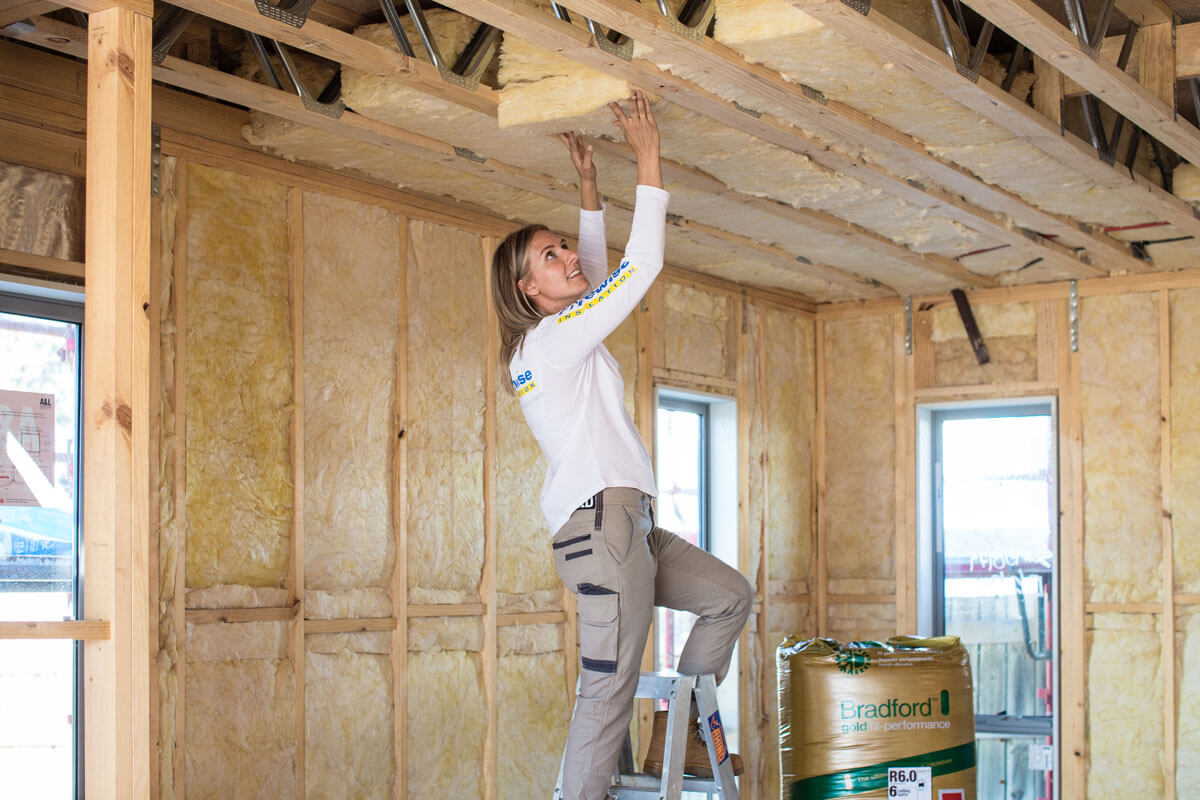
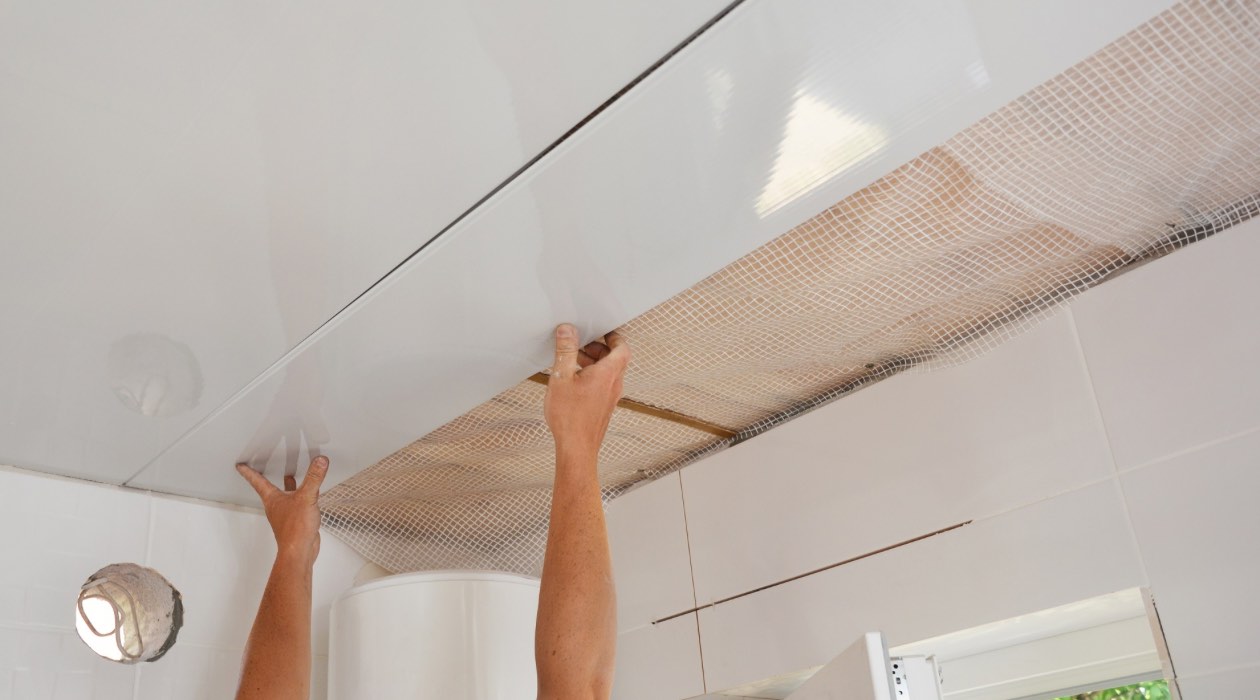
Step 4: Install insulation in the first section of the ceiling
Now that you have prepared the ceiling, it’s time to start installing the insulation. Begin by focusing on one section of the ceiling at a time. This will help ensure a thorough and efficient installation process.
Here’s a step-by-step guide on how to install insulation in the first section of the ceiling:
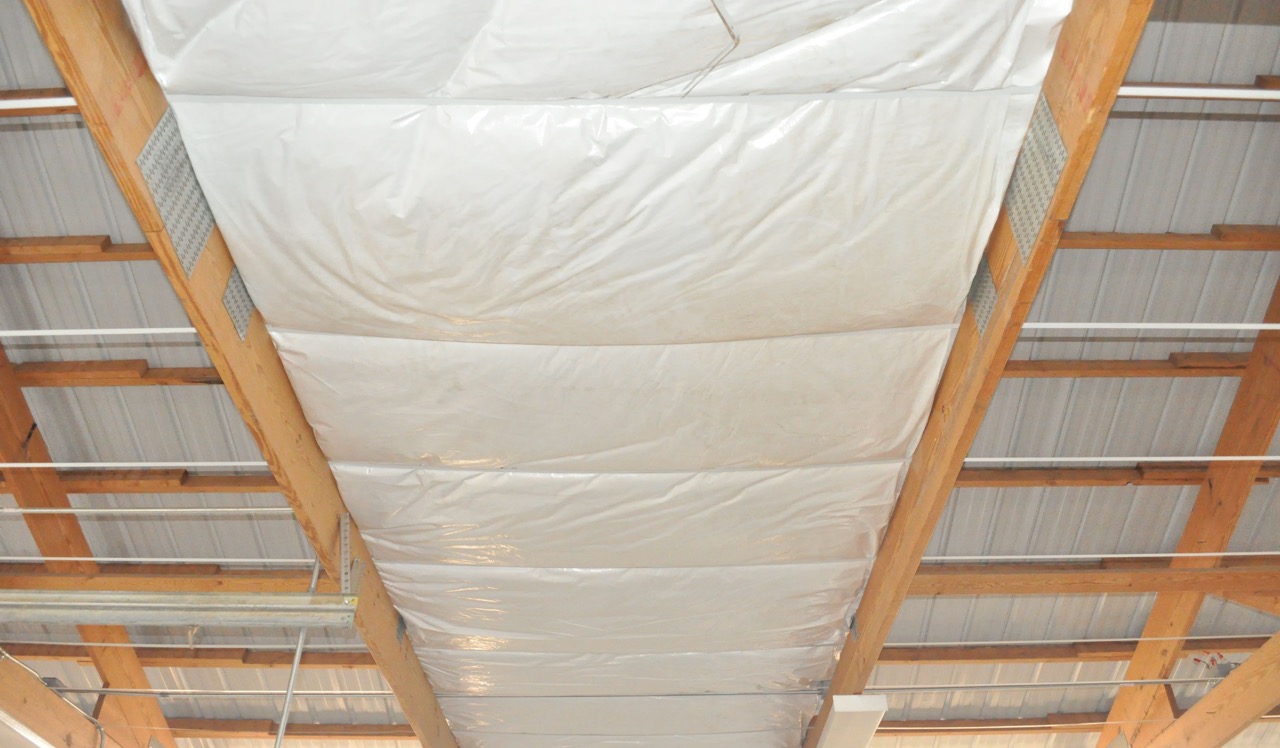
- Start at one end of the section: Begin at one end of the ceiling section and unroll the insulation batt or roll. Make sure the insulation is facing the correct side, with the vapor barrier (if applicable) facing down towards the room.
- Cut the insulation to fit: Use a utility knife to cut the insulation to the length needed for the section. Remember to leave a slight overhang on each end to ensure a snug fit.
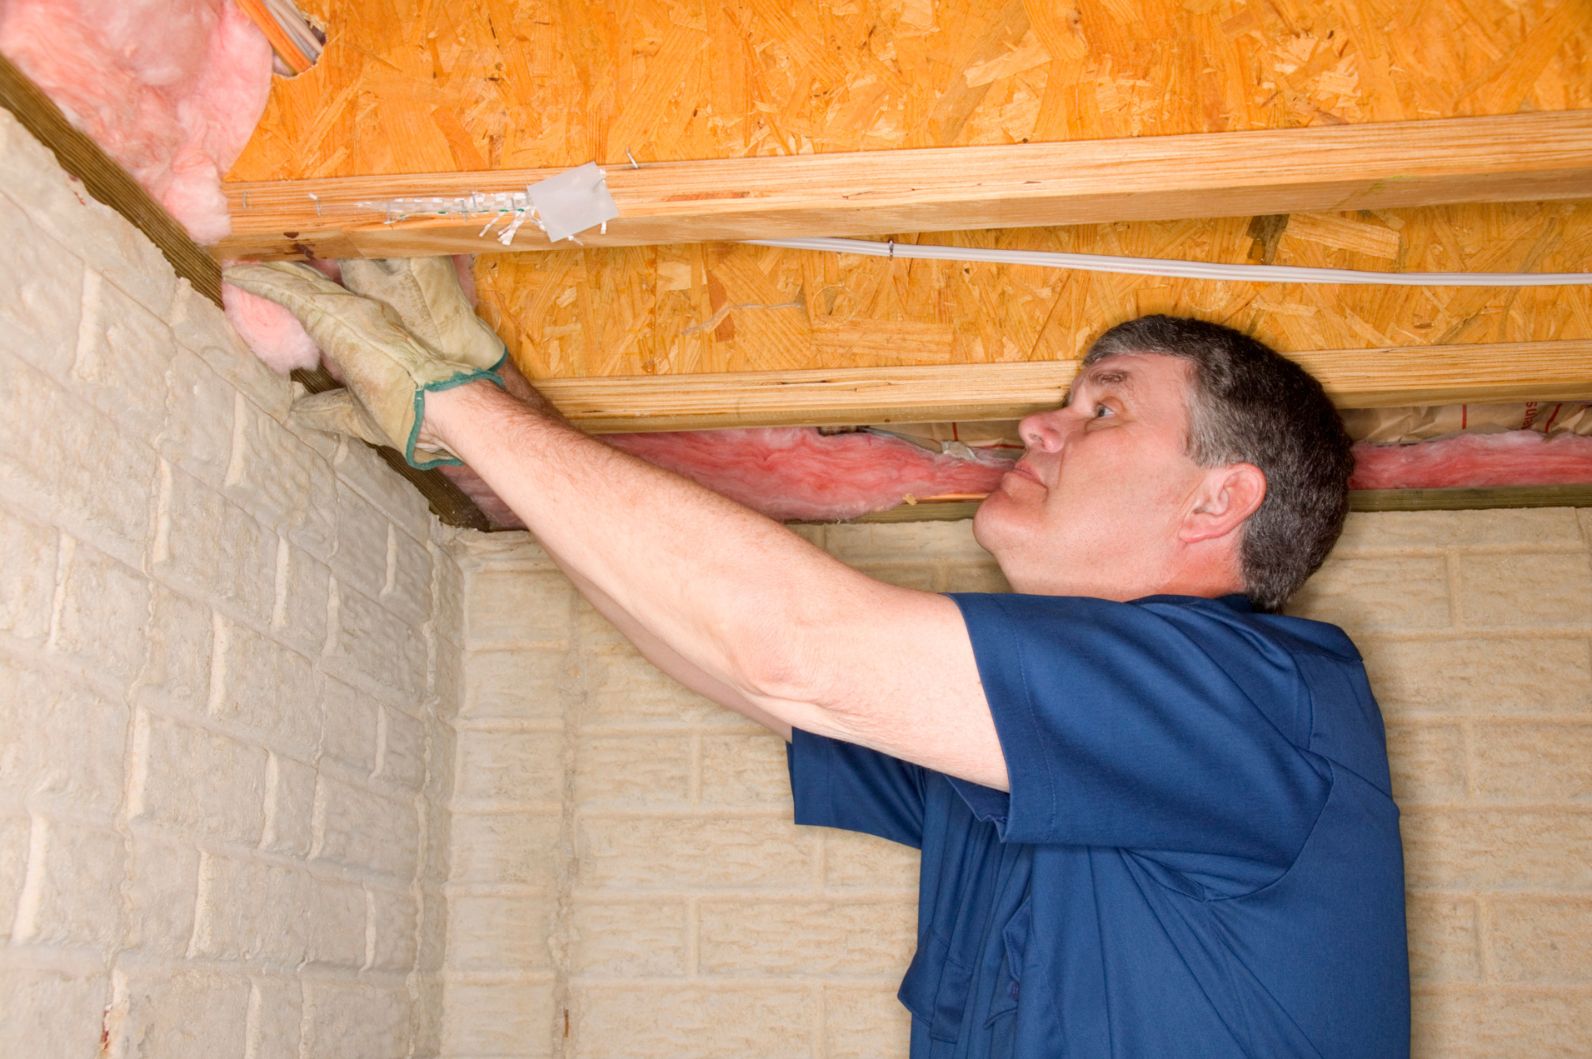
- Place the insulation between the ceiling joists or rafter beams: Lift the insulation and position it between the ceiling joists or rafter beams. Ensure that the insulation is fully extended and covers the entire width of the section.
- Secure the insulation: Use a staple gun to attach the insulation to the joists or beams. Place staples approximately every 12 inches along the edges and in the center of the insulation to hold it in place firmly.
- Avoid compressing the insulation: Be careful not to compress the insulation while securing it. Maintaining the loft and thickness of the insulation is crucial for its effectiveness. Ensure that the insulation is evenly distributed and not compressed or squeezed between the joists.
- Repeat for the remaining sections: Once the insulation is securely installed in the first section, move on to the next section of the ceiling and repeat the process. Work systematically until all sections of the ceiling are properly insulated.
Installing insulation in sections allows you to focus on one area at a time and ensures a thorough installation process. By following these steps, you can effectively install the insulation in the first section of the ceiling. Now it’s time to move on to the next step: installing insulation in the remaining sections of the ceiling.
When installing insulation in the ceiling, make sure to wear protective clothing, gloves, and a mask to avoid irritation from the insulation material. Also, be sure to measure and cut the insulation carefully to ensure a proper fit.
Read more: How To Insulate A Garage Ceiling
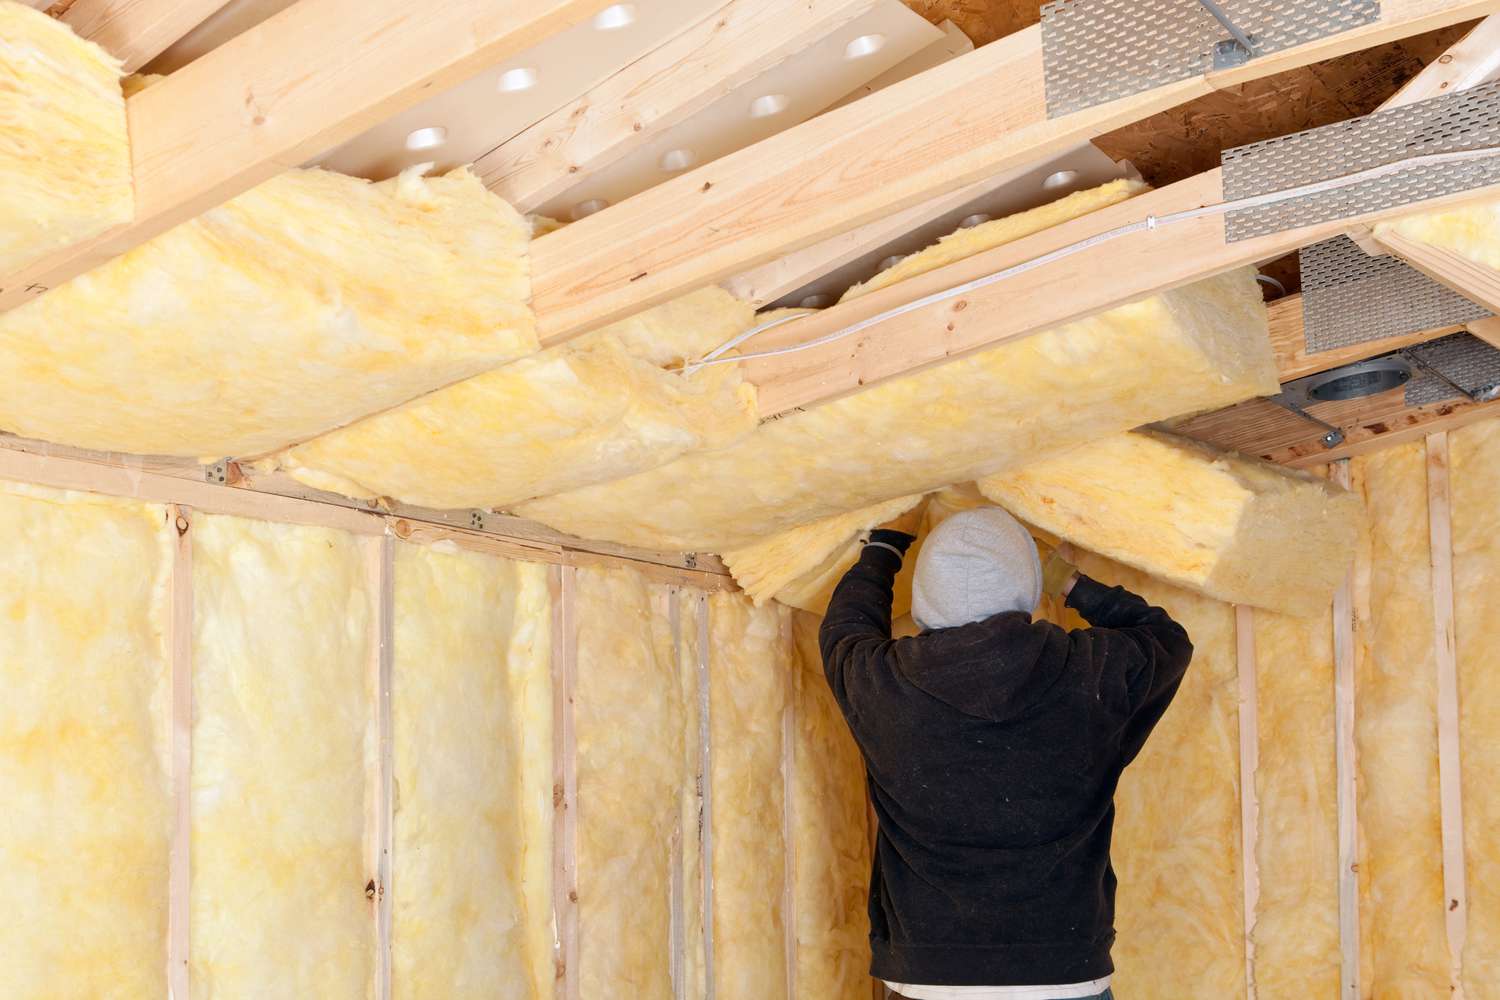
Step 5: Install insulation in the remaining sections of the ceiling
After successfully installing insulation in the first section of the ceiling, it’s time to continue the process by moving on to the remaining sections. By following a systematic approach, you can ensure consistent and effective insulation coverage throughout the entire ceiling.
Here’s a step-by-step guide on how to install insulation in the remaining sections of the ceiling:
- Measure and cut the insulation: Measure the length needed for each section and use a utility knife to cut the insulation batt or roll accordingly. Remember to provide a slight overhang on each end for a secure fit.
- Position the insulation in each section: Lift the insulation and insert it between the ceiling joists or rafter beams in each section. Make sure the insulation fully covers the width and extends to the edges of the section.
- Secure the insulation: Use a staple gun to attach the insulation to the joists or beams. Place staples approximately every 12 inches along the edges and in the center to ensure a secure hold.
- Avoid compressing the insulation: Take care to not compress the insulation while securing it. Maintaining the thickness and loft of the insulation allows it to effectively trap and retain heat or cool air.
- Ensure proper alignment: As you move from section to section, ensure that the insulation aligns seamlessly with the previously installed sections. This helps to create a continuous thermal barrier throughout the entire ceiling.
- Double-check for any gaps or unevenness: Once all sections are installed, inspect the ceiling to ensure there are no gaps or uneven areas in the insulation. Address any issues by adjusting or adding insulation as needed.
By working systematically and following these steps, you can install insulation in the remaining sections of the ceiling efficiently and effectively. Remember to pay attention to detail and ensure a consistent installation throughout. Once all sections are complete, you’re ready to move on to the next step in the process.
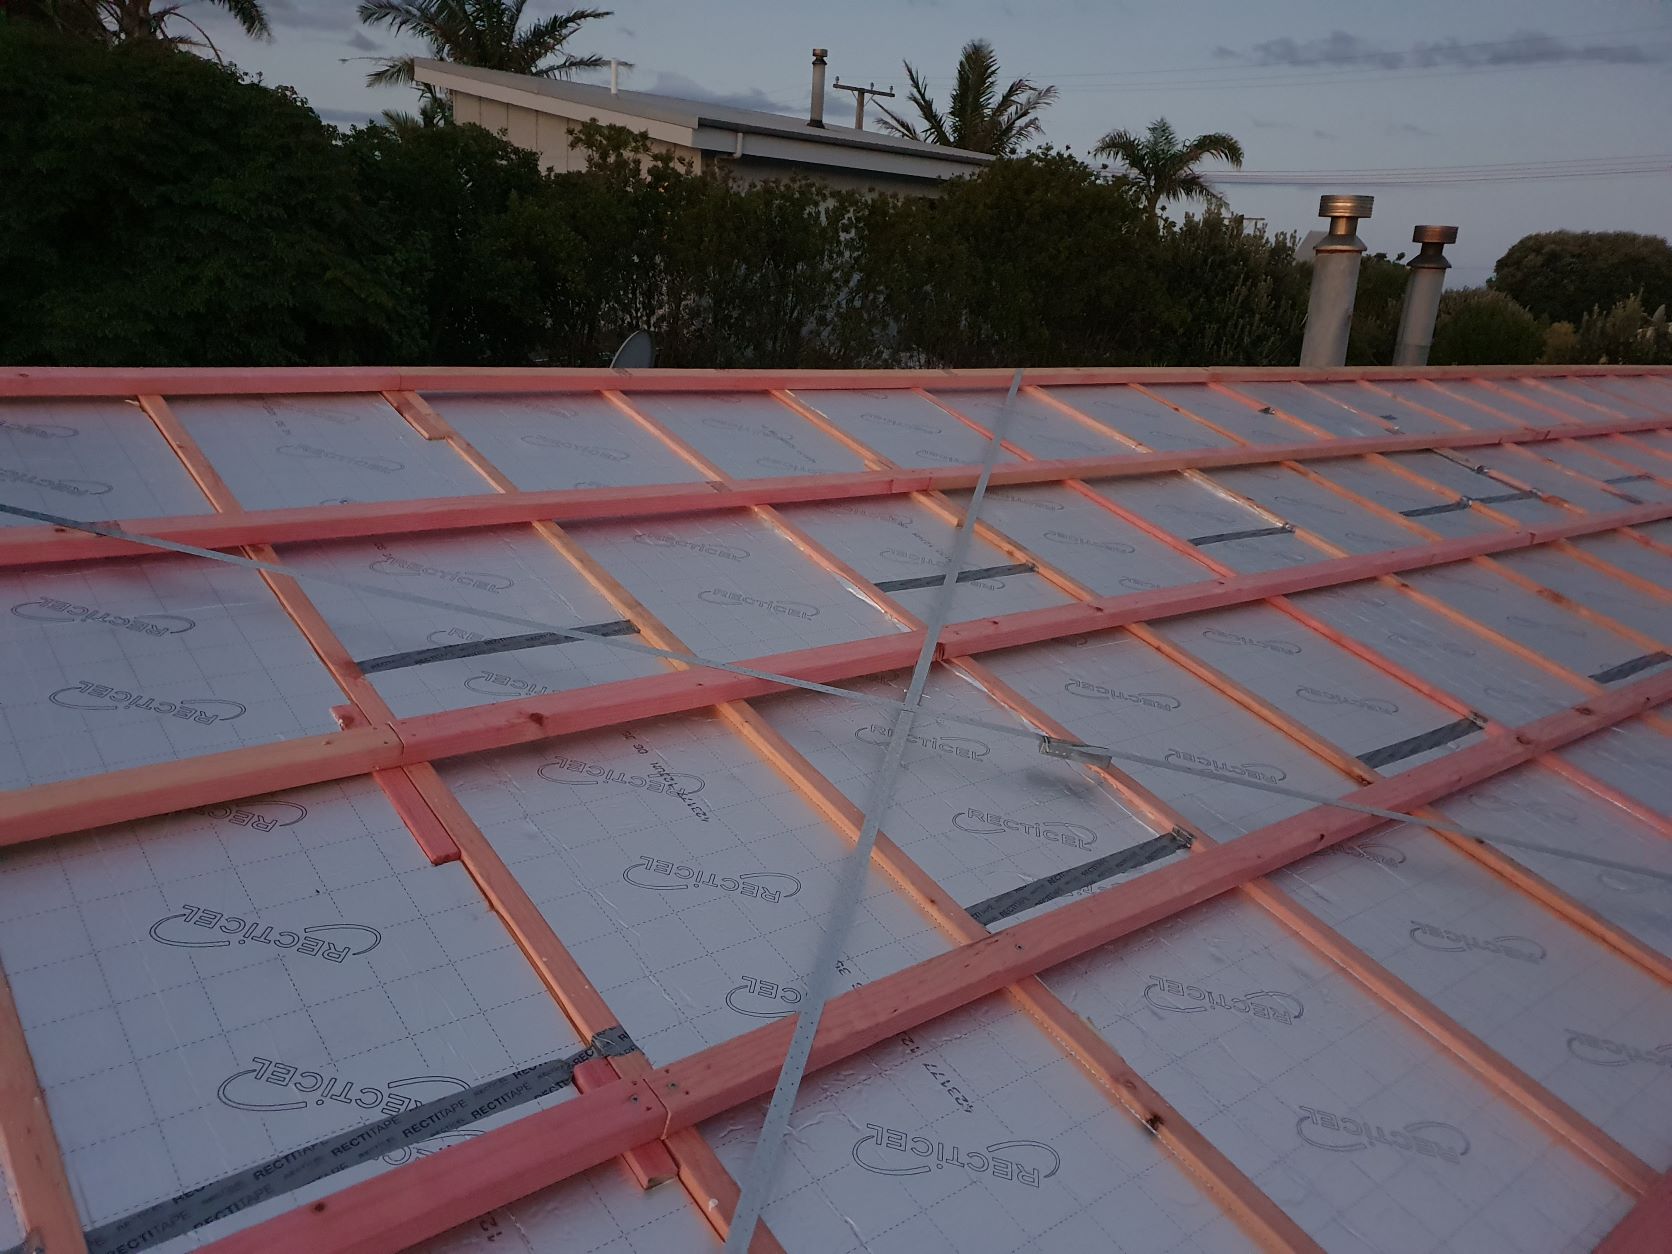
Step 6: Ensure proper ventilation and air circulation
Proper ventilation and air circulation play a vital role in maintaining a comfortable and healthy living space. After installing insulation in the ceiling, it’s important to ensure that these factors are not compromised. Good ventilation helps prevent moisture buildup, reduces the risk of mold or mildew growth, and promotes better indoor air quality.
Here’s a step-by-step guide on how to ensure proper ventilation and air circulation:
- Inspect and clean existing vents: Check the existing vents in the ceiling for any blockages or debris. Clean them thoroughly to ensure proper airflow. Blocked vents can restrict the movement of air and impact the effectiveness of the insulation.
- Add additional vents if needed: Evaluate the ventilation needs of your space. If necessary, consider adding additional vents to improve air circulation. Consult with a professional if you’re unsure about the number or placement of vents required.
- Install insulation baffles: Insulation baffles, also known as rafter vents, can be installed between the rafters or trusses to promote proper airflow. These vents prevent insulation from blocking the soffit vents, allowing air to flow freely.
- Check and maintain attic ventilation: If your ceiling has an attic space, ensure that it is properly ventilated. Check that the attic vents are free from blockages and in good working condition. Adequate attic ventilation helps prevent trapped heat and moisture buildup.
- Consider the use of ceiling fans: Ceiling fans can aid in circulating air throughout the room. Use them in conjunction with the insulation to distribute conditioned air evenly and maintain a consistent temperature.
By following these steps, you can ensure proper ventilation and air circulation in your space, even after installing insulation in the ceiling. Adequate airflow helps maximize the benefits of insulation and improves overall comfort. Take the time to assess and address any ventilation needs to create a healthier and more efficient living environment.
Step 7: Clean up and dispose of any excess materials
After completing the insulation installation in the ceiling, it’s important to clean up the work area and properly dispose of any excess materials. This final step ensures a neat and tidy space while also promoting safety and environmental responsibility.
Here’s a step-by-step guide on how to clean up and dispose of any excess materials:
- Collect and organize the tools: Gather all the tools used during the installation process and organize them in a safe and easily accessible location. This will make it easier for future use or for storing them properly.
- Remove any debris: Insulation installation may produce some debris, such as small cut-off pieces or foam sealant residue. Use a broom or vacuum to clean up any loose debris from the ceiling and surrounding area.
- Dispose of waste materials properly: Sort the waste materials into appropriate containers for recycling or disposal. Many insulation materials can be recycled, so check local recycling facilities or contact a waste management company to determine the best disposal method.
- Seal and secure the waste containers: If you have leftover insulation batts or rolls, ensure they are properly sealed to prevent any air or moisture from affecting their performance. Use plastic bags or wrap them tightly in plastic wrap before storing them.
- Return unused materials: If you have any unopened packages of insulation that you did not use during the installation, consider returning them to the store. This helps reduce waste and can potentially save you money.
- Clean the work area: Once all the materials are properly disposed of, give the work area a final clean. Sweep or vacuum the floor, wipe down any surfaces, and restore the room to its original condition before the insulation installation.
By following these steps, you can ensure a clean and organized work area while responsibly disposing of any excess materials. Cleaning up after the installation ensures a safe and enjoyable living space. With Step 7 completed, you have successfully installed insulation in the ceiling and completed the installation process!
Conclusion
Installing insulation in the ceiling is a critical step in improving energy efficiency, enhancing comfort, and reducing utility costs. By following the step-by-step guide outlined in this article, you can successfully install insulation in your ceiling and enjoy the benefits it brings.
Starting with gathering the necessary tools and materials, measuring and calculating the required amount of insulation, and preparing the ceiling for installation, you set the groundwork for a successful project. Installing insulation in sections, ensuring proper ventilation and air circulation, and cleaning up the work area completes the process.
Properly insulating your ceiling can provide several advantages, including:
- Increased energy efficiency: Insulation helps to minimize heat transfer, reducing the need for excessive heating or cooling and lowering energy consumption.
- Improved comfort: Insulation creates a thermal barrier, helping to maintain a consistent temperature and reducing drafts and cold spots in your living space.
- Noise reduction: Insulation can act as a sound barrier, absorbing and minimizing noise transfer between rooms or from outside sources.
- Lower utility costs: With improved energy efficiency, you can expect to see a decrease in your utility bills as you rely less on heating and cooling systems.
- Environmental benefits: By reducing energy consumption, properly installed insulation contributes to a more sustainable and eco-friendly lifestyle.
Remember, it’s crucial to adhere to local building codes and regulations when installing insulation. If you’re unsure about any step of the process, consult with a professional or seek guidance from energy specialists.
With a well-insulated ceiling, you can create a more comfortable living space, reduce your environmental impact, and save money on energy costs. Start planning your ceiling insulation installation today and enjoy the benefits for years to come!
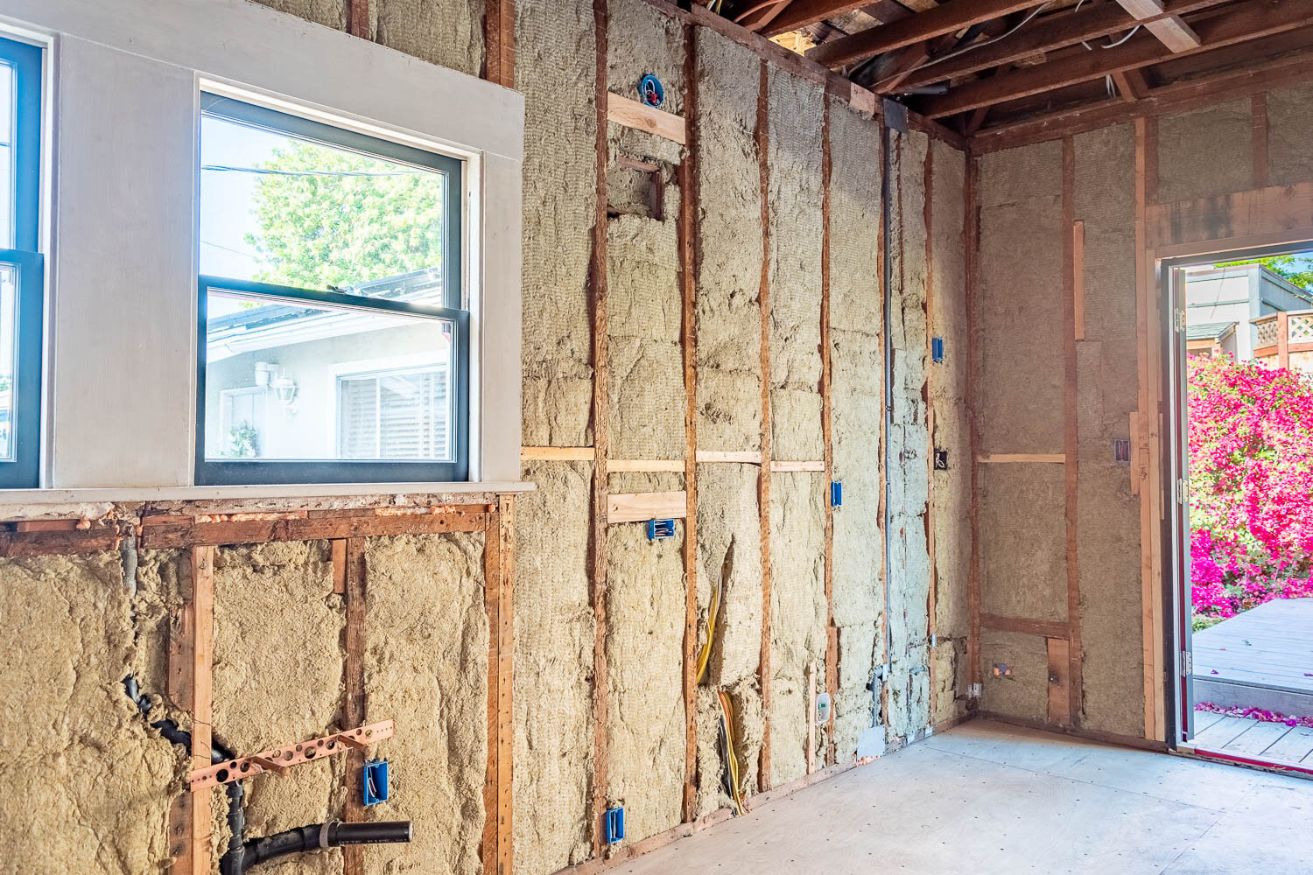
Now that you've tackled ceiling insulation, why not extend your skills to other areas of the home? Properly insulating exterior walls can significantly boost energy efficiency and comfort. Our next guide walks you through every step needed for effective insulation installation on exterior walls. Whether you're a seasoned DIYer or just starting, these practical tips will ensure your project is successful and your home stays cozy year-round.
Frequently Asked Questions about How To Install Insulation In The Ceiling
Was this page helpful?
At Storables.com, we guarantee accurate and reliable information. Our content, validated by Expert Board Contributors, is crafted following stringent Editorial Policies. We're committed to providing you with well-researched, expert-backed insights for all your informational needs.


0 thoughts on “How To Install Insulation In The Ceiling”