
Articles
How To Make Textured Wall Art
Modified: December 7, 2023
Learn how to create stunning textured wall art with this comprehensive guide. Discover expert tips, techniques, and articles to help you master this unique art form.
(Many of the links in this article redirect to a specific reviewed product. Your purchase of these products through affiliate links helps to generate commission for Storables.com, at no extra cost. Learn more)
Introduction
Creating textured wall art is a fantastic way to add depth, dimension, and visual interest to any room in your home. Whether you’re looking to update your living room, bedroom, or even your office, textured wall art can transform a space from plain and ordinary to unique and captivating. Plus, the great news is that you don’t have to be an experienced artist or spend a fortune to achieve stunning textured wall designs.
In this article, we will guide you through the step-by-step process of creating textured wall art. We’ll cover everything from preparing your wall to choosing the right texturing technique, preparing the texturing mixture, and creating the design or pattern that suits your style. So, let’s dive in and discover how you can unleash your creativity and bring life to your walls!
Key Takeaways:
- Transform plain walls into captivating masterpieces with textured wall art. Unleash your creativity and personalize your space with unique designs and patterns using simple materials and techniques.
- Elevate your home decor with textured wall art. From preparation to painting, follow the step-by-step process to create visually stunning and personalized textured walls that reflect your style and creativity.
Materials Needed
Before you begin creating your textured wall art, it’s essential to gather all the necessary materials. Here’s a list of the items you’ll need:
- Painter’s tape
- Drop cloths or plastic sheets
- Sandpaper
- Putty knife
- Joint compound or spackle
- Texturing tools (sponges, brushes, rollers, etc.)
- Paint tray and roller
- Paintbrushes
- Primer
- Paint in your desired colors
- Optional: Stencils or templates for creating patterns
Make sure you have all these materials on hand before you start the project, as it will save you time and make the process smoother. You can find these items at your local hardware store or online.
Step 1: Prepare the Wall
The first step in creating textured wall art is to prepare the wall surface. Start by removing any existing wallpaper or loose paint. If there are any holes or cracks, use sandpaper to smooth them out. Patch up any imperfections with joint compound or spackle, and allow it to dry according to the manufacturer’s instructions.
Once the wall is smooth and free of any debris, protect the surrounding area by applying painter’s tape along the edges of the wall and placing drop cloths or plastic sheets on the floor to catch any drips or spills.
Before moving on to the next step, make sure the wall is clean and dust-free. Use a damp cloth to wipe away any dirt or dust particles.
Preparing the wall properly ensures that the textured surface adheres well and provides a smooth base for your artwork.
Step 2: Choose the Texturing Technique
Now that you have prepared the wall, it’s time to decide on the texturing technique you want to use for your wall art. There are various techniques you can choose from, each offering different textures and effects. Here are a few popular options:
- Sponging: This technique involves using a sponge to create a mottled or stippled effect on the wall. Dip a natural sea sponge or a synthetic sponge into the texturing mixture, then gently press it onto the wall in a random or patterned motion.
- Brushing: Brushing is another commonly used technique for creating texture on walls. Use a large brush or a special texturing brush to apply the mixture in long, sweeping strokes. This technique creates a more pronounced texture.
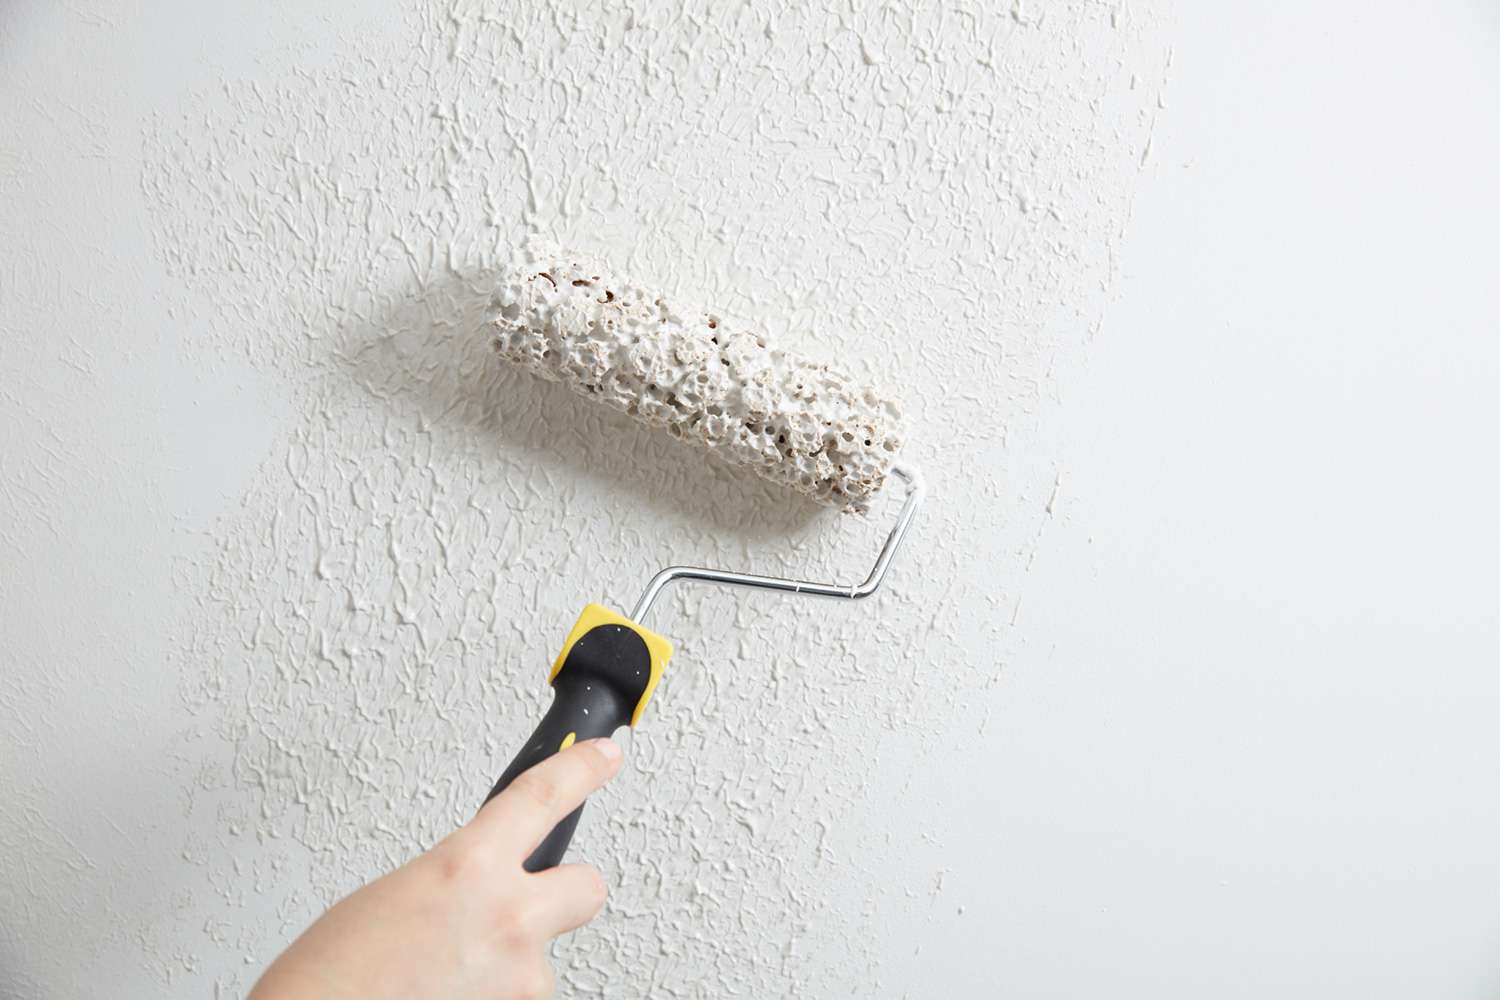
- Rolling: If you prefer a more uniform texture, rolling is a great option. Use a textured paint roller or a specialty roller cover to apply the texturing mixture evenly across the wall. This technique is quick and easy to execute.
- Combining Techniques: You can also get creative by combining different techniques. For example, you can start with a base layer of sponging and then add brush or roller texture on top for a layered effect.
Take some time to consider the style and look you want to achieve. Experiment with small samples on a separate board or wall to see which technique works best for you.
Remember that the choice of texturing technique will greatly influence the final result, so choose one that aligns with your vision and complements your space.
Step 3: Prepare the Texturing Mixture
Now that you have chosen your desired texturing technique, it’s time to prepare the texturing mixture that will be applied to the wall. The texturing mixture is what provides the texture and depth to your wall art.
The most common mixture used for texturing walls is joint compound or spackle. These are readily available at hardware stores and can be mixed with water to achieve the desired consistency. Follow the instructions on the packaging for the correct water-to-compound ratio.
If you want to add more dimension to your textured wall art, you can mix other materials into the joint compound. Here are a few options:
- Sand: Adding sand to the mixture creates a gritty texture that can mimic the look and feel of beach sand.
- Small stones or pebbles: Incorporating small stones or pebbles into the mixture can create an interesting and unique textured effect.
- Glitter or metallic flakes: To add a touch of shimmer and glamour, mix in glitter or metallic flakes for a sparkling textured finish.
Experiment with different combinations until you achieve the desired texture and effect. It’s a good idea to mix small batches at a time to ensure the texturing mixture remains fresh and workable.
Once you have created your texturing mixture, give it a few minutes to set before moving on to the next step. This will allow any air bubbles to rise to the surface and ensure a smooth application.
When creating textured wall art, consider using a variety of materials such as fabric, paper, and found objects to add depth and visual interest to your piece. Experiment with different textures and layering techniques to create a unique and dynamic composition.
Read more: How To Make Plaster Wall Art
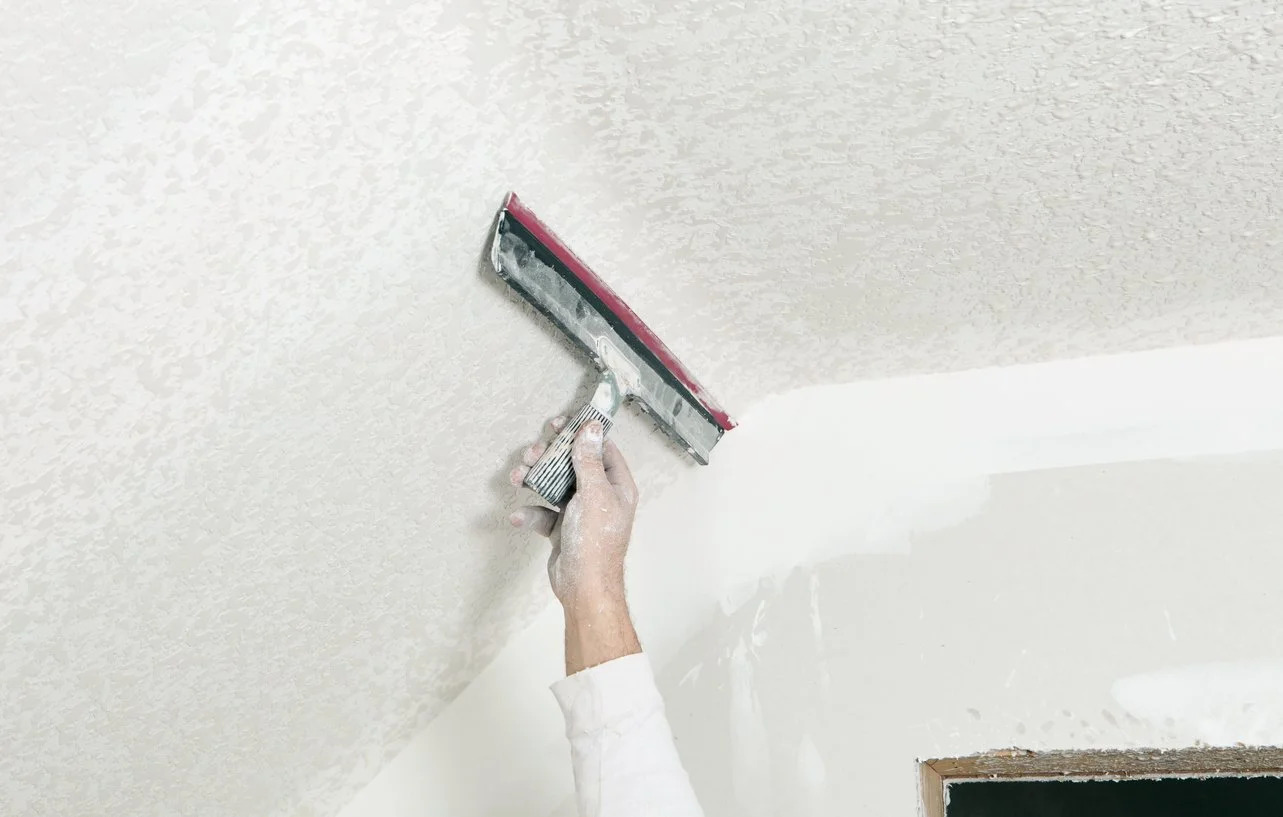
Step 4: Apply the Texturing Mixture
With your texturing mixture prepared, it’s time to apply it to the wall. Start by loading your chosen texturing tool, such as a brush, sponge, or roller, with the mixture.
Begin at one corner of the wall and work in small sections, applying the mixture evenly and smoothly. Use gentle pressure and overlapping strokes to ensure consistent coverage. Be mindful of the desired level of texture you want to achieve, whether it’s a subtle or more pronounced effect.
If you’re using a sponge, dip it into the mixture and lightly press it against the wall, moving in a random or patterned motion. This technique creates soft, textured patterns. For brushing or rolling, apply the mixture in long, sweeping strokes, allowing the texture to build up gradually.
Continue working your way across the wall, reapplying the mixture as needed. Be sure to blend each section seamlessly into the next, maintaining a consistent texture and appearance.
As you apply the texturing mixture, periodically step back and assess the overall look. Make any adjustments or refinements to ensure you’re achieving the desired effect. Take your time during this step, as the application process greatly impacts the final result.
Once you have covered the entire wall with the texturing mixture, allow it to dry according to the manufacturer’s instructions. This typically takes several hours, but it may vary depending on the climate and thickness of the applied mixture.
Make sure to clean your texturing tools promptly after use, as the mixture can harden and become difficult to remove once dry.
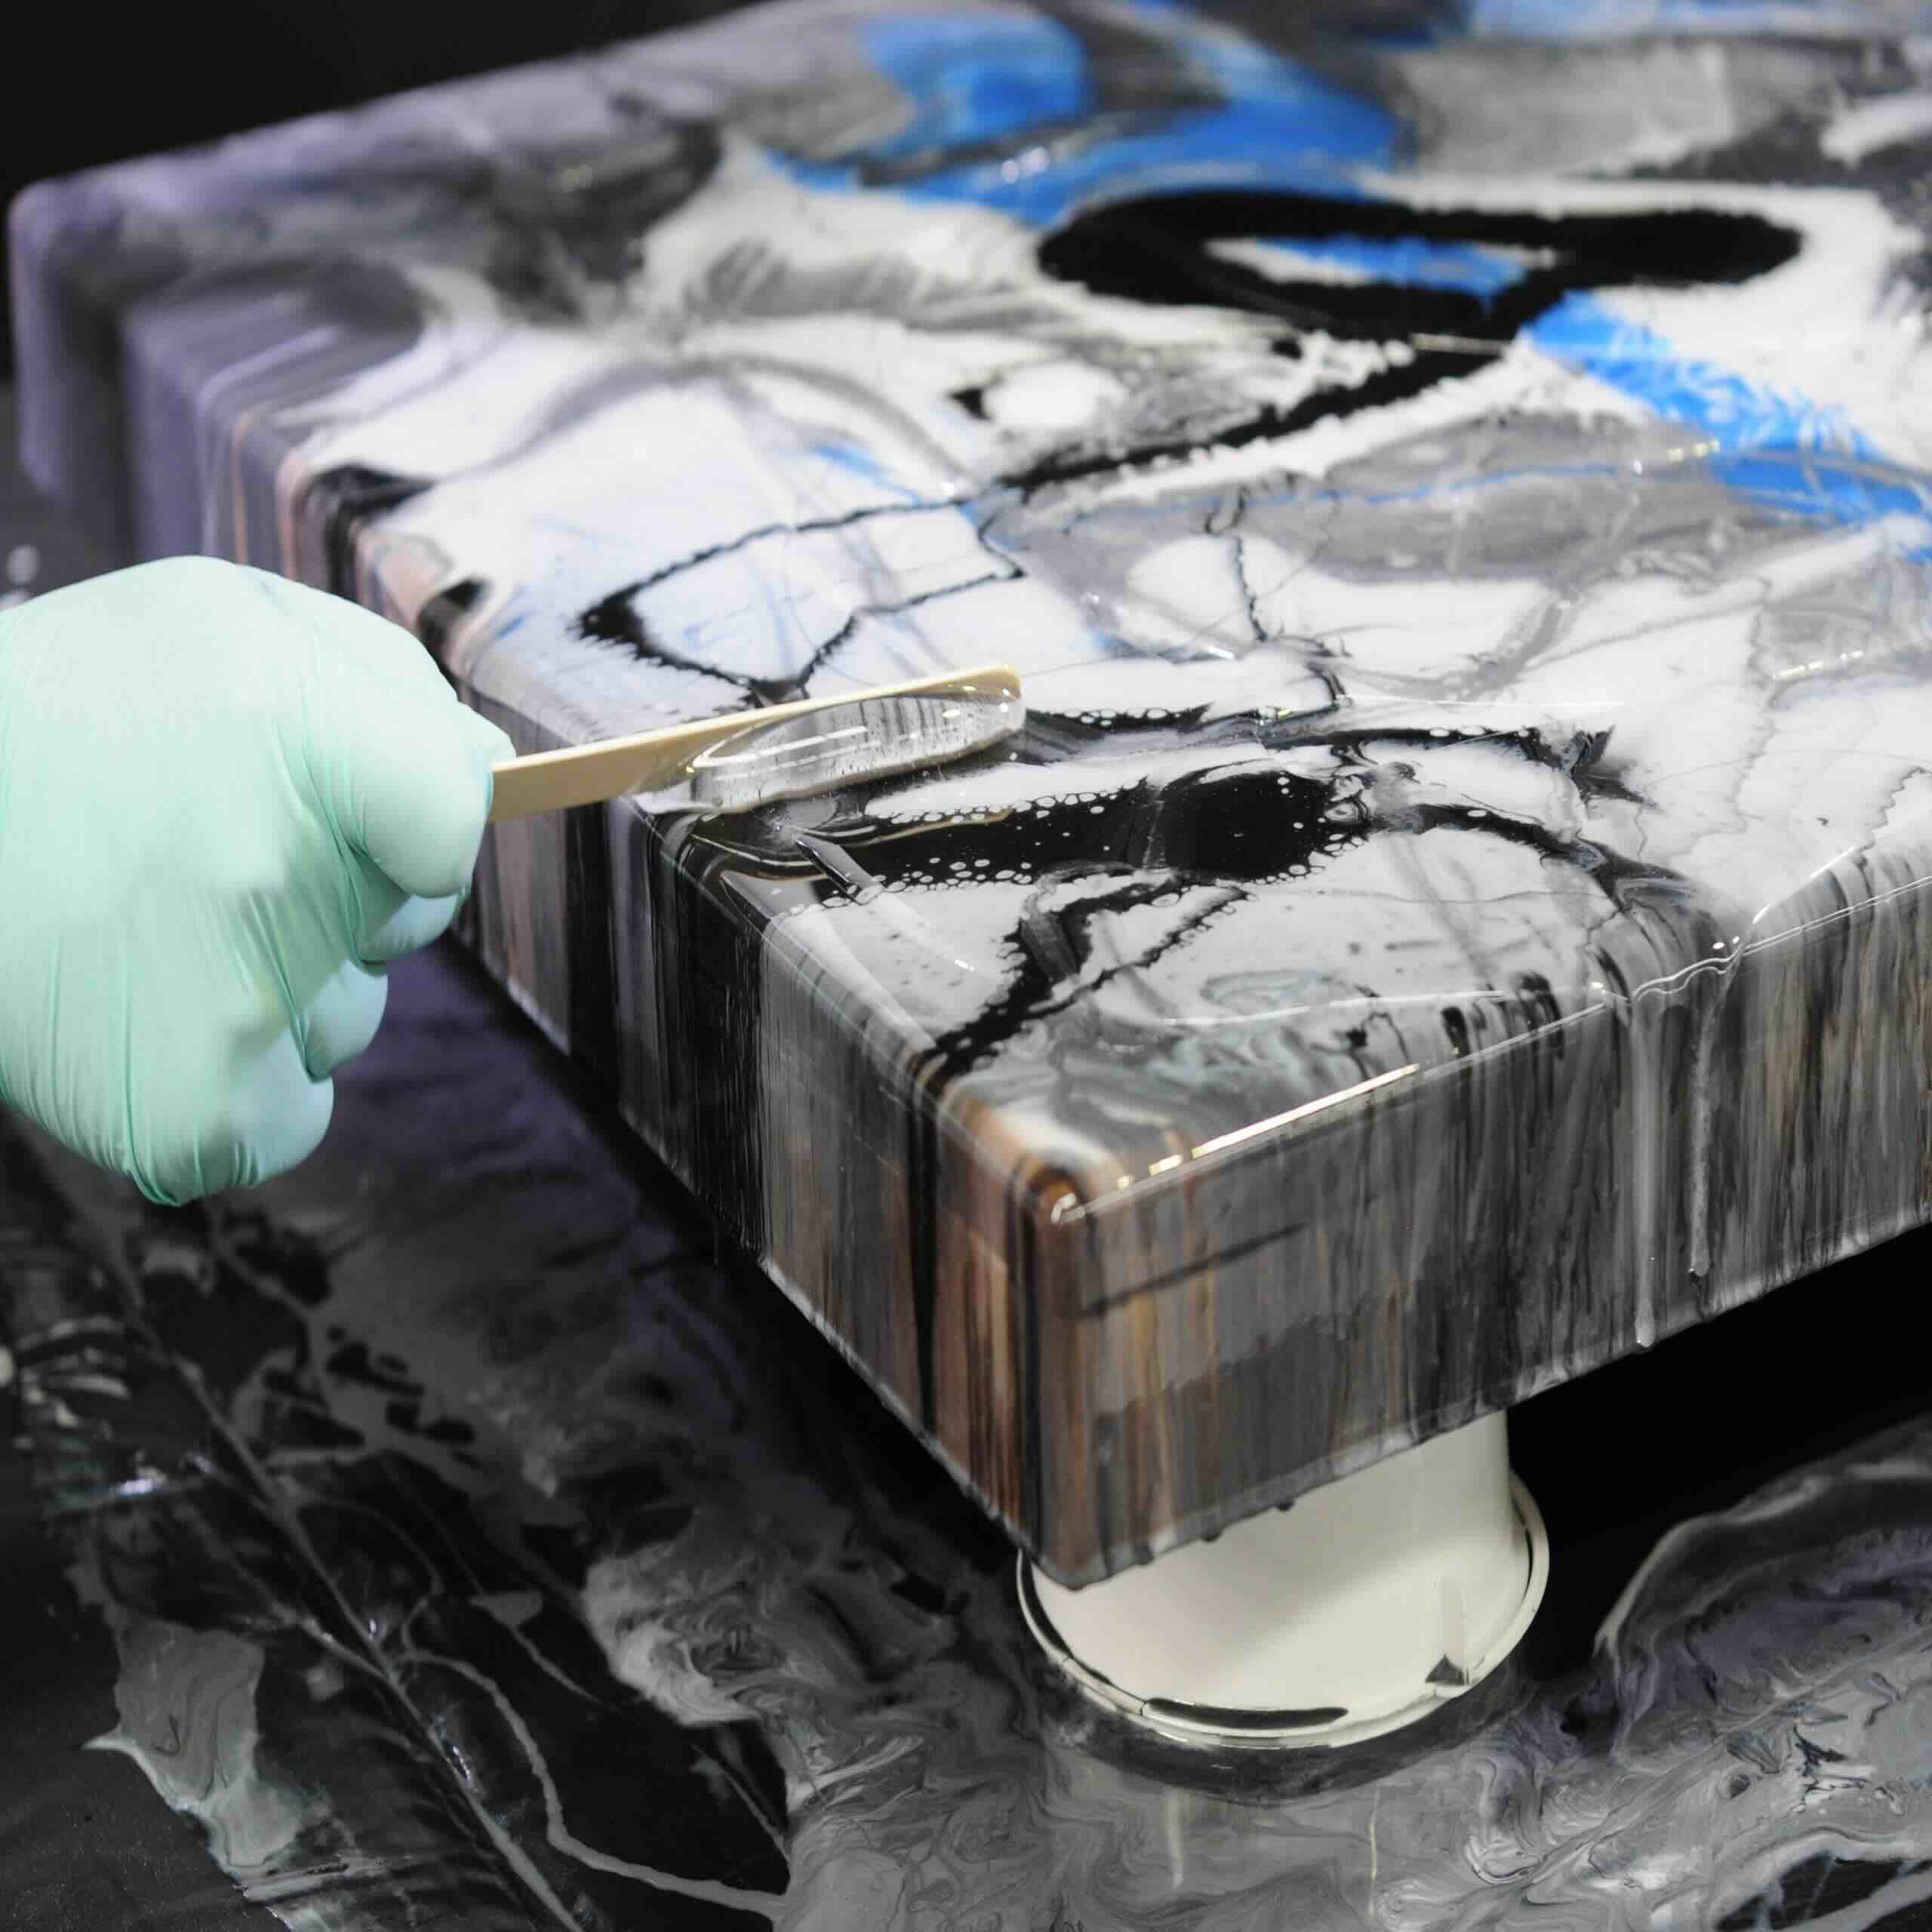
Step 5: Create the Desired Design or Pattern
Now that the texturing mixture has dried and the foundation is set, it’s time to unleash your creativity and create the desired design or pattern on your textured wall art.
If you want a simple and subtle look, you can leave the textured wall as it is, allowing the unique patterns and textures to shine on their own. This minimalist approach can add a touch of sophistication and elegance to your space.
Alternatively, if you’re feeling more adventurous, you can take it a step further and incorporate stencils or templates to create intricate and eye-catching designs. Stencils come in various patterns and motifs, allowing you to achieve a specific theme or style.
Gently position the stencil or template against the wall, securing it in place with painter’s tape. Load a small brush or sponge with paint in your desired colors, and carefully dab or pat the paint over the stencil, making sure not to smudge or shift the stencil. Remove the stencil slowly to reveal the intricate design.
If you prefer a freehand approach, you can use additional texturing tools or even your fingers to manipulate the texture and create texture-rich patterns or abstract designs. Experiment with different techniques and tools to achieve a unique and personalized look.
As you create your design or pattern, step back occasionally to evaluate the overall composition and make any necessary adjustments. Remember, this is your opportunity to add your personal touch and make a statement with your textured wall art.
Take your time and have fun with this step, as it’s where you bring your vision to life and transform your textured wall into a remarkable piece of art.
Step 6: Allow the Mixture to Dry
After creating your desired design or pattern on the textured wall, it’s crucial to allow the texturing mixture to dry completely. Drying times can vary depending on the climate and thickness of the applied mixture, so be patient and give it ample time to dry.
It’s recommended to wait at least 24-48 hours for the texturing mixture to dry thoroughly, ensuring that it sets and hardens properly. During this time, avoid touching or disturbing the textured surface to prevent any smudging or damage.
While waiting for the mixture to dry, ensure the room is well-ventilated to aid in the drying process. Open windows or use fans to circulate air and promote faster drying.
Take this opportunity to clean up your workspace and remove any protective coverings or painter’s tape that you’ve placed to safeguard the surrounding areas.
Once the texturing mixture is completely dry, you can move on to the final steps of priming and painting the wall to further enhance and protect your textured wall art.
Remember, allowing the mixture to dry properly is essential for achieving a durable and long-lasting textured wall that will showcase your creativity and style for years to come.
Step 7: Prime and Paint the Wall
After the texturing mixture has dried completely, it’s time to prime and paint the wall to finish off your textured wall art. Priming and painting not only enhance the visual appeal but also protect the textured surface.
Start by applying a coat of primer to the entire textured wall. Primer helps create a smooth and even surface for the paint, ensuring better adhesion and coverage. Use a paint roller or brush to apply the primer, working in small sections at a time. Allow the primer to dry according to the manufacturer’s instructions before moving on to the next step.
Once the primer is dry, it’s time to apply the paint. Choose your desired color or colors and mix them well in a paint tray. Use a roller for larger areas of the wall and a brush for corners and edges. Apply the paint evenly over the entire wall, allowing the textured surface to peek through, creating depth and highlighting the unique texture you’ve created.
If you prefer a more dramatic effect, you can opt for a contrasting color to make the textured wall art stand out even more. Alternatively, you can use different shades of the same color family to add subtle variation and dimension.
Apply multiple coats of paint as needed, allowing each coat to dry before applying the next. This ensures a smooth and consistent finish. Remember to follow the manufacturer’s instructions regarding drying times between coats.
Once the final coat of paint is applied and dried, step back and admire your beautifully textured wall art. The combination of texture and color creates a stunning visual impact, transforming your space into a unique and captivating environment.
Now that you’ve completed the priming and painting process, you can remove any remaining painter’s tape and touch up any areas that may need attention. Clean up your tools and enjoy your newly transformed, textured wall art!
Read more: How To Make Metal Wall Art
Conclusion
Creating textured wall art is a rewarding and creative project that can completely transform the look and feel of any room in your home. With a few simple steps and some basic materials, you can turn a plain wall into a visually captivating masterpiece.
In this article, we’ve covered the step-by-step process, from preparing the wall and selecting the texturing technique to preparing the texturing mixture and applying it to the wall. We’ve also discussed how to create your desired design or pattern and allowed the mixture to dry. Finally, we primed and painted the wall to finish off the textured wall art.
Remember to take your time throughout the process, experiment with different techniques, and let your creativity shine. Whether you opt for a subtle textured wall or a bold design, the possibilities are endless.
Not only does textured wall art add visual interest and depth to your space, but it also allows you to showcase your personal style and creativity. So, roll up your sleeves, gather your materials, and let your imagination guide you as you embark on this artistic journey.
With a little creativity and attention to detail, you can transform your walls into stunning works of art that will leave a lasting impression on anyone who enters your home.
So why settle for plain walls when you can have textured wall art that speaks volumes and brings life to your space? Start your textured wall art project today and enjoy the remarkable results for years to come.
Frequently Asked Questions about How To Make Textured Wall Art
Was this page helpful?
At Storables.com, we guarantee accurate and reliable information. Our content, validated by Expert Board Contributors, is crafted following stringent Editorial Policies. We're committed to providing you with well-researched, expert-backed insights for all your informational needs.

0 thoughts on “How To Make Textured Wall Art”