Articles
How To Mount Ceramic Wall Art
Modified: August 26, 2024
Discover the best way to mount ceramic wall art with this informative guide. Learn helpful tips and techniques for securely hanging ceramic articles on your walls.
(Many of the links in this article redirect to a specific reviewed product. Your purchase of these products through affiliate links helps to generate commission for Storables.com, at no extra cost. Learn more)
Introduction
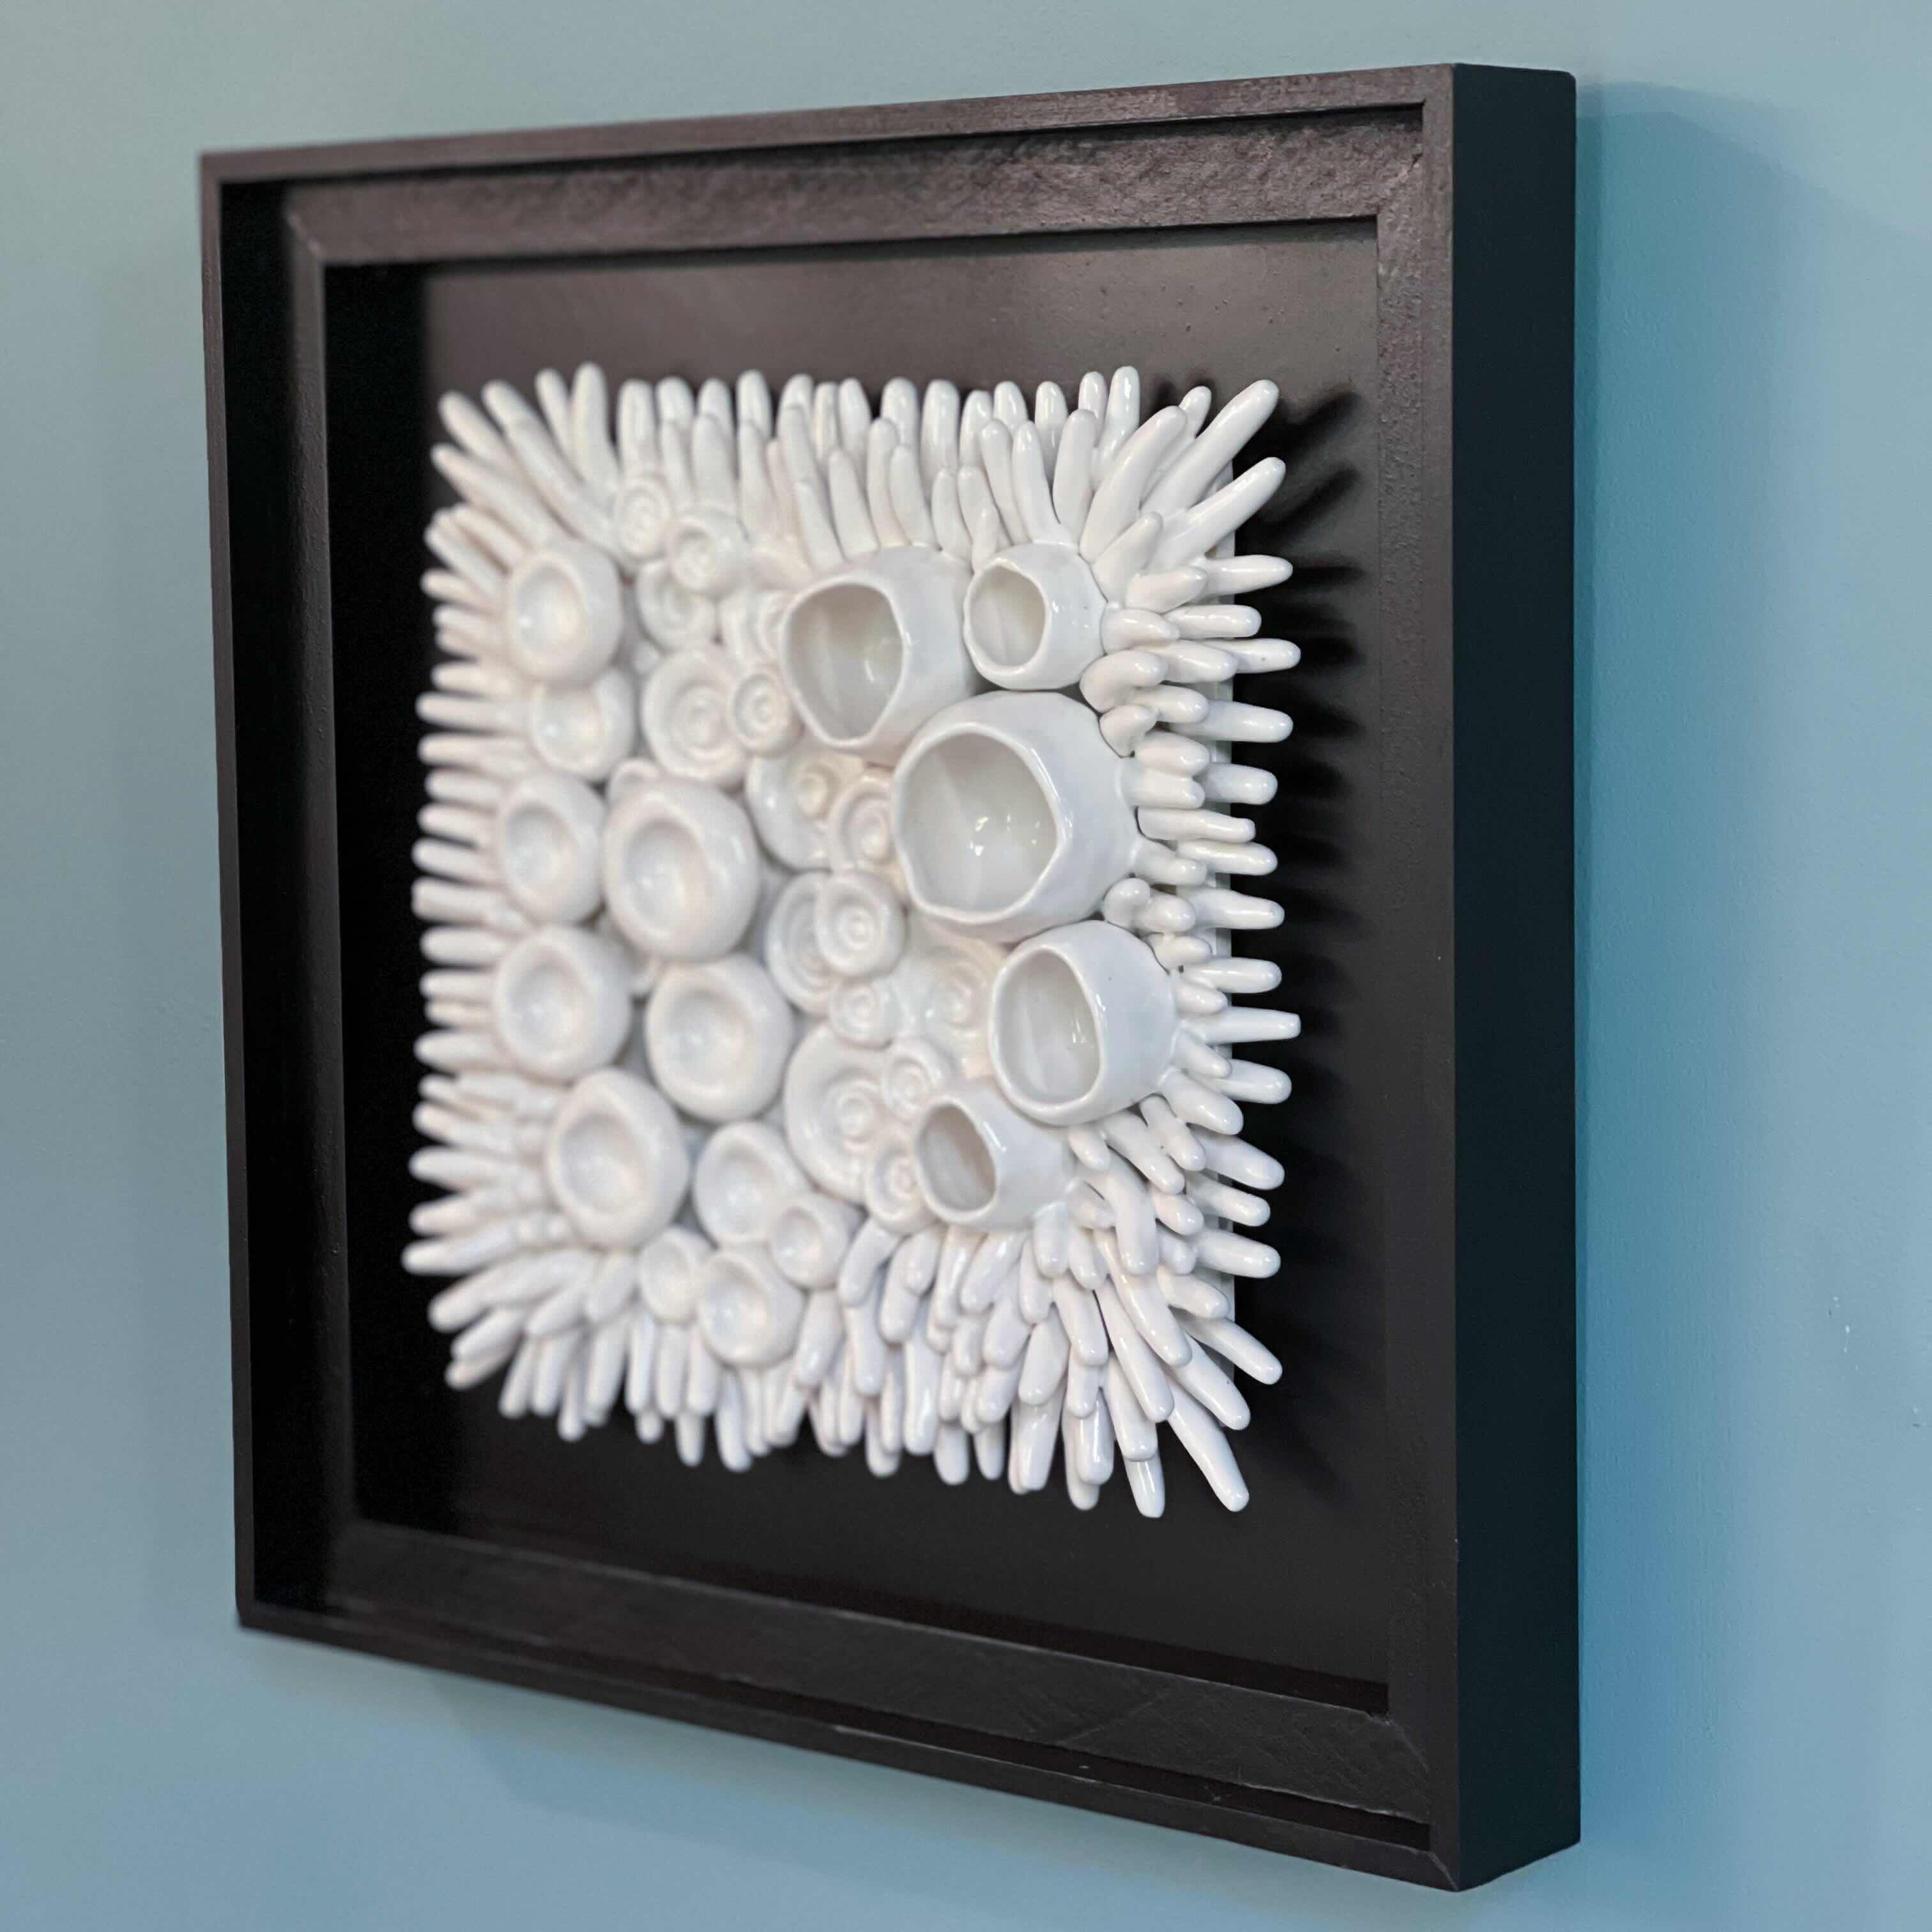
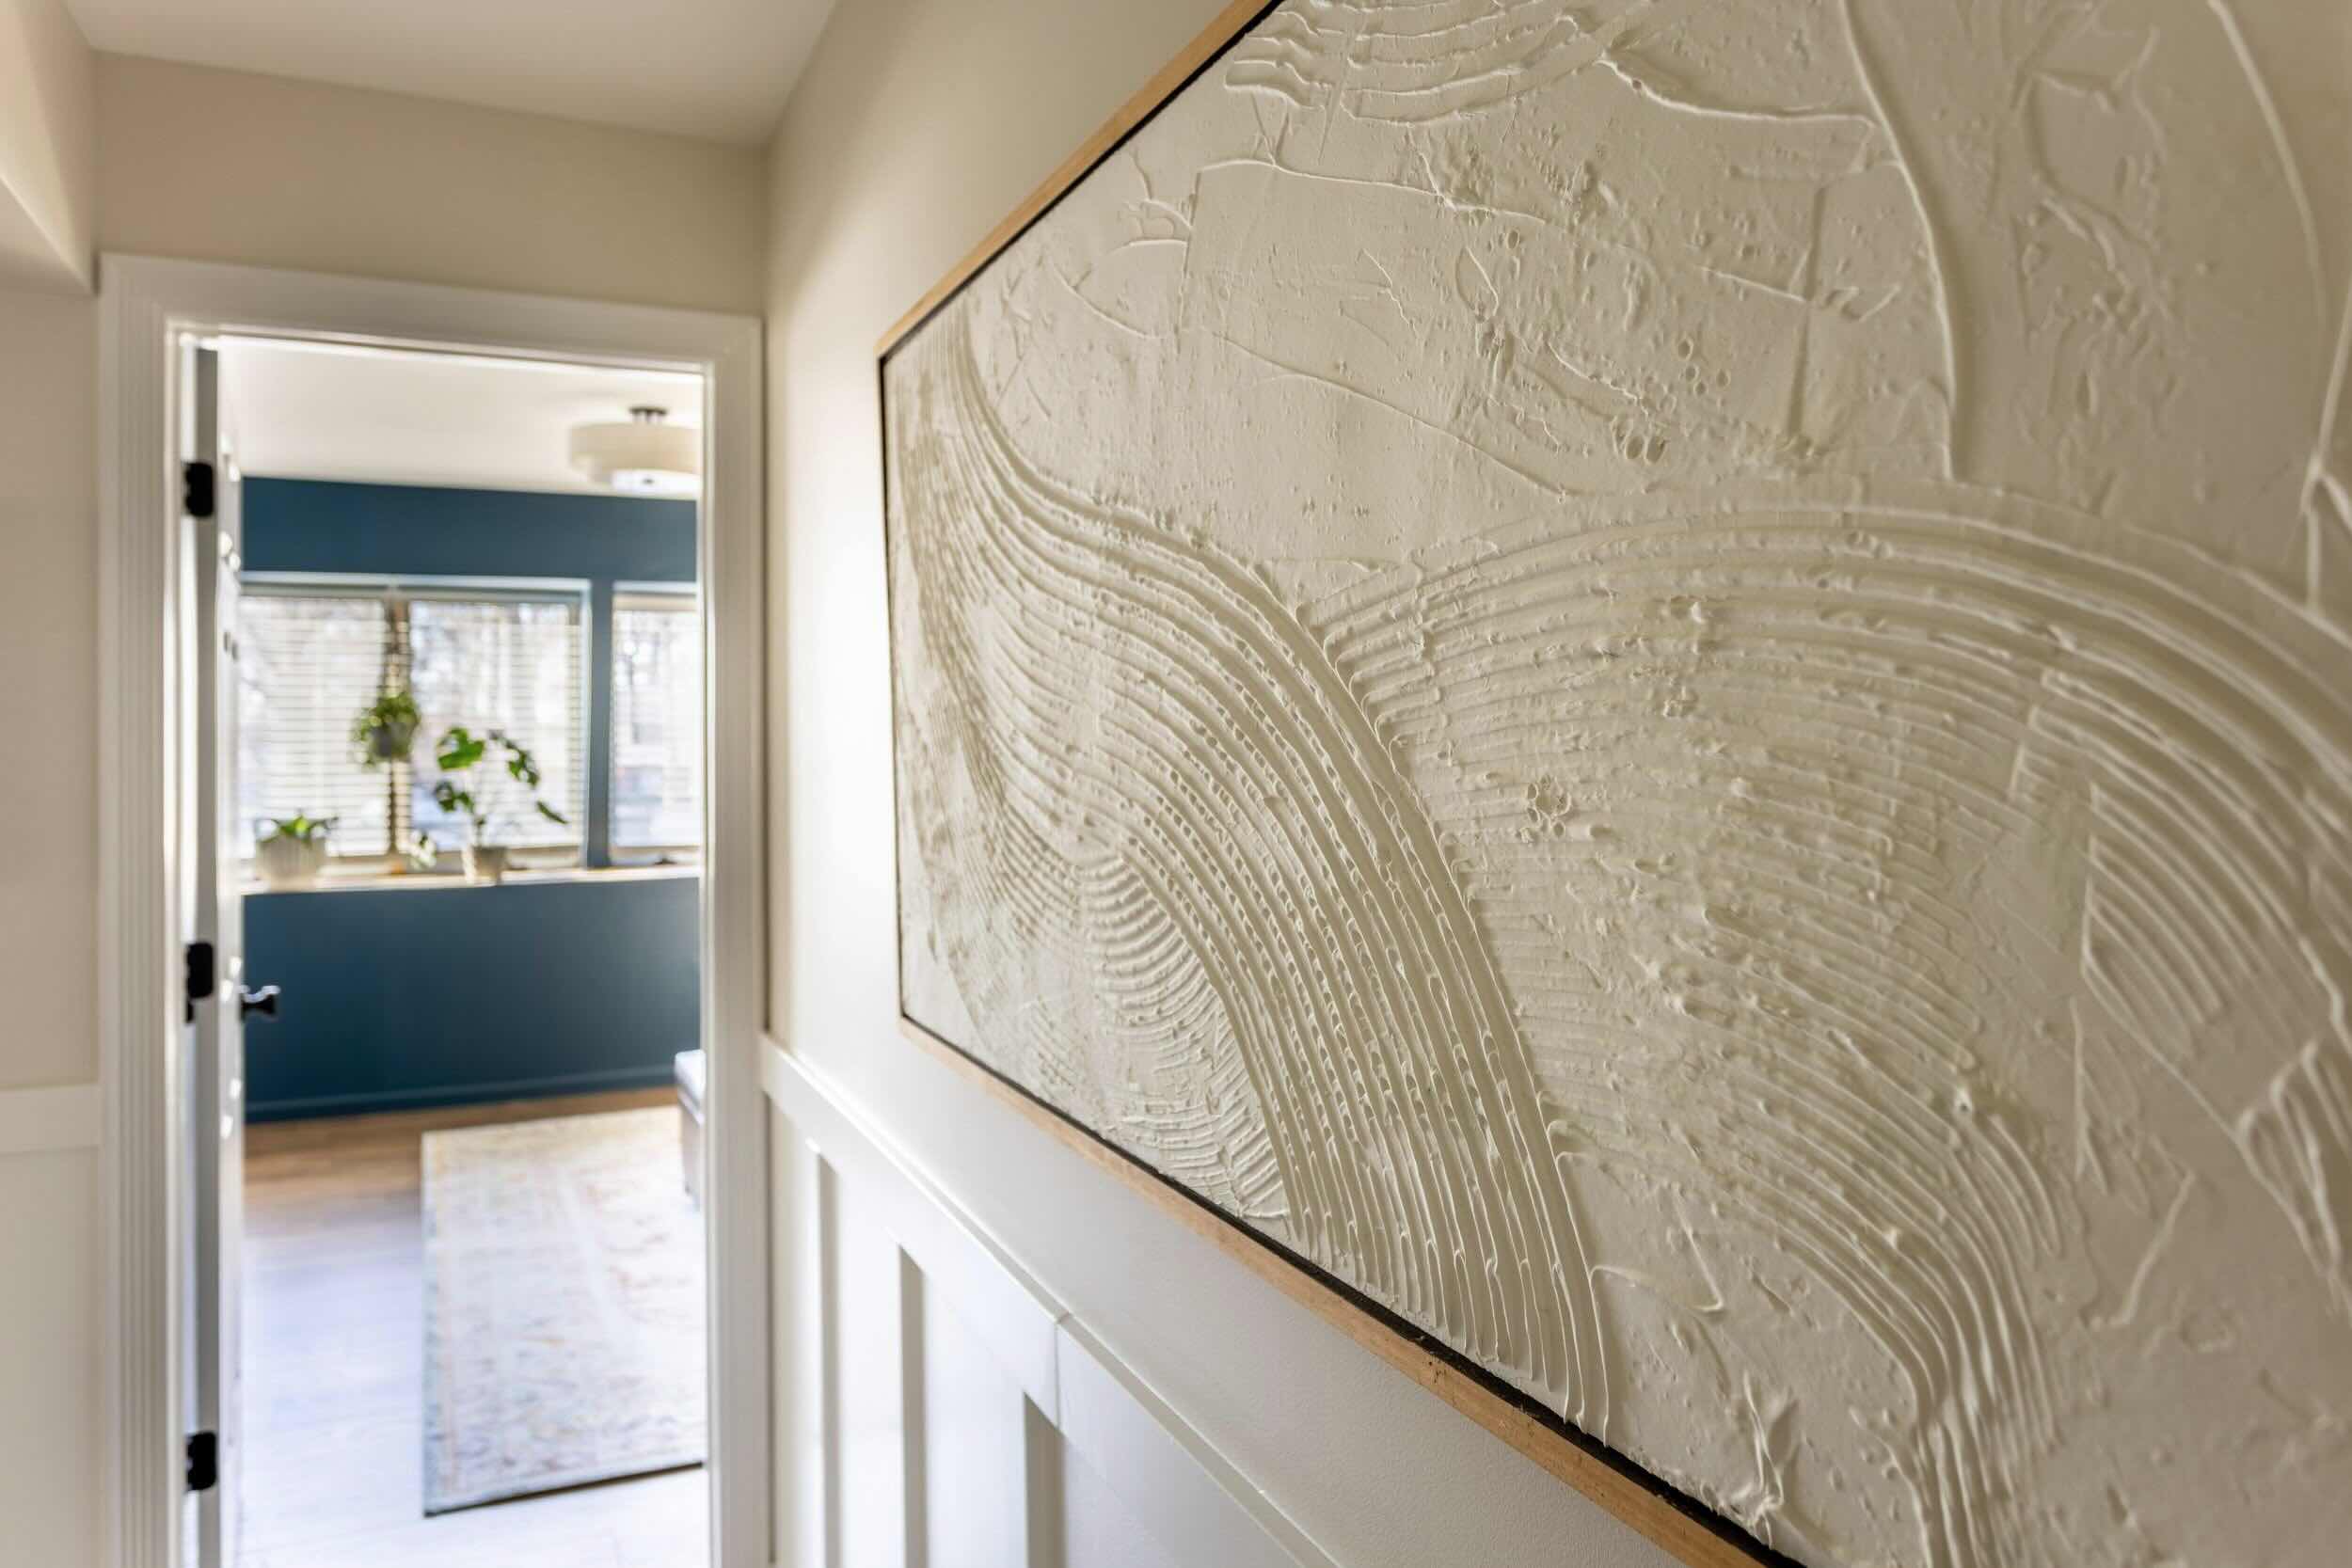
Welcome to our guide on how to mount ceramic wall art! If you’re looking to add a touch of elegance and creativity to your living space, ceramic wall art is a fantastic choice. Whether it’s a hand-painted ceramic tile or a beautiful ceramic sculpture, these pieces can transform any wall into a captivating visual display.
Mounting ceramic wall art may seem like a challenging task, especially if you’ve never done it before. However, with the right materials and techniques, it can be a straightforward and rewarding process. In this article, we’ll take you through the steps of mounting ceramic wall art, from gathering the necessary materials to adding those finishing touches. So let’s get started!
Key Takeaways:
- Elevate your living space with ceramic wall art by following our step-by-step guide for a secure and visually striking display. Add lighting, complementary decor, and regular maintenance for a stunning showcase.
- Transform your walls into a captivating gallery of ceramic art with the right materials, precise measurements, and expert mounting techniques. Infuse your personal style and enjoy the creative process of showcasing your beautiful pieces.
Read more: How To Mount Ceramic Towel Rack In Drywall
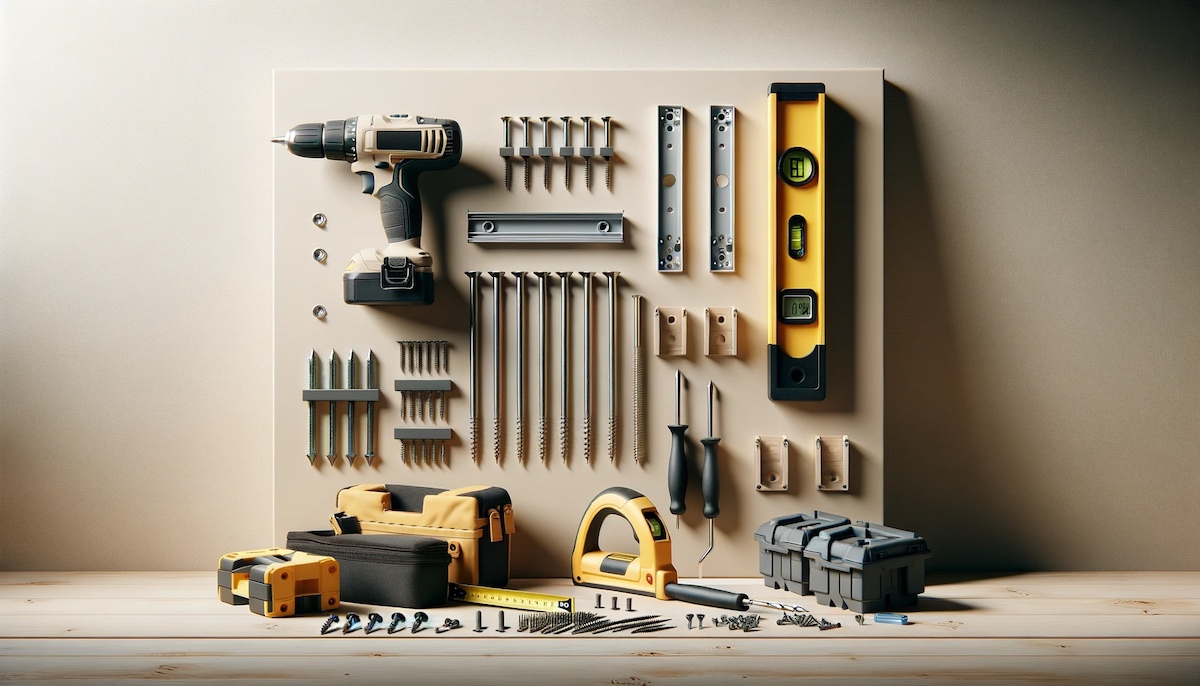
Step 1: Gather Materials
Before you begin mounting your ceramic wall art, it’s important to gather all the necessary materials to ensure a smooth and successful installation. Here’s a list of essential items you’ll need:
- Measuring tape: This will help you determine the dimensions and placement of your ceramic wall art.
- Pencil: Use a pencil to mark the spots where you’ll be installing the mounting hardware.
- Level: A level is necessary to ensure that your ceramic wall art hangs straight on the wall.
- Mounting hardware: Depending on the weight and size of your ceramic piece, you’ll need appropriate mounting hardware, such as anchors, screws, or brackets. Consult with a hardware store professional to choose the right hardware for your specific piece.
- Drill: If you’ll be mounting your ceramic wall art on a hard wall surface, you’ll need a drill to create holes for the mounting hardware.
- Screwdriver or drill bits: These tools will be required to secure and tighten the screws or bolts for the mounting hardware.
- Hanging wire or hooks (optional): If your ceramic wall art doesn’t come with built-in hooks or a hanging wire, you may need to purchase these separately.
- Picture hanging strips (optional): If you prefer a non-invasive mounting method, picture hanging strips can be used instead of screws or nails.
- Drywall putty (optional): If you’ll be mounting your ceramic wall art on drywall, drywall putty can be used to fill any holes or gaps after installation.
Make sure to gather all the necessary materials and tools before you begin the mounting process. This will save you time and effort and ensure a smoother installation experience. With everything at hand, you’re ready to move on to the next step: choosing the mounting method.
Step 2: Choose the Mounting Method
Choosing the right mounting method for your ceramic wall art is crucial to ensure its stability and longevity on the wall. The method you select will depend on the weight and size of the piece, as well as the type of wall you’ll be mounting it on. Here are some commonly used mounting methods for ceramic wall art:
- Hardware Mounting: This method involves using screws, anchors, or brackets to secure your ceramic piece directly to the wall. It is suitable for heavier and larger ceramic wall art. Make sure to select the appropriate hardware that can adequately support the weight of your artwork.
- Hanging Wire: Some ceramic wall art pieces come with built-in hooks or a hanging wire. In this case, you’ll need to attach a sturdy wire between the hooks or loops and hang the artwork from a hook or nail on the wall. This method works well for medium to large-sized ceramic pieces.
- Picture Hanging Strips: If you prefer a non-invasive mounting method or have a lighter ceramic wall art piece, you can use picture hanging strips. These adhesive strips adhere to both the wall and the back of the artwork, providing a secure hold. Follow the manufacturer’s instructions for weight limits and application guidelines.
- Display Shelves or Ledges: Another option for mounting ceramic wall art is to use display shelves or ledges. These provide a platform for your artwork to rest upon, creating a unique decorative display. Ensure that the shelves or ledges are securely attached to the wall and can support the weight of your ceramic piece.
Consider the weight, size, and aesthetic preferences for your ceramic wall art when choosing the mounting method. It’s also a good idea to consult with professionals at hardware stores or art galleries for expert advice tailored to your specific ceramic piece. Once you’ve selected the mounting method, you’re ready to move on to preparing the wall for installation.
Step 3: Prepare the Wall
Before mounting your ceramic wall art, it’s essential to prepare the wall to ensure a secure and stable installation. Here are the steps to follow when preparing the wall:
- Clean the Wall: Start by removing any dust, dirt, or debris from the wall using a soft cloth or a damp sponge. This will create a clean surface for the mounting hardware to adhere to.
- Locate Studs: If you’ll be using screws or anchors for mounting, locate the studs in the wall using a stud finder. Studs provide a more secure anchor point and can better support the weight of your ceramic wall art. Mark the stud locations with a pencil.
- Mark the Placement: Use a measuring tape and a pencil to mark the exact placement of your ceramic wall art on the wall. Take into consideration the height at which you want to hang the artwork and the surrounding decor to ensure proper alignment.
- Protect the Wall: If you’re using a drill to create holes for the mounting hardware, consider using painter’s tape to protect the wall’s surface. This will prevent any accidental scratches or marks while drilling.
By properly preparing the wall, you’ll ensure a smooth installation process and minimize the risk of damaging the wall or the artwork. Once the wall is prepared, you can move on to the next step: measuring and marking the placement of your ceramic wall art.
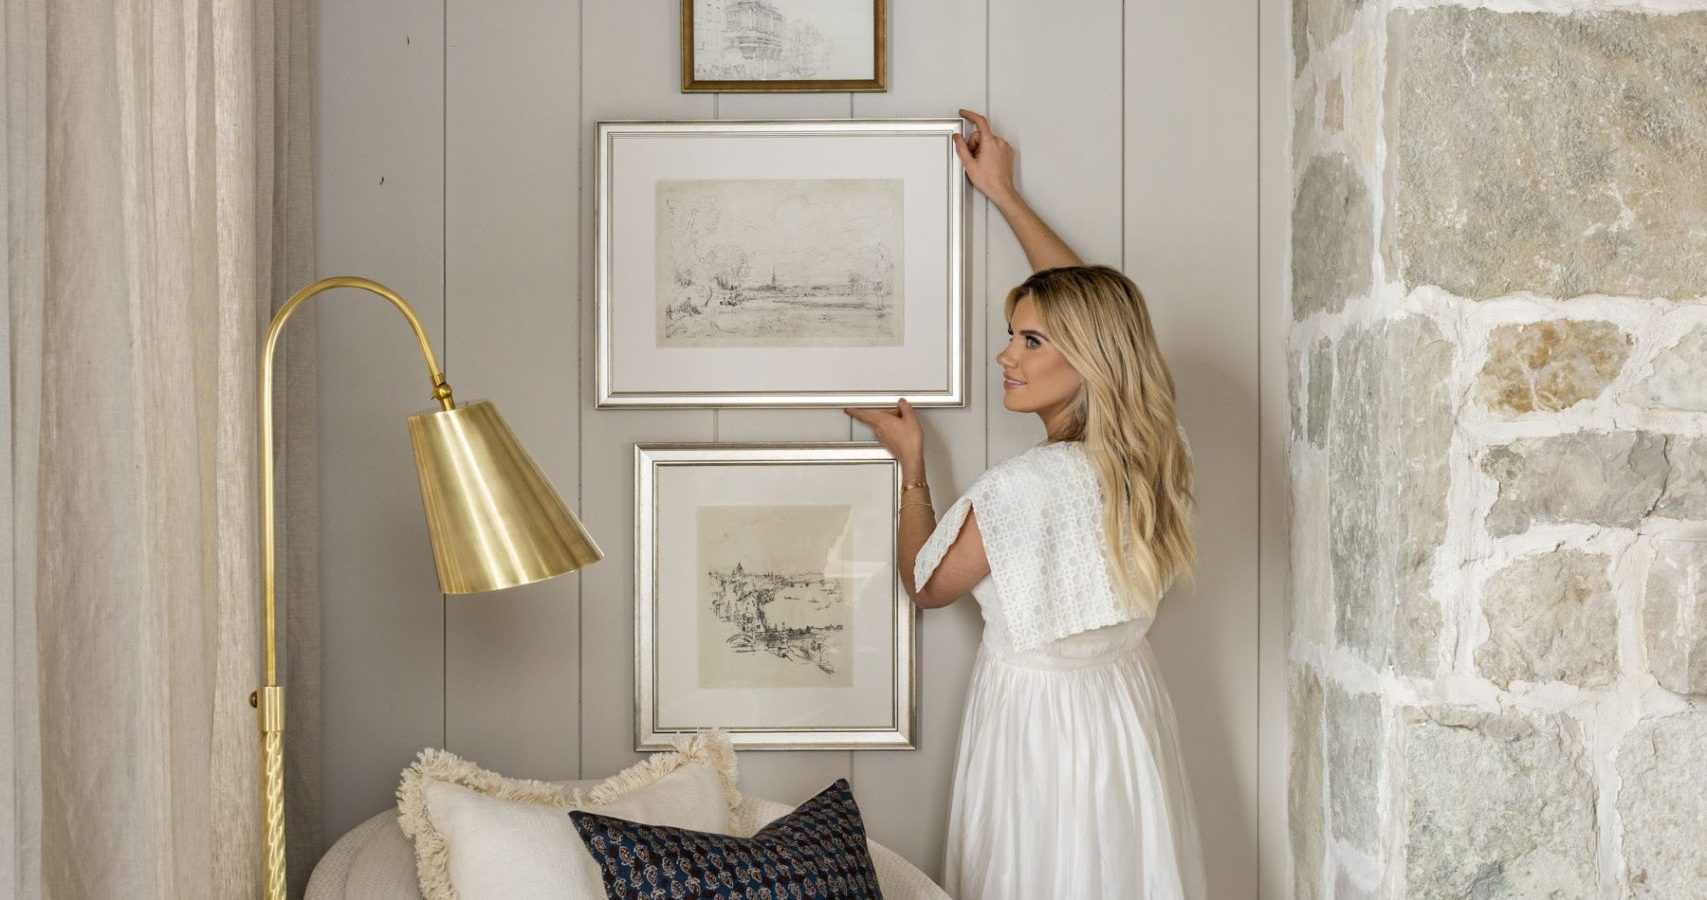
Step 4: Measure and Mark the Placement
Now that you have prepared the wall, it’s time to measure and mark the precise placement of your ceramic wall art. This step is crucial for ensuring proper alignment and a visually appealing display. Here’s how to measure and mark the placement:
- Measure and Mark the Height: Use a measuring tape to determine the desired height at which you want to hang your ceramic wall art. Measure from the floor or any reference point that aligns with your aesthetic preference. Mark this height with a pencil on the wall.
- Center the Artwork: If you’re hanging a single ceramic piece, find the center point of the artwork’s width. Measure the width of the piece and divide it by two to locate the center. Mark this point with a pencil.
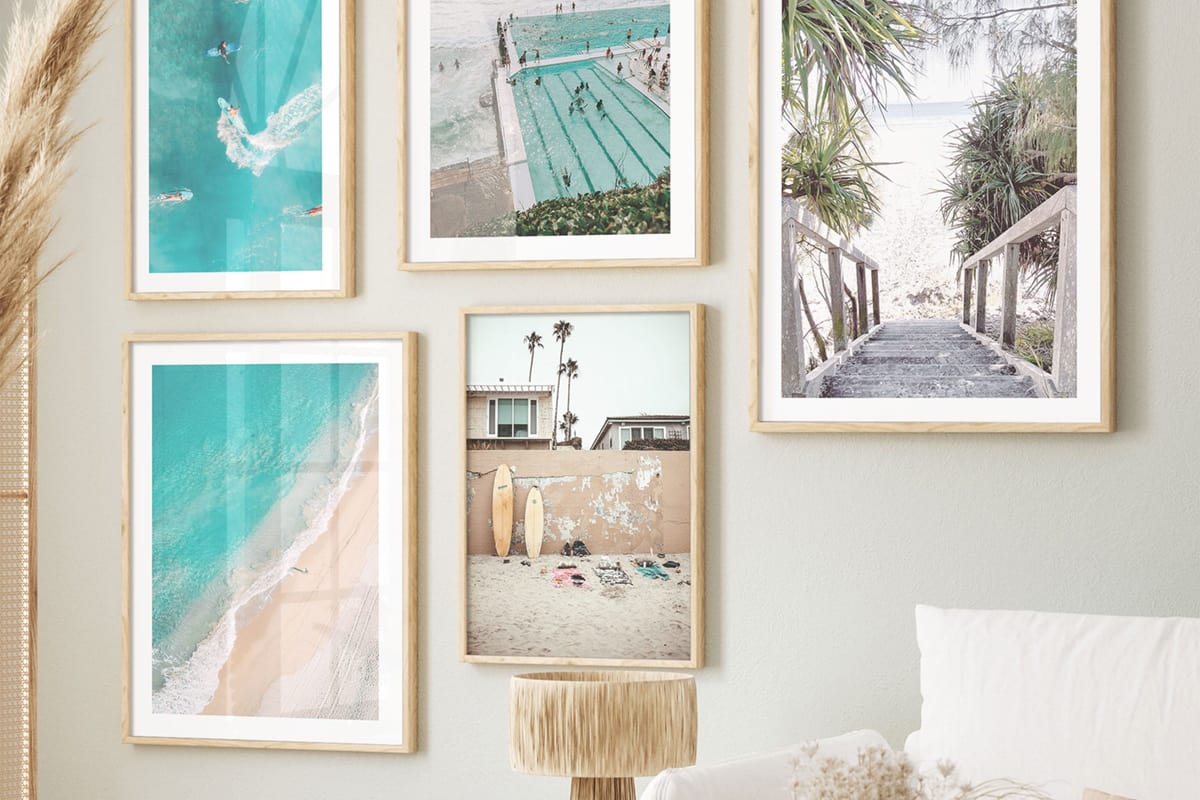
- Align Multiple Pieces: If you’re hanging multiple ceramic pieces as a gallery wall or a grouping, you’ll need to plan the arrangement and spacing. Use a level, measuring tape, and painter’s tape to outline the desired layout on the wall. This will help you visualize the final placement and make adjustments as needed.
Take your time to measure accurately and mark the placement of your ceramic wall art. This will result in a visually pleasing and well-balanced display. Once you have completed this step, you’re ready to move on to the next step: installing the mounting hardware.
When mounting ceramic wall art, use a strong adhesive designed for heavy items. Make sure to clean the wall and the back of the art thoroughly before applying the adhesive to ensure a secure bond.
Read more: How To Arrange Wall Art
Step 5: Install the Mounting Hardware
With the measurements and markings in place, it’s time to install the mounting hardware for your ceramic wall art. The type of mounting hardware will depend on the chosen method from Step 2. Here’s how to install the different types of mounting hardware:
- Hardware Mounting: If you’re using screws, anchors, or brackets, follow these steps:
- Use a drill and the appropriate drill bit to create pilot holes at the marked spots on the wall.
- Insert the anchors into the pilot holes, if necessary, to provide extra stability for the screws.
- Align the mounting hardware with the pilot holes and secure them by inserting the screws or bolts. Use a screwdriver or drill bits to tighten them firmly.
- Hanging Wire: If your ceramic wall art has built-in hooks or loops, follow these steps:
- Attach the hanging wire securely between the hooks or loops on the back of the artwork.
- Measure the distance between the top of the wire and the upper edge of the artwork. Adjust the wire tension, if necessary, to ensure the piece hangs straight on the wall.
- Securely hang the artwork on a hook or nail that aligns with your markings on the wall.
- Picture Hanging Strips: If you’re using adhesive picture hanging strips, follow these steps:
- Follow the manufacturer’s instructions for applying the picture hanging strips to both the back of the artwork and the wall.
- Press the artwork against the wall, applying firm pressure to ensure a strong bond.
- Once the picture hanging strips are securely in place, remove the protective backing to reveal the adhesive side.
- Press the artwork onto the wall, making sure it aligns with your markings.
- Display Shelves or Ledges: If you’re using display shelves or ledges, follow these steps:
- Install the display shelves or ledges on the wall, following the manufacturer’s instructions. Make sure they are level and securely attached.
- Place your ceramic wall art carefully on the shelves or ledges, ensuring it is centered and balanced.
- Ensure that the artwork is securely positioned on the shelves or ledges to prevent any accidental falls.
Take your time during this step to ensure the mounting hardware is installed securely and accurately. Double-check your measurements and alignment before moving on to the next step: hanging the ceramic wall art.
Step 6: Hang the Ceramic Wall Art
Once the mounting hardware is in place, it’s time to hang your ceramic wall art. This step requires precision and attention to detail to ensure a straight and balanced display of your artwork. Follow these steps to hang your ceramic wall art:
- Double-Check the Alignment: Before hanging the artwork, ensure that the mounting hardware is aligned with the marks on the wall. Use a level to verify that the hardware is straight and adjust if necessary.
- Secure the Artwork: If you’re using hardware mounting or hanging wire, carefully lift the ceramic piece and align it with the installed hardware. Slowly lower the artwork onto the hardware, ensuring a secure and snug fit. For picture hanging strips, press the artwork firmly against the wall to activate the adhesive.
- Adjust and Level: Use a level to check that the ceramic wall art is hanging straight on the wall. Gently adjust the position of the artwork if needed to achieve a level display. Ensure that the artwork is centered and appropriately aligned with your markings.
- Step Back and Assess: Take a step back to get a better view of the hung ceramic wall art. Make any necessary adjustments to achieve the desired positioning and alignment. Ensure that the artwork is at the preferred height and complements the overall decor of the room.
By following these steps, you’ll be able to hang your ceramic wall art securely and create a visually appealing display. After hanging the artwork, take a moment to appreciate the beauty it adds to your space. Now it’s time to move on to the final step: adding those finishing touches to enhance the overall look.
Step 7: Finishing Touches
With your ceramic wall art securely installed, it’s time to add those final touches to enhance its overall appearance. These finishing touches will help elevate the visual impact of your artwork and complete the look of your space. Here’s what you can do:
- Lighting: Consider adding lighting fixtures to highlight your ceramic wall art. Adjustable spotlights or track lighting can create a dramatic effect and draw attention to the artwork. Ensure that the lighting doesn’t directly shine on the ceramic piece, as it may cause heat or discoloration.
- Complementary Decor: Add complementary decor pieces around your ceramic wall art to create a cohesive and harmonious display. Consider incorporating elements such as plants, vases, or other artwork that complement the colors, textures, or themes of your ceramic piece.
- Accessorize: Depending on the style of your ceramic wall art, you may want to accessorize it with additional elements. For example, you can hang small decorative accents or personal mementos around the artwork to add a personalized touch.
- Framing: If your ceramic wall art is a smaller piece, consider framing it to create a more polished and finished look. A complementary frame can enhance the artwork’s appearance and provide a border for added visual impact.
- Regular Maintenance: Lastly, make sure to regularly clean your ceramic wall art to keep it looking its best. Use a soft, dry cloth or a feather duster to remove any dust or debris that may accumulate over time. Avoid using harsh chemicals or abrasive cleaners that could potentially damage the artwork’s surface.
By paying attention to these finishing touches, you can create a stunning display of your ceramic wall art that enhances the overall aesthetics of your space. Take a step back, admire your work, and enjoy the beauty that your ceramic wall art brings to your home or office.
Congratulations! You have successfully mounted your ceramic wall art, and it’s now ready to be enjoyed for years to come.
If you ever decide to reposition or remove your ceramic wall art, remember to follow the appropriate steps for dismounting or rehanging to ensure the wall’s integrity and the safety of your artwork.
Thank you for following our guide on how to mount ceramic wall art. We hope you found it helpful and that it has inspired you to showcase your beautiful ceramic pieces in your living space. Happy decorating!
Conclusion
Congratulations! You’ve reached the end of our comprehensive guide on how to mount ceramic wall art. This step-by-step process has provided you with the necessary knowledge and techniques to confidently and effectively display your ceramic pieces on your walls. By following these steps, you can showcase your artwork in a visually striking and secure manner.
Mounting ceramic wall art may initially seem daunting, but with the right materials, measurements, and methods, it becomes an achievable task. Remember to gather all the necessary materials, choose the appropriate mounting method, and prepare the wall before proceeding to install the hardware. Take your time to measure accurately and mark the placement, ensuring proper alignment and balance. Finally, hang your ceramic wall art securely, making any necessary adjustments to achieve your desired display.
Don’t forget the finishing touches to enhance the overall look of your ceramic wall art. Consider adding lighting, complementary decor, or framing to further elevate the visual impact. Regular maintenance will also ensure that your ceramic wall art remains in pristine condition for years to come.
We hope that this guide has empowered you to confidently mount your ceramic wall art. As you embark on this creative journey, remember to infuse your personal taste and style into the display to create a unique and captivating arrangement. The right placement and mounting techniques can transform your space into a gallery-like showcase of your ceramic pieces.
Thank you for joining us on this artistic adventure. We hope you enjoy the process of mounting your ceramic wall art and take pride in showcasing these beautiful pieces in your home or office. Happy decorating!
Frequently Asked Questions about How To Mount Ceramic Wall Art
Was this page helpful?
At Storables.com, we guarantee accurate and reliable information. Our content, validated by Expert Board Contributors, is crafted following stringent Editorial Policies. We're committed to providing you with well-researched, expert-backed insights for all your informational needs.


0 thoughts on “How To Mount Ceramic Wall Art”