Articles
How To Make Metal Wall Art
Modified: December 7, 2023
Learn how to create stunning metal wall art with our comprehensive articles. Find step-by-step guides, tips, and inspiration to unleash your creativity today.
(Many of the links in this article redirect to a specific reviewed product. Your purchase of these products through affiliate links helps to generate commission for Storables.com, at no extra cost. Learn more)
Introduction
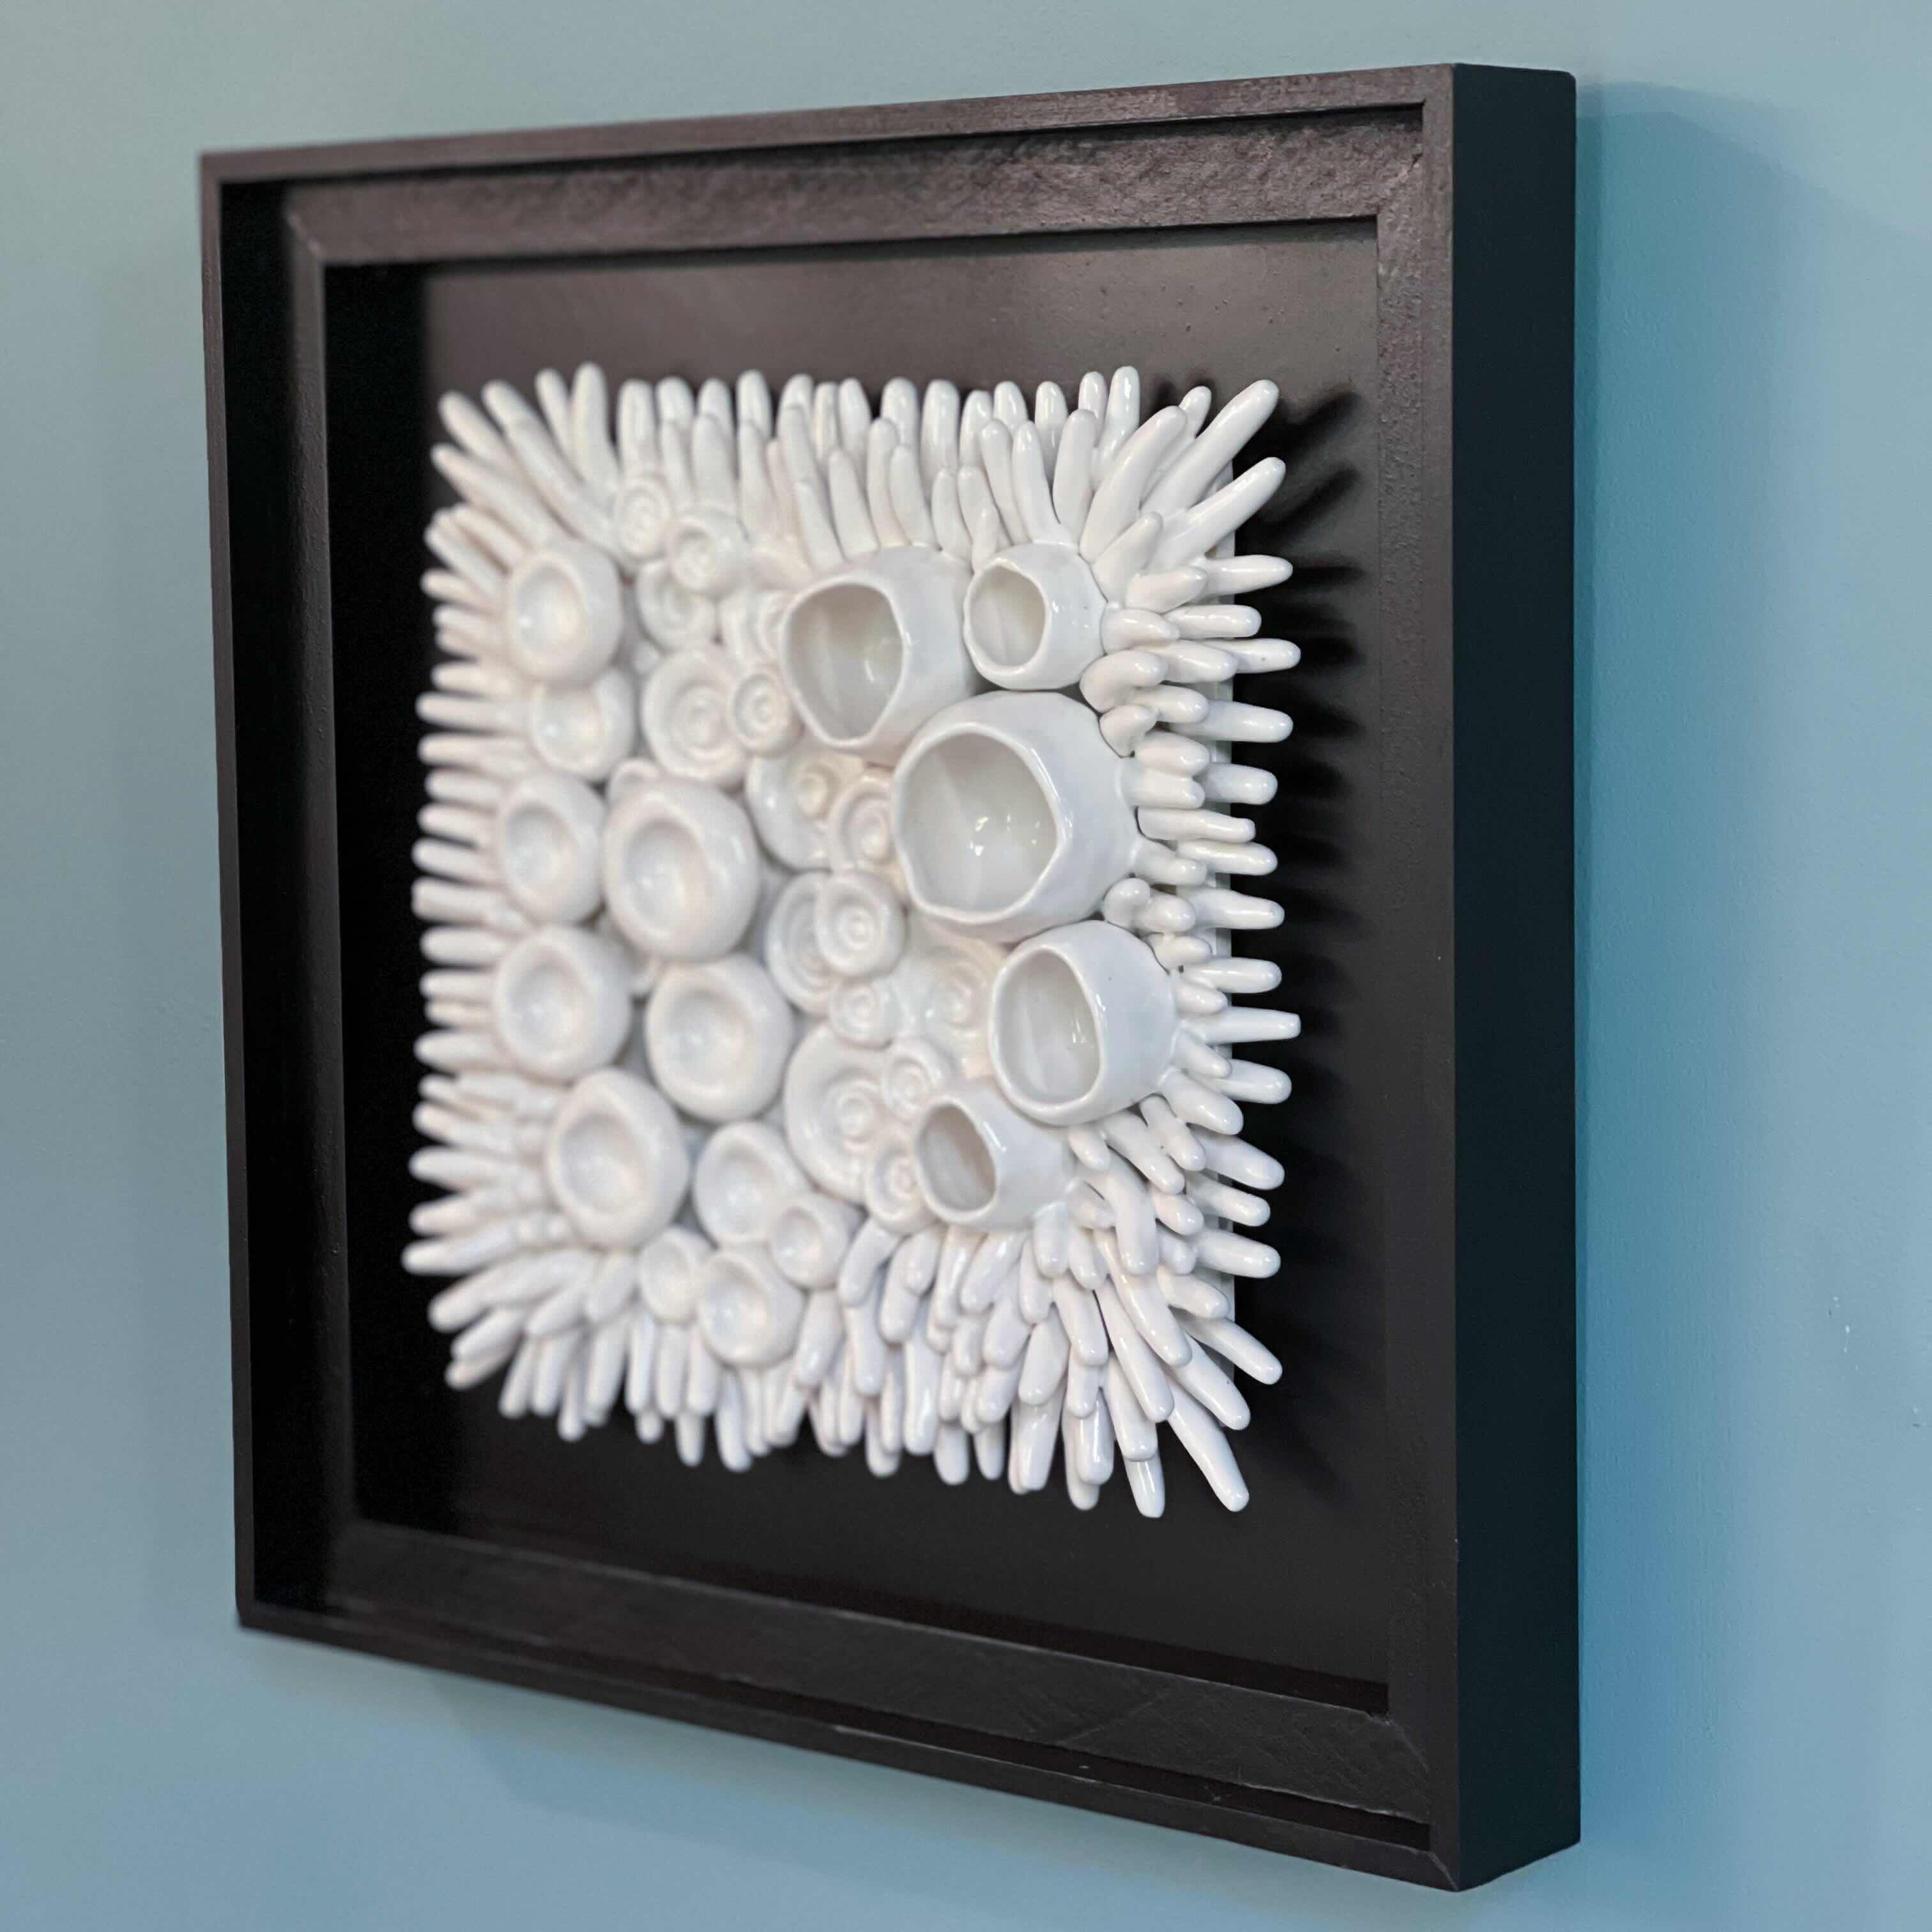
Metal wall art has gained popularity in recent years as a unique and striking way to adorn your home or office. With its sleek and modern aesthetic, metal wall art can add a touch of elegance and sophistication to any space. Whether you’re looking to spruce up a blank wall or add a focal point to a room, creating your own metal wall art can be a rewarding and enjoyable DIY project.
In this article, we will guide you through the process of making your own metal wall art. From choosing a design to mounting and hanging the final piece, we’ll provide you with step-by-step instructions and helpful tips along the way. So, gather your tools and materials, and let’s get started on this creative journey!
Key Takeaways:
- Creating your own metal wall art is a rewarding journey that allows you to showcase your creativity, add a unique touch to your space, and gain valuable skills in metalworking and design.
- From choosing a design to mounting and hanging the artwork, the process of making metal wall art is a fulfilling DIY project that brings beauty, sophistication, and personal flair to your space.
Read more: How To Hang Metal Wall Art
Materials Needed
Before embarking on your metal wall art project, it’s important to gather all the necessary materials to ensure a smooth workflow. Here’s a list of what you’ll need:
– Sheet metal: Choose a metal that suits your design and desired aesthetic. Popular options include aluminum, steel, and copper.
– Design template: Create or find a design template that inspires you. This can be a stencil, a digital design, or a hand-drawn sketch.
– Paper and pencil: Use these to sketch out your design or make notes along the way.
– Metal-cutting tools: Invest in quality metal-cutting tools such as snips, shears, or a plasma cutter to cut through the sheet metal.
– Safety gear: Protect yourself by wearing gloves, safety goggles, and a dust mask while working with metal.
– Sandpaper or file: A medium-grit sandpaper or file will be needed to smooth the edges of the cut metal pieces.
– Metal bending tools: Depending on your design, you may require tools like a vice, hammer, or metal brake to shape and form the metal.
– Finishing supplies: Consider using paints, patinas, or sealants to add color, texture, or protection to your metal wall art.
– Mounting hardware: Choose appropriate hanging hardware such as hooks, nails, or brackets to securely mount your artwork.
Now that you have all the materials ready, let’s move on to the first step – choosing a design.
Remember to always practice proper safety precautions while working with metal. Follow the manufacturer’s instructions for any tools or materials you use, and work in a well-ventilated area. Safety first!
(507 words)
Key Takeaways:
- Creating your own metal wall art is a rewarding journey that allows you to showcase your creativity, add a unique touch to your space, and gain valuable skills in metalworking and design.
- From choosing a design to mounting and hanging the artwork, the process of making metal wall art is a fulfilling DIY project that brings beauty, sophistication, and personal flair to your space.
Read more: How To Hang Metal Wall Art
Materials Needed
Before embarking on your metal wall art project, it’s important to gather all the necessary materials to ensure a smooth workflow. Here’s a list of what you’ll need:
– Sheet metal: Choose a metal that suits your design and desired aesthetic. Popular options include aluminum, steel, and copper. Consider the thickness and durability of the metal based on the size and weight of your design.
– Design template: Create or find a design template that inspires you. This can be a stencil, a digital design, or a hand-drawn sketch. Make sure the design is suitable for metal cutting and can be translated into the desired dimensions.
– Paper and pencil: These basic tools will come in handy for sketching out your design or making notes along the way. It’s always a good idea to have a visual reference or a rough sketch to guide you through the process.
– Metal-cutting tools: For precise and clean cuts, invest in quality metal-cutting tools such as snips, shears, or a plasma cutter. Choose the appropriate tool based on the thickness and type of metal you’re working with. Consult the manufacturer’s instructions for proper usage and safety precautions.
– Safety gear: Protect yourself by wearing gloves to shield your hands from sharp edges and prevent any accidental cuts. Safety goggles are essential for guarding your eyes from metal debris, and a dust mask can be used to protect your respiratory system from metal dust or fumes.
– Sandpaper or file: After cutting the metal, you’ll need to smooth the edges of the pieces to ensure a neat and polished finish. Use a medium-grit sandpaper or a metal file for this purpose. Be careful not to apply too much pressure, as it may damage the metal surface.
– Metal bending tools: Depending on your design, you may require tools like a vice, hammer, or metal brake to shape and form the metal. These tools will allow you to create curves, angles, or other desired shapes. Practice caution and precision when using bending tools to achieve the desired results.
– Finishing supplies: Consider using paints, patinas, or sealants to add color, texture, or protection to your metal wall art. Experiment with different finishes to enhance the visual appeal of your creation. Be sure to choose paints or treatments specially formulated for metal surfaces.
– Mounting hardware: Once your metal wall art is complete, you’ll need appropriate hanging hardware to securely mount it on the wall. Choose hooks, nails, or brackets that can support the weight of your artwork. Consider using a level to ensure your art hangs straight and evenly.
Now that you have all the materials ready, you’re equipped to start creating your metal wall art masterpiece. Continue to the next step – choosing a design.
Remember, safety is paramount throughout the entire process. Familiarize yourself with the proper usage and precautions of each tool and be mindful of your surroundings. Protect yourself and your work area to ensure a safe and enjoyable experience.
(494 words)
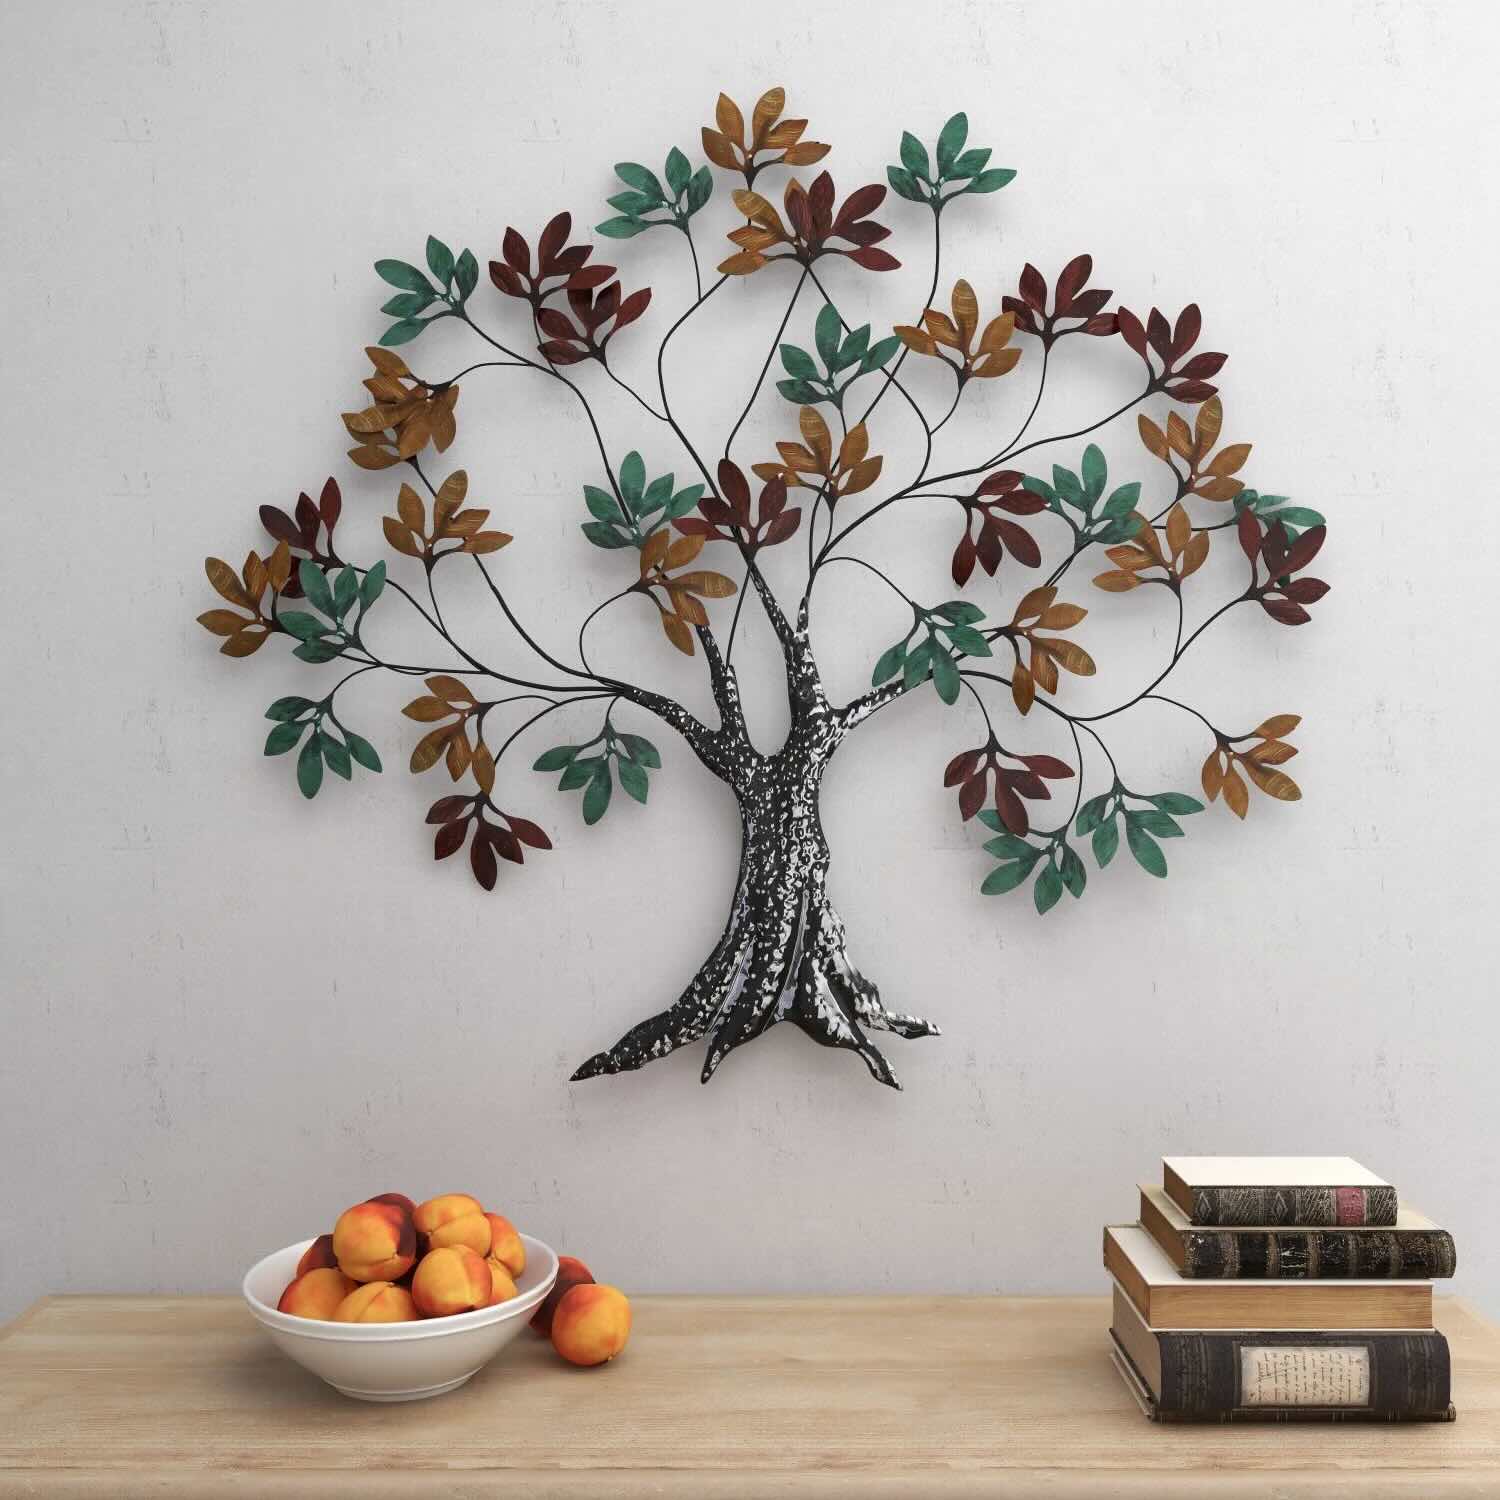
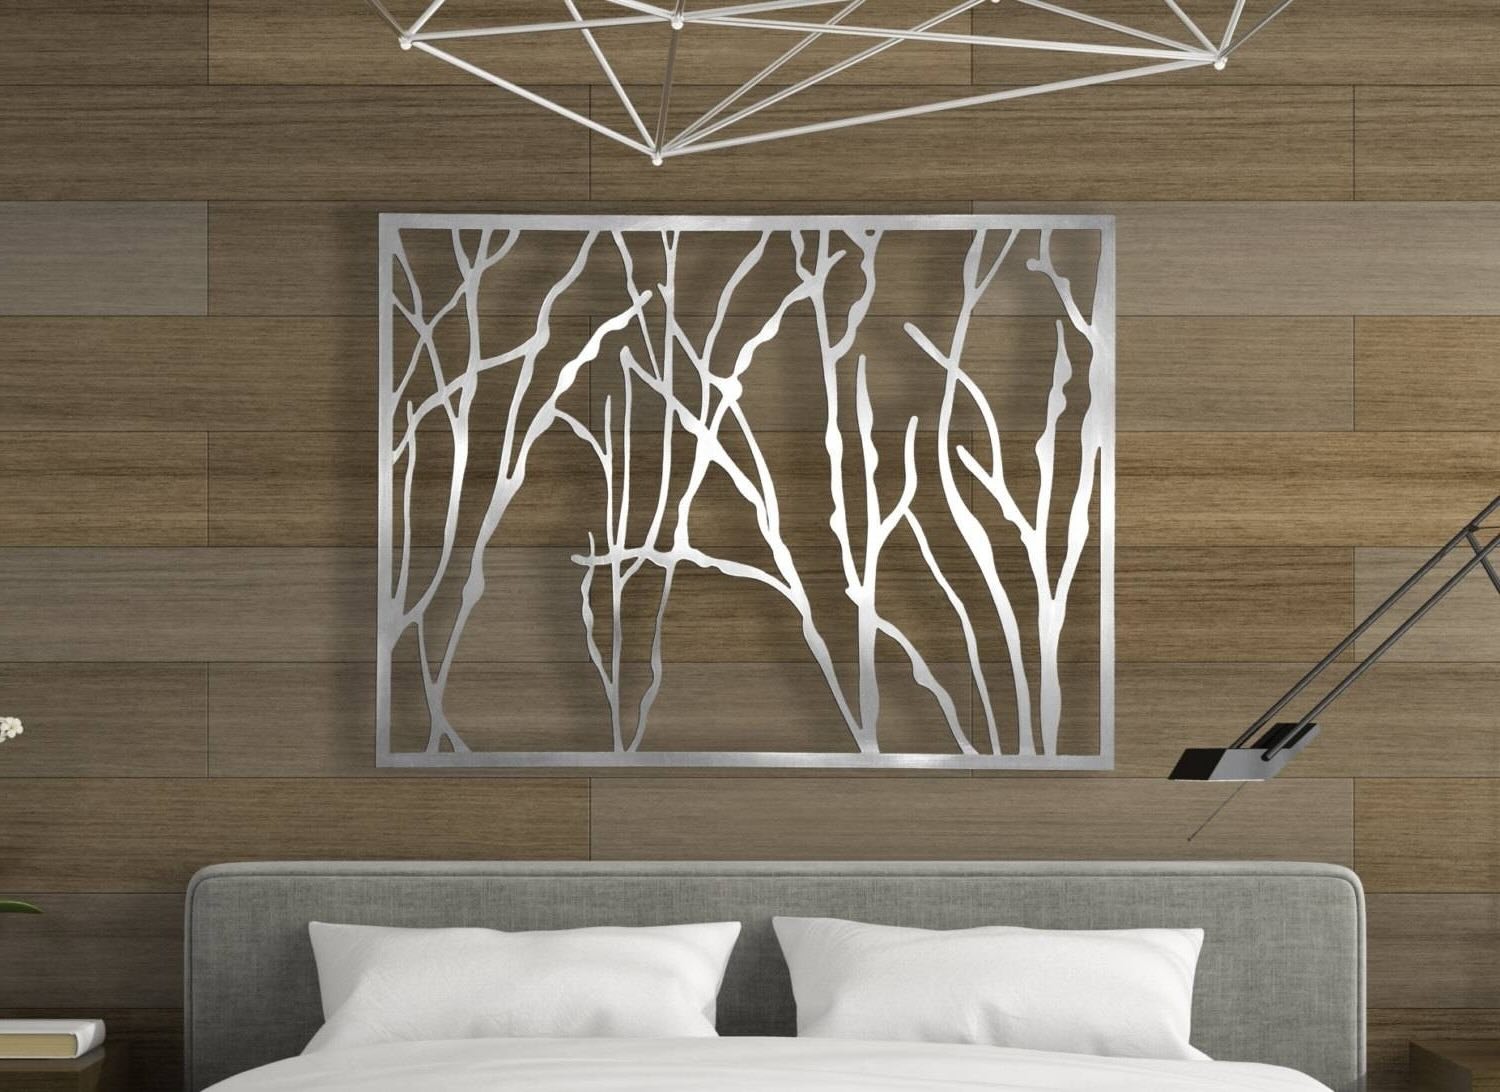
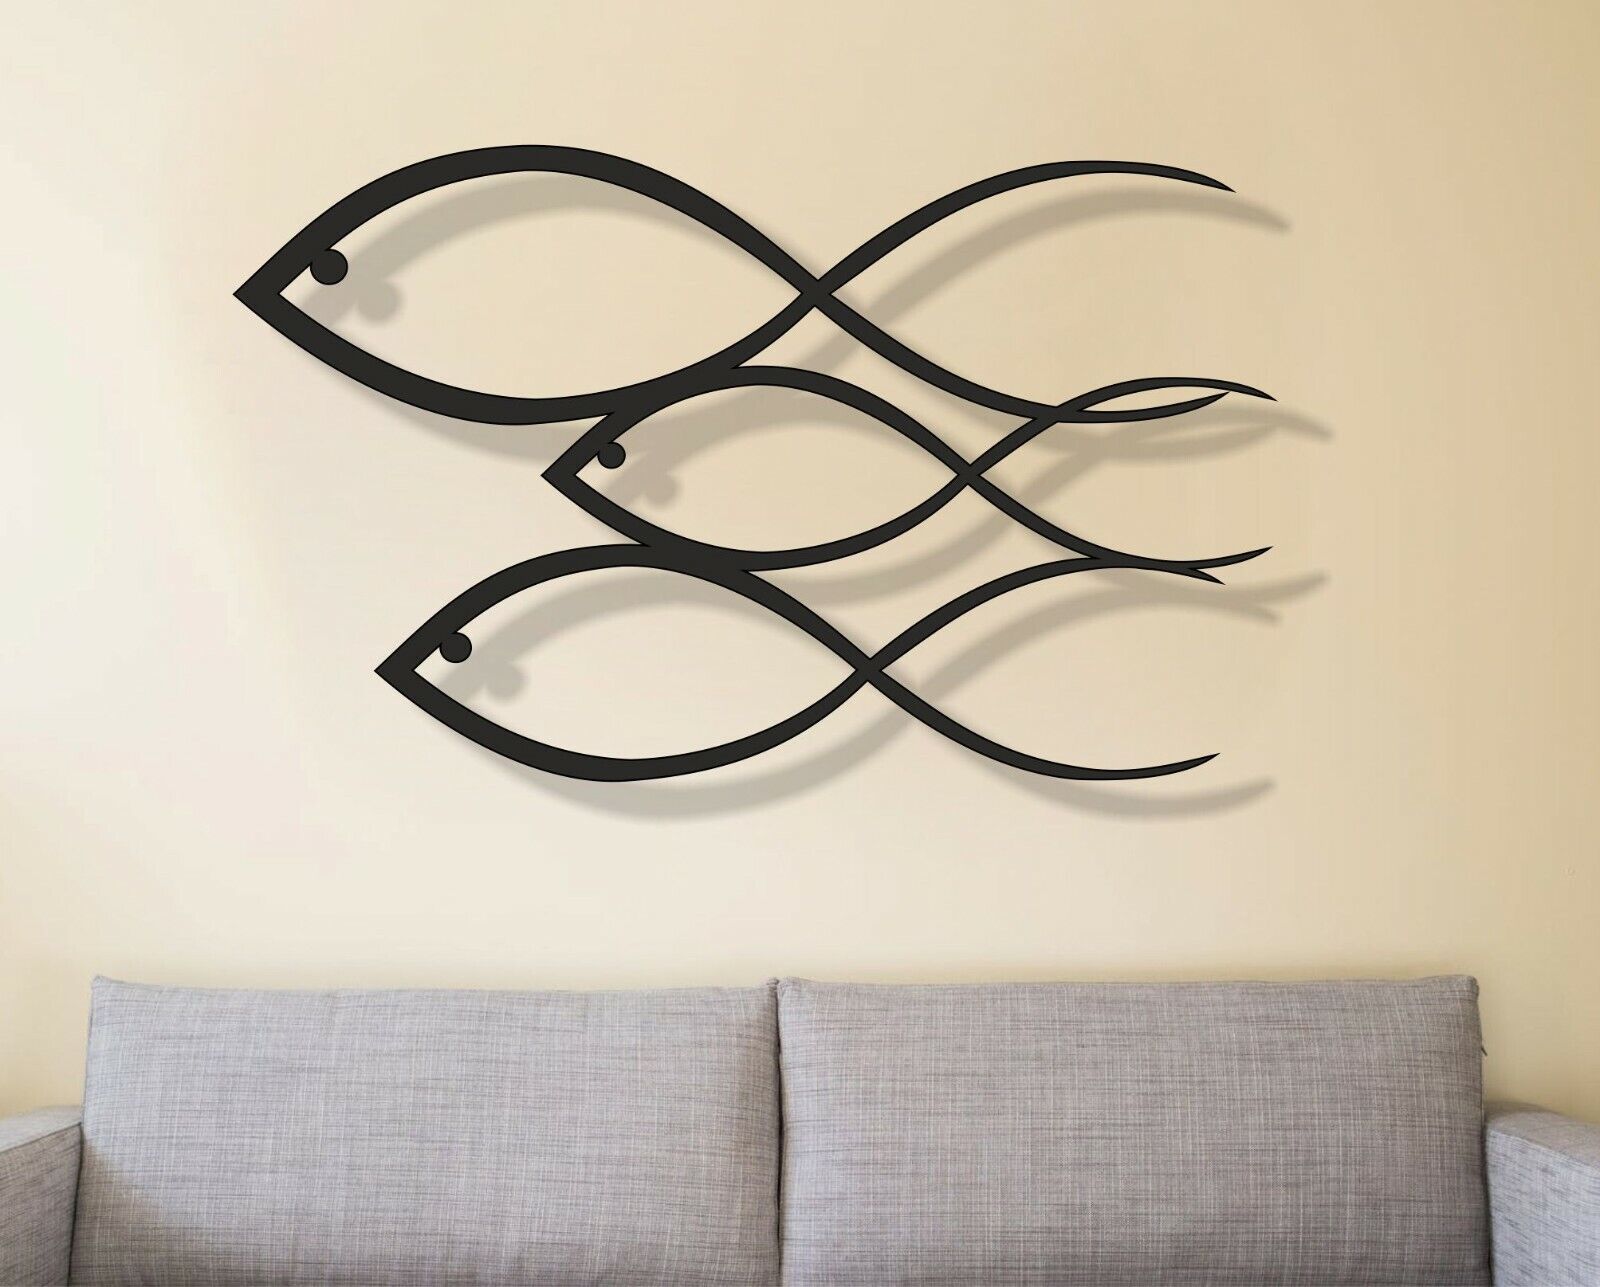
Step 1: Choose a Design
Choosing a design is an important first step in the process of making your own metal wall art. The design you select will set the tone and style of your artwork, so take your time to find one that resonates with you and complements your space. Here are a few tips to help you choose a design:
1. Reflect on your personal style: Consider the style and theme of your home or the room where you plan to hang the metal wall art. Are you drawn to minimalist, abstract, nature-inspired, or geometric designs? Think about what will harmonize with your existing decor and enhance the overall aesthetic.
2. Seek inspiration: Browse through magazines, art galleries, or online platforms to gather inspiration for your design. Pay attention to different shapes, patterns, and textures that catch your eye. You can also find inspiration in everyday objects, landscapes, or architectural elements.
3. Consider the space: Take into account the size and shape of the wall where you plan to hang your artwork. If it’s a small wall, a simple and understated design might be more suitable. For a larger wall, you can opt for a more elaborate or intricate design that fills the space beautifully.
4. Sketch or find a design template: Once you have an idea in mind, sketch out your design on paper. This will help you visualize how it will look as a metal wall art. If you’re not comfortable with sketching, you can find design templates online or use stencils to create your desired pattern.
5. Think about the cutouts: Consider whether you want your metal wall art to have cutouts or a solid design. Cutouts allow light to pass through and create interesting shadows on the wall, adding depth and dimension to your artwork. A solid design can be more bold and impactful.
6. Size and scale: Determine the desired dimensions for your metal wall art. Keep in mind the proportions and scale of the wall. You’ll want the artwork to be visible and make a statement without overwhelming the space.
7. Customize it: Don’t be afraid to personalize your design to make it unique to you. Add initials, a special symbol, or elements that hold significance to you or your family. This will add a personal touch and make your metal wall art even more meaningful.
Once you’ve chosen your design, you’re ready to move on to the next step – gathering the necessary tools and materials. Keep your design in mind throughout the process to ensure that your final piece reflects your vision.
Remember, the design is the foundation of your metal wall art, so take your time with this step and trust your instincts. Let your creativity guide you and enjoy the process of bringing your design to life.
(507 words)
Step 2: Gather Tools and Materials
Now that you have chosen a design for your metal wall art, it’s time to gather the tools and materials needed to bring your vision to life. Having the right tools and materials will ensure that your project goes smoothly and that you achieve the desired results. Here’s a list of what you’ll need:
1. Sheet metal: Select a sheet metal that is suitable for your design and preferred aesthetic. Popular choices include aluminum, steel, and copper. Consider the thickness of the metal based on the size and weight of your design. The sheet metal will serve as the canvas for your artwork.
2. Design template: If you haven’t already, finalize your design and have a clear template or reference image to work from. This will help guide you during the cutting and shaping process.
3. Metal-cutting tools: Invest in quality metal-cutting tools to ensure clean and precise cuts. Some commonly used tools include snips, shears, or a plasma cutter. Choose the appropriate tool based on the thickness and type of metal you are working with. Follow the manufacturer’s instructions for safe and effective usage of these tools.
4. Safety gear: Protect yourself while working with metal by wearing gloves to shield your hands from sharp edges. Safety goggles are essential for protecting your eyes from metal debris or any flying particles. A dust mask can also be worn to prevent inhaling metal dust or fumes.
5. Marking tools: Use a pencil, marker, or scribe to mark the cutting lines on the sheet metal. These markings will serve as a guide during the cutting process and help you achieve precise cuts.
6. Sandpaper or file: After cutting the metal, you will need to smooth the edges. Use medium-grit sandpaper or a metal file to remove any burrs or sharp edges. This will ensure a safe and polished finish for your artwork.
7. Metal bending tools: Depending on your design, you may need tools like a vice, hammer, or metal brake to shape and form the metal. These tools will allow you to create curves, angles, or other desired shapes in the metal. Take your time and use caution when working with bending tools to avoid damaging the metal.
8. Finishing supplies: Consider using paints, patinas, or sealants to add color, texture, or protection to your metal wall art. Experiment with different finishes to enhance the visual appeal of your creation. Choose finishes that are suitable for metal surfaces and follow the manufacturer’s instructions for application.
9. Mounting hardware: Once your metal wall art is complete, you’ll need appropriate hanging hardware to securely mount it on the wall. Choose hooks, nails, or brackets that can support the weight of your artwork. Consult the weight of your metal wall art and choose mounting hardware accordingly.
Make sure to gather all the necessary tools and materials before starting your project. This will prevent unnecessary interruptions and allow you to work smoothly and efficiently. Now that you have everything ready, you can move on to the next step – cutting the metal.
Remember to prioritize safety throughout the process. Follow all safety guidelines and use protective gear to ensure a safe and enjoyable DIY experience.
(509 words)
Read more: How To Make Plaster Wall Art
Step 3: Cut the Metal
Now that you have gathered all the necessary tools and materials, it’s time to cut the sheet metal according to your chosen design. This step requires precision and attention to detail, as it will determine the shape and form of your metal wall art. Follow these steps to ensure accurate and clean cuts:
1. Wear safety gear: Before you begin cutting the metal, make sure you are wearing gloves, safety goggles, and a dust mask. This will protect you from sharp edges and metal debris.
2. Secure the metal: Place the sheet metal on a workbench or a sturdy surface. Use clamps or a vice to secure it in place. This will prevent it from shifting or moving while you’re cutting.
3. Mark the cutting lines: Using a pencil, marker, or scribe, carefully mark the cutting lines on the surface of the metal. Use your design template as a guide to ensure accuracy. Double-check your markings before proceeding to cut.
4. Choose the appropriate tool: Select the appropriate metal-cutting tool based on the thickness and type of metal you are working with. Snips are ideal for thinner metals, while shears or a plasma cutter are better suited for thicker and more rigid metals. Consult the manufacturer’s instructions for the proper usage and cutting techniques of your chosen tool.
5. Start cutting: Align the cutting tool with the marked cutting line and begin cutting along the designated path. Take your time and apply steady pressure to ensure a smooth and even cut. If you’re using snips or shears, cut in long, continuous strokes rather than short, choppy ones. This will result in cleaner cuts.
6. Follow the cutting lines: Continue cutting along the marked lines until you have completed the outline of your design. Take care to stay on the cutting lines to maintain the integrity of the design. If necessary, make small adjustments to ensure precise cuts.
7. Trim any excess: Once you have cut out the main design, trim any excess metal that may be left around the edges. Use snips or shears to carefully remove any unwanted metal. This will help refine the shape of your artwork.
8. Smooth the edges: After cutting, use sandpaper or a metal file to smooth the edges of the cut metal pieces. This will remove any sharp or jagged edges and create a clean and finished look. Be gentle and take your time to achieve a polished finish.
By following these steps, you will be able to cut the metal for your wall art accurately and cleanly. Remember to work slowly and take breaks if needed to maintain your focus and attention to detail.
Next, we will move on to shaping and forming the metal to give it dimension and character.
When making metal wall art, be sure to use the appropriate safety equipment such as gloves and goggles to protect yourself from sharp edges and flying debris.
Step 4: Shape and Form the Metal
Once you have cut the sheet metal according to your desired design, it’s time to move on to shaping and forming it. This step adds dimension and character to your metal wall art, making it visually interesting and unique. Follow these steps to shape and form the metal:
1. Assess your design: Take a moment to evaluate your cut metal pieces and visualize how they will come together. Consider the curves, angles, and contours that are needed to bring your design to life.
2. Secure the metal: Place the metal pieces on a workbench or a suitable surface and use clamps or a vice to hold them securely in place. This will make it easier to shape and manipulate the metal.
3. Bend and curve: Use metal bending tools such as a vice, hammer, or metal brake to bend and shape the metal pieces according to your design. Apply gentle and controlled pressure to create smooth curves and angles. Take your time and make small adjustments as needed to achieve the desired shape.
4. Hammering and pounding: If you want to add texture or create a hammered effect, use a metal hammer or mallet to gently strike the surface of the metal. This technique can give your artwork a unique and artistic look. Experiment with different hammering techniques and vary the intensity of the strikes to create the desired texture.
5. Form intricate details: For intricate details or smaller bends, use pliers or specialized metal forming tools. These tools allow for fine adjustments and precise shaping, especially in areas with tight curves or angles.
6. Test the fit: As you shape and form the metal, periodically test the fit of the pieces. Check if they align correctly and if any adjustments are needed. This will ensure that your final artwork is well-balanced and visually appealing.
7. Work incrementally: Shape and form the metal gradually, working in small increments. This approach allows for more control and ensures that the metal doesn’t become too brittle or susceptible to cracking. Take breaks if needed to avoid straining your hands or damaging the metal.
8. Refine the shapes: Once you have achieved the desired shapes, use pliers or your hands to refine any rough edges or imperfections. Smooth out any kinks or bumps to create a polished and cohesive look.
9. Check for stability: Before moving on to the next steps, double-check the stability of your metal wall art. Ensure that all pieces are securely shaped and firmly connected. Make any necessary adjustments to enhance its structural integrity.
By following these steps, you will be able to shape and form the metal for your wall art, turning flat cutouts into three-dimensional artwork. The shaping process allows you to add movement and visual interest to your design, taking it to the next level.
Next, we will move on to Step 5: Sand and Smooth the Edges, where we will refine the final details of your metal wall art.
Step 5: Sand and Smooth the Edges
After shaping and forming the metal for your wall art, it’s time to move on to Step 5: sanding and smoothing the edges. This step is crucial for achieving a polished and professional finish. Here’s how to sand and smooth the edges of your metal wall art:
1. Prepare your workspace: Set up a clean and well-ventilated area for sanding. Lay down a protective covering or work on a surface that won’t be damaged by the sanding process. Additionally, make sure you have all the necessary tools and materials ready.
2. Choose the right sandpaper: Select a medium-grit sandpaper suitable for metal surfaces, such as 120 or 180 grit. Avoid using sandpaper that is too coarse, as it may leave visible scratches on the metal. You can also use a metal file if necessary.
3. Safety first: Put on your safety gloves, safety goggles, and a dust mask before starting the sanding process. This will protect your hands, eyes, and respiratory system from potential harm.
4. Sand the edges: Hold the metal piece securely with one hand and use the other hand to gently sand the edges. Move the sandpaper in a smooth, back-and-forth motion, following the contour of the metal. Be sure to sand all edges, paying extra attention to any rough or sharp areas.
5. Use light pressure: Apply light, even pressure while sanding to avoid removing too much material or creating uneven surfaces. Let the sandpaper do the work and allow it to gradually smooth out the rough edges.
6. Check your progress: Periodically stop and inspect the edges to see how they’re coming along. Run your fingers along the sanded edges to feel for any remaining sharpness or roughness. If needed, continue sanding until you achieve a smooth and even finish.
7. Transition to fine-grit sandpaper: Once the edges are relatively smooth, switch to a higher grit sandpaper, such as 220 or 320. This finer sandpaper will refine the surface further and create a polished look.
8. Final touches with a metal file: If there are any intricate details or hard-to-reach areas that still require smoothing, use a metal file to carefully refine those sections. The file allows for more precise shaping and can reach areas that may be challenging with sandpaper alone.
9. Clean the metal: After sanding, wipe away any dust or debris from the metal surface using a clean, lint-free cloth. This will give you a clear view of the final results and ensure that no particles interfere with future finishing touches.
By following these steps, you’ll be able to sand and smooth the edges of your metal wall art, creating a clean and polished appearance. This step is vital for achieving a professional finish and ensuring that your artwork is safe to handle.
Next, we will move on to Step 6: Apply Finishing Touches, where you’ll have the opportunity to add color, texture, or other enhancements to your metal wall art.
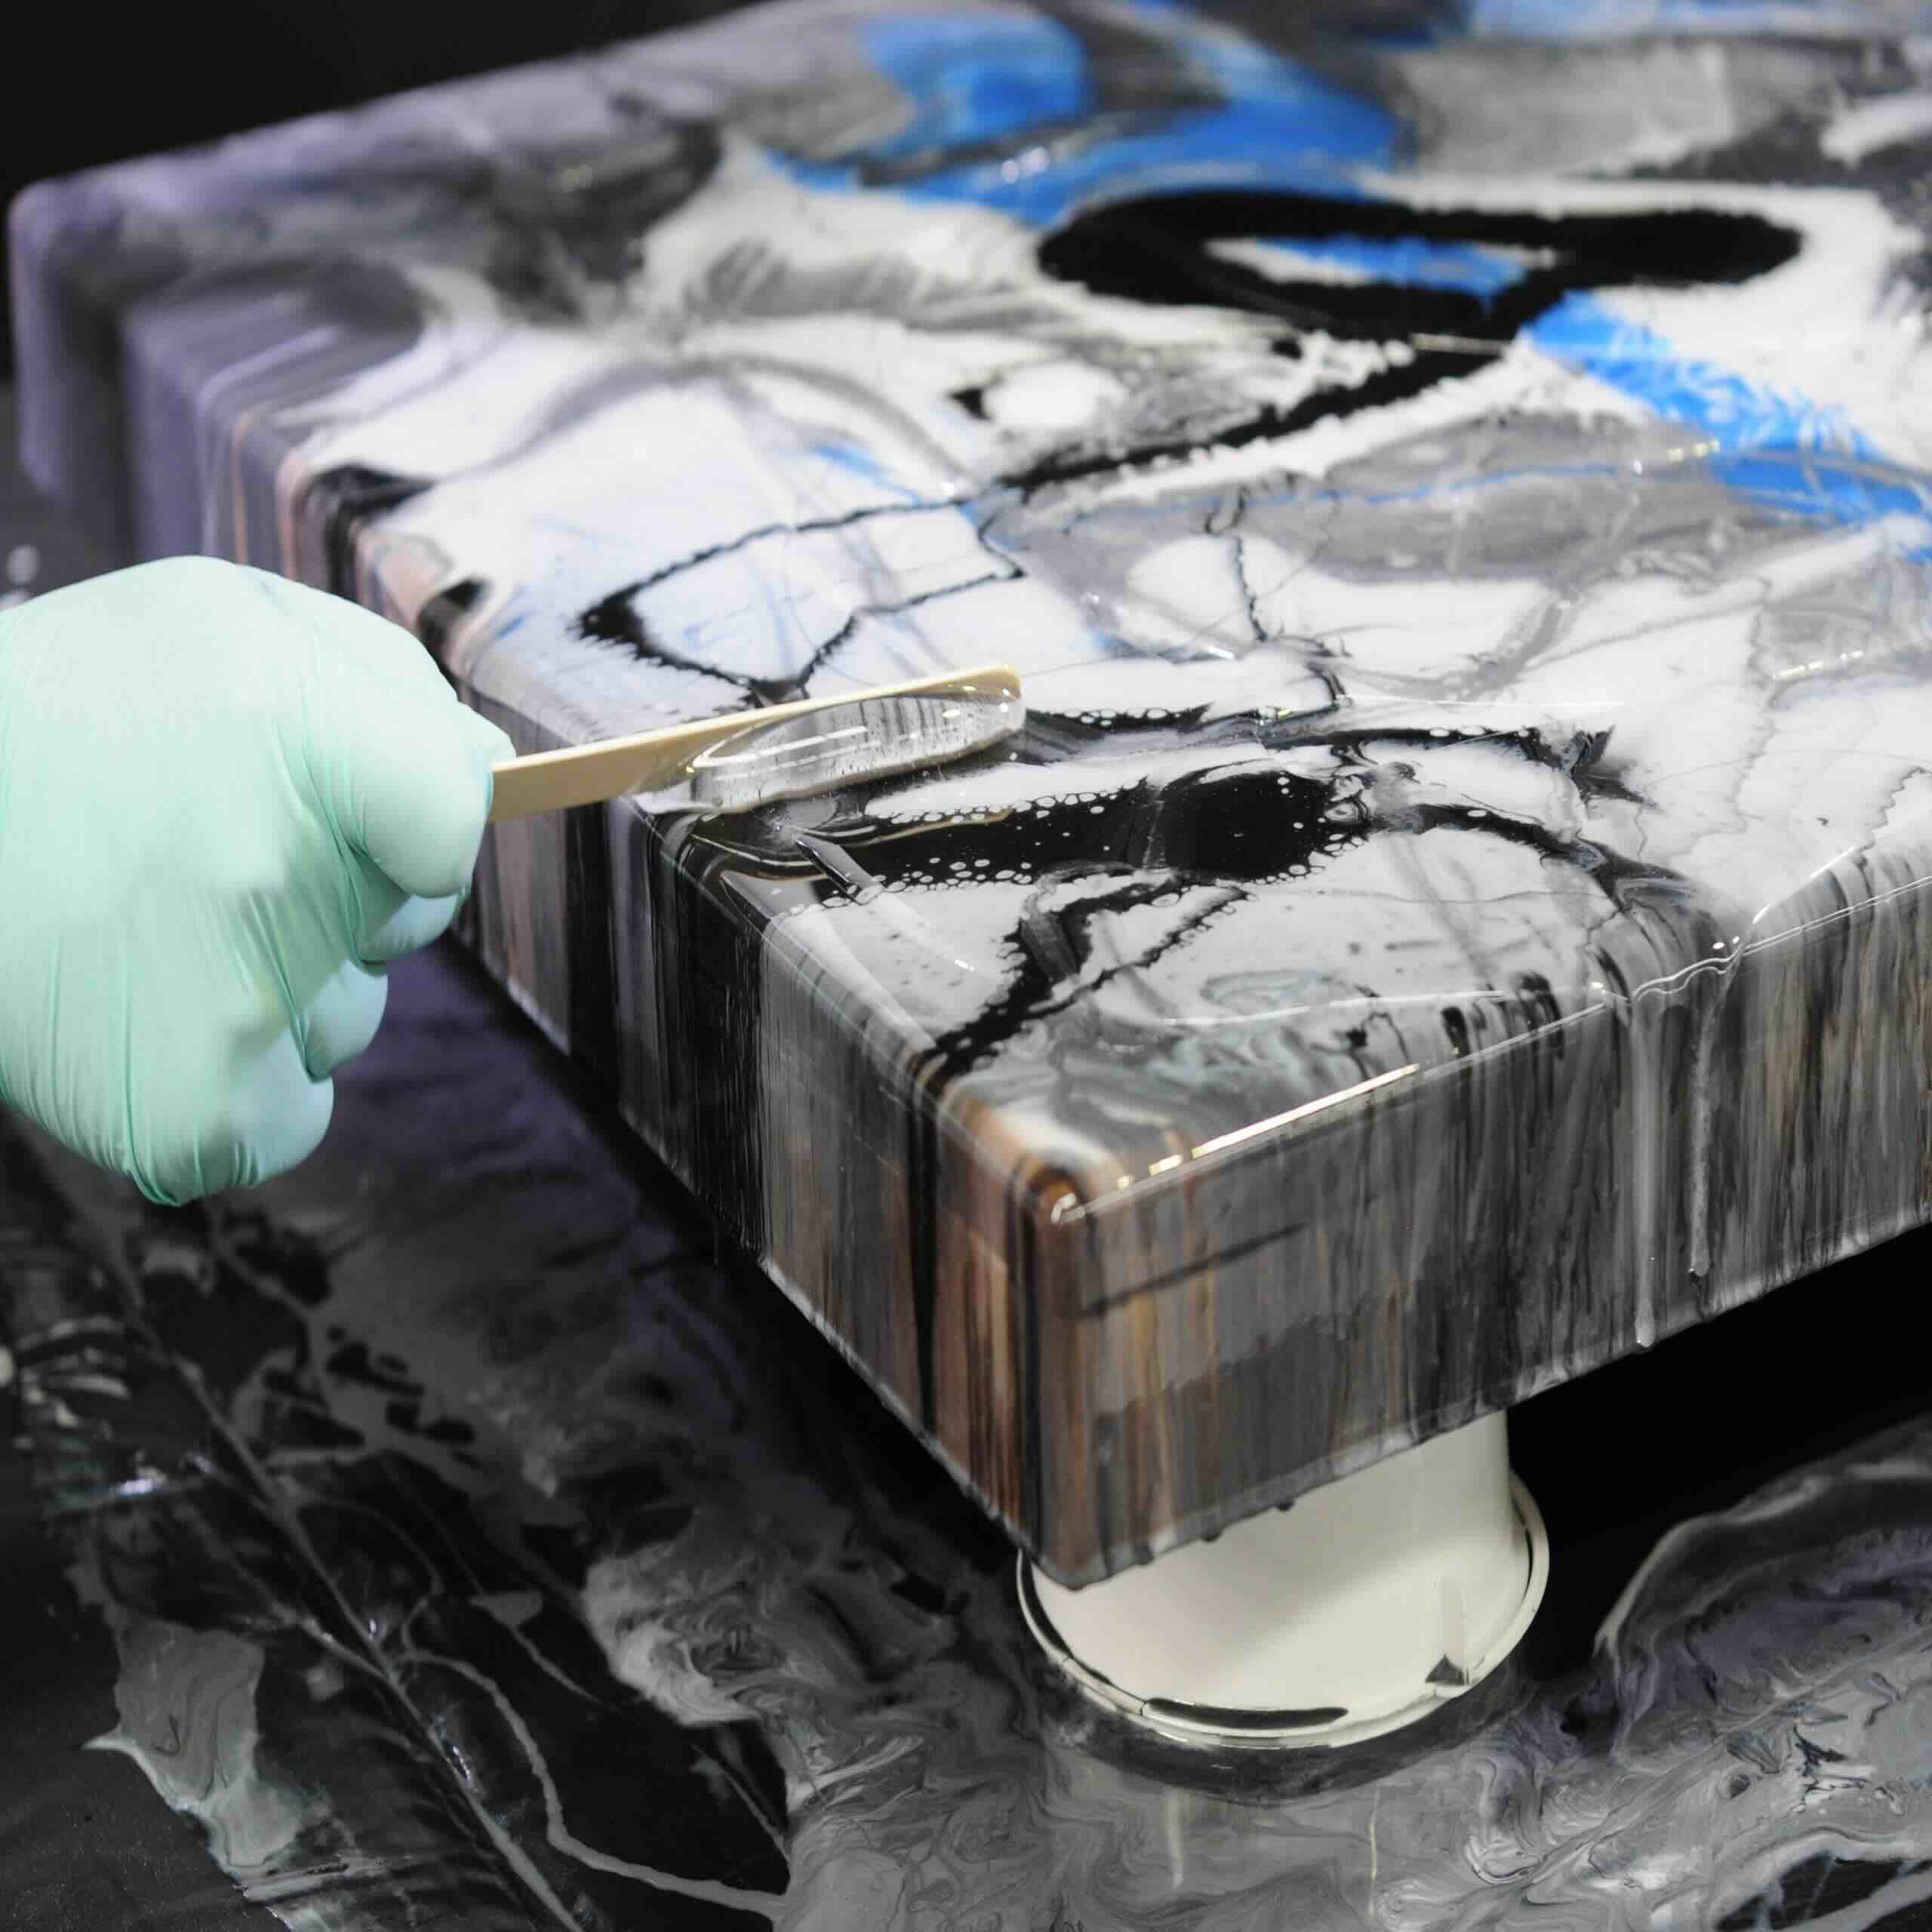
Step 6: Apply Finishing Touches
With the edges of your metal wall art sanded and smooth, it’s time to move on to Step 6: applying finishing touches. This step allows you to add color, texture, or other enhancements to bring your artwork to life. Here’s how you can apply finishing touches to your metal wall art:
1. Assess your design: Take a moment to review your design and consider any additional elements or details you would like to incorporate. This could include adding color, texture, patina, or other decorative elements.
2. Choose your finishing supplies: Select the appropriate paints, patinas, sealants, or other finishing supplies that are suitable for metal surfaces. Consider the desired effect and the materials you are working with. It’s a good idea to test your chosen finishes on a small area of the metal to ensure the desired outcome.
3. Apply a base coat (optional): If you want your metal wall art to have a solid color base, consider applying a primer or base coat using a paintbrush or spray paint. This will create a smooth and even foundation for your final finish.
4. Experiment with color: Use acrylic paints, spray paints, or specialized metal patinas to add color to your artwork. Apply the chosen colors using a brush, sponge, or spray technique, depending on the desired effect. Experiment with different techniques such as blending, layering, or stippling to create unique patterns and textures.
5. Create texture and depth: If you want to add texture to your metal wall art, consider using techniques such as dry brushing or stippling with a brush. These methods can bring out the details of your design and create visual interest.
6. Embrace natural patina: Depending on the type of metal you’re working with, you may want to allow a natural patina to develop over time. Metals like copper and steel can develop a unique patina that adds character and depth to your artwork. Consider using patina solutions or simply leave the metal exposed to the environment to encourage natural oxidation.
7. Seal and protect: Once you’re satisfied with the colors and textures, apply a sealant or clear coat to protect your artwork from the elements and ensure longevity. This will also enhance the vibrancy of the colors and provide a glossy or matte finish, depending on your preference.
8. Follow manufacturer instructions: Throughout this step, carefully follow the instructions provided by the manufacturer for each finishing product used. This will ensure proper adhesion, drying times, and overall effectiveness.
9. Allow for drying time: After applying the finishing touches, allow sufficient drying time as recommended by the manufacturer. Avoid handling the artwork until the finishes are completely dry to prevent smudging or damaging the final result.
By implementing these finishing touches, you can add your personal touch and transform your metal wall art into a unique and eye-catching piece. Whether you prefer vibrant colors, subtle textures, or a natural patina, the finishing touches will help you achieve the desired aesthetic.
Next, we will move on to Step 7: Mount and Hang the Metal Wall Art, the final step in creating your metal wall art masterpiece.
Read more: How To Make Textured Wall Art
Step 7: Mount and Hang the Metal Wall Art
Congratulations on reaching the final step of creating your metal wall art masterpiece! Now it’s time to mount and hang your artwork, transforming it from a work in progress to a stunning focal point on your wall. Follow these steps to securely mount and hang your metal wall art:
1. Determine the placement: Decide where you want to hang your metal wall art. Consider the size of the piece, the room layout, and the visual impact you want to achieve. It’s a good idea to enlist someone’s help to hold the artwork against the wall while you assess the best position.
2. Prepare the wall: Ensure that the wall is clean and free of any debris or dust. If necessary, use a level to mark the desired position for your artwork. This will ensure that your metal wall art hangs straight and even.
3. Choose the appropriate hanging hardware: Depending on the weight and size of your metal wall art, select the appropriate hanging hardware. Common options include hooks, nails, or brackets. Consider using hardware specifically designed for hanging heavy objects securely.
4. Position the hardware: Mark the locations where the hanging hardware will be placed on the wall. Use a measuring tape and a level to ensure accurate positioning. If using multiple hardware pieces, make sure they are evenly spaced.
5. Install the hanging hardware: Following the manufacturer’s instructions, install the chosen hanging hardware securely into the wall. Use a drill, screws, or other necessary tools to ensure a sturdy installation. Confirm that the hardware is properly aligned and level before proceeding.
6. Hang the metal wall art: With the hanging hardware in place, carefully lift your metal wall art and align it with the installed hardware. Gently lower the artwork onto the hooks, nails, or brackets. Double-check that the artwork is level and adjust if necessary.
7. Step back and evaluate: Step back and assess the placement and positioning of your metal wall art. Make any minor adjustments to ensure that it hangs exactly as desired. Take this opportunity to appreciate your completed artwork in its designated spot.
8. Enjoy your metal wall art: Once your metal wall art is securely mounted and hanging, take a moment to enjoy the fruits of your labor. Stand back and admire the beauty and craftsmanship of your creation. Your metal wall art will enhance the aesthetic appeal of your space and serve as a conversation starter.
Remember to periodically check the stability of the hanging hardware and re-adjust if needed. This ensures that your metal wall art remains securely mounted over time. Additionally, if you decide to rearrange your space or move the artwork to a different location, repeat the steps to disconnect and re-mount the piece.
You have successfully completed all the steps to create and hang your own metal wall art. Congratulations on your artistic achievement! Your unique creation will bring a touch of elegance and creativity to your space for years to come.
(495 words)
Conclusion
Creating your own metal wall art is a rewarding and fulfilling endeavor that allows you to showcase your creativity and add a unique touch to your space. Throughout this article, we have guided you through the process, from choosing a design to mounting and hanging your artwork. By following the steps outlined, you have successfully transformed sheet metal into a stunning piece of wall art.
The journey begins with selecting a design that resonates with your personal style and complements your space. With a clear design template in hand, you then gather the necessary tools and materials, ensuring that you have everything you need for a smooth workflow. Cutting the metal with precision and shaping it to your desired form brings your design to life, offering depth and dimension to your artwork.
Sanding and smoothing the edges adds a polished finish and ensures the safety and comfort of anyone who interacts with the artwork. Applying the finishing touches, whether through colors, textures, or a natural patina, infuses your metal wall art with your unique vision and personal flair.
Finally, with the mounting hardware securely in place, you proudly hang your artwork on the wall, stepping back to admire the culmination of your efforts. Your metal wall art becomes a centerpiece, adding beauty and sophistication to your space while sparking conversations and captivating the attention of all who behold it.
Through this DIY project, you have not only created a stunning piece of metal wall art but also gained valuable skills in metalworking and design. This newfound knowledge can be applied to future projects and allow you to explore and expand your creative endeavors.
Remember, the joy lies not only in the final result but also in the process itself. Embrace the opportunity to experiment, learn, and adapt as you embark on your metal wall art journey. Don’t be afraid to make mistakes or try out new techniques. It’s all a part of the artistic process.
So, unleash your creativity, gather your tools, and let your imagination soar as you embark on the wonderful endeavor of creating your own metal wall art. Embrace the satisfaction and pride that comes with transforming raw materials into a visual masterpiece that reflects your individuality and enhances your space.
(498 words)
Frequently Asked Questions about How To Make Metal Wall Art
Was this page helpful?
At Storables.com, we guarantee accurate and reliable information. Our content, validated by Expert Board Contributors, is crafted following stringent Editorial Policies. We're committed to providing you with well-researched, expert-backed insights for all your informational needs.


0 thoughts on “How To Make Metal Wall Art”