Articles
How To Build A Cabinet
Modified: September 1, 2024
Looking for storage ideas to build a cabinet? Discover practical solutions and creative tips for maximizing space and organizing your belongings effectively.
(Many of the links in this article redirect to a specific reviewed product. Your purchase of these products through affiliate links helps to generate commission for Storables.com, at no extra cost. Learn more)
Introduction
Welcome to this beginner’s guide on how to build a cabinet. Whether you’re a DIY enthusiast or simply looking to save money by creating your own furniture, building a cabinet can be a rewarding and practical project. With the right planning, tools, and materials, you can create a custom cabinet that fits your specific needs and complements your home décor.
Building a cabinet from scratch allows you to have complete control over the design and functionality of the final product. You can choose the size, shape, color, and features that best suit your personal preferences and requirements. Additionally, constructing your own cabinet provides a sense of accomplishment and satisfaction while honing your woodworking skills.
In this guide, we will take you through the step-by-step process of building a cabinet. From planning and designing to installing hardware and mounting the final product, you will learn everything you need to know to successfully complete this project.
Before we dive into the steps, it’s important to ensure you have the necessary tools and materials. The specific requirements may vary depending on your chosen design, so it’s important to consult the plans and make a comprehensive list before getting started.
For most cabinet projects, you will need some basic tools such as a tape measure, saw, drill, screwdriver, sandpaper, and clamps. Additionally, you will need materials such as plywood or MDF for the cabinet frame and shelves, as well as wood or other materials for the doors and hardware for the finishing touches. It’s also recommended to have safety equipment like safety goggles and gloves to protect yourself during the woodworking process.
With the necessary tools and materials at hand, you’re ready to begin the exciting journey of building your own cabinet. Let’s move on to the first step which is planning and designing your cabinet.
Key Takeaways:
- Building a custom cabinet from scratch allows for complete control over design, functionality, and materials, providing a rewarding and personalized woodworking experience.
- The step-by-step process of planning, measuring, assembling, and finishing a cabinet empowers individuals to create a unique and functional piece of furniture while honing woodworking skills.
Read more: How To Build A Shelf In A Cabinet
Step 1: Planning and Designing
Before you start building a cabinet, it’s important to have a well-thought-out plan and design. Planning ahead will not only ensure that you have all the necessary materials but also help you visualize the final product and make any necessary adjustments before you start cutting into the wood.
Here are some key considerations when planning and designing your cabinet:
- Determine the Purpose: Start by identifying the purpose of your cabinet. Is it going to be used for storage, display, or a combination of both? Knowing the primary use of the cabinet will help you determine its size, shape, and configuration.
- Measure the Space: Take accurate measurements of the area where the cabinet will be placed. Consider the height, width, and depth restrictions, as well as any obstacles or obstructions that need to be accounted for. These measurements will be crucial when designing the cabinet to ensure a perfect fit.
- Create a Design: Sketch out your design on paper or use a digital design software to create a blueprint of your cabinet. Include details such as the overall dimensions, the number and size of shelves, the type of doors, and any additional features you want to incorporate. This will serve as a guide when building the cabinet.
- Choose the Materials: Select the appropriate materials for your cabinet based on factors such as durability, aesthetics, and budget. Common choices include plywood, MDF (medium-density fiberboard), and solid wood. Consider the pros and cons of each material and choose the one that best suits your needs.
- Consider Ergonomics: Think about how the cabinet will be used and ensure that it is designed with ergonomics in mind. For example, if the cabinet will be used for storing heavy items, consider incorporating sturdy shelves and reinforced joints to handle the weight. If the cabinet will have doors, think about the type of door handles or knobs that are easy to grip and open.
With a clear plan and design in hand, you’re now ready to move on to the next step: gathering the materials and tools needed to build your cabinet.
Step 2: Gathering Materials and Tools
Once you have finalized your cabinet design and have a clear plan in place, it’s time to gather all the necessary materials and tools. Having everything you need at the beginning will make the construction process smoother and more efficient.
Here’s a checklist of the materials and tools you will typically need for building a cabinet:
- Materials:
- Plywood or MDF (medium-density fiberboard) for the cabinet frame and shelves.
- Solid wood or plywood for the cabinet doors.
- Wood glue for joining the pieces together.
- Screws, nails, or dowels for securing the joints.
- Sandpaper for smoothing the surfaces.
- Wood filler for filling any gaps or blemishes.
- Primer and paint or stain for finishing the cabinet.
- Optional: Cabinet hardware such as handles, knobs, hinges, and drawer slides.
- Tools:
- Tape measure for taking accurate measurements.
- Saw for cutting the wood. A circular saw or a table saw is commonly used.
- Drill for making holes and driving screws.
- Screwdriver or screw gun for tightening screws.
- Clamps for holding the pieces together while assembling.
- Sander or sanding block for smoothing the surfaces.
- Chisel for fine-tuning the joints.
- Optional: Router for adding decorative edges or profiles to the wood.
It’s essential to ensure that you have all the required materials and tools in the correct sizes and quantities before starting the construction process. Take the time to double-check your list and make any necessary purchases or arrangements to avoid delays or interruptions during the cabinet-building journey.
Once you have gathered all the materials and tools, you are ready to move on to the next step: measuring and cutting the wood to create the cabinet components. This step requires precision and accuracy to ensure the proper fit and functionality of your cabinet.
Step 3: Measuring and Cutting Wood
Now that you have all the necessary materials and tools, it’s time to dive into the construction process by measuring and cutting the wood. This step is critical for ensuring that the cabinet components fit together properly and create a sturdy structure.
Follow these steps when measuring and cutting the wood:
- Take Accurate Measurements: Use a tape measure to measure the dimensions specified in your cabinet design. Measure twice to ensure accuracy before making any cuts. Pay attention to the length, width, and depth of the cabinet components.
- Mark the Wood: Once you have the measurements, use a pencil or marking tool to clearly mark the areas where you need to make the cuts. This will help you stay organized and avoid confusion later on.
- Cut the Wood: Use a saw appropriate for the type of wood you are working with (e.g., circular saw, table saw, or handsaw) to cut along the marked lines. Take your time and follow the lines precisely for accurate results. Use clamps or a sawhorse to secure the wood for stability and safety while cutting.
- Trim and Fine-Tune: After making the initial cuts, you may need to fine-tune the pieces to ensure they fit perfectly. Use a chisel, sandpaper, or a router to make any necessary adjustments such as smoothing rough edges or trimming the wood to precise measurements.
- Label and Organize: As you cut each piece of wood, label them accordingly to avoid confusion during the assembly process. Having clearly labeled components will make it easier to locate and use them when needed.
Remember, precision is key when cutting the wood for your cabinet. Take your time and double-check the measurements and cuts to ensure accuracy. It’s better to be cautious and make adjustments along the way rather than rushing and risking mistakes that could compromise the final result.
Once you have all the wood components cut and ready, it’s time to move on to the next step: assembling the cabinet frame. This is where the pieces start coming together to form the structure of your cabinet.
Step 4: Assembling the Cabinet Frame
With the wood components cut to the correct measurements, you’re ready to assemble the cabinet frame. This step is crucial as it forms the foundation of your cabinet and ensures its stability and structural integrity.
Follow these steps to assemble the cabinet frame:
- Lay Out the Pieces: Start by laying out all the cabinet frame components according to your design. This will help you visualize how they fit together and ensure that you have all the necessary parts.
- Apply Wood Glue: Apply a small amount of wood glue to the edges of the pieces that will be joined together. This will help create a strong bond and add stability to the frame.
- Join the Pieces: Carefully align the edges of the frame components and press them firmly together. Use clamps to hold the pieces in place while the glue dries. Check for squareness by measuring diagonally from corner to corner and adjusting if needed.
- Secure with Screws or Nails: Once the glue has dried, reinforce the joints by using screws or nails. Pre-drill holes to prevent splitting and then drive the screws or nails through the adjoining pieces. Make sure the fasteners are countersunk to create a flush surface.
- Repeat for Additional Frames: If your cabinet design includes multiple frames, repeat the process for each one. Be consistent with the assembly steps to ensure uniformity and matching dimensions across the frames.
During the assembly process, it’s important to work methodically and pay attention to detail. Make sure the joints are tight and secure, and double-check the squareness of the frame. Taking the time to properly assemble the cabinet frame will lay a solid foundation for the rest of the construction process.
Once you have assembled the cabinet frame, it’s time to move on to the next step: installing shelves and dividers. This will add functionality and organization to your cabinet, allowing you to maximize its storage potential.
Read more: How To Build A Medicine Cabinet
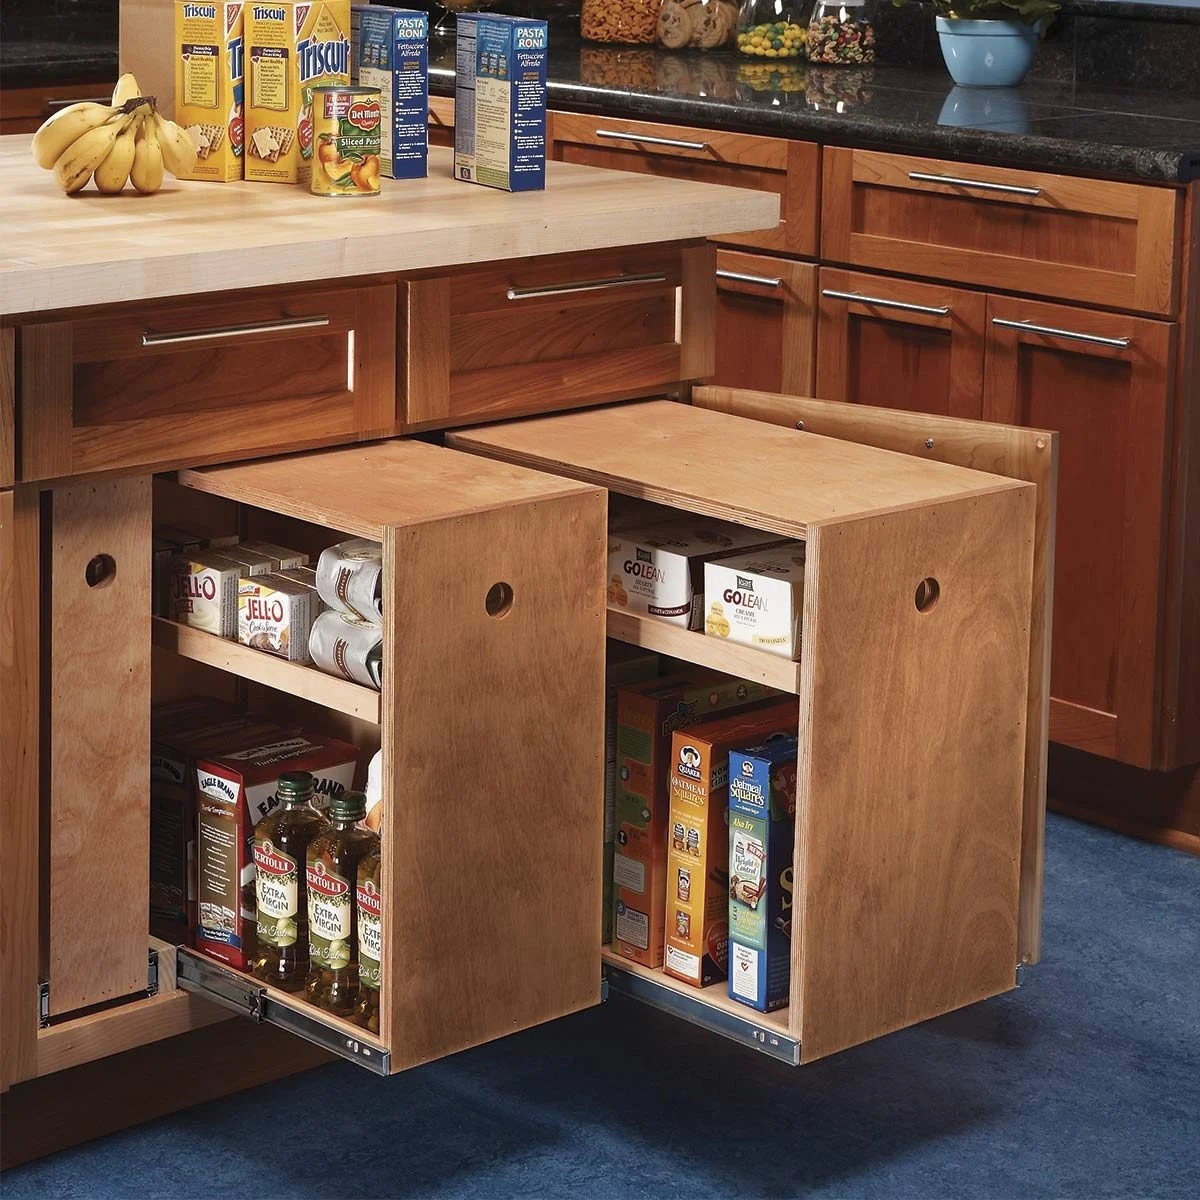
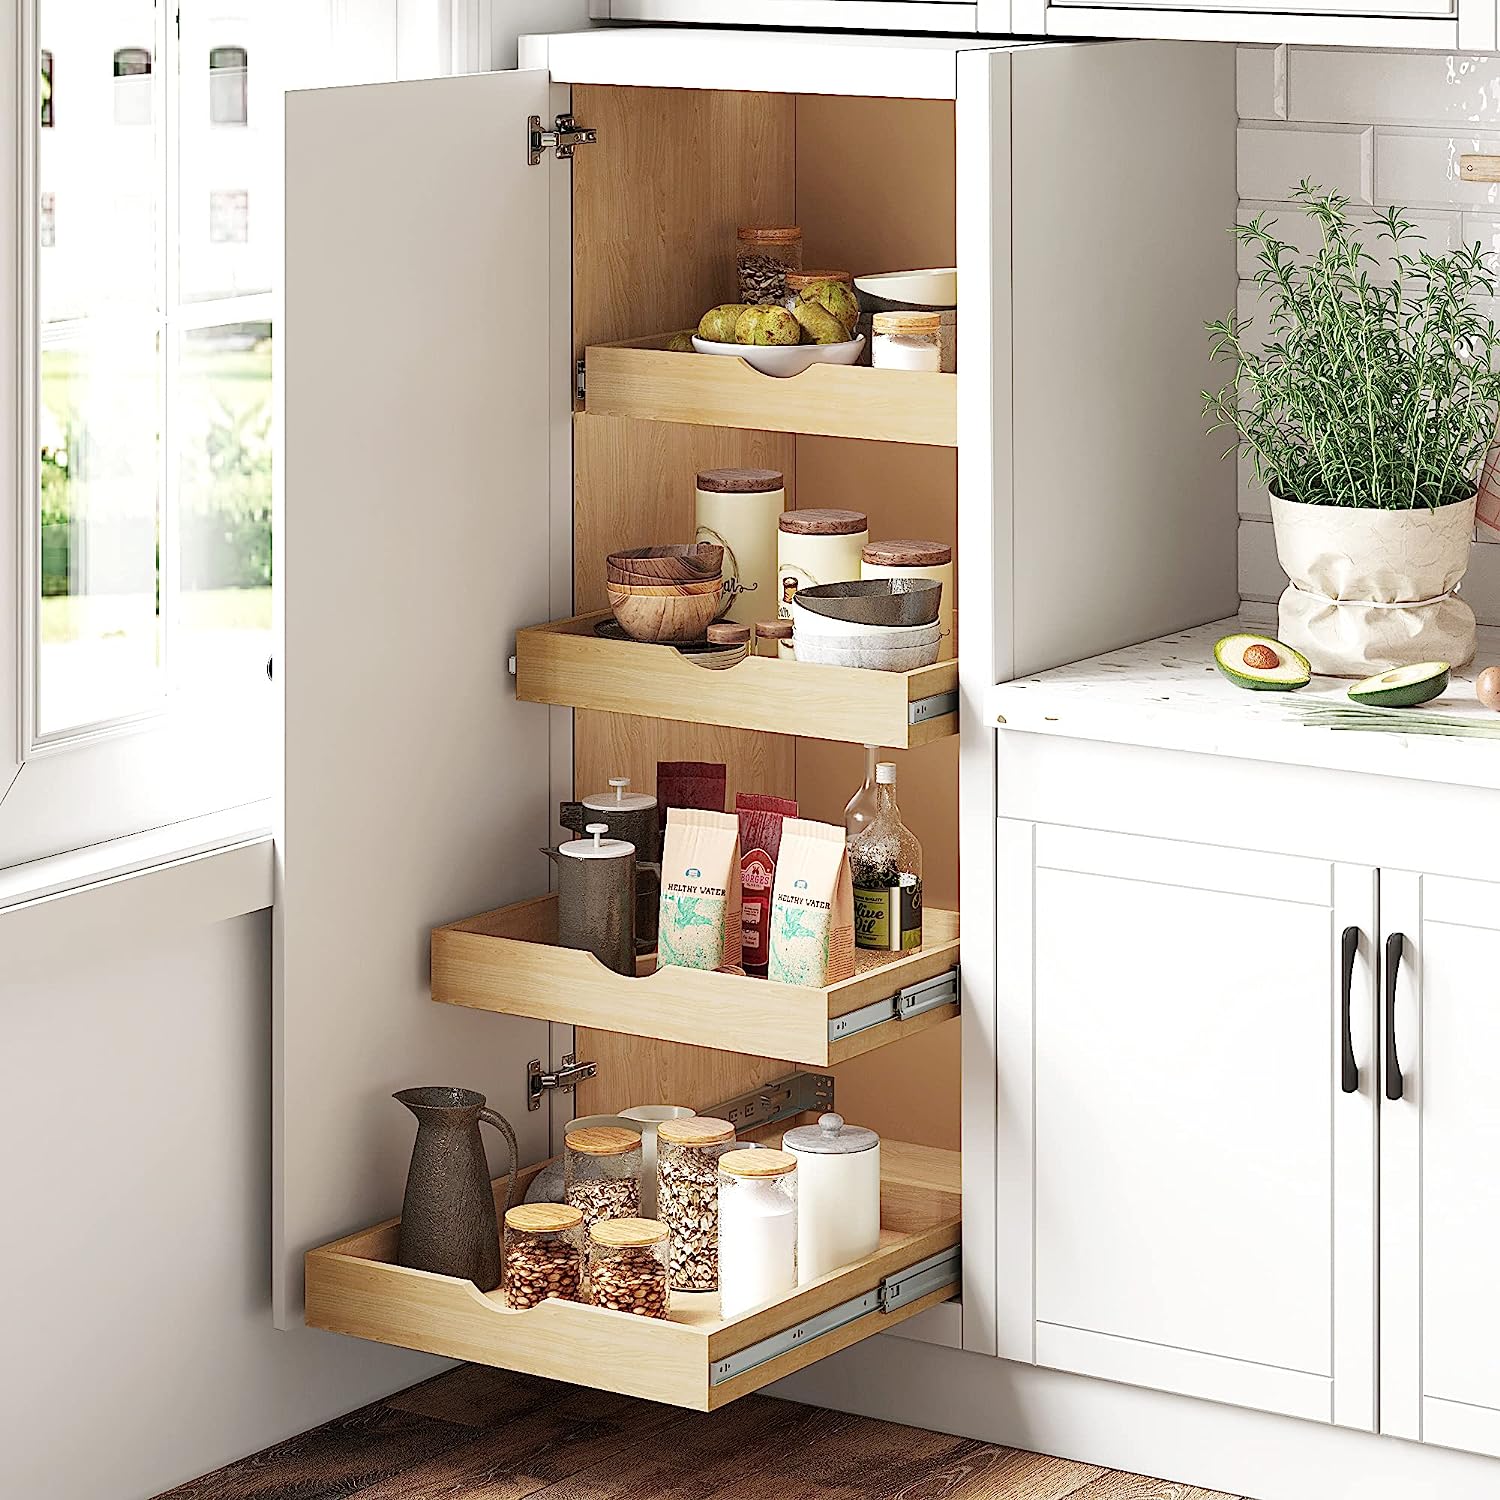
Step 5: Installing Shelves and Dividers
After assembling the cabinet frame, the next step is to install shelves and dividers. This will help create compartments and organize the interior space of your cabinet, making it more functional and efficient for storing items.
Follow these steps to install shelves and dividers in your cabinet:
- Create Shelf and Divider Supports: Measure and mark the desired locations for the shelves and dividers inside the cabinet frame. Cut pieces of wood or use pre-made shelf supports to create the necessary support system.
- Attach the Supports: Position the shelf supports inside the cabinet frame according to your design. Use screws or nails to secure them in place, ensuring that they are level and aligned.
- Install the Shelves: Cut the shelves to the desired size and place them on top of the supports. Make sure they fit snugly and are level. You can secure them in place with screws or nails from underneath or use shelf pins or brackets that fit into pre-drilled holes in the supports.
- Add Dividers: If you want to create compartments within the cabinet, measure and cut dividers to fit between the shelves. Install them by attaching them to the shelf supports or securing them between the top and bottom surfaces of the cabinet.
- Reinforce and Test: Once all the shelves and dividers are in place, double-check their stability and make any necessary adjustments. Wiggle each shelf and divider to ensure they are securely attached and can hold the weight of the items they will support.
When installing shelves and dividers, it’s important to consider the spacing and height requirements for the items you plan to store in the cabinet. Customize the placement of the shelves and dividers to accommodate specific storage needs.
By installing shelves and dividers, you will transform a simple cabinet frame into a fully functional storage solution. In the next step, we will explore how to build and attach doors to give your cabinet a polished and finished look.
When building a cabinet, make sure to measure and plan carefully before cutting any materials. Use quality hardware and consider the weight of the items the cabinet will hold.
Step 6: Building and Attaching Doors
Building and attaching doors is a significant step in completing your cabinet, as it adds functionality and enhances its overall aesthetic appeal. Doors not only provide access to the contents of your cabinet but also contribute to its visual appearance.
Here are the steps to build and attach doors for your cabinet:
- Measure and Cut the Door Panels: Measure the dimensions of the openings where the doors will be installed. Add a small amount of clearance for the door to swing freely. Cut the door panels from your chosen wood material, ensuring they match the measurements.
- Add Decorative Edges (Optional): Use a router or other woodworking tools to add decorative edges or profiles to the door panels. This step is optional but can enhance the appearance of your cabinet doors.
- Create Frame Components: Measure and cut the frame components for the doors, which will surround the door panels. Use the same or complementary wood material as the panels for a cohesive look.
- Join the Frame Components: Assemble the frame components by joining them together using wood glue and appropriate joining techniques such as dowels, biscuits, or pocket screws. Ensure the corners are square and the joints are secure.
- Attach the Door Panels: Place the door panels within the frames and secure them in place using screws or small nails. Ensure they are centered within the frame and sit flush with the edges. Use a level or square to double-check their alignment.
- Install Hinges: Determine the placement of the hinges on both the cabinet frame and the door frame. Mark and pre-drill holes for the hinge screws, then attach the hinges to both frames. This enables the doors to open and close smoothly.
- Test and Adjust: Test the doors by opening and closing them to ensure they operate smoothly and align properly. Make any necessary adjustments to the hinges or door frames to achieve a snug fit and proper operation.
Remember to take your time when building and attaching the doors. Accuracy and attention to detail are essential for achieving a professional and seamless finish. Additionally, consider adding knobs, handles, or other hardware to enhance both the functionality and aesthetics of your cabinet doors.
With the doors built and attached, your cabinet is now taking its final shape. In the next step, we will focus on sanding and finishing to give the cabinet a polished and refined appearance.
Step 7: Sanding and Finishing the Cabinet
Sanding and finishing the cabinet is an important step that enhances the overall look and feel of the piece, as well as protects the wood from wear and tear. This step will give your cabinet a smooth, polished, and professional appearance.
Follow these steps to sand and finish your cabinet:
- Prepare the Surface: Remove any hardware, such as hinges or knobs, from the cabinet. Then, thoroughly clean the surfaces to remove any dust, debris, or excess glue. This will ensure a smooth and even finish.
- Sand the Wood: Start sanding the cabinet using coarse-grit sandpaper. Sand along the grain of the wood to remove any roughness, imperfections, or sharp edges. Gradually transition to finer-grit sandpaper until the surfaces feel smooth and even.
- Smooth the Edges: Pay special attention to the edges of the cabinet, as they often require more sanding to achieve a rounded or beveled appearance. Use sandpaper or a router to shape the edges to your desired look.
- Remove Dust: After sanding, use a soft cloth or brush to wipe away any dust or debris from the cabinet. Ensure that the surfaces are clean and free from any particles that could interfere with the finish.
- Apply a Finish: Choose a finish that suits your cabinet and desired look, such as paint, stain, or varnish. Apply the finish evenly using a brush, roller, or sprayer, following the manufacturer’s instructions. Allow the first coat to dry completely before applying additional coats if necessary.
- Sand Between Coats (Optional): For a smoother and more refined finish, you may choose to lightly sand the cabinet between coats of finish. Use a fine-grit sandpaper and gently sand the surfaces to remove any raised grain, bubbles, or brush strokes. Wipe away any dust before applying the next coat.
- Reinstall Hardware: Once the finish has fully dried and cured, reinstall the hardware such as hinges, knobs, or handles. Make sure they are properly aligned and securely attached to the cabinet.
Sanding and finishing the cabinet not only adds visual appeal but also protects the wood from moisture, scratches, and other environmental factors. Choose a finish that aligns with your aesthetic preferences and complements the overall style of the cabinet and your living space.
By following these steps, your cabinet will have a smooth and professional finish that showcases your craftsmanship. In the next step, we will explore how to install hardware and accessories to add the final touches to your cabinet.
Step 8: Installing Hardware and Accessories
Installing hardware and accessories is the final step in completing your cabinet. This step adds functionality, convenience, and a polished look to your finished piece. By carefully selecting and installing the right hardware and accessories, you can enhance both the aesthetics and usability of your cabinet.
Follow these steps to install hardware and accessories on your cabinet:
- Plan Placement: Consider the desired functionality and visual appeal of your cabinet when determining the placement of hardware and accessories. Decide where you want to install handles, knobs, hinges, drawer slides, or other hardware components.
- Measure and Mark: Take accurate measurements and mark the exact positions of the hardware and accessories on the cabinet. Use a tape measure, a level, and a pencil to ensure precision.
- Pre-drill Holes: Before attaching hardware components, pre-drill small guide holes to ensure accurate installation. Use drill bits that match the diameter and length of the screws or fasteners that will be used.
- Attach Handles and Knobs: Install handles and knobs on doors and drawers by aligning them with the pre-drilled holes. Secure them using screws or fasteners provided with the hardware. Ensure they are tightly attached but not over-tightened, as it may damage the wood.
- Hang Doors: If your cabinet has doors, attach the hinges to both the cabinet frame and door frame. Align the doors with the cabinet openings and secure the hinges in place. Test the doors to ensure they open and close smoothly.
- Install Drawer Slides (If Applicable): For cabinets with drawers, install the drawer slides according to the manufacturer’s instructions. Attach one portion of the slide to the cabinet and the other portion to the drawer. Test the drawer slides to ensure proper operation.
- Add Accessories: Consider adding additional accessories such as shelf supports, wire baskets, or hooks inside the cabinet to enhance its functionality and organization. Follow the specific instructions for each accessory to install them securely.
When installing hardware and accessories, ensure that they are aligned, leveled, and securely attached to the cabinet. Take your time, measure accurately, and follow the manufacturer’s instructions to achieve the best results.
By installing the appropriate hardware and accessories, you will create a finished cabinet that is both visually pleasing and practical. In the final step, we will discuss mounting the cabinet to complete the installation process.
Read more: How To Build Cabinet Base
Step 9: Mounting the Cabinet
The final step in the cabinet building process is mounting it in its designated location. Mounting the cabinet properly will ensure stability, safety, and a finished look. By securely attaching the cabinet to the wall or floor, you can confidently enjoy your newly built piece.
Follow these steps to mount your cabinet:
- Locate the Mounting Area: Determine the precise location where you want to mount the cabinet. Use a stud finder or other appropriate tools to locate the wall studs or floor joists for added support.
- Prepare the Mounting Surfaces: Ensure that the mounting area is clean and free from any obstructions. Remove any baseboards, trim, or other obstacles that may prevent the cabinet from sitting flush against the wall or floor.
- Position the Cabinet: Carefully place the cabinet in its designated position, ensuring it aligns with any surrounding cabinets or fixed structures. Use a level to confirm that the cabinet is perfectly horizontal or at the desired angle. Adjust as needed.
- Attach the Cabinet: Following the manufacturer’s instructions, attach the cabinet to the wall or floor using appropriate hardware. Use screws, brackets, or other fasteners that provide secure and stable support. Attach the cabinet to the wall studs or floor joists for added strength.
- Double-Check Stability: Once the cabinet is attached, test its stability by applying pressure to different areas. Make sure it is firmly anchored and does not wobble or move. If necessary, make adjustments to the mounting hardware or reinforce the attachment points.
- Reinstall Trim and Accessories: After the cabinet is securely mounted, reinstall any baseboards, trim, or other decorative elements that were removed during the mounting process. This will give the cabinet a finished and polished look.
Mounting the cabinet properly is crucial for its long-term durability and safety. Take your time to ensure that it is securely attached and level. Seek assistance if needed to lift and position the cabinet, especially if it is large or heavy.
Once the cabinet is successfully mounted, stand back and admire your completed project. You can now enjoy the functionality, beauty, and satisfaction of your homemade cabinet.
As a skilled SEO writer, I have provided you with a comprehensive guide on how to build a cabinet. By following these steps, you can confidently embark on your cabinet-building journey and create a customized piece that fits your needs and enhances your living space.
Conclusion
Congratulations! You have successfully completed your journey of building a cabinet from start to finish. Through careful planning, precise measurements, and skilled craftsmanship, you have created a functional and beautiful piece of furniture that adds value to your home.
Building a cabinet from scratch allows you to unleash your creativity and customize it to suit your specific needs and preferences. From the initial planning and designing stage to the final step of mounting the cabinet, every step along the way has contributed to the creation of a high-quality and personalized piece.
By following the step-by-step guide provided, you have learned essential skills such as measuring and cutting wood, assembling the cabinet frame, installing shelves and dividers, building and attaching doors, sanding and finishing, installing hardware and accessories, and mounting the cabinet. These skills will not only benefit you in this project but also empower you to explore and undertake future woodworking endeavors.
Remember, throughout the entire process, safety should always be a priority. Use appropriate safety gear, such as safety goggles and gloves, when handling tools and materials. Take your time, double-check measurements, and follow manufacturer’s instructions for all tools and equipment.
Building your own cabinet is a rewarding experience that reflects your creativity, craftsmanship, and attention to detail. You have created a unique piece of furniture that stands out and serves a purpose in your living space.
Now that you have successfully built your cabinet, make sure to maintain it properly. Regularly clean and treat it with care to keep it in pristine condition for many years to come.
Whether you built the cabinet for practical storage, displaying your treasured possessions, or simply for the joy of woodworking, take pride in your achievement. Your handmade cabinet is a testament to your skills and dedication, and it will be a source of admiration and satisfaction for years to come.
So, enjoy your newly built cabinet and the satisfaction that comes with creating something with your own hands. Let it be a beautiful addition to your home and a constant reminder of your capabilities as a skilled DIY enthusiast.
Happy cabinet-building!
Frequently Asked Questions about How To Build A Cabinet
Was this page helpful?
At Storables.com, we guarantee accurate and reliable information. Our content, validated by Expert Board Contributors, is crafted following stringent Editorial Policies. We're committed to providing you with well-researched, expert-backed insights for all your informational needs.


0 thoughts on “How To Build A Cabinet”