Home>Furniture>Outdoor Furniture>How To Build A Patio Bench

Outdoor Furniture
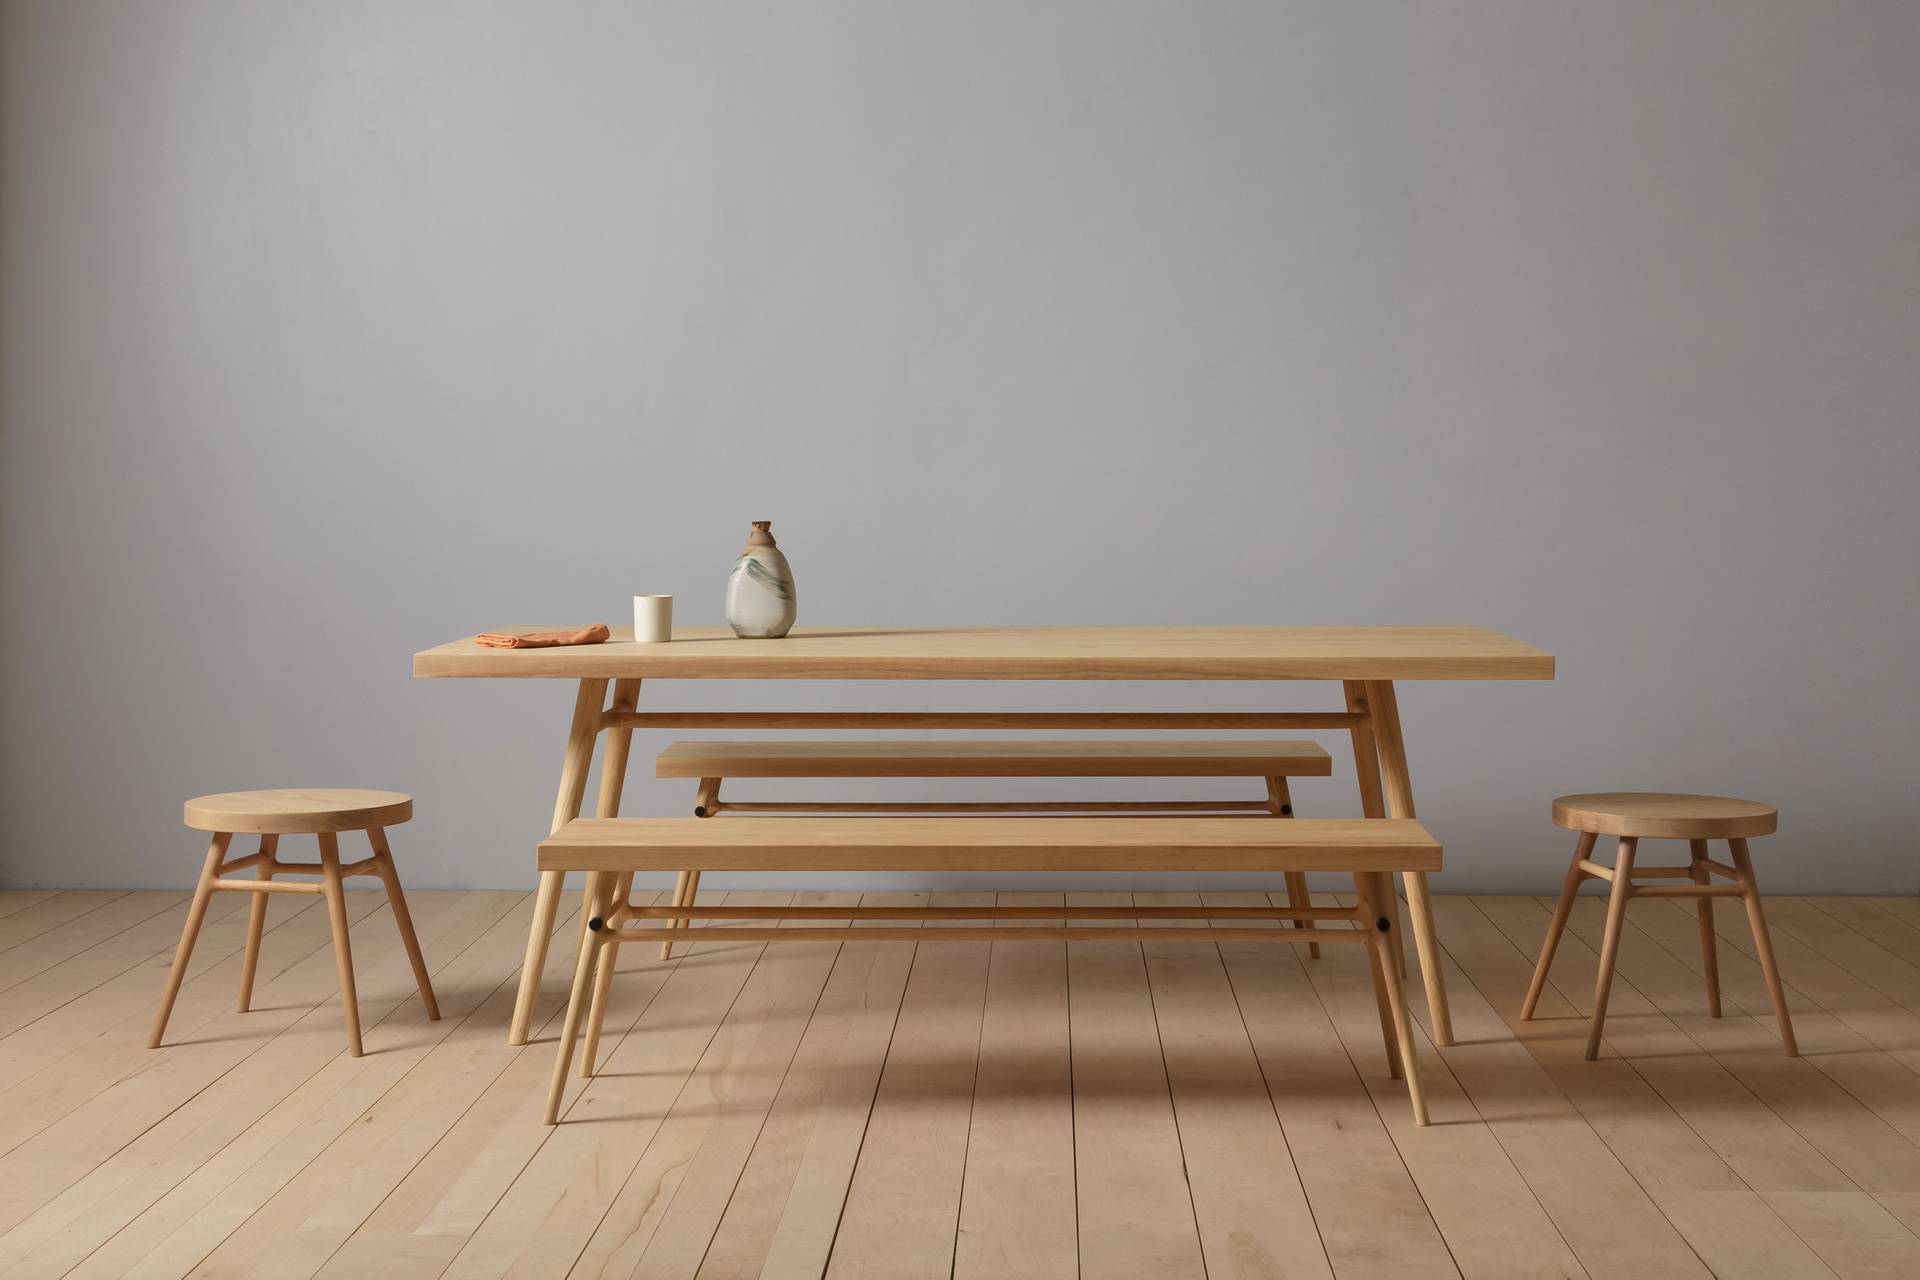
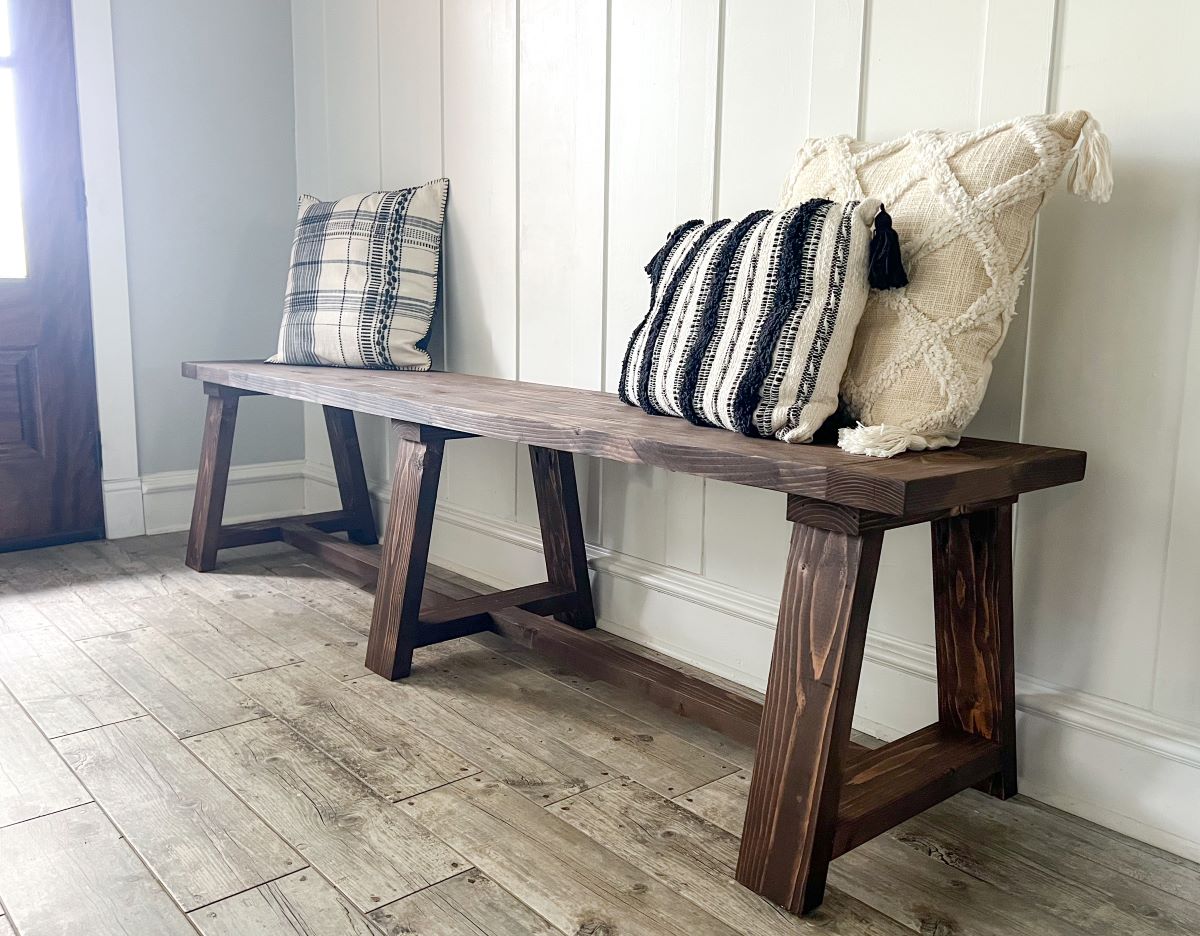
How To Build A Patio Bench
Modified: March 7, 2024
Learn how to build a stunning patio bench and enhance your outdoor space with our step-by-step guide. Create the perfect outdoor furniture piece with ease.
(Many of the links in this article redirect to a specific reviewed product. Your purchase of these products through affiliate links helps to generate commission for Storables.com, at no extra cost. Learn more)
Introduction
Welcome to our guide on how to build a patio bench! A patio bench is not only a functional piece of furniture but also a stylish addition to any outdoor space. Whether you want a cozy spot to sit and enjoy your morning coffee or a place to gather with friends and family, a custom-made patio bench is the perfect solution.
Building a patio bench may seem like a daunting task, but with the right materials, tools, and a little bit of guidance, you can create a beautiful and sturdy bench that will withstand the elements and provide years of enjoyment.
In this step-by-step guide, we will walk you through the process of building a patio bench from start to finish. We will cover everything from gathering the necessary materials and tools to measuring and marking the bench dimensions, cutting the wood, assembling the bench frame, attaching the legs, installing the seat slats, and finally sanding and finishing the bench. By the end of this guide, you will have all the knowledge and confidence to tackle this DIY project.
So, roll up your sleeves, put on your safety goggles, and let’s get started on creating your own beautiful and functional patio bench!
Key Takeaways:
- Building a patio bench is a fun and rewarding DIY project that can add charm and comfort to your outdoor space. With the right materials and tools, you can create a beautiful and sturdy bench to enjoy for years to come.
- Safety is essential when building a patio bench. Remember to wear protective gear, take your time with measurements and cuts, and follow the step-by-step guide to create a cozy and inviting seating area for your patio.
Read more: How To Build Patio Benches
Step 1: Gather Materials and Tools
Before you begin building your patio bench, it’s important to gather all the necessary materials and tools. This will ensure a smooth and efficient construction process. Here’s a list of what you’ll need:
Materials:
- Pressure-treated lumber (2x4s and 4x4s) for the bench frame
- Cedar or another weather-resistant wood for the seat slats
- Wood screws
- Exterior wood glue
- Sanding materials (sandpaper or a power sander)
- Exterior wood stain or paint
- Outdoor fabric and foam cushion for added comfort (optional)
Tools:
- Tape measure
- Pencil or marker
- Saw (circular saw or miter saw)
- Drill with drill bits and screwdriver attachments
- Screw clamps
- Sanding block or power sander
- Paintbrush or foam brush
It’s essential to choose quality materials that are suitable for outdoor use. Pressure-treated lumber is an excellent choice for the bench frame, as it is resistant to rot and insect damage. Cedar or a similar weather-resistant wood is perfect for the seat slats, as it offers durability and natural beauty.
Additionally, gather all the necessary tools to ensure a smooth construction process. A tape measure and pencil or marker will be used for measuring and marking the bench dimensions. A saw, such as a circular saw or miter saw, will be needed for cutting the wood to the desired lengths. A drill with drill bits and screwdriver attachments will be essential for assembling the bench frame and attaching the seat slats. Screw clamps will help to hold the pieces in place during assembly. Sanding materials, such as sandpaper or a power sander, will be needed to smooth the surfaces of the bench. Lastly, a paintbrush or foam brush will be required for applying an exterior wood stain or paint for a finished look.
Once you have gathered all the necessary materials and tools, you’ll be ready to move on to the next step: measuring and marking the bench dimensions.
Step 2: Measure and Mark the Bench Dimensions
Now that you have all your materials and tools ready, it’s time to measure and mark the dimensions for your patio bench. This step is crucial to ensure that your bench is the right size and proportions for your outdoor space. Follow these steps to get started:
- Choose the location for your bench on your patio. Consider factors such as sunlight, shade, and accessibility.
- Measure the available space for the bench. Take into account any existing structures like walls or fences.
- Determine the desired length and depth of your bench. This will depend on your personal preference and the amount of available space.
- Use a tape measure, pencil, and straightedge to mark the dimensions on the lumber. Double-check your measurements to ensure accuracy.
- Label the different parts of the bench frame, such as the legs, supports, and crossbars, to avoid confusion during the assembly process.
When measuring and marking the dimensions, it’s essential to consider both the height and the angle of the backrest if you wish to include one. A comfortable angle for the backrest is typically between 15-30 degrees from the vertical.
Remember that it’s always better to measure twice and cut once. Taking the time to double-check your measurements will save you from potential errors and ensure a precise fit.
Once you have measured and marked the dimensions for your bench, you can move on to the next step: cutting the wood.
Step 3: Cut the Wood for the Bench
With the dimensions marked on the lumber, it’s time to cut the wood pieces for your patio bench. Follow these steps to ensure accurate cuts and smooth edges:
- Gather your safety equipment, including safety goggles and gloves. Safety should always be a priority when using power tools.
- Set up your saw on a stable work surface. Ensure that it is securely clamped or mounted to prevent any movement during cutting.
- Refer to your marked dimensions and use a tape measure to measure and mark the appropriate lengths on the lumber.
- Use a saw, such as a circular saw or miter saw, to make the cuts. Follow the marked lines and take your time to ensure accuracy.
- If your bench design includes angled cuts for the backrest, use a miter saw to make these cuts at the desired angles.
- After each cut, inspect the wood for any rough edges or splinters. Use sandpaper or a power sander to smooth out the edges as necessary.
Remember to follow all safety precautions when using power tools. Wear safety goggles to protect your eyes from any wood chips or debris, and use gloves to protect your hands. If you are not comfortable using power tools, consider enlisting the help of a friend or hiring a professional to assist with the cutting process.
Once you have cut all the wood pieces for your bench, you are ready to move on to the next step: assembling the bench frame.
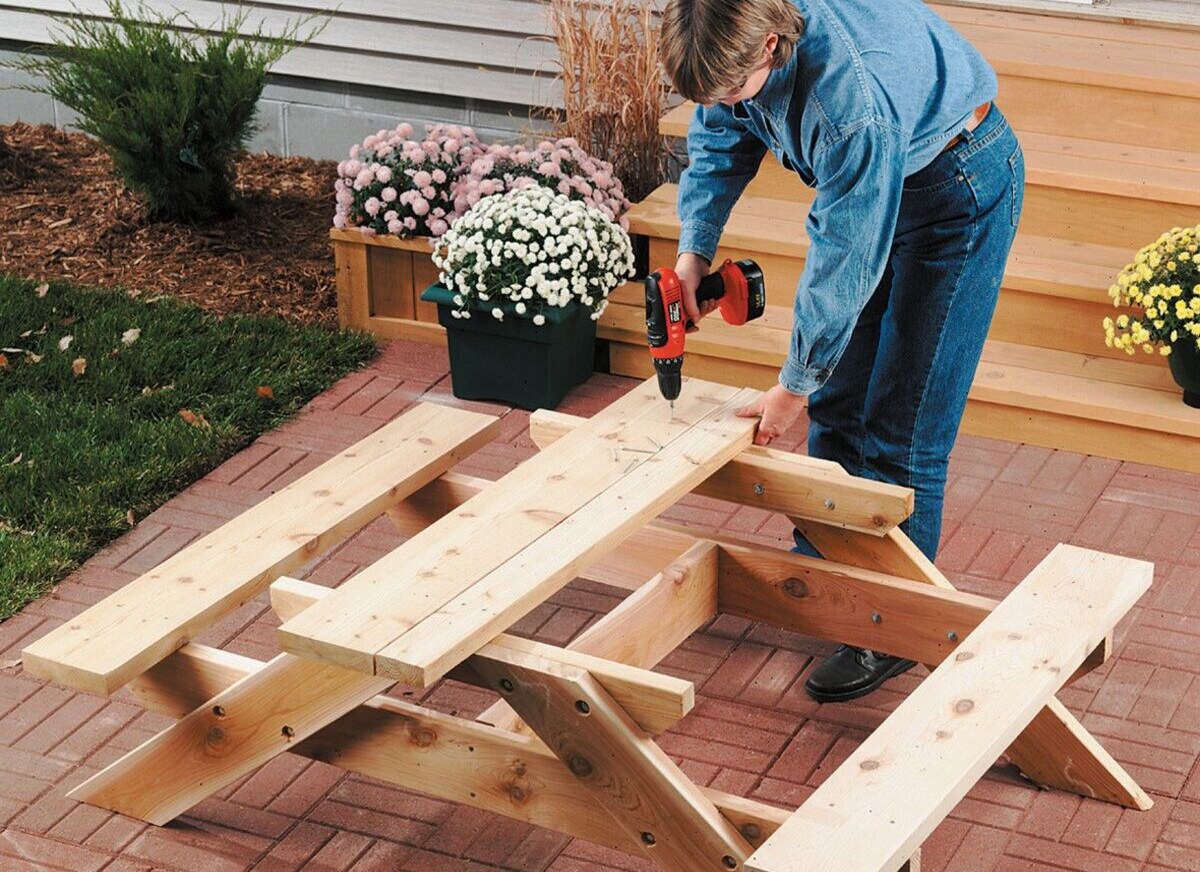
Step 4: Assemble the Bench Frame
Now that you have all the wood pieces cut to size, it’s time to assemble the bench frame. Follow these steps to ensure a sturdy and secure structure:
- Lay out all the wood pieces in the designated work area, making sure you have easy access to them.
- Start by connecting the legs to the supports. Place a support piece perpendicular to two leg pieces, forming an “L” shape. Use wood screws and a drill to attach the pieces together.
- Repeat the process for the other leg and support pieces to form the second “L” shape.
- Place the two “L” shapes parallel to each other, with the legs facing upward.
- Connect the crossbars between the two “L” shapes. Position the crossbars evenly along the length of the bench, leaving enough space for the seat slats.
- Using wood screws and a drill, attach the crossbars to the legs and supports.
- Double-check all the connections to ensure they are tight and secure.
As you assemble the bench frame, make sure to follow the guidelines in your design or plans. Each design may have specific instructions on the placement and orientation of the pieces.
If your bench will have a backrest, you can attach additional support pieces at the desired height and angle. Use wood screws to secure them to the legs and crossbars.
Remember to apply exterior wood glue to the joints for added stability and durability. This will help reinforce the connections between the wood pieces.
Once you have assembled the bench frame, you can move on to the next step: attaching the legs to the bench frame.
When building a patio bench, make sure to use weather-resistant materials such as cedar or pressure-treated wood to ensure durability and longevity.
Read more: How To Build Woodworking Bench
Step 5: Attach the Legs to the Bench Frame
With the bench frame assembled, it’s time to attach the legs to complete the structure. Follow these steps to ensure a strong and stable foundation for your patio bench:
- Position the bench frame upright and stable on a flat surface.
- Align each leg with the corresponding corner of the bench frame.
- Using wood screws and a drill, attach the legs to the bench frame by driving screws through the legs and into the supports and crossbars of the frame.
- Make sure the legs are securely attached and that the frame remains stable.
- Double-check all the connections to ensure they are tight and secure.
Attaching the legs is an important step to ensure the stability and durability of your patio bench. Take the time to align the legs properly and drive the screws securely into the frame.
Depending on your bench design, you may need to install additional support pieces to reinforce the attachment between the legs and the frame. Follow the guidelines in your design or plans for any additional steps required.
Once the legs are securely attached to the bench frame, you can move on to the next step: installing the seat slats.
Step 6: Install the Seat Slats
With the bench frame and legs securely attached, it’s time to install the seat slats to create a comfortable and functional seating surface. Here’s how you can do it:
- Measure the length and width of the bench frame to determine the size of the seat slats.
- Cut the seat slats from your chosen weather-resistant wood material, ensuring they are the appropriate length and width.
- Place the first seat slat flush against one end of the bench frame.
- Using wood screws and a drill, attach the seat slat by driving screws through the slat and into the crossbars of the bench frame.
- Continue placing and attaching the remaining seat slats, spacing them evenly apart. Use a scrap piece of lumber or a spacer to maintain consistent gaps between the slats.
- Ensure that each seat slat is securely attached and level with the others.
- Double-check all the connections to ensure they are tight and secure.
Installing the seat slats is an important step in creating a comfortable and aesthetically pleasing patio bench. The choice of wood material will affect the overall look and durability of the seat. Consider using cedar or another weather-resistant wood for long-lasting performance.
When attaching the seat slats, make sure they are evenly spaced to provide sufficient support and comfort when sitting on the bench. Use a spacer or scrap piece of lumber to maintain consistent gaps between the slats.
Once all the seat slats are installed and securely attached, you can move on to the next step: sanding and finishing the bench.
Step 7: Sand and Finish the Bench
With the seat slats in place, it’s time to sand and finish your patio bench to give it a polished and attractive appearance. Follow these steps to achieve a smooth and well-finished bench:
- Begin by sanding the entire bench using sandpaper or a power sander. Start with a coarse-grit sandpaper to remove any rough surfaces or imperfections, and then progress to a finer-grit sandpaper for a smoother finish.
- Paying extra attention to the edges and corners, sand the wood until it feels smooth to the touch.
- After sanding, remove any dust or debris from the bench using a brush or a damp cloth.
- Decide how you want to finish your bench. You can choose to apply an exterior wood stain to enhance the natural beauty of the wood or use exterior paint for a more colorful and vibrant look.
- If using a wood stain, apply it using a paintbrush or foam brush, following the manufacturer’s instructions. Make sure to cover all surfaces of the bench evenly and allow the stain to penetrate the wood.
- If using paint, apply it in thin, even coats, allowing each coat to dry before applying the next. This will ensure a smooth and durable finish.
- Once the stain or paint has dried, apply a layer of a clear exterior sealant to protect the bench from the elements.
Sanding the bench not only gives it a smoother and more refined appearance but also helps to remove any sharp edges or splinters that may cause discomfort. Take your time with this step to ensure a high-quality finish.
Choosing a wood stain or paint color that complements your outdoor space can add a splash of personality and style to your bench. Consider using a UV-resistant product to protect the bench from sun damage.
After applying the finish, allow it to dry completely before moving or using the bench. This will ensure that the finish properly adheres to the wood and provides long-lasting protection.
With the bench sanded and finished, it’s time for the final step: placing the bench in your patio.
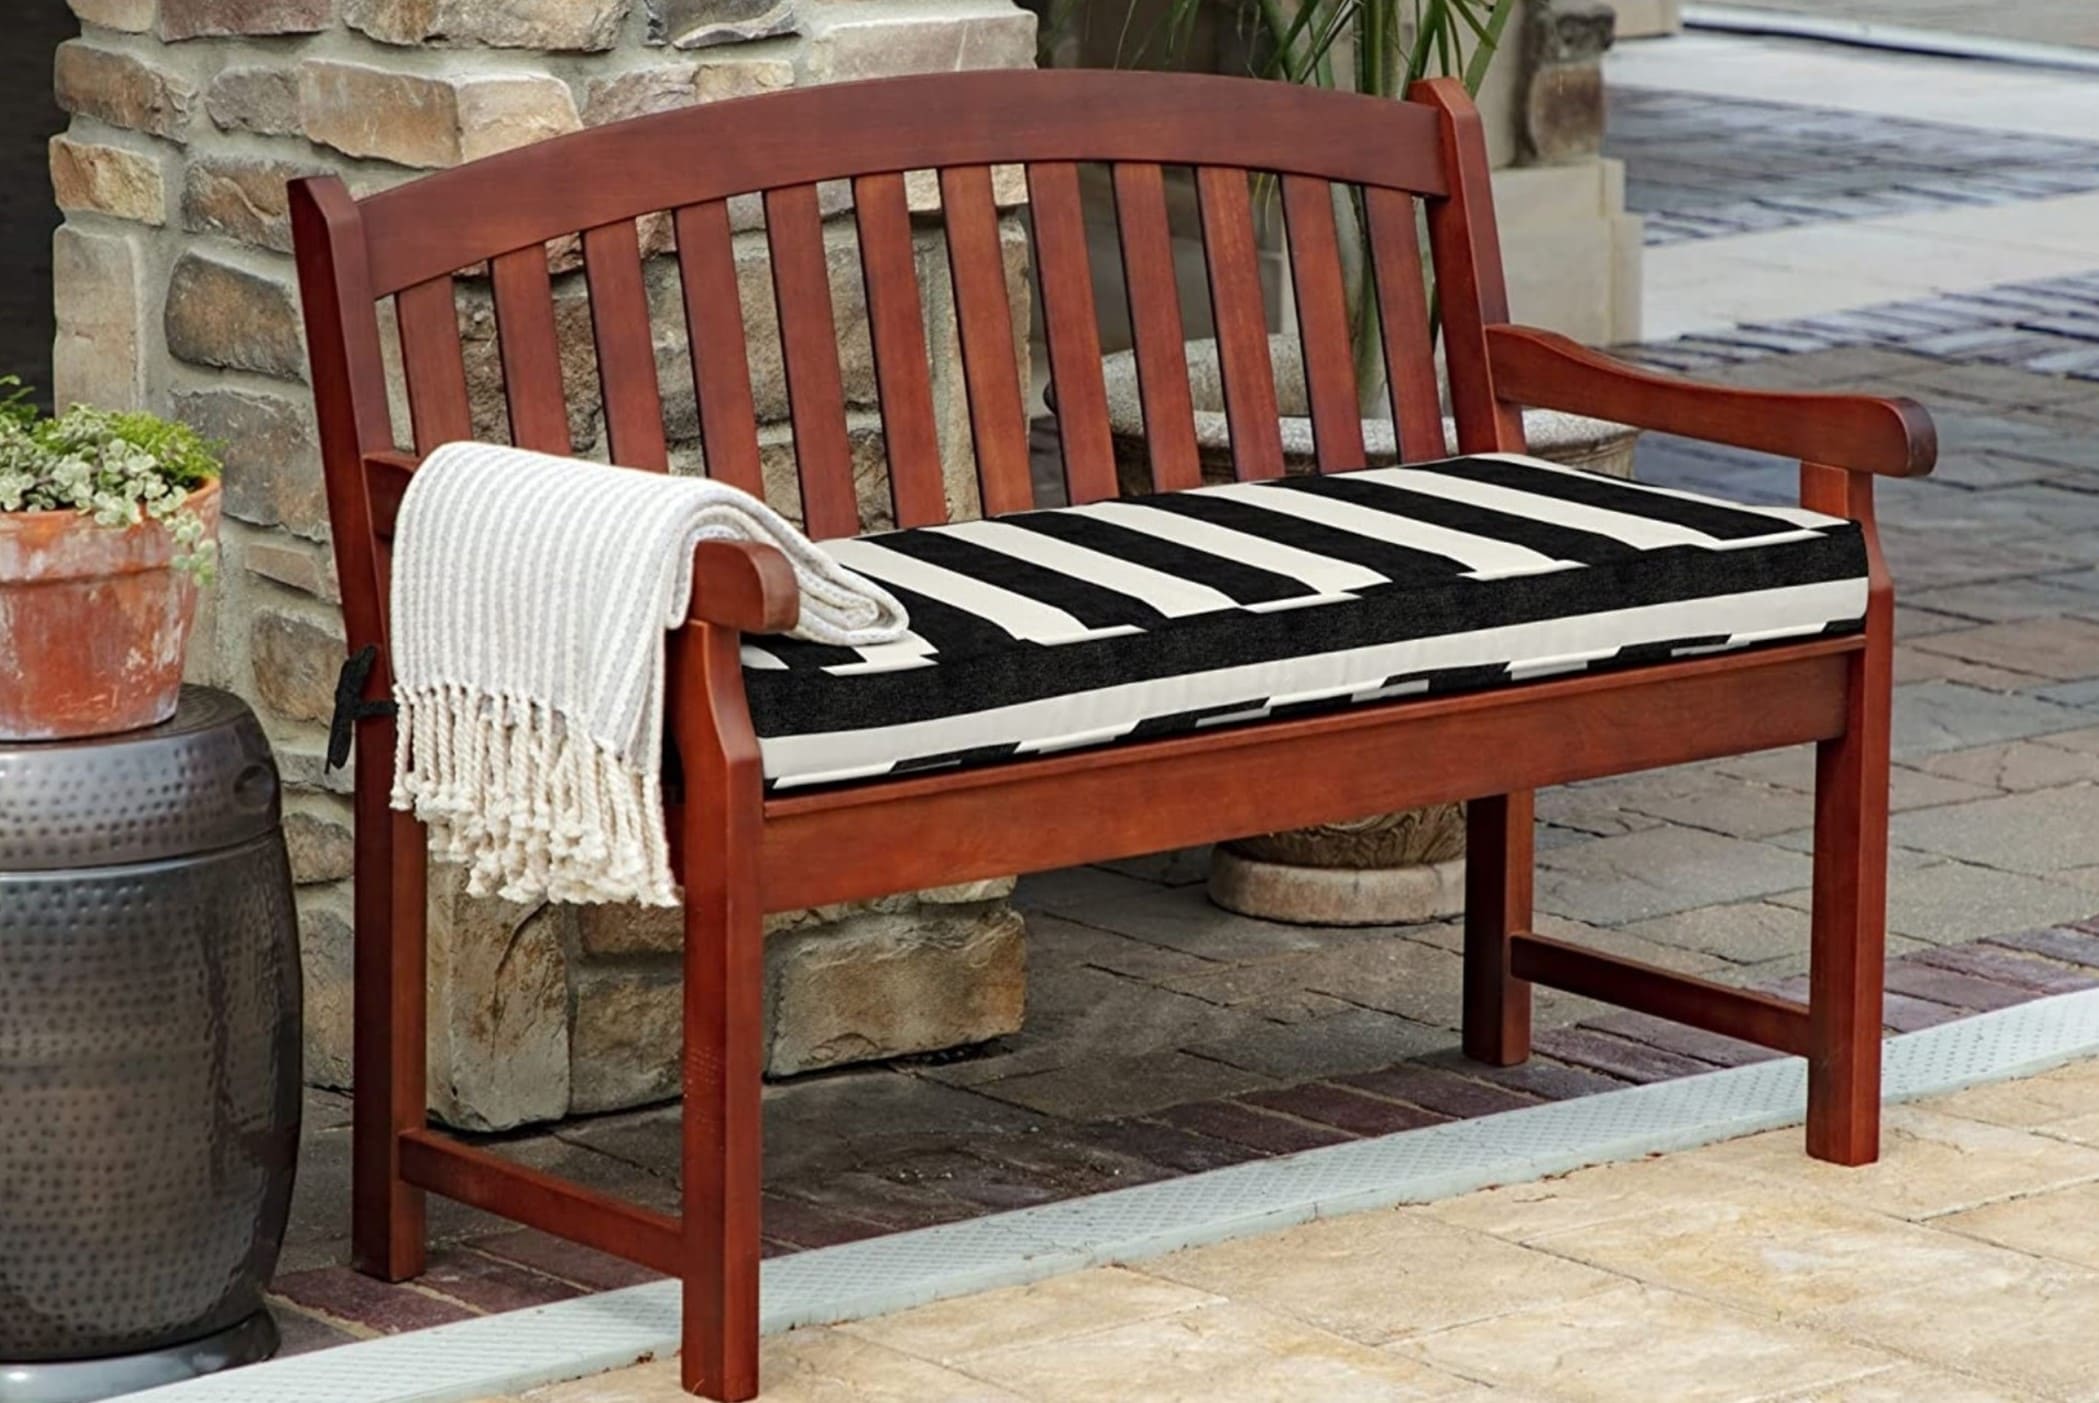
Step 8: Place the Bench in Your Patio
Congratulations! You have successfully built and finished your patio bench. Now it’s time to find the perfect spot in your outdoor space to showcase your creation. Here’s what you need to do:
- Select a suitable location on your patio for the bench. Consider factors such as sunlight, shade, and the overall layout of your outdoor area.
- Carefully move the bench to its desired location, ensuring that it fits well and is stable on the patio surface.
- Adjust the position of the bench as needed to create a comfortable and inviting seating area.
- If desired, add accessories such as outdoor cushions or pillows to enhance the comfort and style of the bench.
- Take a moment to admire your handiwork and enjoy the satisfaction of having built a functional piece of furniture that can be enjoyed for years to come.
Placing the bench in your patio is the final step in creating a cozy and inviting outdoor space. Take the time to find the perfect location that allows you to enjoy the natural surroundings and create an area for relaxation and socializing.
Consider adding some potted plants or decorative accents around the bench to further enhance its appeal and create a welcoming atmosphere.
Now that your bench is in place, take the opportunity to sit back, relax, and enjoy your outdoor retreat. Share the joy with family and friends as you gather around the bench and create lasting memories in your patio oasis.
Remember, building your own patio bench not only provides you with a functional seating option but also allows you to personalize your outdoor space and showcase your DIY skills. Enjoy the fruits of your labor and take pride in this beautiful addition to your patio.
Thank you for following this step-by-step guide on how to build a patio bench. We hope you found it useful and inspiring. Happy bench building!
Read more: How To Build An Outdoor Storage Bench
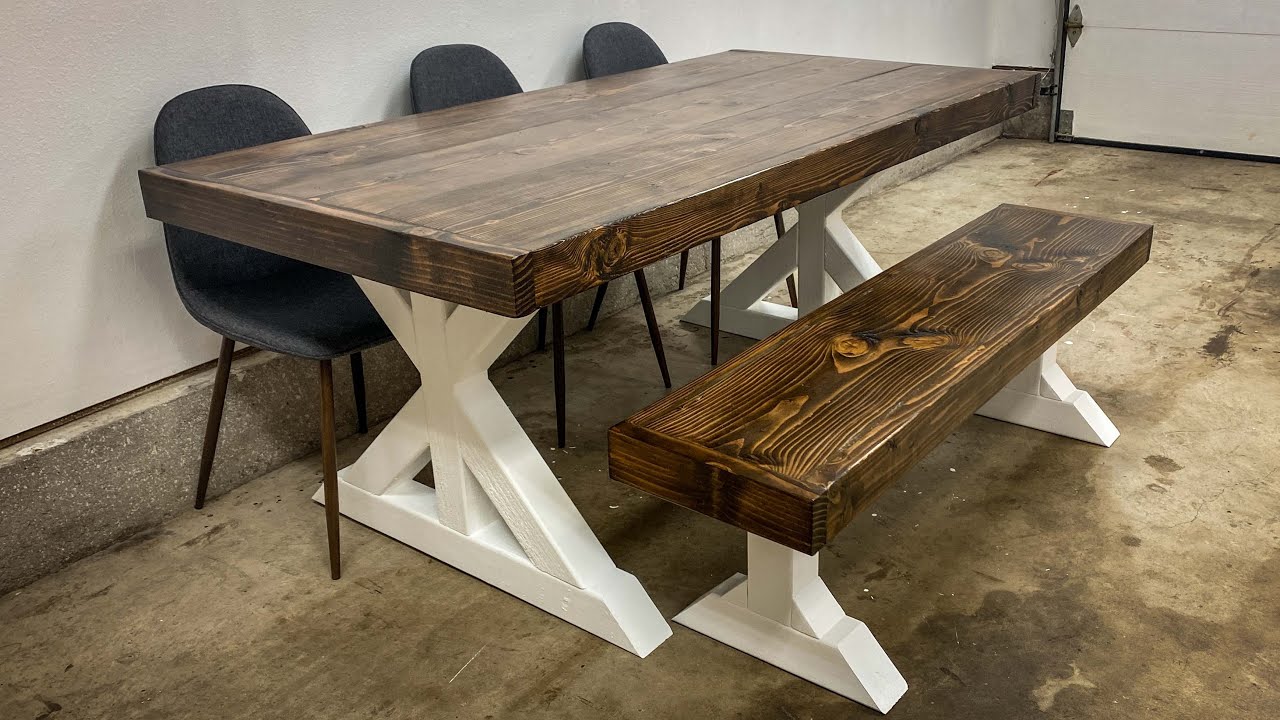
Conclusion
Building a patio bench is a rewarding and fulfilling DIY project that allows you to create a beautiful and functional piece of furniture for your outdoor space. By following the steps outlined in this guide, you have learned how to gather the necessary materials and tools, measure and mark the bench dimensions, cut the wood, assemble the bench frame, attach the legs, install the seat slats, sand and finish the bench, and finally place it in your patio.
Throughout the process, you have honed your woodworking skills and brought your vision to life. The result is a custom-made patio bench that adds charm, comfort, and style to your outdoor oasis.
Remember, safety should always be a priority when working with tools and power equipment. Wear appropriate protective gear and take the necessary precautions to ensure your well-being.
Whether you plan on enjoying your morning coffee on the bench, gathering with friends and family for a barbecue, or simply taking a moment to soak in the beauty of your surroundings, your patio bench will be there to provide a welcoming and cozy spot.
Don’t forget to maintain your bench over time. Regular cleaning and reapplying a protective sealant or stain will help prolong its life and keep it looking beautiful for years to come.
We hope this comprehensive guide has inspired you to embark on your patio bench building journey. Remember, there is no greater satisfaction than creating something with your own hands and transforming your outdoor space into a haven of relaxation and enjoyment.
Thank you for taking the time to learn how to build a patio bench with us. We wish you all the best in your woodworking endeavors and hope you enjoy countless moments of comfort and contentment on your newly crafted bench.
Frequently Asked Questions about How To Build A Patio Bench
Was this page helpful?
At Storables.com, we guarantee accurate and reliable information. Our content, validated by Expert Board Contributors, is crafted following stringent Editorial Policies. We're committed to providing you with well-researched, expert-backed insights for all your informational needs.


0 thoughts on “How To Build A Patio Bench”