Articles
How To Build Bench Seat With Storage
Modified: October 20, 2024
Learn how to build a stylish bench seat with built-in storage for your living room. Maximize space and organize your belongings with this DIY project.
(Many of the links in this article redirect to a specific reviewed product. Your purchase of these products through affiliate links helps to generate commission for Storables.com, at no extra cost. Learn more)
Introduction
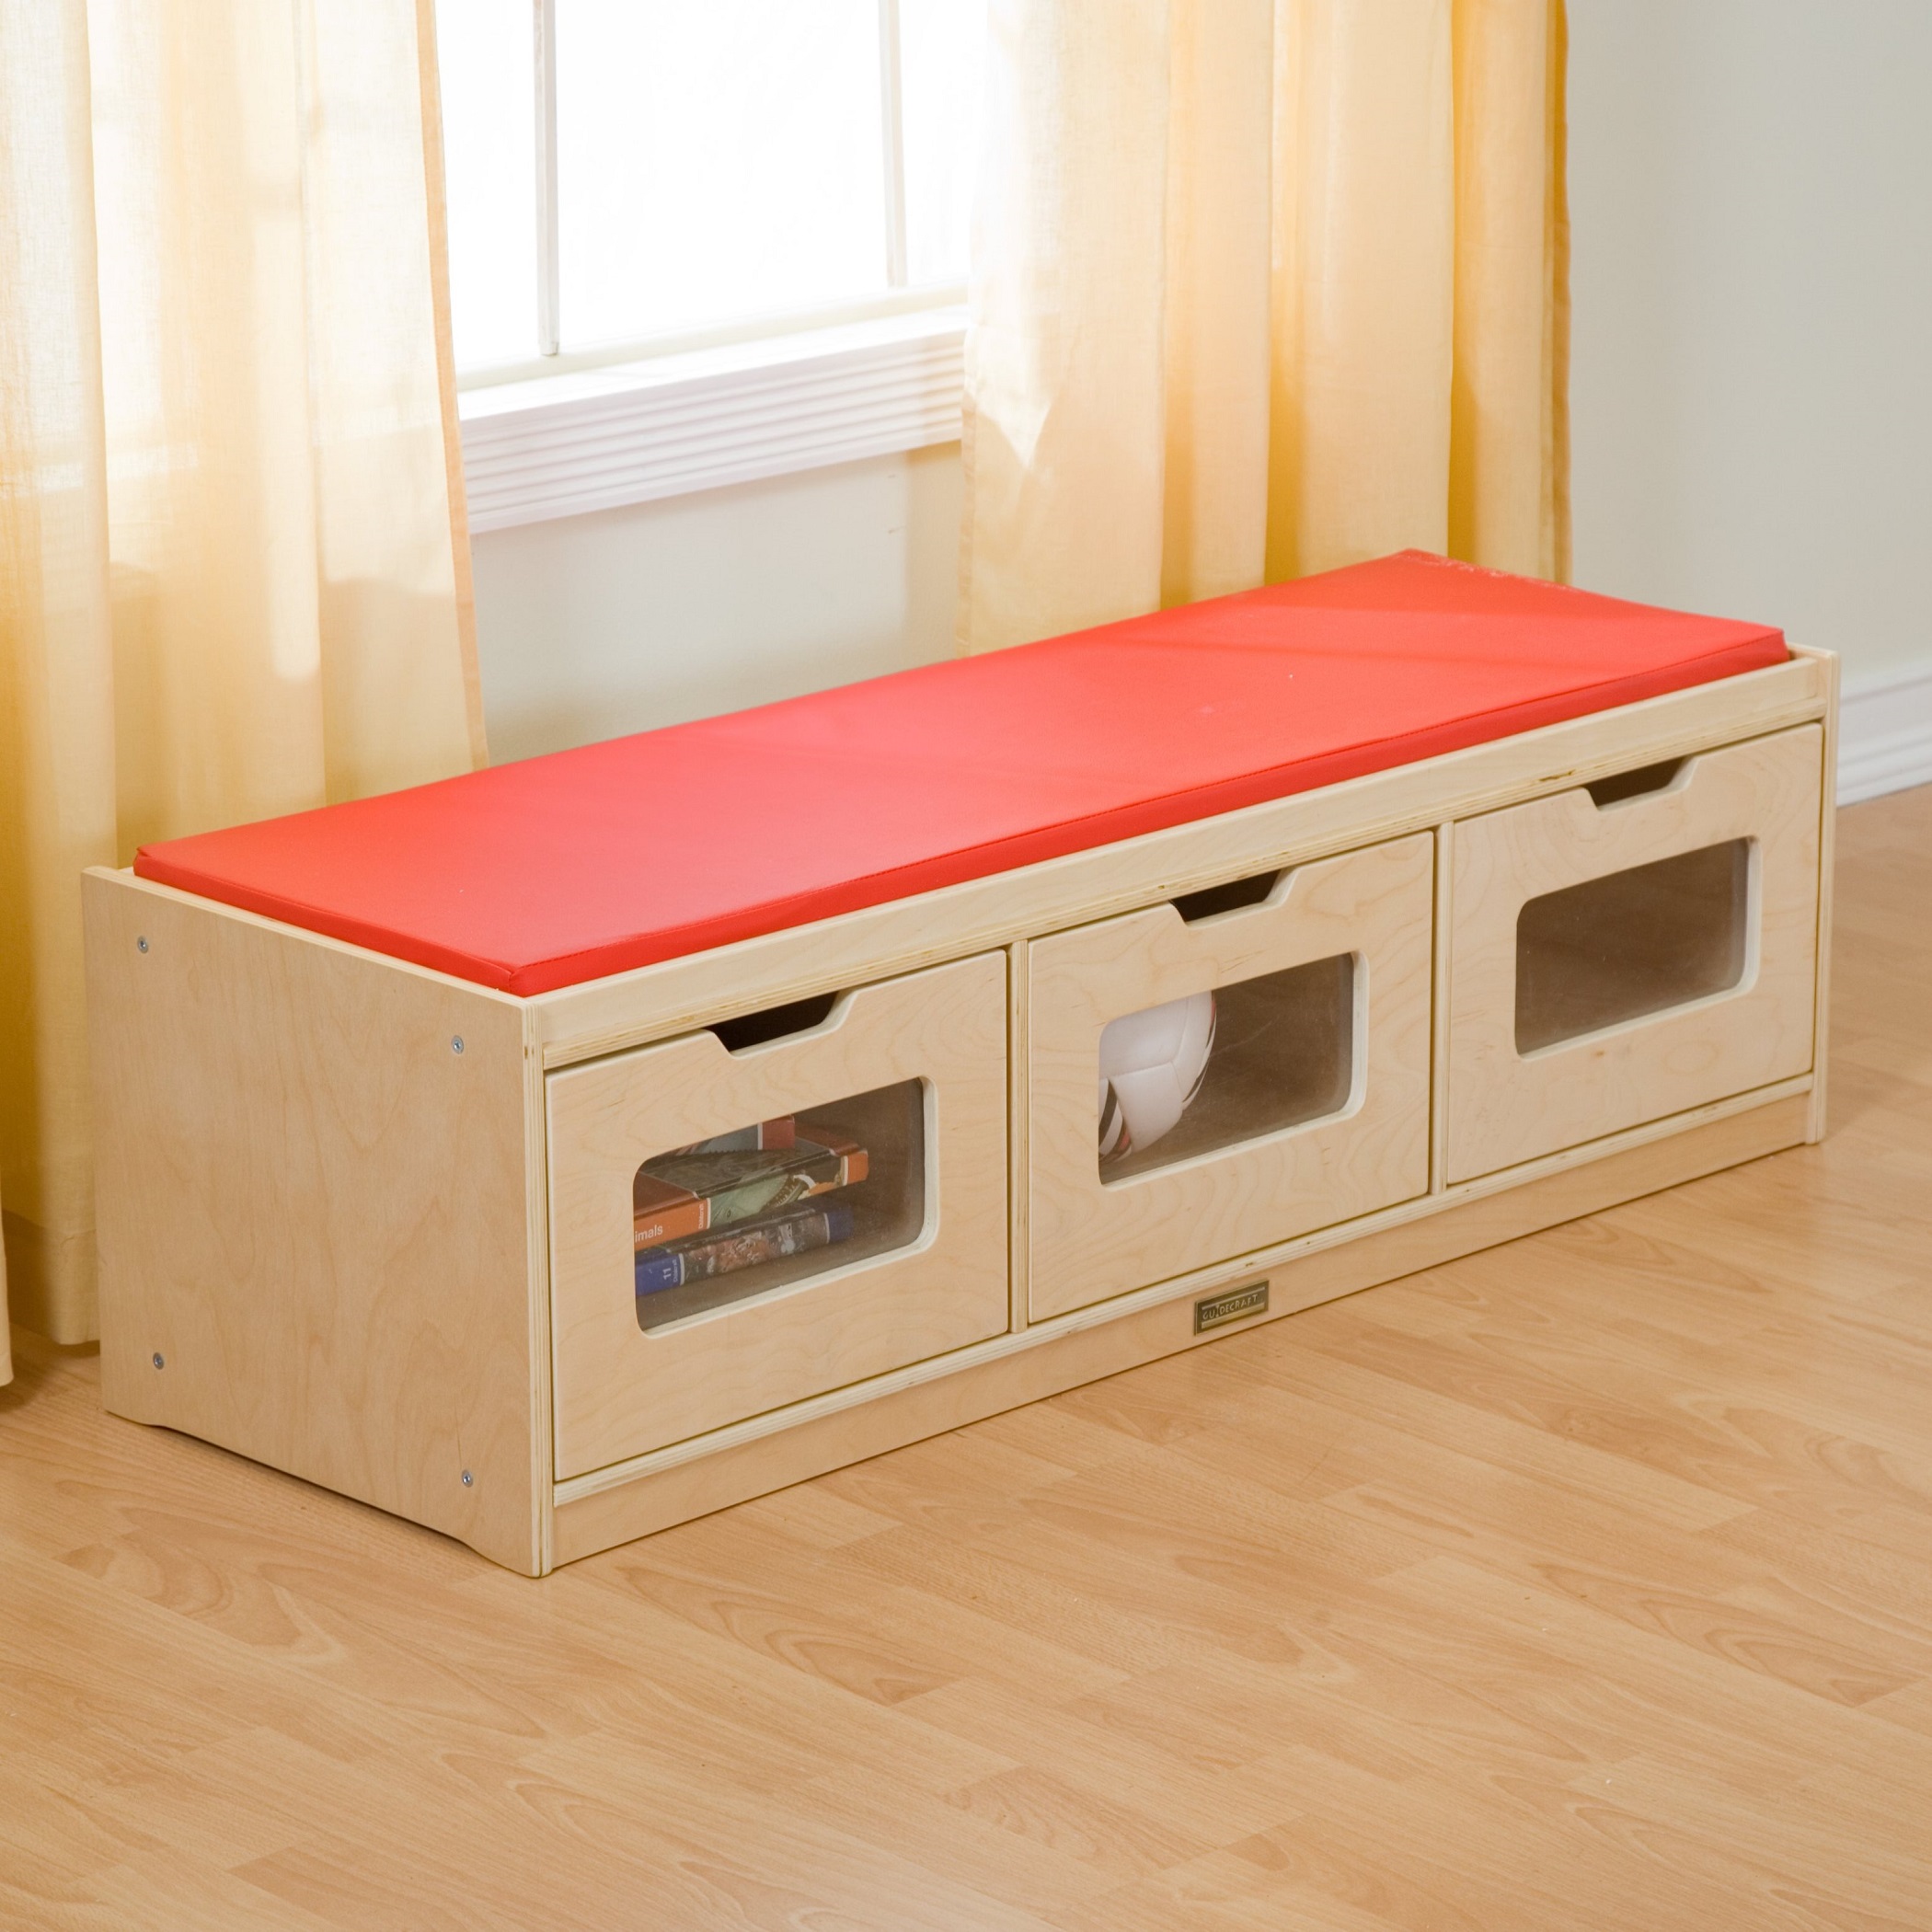
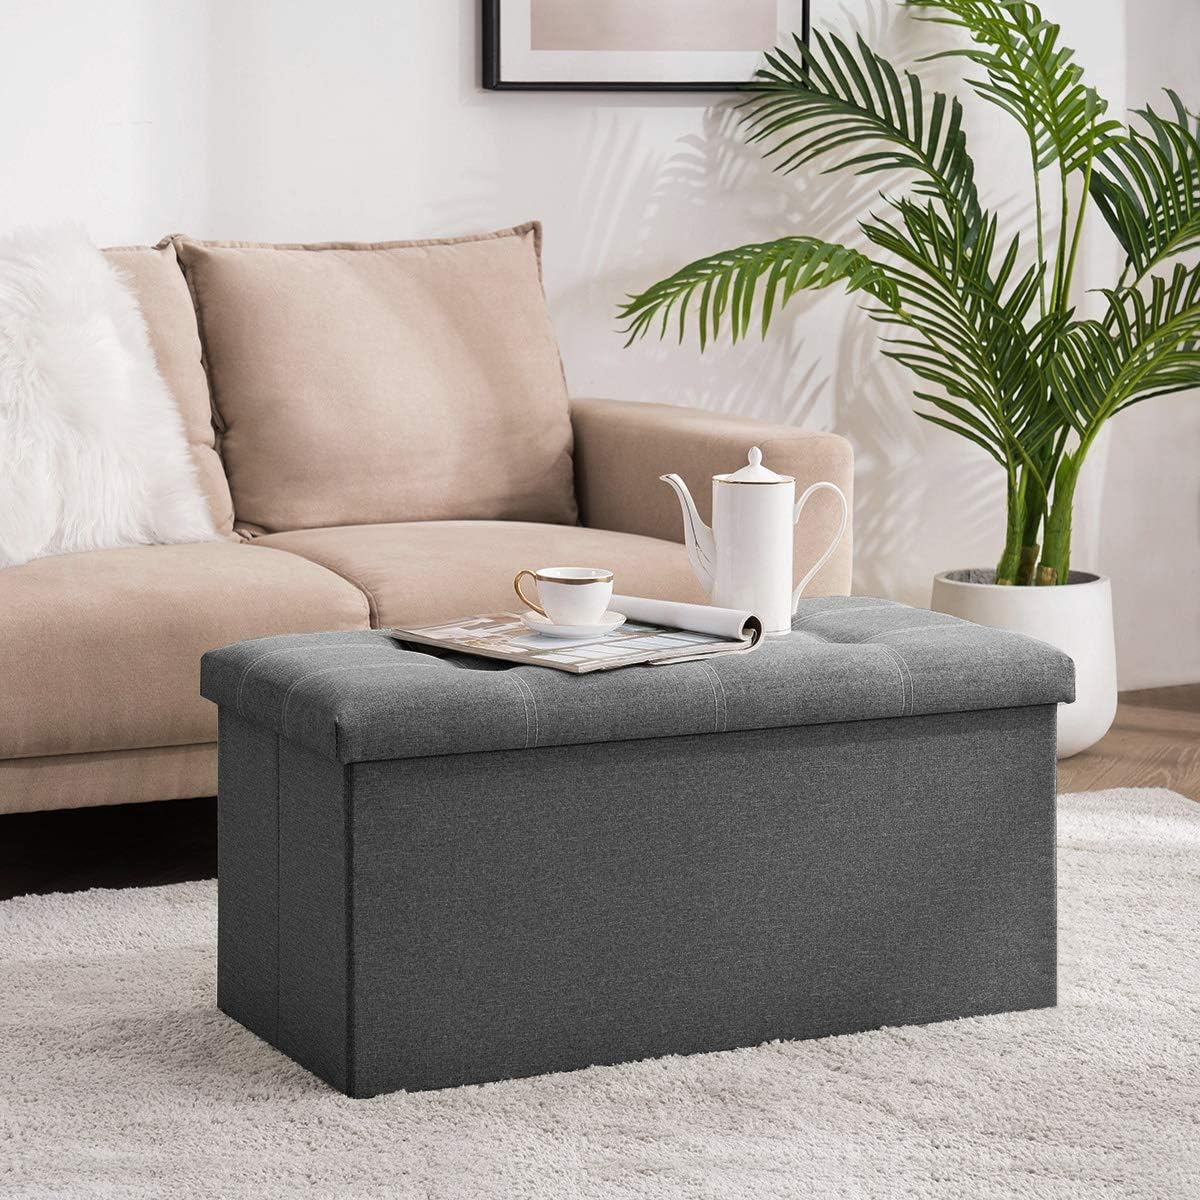
Welcome to this guide on how to build a bench seat with storage. If you”re looking to add functional and stylish seating to your space, a bench seat with storage is a great option. It not only provides a comfortable place to sit but also offers extra storage space to keep your belongings organized and hidden from view.
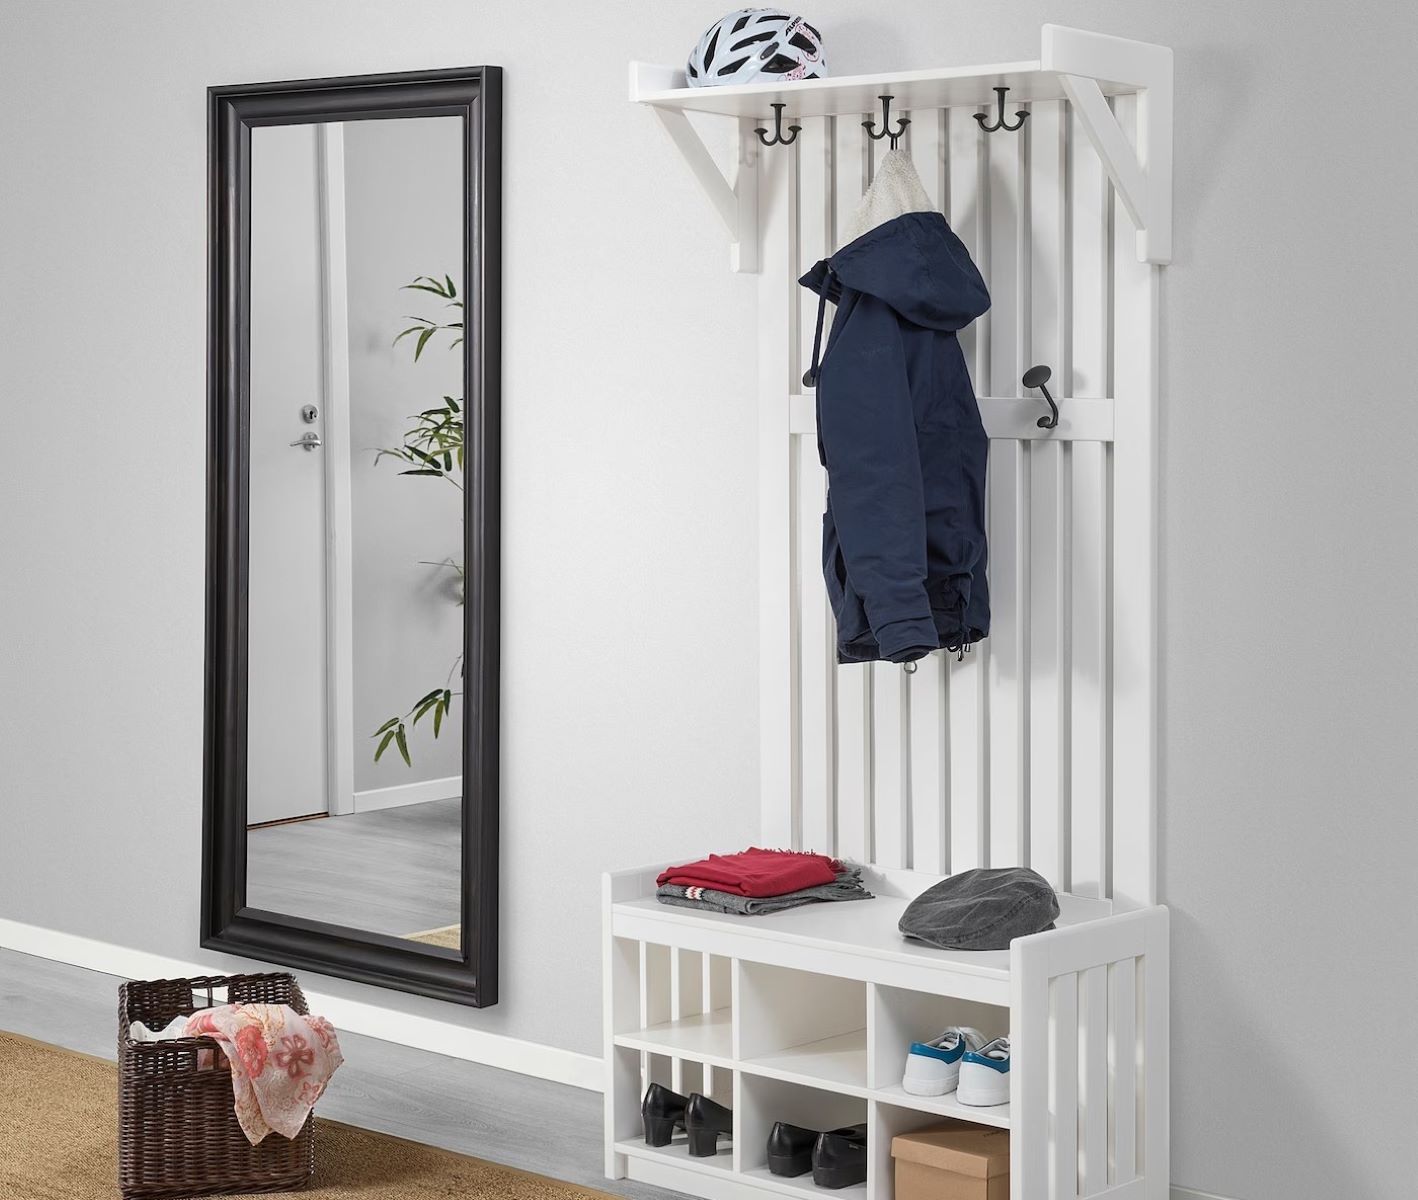
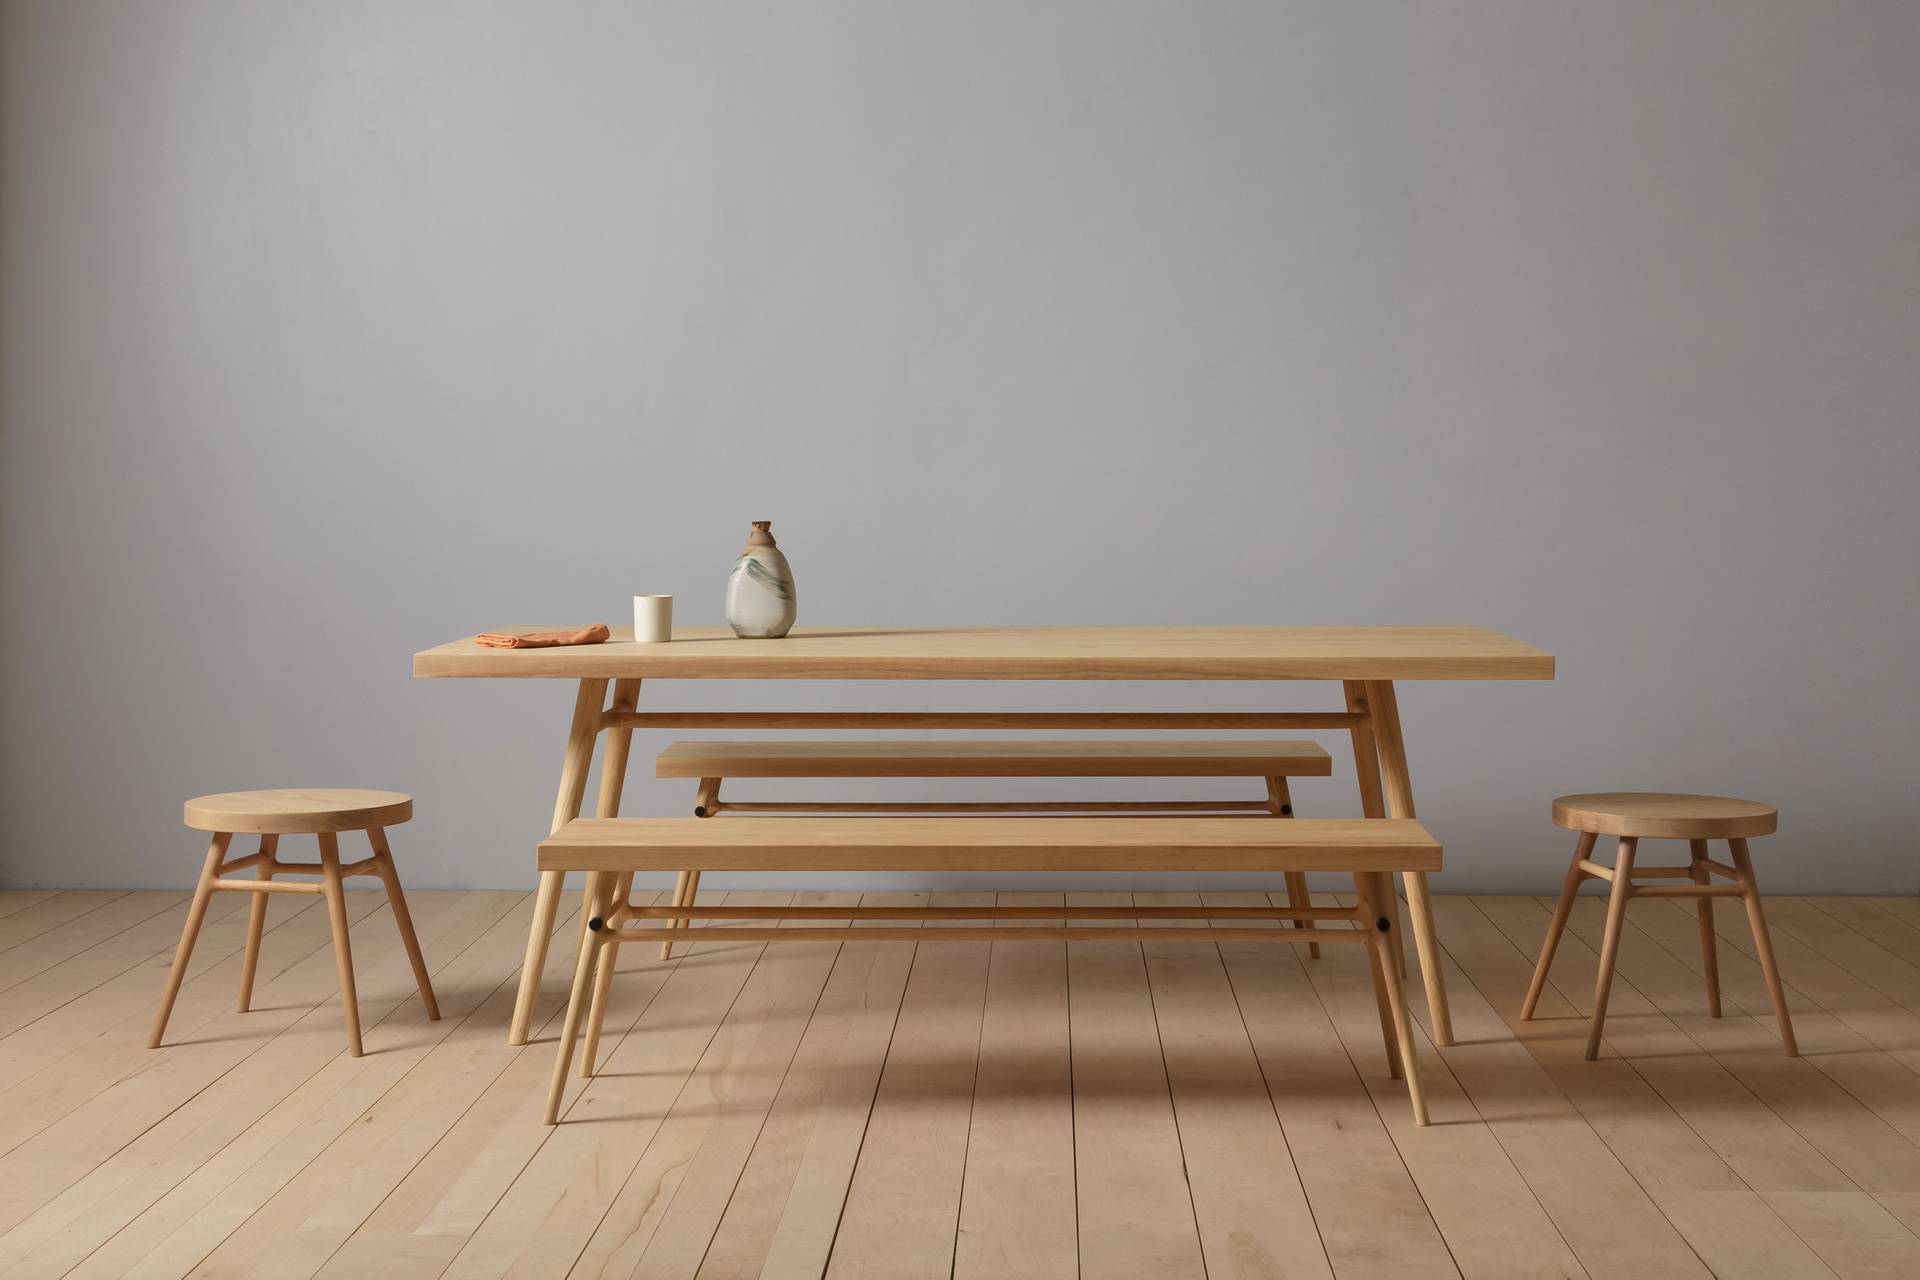
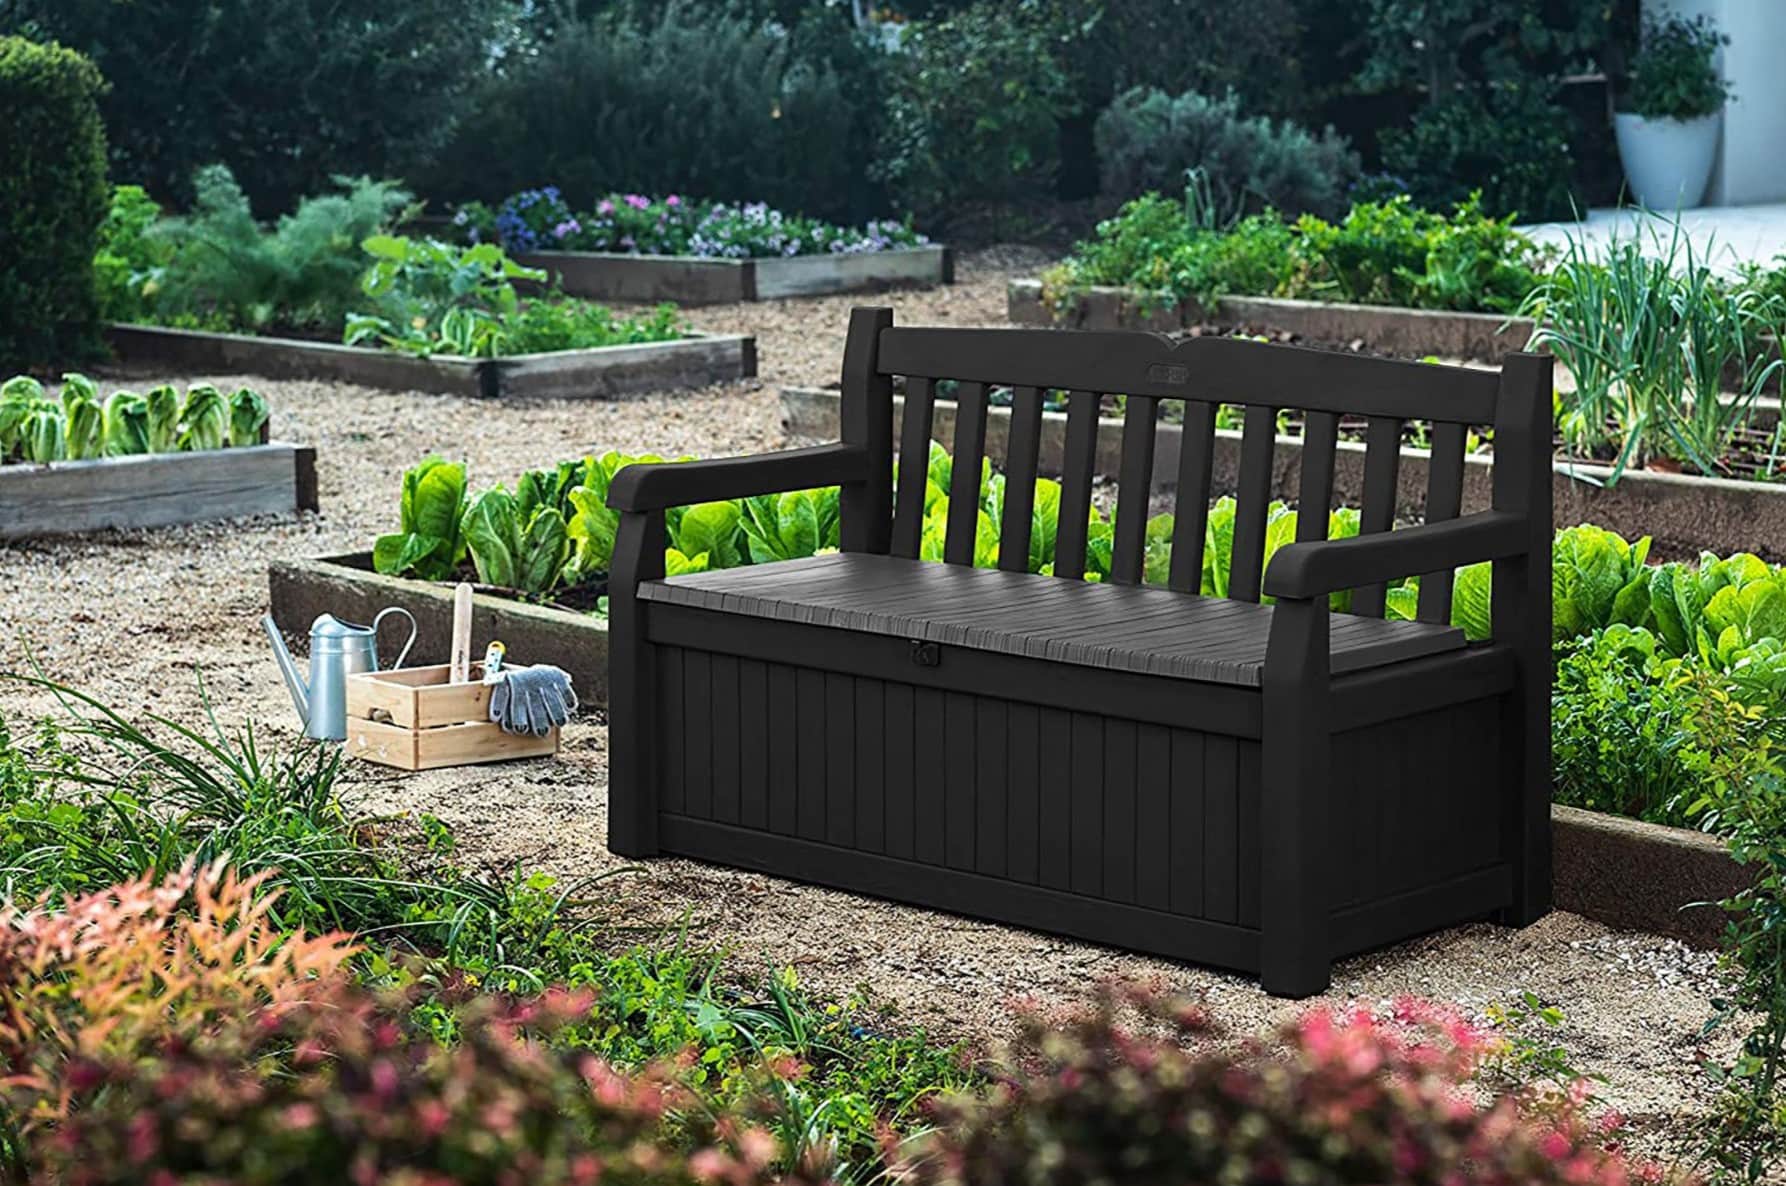
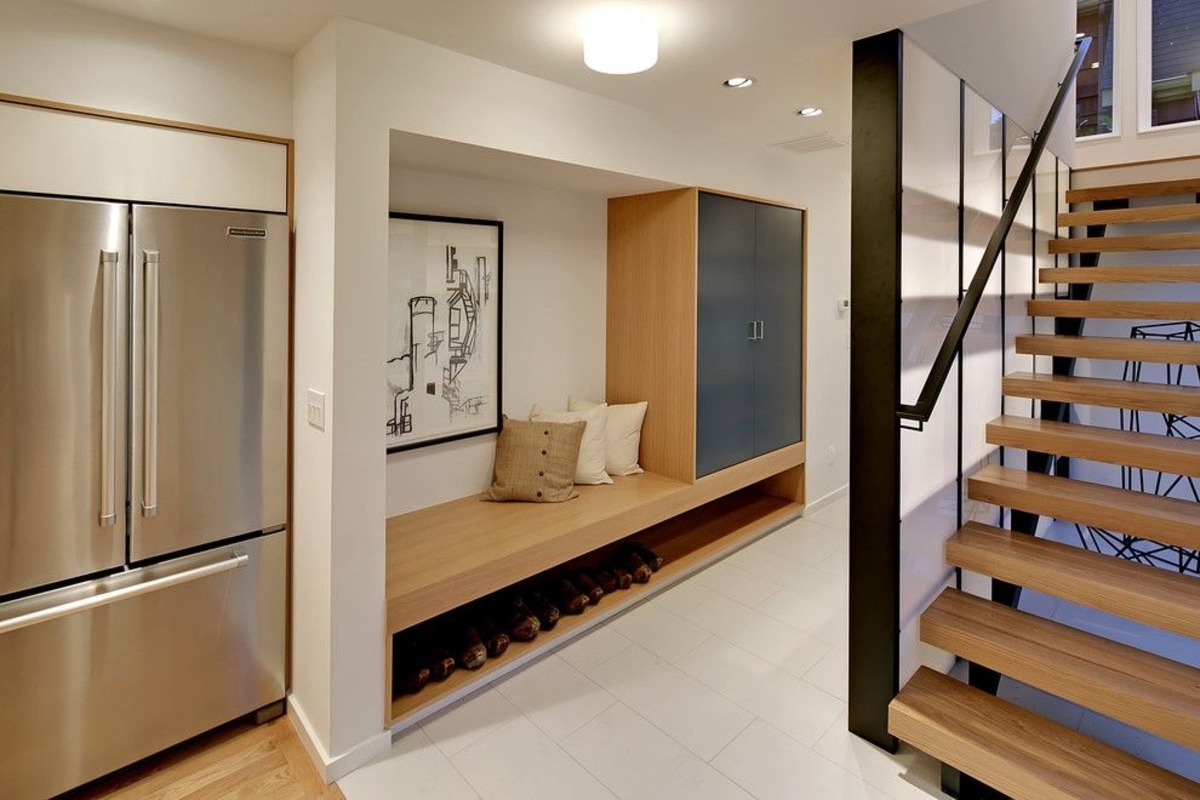
Whether you want to create a cozy reading nook in your living room, a convenient seating area in your entryway, or a versatile piece of furniture for your outdoor patio, building a bench seat with storage can be a rewarding DIY project. Not only will you have a custom-made piece that fits your specific needs, but you”ll also have the satisfaction of knowing you made it yourself.
In this guide, we will take you through the step-by-step process of building a bench seat with storage. From gathering the necessary materials to the final installation of the seat cushion, we”ll cover all the important aspects, providing you with clear instructions and helpful tips along the way.
Before we get started, it”s important to note that building a bench seat with storage will require some basic carpentry skills and tools. However, don”t let that discourage you if you”re a beginner. With a little patience, attention to detail, and the right guidance, you”ll be able to tackle this project successfully.
So, let”s grab our tools and get ready to build a bench seat with storage that will not only enhance your space but also provide a practical solution for keeping clutter at bay.
Key Takeaways:
- Build a custom bench seat with storage to enhance your space and keep clutter at bay. Enjoy the satisfaction of creating a functional and stylish furniture piece that fits your specific needs and aesthetic preferences.
- Transform your space with a DIY bench seat that provides comfortable seating and ample storage. Save money, showcase your personal style, and enjoy the practicality and visual appeal of your custom creation.
Step 1: Gather the necessary materials
Before you begin building your bench seat with storage, it”s important to gather all the materials you”ll need for the project. Here is a list of the essential items you”ll require:
- 1. Plywood sheets: Choose a high-quality plywood that is sturdy and durable. The size of the plywood will depend on the dimensions of the bench seat you want to build.
- 2. 2×4 boards: These boards will be used to construct the frame of the bench seat. Make sure to get enough boards to create the base and support the backrest.
- 3. Screws: Get a variety of screws, including wood screws and pocket hole screws, to secure the different components of the bench seat.
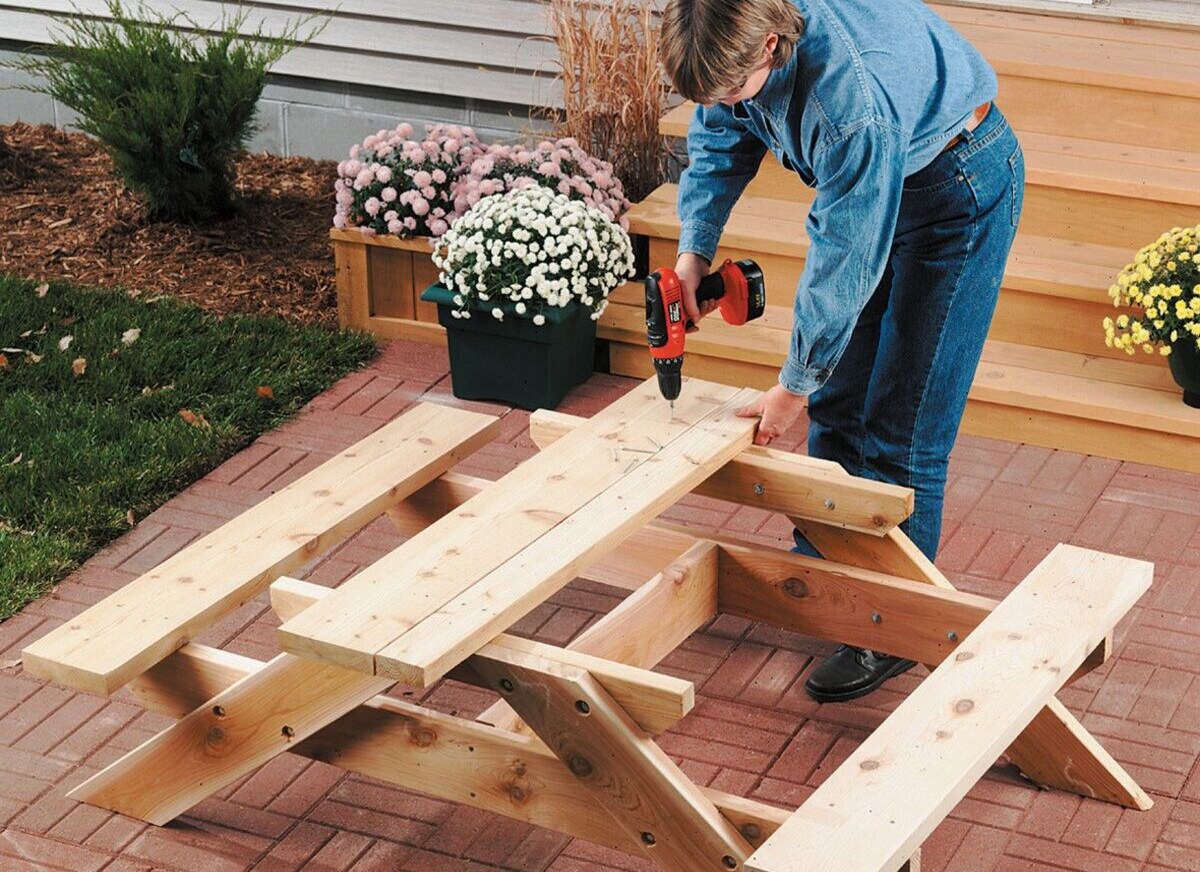
- 4. Power drill: A power drill will be necessary to drill holes and drive screws into the plywood and wood boards.
- 5. Circular saw or jigsaw: This tool will be essential for cutting the plywood and wood boards to the desired dimensions.
- 6. Measuring tape: Accurate measurements are crucial for a proper fit, so make sure you have a measuring tape handy.
- 7. Wood glue: Wood glue will help strengthen the joints and ensure a sturdy construction.
- 8. Sandpaper: Smooth out any rough edges on the plywood and wood boards with sandpaper for a professional finish.
- 9. Paint or stain: If desired, choose a paint or stain to add a personal touch and protect the bench seat from scratches and wear.
- 10. Upholstery fabric and foam: If you plan to add a seat cushion, select upholstery fabric and foam that fits the dimensions of the bench seat.
Once you have gathered all the necessary materials, you”ll be well-prepared to move on to the next steps of building your bench seat with storage. Remember to double-check your measurements and ensure you have all the tools and supplies needed before proceeding.
Step 2: Measure and cut the plywood
Now that you have all the necessary materials, it’s time to measure and cut the plywood for the bench seat. Follow these steps to ensure accurate measurements and clean cuts:
- Measure the desired dimensions for the bench seat. This will depend on the available space and your preferences. For example, if you’re planning to place the bench seat against a wall, measure the length accordingly.
- Using a measuring tape, mark the dimensions on the plywood sheets. Make sure to measure twice and mark the lines clearly to avoid any mistakes during cutting.
- Set up your circular saw or jigsaw with the appropriate blade for cutting plywood. Ensure that the saw is securely fastened and the blade is in good condition.
- Place the plywood sheet on a stable work surface, such as a sawhorse or a workbench. If needed, use clamps to secure the plywood in place for stability during the cutting process.
- Align the marked lines with the edge of the saw guide or the saw’s cutting line indicator.
- With a steady hand, slowly guide the saw along the marked lines, keeping the blade aligned with the cutting line. Take your time to ensure smooth and accurate cuts.
- Once you have cut all the required plywood pieces, use sandpaper to smooth any rough edges or splinters. This will provide a clean and professional finish.
Remember, safety should always be a priority when using power tools. Wear appropriate protective gear such as safety goggles and gloves, and follow the manufacturer’s instructions for your specific tools.
By carefully measuring and cutting the plywood, you will have the foundation for your bench seat ready. Now you can proceed to the next step: assembling the base of the bench seat.
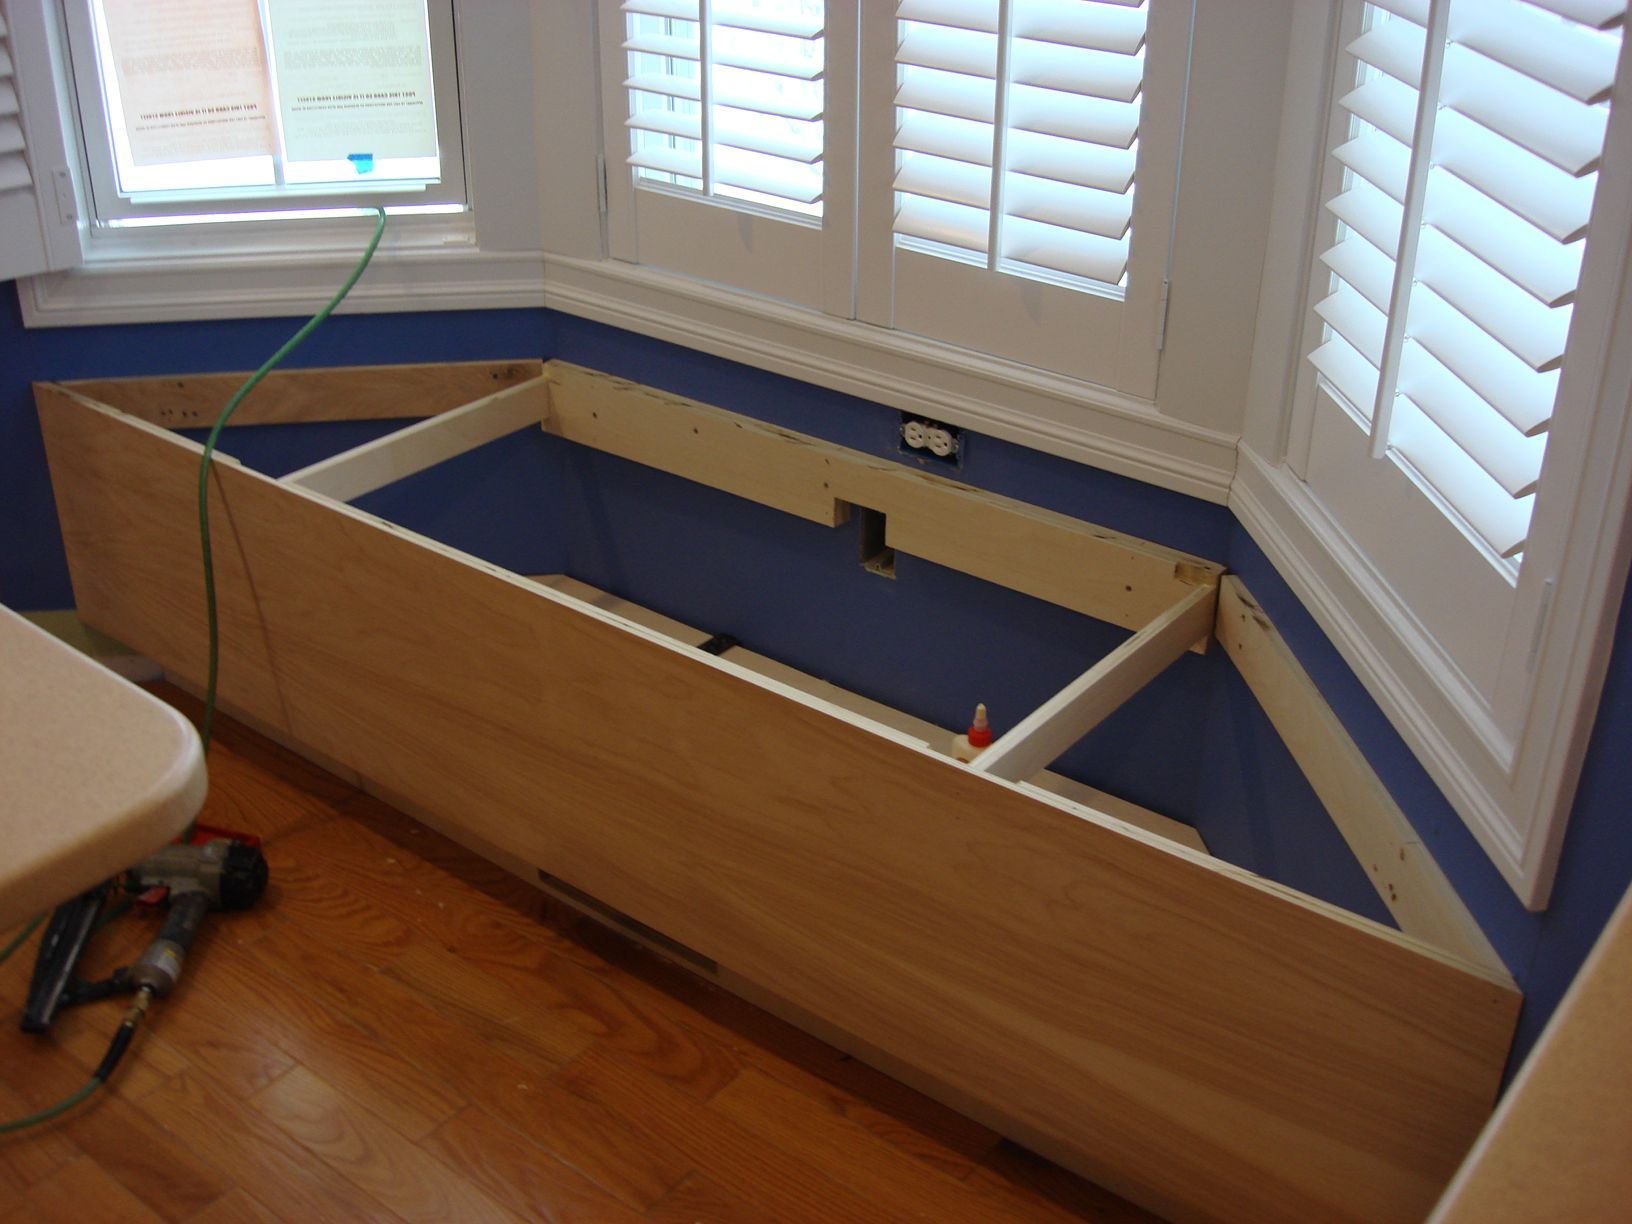
Step 3: Assemble the base of the bench seat
With the plywood pieces cut to size, it’s time to assemble the base of the bench seat. Follow these steps to ensure a sturdy and secure foundation:
- Take the two longer plywood pieces that will serve as the sides of the bench seat. Position them parallel to each other, with the cut edges facing up.
- Measure and mark the desired height for the bench seat. This will depend on your preference and the overall design of the bench.
- Using a power drill and appropriate screws, attach shorter plywood pieces as connecters between the two longer pieces. These connecters will provide stability and support to the bench seat.
- Ensure that the screws are driven in securely and that the pieces are aligned properly. It can be helpful to clamp the pieces together before drilling to keep everything in place.
- Repeat this process for the opposite side of the bench seat to complete the base frame. Double-check that all the measurements are correct and that the base frame is level.
- Once the base frame is assembled, reinforce the joints with wood glue for added strength and durability. Apply the wood glue evenly along the connecting edges before joining the pieces together.
- Allow the wood glue to dry according to the manufacturer’s instructions. This will ensure a solid bond between the plywood pieces.
- Finally, drill pilot holes and secure the plywood base to the side panels using screws. Make sure to align the base properly and drive the screws in securely.
By following these steps, you will have successfully assembled the base of your bench seat. The solid construction of the base will provide stability and support, ensuring that your bench seat will withstand regular use. Now, you can move on to the next step: building and attaching the backrest.
When building a bench seat with storage, make sure to use sturdy materials and consider adding hinges to the seat for easy access to the storage space. Additionally, measure the space carefully to ensure a proper fit.
Step 4: Build and attach the backrest
Building and attaching the backrest of the bench seat is an important step in creating a comfortable and supportive seating area. Follow these steps to construct and secure the backrest:
- Measure the height and width of the backrest, taking into consideration the overall dimensions of the bench seat and your personal preferences.
- Cut the plywood for the backrest according to your measurements. Ensure that the cuts are straight and accurate.
- Take one of the plywood pieces for the backrest and position it vertically against the back of the bench seat. Align it with the top of the bench seat base.
- Attach the backrest to the base using screws. Drill pilot holes before driving the screws to prevent the plywood from splitting. Place screws at regular intervals to ensure a secure attachment.
- If desired, add additional support by attaching wooden blocks or braces to the backrest and the base frame. This will provide extra stability and prevent any wobbling.
- Repeat the process for the remaining plywood pieces, ensuring they are aligned properly and securely attached to the bench seat base.
- Once the backrest is built and attached, double-check that it is level and stable. Make any necessary adjustments to ensure a proper fit.
It’s important to note that the angle of the backrest is also a crucial factor in creating a comfortable seating experience. Consider angling the backrest slightly backward to provide better support and ergonomic comfort.
By following these steps, you will have successfully built and attached the backrest of your bench seat. The sturdy construction and secure attachment will provide you with a comfortable and reliable backrest for your seating area. Now, you can move on to the next step: installing the storage compartments.
Read also: 14 Best Bench Storage Seat For 2025
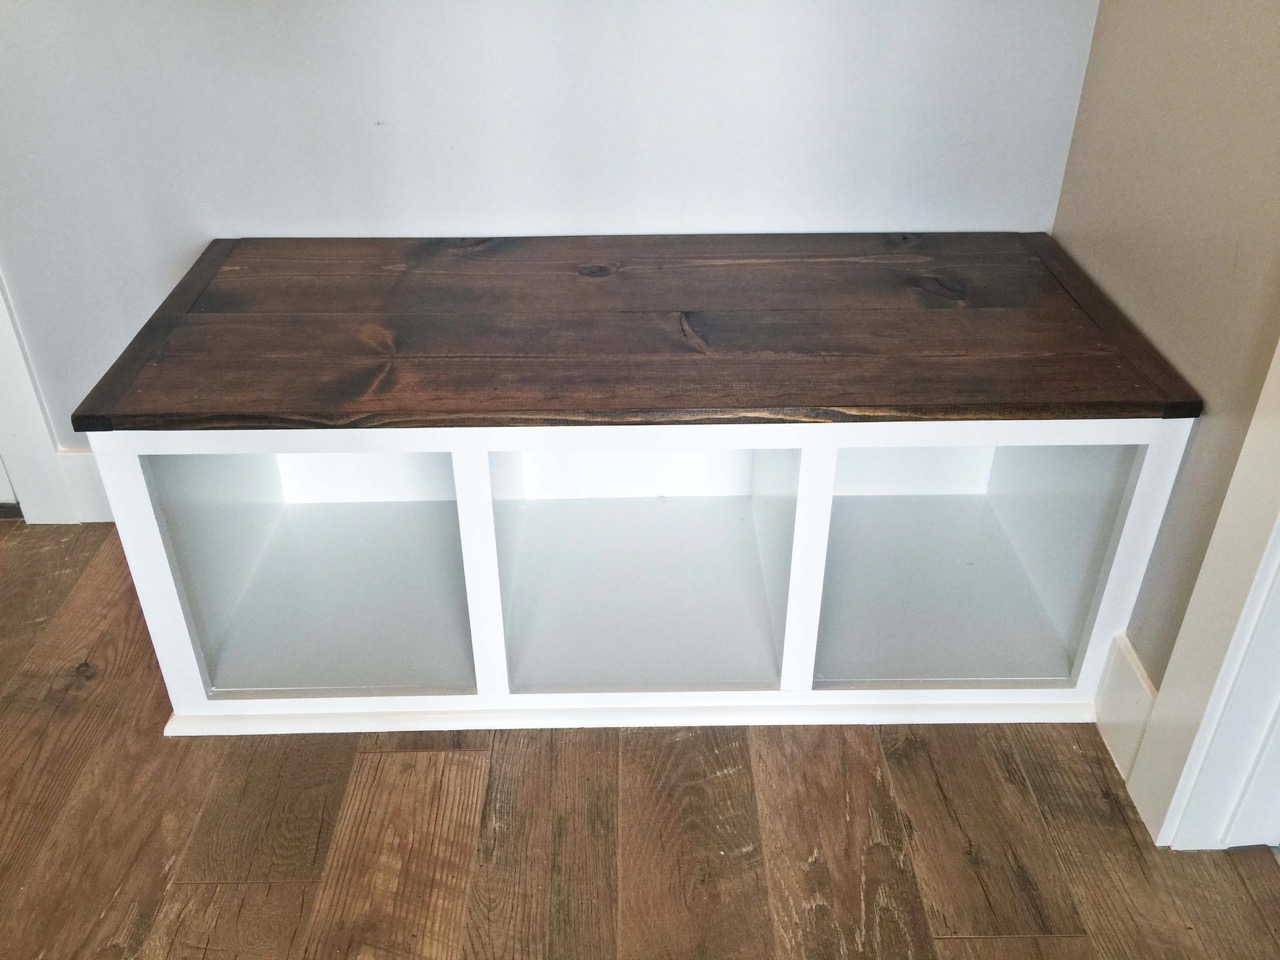
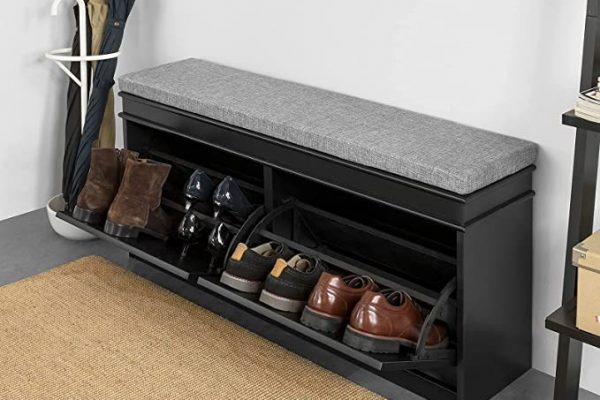
Step 5: Install the storage compartments
Adding storage compartments to your bench seat will maximize its functionality and provide a convenient place to store items. Follow these steps to install the storage compartments:
- Measure the dimensions of the space inside the bench seat where you want to install the compartments. Consider the depth, width, and height of the available space.
- Based on your measurements, cut plywood pieces to fit as dividers for the storage compartments. Make sure the cuts are accurate and the pieces are sturdy.
- Position the dividers inside the bench seat, ensuring they fit securely and are evenly spaced. Use a level to make sure they are vertical and straight.
- Attach the dividers to the base using screws and/or wood glue. Make sure they are securely fastened to prevent any shifting or movement.
- If desired, add additional reinforcement to the dividers by attaching wooden blocks or braces to the corners and edges. This will provide extra stability and support.
- Consider adding shelves or compartments within the larger storage space if you want to further organize your items. Measure and cut plywood pieces accordingly and attach them securely.
- For added functionality, consider installing hinges on the front panels of the storage compartments. This will allow you to easily access the contents and keep them hidden when the bench seat is closed.
- Gently test the functionality and stability of the storage compartments, making any necessary adjustments or repairs as needed.
By following these steps, you will have successfully installed the storage compartments within your bench seat. This will provide you with a valuable storage solution, keeping your belongings neatly organized and easily accessible. Now, you can move on to the final step: attaching the seat cushion.
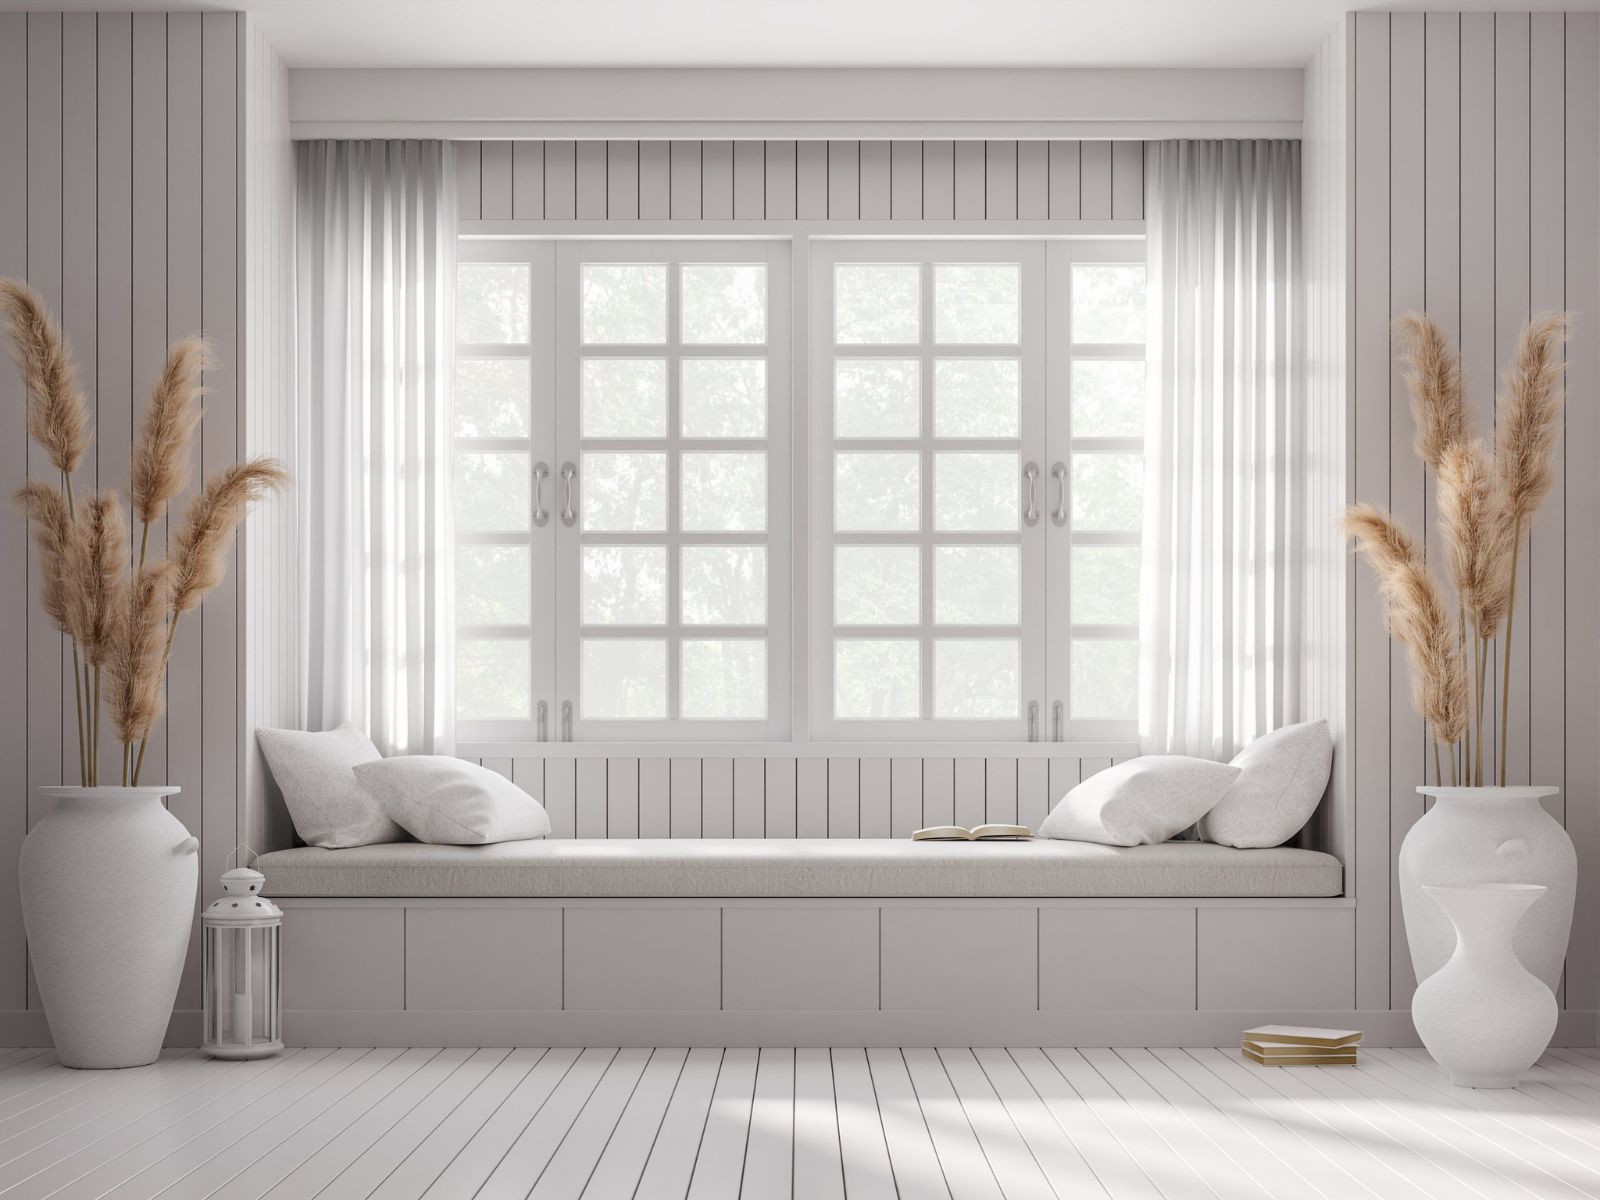
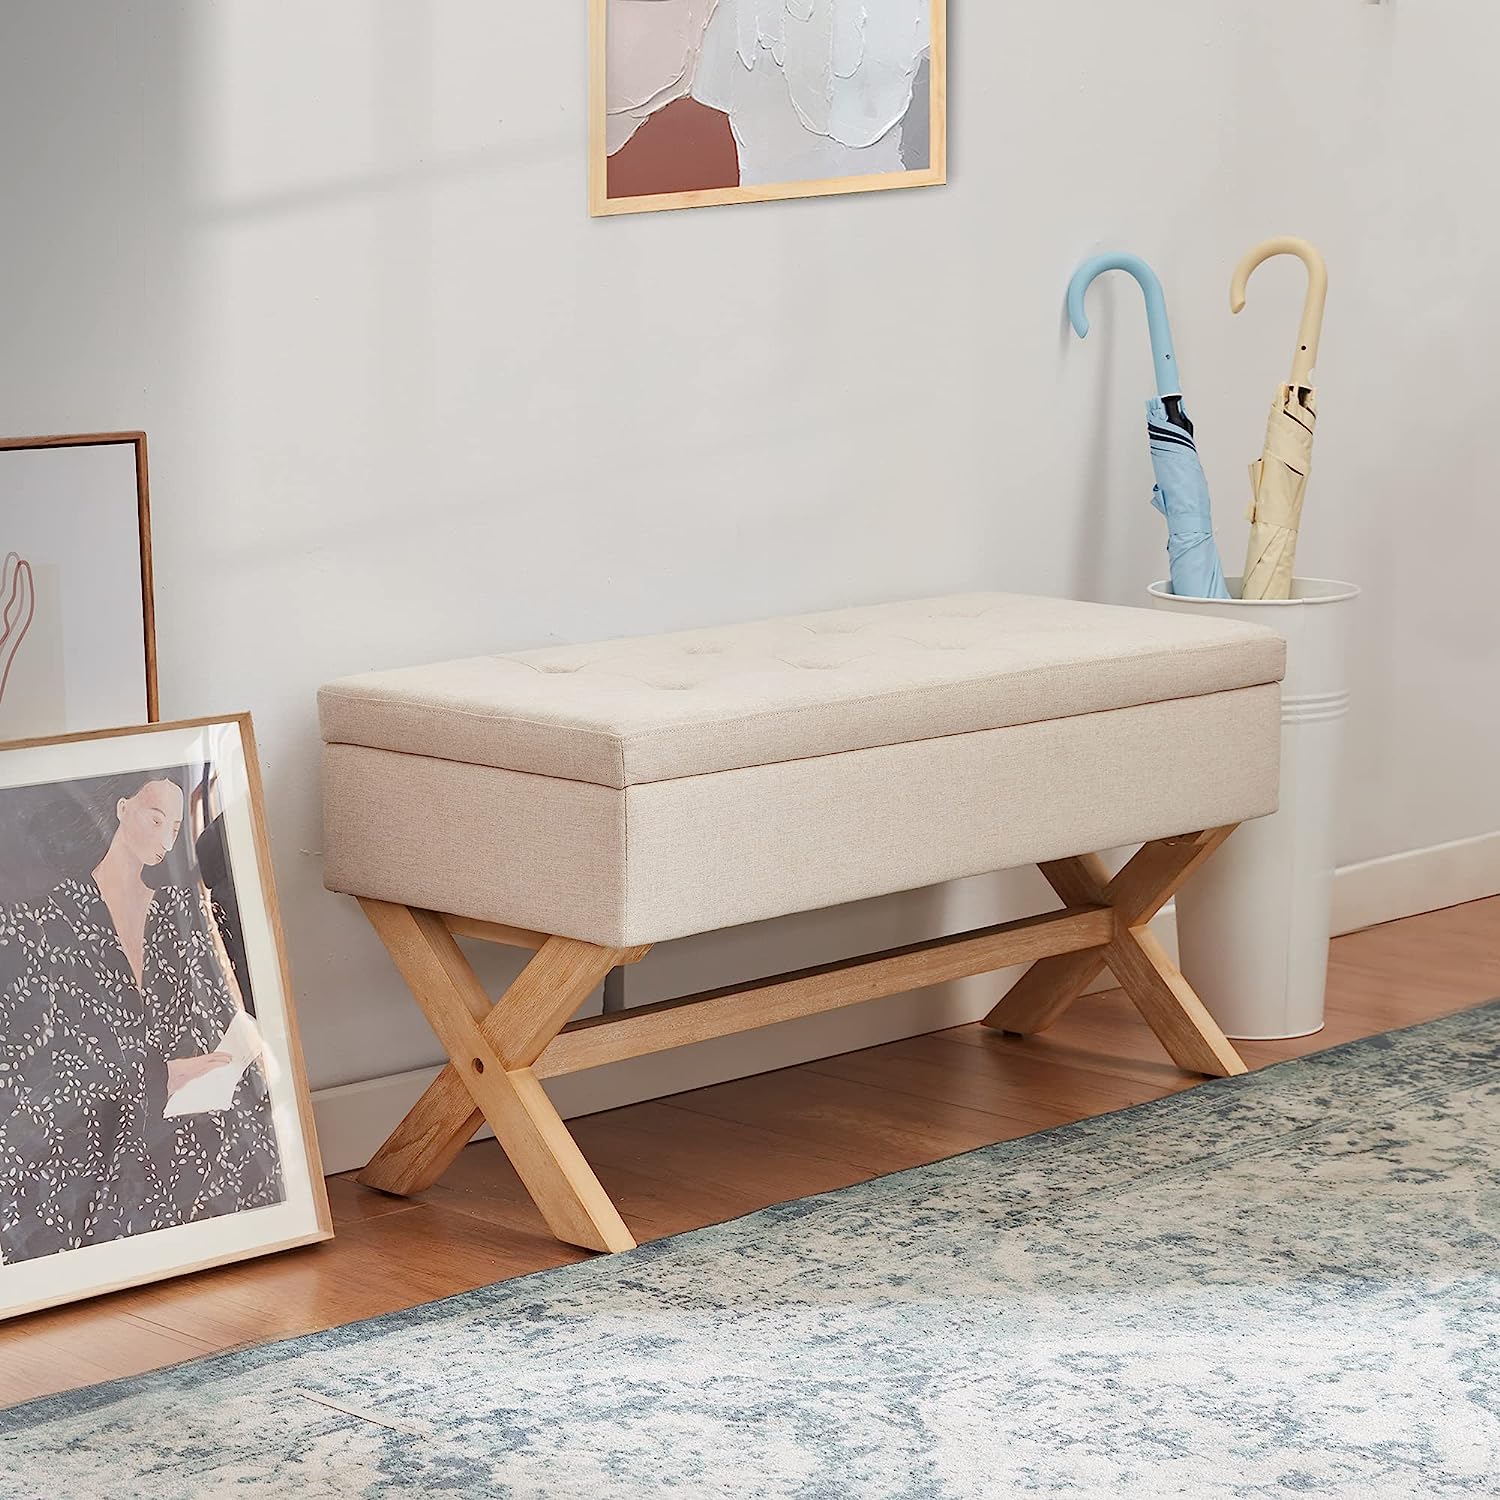
Step 6: Attach the seat cushion
The final step in building your bench seat with storage is attaching the seat cushion. This will not only add comfort to your seating area but also enhance the overall aesthetic appeal. Follow these steps to attach the seat cushion:
- Measure the dimensions of the bench seat to determine the size of the seat cushion needed. Take into consideration the depth and width of the seat.
- Purchase or create a seat cushion that fits the dimensions of the bench seat. You can use upholstery foam and fabric to create a customized cushion that suits your style.
- Place the seat cushion on top of the bench seat to ensure it fits properly and aligns with the edges.
- If desired, you can secure the seat cushion to the bench seat using hook-and-loop fasteners or adhesive strips. This will prevent the cushion from sliding or shifting during use.
- Ensure that the seat cushion is centered and evenly positioned on the bench seat. Adjust it as needed to achieve a symmetrical and balanced appearance.
- Once you are satisfied with the placement of the seat cushion, step back and evaluate the overall look of your bench seat with storage. Make any final adjustments to ensure everything is aligned and aesthetically pleasing.
By following these steps, you will have successfully attached the seat cushion to your bench seat with storage. This will provide you with a comfortable and inviting seating area that is both functional and visually appealing.
Congratulations on completing your bench seat with storage! You have successfully built a versatile and practical furniture piece that will enhance your space and provide valuable storage solutions. Enjoy the comfort, functionality, and style that your new bench seat with storage brings to your home.
Conclusion
Congratulations on completing the process of building your bench seat with storage! You have successfully transformed your space by adding a functional and stylish seating solution that also provides ample storage for your belongings.
Throughout this guide, we have covered each step of the process in detail, from gathering the necessary materials to attaching the seat cushion. By following the instructions and tips provided, you have created a custom-made bench seat that fits your specific needs and aesthetic preferences.
Building your own bench seat with storage not only saves you money compared to buying a pre-made piece of furniture, but it also gives you the satisfaction of creating something with your own hands. Additionally, you have the freedom to customize the bench seat to match your existing décor or design a unique piece that showcases your personal style.
Remember, safety should always be a priority when working with power tools and carpentry materials. Take the necessary precautions, wear appropriate protective gear, and follow the manufacturer’s instructions for the tools and materials you use.
Now that your bench seat with storage is complete, take the time to enjoy and appreciate your new addition to your home. Whether you’re using it as a cozy reading nook, a convenient spot in your entryway, or a versatile outdoor seating area, your bench seat with storage will undoubtedly enhance both the functionality and aesthetics of your space.
We hope this guide has been helpful in guiding you through the process of building your bench seat with storage. May you find joy and utility in your new creation for years to come!
After mastering your bench seat with storage, why not dive deeper into the world of crafting and creating? If you're curious about the perks of handling tools and materials yourself, our guide on why DIY projects are so rewarding is a must-read. Ready to take your skills up a notch? Check out our list of the top woodworking tools for the upcoming year to ensure you have the best gear for all your projects. For those looking to turn a hobby into genuine craftsmanship, our insights on getting started in furniture making will set you on the right path.
Frequently Asked Questions about How To Build Bench Seat With Storage
Was this page helpful?
At Storables.com, we guarantee accurate and reliable information. Our content, validated by Expert Board Contributors, is crafted following stringent Editorial Policies. We're committed to providing you with well-researched, expert-backed insights for all your informational needs.


0 thoughts on “How To Build Bench Seat With Storage”