Home>Furniture>Outdoor Furniture>How To Build Patio Benches

Outdoor Furniture
How To Build Patio Benches
Modified: March 21, 2024
Learn how to build beautiful and functional outdoor furniture with our step-by-step guide on building patio benches. Create the perfect seating area for your backyard.
(Many of the links in this article redirect to a specific reviewed product. Your purchase of these products through affiliate links helps to generate commission for Storables.com, at no extra cost. Learn more)
Introduction
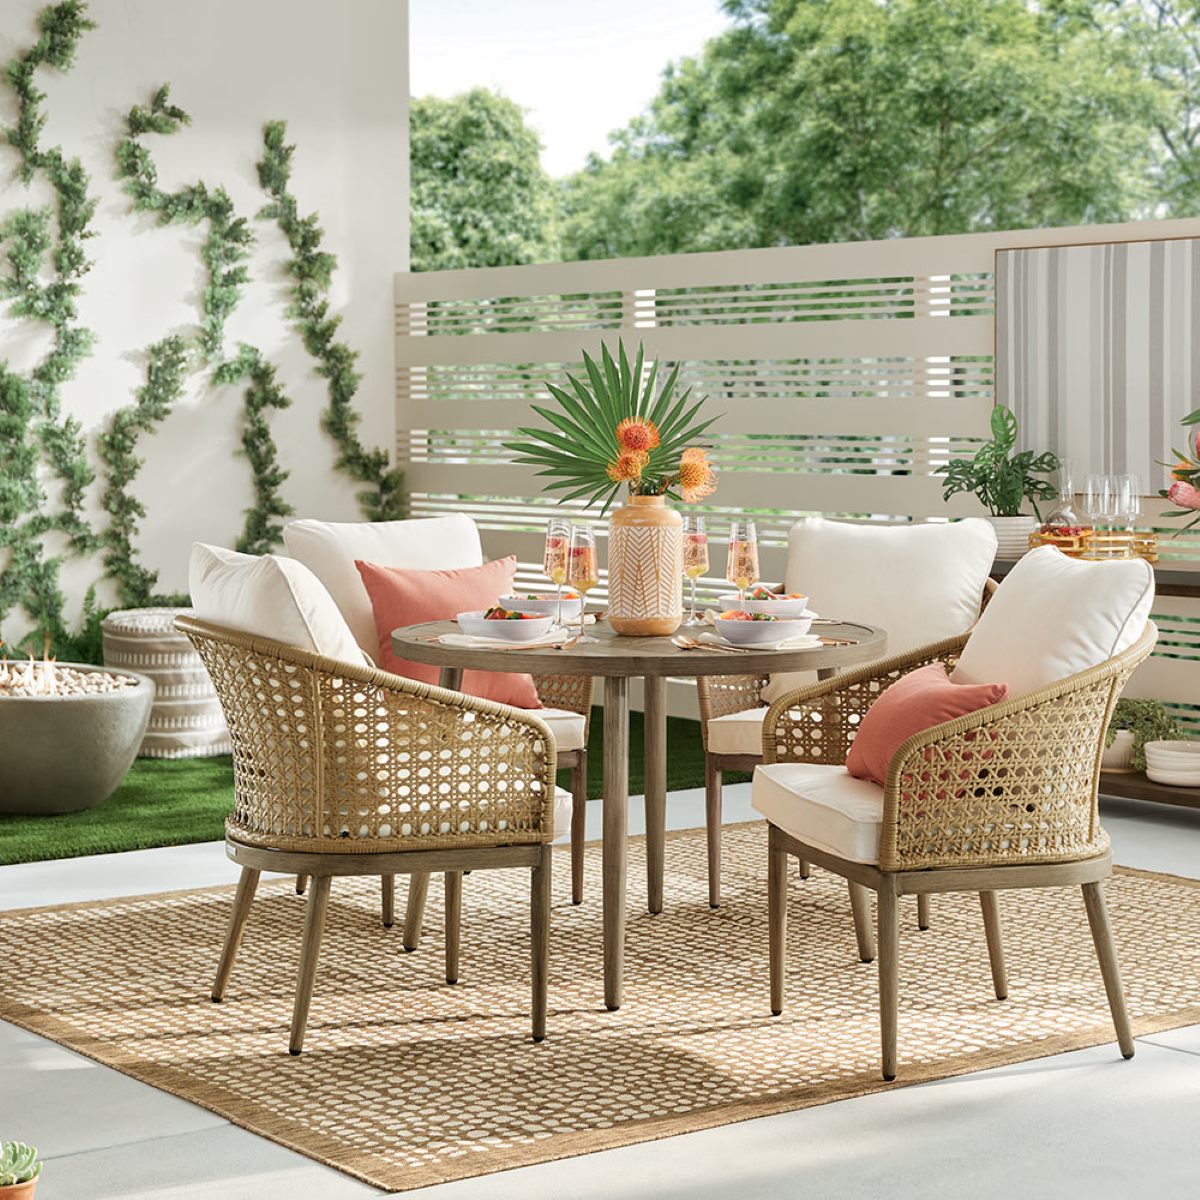
Welcome to the world of outdoor living! Transforming your patio into a haven of comfort and style is simpler than you may think. One important element that can elevate your outdoor space is the addition of patio benches. These versatile pieces of furniture not only provide extra seating but also create a cozy atmosphere for relaxing or entertaining.
In this article, we will guide you through the process of building your own patio benches. Whether you are a seasoned DIY enthusiast or a beginner, this step-by-step guide will give you the confidence to tackle this project with ease.
With just a few basic materials and tools, you can create custom-made benches that perfectly suit your outdoor space. And the best part? You’ll have the satisfaction of knowing you built them yourself!
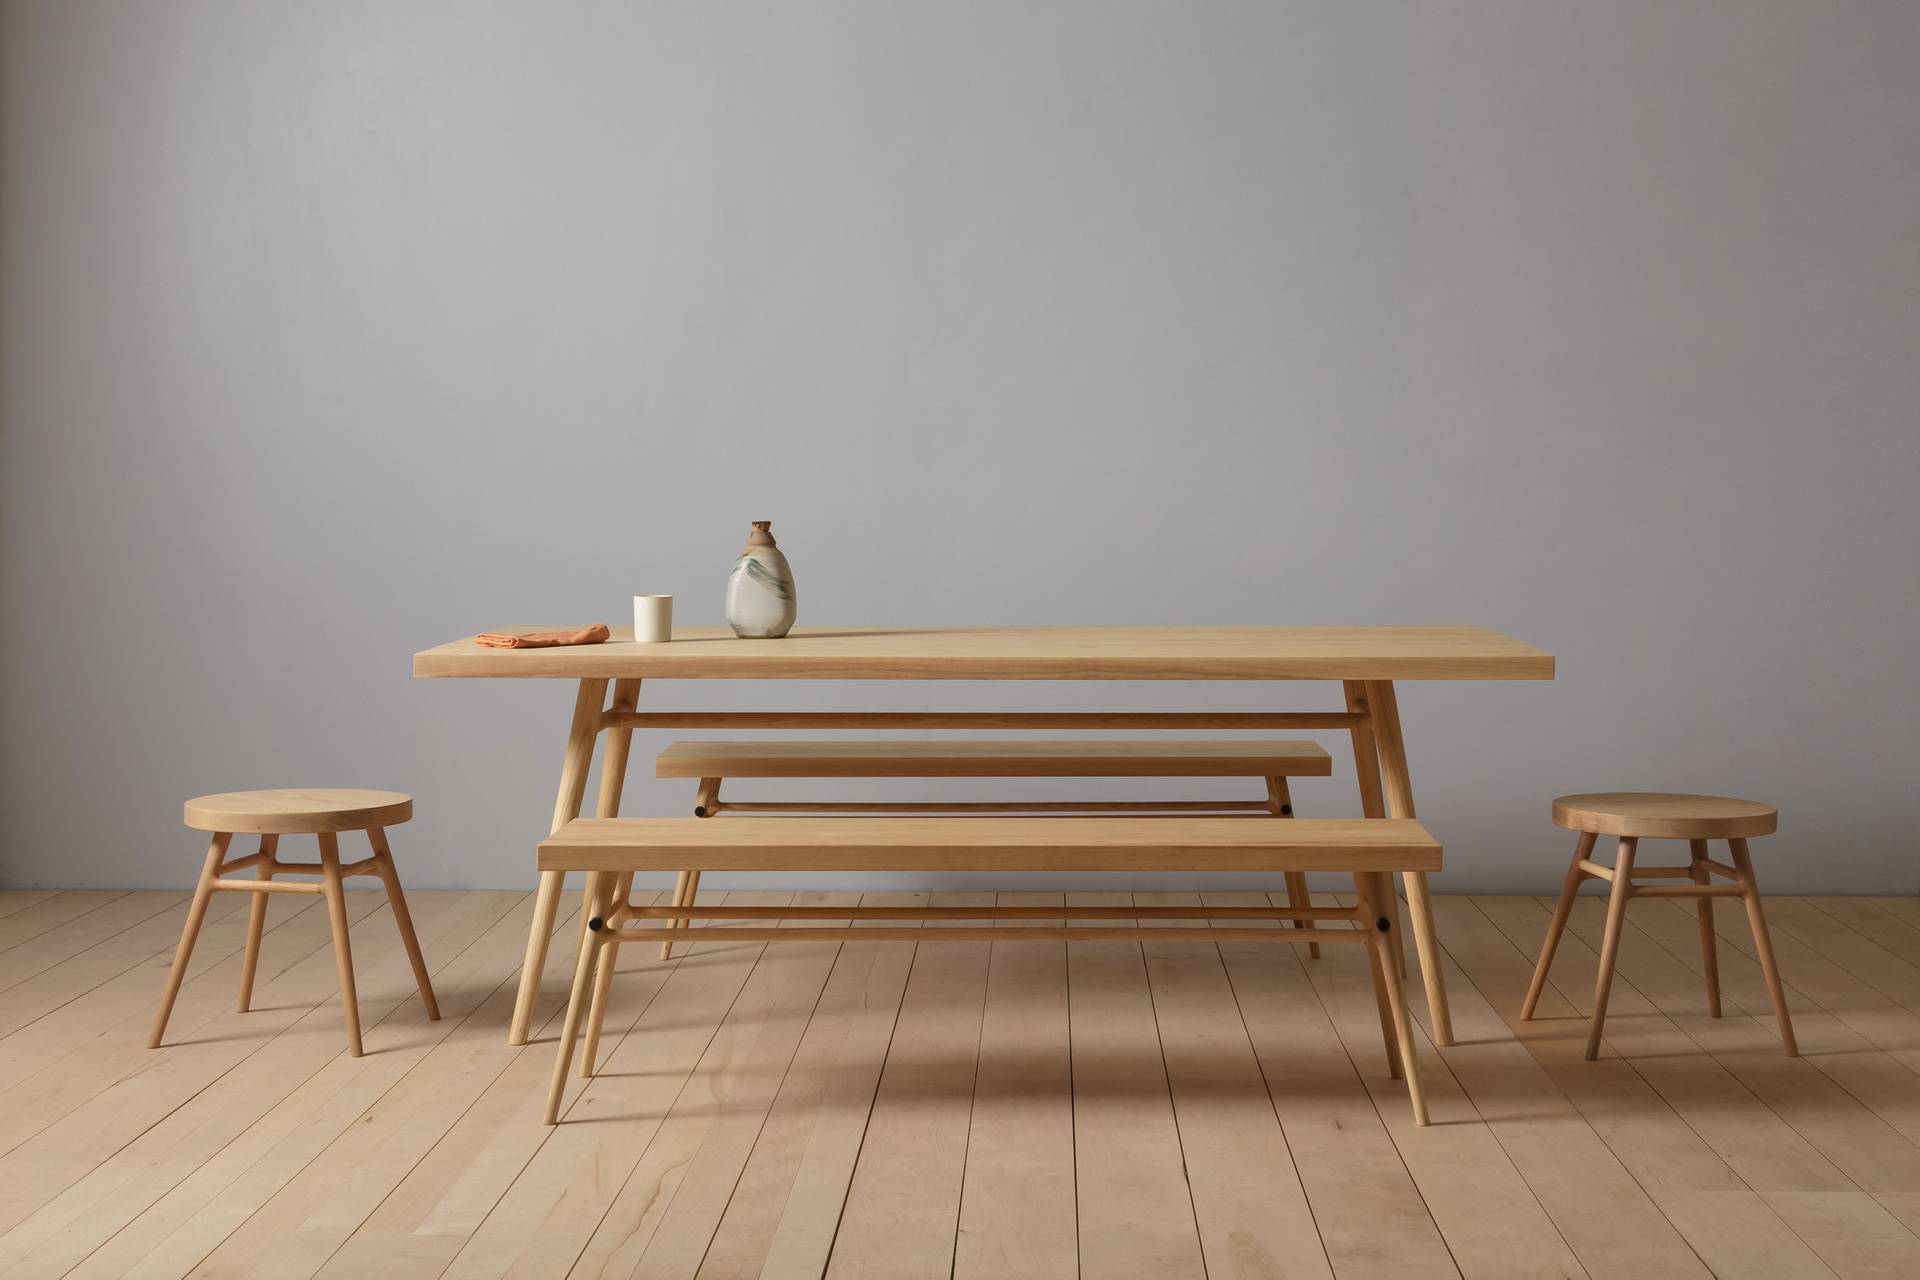
Before we dive into the details of the construction process, take a moment to envision the end result. Imagine sitting on your beautiful outdoor bench, surrounded by lush greenery or soaking in the warmth of the sun. The possibilities are endless when it comes to designing your perfect outdoor oasis.
Now, let’s get started on this exciting DIY adventure! In the next section, we will discuss the materials and tools you will need to gather before you begin the construction process.
Key Takeaways:
- Building patio benches is a fun DIY project that can transform your outdoor space into a cozy oasis. With just a few materials and tools, you can create custom-made benches that reflect your unique style and enhance your outdoor living experience.
- Taking proper care of your patio benches by cleaning, maintaining, and protecting them will ensure their longevity and durability. Adding cushions, outdoor lighting, and decorative elements can enhance the look and comfort of your benches.
Read more: How To Build Woodworking Bench
Step 1: Gathering Materials and Tools
Before you embark on the construction of your patio benches, it’s essential to gather all the necessary materials and tools. Having everything on hand will save you time and ensure a smooth building process.
Here is a list of materials you will need:
- Pressure-treated lumber boards (2×4 and 2×6)
- Wood screws
- Polyurethane sealant
- Sandpaper (medium and fine grit)
- Paint or stain (optional)
As for the tools, make sure you have the following:
- Tape measure
- Pencil
- Miter saw or circular saw
- Drill
- Screwdriver
- Sanding block or electric sander
- Paintbrush or foam roller (if you decide to paint or stain the benches)
Now that you have gathered your materials and tools, you are ready to move on to the next step: measuring and planning the benches. In the following section, we will guide you through this crucial stage of the process, ensuring that your benches fit perfectly in your outdoor space.
Step 2: Measuring and Planning
Before you start cutting the wood for your patio benches, it’s important to measure and plan the dimensions of the benches. This will ensure that they fit perfectly in your outdoor space and provide optimal seating comfort.
Begin by determining the desired length and width of your benches. Consider the available space on your patio and how many people you want the benches to accommodate. A standard bench size is around 16-18 inches in height, 18-20 inches in depth, and 4-6 feet in length.
Use the tape measure and pencil to mark the measurements on the lumber boards. Make sure to account for the width of the boards when calculating the overall dimensions of the benches. Additionally, consider whether you want your benches to have a backrest or not, as this will impact the measurements and design.
Once you have the measurements marked, it’s time to plan the overall design of your benches. Consider whether you want a more simple and minimalist design or a more decorative and ornate one. This will determine the layout of the boards and any additional elements, such as armrests or decorative accents.
Take this time to visualize how the benches will look in your outdoor space. Consider the color scheme and style of your patio. Will you opt for a natural wood finish or add a pop of color with paint or stain? Having a clear vision of the final look will help guide you through the construction process.
With your measurements and design plan in hand, you are now ready to move on to the next step: cutting the wood. In the following section, we will guide you through this process, ensuring precise and accurate cuts that will bring your vision to life.
Step 3: Cutting the Wood
Now that you have your measurements and design plan, it’s time to cut the wood for your patio benches. This step requires precision and accuracy to ensure that all the pieces fit together seamlessly.
Start by setting up your miter saw or circular saw in a well-ventilated area. Make sure you have a sturdy workbench or sawhorses to support the lumber boards during cutting.
Refer to your measurements and mark the appropriate lengths on the boards using a pencil. Double-check your markings to ensure accuracy before proceeding with the cuts.
When cutting the boards, it’s important to use a steady hand and follow the marked lines. Take your time and let the saw do the work. If using a circular saw, make sure to keep it level and perpendicular to the boards to achieve clean and straight cuts.
For the seat boards, cut them to the desired length and width, making sure to account for the additional width provided by the frame. These boards will form the seating surface of your benches.
Next, cut the 2×4 boards for the bench frame. These will serve as the legs, supports, and backrest (if desired). Again, refer to your measurements and design plan to ensure accurate cuts.
Make sure to label and organize the cut wooden pieces for each bench. This will help you stay organized during the assembly process.
With the wood cut to size, you are now ready to move on to the next step: assembling the bench frame. In the following section, we will guide you through this process, ensuring sturdy and secure benches that will withstand the test of time.
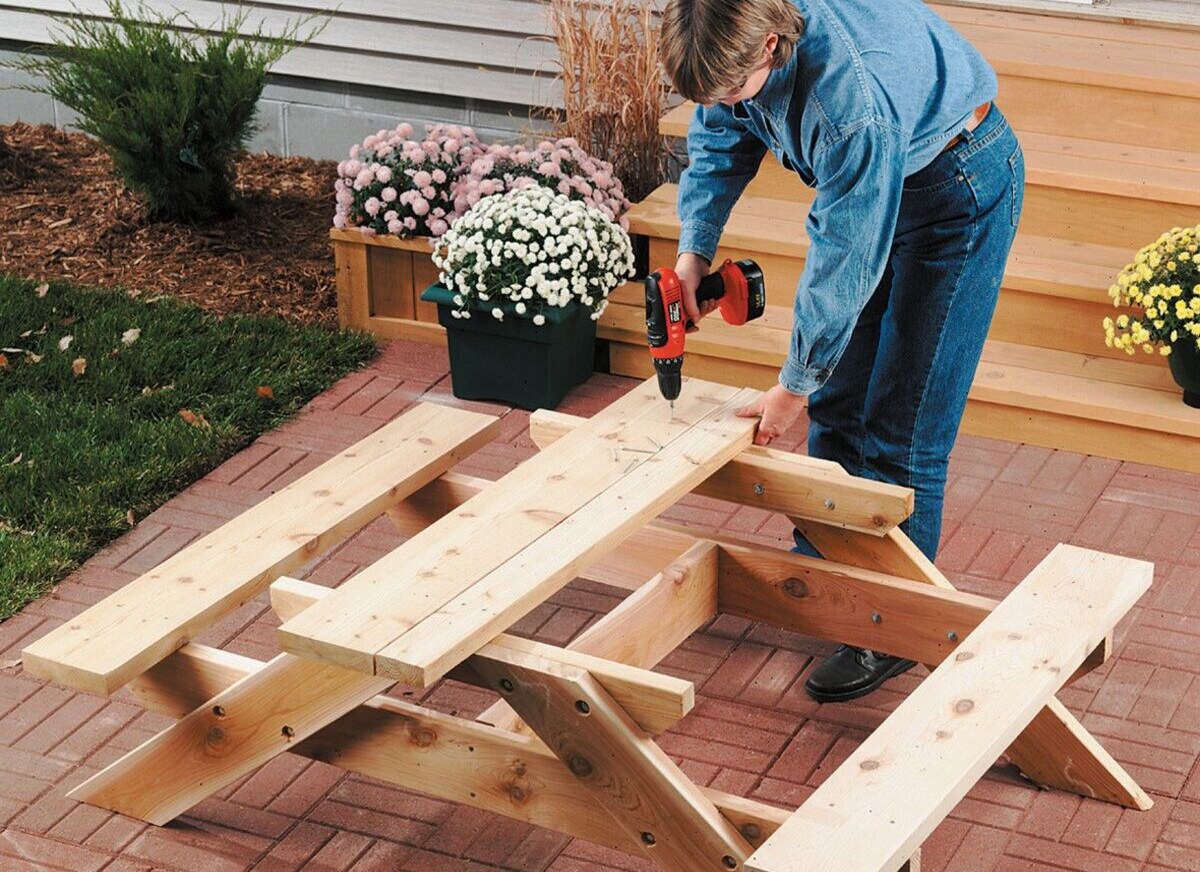
Step 4: Assembling the Bench Frame
Now that you have successfully cut the wood for your patio benches, it’s time to start assembling the bench frame. This step will bring your vision to life and create the foundation for the seating surface.
Begin by laying out the 2×4 boards for the legs and supports in the desired configuration. Position them according to your design plan and make sure everything is aligned properly.
Using your drill and wood screws, start attaching the legs to the supports. Pre-drilling pilot holes can help prevent the wood from splitting. Make sure to countersink the screws slightly below the surface to create a smooth finish.
Continue attaching the remaining supports and any additional elements, such as armrests or decorative accents. Take your time to ensure that everything is securely fastened and level.
If you are adding a backrest to your benches, position the 2×4 boards accordingly and attach them to the supports. This will provide additional comfort and support while creating a more complete look.
Once the frame is fully assembled, double-check its stability and adjust any screws if necessary. Your bench frame should be solid and ready to support the weight of the seat boards.
With the bench frame complete, you are now ready to move on to the next step: attaching the seat boards. In the following section, we will guide you through this process, ensuring a comfortable and secure seating surface for your patio benches.
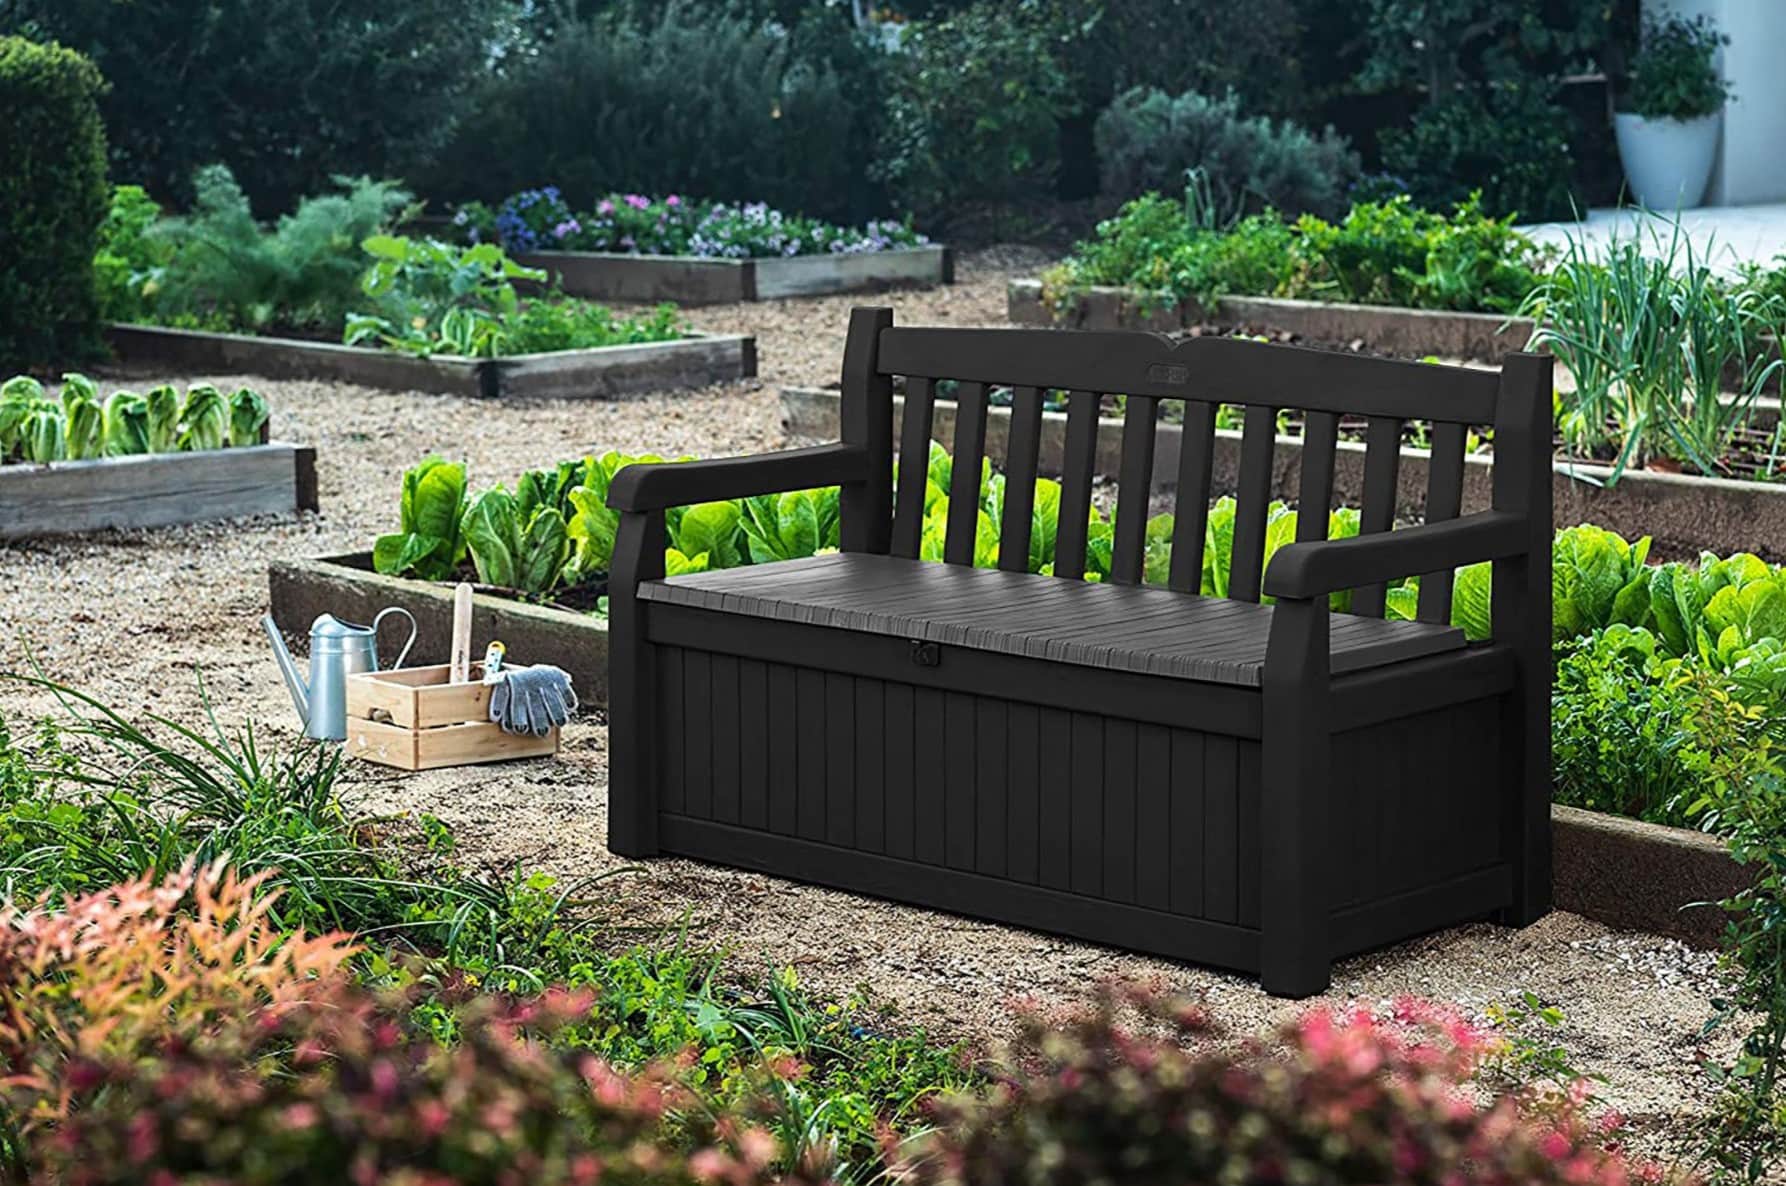
When building patio benches, make sure to use weather-resistant materials such as cedar or pressure-treated wood to ensure durability and longevity.
Read more: How To Build Bench Seat With Storage
Step 5: Attaching the Seat Boards
Now that you have assembled the bench frame, it’s time to attach the seat boards. This step will provide a comfortable and sturdy seating surface for your patio benches.
Start by positioning the seat boards on top of the frame, ensuring they are aligned and evenly spaced. Use a tape measure or ruler to make sure the spacing between each board is consistent.
Once you have positioned the seat boards, use your drill and wood screws to attach them to the frame. Place screws along the edges of each board, making sure to countersink them slightly below the surface to create a smooth finish.
Continue attaching the seat boards one by one until the entire seating surface is covered. Make sure to check the stability of each board as you go and adjust the screws as needed.
When attaching the seat boards, you may choose to leave a small gap between each board. This allows for water drainage and helps prevent warping or cracking of the wood over time.
With the seat boards securely attached, take a moment to walk on the benches and test their stability. Apply some pressure to ensure they can comfortably support the weight of multiple people.
Congratulations! You have now successfully attached the seat boards to your patio benches. In the next step, we will guide you through sanding and finishing the benches, creating a smooth and polished final result.
Step 6: Sanding and Finishing
After attaching the seat boards, it’s time to give your patio benches a smooth and polished finish. Sanding the wood will remove any rough edges or imperfections, while finishing the benches will protect the wood from the elements and add a beautiful touch to the final result.
Start by using medium-grit sandpaper or an electric sander to sand the entire surface of the benches, including the seat boards, frame, and any other wooden elements. Sand in the direction of the grain to achieve a smooth and even finish.
Continue sanding with finer grit sandpaper to refine the surface and create a silky-smooth texture. Pay extra attention to the edges and corners to ensure they are rounded and comfortable to the touch.
Once the sanding is complete, remove any dust or debris from the benches using a brush or a cloth. This will ensure a clean surface for the finishing process.
Now, it’s time to apply the finishing touch to your patio benches. You can choose between paint, stain, or a clear polyurethane sealant, depending on your desired look and level of protection.
If you prefer a natural wood look, you can apply a clear sealant that will protect the wood from moisture and UV damage. Follow the manufacturer’s instructions for application and allow ample drying time between coats.
If you want to add color or enhance the appearance of the wood grain, you can opt for paint or stain. Choose a high-quality outdoor paint or stain that is specifically formulated for wood and can withstand the elements.
Apply the paint or stain evenly to the benches, following the manufacturer’s instructions. Multiple thin coats are often better than one thick coat, as it allows for better penetration and durability of the finish.
After applying the finishing product, allow the benches to dry completely before placing them in your outdoor space. This will ensure that the finish cures properly and provides long-lasting protection.
Congratulations! You have now sanded and finished your patio benches, giving them a polished and professional look. In the next step, we will explore the optional addition of a backrest to enhance the comfort of the benches.
Step 7: Adding Backrest (Optional)
If you want to enhance the comfort and aesthetics of your patio benches, you can choose to add a backrest. This optional step will provide extra support while creating a more inviting seating experience.
To add a backrest, start by measuring and marking the desired height and angle on the bench frame. Take into consideration personal preference and ergonomic factors when determining the angle.
Using a saw, cut the 2×4 boards to the appropriate length and angle according to your measurements. Make sure to cut each board with the same angle for a consistent look.
Position the backrest boards on the bench frame, aligning them with the marked measurements. Use a level to ensure they are straight and level with the seat boards.
Securely attach the backrest boards to the bench frame using wood screws. Pre-drill pilot holes to prevent splitting and countersink the screws for a clean finish.
Continue attaching the remaining backrest boards, making sure they are evenly spaced and securely fastened. Test the stability by leaning against the backrest to ensure it can support your weight comfortably.
If desired, you can add additional support braces between the backrest boards and the bench frame. This will further enhance the stability and durability of the backrest.
Once the backrest is securely attached, give it a gentle shake to ensure there is no wobbling or movement. Make any necessary adjustments or tighten any loose screws.
Adding a backrest to your patio benches completes their functionality and elevates their overall design. Now, your outdoor space will not only be stylish but also provide optimal comfort for relaxing and entertaining.
With the backrest added, your patio benches are almost complete. In the final step, we will discuss some finishing touches and maintenance tips to keep your benches looking beautiful for years to come.
Step 8: Final Touches and Maintenance Tips
Congratulations! You have successfully built your own patio benches. In this final step, we will discuss some final touches you can add to enhance the look of your benches, as well as provide maintenance tips to keep them in pristine condition.
Final Touches:
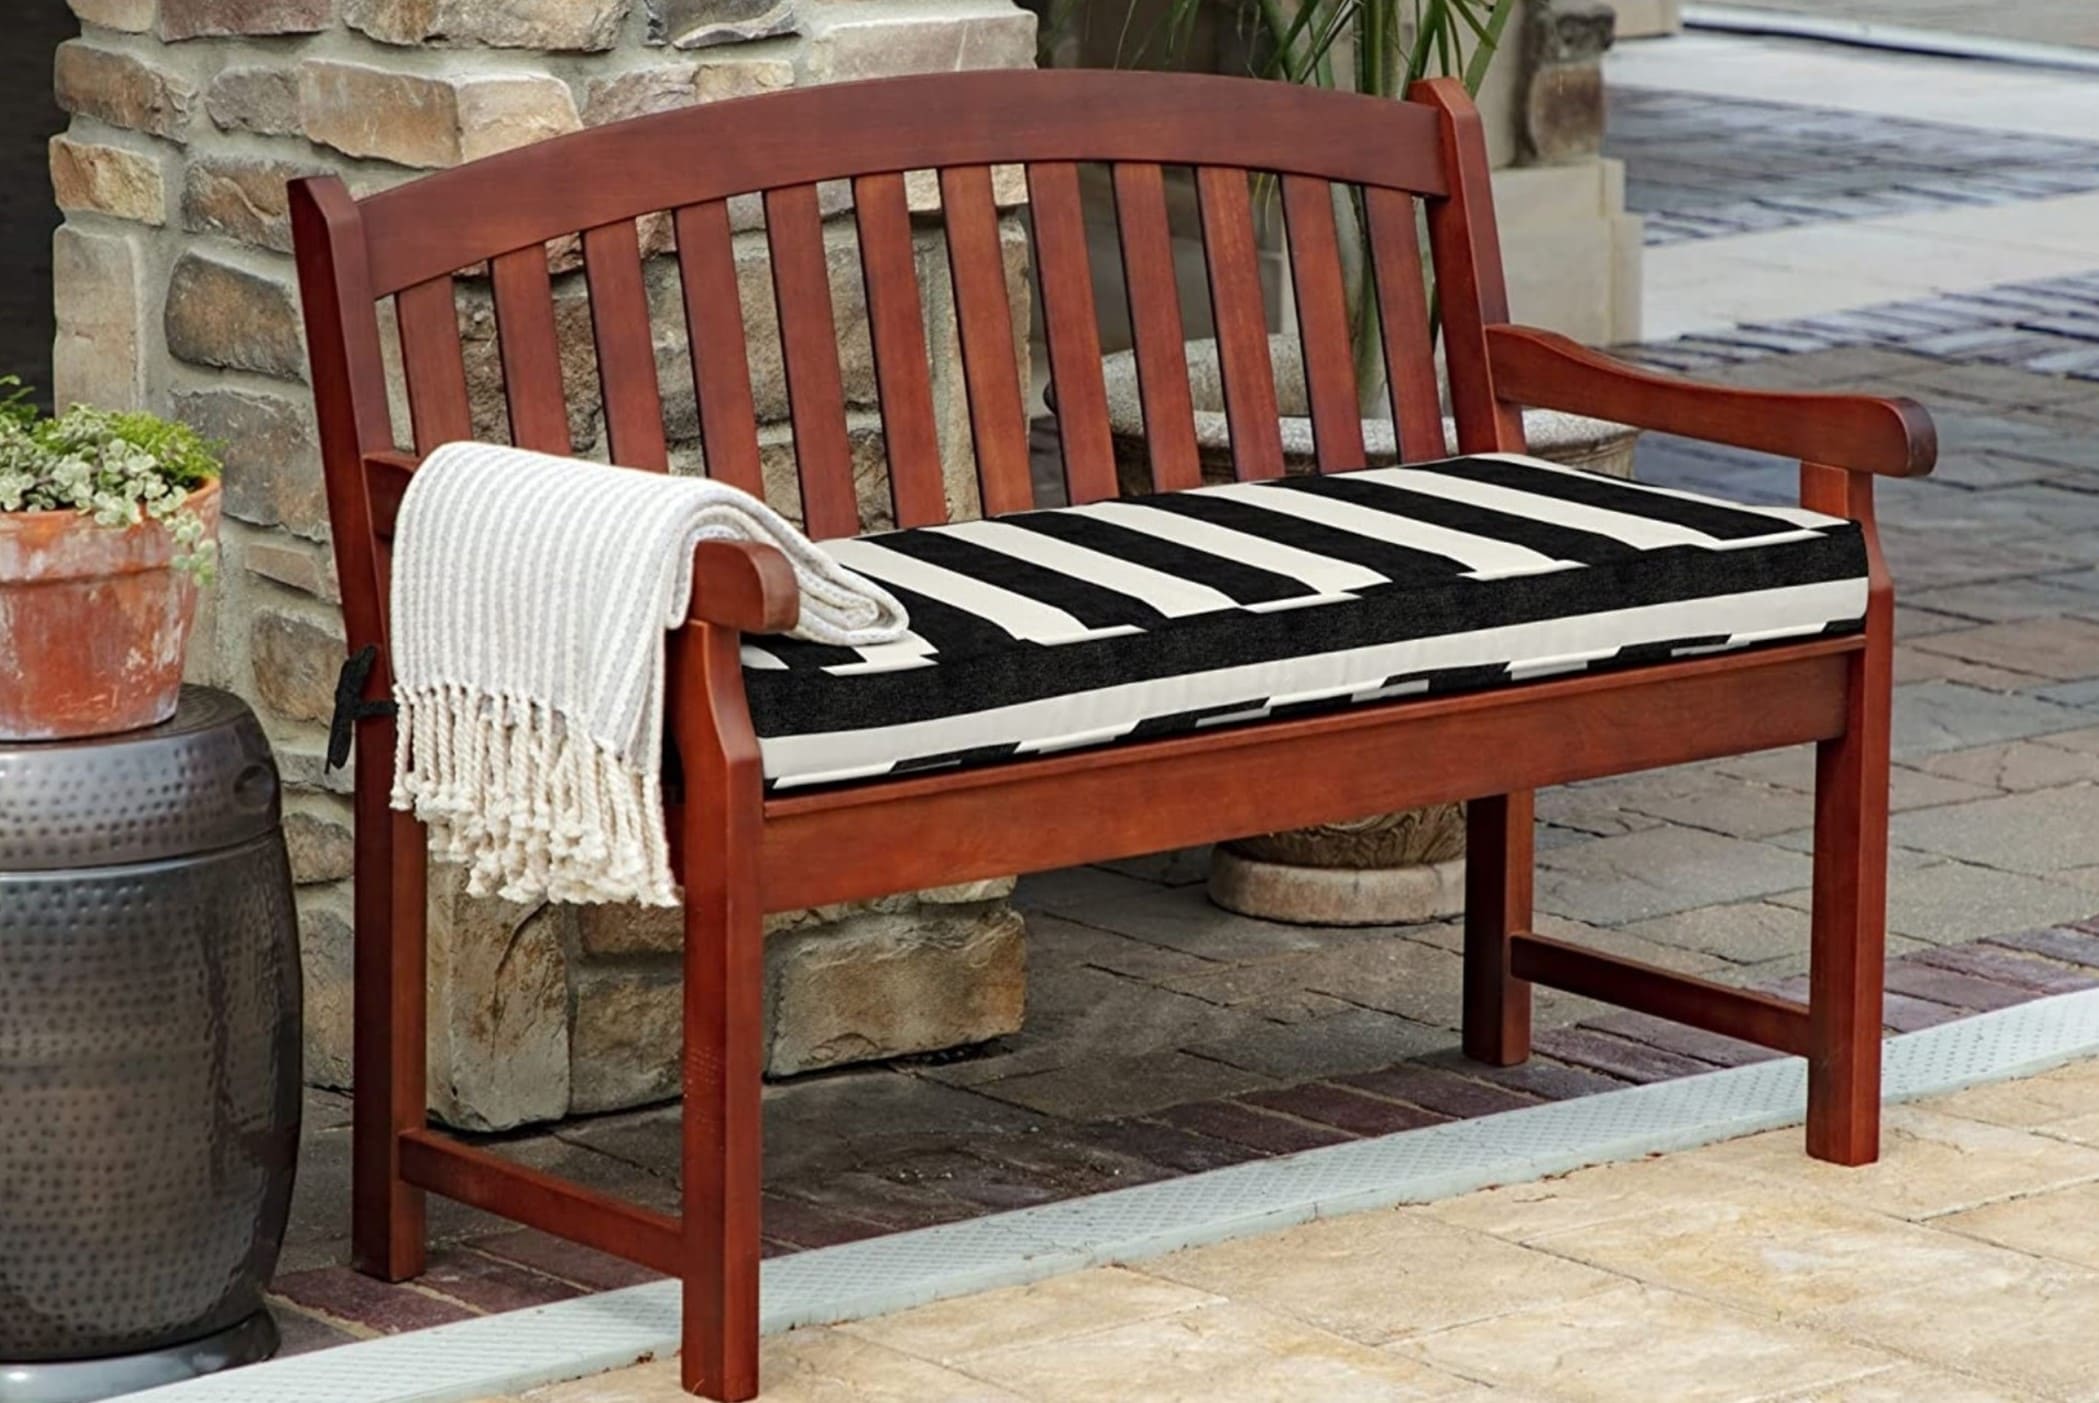
- If desired, you can add cushions or pillows to the seat and backrest of the benches. This will not only provide extra comfort but also add a pop of color and style.
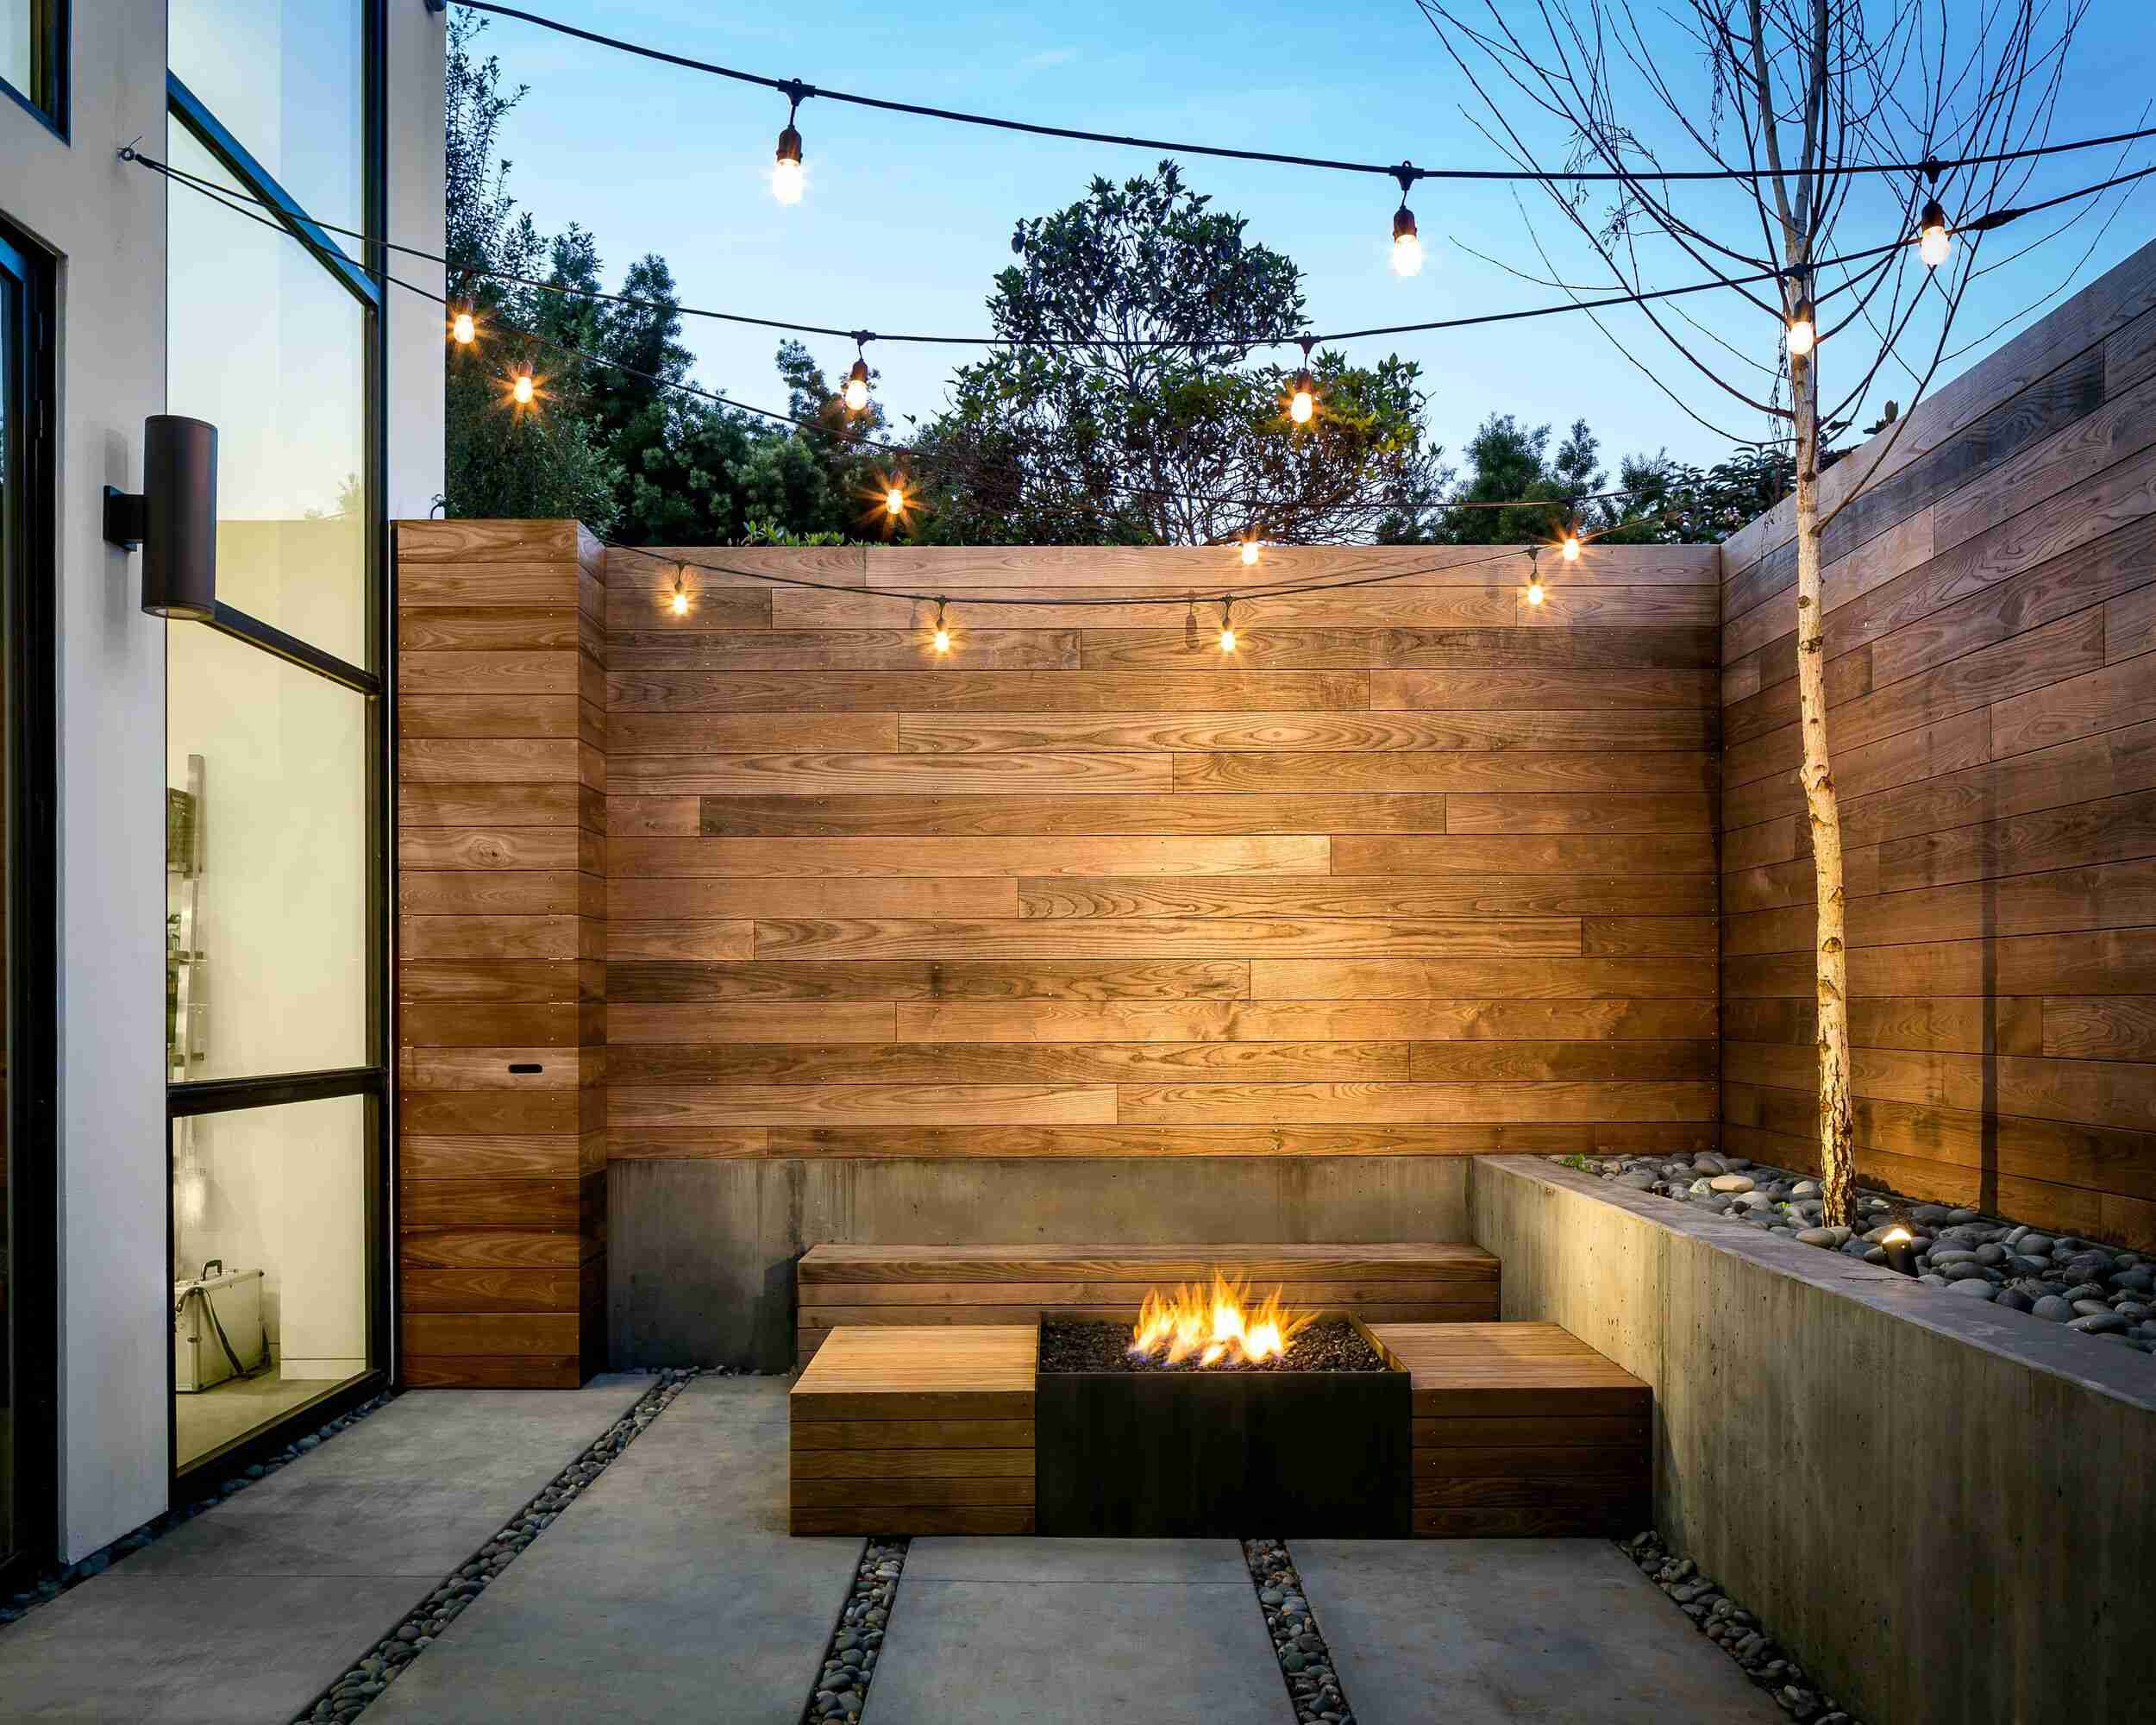
- Consider adding outdoor lighting near your benches to create a cozy ambiance and extend the usability of your outdoor space into the evening.
- Feel free to get creative with the design of your benches by adding decorative elements, such as engraved patterns or custom paintwork.
Maintenance Tips:
- Regularly clean your patio benches by sweeping away debris and wiping them down with a damp cloth. This will prevent dirt and grime buildup.
- Apply a fresh coat of sealant or paint every year or as needed to protect the wood from weathering and fading.
- During harsh weather conditions or in the off-season, consider covering your benches with a protective cover to prevent damage from sun, rain, or snow.
- Inspect the screws and joints periodically and tighten them if necessary to maintain the stability and safety of the benches.
- Avoid dragging heavy objects or placing excessive weight on the benches to prevent damage.
By following these maintenance tips, your patio benches will stay beautiful and functional for years to come.
Thank you for joining us on this DIY journey of building patio benches. We hope you enjoyed the process and are thrilled with the final result. Now, sit back, relax, and enjoy your outdoor oasis!
Happy building!
Read more: How To Build A Coat Rack Bench
Conclusion
Building your own patio benches is a rewarding and fulfilling DIY project that can transform your outdoor space into a cozy and inviting haven. With just a few materials, tools, and a little bit of creativity, you can create custom-made benches that perfectly suit your style and needs.
From gathering the materials and measuring, to cutting the wood, assembling the frame, attaching the seat boards, sanding and finishing, adding a backrest (optional), and applying final touches, each step of the process contributes to the creation of beautiful and functional benches.
Throughout this guide, we have provided you with the knowledge and guidance to successfully complete this project. By following the steps and incorporating your own personal touch, you can create benches that reflect your unique style and enhance your outdoor living experience.
Remember to take proper care of your patio benches by regularly cleaning, maintaining, and protecting them from the elements. This will ensure their longevity and durability for years to come.
Now, it’s time to sit back, relax, and enjoy the fruits of your labor. Whether you are sipping your morning coffee, hosting a gathering with friends and family, or simply soaking up the beauty of nature, your patio benches will provide comfort and a sense of tranquility.
So go ahead, grab your tools and unleash your creativity. Building patio benches is not just about crafting furniture, but about creating cherished memories in the great outdoors.
Happy building and may your outdoor space be filled with joy, relaxation, and countless moments of bliss.
Frequently Asked Questions about How To Build Patio Benches
Was this page helpful?
At Storables.com, we guarantee accurate and reliable information. Our content, validated by Expert Board Contributors, is crafted following stringent Editorial Policies. We're committed to providing you with well-researched, expert-backed insights for all your informational needs.


0 thoughts on “How To Build Patio Benches”